
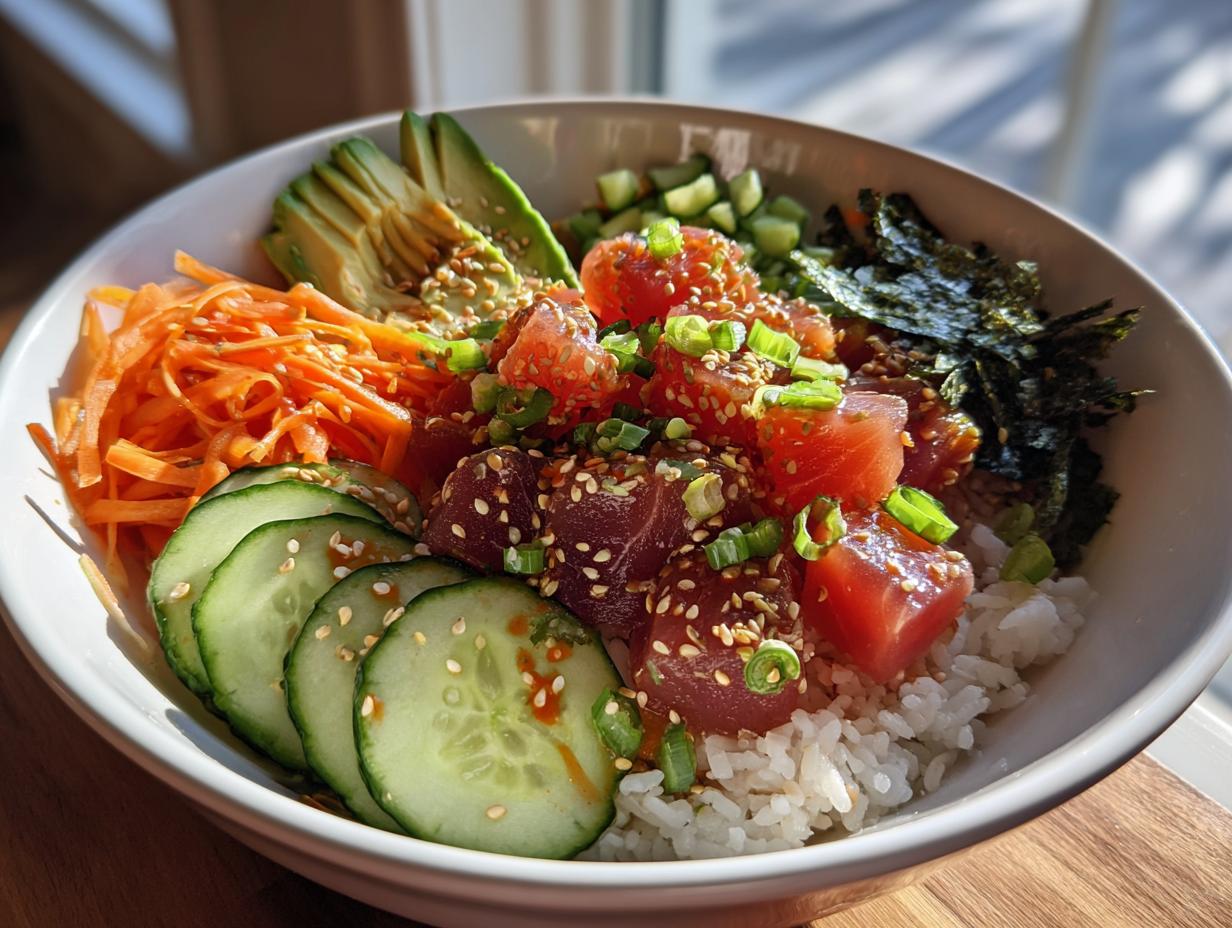

I’ll never forget my first real Tuna Poke Bowl experience – standing at a tiny fish market in Honolulu, watching the vendor expertly cube fresh Ahi tuna right before my eyes. The vibrant colors, the salty ocean breeze mixing with the scent of sesame oil… it was love at first bite. What I didn’t realize then was how perfectly this Hawaiian treasure fits into meal planning for busy lives back home. Now I make these bowls weekly – they’re my go-to healthy lunch that feels like a vacation in every bite.
What makes poke bowls so special is their beautiful simplicity. Cubes of glistening raw tuna, lightly kissed with savory marinade, nestled over rice with whatever fresh toppings you crave. No fancy equipment needed, just good ingredients and about 15 minutes of your time. It’s the kind of meal that makes you feel nourished and energized, whether you’re following specific weight loss programs or just want something delicious. That first bite still transports me back to that Hawaiian fish market every single time.
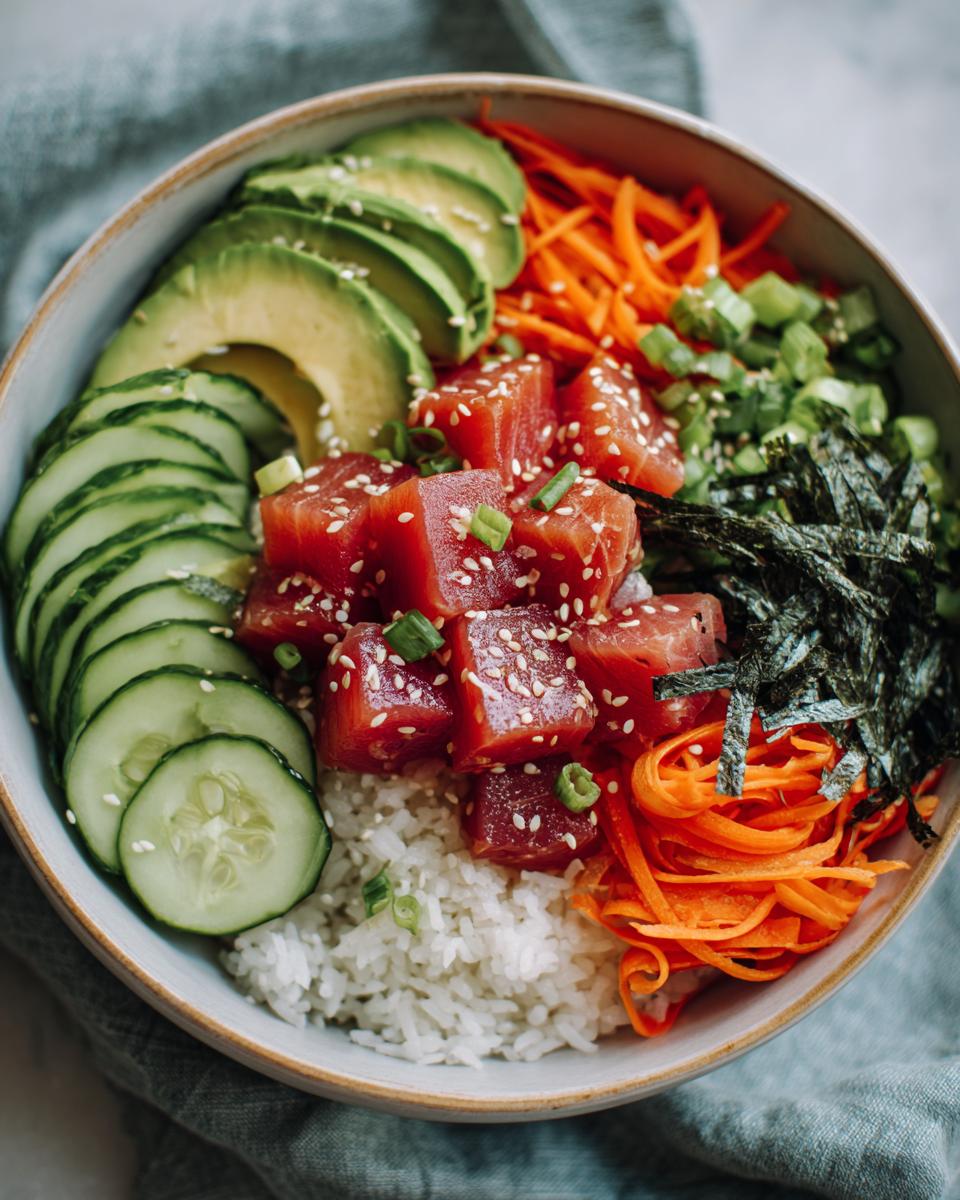
Why You’ll Love This Tuna Poke Bowl
Listen, I don’t just like this tuna poke bowl – I’m obsessed. Here’s why you will be too:
- Lightning fast: From fridge to table in 15 minutes flat. Perfect when meal delivery services would take longer than eating!
- Healthier than takeout: Packed with lean protein and fresh veggies, it’s the guilt-free meal your body will thank you for.
- Endless possibilities: Swap rice for quinoa, add mango chunks, or drizzle with sriracha mayo – it’s your flavor playground.
- Meal prep superstar: The components keep beautifully for days, making it ideal for weekly meal planning.
- Sushi vibes at home: All the satisfaction of expensive sushi without needing a sous-vide precision cooker or fancy skills.
I make this weekly – sometimes twice! – because it’s that magical combination of simple, satisfying, and special. The crisp veggies against the buttery tuna? Pure happiness in a bowl.
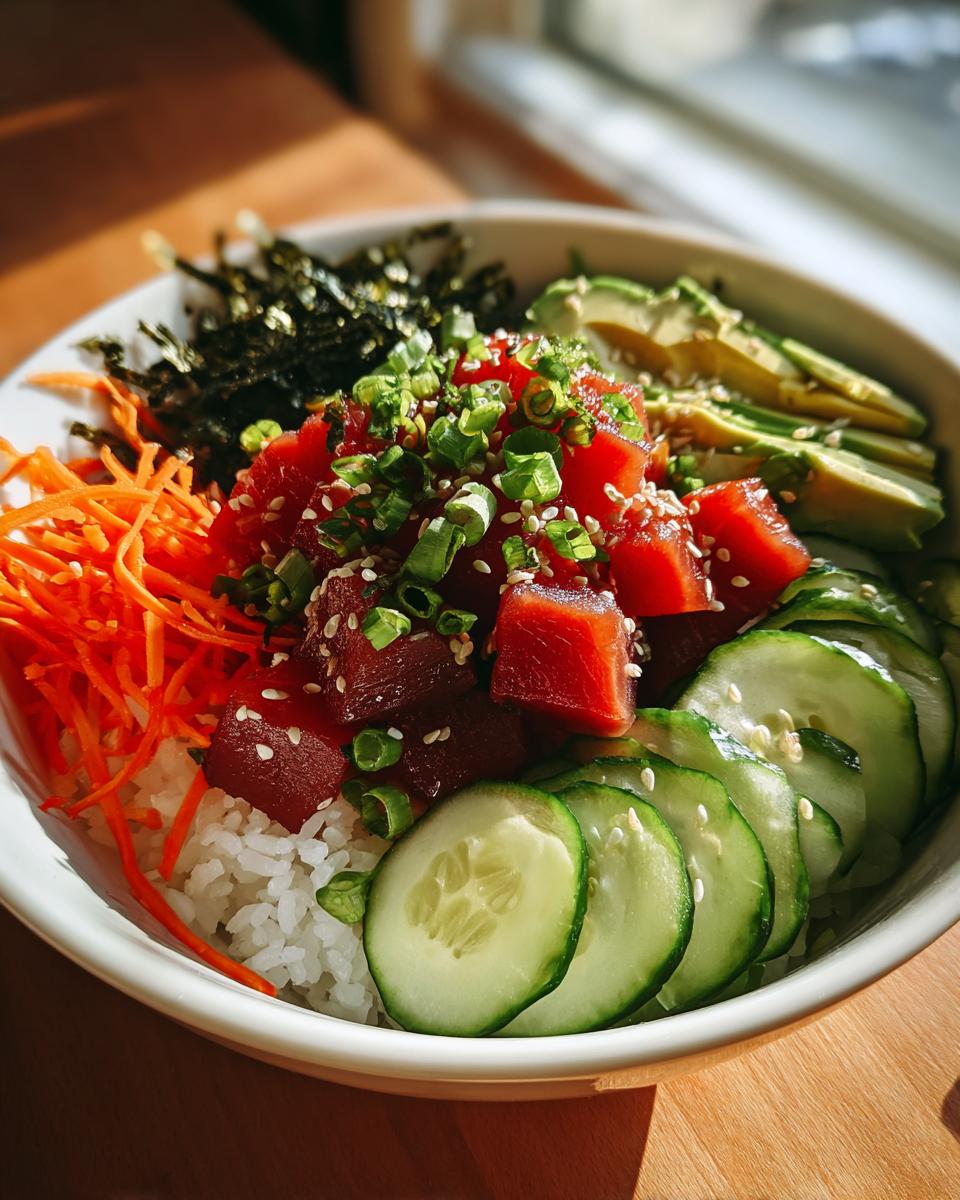
Ingredients for Your Tuna Poke Bowl
Here’s everything you’ll need to create poke bowl magic. I’ll be real with you – the quality of your ingredients makes ALL the difference here. Skip the pre-packaged stuff from meal delivery companies and go for fresh, vibrant ingredients. This is one of those recipes where every component shines, so don’t cut corners!
For the Tuna Marinade
This marinade is where the magic happens – just a few ingredients transform simple tuna into something extraordinary:
- 1/4 cup soy sauce (or tamari for gluten-free meal delivery folks)
- 1 tbsp toasted sesame oil (the good stuff – don’t skimp!)
- 1 tbsp rice vinegar (it’s got that perfect tang)
- 1 tsp freshly grated ginger (bottled just tastes different, trust me)
- 1 tsp honey (or maple syrup if you’re vegan)
- 1/2 tsp crushed red pepper flakes (adjust to your heat preference)
For the Bowl Base and Toppings
The beauty of poke bowls is the colorful canvas of textures. Here’s what I use, but feel free to get creative:
- 2 cups cooked sushi rice (chilled – warm rice makes sad poke bowls)
- 1 ripe avocado, sliced (wait until it gives slightly when squeezed)
- 1/2 cucumber, diced (English cucumber works great)
- 1/4 cup shredded carrots (I like the matchstick kind for crunch)
- 1/4 cup sliced green onions (scallions add that perfect fresh bite)
- 1 tbsp sesame seeds (toasted if you’re feeling fancy)
- 1 sheet nori, cut into strips (seaweed snack leftovers work too!)
- 1 lb sushi-grade ahi tuna, cubed (this is non-negotiable for safety)
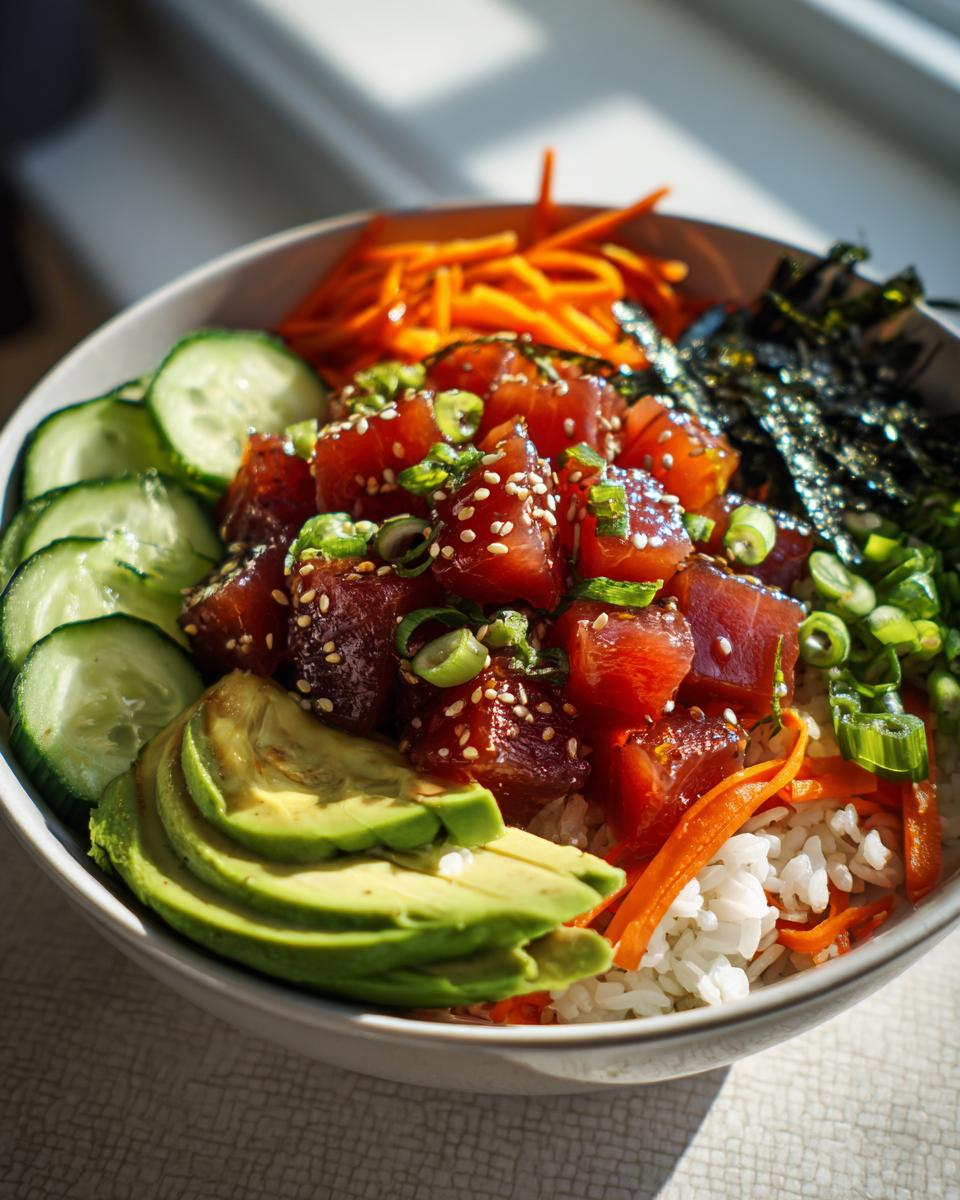
How to Make a Tuna Poke Bowl
Making a poke bowl is easier than you think – I promise! The key is getting that tuna perfectly marinated and prepping your toppings with love. Follow these simple steps, and you’ll have restaurant-quality poke bowls at home in no time. Honestly, my friends always think I spent hours when it’s really just minutes of active work.
Step 1: Marinate the Tuna
Grab a medium bowl and whisk together all your marinade ingredients – that’s soy sauce, sesame oil, rice vinegar, ginger, honey, and red pepper flakes. Now here’s my trick: gently fold in the cubed tuna with a rubber spatula until every piece is coated. Don’t stir too hard – we want those perfect cubes to stay intact! Let this gorgeous mixture sit for exactly 10 minutes (set a timer) while you prep everything else.
Step 2: Prepare the Rice and Toppings
If you didn’t prep rice ahead (no judgment!), cook your sushi rice according to package directions, then spread it on a plate to cool quickly. Meanwhile, slice that avocado just right – not too thin, not too thick – and dice the cucumber into perfect little squares. I like to arrange all my toppings in little bowls like a sushi chef would. Makes me feel fancy!
Step 3: Assemble Your Tuna Poke Bowl
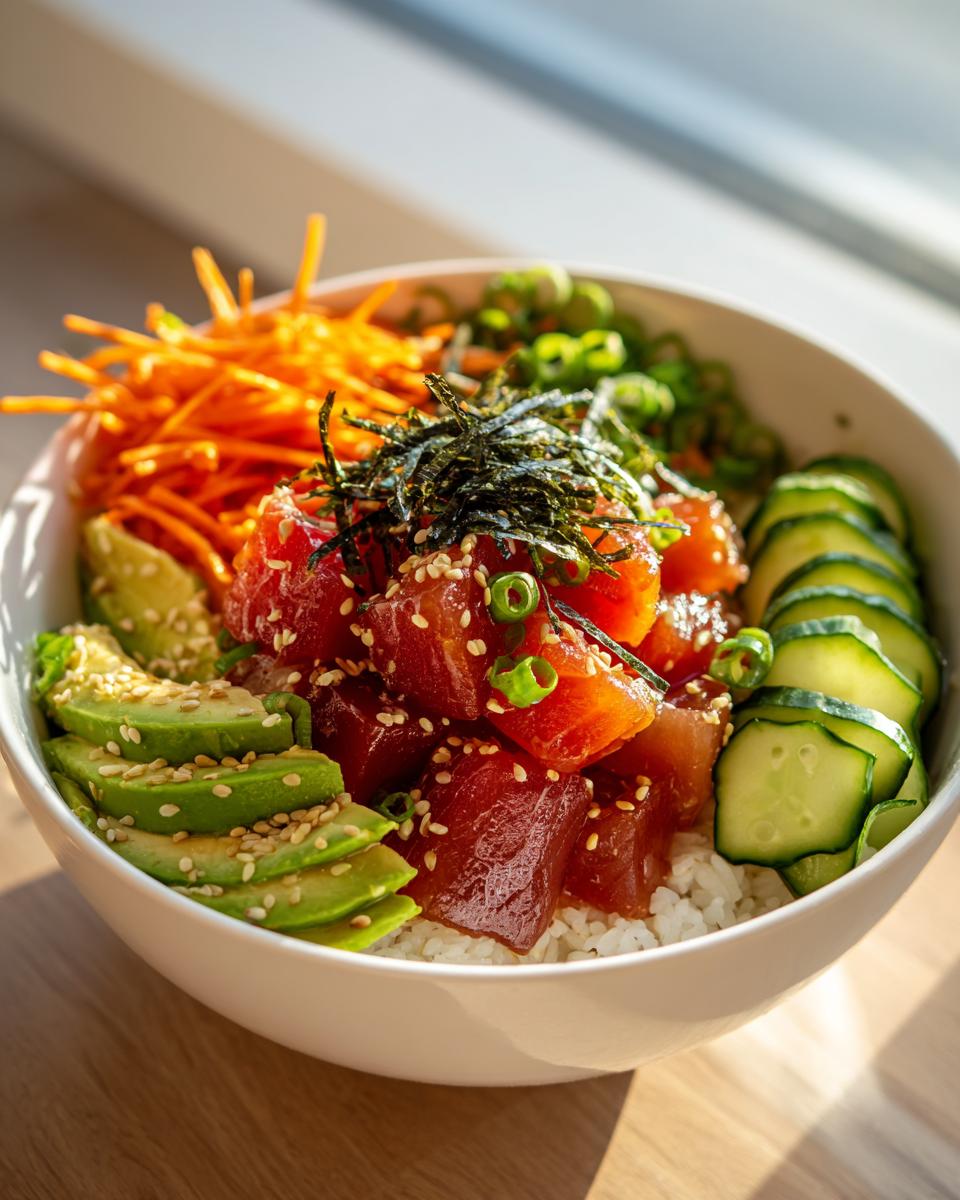
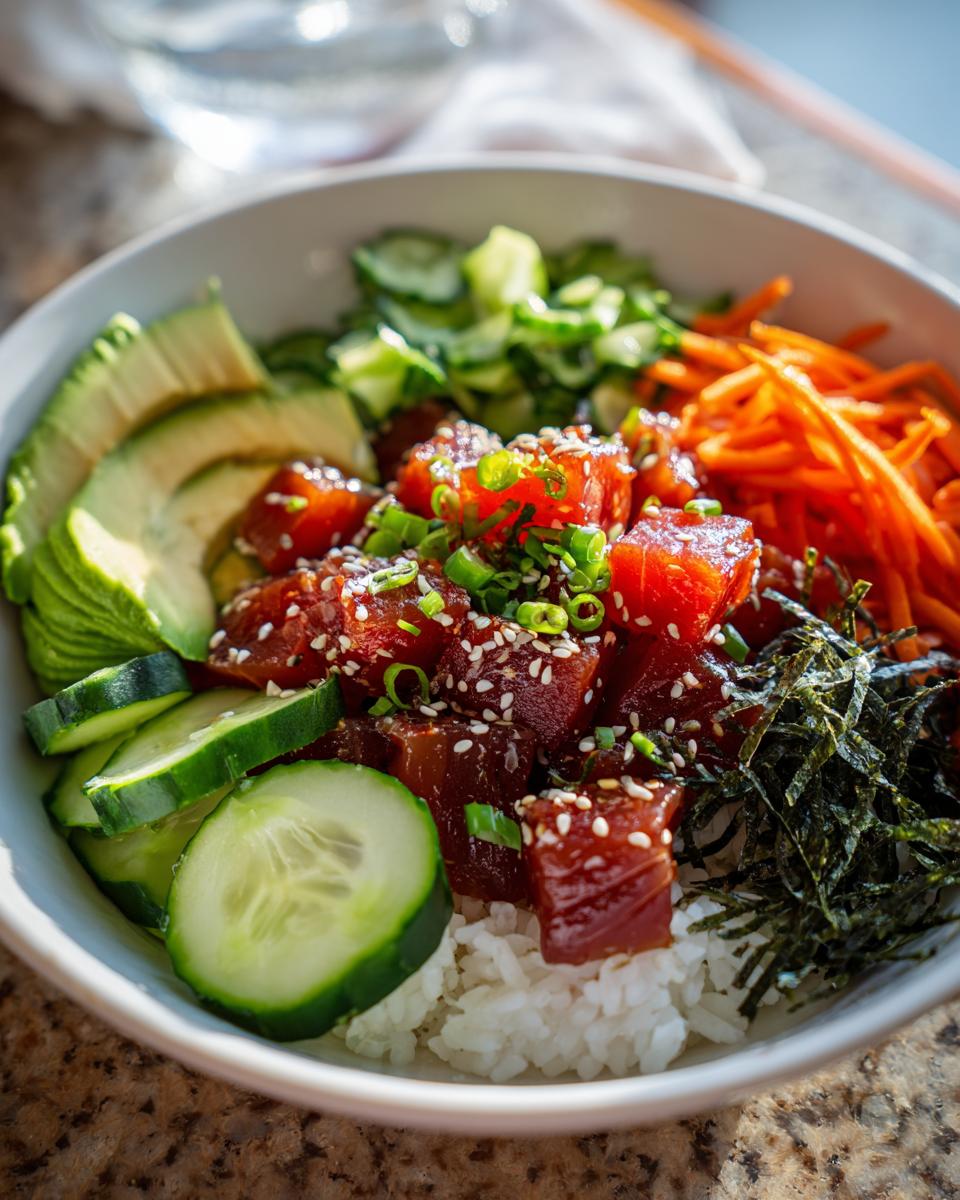
Now the fun part! Divide the chilled rice between two bowls. Use the back of a spoon to make a little well in the center. Spoon that beautiful marinated tuna right in the middle, then artfully arrange your toppings around it. Want extra wow factor? Drizzle with sriracha mayo (just mix mayo with a squeeze of sriracha) and sprinkle sesame seeds. Done – enjoy immediately while everything’s fresh and vibrant!
Tips for the Perfect Tuna Poke Bowl
After making hundreds of poke bowls (seriously, I might have a problem), I’ve learned a few secrets that take them from good to “oh wow, did you make this?” level. First things first – always use sushi-grade tuna. I know it’s pricier, but your safety and that buttery texture are worth every penny. Chill your rice before assembling – warm rice turns the whole bowl mushy, and nobody wants that. For meal planning? Prep components separately: store marinated tuna for up to 2 days, rice for 3-4 days, and slice veggies fresh. My favorite trick? Drizzle everything with a little extra sesame oil right before serving for an extra flavor punch!
Tuna Poke Bowl Variations
Oh, the fun you can have with poke bowls! I love playing around with different flavors and textures – it’s like creating your own edible art. For my gluten-free friends, simply swap regular soy sauce with tamari (I promise you won’t miss a thing). Got a sweet tooth? Throw in some ripe mango chunks for a tropical twist. Watching carbs? Substitute the rice with cauliflower rice or quinoa – it’s so good I sometimes prefer it! Keto meal plan fans can skip the rice entirely and pile on extra avocado. Want some heat? Add diced jalapeños or a spicy mayo drizzle. The possibilities are endless!
Serving and Storing Your Tuna Poke Bowl
Here’s the deal with poke bowls – they’re best eaten fresh, like right-this-minute fresh. That perfect sear on the tuna from the marinade, the crisp veggies, the chilled rice… it’s all about texture harmony. But if you’re meal prepping (smart!), store components separately in airtight containers: marinated tuna for up to 2 days, rice for 3-4. Pro tip: Add a damp paper towel over the rice to prevent drying. Skip reheating – poke bowls are meant to be enjoyed cold! Just give everything a quick toss before serving.
Nutritional Information
Listen, I’m all about that balance – enjoying delicious food while being mindful of what goes into my body. But here’s the real talk: nutrition info can vary based on your exact ingredients and brands. The numbers below are estimates (per serving), so consider this your friendly guideline, not gospel truth!
Frequently Asked Questions
Can I use frozen tuna for poke bowls?
You absolutely can – if it’s sushi-grade and properly thawed! Just make sure it’s labeled “sushi-grade” or “sashimi-grade” before freezing. Thaw it slowly in the fridge overnight, pat dry, and cube it right before marinating. I’ve done this when my local fish market was out of fresh Ahi – works like a charm!
How long does a tuna poke bowl keep in the fridge?
For best quality, eat it within 2 hours of making. But if you’re meal planning, store components separately: marinated tuna lasts 2 days max (any longer and the texture changes), rice keeps 3-4 days, and veggies should be cut fresh. The texture won’t be quite as magical, but still delicious!
Is this poke bowl recipe gluten-free?
Almost! Just swap regular soy sauce for tamari (the gluten-free kind), and you’ve got a perfect gluten-free meal. I do this all the time when cooking for friends with dietary restrictions – they never know the difference!
What’s the deal with sushi-grade tuna?
This isn’t just a fancy label – it means the fish was frozen at ultra-low temps (-31°F or below) to kill parasites, making it safe to eat raw. Your local fish market or Asian grocery will usually have it. Worth noting – some meal delivery companies now offer sushi-grade fish shipped frozen!
PrintTuna Poke Bowl
A fresh and healthy Hawaiian-inspired dish with marinated raw tuna, rice, and vibrant toppings.
- Prep Time: 15 min
- Cook Time: 0 min
- Total Time: 25 min
- Yield: 2 servings 1x
- Category: Lunch
- Method: No-Cook
- Cuisine: Hawaiian
- Diet: Low Calorie
Ingredients
- 1 lb fresh Ahi tuna, cubed
- 1/4 cup soy sauce
- 1 tbsp sesame oil
- 1 tbsp rice vinegar
- 1 tsp grated ginger
- 1 tsp honey
- 1/2 tsp crushed red pepper flakes
- 2 cups cooked sushi rice
- 1 avocado, sliced
- 1/2 cucumber, diced
- 1/4 cup shredded carrots
- 1/4 cup sliced green onions
- 1 tbsp sesame seeds
- 1 sheet nori, cut into strips
Instructions
- In a bowl, mix soy sauce, sesame oil, rice vinegar, ginger, honey, and red pepper flakes.
- Add cubed tuna to the marinade and gently toss. Let it sit for 10 minutes.
- Divide cooked rice between two bowls.
- Top rice with marinated tuna, avocado, cucumber, carrots, and green onions.
- Sprinkle with sesame seeds and nori strips.
- Serve immediately.
Notes
- Use sushi-grade tuna for safety.
- Chill the rice before assembling for better texture.
- Add a drizzle of sriracha mayo for extra flavor.
Nutrition
- Serving Size: 1 bowl
- Calories: 450
- Sugar: 6g
- Sodium: 1200mg
- Fat: 18g
- Saturated Fat: 3g
- Unsaturated Fat: 12g
- Trans Fat: 0g
- Carbohydrates: 45g
- Fiber: 7g
- Protein: 35g
- Cholesterol: 60mg