
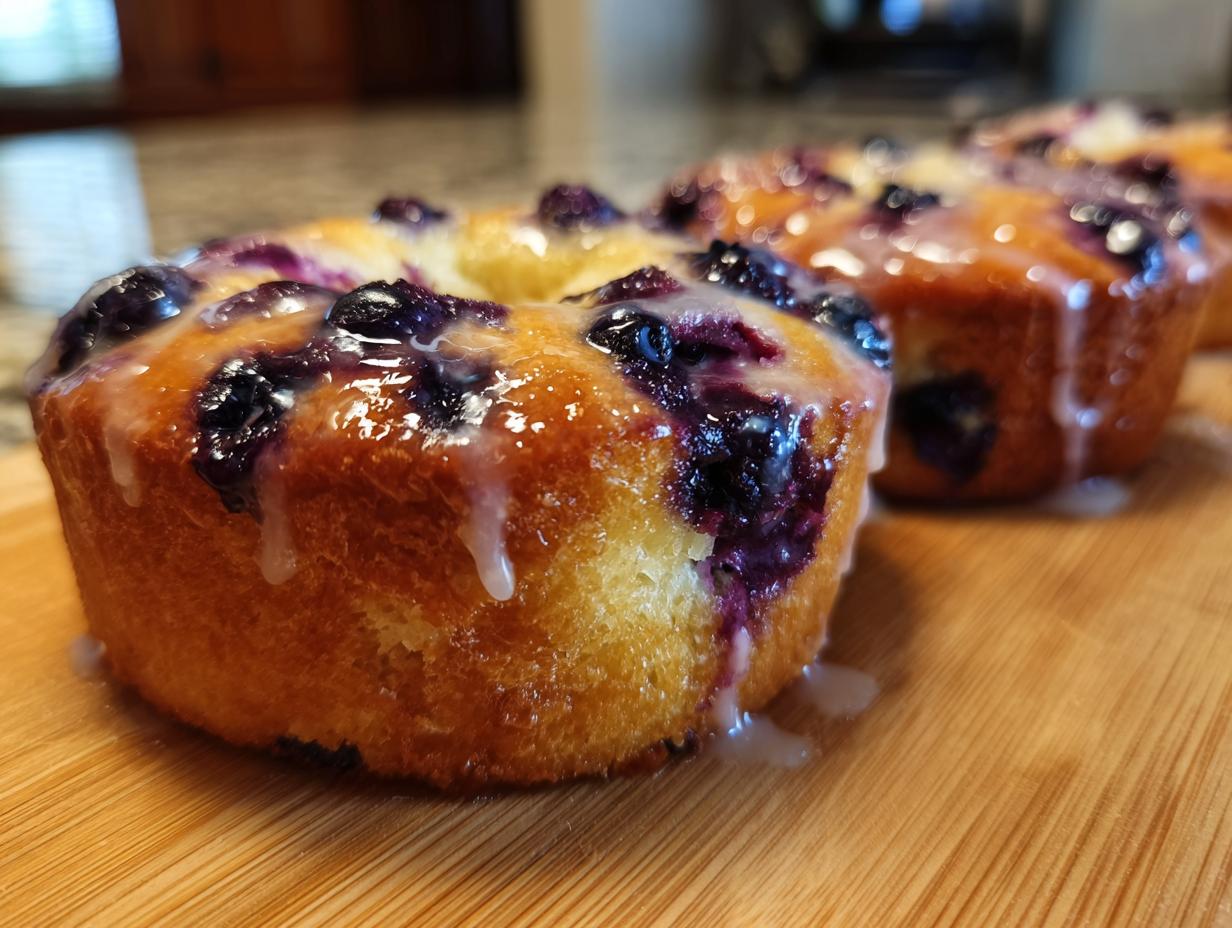

Oh, that craving for Starbucks blueberry scones, right? You know the one – that perfectly tender crumb, just bursting with sweet blueberries, all topped off with that dreamy, slightly tart lemon glaze. For the longest time, I remember those baking mornings, feeling like I was chasing a delicious ghost, trying to recreate that magic at home. And honestly, before my whole culinary journey, my kitchen was practically a museum exhibit. But after that life-changing bite in New Orleans, I got hooked. I poured over cookbooks, experimented endlessly, and let me tell you, perfecting these Starbucks blueberry scones became one of my first big wins. It’s a recipe that truly bridges the gap between a simple craving and a truly impressive bakery-style treat that can grace any brunch table.
- Why You'll Love These Starbucks Blueberry Scones
- Gathering Your Ingredients for Starbucks Blueberry Scones
- Mastering the Cold Butter Technique for Starbucks Blueberry Scones
- How to Prepare Your Starbucks Blueberry Scones
- Tips for Success with Your Copycat Scones
- Serving and Storing Your Starbucks Blueberry Scones
- Frequently Asked Questions about Starbucks Blueberry Scones
- Nutritional Information
- Share Your Bakery Style Scones Creation
Why You’ll Love These Starbucks Blueberry Scones
Seriously, get ready to fall in love with these scones! They’re honestly a game-changer for your morning routine or any brunch spread.
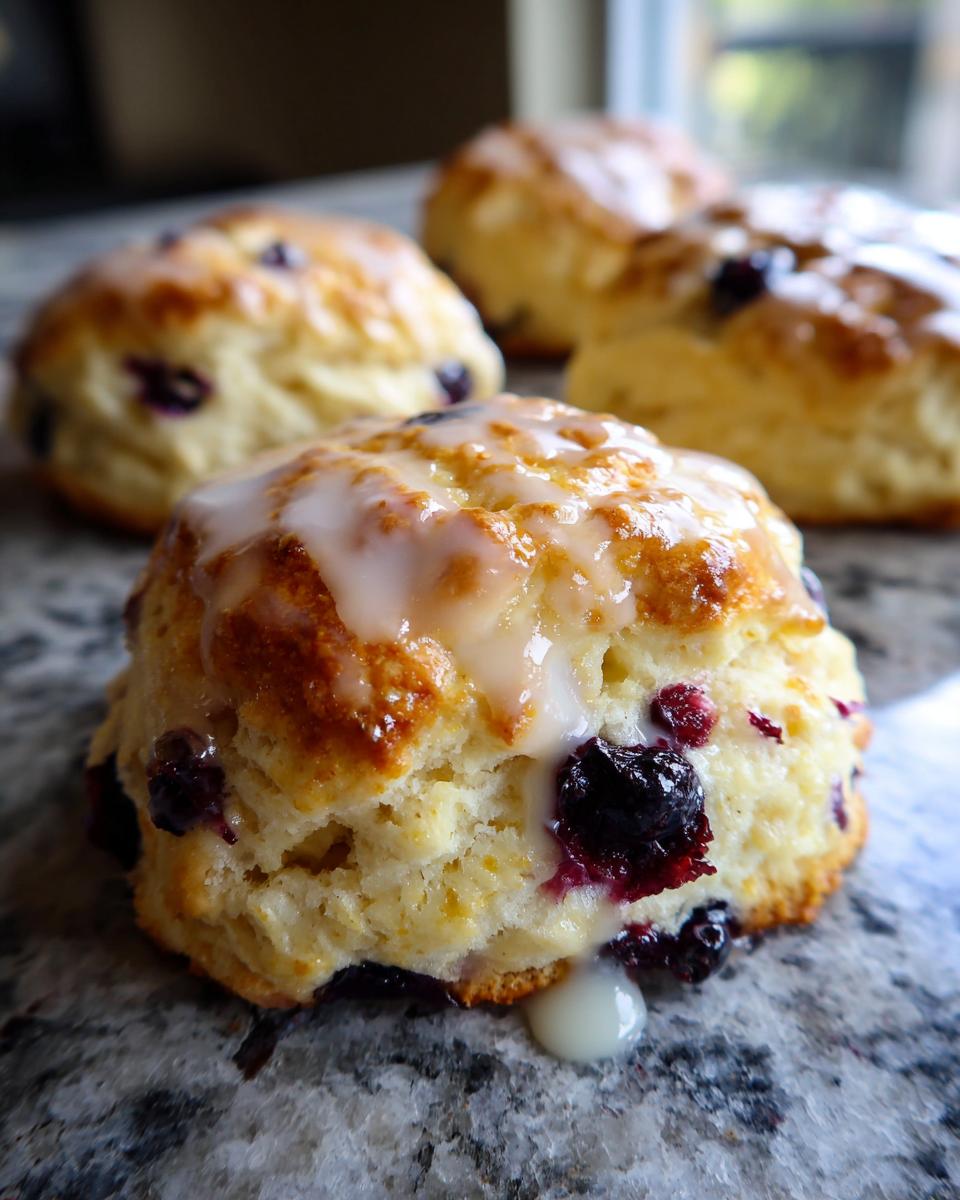
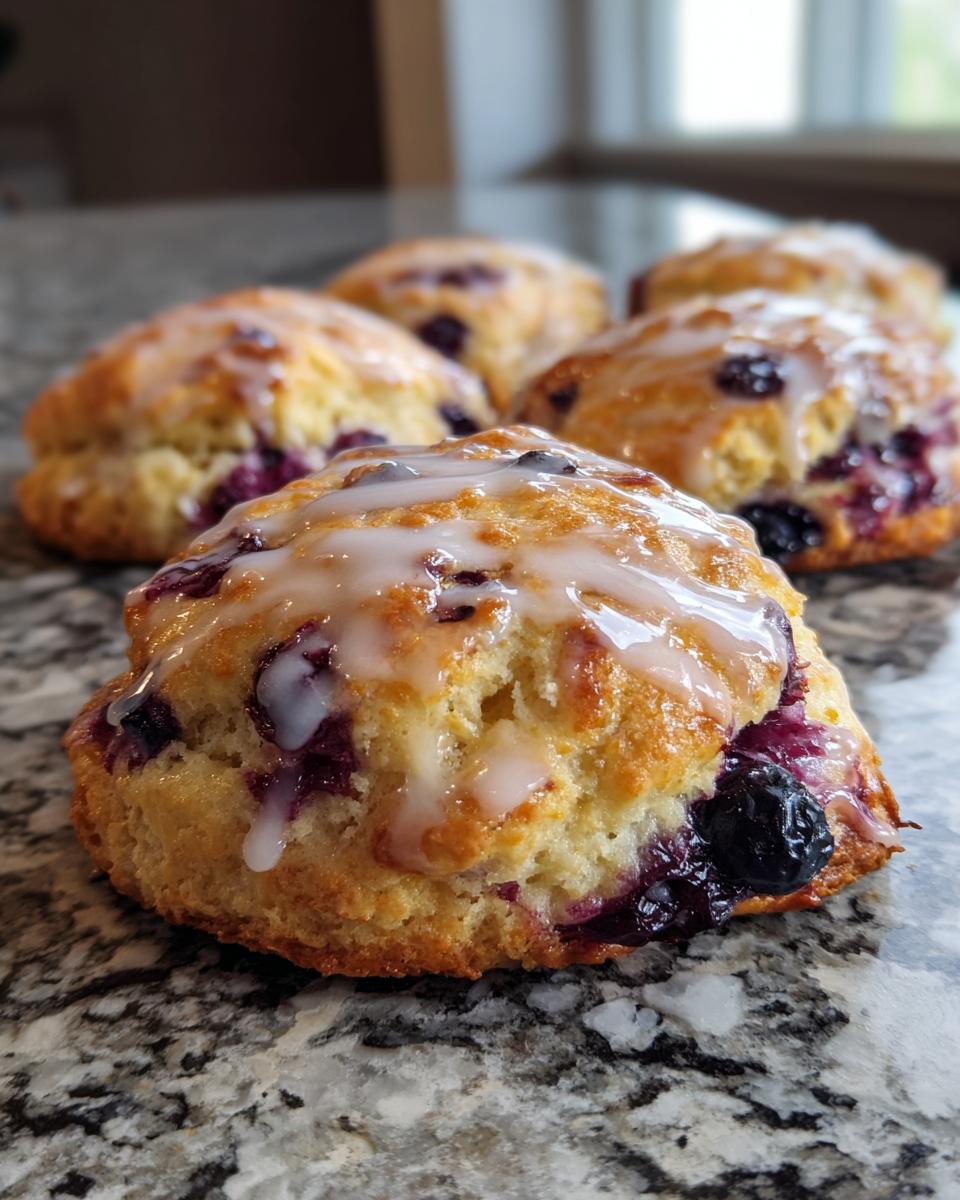
- Bakery-Style Perfection: We’re talking that lovely tall, golden-brown look with a slightly crackly top, just like you’d grab from your favorite coffee shop.
- Tender, Crumbly Goodness: My technique gives you that melt-in-your-mouth texture that’s never dry or tough. It’s pure scone bliss!
- Sweet & Tangy Glaze: That bright lemon glaze is the perfect counterpoint to the sweet blueberries. It’s a flavor combo that just sings.
- Super Easy to Make: Even if you’re new to baking, these are shockingly simple. We’re talking minimal fuss for maximum deliciousness. Perfect for breakfast baking or any brunch treat!
Gathering Your Ingredients for Starbucks Blueberry Scones
Alright, let’s get our mise en place ready! To get those Starbucks blueberry scones just right, we need a few key players. Think of them as the foundation for your masterpiece. Here’s what you’ll need to round up:
- 2 cups all-purpose flour – your standard baker’s friend.
- 1/2 cup granulated sugar – for that touch of sweetness.
- 2 1/2 teaspoons baking powder – our secret weapon for lift!
- 1/4 teaspoon salt – just a pinch to balance it all out.
- 1/2 cup (that’s one stick!) of super cold unsalted butter, cut into little cubes. Seriously, do not skip the ‘cold’ part here!
- 1 cup of blueberries – fresh or frozen works, but keep them frozen if that’s what you’re using!
- 1/2 cup heavy cream – this is what brings richness.
- 1 large egg – to bind everything together.
- 1 teaspoon vanilla extract – a little flavor booster.
And for that dreamy topping:
- 1 cup powdered sugar – sifted for smoothness!
- 2-3 tablespoons fresh lemon juice – this gives it that zesty kick.
Now, about that butter. Using it ice-cold is honestly the *most* important thing for flaky scones. It creates those little pockets of steam as they bake, giving you that amazing crumbly texture we’re all after. So, make sure your butter is really, really cold when you start!
Mastering the Cold Butter Technique for Starbucks Blueberry Scones
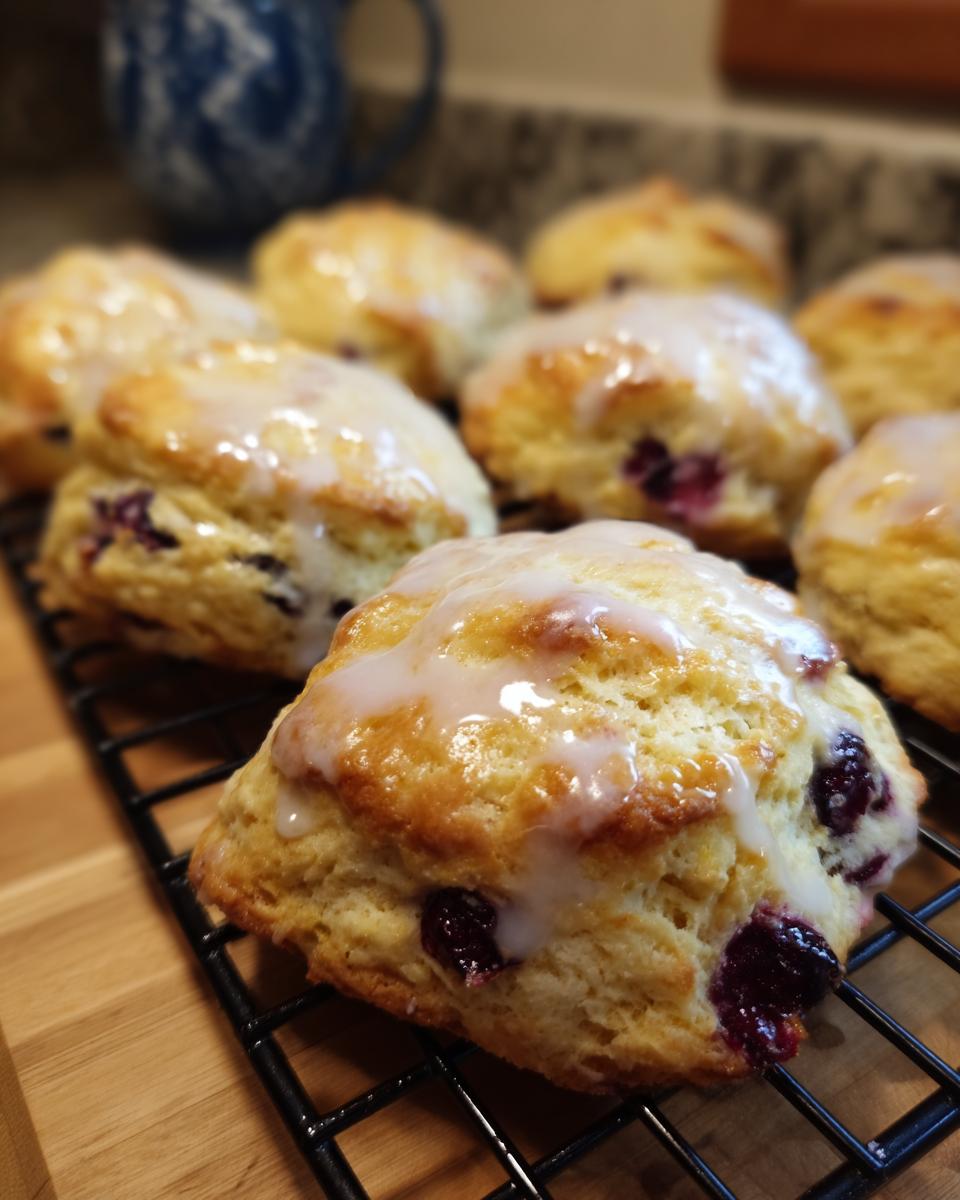
Okay, listen up, because this is where the real magic happens for our Starbucks blueberry scones. It’s all about the cold butter technique! I know, I know, it sounds fancy, but trust me, it’s totally doable and makes *all* the difference. It’s the secret sauce to getting that perfect, tender crumble and those lovely flaky layers.
Here’s the deal: Grab your super-chilled butter cubes and toss them into your dry ingredients – that flour, sugar, baking powder, and salt mixture you’ve already whisked together. Now, you want to cut that butter in. You can use a pastry blender, two knives, or even just your fingertips if you’re quick! Work fast so the butter doesn’t warm up too much. You’re aiming for something that looks like coarse crumbs, with some bits still about the size of small peas. Those little buttery nuggets are going to melt in the oven and create steam, which makes the dough puff up and separate into flaky layers. It’s science, but it tastes like heaven!
My personal super-tip? Keep an extra bowl of ice water nearby. If your hands get too warm, just dunk them in the ice water for a second before diving back into the butter. It sounds silly, but it seriously helps keep everything cold and prevents that butter from melting into the flour. This one step transforms a good scone into an absolutely *amazing* Starbucks blueberry scone.
How to Prepare Your Starbucks Blueberry Scones
Alright, let’s get these amazing Starbucks blueberry scones into the oven! It’s pretty straightforward, and I promise, the results will have you feeling like a total pro. First things first, go ahead and preheat your oven to 400°F (that’s 200°C for my friends with the fancy ovens!). Then, get a baking sheet ready and line it with parchment paper. This just makes cleanup a breeze, which is always a win in my book. Now, let’s talk dough:
In your big mixing bowl, give your dry ingredients – that flour, sugar, baking powder, and salt you prepped earlier – a good whisk. Then, gently fold in those beautiful blueberries. Next, pour in your wet ingredients – the cream, egg, and vanilla – and do your very best not to overmix! Just stir until everything is *barely* combined. We want a tender crumb, not a tough one, remember? This makes them perfect for breakfast baking days!
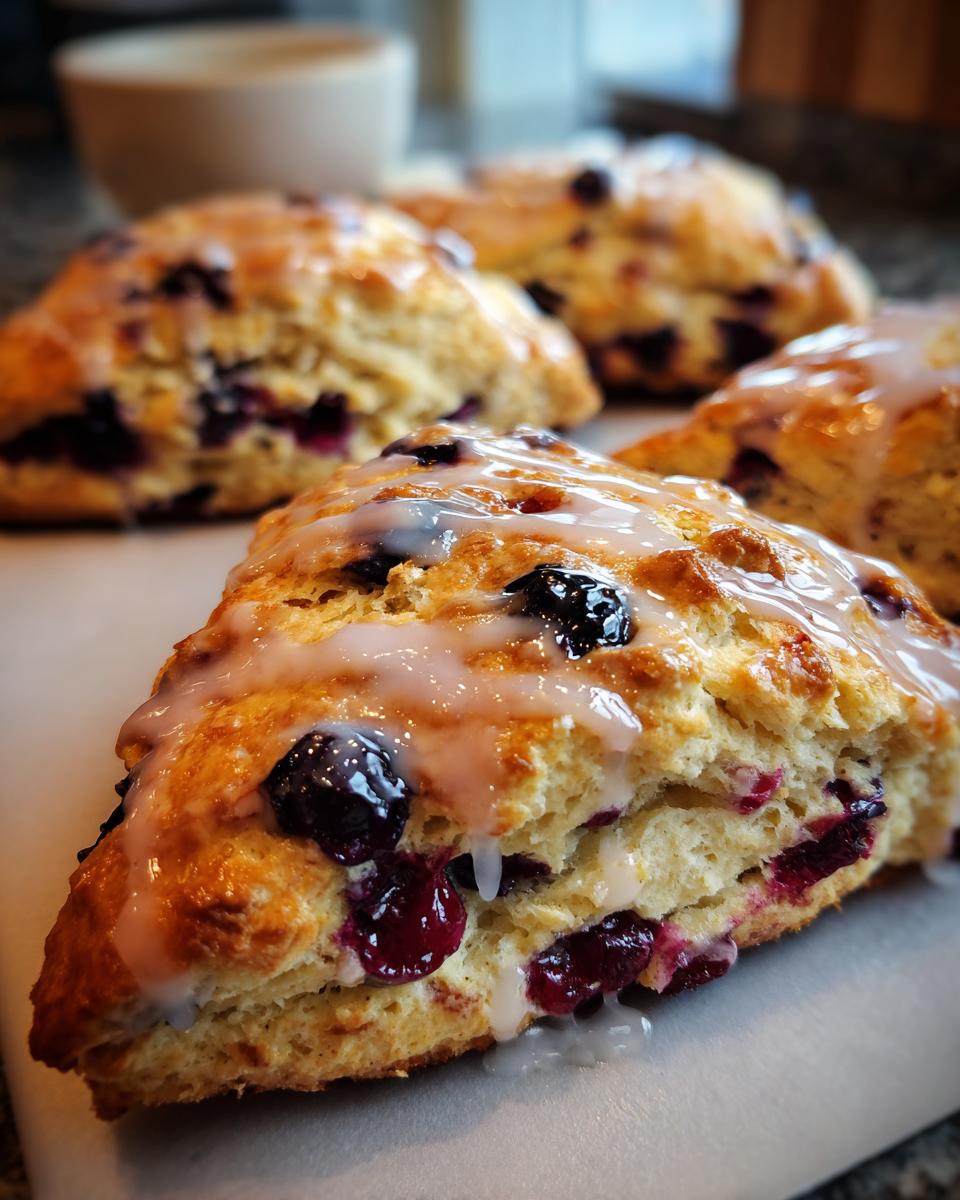
Turn that shaggy dough out onto a lightly floured surface. Gently pat it down into a circle that’s about 3/4 of an inch thick. It doesn’t need to be perfect! Then, using a sharp knife or a bench scraper, cut that circle into 8 equal wedges, like you’re slicing a big pizza. For that extra height we’re aiming for, arrange these wedges on your prepared baking sheet so they’re snuggled up close to each other. It helps them rise up instead of out!
Shaping and Chilling Your Triangle Scones
So, you’ve got your dough patted into a nice circle and cut into those classic triangle scones. Now for a little secret: chilling! Pop that baking sheet with all those wedges into the freezer for about 15 minutes. This is a game-changer for getting that bakery-style height we love. It helps the butter stay super cold, which means a better rise and a really lovely, flaky texture. Plus, it helps them keep their shape beautifully while they bake.
Baking Your Bakery Style Scones to Perfection
Once they’ve had their little freezer spa day, it’s time to bake! Pop those chilled scones into your preheated 400°F oven. Bake them for about 15 to 20 minutes. You’re looking for them to be beautifully golden brown on top and cooked all the way through. A little trick I use is to gently press the top – if it springs back a bit, you’re usually good to go! They should smell amazing.
Creating the Perfect Lemon Glaze for Your Starbucks Blueberry Scones
While those gorgeous scones are baking, let’s whip up that irresistible lemon glaze. It’s so simple! In a small bowl, just whisk together your sifted powdered sugar and a couple of tablespoons of fresh lemon juice. Keep whisking until it’s smooth and has a nice, relatively thick drizzling consistency. If it seems too thick, add a tiny bit more lemon juice, just a teaspoon at a time, until it’s perfect. Or, if it’s too thin, a little more powdered sugar will do the trick. It’s a flavor combo that just sings!
Tips for Success with Your Copycat Scones
Okay, let’s chat about making these Starbucks blueberry scones absolutely perfect every single time! It’s not complicated, but a few little tricks make a world of difference. My journey getting here involved countless batches (and a LOT of taste-testing!), so I’ve definitely picked up a few things that I think you’ll find super helpful. It’s all about keeping things cool, mixing gently, and treating that dough with a little bit of love. For more on my baking journey and philosophy, check out my about page!
First, that cold butter technique we talked about? It’s non-negotiable for flaky, tender scones. Keep your butter, cream, and even your egg chilled! If your kitchen runs warm, popping the butter and flour mixture into the fridge for 10-15 minutes before adding the wet ingredients can be a lifesaver. Also, resist the urge to overmix the dough. Mix just until everything is combined – a few streaks of flour are actually okay! Overmixing develops the gluten too much, leading to tough scones, and we definitely don’t want that. Trust me, a gentle hand yields the best results for that crumbly texture.
And for the glaze, don’t be afraid to play around! While lemon is divine, a splash of fresh orange juice or even just milk can change the flavor profile beautifully. It’s like giving yourself a whole new scone experience!
Serving and Storing Your Starbucks Blueberry Scones
Alright, your beautiful bakery-style Starbucks blueberry scones are out of the oven, cooled slightly, and drizzled with that tangy lemon glaze. The best way to enjoy them is while they’re still a little warm – that’s when the crumb is most tender and the glaze is just starting to set. They’re fantastic on their own, but if you’re feeling extra, a small dollop of lightly sweetened whipped cream or clotted cream is heavenly. They’re perfect for those weekend brunches!
Now, if by some miracle you have any leftovers (highly unlikely in my house!), storing them is easy. Once they’ve cooled completely, tuck them into an airtight container at room temperature. They should stay nicely moist and delicious for about 2-3 days. If you want them to taste like they just came out of the oven, a quick 10-15 seconds in the microwave or a few minutes in a warm oven will revive them beautifully. Just remember, the glaze might get a little sticky, but that’s never a bad thing!
Frequently Asked Questions about Starbucks Blueberry Scones
Got questions about making these fabulous Starbucks blueberry scones? I totally get it! Baking’s a science, but it’s also an art, and sometimes you just need a little nudge. From ingredient swaps to getting that perfect height, I’ve tried to think of everything that might pop into your mind. If you still have burning questions after this, feel free to hit up my contact page!
Can I use different fruit in these scones?
Absolutely! While blueberries are classic, these scones are wonderfully adaptable. Try raspberries, chopped strawberries, or even a mix of berries. Just be gentle when you add them to the dough to avoid extra color bleeding. I’ve even experimented with chopped apples and a dash more cinnamon for a fall twist on these copycat scones!
How do I get my scones to be taller and more bakery-style?
Two big secrets here! First, make sure your butter is super cold and you don’t overwork the dough – that keeps the structure light. Second, the freezing step! Chilling the cut wedges in the freezer for about 15 minutes before baking makes a huge difference. It helps them hold their shape and rise upward instead of spreading out. Placing them close together on the baking sheet also encourages them to bake upwards!
My scones turned out tough. What did I do wrong?
Oh, that’s usually from overmixing the dough. Once you add the liquid to the dry ingredients, just mix until it’s *barely* combined. A few flour streaks are totally fine! Overmixing develops the gluten too much, which gives you that tough texture instead of the lovely crumbly texture we want. Also, make sure your baking powder is fresh!
Can I substitute the lemon glaze?
You sure can! The lemon glaze is delicious, but feel free to get creative. A simple vanilla glaze works great, or you could try a splash of orange juice or even milk with powdered sugar for a different citrus note. For a richer flavor, a bit of melted butter stirred into the powdered sugar and milk mixture is divine.
Do I need to add the blueberries before or after the wet ingredients?
It’s best to gently stir the blueberries into the dry ingredients before adding the wet ingredients. This helps coat the berries in a little flour, which can prevent them from sinking to the bottom of the scones. Just be gentle so you don’t crush them!
Nutritional Information
Please keep in mind that the nutritional values below are estimates, as they can vary slightly depending on the specific ingredients you use and the exact size of your scones. This recipe is perfect for a delightful breakfast treat!
- Serving Size: 1 scone
- Calories: 350
- Sugar: 25g
- Sodium: 200mg
- Fat: 18g
- Saturated Fat: 11g
- Unsaturated Fat: 7g
- Trans Fat: 0g
- Carbohydrates: 45g
- Fiber: 2g
- Protein: 4g
- Cholesterol: 60mg
Share Your Bakery Style Scones Creation
Alright, you’ve baked them, you’ve glazed them, and I bet they look absolutely stunning! I’d be thrilled to see your creations. Did they turn out perfectly golden with that amazing crumb? Share your beautiful Starbucks blueberry scones with us on social media and tag us – we absolutely love seeing your baking adventures! And if you have a moment, leaving a quick rating or review on the recipe really helps other home bakers discover this little slice of heaven. You can find more of my baking inspiration here!
PrintStarbucks Blueberry Scones (Copycat)

Make bakery-style blueberry scones at home with a tender crumb and sweet lemon glaze, just like Starbucks.
- Prep Time: 20 min
- Cook Time: 20 min
- Total Time: 40 min
- Yield: 8 scones 1x
- Category: Breakfast
- Method: Baking
- Cuisine: American
- Diet: Vegetarian
Ingredients
- 2 cups all-purpose flour
- 1/2 cup granulated sugar
- 2 1/2 teaspoons baking powder
- 1/4 teaspoon salt
- 1/2 cup (1 stick) cold unsalted butter, cut into cubes
- 1 cup fresh or frozen blueberries
- 1/2 cup heavy cream
- 1 large egg
- 1 teaspoon vanilla extract
- For the Glaze:
- 1 cup powdered sugar
- 2–3 tablespoons fresh lemon juice
Instructions
- Preheat your oven to 400°F (200°C). Line a baking sheet with parchment paper.
- In a large bowl, whisk together the flour, sugar, baking powder, and salt.
- Cut the cold butter into the flour mixture using a pastry blender or your fingertips until the mixture resembles coarse crumbs with some pea-sized pieces of butter.
- Gently stir in the blueberries.
- In a separate small bowl, whisk together the heavy cream, egg, and vanilla extract.
- Pour the wet ingredients into the dry ingredients and mix until just combined. Do not overmix.
- Turn the dough out onto a lightly floured surface and gently pat it into a 3/4-inch thick circle.
- Cut the circle into 8 wedges.
- Place the wedges on the prepared baking sheet. For extra height, you can place the wedges close together.
- For best results, chill the scones in the freezer for 15 minutes before baking.
- Bake for 15-20 minutes, or until golden brown and cooked through.
- While the scones are baking, prepare the glaze by whisking together the powdered sugar and lemon juice until smooth. Add more lemon juice if needed to reach desired consistency.
- Let the scones cool slightly on a wire rack, then drizzle with the lemon glaze.
Notes
- Using very cold butter is key to creating flaky scones.
- Avoid overmixing the dough, as this can result in tough scones.
- Freezing the scones before baking helps them hold their shape and rise higher.
- You can substitute frozen blueberries, but do not thaw them before adding to the dough.
- For a different flavor, try orange juice or milk in the glaze.
Nutrition
- Serving Size: 1 scone
- Calories: 350
- Sugar: 25g
- Sodium: 200mg
- Fat: 18g
- Saturated Fat: 11g
- Unsaturated Fat: 7g
- Trans Fat: 0g
- Carbohydrates: 45g
- Fiber: 2g
- Protein: 4g
- Cholesterol: 60mg