
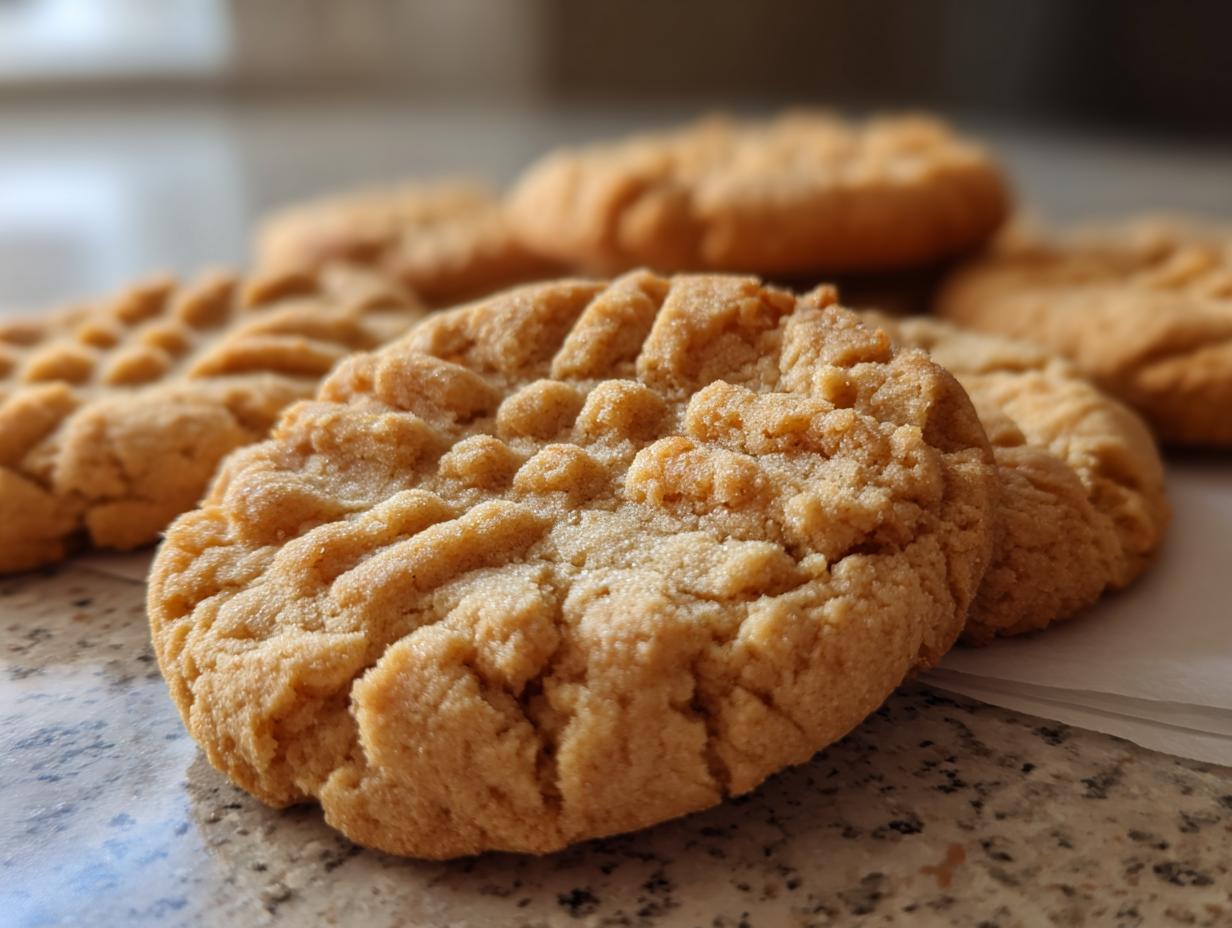

Oh, peanut butter cookies! Seriously, is there anything more comforting and totally nostalgic than a classic peanut butter cookie? I swear, the smell alone takes me back to my grandma’s kitchen, waiting impatiently for the cooling rack to do its job. This isn’t just any recipe, though. This is *the* one for getting those perfectly soft and chewy centers with those iconic crisscross fork marks, all without needing to chill the dough first. Trust me, pulling these out of the oven with simple pantry ingredients is pure magic. I remember sneaking dough when I was little (oops!), and now my own kids do the same. It’s the best way to whip up some quick, amazing peanut butter cookies anytime!
- Why You'll Love These Classic Peanut Butter Cookies
- Gather Your Pantry Ingredients for Perfect Peanut Butter Cookies
- Step-by-Step Guide to Making Peanut Butter Cookies
- Tips for Peanut Butter Cookie Success
- Storage and Make-Ahead for Your Peanut Butter Cookies
- Frequently Asked Questions About Peanut Butter Cookies
- Estimated Nutritional Information for Peanut Butter Cookies
- Share Your Peanut Butter Cookie Creations!
Why You'll Love These Classic Peanut Butter Cookies
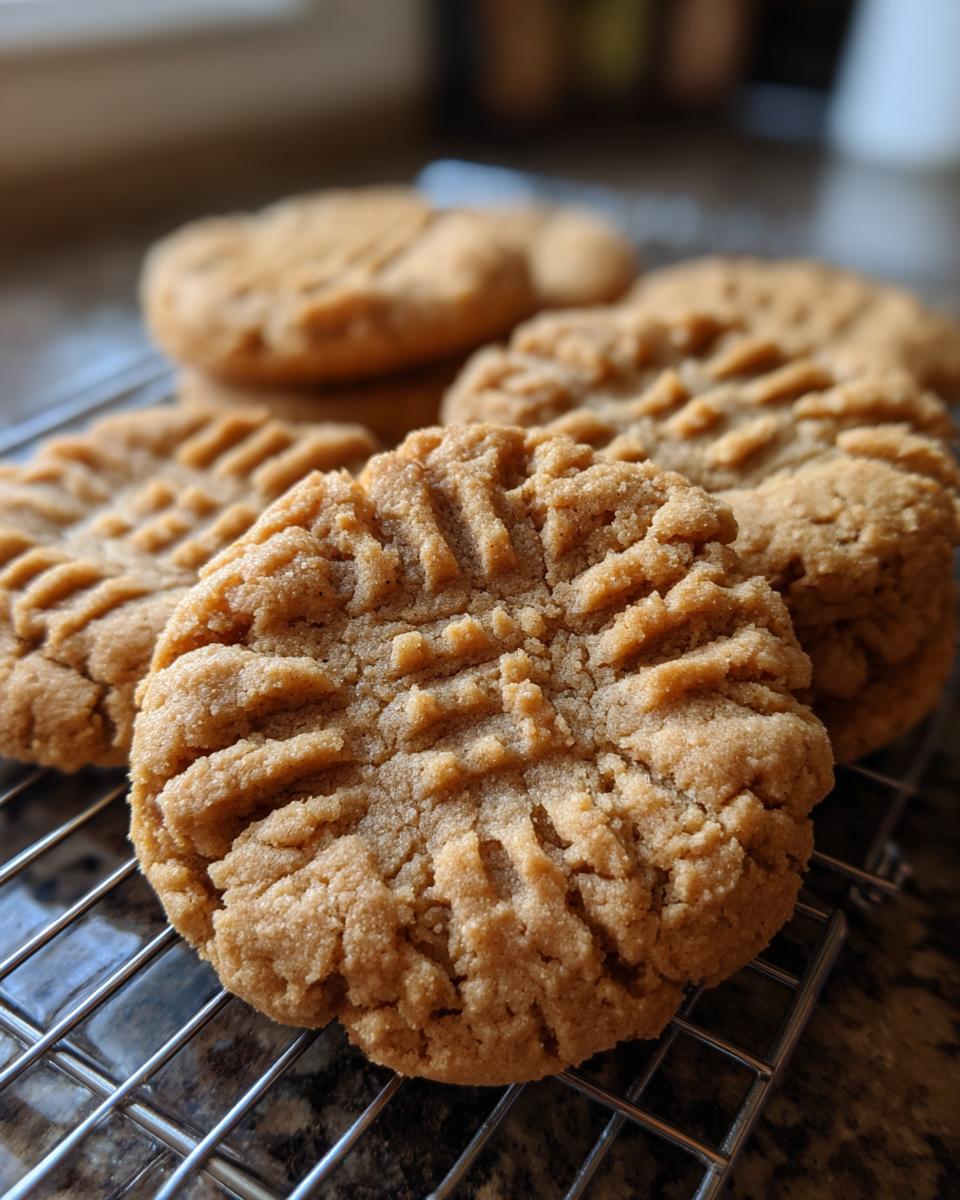
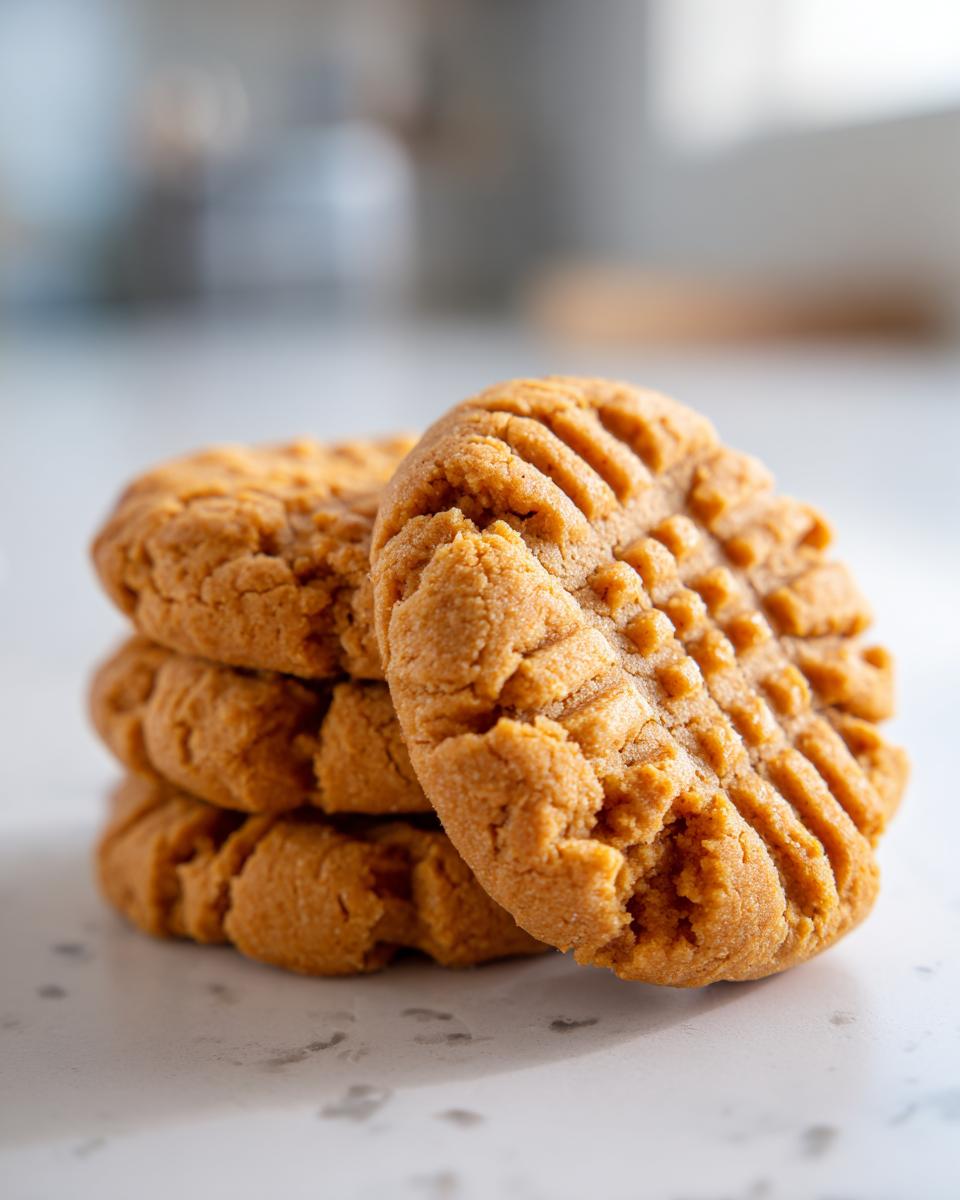
Honestly, what’s not to love about these peanut butter cookies? They’re ridiculously easy, which means less stress and more cookie-eating time. Plus, the best part? No chilling required! You can mix them up and have warm, fragrant cookies on a baking sheet in practically no time. We’re talking soft, chewy centers with those signature little fork marks that just scream homemade goodness. They’re perfect for stirring up some after-school joy, wrapping up as sweet cookie gift ideas, or just making a regular Tuesday feel a little bit special. Seriously, keep these in your cookie jar rotation!
Gather Your Pantry Ingredients for Perfect Peanut Butter Cookies
Alright, let’s talk about what you’ll need to round up for these amazing peanut butter cookies! The beauty of this recipe is that you probably have most of it already sitting in your pantry. We’re talking simple stuff that comes together like a dream. Make sure your butter is nicely softened – you know, soft enough that you can easily press your finger into it, but not melted or greasy. That’s key for getting that creamy base!
Here’s the lineup:
- 1 cup (that’s two sticks!) of unsalted butter, softened
- 1 cup of creamy peanut butter – use your favorite kind!
- 1 cup of granulated sugar
- 1 cup of packed light brown sugar (that packed part really matters for moisture!)
- 2 large eggs
- 2 teaspoons of vanilla extract
- 3 cups of all-purpose flour
- 1 teaspoon of baking soda
- 1/2 teaspoon of salt
Having everything at the right temperature, especially that butter, makes all the difference. It’s like giving your cookies a great head start!
Step-by-Step Guide to Making Peanut Butter Cookies
Alright, let’s get these peanut butter cookies into the oven! It’s actually super simple, and I promise it’ll all make sense as we go. First things first, make sure you’ve got your oven preheated to 375°F (190°C). And grab some parchment paper for your baking sheets – it makes cleanup a breeze and helps prevent sticking way better than just greasing them.
Creaming the Butter and Peanut Butter
Okay, for the best texture, we do things old school here. In a nice big bowl, get that softened butter and your creamy peanut butter together. You want to beat them until they are just perfectly smooth and creamy. Don’t rush this bit! This is a big part of what makes our cookies so wonderfully soft and, well, peanut buttery!
Adding Sugars and Wet Ingredients
Now, pour in both the granulated sugar and that lovely packed brown sugar. Keep beating away until the mixture looks all light and fluffy, almost like whipped honey. Then, crack in your two eggs, one at a time, making sure each one is mixed in before you add the next. Finish it off with a splash of that yummy vanilla extract. It really brings out all those amazing flavors.
Combining Dry and Wet Mixtures
In a totally separate bowl, just give your flour, baking soda, and salt a quick whisk together. This helps make sure everything is evenly distributed. Now, here’s a little trick: add your dry stuff to the wet stuff in stages, mixing just until it’s combined. Seriously, don’t go overboard here! Overmixing is the enemy of soft cookies; we just want it to come together, even if there are tiny streaks of flour left. We’re not making bricks!
Forming and Decorating the Peanut Butter Cookies
Time to get your hands (slightly) dirty! Roll the dough into little balls, about an inch across. If you have a cookie scoop, now’s the perfect time to use it to get them all the same size – it really helps them bake evenly. Pop these dough balls onto your prepared baking sheets, leaving a couple of inches between them because they will spread a bit. Now for the fun part: grab a fork and gently press down on each cookie, first one way, then the other, to make those classic crisscross marks. It’s totally okay if they look a little rustic!
Baking Time Tips for Soft and Chewy Results
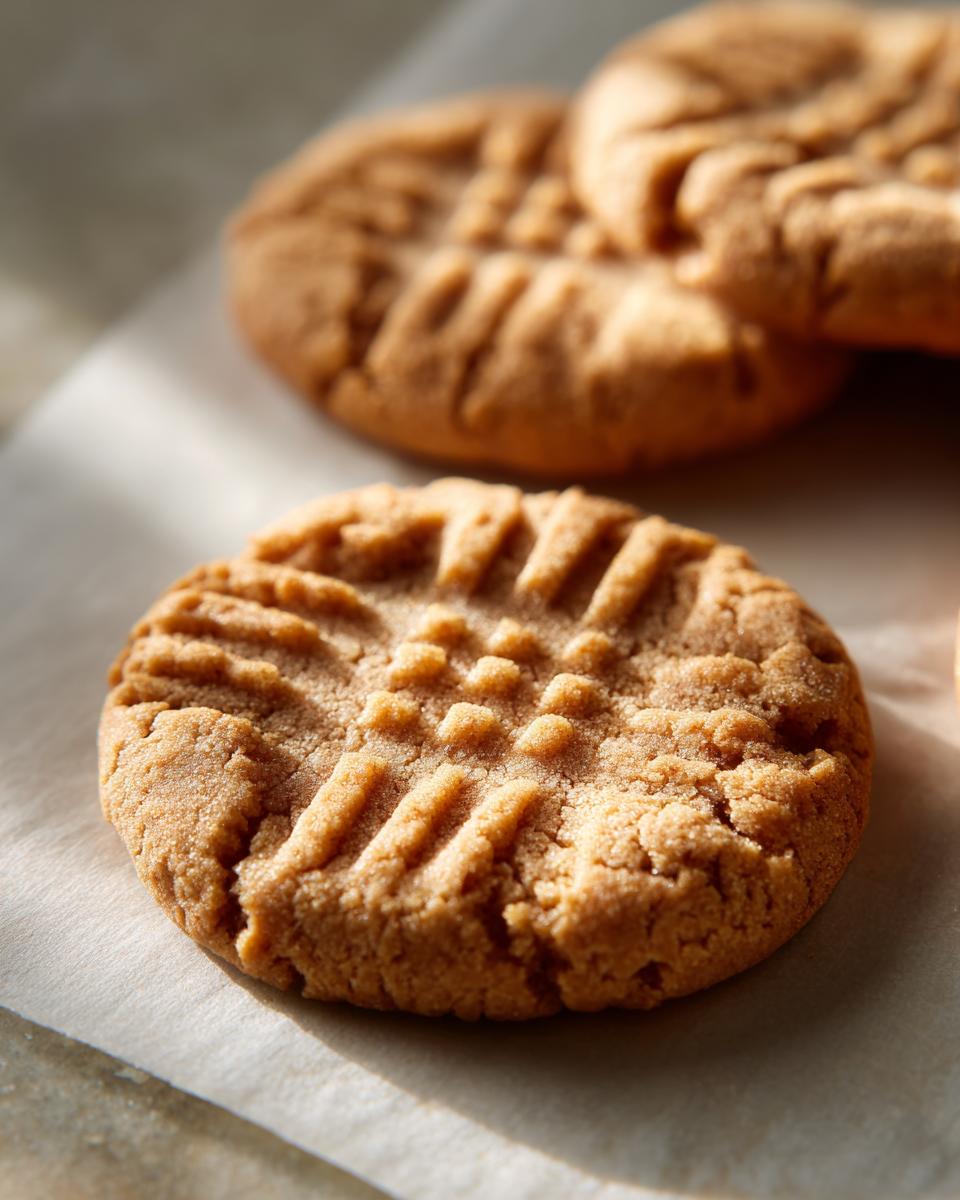
Pop those beauties into the oven for about 9 to 11 minutes. You’re looking for the edges to be just lightly golden. The centers should still look pretty soft – that’s your signal they’re going to be wonderfully chewy. If you like them a bit firmer, you can nudge that bake time up by another minute or two, but I really, really love them when they’re still a little gooey in the middle. Let them hang out on the hot baking sheet for a few minutes after they come out of the oven; they’ll finish cooking there. Then, carefully move them to a wire rack to cool completely. Patience now, I know! You can check out this super simple version if you want another angle on it!
Tips for Peanut Butter Cookie Success
Okay, so we’ve mixed, we’ve rolled, we’ve pressed – now let’s talk about making sure these peanut butter cookies turn out *just right* every single time. It’s all about those little details!
First off, if you’re not using a cookie scoop, you’re missing out! Grab one, maybe a medium or small one depending on how big you like your cookies. It makes them all the same size, so they bake up evenly. No more cookies that are burnt on the edges and gooey in the middle because one was too big, right? It’s a game-changer!
Don’t be afraid to play with the baking time a little. That 9-11 minute window is a guideline. If you peek in and they look *too* soft, give them another minute or two. But remember, they’ll firm up as they cool on the sheet. I always aim for those centers to still look a touch underdone when I pull them out. That’s the secret to *truly* soft and chewy!
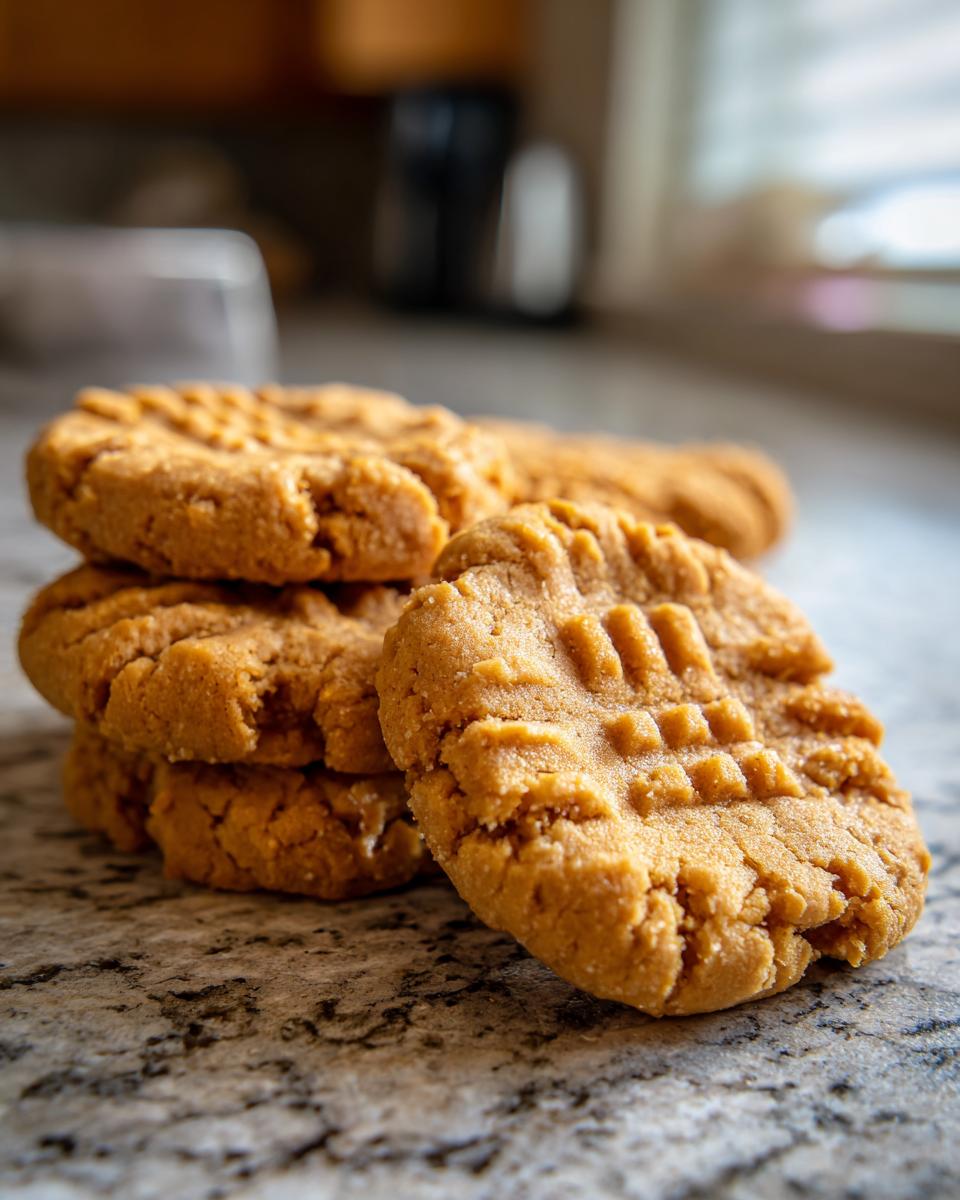
A super common mistake I see people make? Trying to bake them straight from the mixer without letting the oven come to full temp. Mine always say that perfectly preheated oven is non-negotiable for good cookies. Also, make sure your baking soda is fresh! Old baking soda won’t give you that little lift you need. Happy baking!
Storage and Make-Ahead for Your Peanut Butter Cookies
Now that you’ve got these amazing peanut butter cookies, let’s talk about keeping them fresh so you can enjoy them for days! The best way to store them is in an airtight container right on your counter. They’ll stay wonderfully soft and chewy for about 5 days. Seriously, they hold up so well! If you want to freeze them, you can totally do that! Just let them cool completely, then pop ’em in a freezer bag with some parchment paper in between layers. They’ll last in the freezer for about 2-3 months, just thaw them on the counter when you get a craving. And guess what? You can totally make the dough balls ahead of time, pop them on a baking sheet, freeze them until solid, then transfer them to a bag. Then, when the craving hits, just roll ’em in the fork marks and bake from frozen – just add a couple extra minutes to the baking time!
Frequently Asked Questions About Peanut Butter Cookies
Got questions about making these perfect peanut butter cookies? I totally get it! Baking is all about the details, and sometimes you just need a little extra guidance.
Can I use crunchy peanut butter for these cookies?
You sure can! Using crunchy peanut butter will give your cookies a bit more texture from those peanut pieces. The flavor will still be amazing, just expect a slightly different mouthfeel. It’s a delicious variation if you love that extra crunch!
Do I really need to chill the peanut butter cookie dough?
Nope, not for this recipe! That’s one of the best parts about these classic peanut butter cookies. They’re designed to be quick and easy, so you can mix them up, form the balls, press with the fork, and get them straight into the oven. No waiting around for dough chilling, woohoo!
How do I get perfect crisscross fork marks?
Getting those signature marks is super easy! After you’ve rolled your dough into balls and placed them on the baking sheet, just take a regular dinner fork and gently press down on the top of the cookie, going one direction. Then, press again in the opposite direction, making that classic crisscross. To make it even easier and prevent sticking, you can lightly grease the fork with a little bit of cooking spray or dip it in a tiny bit of the softened butter before pressing!
Estimated Nutritional Information for Peanut Butter Cookies
Just a heads-up, the nutrition info for these yummy peanut butter cookies is based on about 1 cookie. Remember, numbers can shift around a little depending on exactly what kind of peanut butter or butter you use, or even how big you make those dough balls! But generally, you’re looking at around 150 calories, with about 8g of fat (3g of that’s saturated), 17g of carbs, 12g of sugar, and 1g of fiber per cookie. They also have about 3g of protein and a little bit of sodium.
Share Your Peanut Butter Cookie Creations!
Okay, you’ve made them, you’ve inhaled them (probably!), and now I want to see your gorgeous peanut butter cookies! Seriously, if you whip up a batch of these, please do share a photo! Tag me on social media or leave a comment below – I absolutely love seeing your kitchen creations. And if you really loved them, don’t forget to rate the recipe right here on the site! It’s super helpful for other bakers. If you have any questions at all, feel free to reach out via the contact page!
PrintClassic Peanut Butter Cookies
Make soft and chewy peanut butter cookies with iconic fork marks using pantry staples. This easy recipe is perfect for after-school treats or cookie gift ideas.
- Prep Time: 15 min
- Cook Time: 10 min
- Total Time: 25 min
- Yield: 36 cookies 1x
- Category: Dessert
- Method: Baking
- Cuisine: American
- Diet: Vegetarian
Ingredients
- 1 cup (2 sticks) unsalted butter, softened
- 1 cup creamy peanut butter
- 1 cup granulated sugar
- 1 cup packed light brown sugar
- 2 large eggs
- 2 teaspoons vanilla extract
- 3 cups all-purpose flour
- 1 teaspoon baking soda
- 1/2 teaspoon salt
Instructions
- Preheat your oven to 375°F (190°C). Line baking sheets with parchment paper.
- In a large bowl, cream together the softened butter and peanut butter until smooth.
- Add the granulated sugar and brown sugar to the butter mixture. Beat until light and fluffy.
- Beat in the eggs one at a time, then stir in the vanilla extract.
- In a separate bowl, whisk together the flour, baking soda, and salt.
- Gradually add the dry ingredients to the wet ingredients, mixing until just combined. Do not overmix.
- Roll the dough into 1-inch balls. Place them about 2 inches apart on the prepared baking sheets.
- Use a fork to press down on each cookie, creating a crisscross pattern.
- Bake for 9-11 minutes, or until the edges are lightly golden and the centers are still soft.
- Let the cookies cool on the baking sheets for a few minutes before transferring them to a wire rack to cool completely.
Notes
- For perfectly round cookies, use a cookie scoop.
- If you prefer a firmer cookie, bake for an additional 1-2 minutes.
- These cookies do not require chilling, making them a quick and easy bake.
- Store cooled cookies in an airtight container at room temperature for up to 5 days.
Nutrition
- Serving Size: 1 cookie
- Calories: 150
- Sugar: 12g
- Sodium: 50mg
- Fat: 8g
- Saturated Fat: 3g
- Unsaturated Fat: 5g
- Trans Fat: 0g
- Carbohydrates: 17g
- Fiber: 1g
- Protein: 3g
- Cholesterol: 20mg