
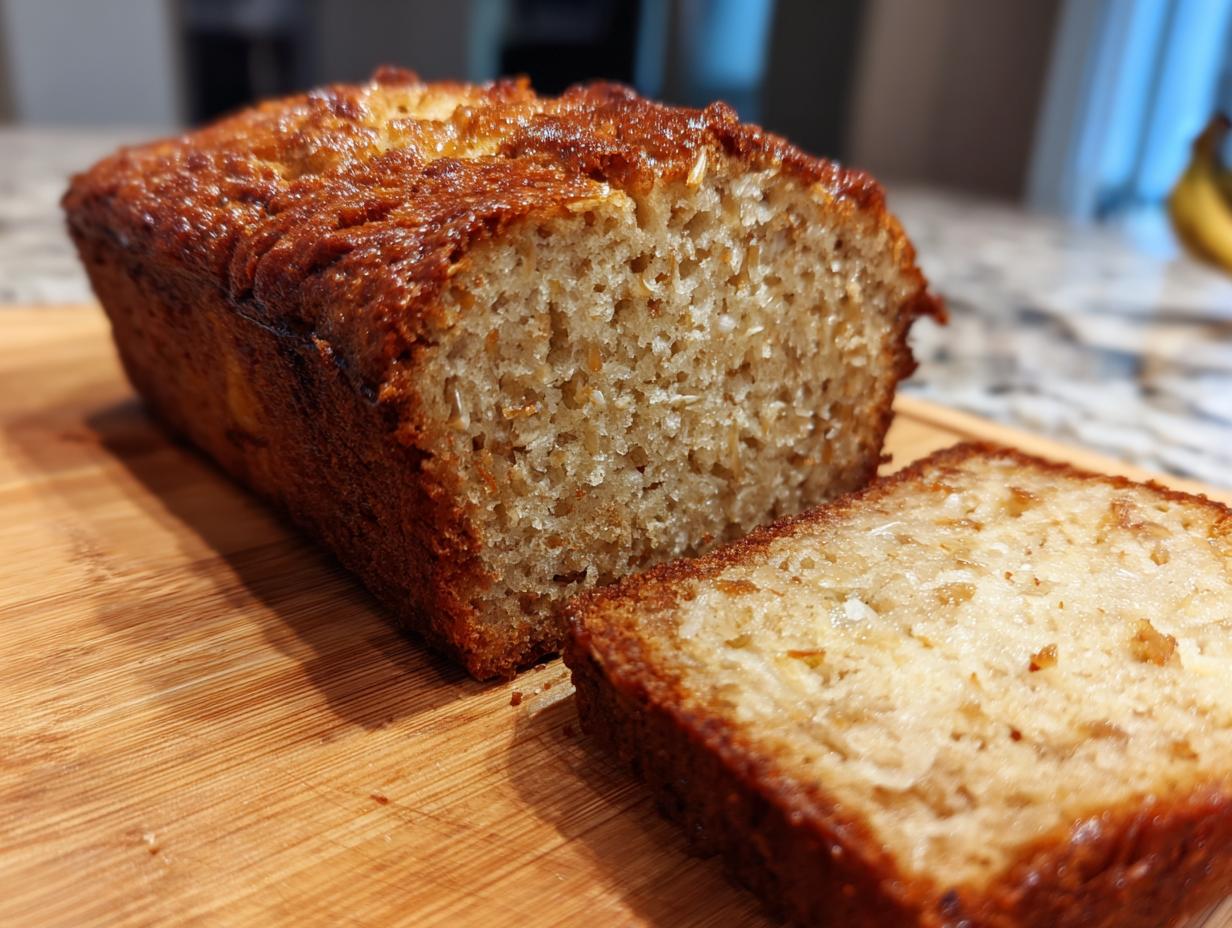

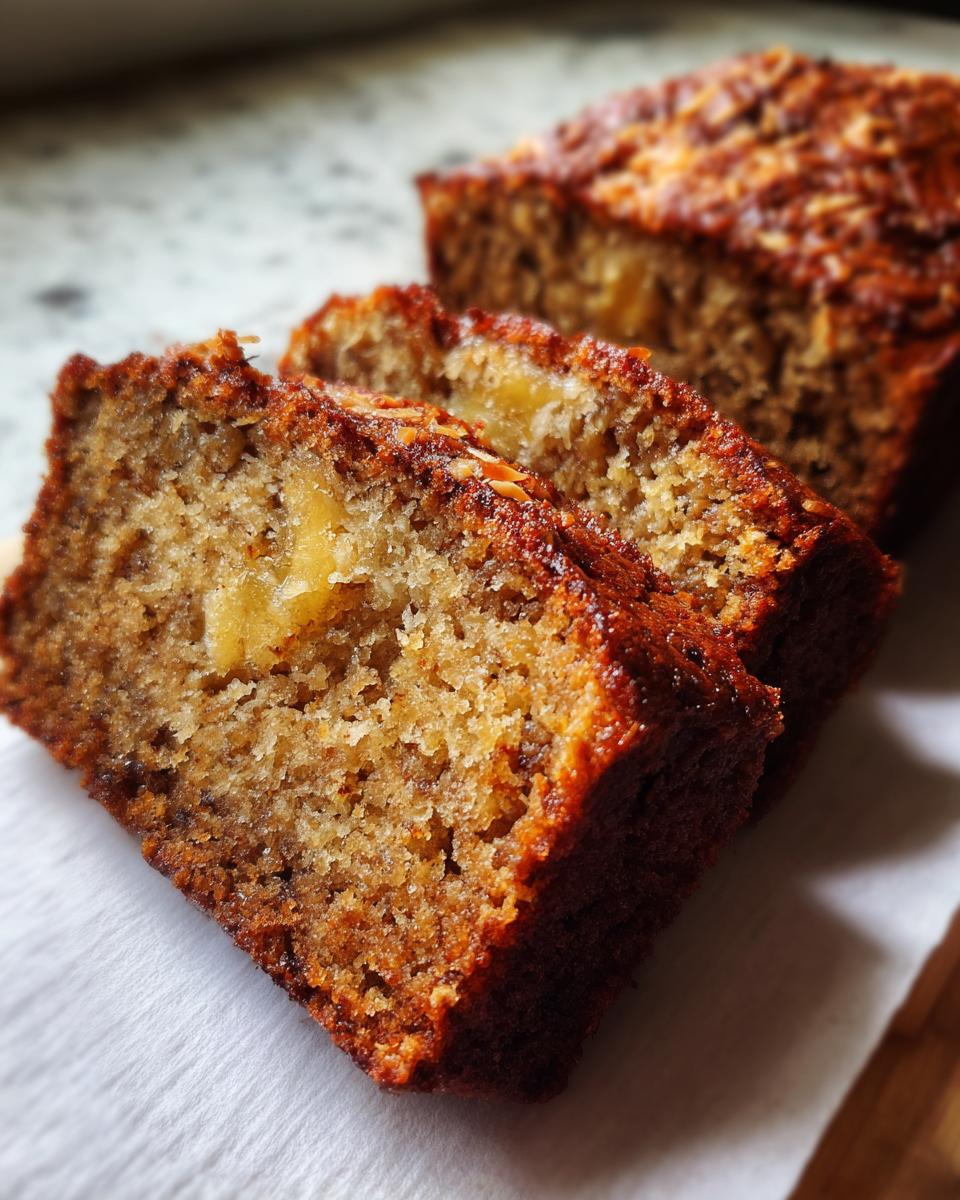
Oh, get ready for a trip to paradise with this *amazing* Hawaiian banana bread! Seriously, if you’re dreaming of sunshine and island breezes, this is the recipe for you. It’s got that perfect tropical punch with yummy coconut and sweet pineapple, and the best part? It bakes up so incredibly moist and sliceable, you’ll be hooked. I remember when I first started cooking, like Leo on Gourmet Gaze, it felt like a huge chore. But discovering simple, flavorful recipes like this one totally changed things for me. This Hawaiian banana bread is proof that fantastic food doesn’t have to be complicated – it’s pure joy in loaf form, seriously the best way to capture those island flavors right in your own kitchen!
- Why You'll Love This Hawaiian Banana Bread
- Ingredients for Authentic Hawaiian Banana Bread
- Crafting Your Perfect Hawaiian Banana Bread: Step-by-Step
- Making Gluten-Free Hawaiian Banana Bread
- Serving and Storing Your Tropical Quick Bread
- Frequently Asked Questions about Hawaiian Banana Bread
- Nutritional Estimate for Hawaiian Banana Bread
- Share Your Island Baking Creations
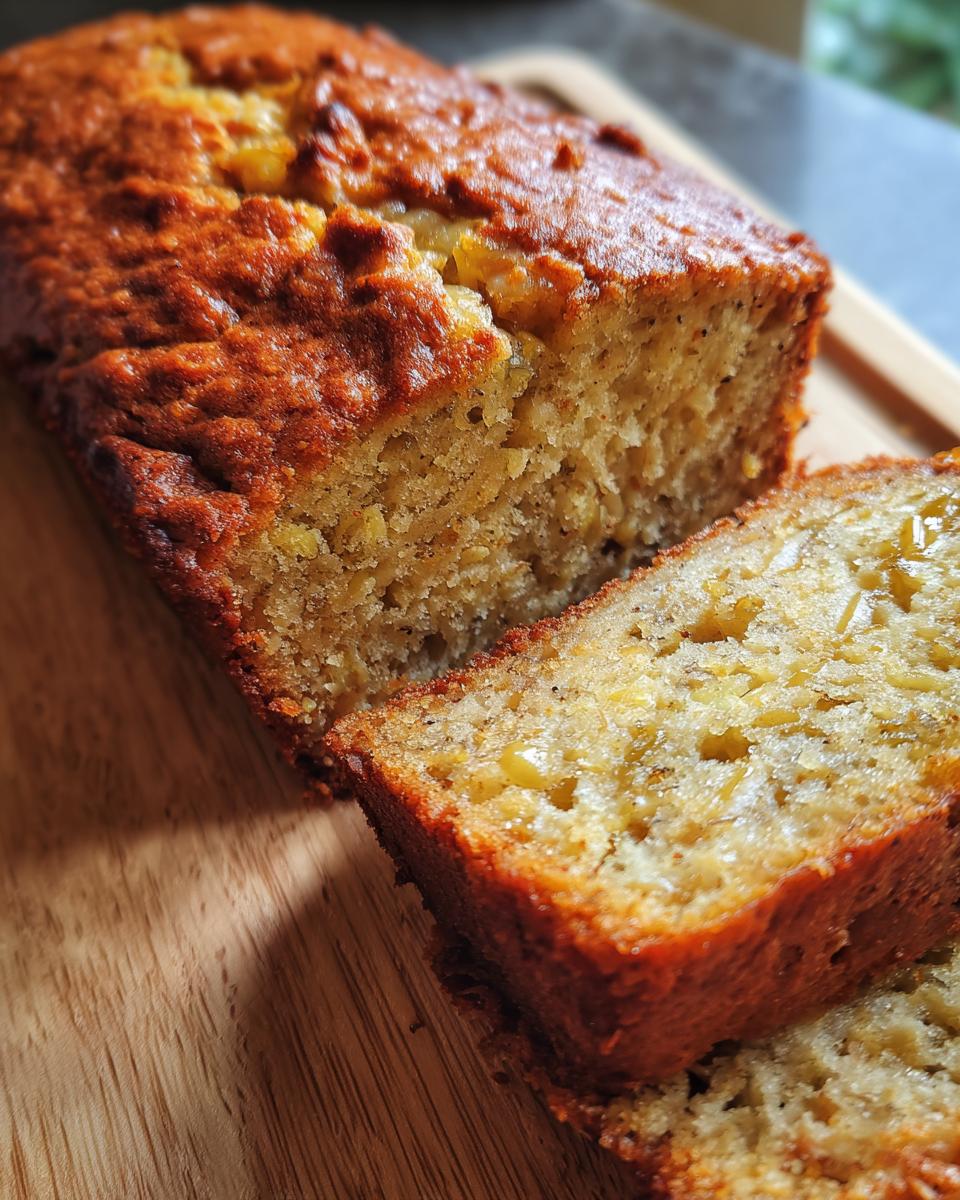
Why You’ll Love This Hawaiian Banana Bread
Trust me, this isn’t just any banana bread. It’s a ticket to the tropics in every bite! Here’s why you’ll be making this over and over:
- Unbelievably Moist: That special combo of ripe bananas, pineapple, and coconut makes for the most tender, moist banana loaf you’ve ever tasted.
- Packed with Tropical Flavor: Get ready for those sweet island vibes with chunks of pineapple and shredded coconut dancing with the creamy banana.
- So Easy to Make: This is truly and easy banana bread recipe. You just mix everything up in a few bowls – no fancy stuff required!
- Perfect for Any Occasion: Whether it’s breakfast, a snack, or part of a brunch spread, this bread is a guaranteed crowd-pleaser.
Ingredients for Authentic Hawaiian Banana Bread
Alright, let’s talk about what goes into making this fantastic Hawaiian banana bread truly special! It’s all about grabbing a few key things that bring those vibrant island flavors to life. Think of it like packing for a tropical getaway – you need the essentials!
- 1 cup all-purpose flour: Your basic building block for a beautiful crumb.
- 1 teaspoon baking soda: This is what gives our bread that lovely lift!
- 1/2 teaspoon salt: Just a pinch to wake up all those sweet and tropical flavors.
- 1/2 teaspoon ground cinnamon & 1/4 teaspoon ground nutmeg: These spices add that warm, familiar comfort that just *screams* homemade goodness.
- 1/2 cup unsalted butter, softened: Make sure your butter isn’t melted, just soft enough to cream. It makes a world of difference!
- 1 cup granulated sugar: For that perfect touch of sweetness.
- 2 large eggs: These bind everything together and give our bread structure.
- 1 teaspoon vanilla extract: A little splash of pure vanilla love goes a long way.
- 3 very ripe bananas, mashed: This is non-negotiable! We’ll chat more about *why* in just a sec.
- 1/2 cup crushed pineapple, drained: Get that tropical tang and extra moisture! Make sure to drain it well so our batter doesn’t get too wet.
- 1/2 cup shredded sweetened coconut: Hello, paradise! It adds texture and that unmistakable coconut flavor.
- 1/4 cup chopped macadamia nuts (optional): If you want to go full island mode, macadamia nuts are an absolute dream in this!
Ingredient Spotlight: Ripe Bananas
Seriously, don’t even think about using those perfectly yellow bananas for this Hawaiian banana bread. You want the ones that are practically black spotty – the riper, the better! Those dark spots are where all the natural sugars concentrate, meaning more intense banana flavor and way more moisture. It’s the secret to a perfectly sweet and tender loaf without needing a ton of extra sugar. So grab those spotty fellas and get ready for some serious banana magic!
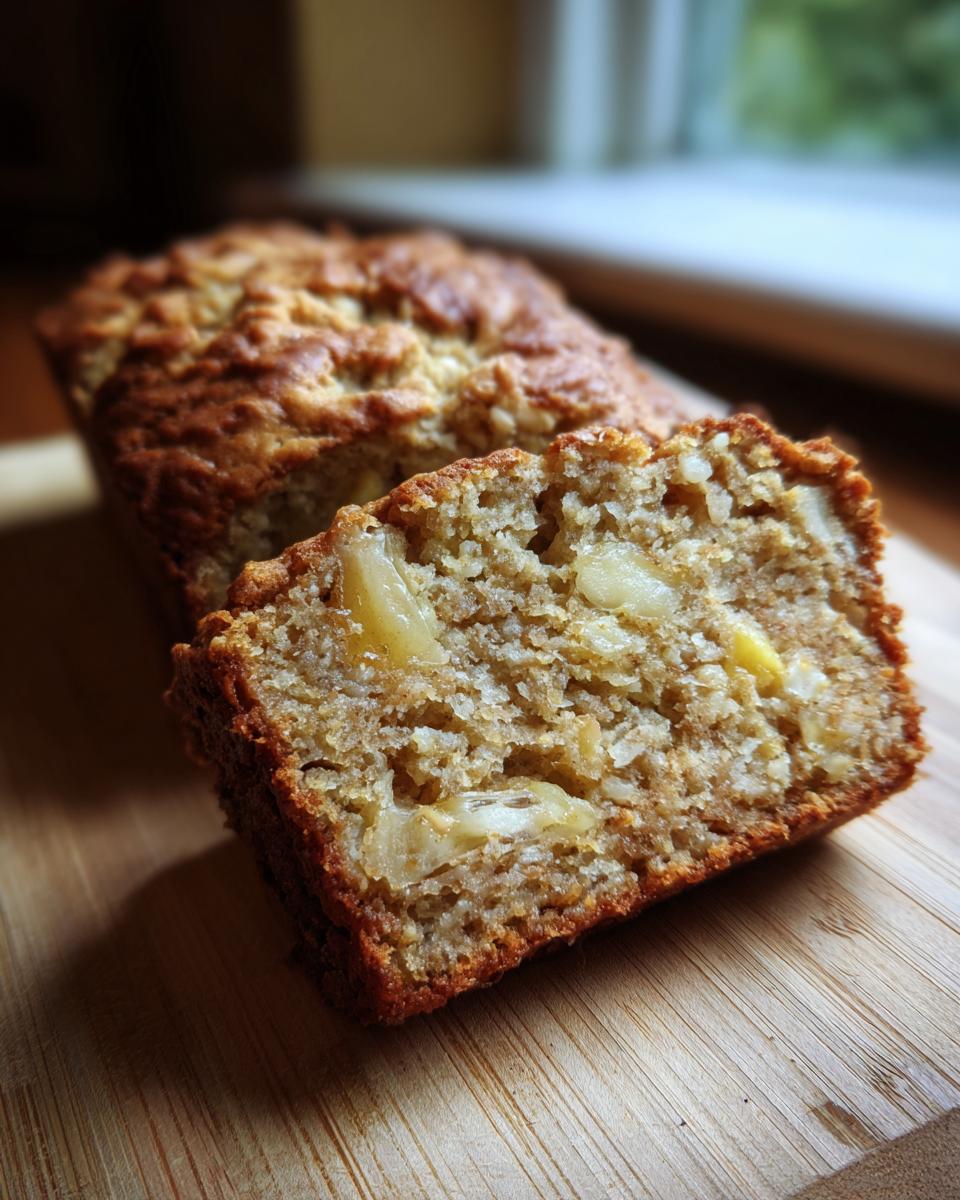
Crafting Your Perfect Hawaiian Banana Bread: Step-by-Step
Okay, let’s get baking this slice of island heaven! It’s super straightforward, really. You just need a couple of bowls and a bit of stirring. It’s the perfect tropical quick bread project for any afternoon, and honestly, it makes your whole house smell amazing – like a little vacation! This recipe is more like a guide, but trust me, once you do it, you’ll be making it all the time for a fantastic snack loaf.
- First things first, let’s get that oven preheated to 350°F (175°C). While that’s warming up, grease and flour a standard 9×5 inch loaf pan. This little step prevents any sticking disasters, promise!
- In a medium bowl, just whisk together all your dry ingredients: the flour, baking soda, salt, cinnamon, and nutmeg. Give them a good mix so everything is evenly distributed.
- Now, grab a bigger bowl for the wet stuff. Cream together that softened butter and sugar until it looks light and fluffy. This is where the magic starts for that tender texture!
- Beat in your eggs, one at a time, making sure each one is well incorporated. Then, stir in that splash of vanilla extract.
- Time for the star! Mash up those super ripe bananas – the gooier, the better. Stir them into your wet ingredients until it’s all nice and combined.
- Gently fold in the drained crushed pineapple and that lovely shredded coconut. Oh, it’s already starting to smell like the islands!
- Now, it’s time to bring it all together. Gradually add your dry ingredients to the wet mixture. Mix *just* until they’re combined. Seriously, don’t overmix! A few streaks of flour are totally okay here. Overmixing is like the enemy of a tender quick bread.
- If you’ve got those macadamia nuts, now’s the time to fold them in. It adds a lovely little crunch and makes it extra special.
- Pour all that glorious batter into your prepared loaf pan. Spread it out evenly so it bakes up nice and flat on top.
- Pop it into the oven and bake for about 50 to 65 minutes. The best way to check if it’s done is the skewer test – insert a wooden skewer into the center. If it comes out clean, it’s ready!
- Once it’s done, let the bread cool in the pan for about 10 minutes. Then, carefully turn it out onto a wire rack to cool completely. Patience is key here; slicing it warm can be a little crumbly! You can check out more amazing breakfast ideas over on the breakfast and brunch section!
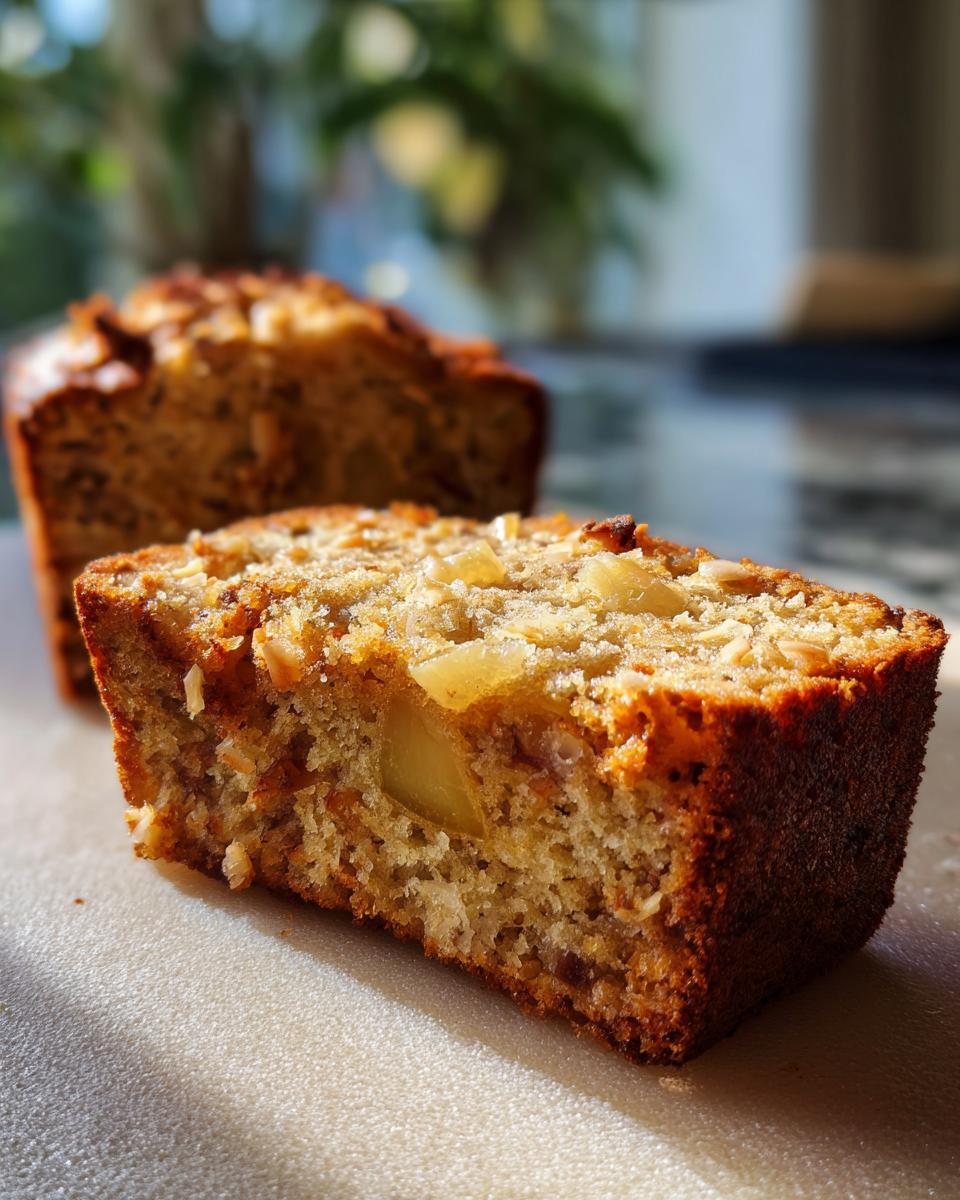
Tips for a Moist Banana Loaf
Nobody wants a dry slice, right? For the absolute moistest Hawaiian banana bread, a few things really make a difference. First, like I said, don’t overmix the batter once you add the dry ingredients. That develops the gluten too much, making it tough. Second, using those super ripe, spotty bananas is crucial – they add so much natural moisture and sweetness. And finally, make sure your oven temperature is accurate and don’t overbake it! That skewer test is your best friend; pull it out as soon as it comes out clean, maybe with just a few moist crumbs clinging to it. That’s the sweet spot for a perfectly moist banana loaf.
Making Gluten-Free Hawaiian Banana Bread
So, you’re looking to make this amazing Hawaiian banana bread but need it to be gluten-free? No problem at all! It’s super easy to adapt. Just grab your favorite gluten-free all-purpose flour blend – the kind that already has xanthan gum in it usually works best to give it that nice structure. Swap out the regular all-purpose flour in the recipe 1:1 with the gluten-free blend. That’s really it! You still get all those delicious tropical flavors and that wonderfully moist texture we love. It stays just as easy as the original, giving you a fantastic gluten free banana bread that no one will guess is anything but totally delicious.
Serving and Storing Your Tropical Quick Bread
This Hawaiian banana bread is just divine on its own, but I love serving it warm with a hot cup of coffee or a nice cup of tea. It also looks absolutely gorgeous on a brunch spread, don’t you think? For those special occasions, maybe add a little dollop of whipped cream or a sprinkle of toasted coconut on top. It really amps up those lovely island flavors! If you happen to have any leftovers (which is rare in my house!), just wrap it up tight. Keeping it wrapped makes sure it stays nice and moist. You can store it at room temperature for a day or two, or pop it in the fridge if it’s a bit warmer where you are. For longer storage, wrap it really well in plastic wrap and then foil, and it’ll freeze beautifully for your next craving! And for more tasty ideas, definitely check out the appetizers and snacks section for inspiration!
Frequently Asked Questions about Hawaiian Banana Bread
Got questions about whipping up this tropical delight? I’ve got you covered! It’s a pretty forgiving recipe, but sometimes a little extra guidance helps, especially when you’re trying to nail that perfect moist banana loaf.
Can I make this banana bread with pineapple without coconut?
Oh, absolutely! If coconut’s not your jam, you can totally skip it when making this Hawaiian banana bread. It might change the texture just a tiny bit, making it a little less dense, but the amazing banana and pineapple flavors will still shine through beautifully. You’ll still get a delicious, moist loaf!
What kind of bananas are best for this recipe?
For the absolute best Hawaiian banana bread, you definitely want to use bananas that are super ripe – I’m talking the ones that are mostly brown and spotty! Those bananas are packed with more sugar and moisture, which means way more intense banana flavor and a perfectly tender, never dry, result in your final quick bread.
How do I know when my banana bread is done baking?
The easiest way to know your Hawaiian banana bread is ready is the classic skewer test. Just stick a wooden skewer, toothpick, or the tip of a thin knife right into the center of the loaf. If it comes out clean, with no wet batter clinging to it – maybe just a few moist crumbs – then it’s perfect!
Nutritional Estimate for Hawaiian Banana Bread
Just to give you a ballpark idea, a slice of this gorgeous, moist banana loaf typically has around 250 calories. It’s got about 25g of sugar, 12g of fat, and 35g of carbs. Keep in mind these are just estimates, you know? They can wiggle around a bit depending on how ripe your bananas are or if you add those yummy macadamia nuts! It’s always good to have a general idea, though!
Share Your Island Baking Creations
Alright, chefs, I really want to see what you made! Did you try this amazing Hawaiian banana bread? Did you add extra nuts, maybe some chocolate chips? Snap a pic and share it with me! I love seeing how you bring these island flavors into your kitchens. Leave a comment below to tell me how it turned out, or even give it a star rating! It helps me and other bakers out tons. If you want to shout out your pics or ask more questions, feel free to hit me up over on the contact page!
PrintHawaiian Banana Bread
A moist and sliceable tropical banana bread featuring coconut and pineapple, perfect for breakfast or as a snack.
- Prep Time: 20 min
- Cook Time: 60 min
- Total Time: 80 min
- Yield: 1 loaf (10-12 slices) 1x
- Category: Quick Bread
- Method: Baking
- Cuisine: American
- Diet: Vegetarian
Ingredients
- 1 cup all-purpose flour
- 1 teaspoon baking soda
- 1/2 teaspoon salt
- 1/2 teaspoon ground cinnamon
- 1/4 teaspoon ground nutmeg
- 1/2 cup unsalted butter, softened
- 1 cup granulated sugar
- 2 large eggs
- 1 teaspoon vanilla extract
- 3 ripe bananas, mashed
- 1/2 cup crushed pineapple, drained
- 1/2 cup shredded sweetened coconut
- 1/4 cup chopped macadamia nuts (optional)
Instructions
- Preheat your oven to 350°F (175°C). Grease and flour a 9×5 inch loaf pan.
- In a medium bowl, whisk together the flour, baking soda, salt, cinnamon, and nutmeg.
- In a large bowl, cream together the softened butter and granulated sugar until light and fluffy.
- Beat in the eggs one at a time, then stir in the vanilla extract.
- Mash the ripe bananas and add them to the wet ingredients. Mix until well combined.
- Stir in the drained crushed pineapple and shredded coconut.
- Gradually add the dry ingredients to the wet ingredients, mixing until just combined. Do not overmix.
- Fold in the chopped macadamia nuts, if using.
- Pour the batter into the prepared loaf pan and spread evenly.
- Bake for 50-65 minutes, or until a wooden skewer inserted into the center comes out clean.
- Let the bread cool in the pan for 10 minutes before transferring it to a wire rack to cool completely.
Notes
- For a gluten-free version, substitute a gluten-free all-purpose flour blend for the all-purpose flour.
- Ensure your bananas are very ripe for the best flavor and moisture.
- This bread freezes well; wrap it tightly in plastic wrap and then foil.
Nutrition
- Serving Size: 1 slice
- Calories: 250
- Sugar: 25g
- Sodium: 150mg
- Fat: 12g
- Saturated Fat: 7g
- Unsaturated Fat: 5g
- Trans Fat: 0g
- Carbohydrates: 35g
- Fiber: 2g
- Protein: 3g
- Cholesterol: 40mg