
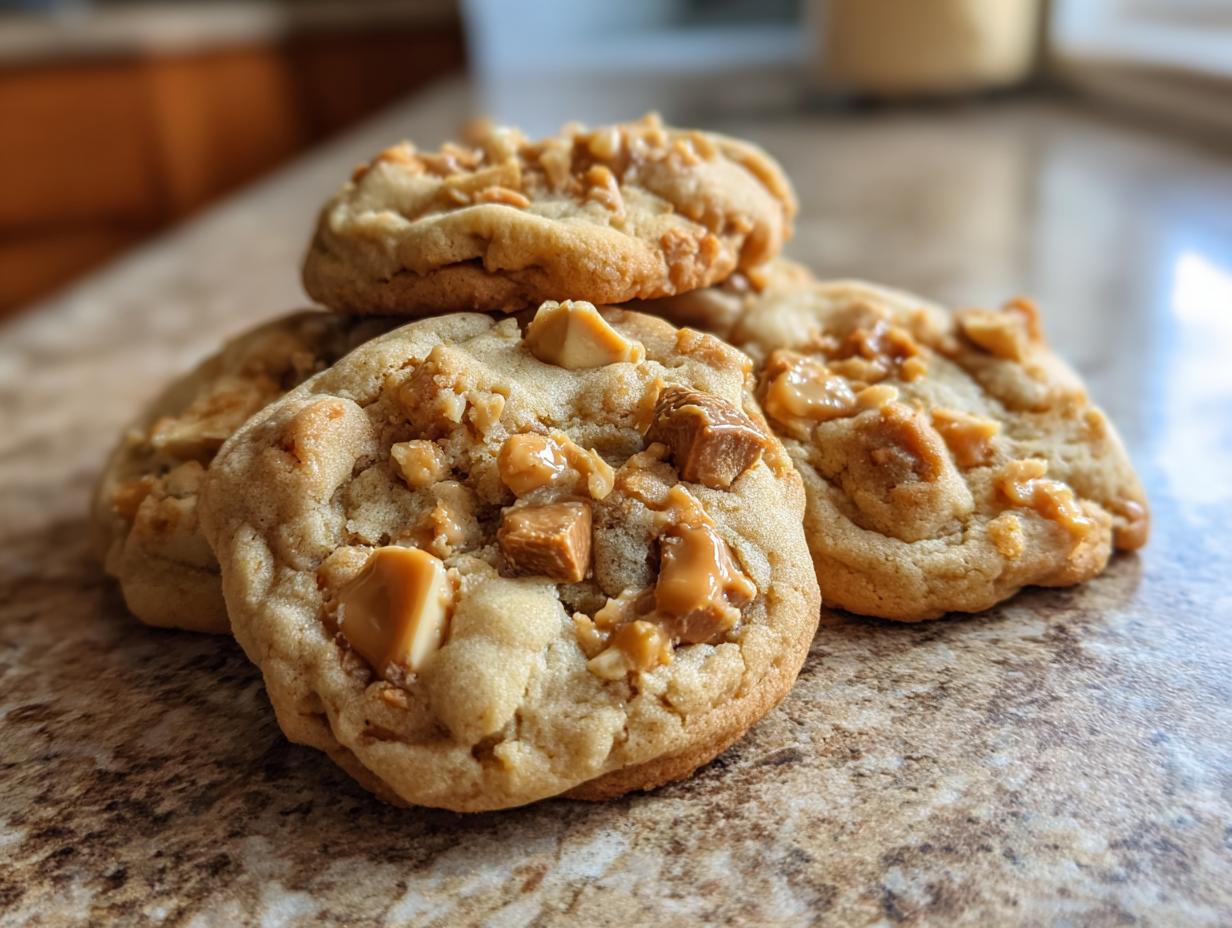

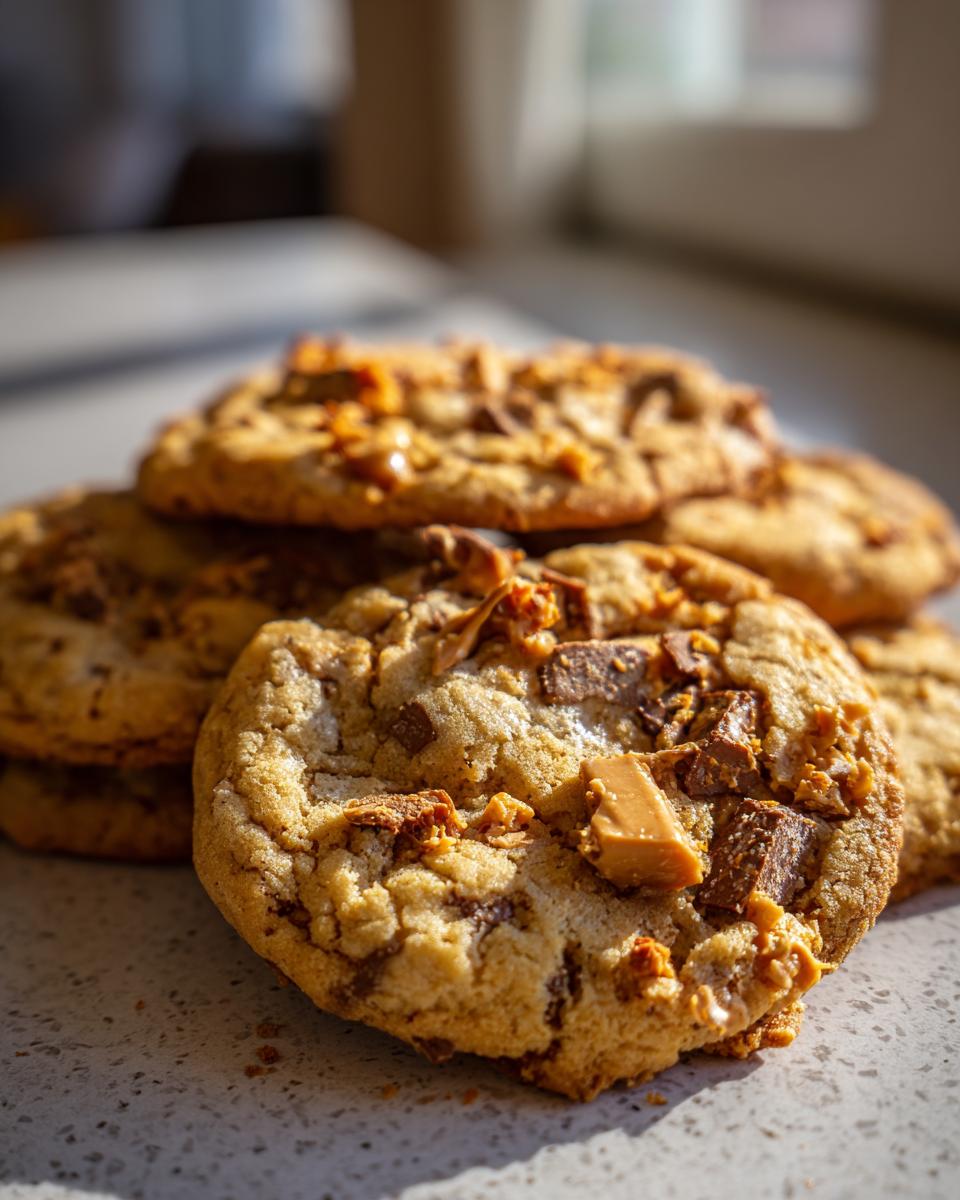
Oh, you guys are going to LOVE these! I’m telling you, when I traded my spreadsheets for a kitchen, finding recipes that were both totally reliable *and* ridiculously delicious felt like winning the lottery. These Butterfinger caramel cookies? They’re a prime example of that magic. Imagine that perfect handshake between chewy centers and those satisfyingly crunchy Butterfinger bits, all wrapped up in a sweet, caramel-y hug. Seriously, my journey from the corporate grind to discovering the soul-soothing joy of home baking really clicked with simple, stellar recipes like this. If you’re looking for an easy, 7-ingredient dessert that’s guaranteed to impress, whether it’s for your bake sale or just a Tuesday night, you’ve found it!
- Why You'll Love These Butterfinger Caramel Cookies
- Gather Your Ingredients for Butterfinger Caramel Cookies
- Mastering the Art of Butterfinger Caramel Cookies: Step-by-Step
- Tips for Perfect Butterfinger Caramel Cookies
- Variations and Serving Suggestions for Caramel Crunch Cookies
- Storing and Reheating Your Butterfinger Caramel Cookies
- Frequently Asked Questions about Butterfinger Caramel Cookies
- Nutritional Information for Butterfinger Caramel Cookies
- Share Your Butterfinger Caramel Cookie Creations!
Why You’ll Love These Butterfinger Caramel Cookies
Seriously, you are going to adore these!
- The Ultimate Texture Combo: It’s that perfect mix of chewy centers and satisfyingly crunchy Butterfinger bits that just makes you happy.
- Packed with Flavor: You get that classic Butterfinger crunch AND a lovely caramel sweetness in every bite. It’s a taste sensation!
- Crazy Easy! These really are minimal ingredient, super simple easy cookie recipes. A total lifesaver when you’re in a pinch.
- Perfect for Everything: Need soft and chewy cookies for a party, bake sale, or just tucked into a gift box? These are your go-to. They’re fail-proof!
Trust me, they’re a winner every single time.
Gather Your Ingredients for Butterfinger Caramel Cookies
Okay, so to get these amazing Butterfinger caramel cookies happening, you’ll want to grab just a few simple things. Seriously, it’s not a huge shopping trip! You’ll need:
- 1 cup (that’s two sticks!) of unsalted butter, but make sure it’s nice and softened. I usually forget to take it out ahead of time, so a little microwave zap in 5-second bursts works in a pinch, just be careful not to melt it!
- 1 cup of regular granulated sugar.
- 1 cup of light brown sugar, packed down nice and snug. This is where a lot of that yummy caramel flavor comes from, so don’t skip it!
- 2 large eggs. Fresh ones are always best, they just seem to help everything bind together better.
- 1 teaspoon of pure vanilla extract – it just makes everything smell and taste better, you know?
- 3 cups of all-purpose flour.
- 1 teaspoon of baking soda. This is our leavening agent, makes them puff up just right.
- 1/2 teaspoon of salt. It balances out all that sweetness!
- And the stars of the show: 2 cups of chopped Butterfinger candy bars! I like to give them a rough chop, you want little pockets of that peanut butter crispiness.
- And for *extra* caramel goodness, though not totally necessary, 1/2 cup of caramel bits. They just melt into the cookie and boost that flavor even more.
Honestly, using good quality ingredients here really makes a difference. You can taste it when the butter is real, or when your vanilla extract is pure. It’s worth it for these spectacular cookies!
Mastering the Art of Butterfinger Caramel Cookies: Step-by-Step
Alright, now for the fun part! I’ve spent a bunch of time in my kitchen testing these out, and I’ve got the steps down to a science so you get that perfect chewy-meets-crunchy bite every time. These are definitely one of my favorite no chill cookies because they come together so fast! It reminds me a bit of how we get our easy peanut butter cookies just right – simple steps, amazing results!
Preheating and Prep for Your Butterfinger Caramel Cookies
First things first, get that oven fired up to 375°F (190°C). Then, grab your baking sheets and line them with parchment paper. It makes cleanup a breeze and stops those yummy cookies from sticking.
Creaming Butter and Sugars for Perfect Cookie Texture
In a nice big bowl – you know, the kind that feels good to mix in – beat together that softened butter, granulated sugar, and packed brown sugar. Keep going until it’s nice and fluffy, kind of like whipped honey. This step is SO key for that chewy cookie texture!
Incorporating Wet Ingredients into the Butterfinger Caramel Cookie Dough
Now, crack in those two large eggs, one at a time, giving it a good mix after each. Then, stir in that splash of vanilla extract. It’s starting to smell amazing already!
Combining Dry Ingredients for the Cookie Base
Grab another bowl and whisk together your flour, baking soda, and salt. Giving them a quick whisk ensures everything is evenly mixed, which means no weird pockets of baking soda in your cookies!
Mixing Wet and Dry for Your Butterfinger Caramel Cookies
Here’s where we bring it all together. Gradually add those dry ingredients into the butter-sugar mixture. Mix until it’s *just* combined – seriously, stop mixing as soon as you don’t see big streaks of flour. Overmixing is the enemy of a tender cookie, trust me on this!
Adding the Stars: Butterfinger and Caramel Bits
Now for the best part! Gently stir in your chopped Butterfinger pieces and those optional caramel bits. Make sure they’re evenly distributed so you get that amazing crunch and caramel chew in every single bite.
Shaping and Baking Your Butterfinger Caramel Cookies
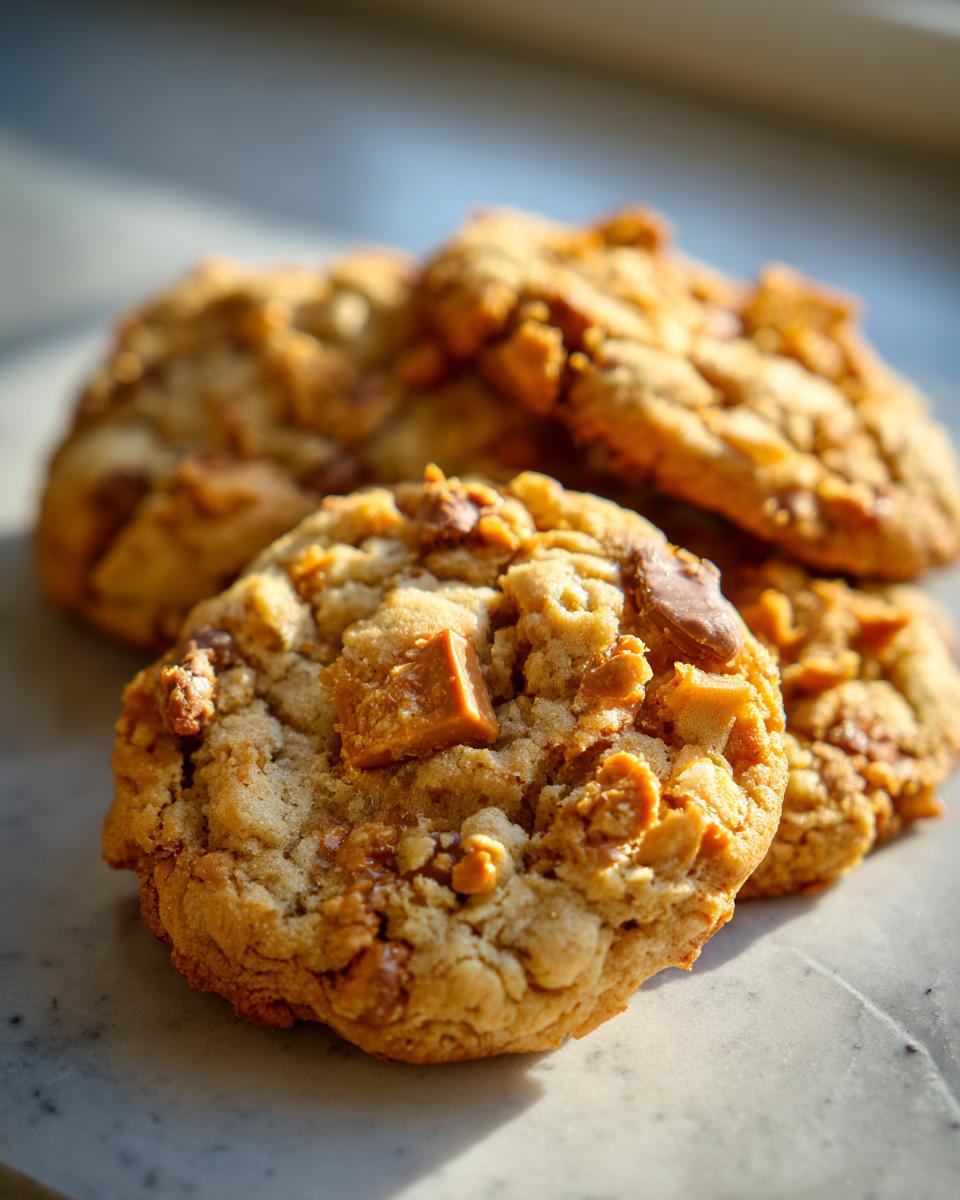
Drop rounded tablespoons of the dough onto your prepared baking sheets. Give them a bit of space, about 2 inches apart, because they will spread a little. Pop them into the preheated oven and bake for about 9 to 11 minutes. You’re looking for the edges to be a nice golden brown, but the centers should still look a tiny bit soft. That’s the secret to a perfect chewy cookie recipe!
Cooling Butterfinger Caramel Cookies for Optimal Texture
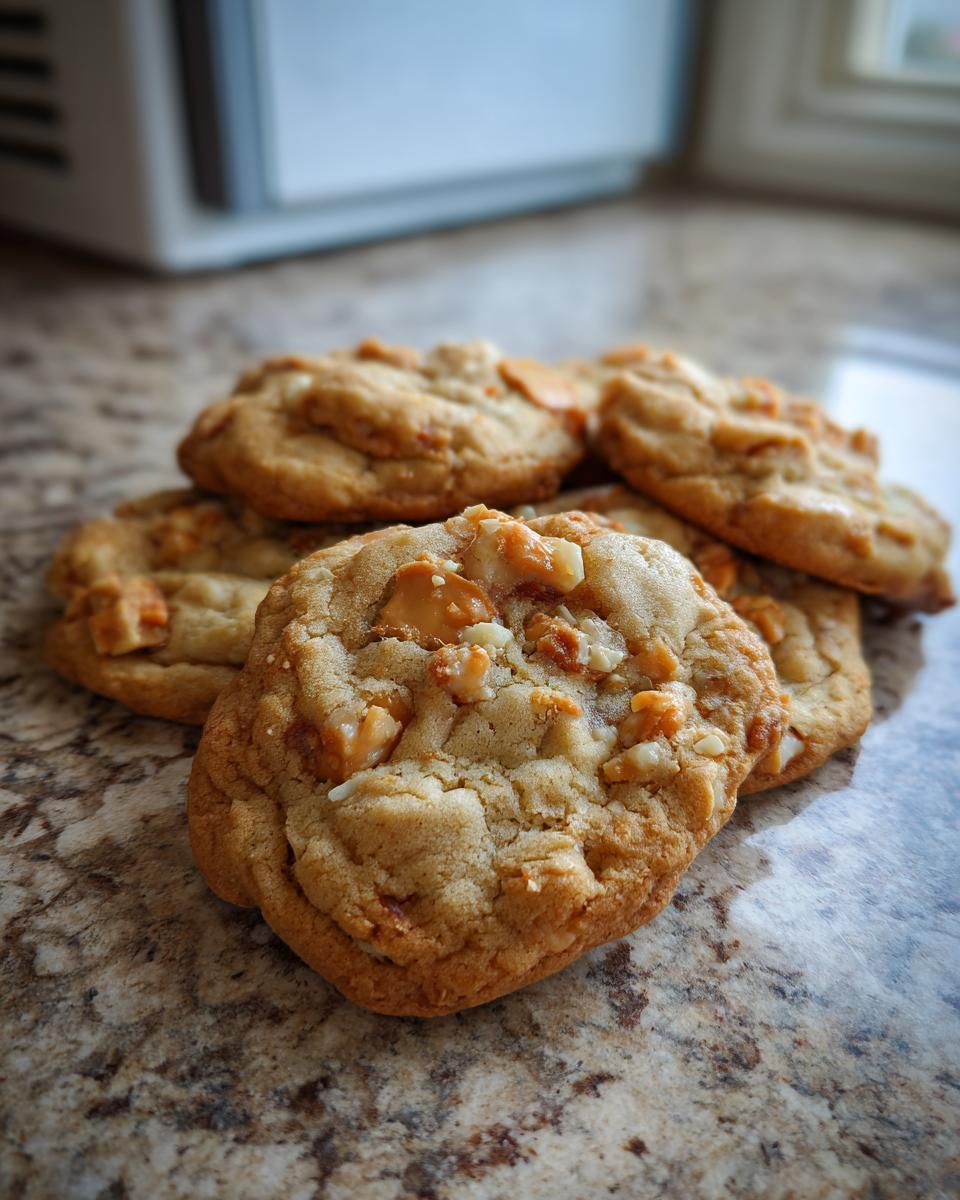
Once they’re out of the oven, let them hang out on the baking sheets for a few minutes – maybe 5 minutes or so. Then, carefully transfer them to a wire rack to cool completely. This is super important for letting them set up and get that amazing chewy-to-crunchy texture we’re going for.
Tips for Perfect Butterfinger Caramel Cookies
You know, sometimes even with the best recipes, you just want that *little extra* something to make them truly special. I remember one time trying to get a batch of these cookies exactly right for a friend’s big party – I wanted them just perfect for my bake sale table, and they spread out way too much! If you’re looking for tips on creating that perfect texture, check out some of my other recipes like these soft and chewy ube cookies or even these amazing s’mores brownies for inspiration. Here are a few tricks I’ve picked up to make sure your soft and chewy cookies turn out exactly how you want them.
Achieving Cookie Thickness: The Chill Factor
So, if you’re like me and love a thicker, chewier cookie that doesn’t spread too much, here’s the magic trick: chill the dough! Pop your dough into the fridge for at least 30 minutes before you scoop and bake. It really helps them hold their shape and gives you that wonderfully dense texture without getting too flat.
Freezing Dough Balls for Future Baking
This works for practically ANY cookie dough, but it’s a godsend for these Butterfinger caramel ones. Scoop the dough into balls, place them on a parchment-lined tray, and freeze until solid. Then, just toss them into a freezer bag! When you need cookies FAST, you can bake them straight from frozen; just add a few extra minutes to your baking time. It’s my secret weapon for surprise guests or when a craving hits hard!
Variations and Serving Suggestions for Caramel Crunch Cookies
You know, the fun doesn’t stop with just Butterfingers! These cookies are super versatile. If you’ve got a stash of other candy bar cookies ingredients lying around, give them a go! Maybe some chopped Snickers or even Heath bars could work here for a different kind of crunch. And if you’re a total peanut butter fanatic, why not toss in some peanut butter chips along with the Butterfinger? That’s how you get those amazing peanut butter candy cookies! These are fantastic served with a big, cold glass of milk – it’s just classic perfection. Or, if you’re feeling a bit more grown-up, a hot cup of coffee or even a tea complements the sweetness perfectly. They’re also wonderful alongside a scoop of lime sorbet for that sweet and tart contrast, or even dipped into some chocolate banana pops if you’re feeling extra indulgent!
Storing and Reheating Your Butterfinger Caramel Cookies
Okay, so you’ve made these amazing Butterfinger caramel cookies, and maybe you’ve got a few leftover (though I doubt it!). To keep them tasting awesome, just pop them into an airtight container once they’re completely cool. They’ll stay super fresh and chewy at room temperature for about 3-4 days. If you’re planning for a party or need to prep ahead, these are your best friends! If they happen to lose a little bit of their magical softness, you can totally refresh them. Just pop one or two in the microwave on low power for about 5-10 seconds. It brings back that yummy, gooey texture like they just came out of the oven!
Frequently Asked Questions about Butterfinger Caramel Cookies
Got questions about these amazing Butterfinger caramel cookies? I get it! It’s always good to have a few tips and tricks up your sleeve, especially with something as delicious as this. Here are some things people often ask about these super easy cookie recipes:
Can I use other candy bars in these cookies?
Totally! While Butterfinger is awesome for that unique crunch, feel free to play around. Chopped Heath bars, Snickers, or even chunks of your favorite chocolate bar would be delicious. Just make sure they’re chopped into bite-sized pieces so they bake up nicely into the dough. It’s all part of making this a truly customizable 7 ingredient dessert!
What if I don’t have caramel bits?
No worries at all! The Butterfinger itself brings a lot of that caramel-like sweetness, and the brown sugar helps a ton too. So, if you can’t find caramel bits or just don’t want to use them, the cookies will still be absolutely fantastic. You won’t be missing out on much flavor!
How do I make sure my cookies stay chewy?
That’s the million-dollar question for any great cookie! For these soft and chewy cookies, the key is not to overbake them. You want to pull them out when the edges are just golden brown and the centers still look a little soft. They’ll continue to bake a bit on the hot baking sheet, setting up perfectly. Also, chilling the dough beforehand, as we talked about in the tips, really helps them stay thicker and chewier!
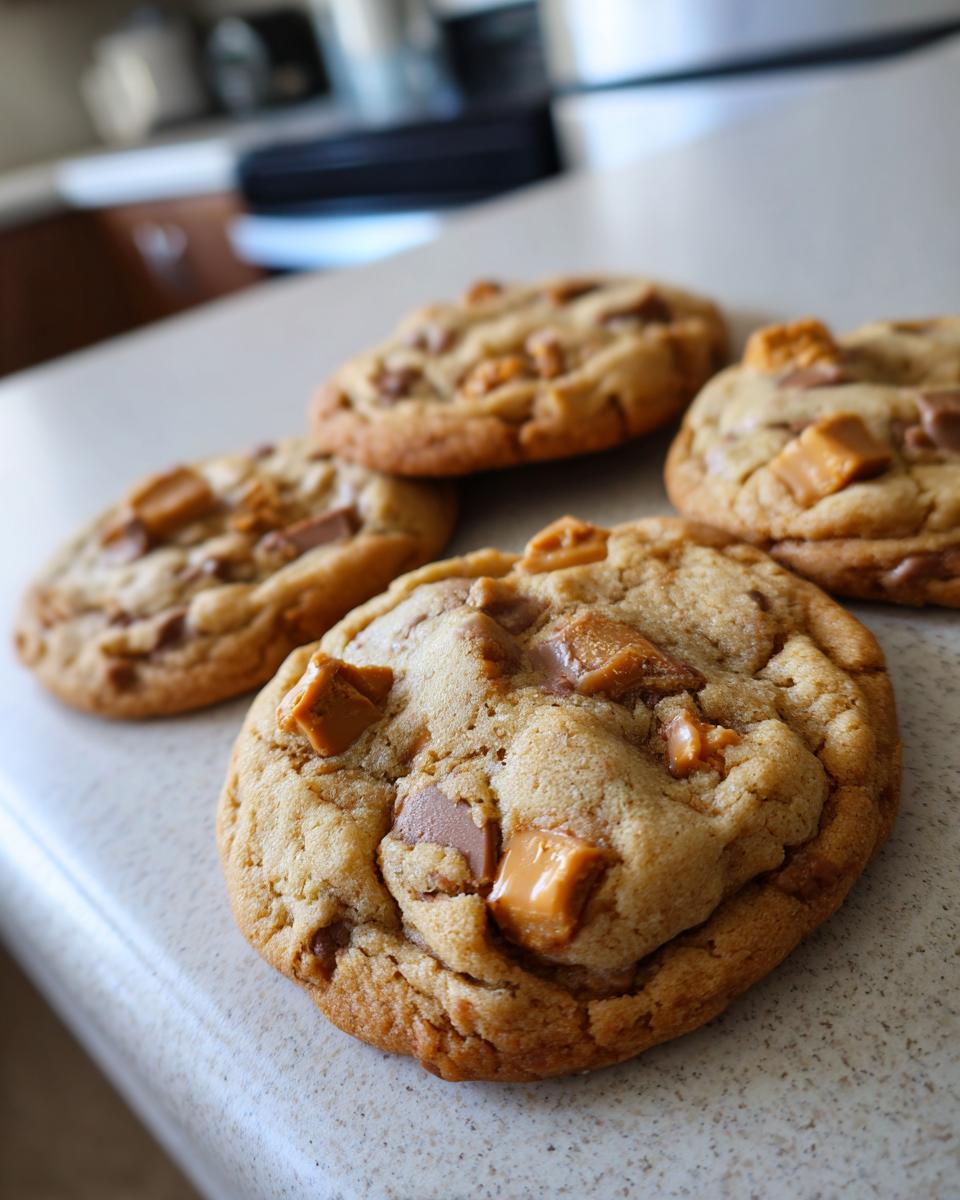
Nutritional Information for Butterfinger Caramel Cookies
Just a heads-up, the exact nutritional info can dance around a bit depending on the brands of ingredients you use and how big you scoop your cookies, but here’s a general idea per cookie:
- Calories: Around 250
- Fat: About 14g (with 8g saturated)
- Carbohydrates: Roughly 30g
- Sugar: Around 20g
- Protein: About 3g
- Sodium: Roughly 150mg
Keep in mind these are estimates, but they give you a good ballpark for these delightful treats!
Share Your Butterfinger Caramel Cookie Creations!
Okay, now that you’ve whipped up these incredible Butterfinger caramel cookie masterpieces, I’d absolutely LOVE to see them! Did you take them to a bake sale? Were they a hit for Halloween candy recipes? Seriously, snap a pic and tag us on social media, or drop a comment below to tell me how they turned out. Your feedback means the world to me, and I can’t wait to see your delicious creations! If you have any questions or want to share your baking journey, you can always reach out to me directly!
PrintButterfinger Caramel Crunch Cookies
Chewy cookies with a crunchy Butterfinger candy bar and caramel-like flavor. These easy cookies use minimal ingredients and have quick, reliable steps, perfect for parties, bake sales, or gifts.
- Prep Time: 15 min
- Cook Time: 10 min
- Total Time: 25 min
- Yield: 24 cookies 1x
- Category: Dessert
- Method: Baking
- Cuisine: American
- Diet: Vegetarian
Ingredients
- 1 cup (2 sticks) unsalted butter, softened
- 1 cup granulated sugar
- 1 cup packed light brown sugar
- 2 large eggs
- 1 teaspoon vanilla extract
- 3 cups all-purpose flour
- 1 teaspoon baking soda
- 1/2 teaspoon salt
- 2 cups chopped Butterfinger candy bars
- 1/2 cup caramel bits (optional, for extra caramel flavor)
Instructions
- Preheat your oven to 375°F (190°C). Line baking sheets with parchment paper.
- In a large bowl, cream together the softened butter, granulated sugar, and brown sugar until light and fluffy.
- Beat in the eggs one at a time, then stir in the vanilla extract.
- In a separate bowl, whisk together the flour, baking soda, and salt.
- Gradually add the dry ingredients to the wet ingredients, mixing until just combined. Do not overmix.
- Stir in the chopped Butterfinger pieces and caramel bits (if using).
- Drop rounded tablespoons of dough onto the prepared baking sheets, spacing them about 2 inches apart.
- Bake for 9-11 minutes, or until the edges are golden brown and the centers are still slightly soft.
- Let the cookies cool on the baking sheets for a few minutes before transferring them to a wire rack to cool completely.
Notes
- For thicker cookies, chill the dough for at least 30 minutes before baking.
- You can freeze dough balls for up to 3 months. Bake from frozen, adding a few extra minutes to the baking time.
- These cookies are best stored in an airtight container at room temperature.
Nutrition
- Serving Size: 1 cookie
- Calories: 250
- Sugar: 20g
- Sodium: 150mg
- Fat: 14g
- Saturated Fat: 8g
- Unsaturated Fat: 6g
- Trans Fat: 0g
- Carbohydrates: 30g
- Fiber: 1g
- Protein: 3g
- Cholesterol: 40mg