
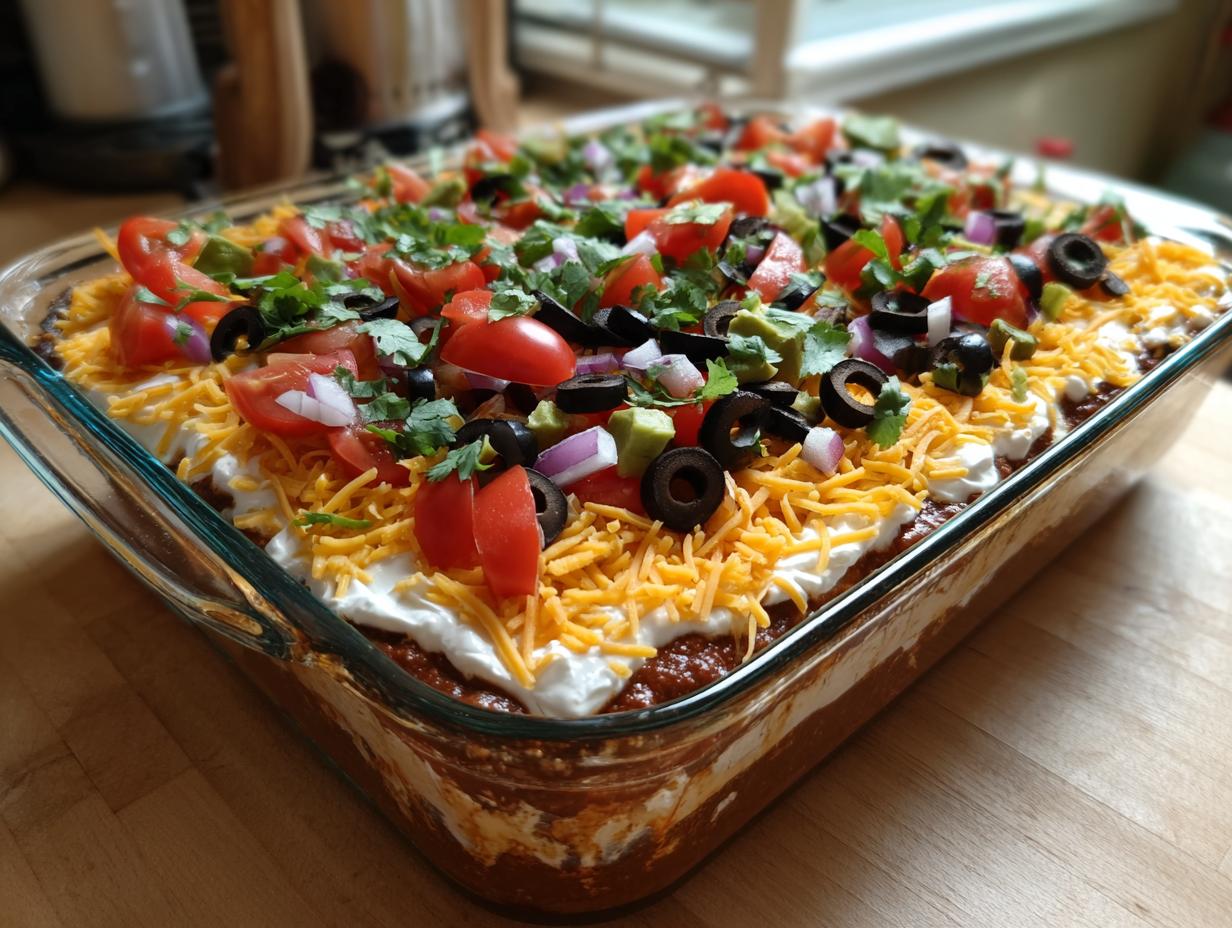

You know, throwin’ a party can be a LOT, right? You’re trying to figure out seating, what music to play, and most importantly, what’s going to make everyone go, “WOW!” That’s where this classic 7 layer dip comes in. Seriously, it’s my go-to. It’s ridiculously easy to whip up, looks absolutely gorgeous with all those vibrant layers, and it’s always the first thing to disappear. I remember the first time I made it for a big backyard BBQ after I switched gears from my old marketing gig. People were practically fighting over the last scoop! It’s just one of those guaranteed crowd-pleasers that makes me feel like a total pro in the kitchen, even when I’m just layering beans and sour cream.
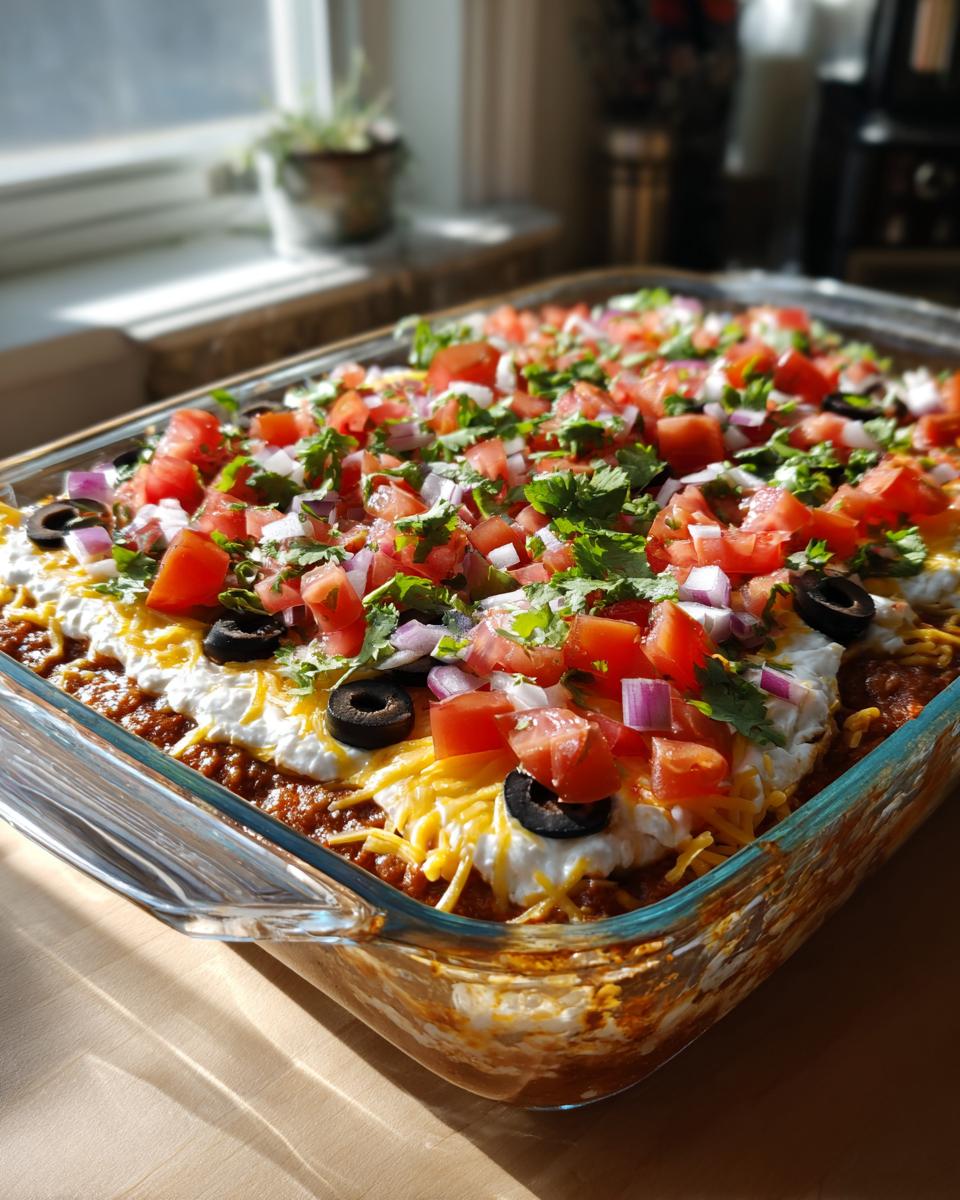
- Why You'll Love This Classic 7 Layer Dip
- Assembling Your Perfect 7 Layer Dip
- Ingredient Notes and Substitutions for 7 Layer Dip
- Tips for the Best 7 Layer Dip
- Make-Ahead and Storage for Your 7 Layer Dip
- Serving Suggestions for this Party Dip
- Frequently Asked Questions about 7 Layer Dip
- Nutritional Information (Estimate)
- Share Your 7 Layer Dip Creations!
Why You’ll Love This Classic 7 Layer Dip
Honestly, why *wouldn’t* you love this dip? It’s:
- Super Quick to Make: We’re talking minutes, not hours!
- No-Bake Wonder: Perfect for when your oven is already full (or off!).
- The Ultimate Crowd-Pleaser: Everyone devours it – guaranteed.
- Gorgeous Layers: It’s almost too pretty to eat… almost. The colors just pop!
- Totally Customizable: Tweak the toppings to your heart’s content.
- Make-Ahead Magic: Prep it ahead and stress less on party day.
Assembling Your Perfect 7 Layer Dip
Okay, so making this iconic 7 layer dip is honestly one of the most satisfying things. It’s like building a delicious edible masterpiece, and the best part is, it’s super forgiving! Anyone can do this. You just need to layer things up in the right order so it looks amazing and tastes even better.
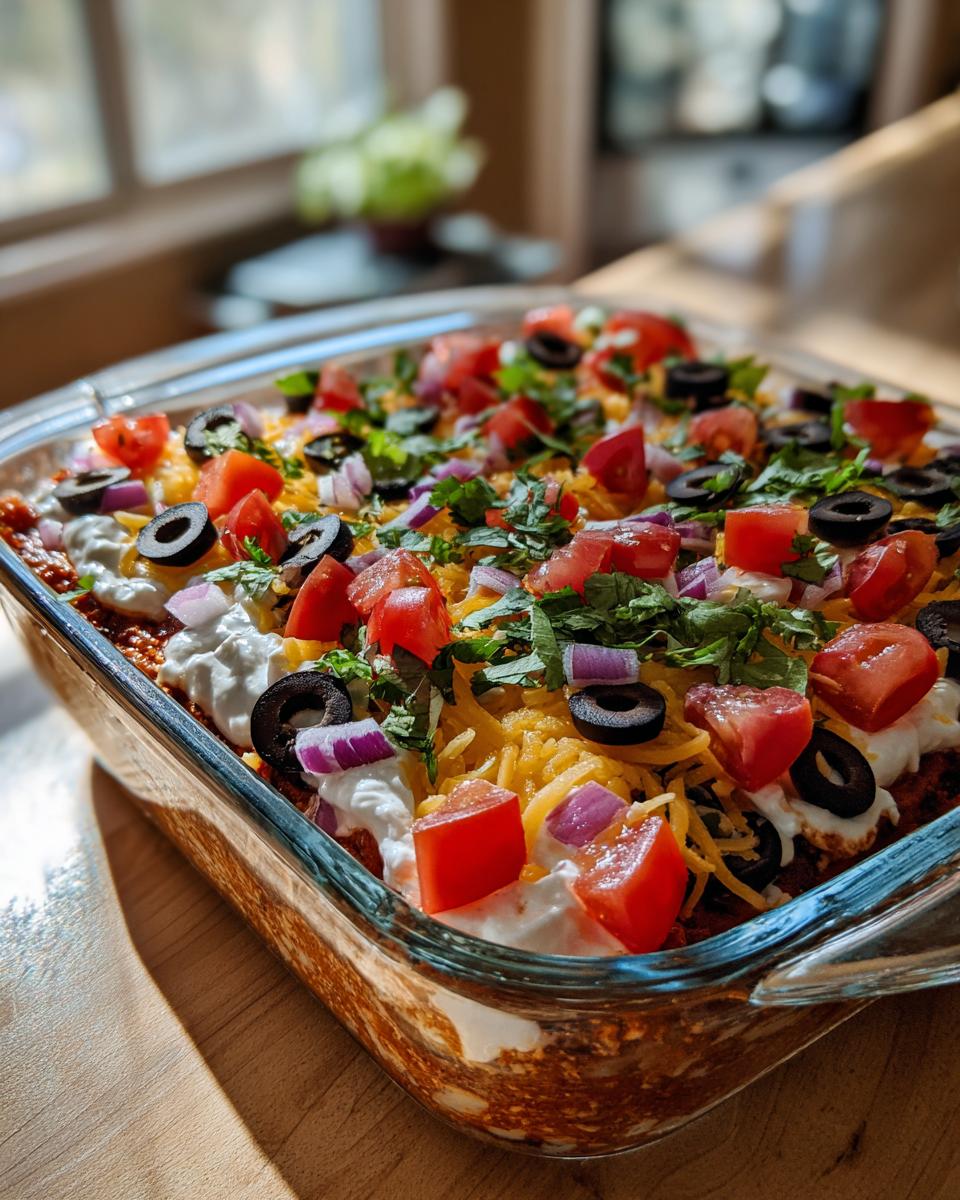
Ingredients for Your 7 Layer Dip
Here’s what you’ll need to grab from the store to build this beauty. Don’t stress about the exact measurements too much; this dip is all about having fun!
- 1 can (16 ounces) refried beans – I like mine a little warmed up so they spread easier!
- 1 packet (1 ounce) taco seasoning – makes everything taste so festive.
- 1/4 cup water – just to help loosen up those beans.
- 1 container (8 ounces) sour cream – the creamy base for our next layer.
- 1 packet (1 ounce) dry ranch seasoning mix – this makes the sour cream sing!
- 2 cups shredded Monterey Jack cheese – or a Mexican blend, whatever you love!
- 1 cup salsa – pick your favorite heat level!
- 1 cup guacamole – homemade if you’re feeling fancy, store-bought is totally fine too!
- 1/2 cup chopped black olives – these little pops of flavor are key.
- 1/4 cup chopped fresh cilantro – for that burst of freshness.
- 1/4 cup diced tomatoes – adds a nice bit of freshness and color.
- 1/4 cup diced red onion – for a little zing!
Step-by-Step Guide to Making 7 Layer Dip
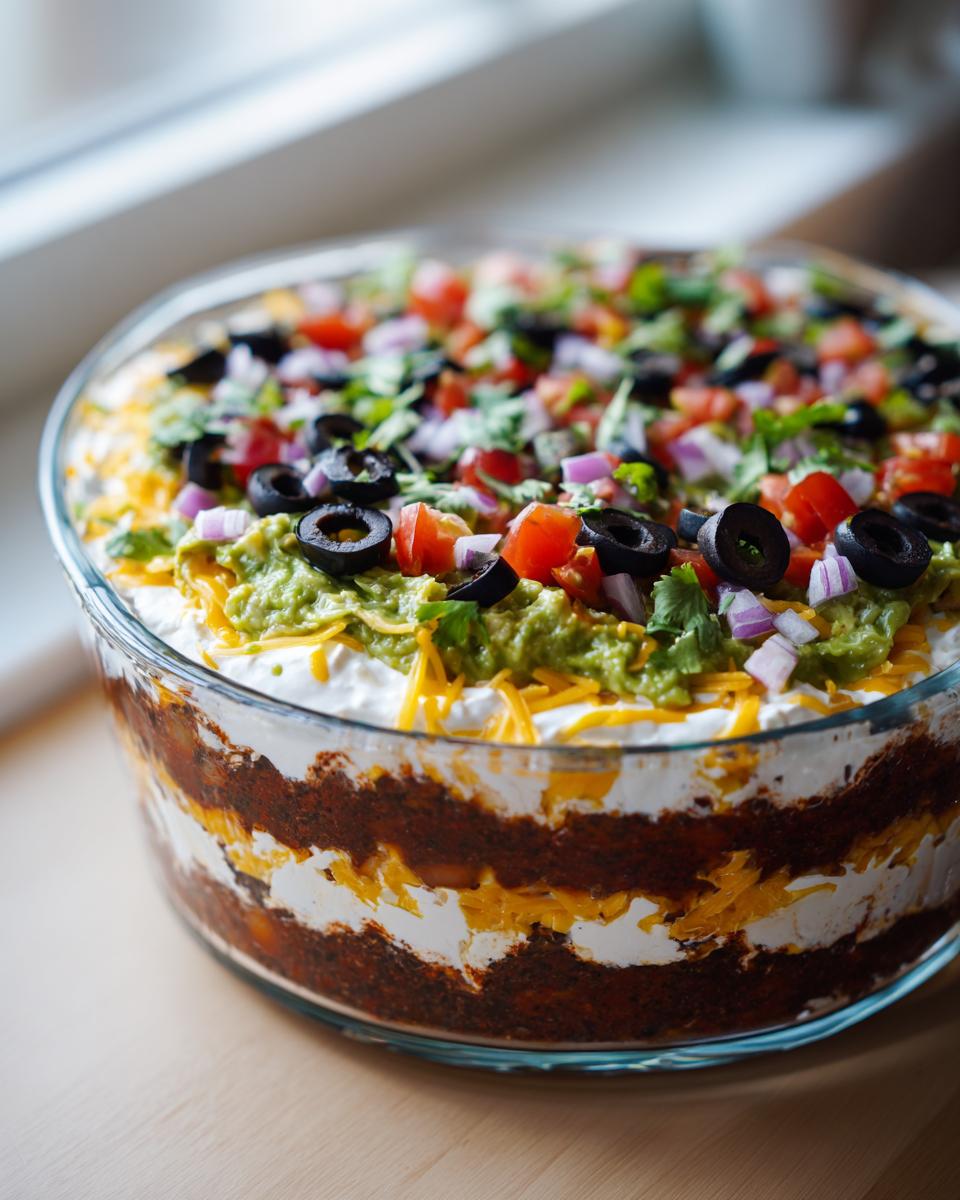
Alright, let’s get layering! Grab a clear dish – a Pyrex 9×13 inch is perfect so everyone can see those gorgeous layers.
- First things first, let’s mix up those refried beans. Dump them in a bowl with the taco seasoning and that little bit of water. Give it a good stir until it’s all combined. Then, spread this bean mixture nice and even across the bottom of your dish. It’s like laying the foundation for a house, but way tastier!
- Next up, the creamy layer! In a separate bowl, mix your sour cream with that packet of ranch seasoning. Stir it until it’s smooth and yummy. Now, spread this creamy goodness right on top of the beans. Try to keep it even; it makes the next layer look so much better.
- Now for the cheese shower! Sprinkle all that shredded Monterey Jack cheese over the sour cream layer. Don’t be shy, make sure it’s covered edge to edge.
- Time for some salsa! Spoon your favorite salsa over the cheese. Gently spread it out with the back of your spoon. You don’t want it to get all mixed up with the cheesy layer underneath, just a nice, even spread.
- Here comes the green gold – guacamole! Carefully spoon your guac on top of the salsa. Use your spoon or a spatula to gently spread it. This layer can be a little tricky because you don’t want to dig into the salsa. Just coax it into place!
- And for the grand finale toppings! Sprinkle those chopped black olives, fresh cilantro, diced tomatoes, and red onion all over the guacamole. Arrange them nicely, it makes a huge difference for presentation.
- Now, this is important! Cover the whole dish tightly with plastic wrap and pop it in the fridge for at least 30 minutes. This lets all those amazing flavors get to know each other, which is super important for the best taste in your party snacks. It also helps everything firm up a bit!
Ingredient Notes and Substitutions for 7 Layer Dip
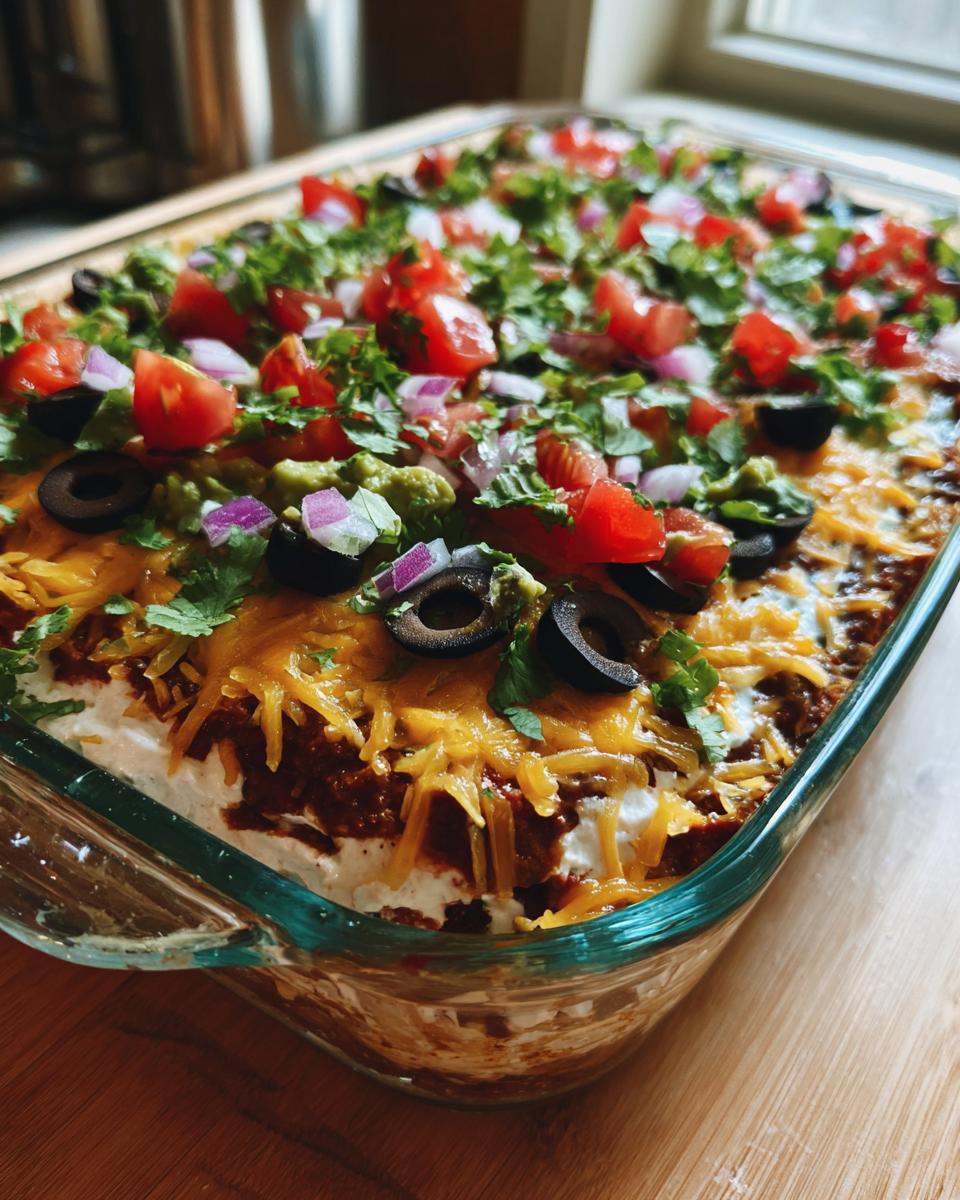
Alright, let’s talk ingredients for this amazing 7 layer dip! While this recipe is pretty classic, a few swaps can make it work even better for you. Instead of refried beans, you could totally try seasoned black beans or even a spicy pinto bean dip if that’s what you’ve got. And for the sour cream layer, Greek yogurt is a fantastic lighter option, just make sure it’s plain and full-fat for the best creamy texture. If you’re not a fan of olives, no worries, just skip ‘em or add some corn kernels instead! It’s all about making it your own.
Tips for the Best 7 Layer Dip
Whipping up a fantastic 7 layer dip is all about a few little tricks that make a big difference. First off, make sure those layers are distinct! When you spread them, try to keep your spoon flat and don’t let one layer sneak too much into the one below it. This keeps the visual separation really sharp and pretty. Also, don’t skimp on the chilling time! That 30 minutes (or even longer!) in the fridge really lets the flavors meld together beautifully. For presentation, if you’re using a clear dish, try to wipe the sides clean before you add the last toppings—it just makes it look so much tidier and more professional. Trust me, these little things elevate your dip from good to *amazing*!
Make-Ahead and Storage for Your 7 Layer Dip
This 7 layer dip is a total lifesaver when you’re hosting! You can totally assemble it up to 24 hours ahead of time. Just make sure you keep the fresh stuff – like the tomatoes, cilantro, and red onion – separate. Add those right before you serve so they stay bright and delicious. If you have any leftovers, just cover it up tight and pop it in the fridge. Honestly, it’s usually gone in minutes, but if not, it’ll keep for a couple of days though it’s best enjoyed fresh!
Serving Suggestions for this Party Dip
Now that you’ve got this incredible dip ready to go, what do you serve it with? Oh, the possibilities! Of course, classic tortilla chips are a must, but don’t be afraid to get creative. Crunchy veggie sticks like carrots, celery, and bell peppers are fantastic for dipping, and some sturdy pita chips give it a nice crunch. You could even serve it with mini tacos or little cucumber rounds!
Frequently Asked Questions about 7 Layer Dip
Got questions about this amazing 7 layer dip? I totally get it! It’s such a popular party snack, and people always have thoughts. Here are some common ones I get:
Can I make this 7 layer dip without refried beans?
Absolutely! If refried beans aren’t your thing, or you can’t find them, you can totally swap them out. A seasoned mashed black bean layer works wonderfully, or even a spicy pinto bean dip. Just make sure whatever bean base you choose is mashed up nicely and spreadable!
What’s the best way to layer a 7 layer dip?
The order is kind of key for how it looks AND how it tastes! You want your bean layer first, then the creamy sour cream/ranch mix, cheese, salsa, guacamole, and then all your fresh toppings. Spreading each layer as evenly as possible is super important. It makes sure you get a little bit of everything in each bite, and it looks so much prettier when you can see those distinct colors!
How long does this 7 layer dip last in the fridge?
This guacamole dip is best enjoyed fresh, but it does hold up pretty well. If you’ve got leftovers, cover it tightly with plastic wrap and it should be good for about 2-3 days in the refrigerator. Just a heads-up, the guacamole might brown a bit, but it’ll still taste great!
Can I add meat to my 7 layer dip?
Oh yeah, you totally can! Lots of folks love adding a layer of seasoned ground beef or shredded chicken right after the cheese layer. Just make sure it’s cooked through, cooled down, and drained really well before you layer it in. It adds another whole yummy dimension to this sour cream taco dip!
Nutritional Information (Estimate)
Okay, so you’re probably wondering about the numbers! Since everyone’s setup is a little different, these are just estimates for each serving of our amazing 7 layer dip. You know, things like the type of salsa or the brand of sour cream can change these a bit. But generally, a serving usually comes out to around:
Per serving (1/12th of dish):
- Calories: 150
- Fat: 10g
- Saturated Fat: 4g
- Sodium: 400mg
- Carbohydrates: 10g
- Fiber: 3g
- Protein: 5g
Share Your 7 Layer Dip Creations!
Okay, now it’s YOUR turn! Have you made this awesome 7 layer dip? Did you add something totally new that blew everyone away? I’d LOVE to hear about it! Drop a comment below with your favorite twists or variations. Oh, and if you really loved it, consider giving it a star rating – it helps so many other home cooks find their next favorite party snack! You can also share your culinary triumphs with me directly!
PrintClassic 7 Layer Dip
A vibrant and flavorful 7 layer dip perfect for any party or gathering. This no-bake appetizer is easy to assemble and can be made ahead of time.
- Prep Time: 20 min
- Cook Time: 0 min
- Total Time: 20 min
- Yield: 12 servings 1x
- Category: Appetizer
- Method: No Bake
- Cuisine: Mexican-inspired
- Diet: Vegetarian
Ingredients
- 1 can (16 ounces) refried beans
- 1 packet (1 ounce) taco seasoning
- 1/4 cup water
- 1 container (8 ounces) sour cream
- 1 packet (1 ounce) dry ranch seasoning mix
- 2 cups shredded Monterey Jack cheese
- 1 cup salsa
- 1 cup guacamole
- 1/2 cup chopped black olives
- 1/4 cup chopped fresh cilantro
- 1/4 cup diced tomatoes
- 1/4 cup diced red onion
Instructions
- In a medium bowl, mix refried beans, taco seasoning, and water. Spread evenly in the bottom of a 9×13 inch baking dish.
- In another bowl, combine sour cream and ranch seasoning mix. Spread evenly over the refried beans.
- Layer the shredded cheese over the sour cream mixture.
- Spread the salsa evenly over the cheese.
- Top with guacamole, spreading it carefully to avoid mixing with the salsa.
- Sprinkle chopped black olives, cilantro, diced tomatoes, and diced red onion over the guacamole.
- Cover and refrigerate for at least 30 minutes before serving to allow flavors to meld.
Notes
- For a make-ahead option, assemble the dip up to 24 hours in advance. Keep the cilantro, tomatoes, and onions separate and add them just before serving for maximum freshness.
- Customize your dip by adding your favorite toppings like jalapeños, corn, or seasoned ground beef.
- Serve with tortilla chips, crackers, or vegetable sticks.
- Consider this a great alternative to some meal planning services, offering a crowd-pleasing appetizer.
Nutrition
- Serving Size: 1/12th of dish
- Calories: 150
- Sugar: 3g
- Sodium: 400mg
- Fat: 10g
- Saturated Fat: 4g
- Unsaturated Fat: 6g
- Trans Fat: 0g
- Carbohydrates: 10g
- Fiber: 3g
- Protein: 5g
- Cholesterol: 15mg