
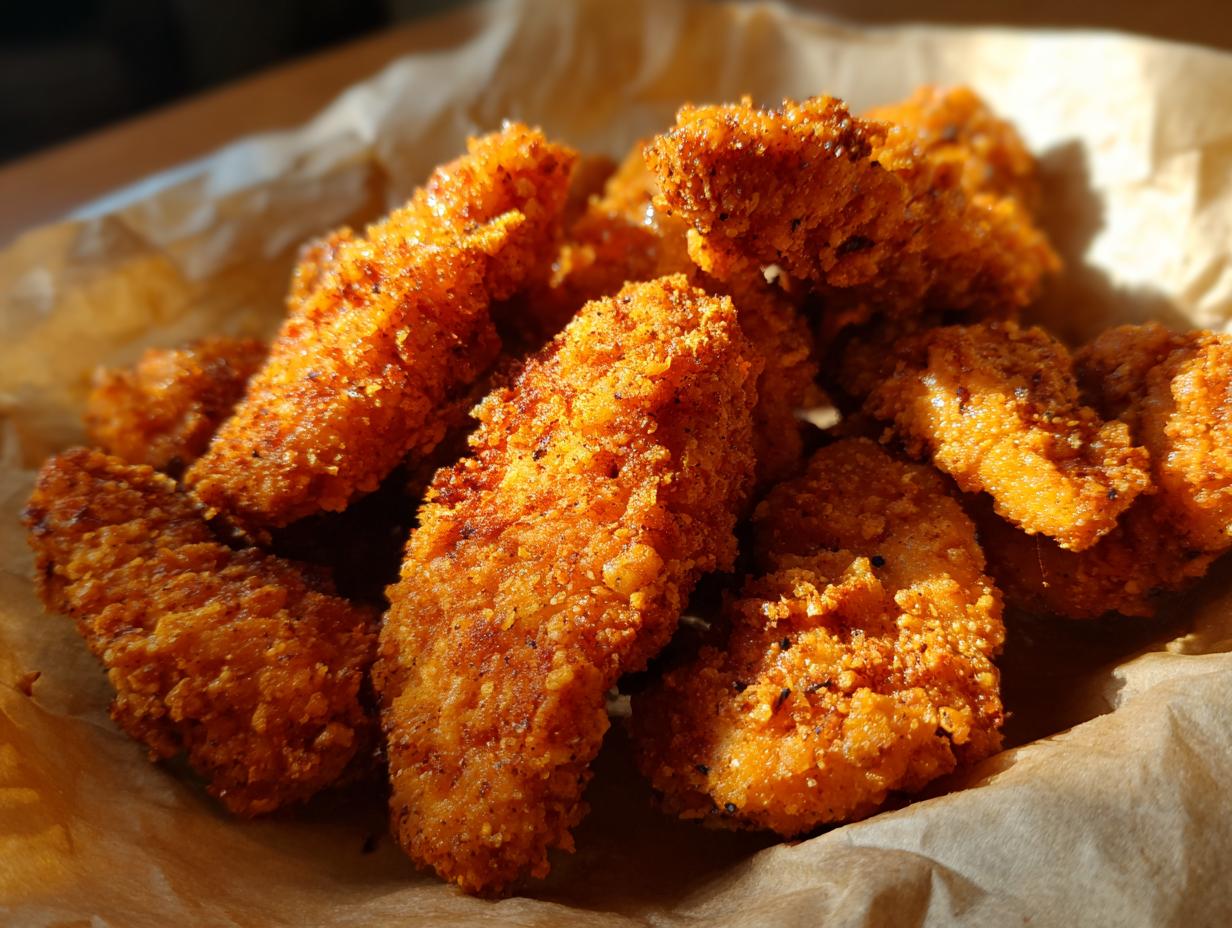

You know those nights, right? The ones where the clock is ticking, everyone’s hungry, and you’re just craving something *really* good, but the thought of messing up the kitchen feels overwhelming? Yeah, me too. For years, as a marketing director swamped with deadlines, cooking felt like just another task. Then, on a road trip, I had this amazing shrimp creole in New Orleans that totally changed things. It wasn’t just food; it was a story! That moment inspired me to build Gourmet Gaze and share recipes that are both beautiful and deeply satisfying, like these amazing crispy baked chicken tenders. They prove you can get that golden, crunchy coating and juicy chicken without ever touching a deep fryer. Easy, right?
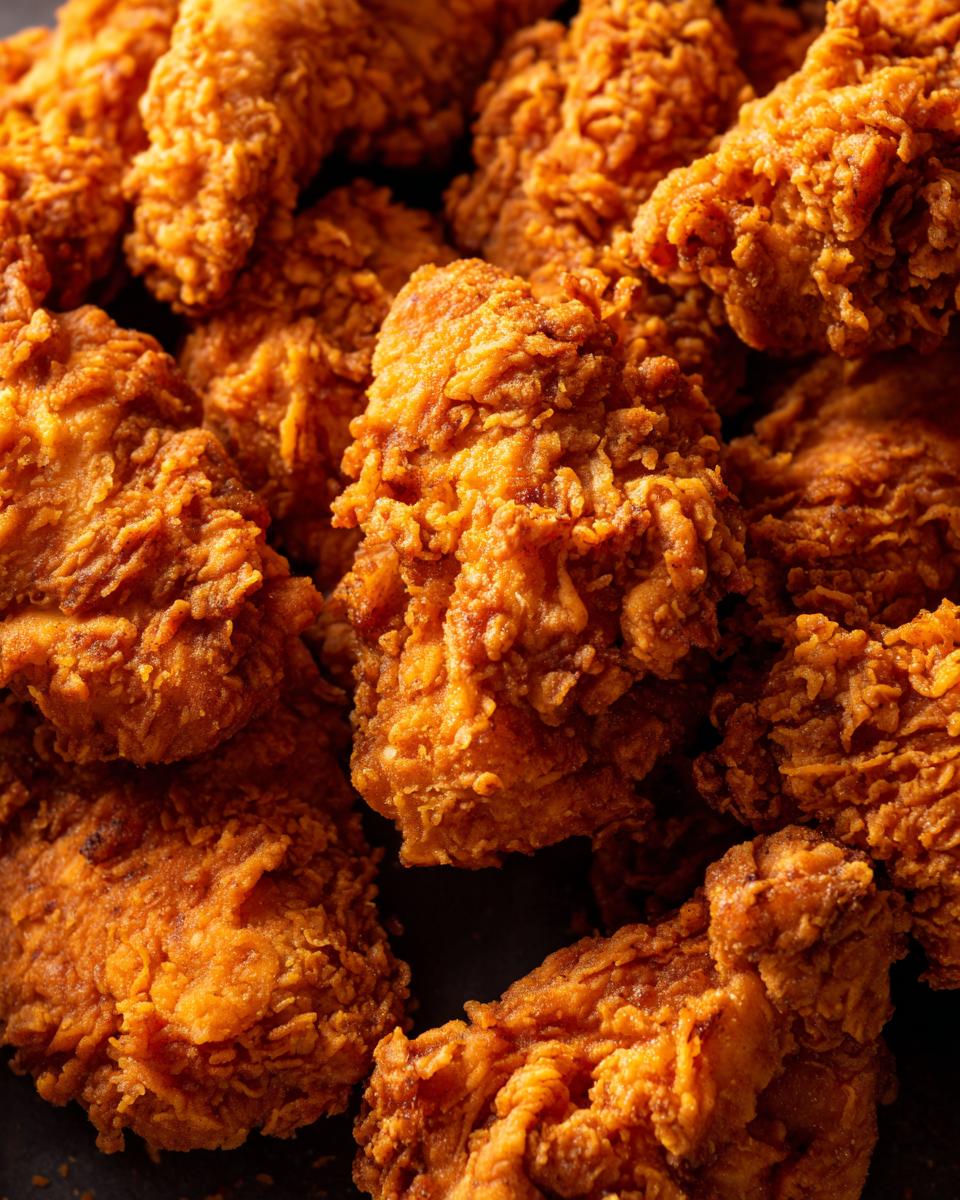
- Why You'll Love These Crispy Baked Chicken Tenders
- Gather Your Ingredients for Crispy Baked Chicken Tenders
- Mastering the Art of Crispy Baked Chicken Tenders
- Serving Suggestions for Your Crispy Baked Chicken Tenders
- Tips for Extra Crispy Baked Chicken Tenders
- Make-Ahead and Meal Prep Chicken Tenders
- Variations for Your Crispy Baked Chicken Tenders
- Frequently Asked Questions about Crispy Baked Chicken Tenders
- Estimated Nutritional Information
- Share Your Crispy Baked Chicken Tender Creations!
Why You’ll Love These Crispy Baked Chicken Tenders
Honestly, these tenders are a weeknight lifesaver! You get that satisfying crunch and tender chicken without all the fuss of deep frying. Plus, they’re super quick to make, perfect for busy evenings. The best part? Kids absolutely devour them, making it a win-win for everyone. They’re a healthier way to enjoy a classic favorite, and you can feel good about serving them. Plus, they’re so versatile with all your favorite dips!
Gather Your Ingredients for Crispy Baked Chicken Tenders
Alright, let’s get our ducks in a row so we can whip up these amazing crispy baked chicken tenders! It’s all about simple stuff you probably already have. Grab about 1 and a half pounds of boneless, skinless chicken breasts – we’ll slice these into nice, bite-sized strips. For that super crunch, we need a cup of panko breadcrumbs. If you like things extra crumbly, just give them a little crush! We’ll also need half a cup of grated Parmesan cheese – the real stuff makes all the difference, trust me. Then, for our seasoning blend, we’ll grab garlic powder, onion powder, paprika, salt, and pepper. And don’t forget two large eggs, beaten up nice and ready for dipping. Oh, and if you *really* want that extra crispy coating, I like to add a tablespoon of good olive oil right before baking!
Mastering the Art of Crispy Baked Chicken Tenders
Alright, let’s get down to business and make these crispy baked chicken tenders absolutely perfect! It’s a surprisingly simple process, and I promise you, no deep frying involved. We’re aiming for that golden-brown, crunchy exterior that kids (and adults!) go crazy for, with juicy chicken inside. Think of it as magic happening in your oven. If you’re looking for other crispy baked goodness, you should totally check out my crispy baked Parmesan zucchini; it’s a game-changer for veggies!
Prepping Your Oven and Baking Sheet for Crispy Chicken Tenders
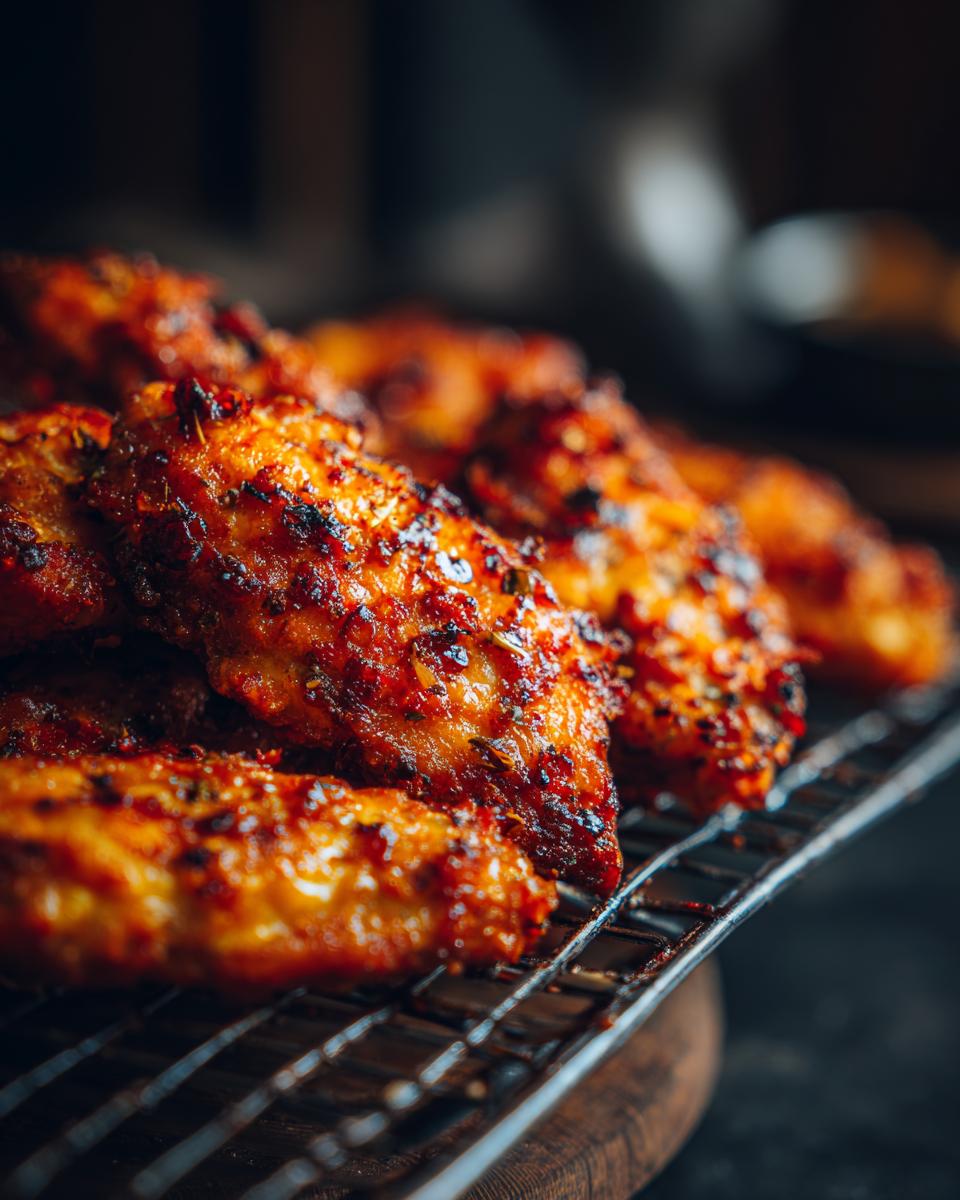
First things first, let’s get that oven preheated to 400°F (200°C). It needs to be nice and hot to give us that crisp texture right away. And for easy cleanup, which we all love on a weeknight, line your baking sheet with parchment paper. It seriously makes a world of difference – no stuck-on breadcrumbs here!
Creating the Perfect Panko Coating for Crispy Chicken Tenders
Now, for the star of the coating show: panko! In a shallow dish, we’re going to combine that cup of panko breadcrumbs with our grated Parmesan, garlic powder, onion powder, paprika, salt, and pepper. Just give it all a good mix so all those yummy seasonings are spread evenly throughout the crumbs. This is what gives our crispy chicken tenders all their flavor!
The Double Dip: Egg Wash and Panko Dredge for Crispy Chicken Tenders
This is where the magic really starts to happen! Take each chicken tender strip and give it a good dip in those beaten eggs. Make sure it’s fully coated – that egg wash is our sticky stuff! Then, give it a good dredge in the panko mixture. Don’t just roll it; gently press those crumbs onto the chicken so they really stick. This is key for those beautifully coated crispy chicken tenders. Place them on your prepared baking sheet, leaving a little space between each one so they can get nice and crispy.
Baking for Golden Perfection: Achieving Crispy Oven Fried Chicken Strips
Now for the final stretch! Pop those beautiful tenders into your hot oven. We’re going to bake them for about 18 to 22 minutes. The trick to getting them evenly golden and super crispy is to flip them halfway through. You’ll know they’re ready when the chicken is cooked all the way through and that coating is a gorgeous, golden brown. These really are the best oven fried chicken strips!
Serving Suggestions for Your Crispy Baked Chicken Tenders
Okay, so your amazing crispy baked chicken tenders are out of the oven, perfectly golden and smelling incredible! Now, what do we do with them? These are just begging to be dipped! They’re seriously a hit for kid-friendly meals, but honestly, I love them just as much as the grown-ups. Think of them as the perfect canvas for all your favorite sauces. If you’re ever looking for more chicken goodness, my honey garlic chicken skewers are pretty fantastic too!
Dipping Sauces to Complement Your Crispy Baked Chicken Tenders
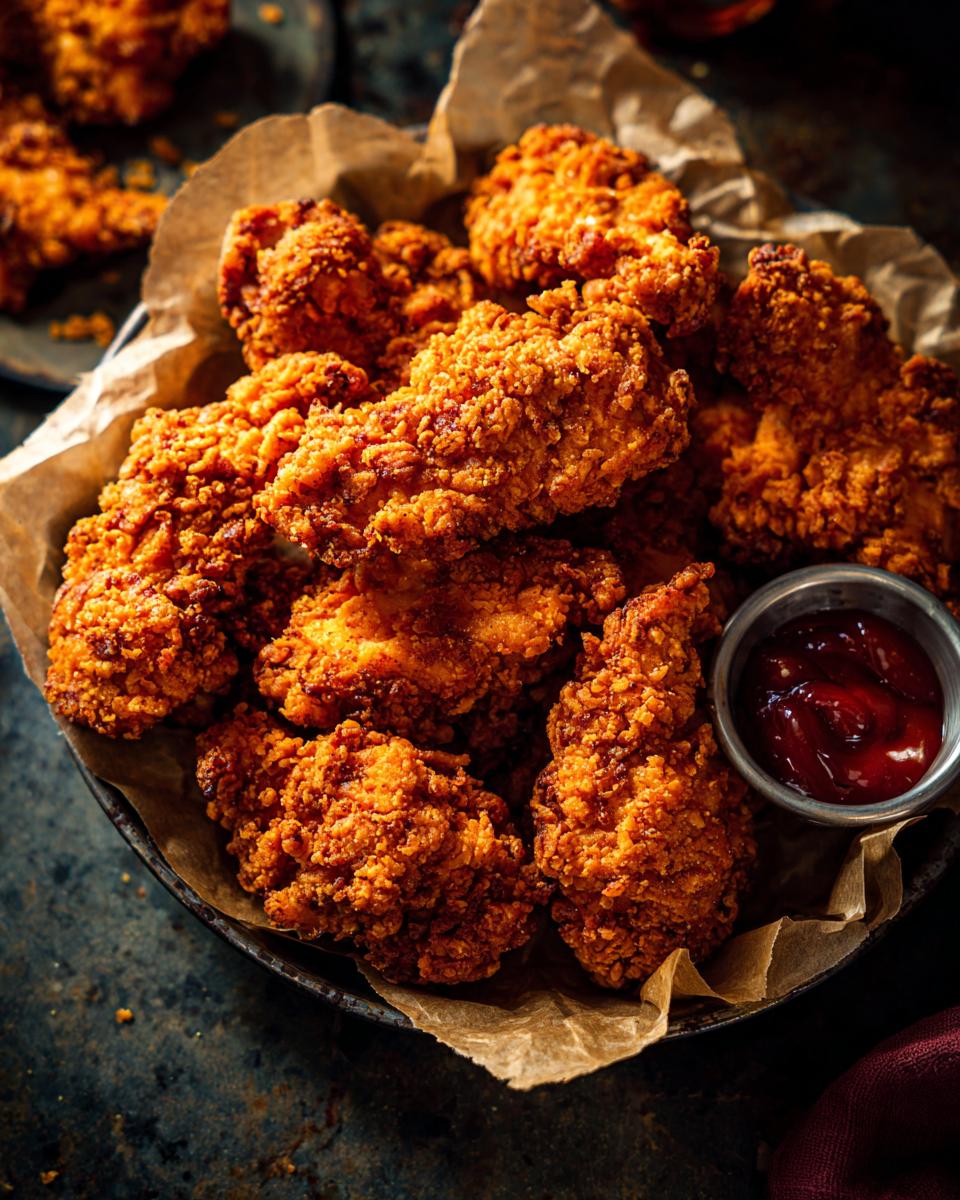
You absolutely HAVE to have a good dipping sauce for these crispy chicken tenders! My go-to is usually a creamy honey mustard or a smoky BBQ sauce. Ranch is always a crowd-pleaser, and you can never go wrong with classic ketchup. For something a little different, a sweet chili sauce is awesome too. The sauce really just takes them to that next level of deliciousness!
Tips for Extra Crispy Baked Chicken Tenders
Okay, so we’ve got these awesome crispy baked chicken tenders going, but if you’re like me and chasing that *ultimate* crisp, there are a few little tricks I’ve picked up. Overcrowding the pan is the biggest enemy of crispiness, seriously! If you crowd them, they steam instead of bake, and nobody wants soggy breading. So, give your tenders plenty of space on that baking sheet. I sometimes even use two pans if I have a lot to make. Also, I’ve noticed that a little drizzle of olive oil right before they go into the oven can make a big difference. It just helps that panko coating get that extra boost of golden-brown crispiness. For another amazing chicken dish, check out my easy chicken pot pie casserole!
Ingredient Spotlight: The Power of Panko for Crispy Chicken Tenders
Let’s talk panko breadcrumbs for a second, because they’re kinda the secret weapon here for getting these crispy chicken tenders so good. Unlike regular breadcrumbs, panko is made from white bread that’s been baked with an electrical current, giving it these big, airy flakes. That means way more surface area to get super golden and crunchy when they bake up! Trust me, it’s worth seeking out panko for the best texture.
Make-Ahead and Meal Prep Chicken Tenders
You know what’s awesome? Making these ahead of time! You can totally prep your meal prep chicken tenders earlier in the week. Just let them cool completely after baking, then pop them into an airtight container in the fridge. They’ll stay good for about 3 days. When you’re ready to reheat and eat, pop them back into a moderately hot oven (around 350°F/175°C) for a few minutes to bring back that crunch. It’s the easiest way to have a delicious, healthy lunch or quick dinner ready to go!
Variations for Your Crispy Baked Chicken Tenders
You know, the great thing about these crispy baked chicken tenders is that they’re like a blank canvas waiting for your personal flair! Don’t be afraid to play around with the breadcrumb mixture. I’ve found adding a little Italian seasoning or even some red pepper flakes can give them a fun kick. If you’re a cheese lover, try swapping out some of the Parmesan for cheddar or even Gruyere for a richer flavor. And fresh herbs, like finely chopped parsley or chives, sprinkled into the panko mix before baking? Chef’s kiss! If you’re looking for more ways to jazz up chicken, you’ve got to try my chicken piccata with lemon; it’s a total game-changer!
Frequently Asked Questions about Crispy Baked Chicken Tenders
Got questions about these awesome crispy baked chicken tenders? I totally get it! Let’s dive into some common ones to make sure your cooking experience is as smooth as possible.
Can I use chicken thighs instead of breasts for these crispy tenders?
Absolutely! Chicken thighs are a bit more forgiving and can stay even juicier. Just cut them into similar-sized pieces. You might need to add a minute or two to the baking time, so keep an eye on them until they’re perfectly cooked through.
How do I prevent the coating from falling off my crispy chicken tenders?
The key is a good double dip and pressing! Make sure each tender is fully coated in the egg wash, then really press it into the panko mixture. This helps the breadcrumbs stick like glue. Also, avoid moving the tenders too much once they’re on the baking sheet before they start baking. That little bit of effort makes a huge difference!
Can these crispy baked chicken tenders be frozen?
Yes! They freeze really well, which is fantastic for meal prep. Once they’re baked and completely cooled, store them in a freezer-safe bag or container. To reheat, just pop them in a single layer on a baking sheet in a 375°F (190°C) oven for about 10-15 minutes, or until heated through and crispy again. It’s like having homemade fast food ready anytime!
Estimated Nutritional Information
Now, let’s talk about the good stuff – what’s inside these amazing crispy baked chicken tenders! Keep in mind these numbers are estimates since everyone’s kitchen is a little different. We’re looking at roughly 350 calories per serving, with about 15g of fat and a fantastic 30g of protein to keep you full and energized. You’ll also find around 20g of carbs and just 2g of sugar. It’s a pretty balanced picture for such a yummy meal!
Share Your Crispy Baked Chicken Tender Creations!
Okay, now that you’ve whipped up these amazing crispy baked chicken tenders, I’d absolutely LOVE to hear all about it! Did you try a new dipping sauce? Did the kids go wild for them? Pop down in the comments below and tell me everything! And please, if you snap a pic (because let’s be real, they look gorgeous!), tag us on social media. It makes my day to see what you’re cooking up in your kitchens. For a bit more about my own cooking adventures, you can always check out my About page!
Print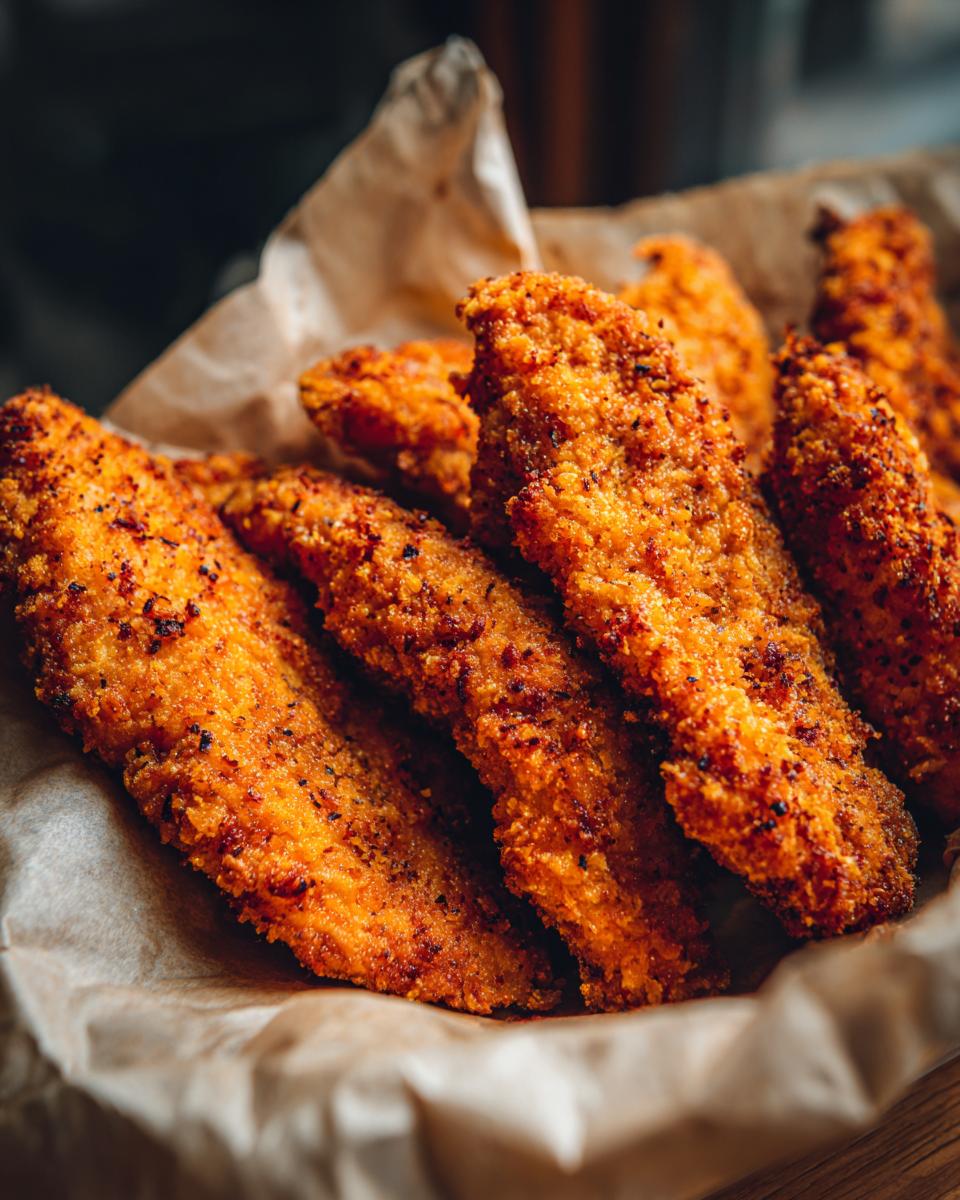
Crispy Baked Chicken Tenders
Make juicy, crispy chicken tenders in your oven. This recipe is perfect for a quick weeknight dinner and is kid-friendly. Serve with your favorite dipping sauces.
- Prep Time: 15 min
- Cook Time: 20 min
- Total Time: 35 min
- Yield: 4 servings 1x
- Category: Dinner
- Method: Baking
- Cuisine: American
- Diet: Vegetarian
Ingredients
- 1.5 lbs boneless, skinless chicken breasts, cut into strips
- 1 cup panko breadcrumbs
- 1/2 cup grated Parmesan cheese
- 1 teaspoon garlic powder
- 1 teaspoon onion powder
- 1/2 teaspoon paprika
- 1/4 teaspoon salt
- 1/4 teaspoon black pepper
- 2 large eggs, beaten
- 1 tablespoon olive oil (optional, for crispier coating)
Instructions
- Preheat your oven to 400°F (200°C). Line a baking sheet with parchment paper.
- In a shallow dish, combine panko breadcrumbs, Parmesan cheese, garlic powder, onion powder, paprika, salt, and pepper.
- Dip each chicken tender first into the beaten eggs, ensuring it’s fully coated.
- Then, dredge the egg-coated chicken tender in the panko mixture, pressing gently to help the crumbs adhere.
- Place the coated chicken tenders on the prepared baking sheet. If using olive oil, drizzle it over the tenders for extra crispiness.
- Bake for 18-22 minutes, flipping halfway through, until the chicken is cooked through and the coating is golden brown and crispy.
- Serve immediately with your favorite dipping sauces.
Notes
- For a healthier option, you can skip the olive oil drizzle.
- Try different seasonings in the breadcrumb mixture, like Italian seasoning or cayenne pepper for a kick.
- Dipping sauce ideas: honey mustard, BBQ sauce, ranch, ketchup, or sweet chili sauce.
- These tenders are great for meal prep. Let them cool completely before storing in an airtight container in the refrigerator for up to 3 days.
- For an even crispier texture, consider using an air fryer. Cook at 380°F (190°C) for 10-12 minutes, flipping halfway.
Nutrition
- Serving Size: 4 oz
- Calories: 350
- Sugar: 2g
- Sodium: 450mg
- Fat: 15g
- Saturated Fat: 4g
- Unsaturated Fat: 11g
- Trans Fat: 0g
- Carbohydrates: 20g
- Fiber: 2g
- Protein: 30g
- Cholesterol: 120mg