
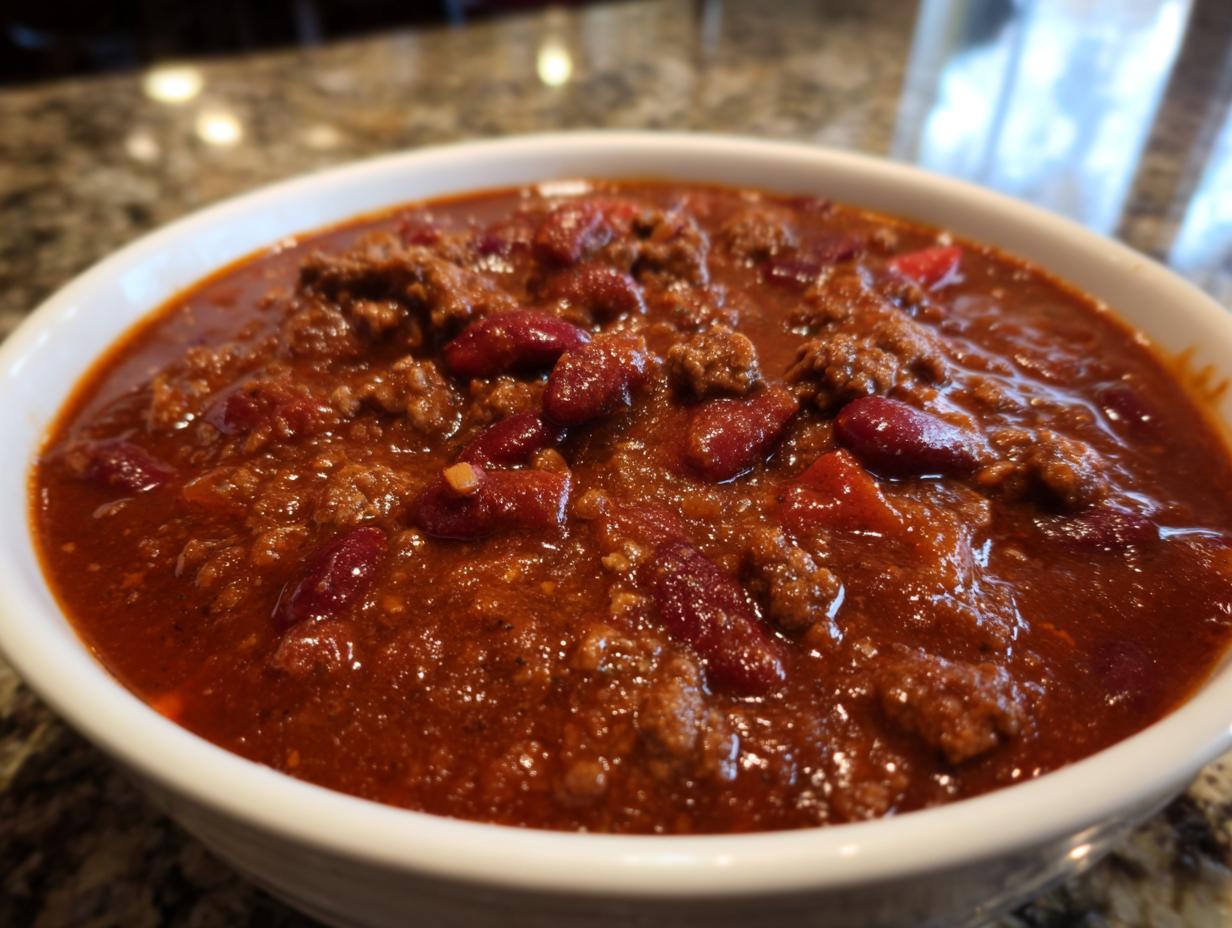

There’s just something magical about a big, steaming bowl of chili, isn’t there? Especially when the weather turns crisp, and you just crave that ultimate comfort food. I remember a time, not too long ago, when cooking felt more like a chore than a joy – my kitchen was basically just for storing coffee. But a trip across the country changed everything when I tasted a dish that just sang with flavor and history. It inspired me to dive headfirst into cooking, and this hearty, easy homemade chili recipe is a direct result of that passion. It’s become my go-to for those busy weeknights when we need a delicious meal fast, or when I’m prepping meals for the week.
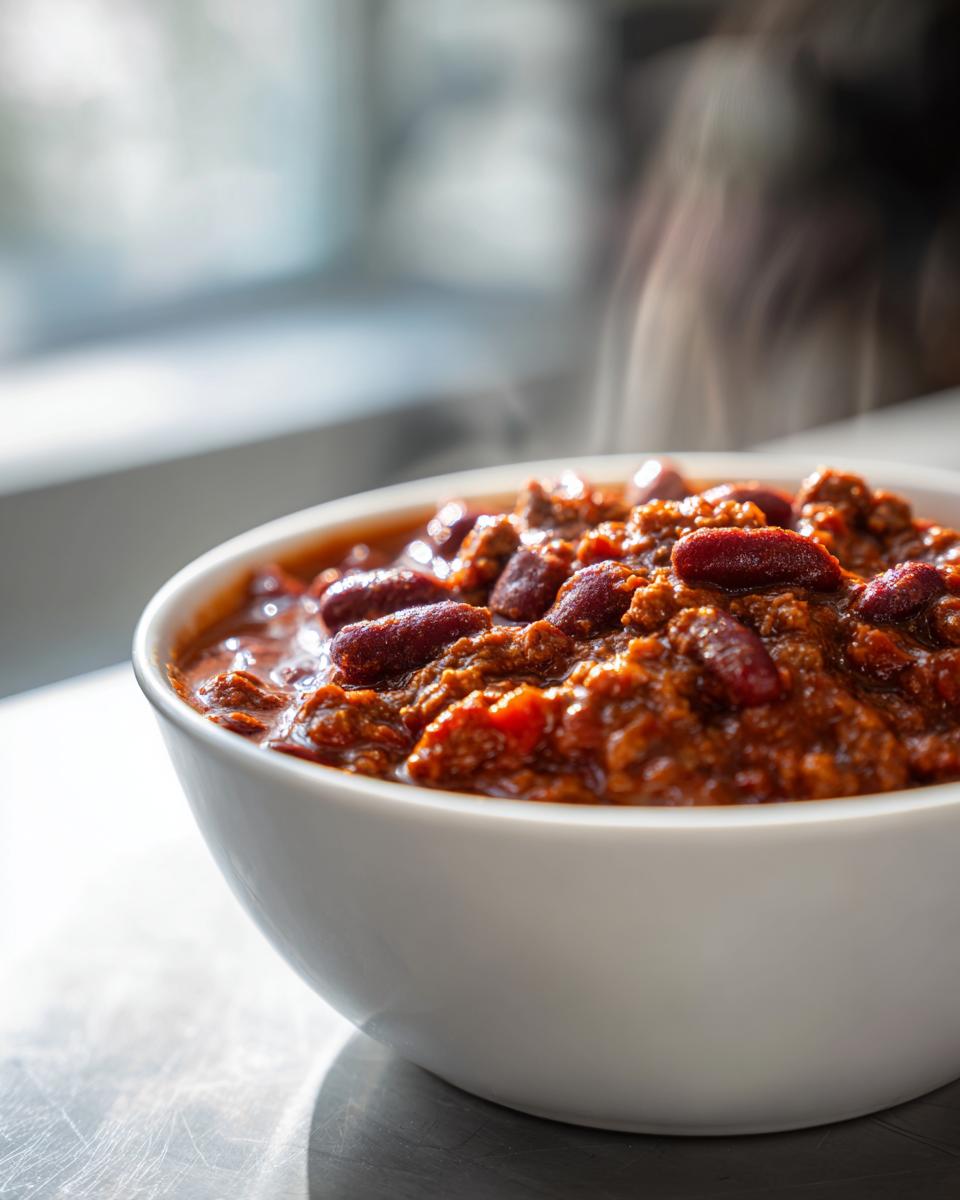
- Why You'll Love This Easy Chili Recipe
- Gather Your Ingredients for Homemade Chili
- How to Make the Best Homemade Chili
- Tips for Achieving the Perfect Homemade Chili Consistency
- Customizing Your Homemade Chili: Topping Ideas
- Making Homemade Chili Ahead and Freezing
- Frequently Asked Questions about Homemade Chili
- Nutritional Information for Homemade Chili
- Share Your Homemade Chili Creations
Why You’ll Love This Easy Chili Recipe
Seriously, if you’re looking for a truly satisfying bowl of comfort, this is it! This homemade chili recipe is:
- Super Speedy: Perfect for those weeknight dinners when time is tight.
- Incredibly Simple: You probably have most of the ingredients already!
- Packed with Flavor: All those spices meld together beautifully.
- So Versatile: It’s fantastic on its own or piled high with your favorite toppings.
It really is the ultimate comfort food!
Gather Your Ingredients for Homemade Chili
Alright, time to pull together everything you need for this amazing chili! You’ll be surprised how simple this is. Grab these goodies and let’s get cooking:
- 1 tablespoon olive oil
- 1 pound ground beef (you can totally use turkey or chicken too!)
- 1 large onion, chopped up nicely
- 2 cloves garlic, minced – don’t skip the garlic, it’s key!
- 1 (28 ounce) can crushed tomatoes
- 1 (15 ounce) can kidney beans, drained and rinsed well
- 1 (15 ounce) can black beans, also drained and rinsed
- 1 (10 ounce) can diced tomatoes with green chilies, undrained (adds a little kick!)
- 2 tablespoons chili powder (this is where the deep flavor comes from!)
- 1 teaspoon cumin
- 1/2 teaspoon salt
- 1/4 teaspoon black pepper
And for the fun part – the toppings! Think: shredded cheese, a dollop of sour cream, maybe some extra chopped onions, or even some crunchy crackers. I’ll tell you more about creating a whole chili bar later!
How to Make the Best Homemade Chili
Okay, so now that we’ve got all our flavorful ingredients ready to go, let’s get this pot simmering! Making this homemade chili on the stovetop is honestly super straightforward. The key is just paying a little attention to each step, and trust me, the aroma that fills your kitchen will make you so happy you’re cooking. We’re talking total cozy vibes here. You can find even more recipe tips and ideas on my blog.
Searing the Ground Beef and Aromatics
First things first, grab a nice big pot or a Dutch oven. We want something with some room to let all those flavors really mingle. Heat up that tablespoon of olive oil over medium-high heat. Once it’s shimmering, toss in your pound of ground beef. Just break it up with your spoon as it cooks until it’s nicely browned. We want all those little browned bits for flavor! After that, drain off any extra grease – nobody wants a greasy chili, right? Then, add your chopped onion to the same pot. Let it cook for about 5 minutes until it’s nice and soft and looks a little see-through. Now, stir in your minced garlic and cook for just another minute until you can really smell that amazing garlicky goodness. Be careful not to burn it!
Combining and Simmering Your Homemade Chili
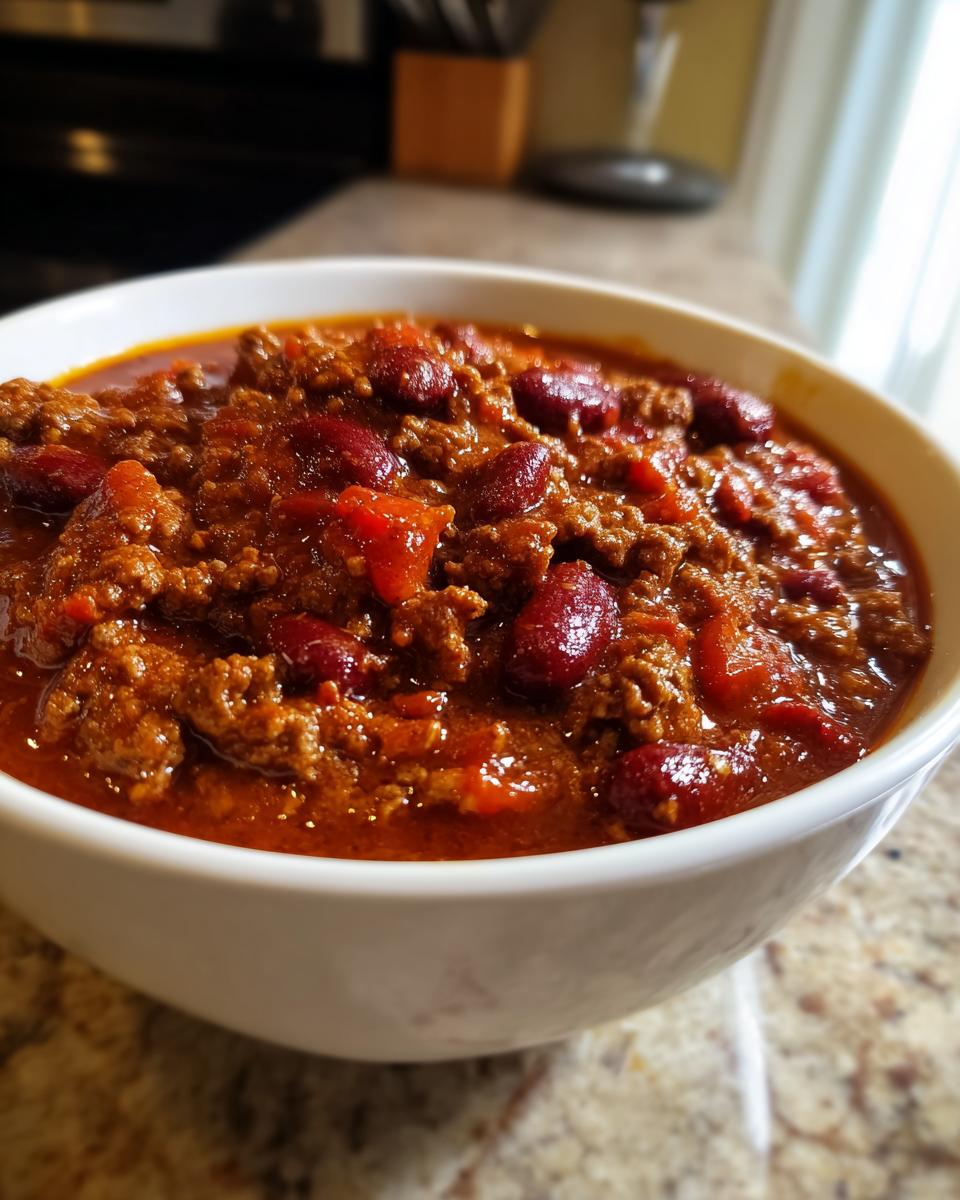
Now for the fun part – bringing it all together! Pour in those wonderful crushed tomatoes, the drained and rinsed kidney beans and black beans, and don’t forget the undrained diced tomatoes with green chilies. Give it a good stir to make sure everything is nicely combined. Next, it’s time for the spices! Add in your chili powder, cumin, salt, and pepper. Stir again really well to distribute all those delicious spices throughout the chili. Once it’s all mixed and looking amazing, bring the chili up to a gentle simmer. Then, turn the heat way down to low, pop a lid on it, and let it just bubble away happily. We recommend at least 30 minutes for the flavors to really start marrying, but honestly, the longer it simmers, the deeper and richer that flavor gets. Give it a stir every now and then to make sure nothing is sticking to the bottom.
Tips for Achieving the Perfect Homemade Chili Consistency
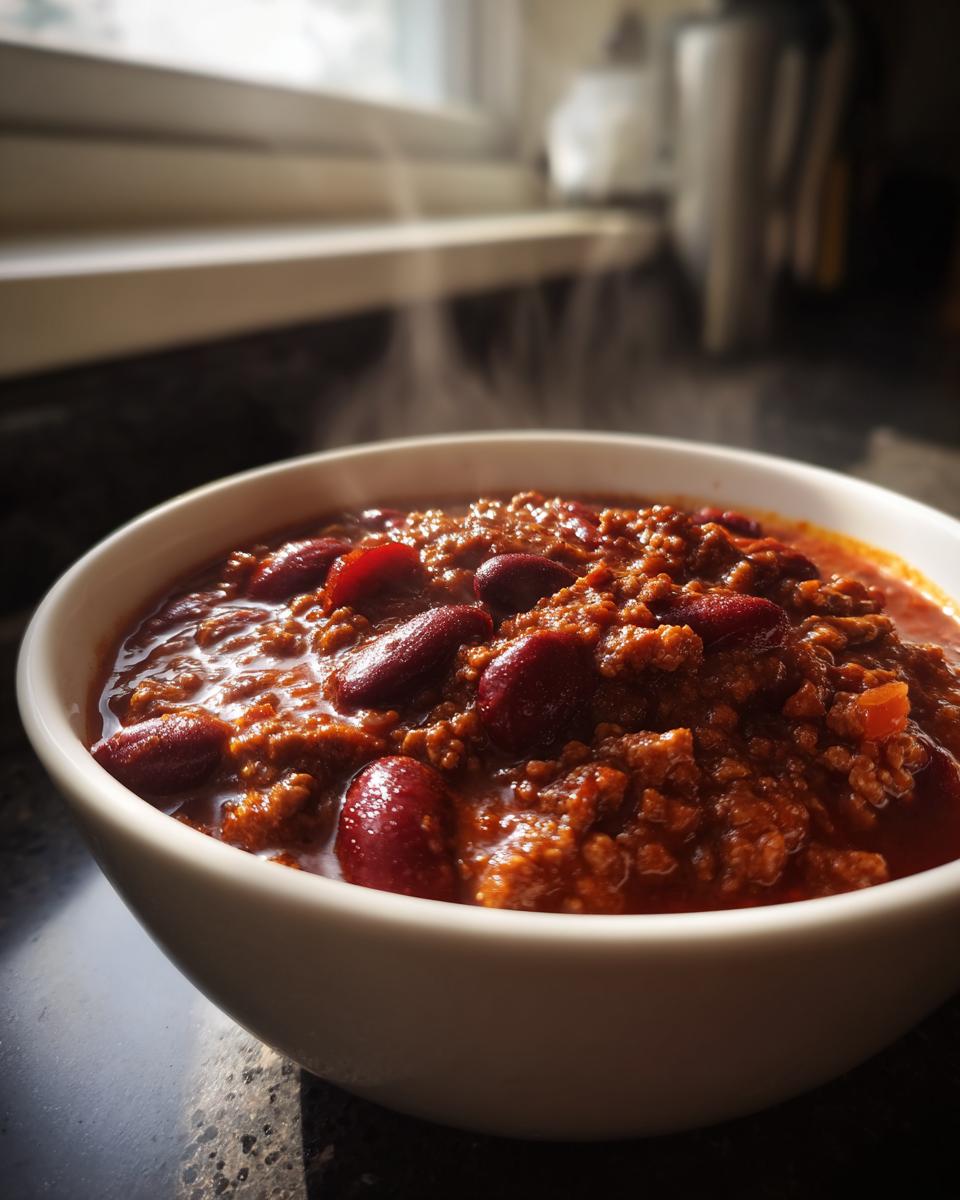
So, you’ve got your chili simmering away, looking and smelling fantastic, but maybe it’s a little thinner than you hoped? Don’t sweat it! My trusty trick, the one I learned really fine-tuning this recipe, is simple: just remove the lid during the last 15-20 minutes of cooking. Letting some of that steam escape helps thicken things up beautifully. It’s like magic for your chili!
Customizing Your Homemade Chili: Topping Ideas
Okay, so we’ve got this incredible homemade chili simmering, right? But what really takes it over the top, turning a simple dinner into a whole experience, is what you put ON top! Seriously, I love setting up a little chili bar. It makes serving everyone so easy and lets everyone get their bowl *exactly* how they like it, especially for those meal prep bowls that sometimes need a little jazzy-up.
My absolute go-to toppings are creamy shredded cheddar cheese (of course!), a generous dollop of cool sour cream, and some finely chopped red onion for a little bite. But don’t stop there! Think about adding some sliced jalapeños for heat, a sprinkle of fresh cilantro, some crunchy corn chips or crackers, maybe even a bit of avocado if you’re feeling fancy. It’s all about making that perfect bowl of comfort your very own!
Making Homemade Chili Ahead and Freezing
One of the best things about this easy homemade chili is how perfectly it holds up when you make it ahead of time. Honestly, the flavors actually get even better overnight! So, if you’re planning for meal prep, just whip this up, let it cool completely, and then portion it into airtight containers. It’ll keep beautifully in the fridge for about 4 days. That means easy lunches or dinners all week long!
And guess what? This chili is also totally freezer-friendly! Once it’s cooled, scoop it into freezer-safe containers or heavy-duty freezer bags. You can store it safely in the freezer for up to 3 months. When you’re ready to enjoy it, just thaw it overnight in the fridge, then reheat it gently on the stovetop or in the microwave. It’s a lifesaver for those nights when you just don’t have time to cook from scratch but still want something hearty and delicious.
Frequently Asked Questions about Homemade Chili
You know, people always have the best questions about chili! It’s so adaptable, which is one of the things I adore about it. Here are a few things y’all have asked me before.
Can I make this homemade chili in a slow cooker?
Oh, absolutely! This recipe is fantastic as a crockpot chili. Just brown the beef and sauté the onion and garlic like usual, then toss everything into your slow cooker. Cook on low for 6-8 hours or on high for 3-4 hours. Easy peasy!
What are good vegetarian or vegan substitutions for this ground beef chili?
Totally! For a vegetarian version, just swap the ground beef for an extra can of beans (like pinto or cannellini) or a cup of your favorite finely chopped mushrooms. For a vegan meal, use plant-based crumbles instead of beef, and double-check your toppings to make sure they’re vegan too!
How do I thicken my homemade chili if it’s too thin?
If your chili is a little thinner than you like after simmering, don’t worry! Besides taking off the lid, you can mash about a cup of the beans against the side of the pot with your spoon – that’ll naturally thicken it. Or, you can mix a tablespoon of cornstarch with two tablespoons of cold water to make a slurry, then stir that into the simmering chili until it thickens up.
Nutritional Information for Homemade Chili
Just so you know, these numbers are just an estimate, since everyone’s kitchen is a little different! This is based on about 1.5 cups per serving:
Calories: 350
Fat: 15g
Protein: 25g
Carbohydrates: 30g
Fiber: 10g
Sodium: 800mg
Sugar: 10g
It’s a pretty hearty and balanced meal, especially if you skip some of the higher-fat toppings.
Share Your Homemade Chili Creations
I really hope you give this homemade chili a try! It’s truly one of my favorite meals, and I’d just love to hear what you think. Did you try a cool topping I didn’t mention? Let me know in the comments below! Or, if you snap a pic of your amazing bowl, tag us on social media – I can’t wait to see your delicious creations! Feel free to reach out with any questions via our contact page too!
Print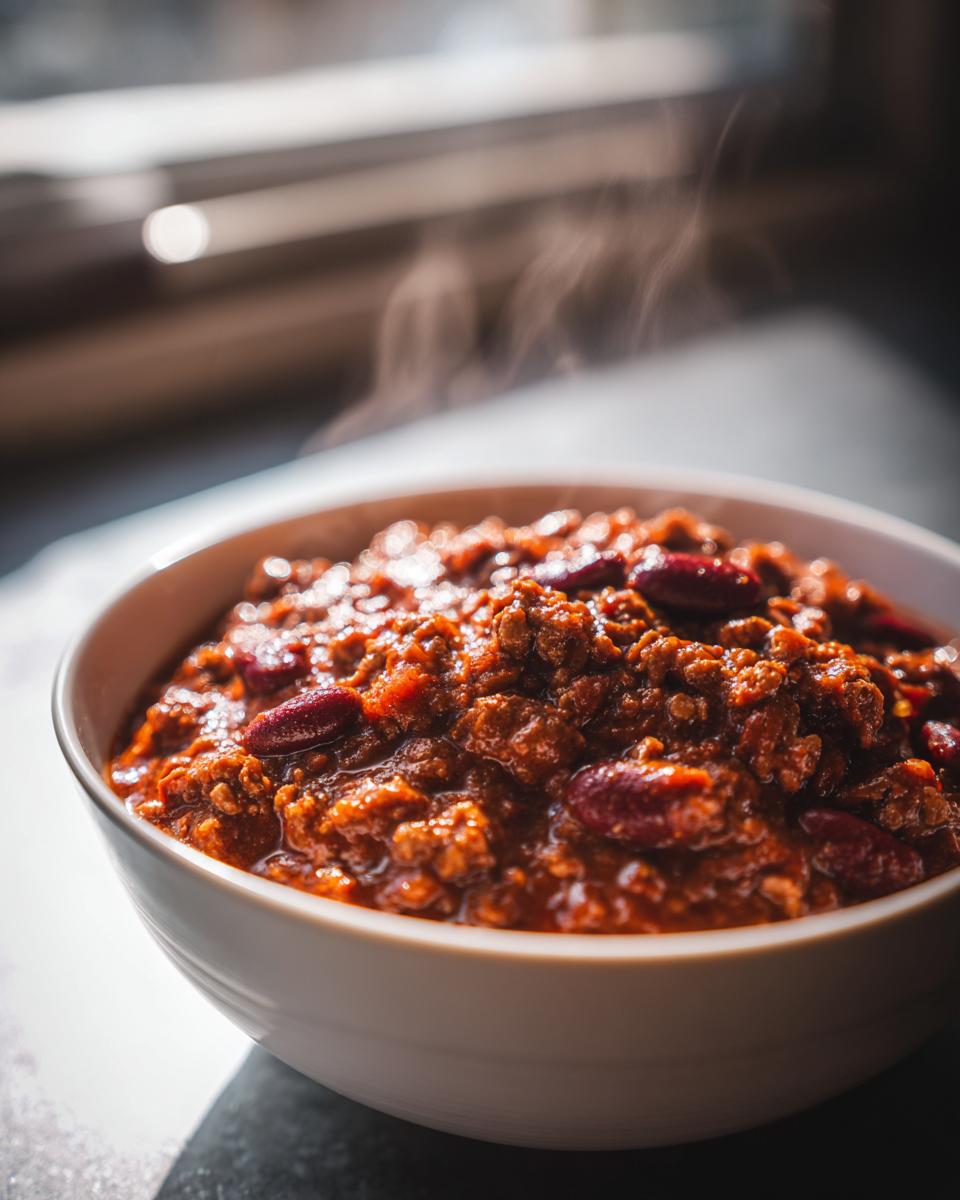
Hearty Homemade Chili

A simple and satisfying chili recipe perfect for a cozy weeknight dinner or meal prep.
- Prep Time: 15 min
- Cook Time: 45 min
- Total Time: 1 hour
- Yield: 6 servings 1x
- Category: Dinner
- Method: Stovetop
- Cuisine: American
- Diet: Vegetarian
Ingredients
- 1 tablespoon olive oil
- 1 pound ground beef
- 1 large onion, chopped
- 2 cloves garlic, minced
- 1 (28 ounce) can crushed tomatoes
- 1 (15 ounce) can kidney beans, drained and rinsed
- 1 (15 ounce) can black beans, drained and rinsed
- 1 (10 ounce) can diced tomatoes with green chilies, undrained
- 2 tablespoons chili powder
- 1 teaspoon cumin
- 1/2 teaspoon salt
- 1/4 teaspoon black pepper
- Optional toppings: shredded cheese, sour cream, chopped onions, crackers
Instructions
- Heat olive oil in a large pot or Dutch oven over medium-high heat. Add ground beef and cook, breaking it up with a spoon, until browned. Drain off any excess grease.
- Add chopped onion to the pot and cook until softened, about 5 minutes. Stir in minced garlic and cook for 1 minute more until fragrant.
- Pour in crushed tomatoes, kidney beans, black beans, and diced tomatoes with green chilies. Stir to combine.
- Add chili powder, cumin, salt, and pepper. Stir well.
- Bring the chili to a simmer, then reduce heat to low, cover, and cook for at least 30 minutes, or up to several hours, stirring occasionally. The longer it simmers, the more the flavors will meld.
- Serve hot with your favorite toppings.
Notes
- For a thicker chili, remove the lid during the last 15-20 minutes of simmering.
- This chili is excellent for meal prep. Portion into airtight containers and refrigerate for up to 4 days or freeze for up to 3 months.
- Consider a chili bar with various toppings like shredded cheddar cheese, sour cream, chopped red onion, jalapeños, and corn chips for a fun meal.
Nutrition
- Serving Size: 1.5 cups
- Calories: 350
- Sugar: 10g
- Sodium: 800mg
- Fat: 15g
- Saturated Fat: 5g
- Unsaturated Fat: 10g
- Trans Fat: 0g
- Carbohydrates: 30g
- Fiber: 10g
- Protein: 25g
- Cholesterol: 70mg