
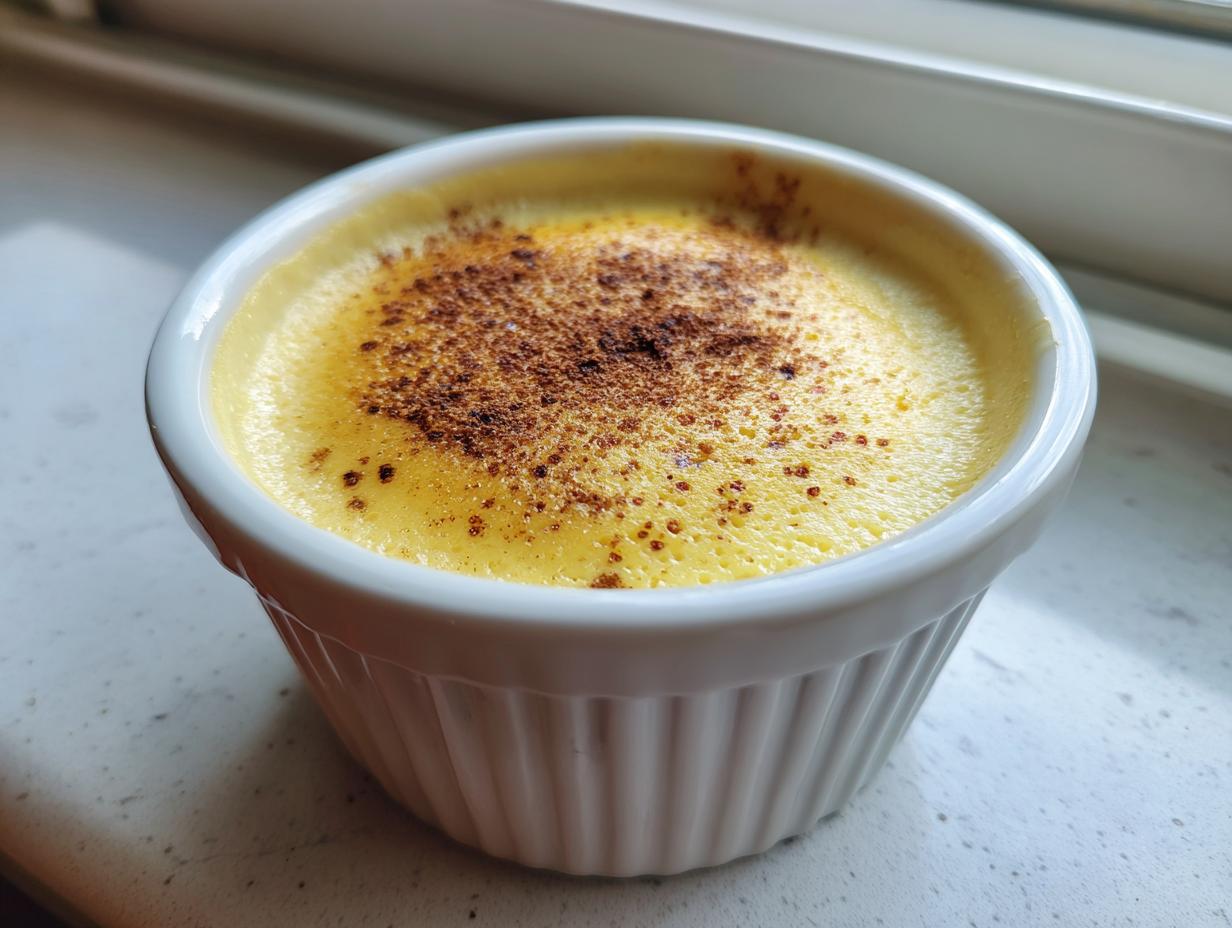

There are few sensations as instantly soothing as biting into something truly nostalgic. Forget the fussy soufflés and complicated pastry work; sometimes, what your soul genuinely craves is the unparalleled comfort of a truly classic, simple dessert. I spent years in boardrooms chasing perfection on paper, but mastering food that truly nourishes—that took me out of the office and into the kitchen. This Gourmet Gaze kitchen perfected this Fail-Proof Old Fashioned Egg Custard Recipe because I realized the best things in life are often the simplest. We aren’t flirting with complicated flavor layers here; we are delivering a perfectly smooth, utterly classic experience from scratch. This simple egg dessert proves that ease and elegance can absolutely coexist.
- Why This Classic Egg Custard Recipe Delivers a Velvety Smooth Dessert
- Essential Ingredients for Your Easy Homemade Custard
- Tips for Achieving a Smooth Baked Custard Texture
- Step-by-Step Instructions for the Traditional Custard Recipe
- Variations: Turning Your Egg Custard into a Pie Filling
- Ingredient Notes and Substitutions for Your Simple Egg Dessert
- Serving Suggestions for This Comfort Food Dessert
- Storage and Reheating Instructions for Leftover Egg Custard
- Frequently Asked Questions About Making Egg Custard
Why This Classic Egg Custard Recipe Delivers a Velvety Smooth Dessert
When people tell me they struggle with desserts that rely on eggs and milk, I always point them back to technique over ingredient complexity. My goal here, and the same goal you should embrace, is creating that truly velvety smooth dessert every single time. You won’t find fussy steps; you’ll find reliability.
This is why I call it our definitive fail proof dessert:
- It relies on the gentle art of the water bath, which is the insurance policy against a cracked top.
- We use simple ingredients, meaning we trust the quality of the dairy and eggs, not masking them with extracts.
- It guarantees a creamy custard dessert that sets just right—firm enough to hold shape but wobbly in the center when fresh from the oven. Every test batch I’ve run proves this method is consistently excellent. Feel free to browse my latest baking trials for the proof!
Essential Ingredients for Your Easy Homemade Custard
When we talk about an easy homemade custard, we have to trust the backbone of the recipe: the quality of the few things we use. There’s no hiding anything here, so grab the best dairy and eggs you can find. This is about purity of flavor, letting the simple combination of dairy and eggs shine through.
Ingredient List for the Baked Egg Custard
- 3 large eggs
- 1/2 cup sugar
- 2-2/3 cups milk (whole milk recommended for richness!)
- 1 teaspoon pure vanilla extract
- Pinch of salt
- Freshly grated nutmeg for topping
That’s it! With these simple ingredients dessert staples, we build magic. Make sure that vanilla is pure, not imitation—it makes a difference, trust me on this one.
Tips for Achieving a Smooth Baked Custard Texture
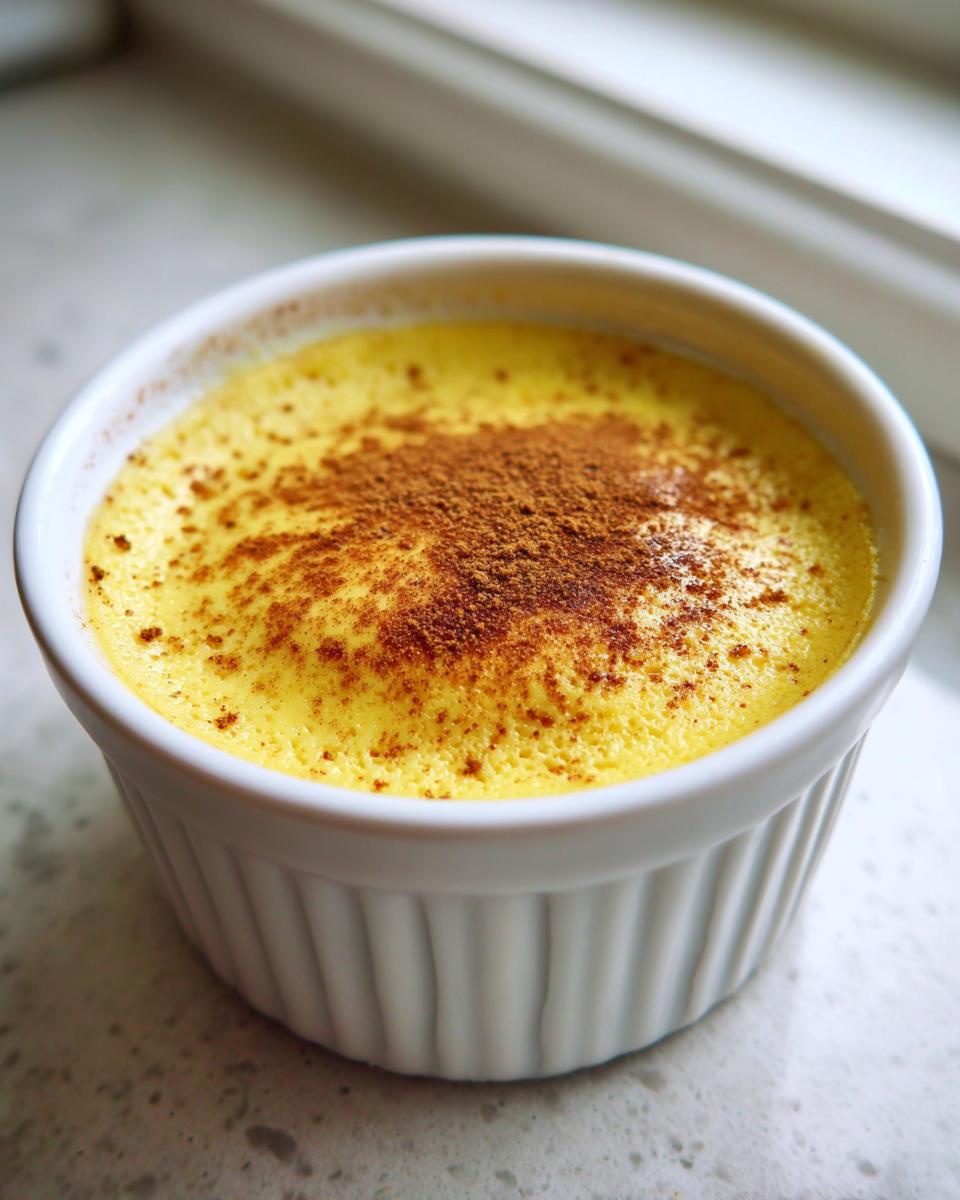
If you’ve ever cut into a baked dessert only to find little pockets of air or a slightly rubbery texture, you know the disappointment. Achieving that velvety smooth dessert quality is the holy grail for any traditional recipe, and when it comes to egg custard, technique is everything. We have to respect the eggs and coax them into setting gently, not scrambling them with aggressive mixing.
Techniques for a Fail Proof Egg Custard
The first critical step happens almost immediately: don’t whip those eggs! When you mix eggs vigorously, you incorporate air, and when that air bakes, it creates bubbles, which leads to that dreaded cracked or uneven top on your smooth baked custard. I learned this the hard way once when I was rushing and attacked the eggs with my electric mixer—the result looked like pale yellow cottage cheese! Oops.
So, my rule is a light whisk, just until the yolks and whites mingle. Then comes the secret weapon for a no fail custard: straining. You absolutely must push that entire mixture—eggs, milk, sugar, the works—through a fine-mesh sieve. This catches any stringy albumen or bits of unmixed egg that would otherwise ruin the dreamlike texture we are aiming for.
Step-by-Step Instructions for the Traditional Custard Recipe
Now that we’ve got our ingredients handled and we know how to avoid those dreaded bubbles, let’s put this Traditional Custard Recipe together. Making a perfect egg custard is all about respecting the process, especially when it comes to the oven. We are going to use gentle heat, which means setting up our water bath first thing. This protects our beautiful, strained mixture and guarantees that smooth baked custard finish. Grab your favorite ramekins—let’s get baking!
Preparing the Oven and Ramekins for the Egg Custard
First things first: get your oven warming up to 325°F (160°C). Before you pour anything, you need the protective armor for your single-serving custards. Place your four 6-ounce ramekins right inside a large, sturdy baking pan that can handle the heat. We aren’t ready to pour yet, but we need this setup ready to go!
Mixing and Straining the Creamy Custard Dessert Base
Remember what I said about not over-beating? Gently whisk your eggs, then add the sugar and salt until they disappear. Now, slowly stream in your milk and vanilla. Once it’s all combined, you have to strain it! Push that liquid through a fine-mesh sieve into a clean bowl. This is the single most important trick for an actual creamy custard dessert. Don’t skip this step, or you’ll end up with texture, not silk.
Baking and Cooling the Perfect Egg Custard
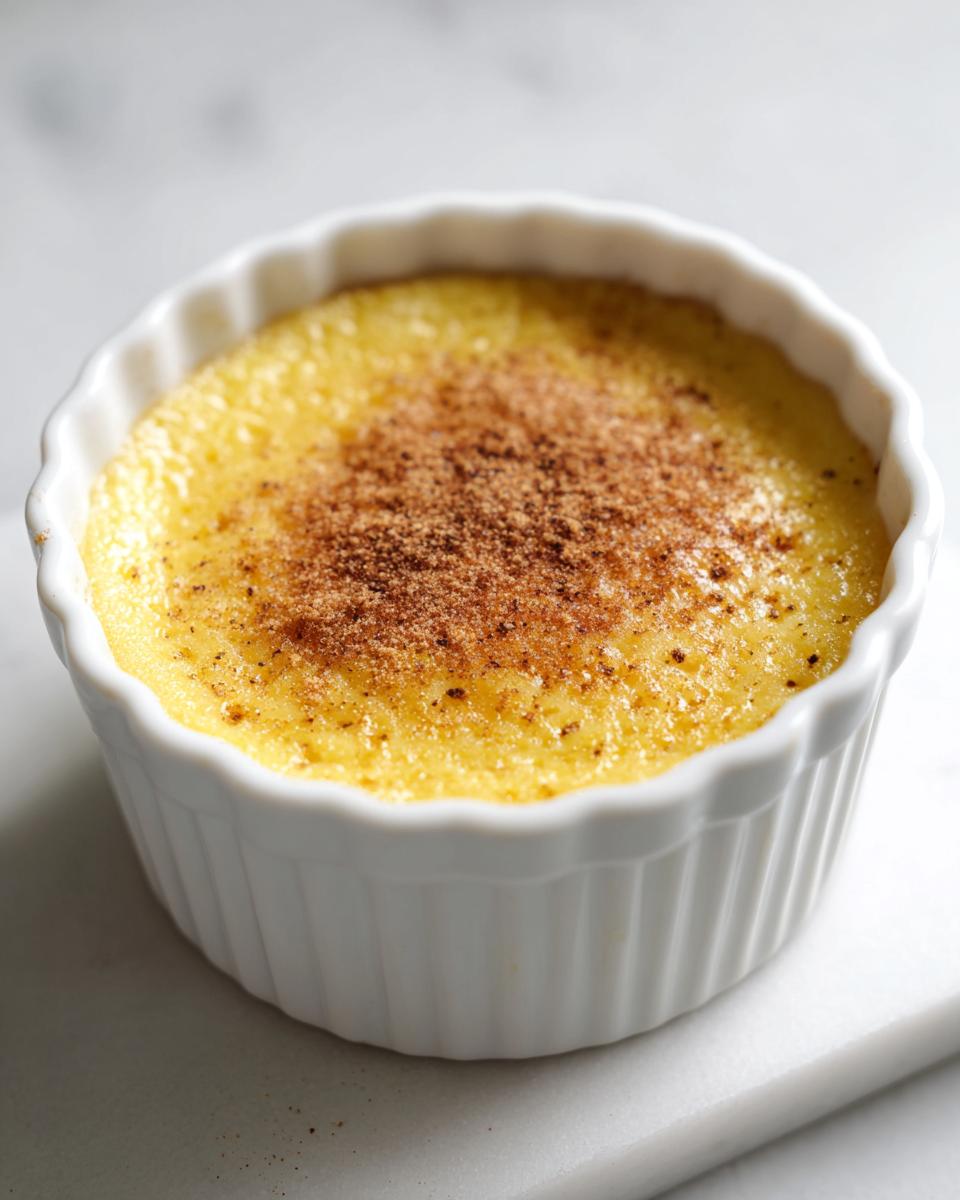
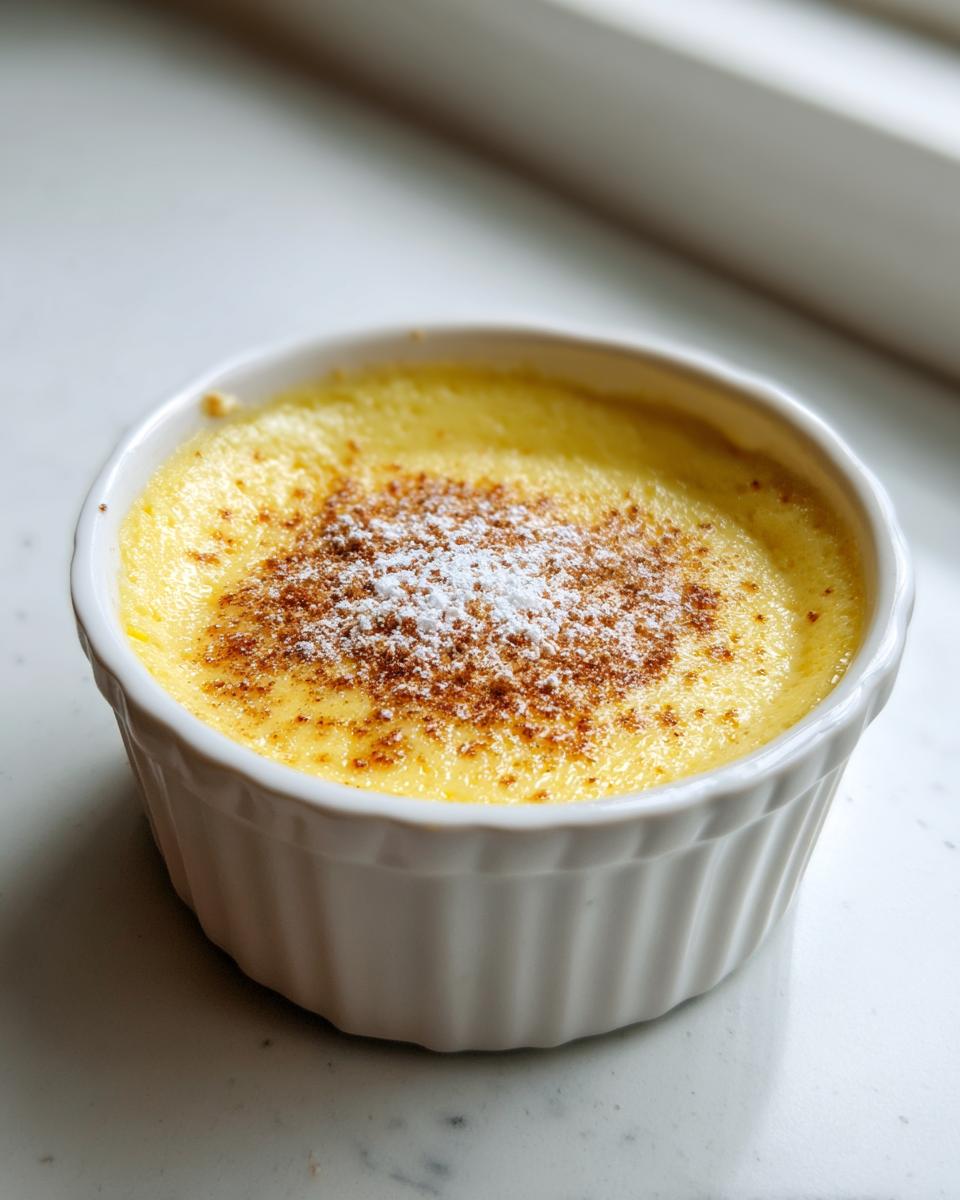
Carefully pour the strained mix into the waiting ramekins. Then, pour hot water into the surrounding baking pan until it comes halfway up the sides of the cups—that’s your bain-marie! Sprinkle fresh nutmeg on top. Bake this beauty for about 40 to 50 minutes. You’re looking for a center that still has a tiny wiggle when you nudge the pan—not liquid, but not firm. Once they pass the jiggle test, pull them out and let them cool completely before you pop them in the fridge for at least four hours. The chilling time is non-negotiable for texture!
You can find more lovely dessert inspiration right here on the site.
Variations: Turning Your Egg Custard into a Pie Filling
While I adore serving these little cups of creamy perfection, I know many of you are looking for that classic holiday centerpiece: the egg custard pie. The absolute best news is that this base recipe is your ticket straight to the perfect egg custard pie filling!
You just need to make one small adjustment when you convert it. If you try to bake this mixture naked in a pie dish, it will likely crack because it cooks too fast on the edges. So, take your favorite 9-inch pie shell—it should be pre-baked—and gently pour the strained custard inside. You can see how some folks do this beautifully in the notes from this collection of recipes. Then, you bake it a bit longer, usually around 45 to 55 minutes, until the center just sets. It’s a simple switch for a show-stopping dessert, just like the one detailed over at this fantastic pie recipe!
Ingredient Notes and Substitutions for Your Simple Egg Dessert
When we are keeping this dessert simple—a true simple ingredients dessert—it means we can’t cut corners on the few things we do use. I get asked all the time if skim milk works, or if you can skip the nutmeg. My answer? You certainly *can*, but you won’t get the same soul-satisfying result! Since this recipe relies on the natural richness of the dairy to carry that perfect egg custard flavor, the choices you make here matter a lot.
Milk Choices and the Nutmeg Custard Topping
If you want that luxurious, old fashioned baked custard texture that melts in your mouth, please, please use whole milk. Seriously, it has the necessary fat content to provide body and a rich mouthfeel that lower-fat milk just can’t match for a no fail custard. Using anything less often results in a slightly watery texture once chilled, and we are hunting for silkiness here!
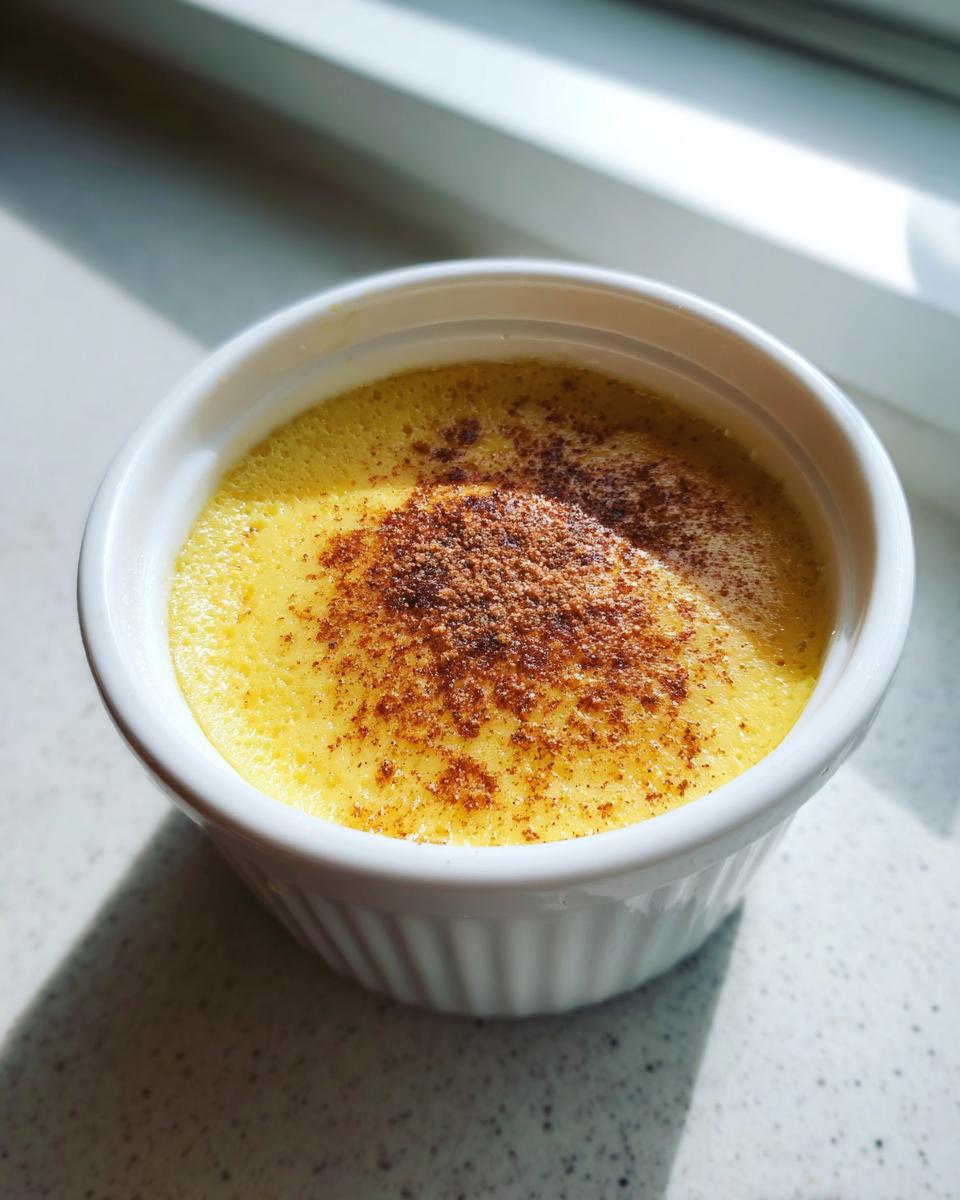
Also, don’t let that container of pre-ground nutmeg gather dust! The final dusting of freshly grated nutmeg is what makes this dessert sing—it offers a vibrant, warm spice that pre-ground just doesn’t deliver. It’s the final flourish on our classic preparation.
Serving Suggestions for This Comfort Food Dessert
This comfort food dessert genuinely shines when it’s served cold, straight from the refrigerator. The texture tightens up beautifully after a long chill, making it the perfect light counterpoint to a heavy meal. It’s absolutely a must-have for any Easter or Thanksgiving spread—a wonderful holiday custard recipe for when you need something simpler than pie!
I love pairing it with something slightly tangy or fruity to cut through its richness. A dollop of lightly sweetened whipped cream or a sprinkling of fresh berries works wonders. If you’re looking for something baked alongside it, I always serve this with my old-fashioned tea cakes; they make the perfect little dipping companion.
Storage and Reheating Instructions for Leftover Egg Custard
Once you’ve enjoyed that perfect jiggle, you need to know how to treat your leftovers. The great news is that this egg custard actually improves after a day in the fridge! Cover those individual cups tightly with plastic wrap—make sure the wrap just grazes the surface to prevent a skin from forming. They keep beautifully for up to four days.
I strongly recommend serving this dessert chilled; reheating can sometimes cause the custard to break down. If you absolutely must warm it, do it gently in the microwave for just a few seconds, but honestly, it sings when it’s cold!
Frequently Asked Questions About Making Egg Custard
As someone who has been there, staring into the oven worrying if that beautiful dessert will crack or set right, I totally get why you have questions! Getting the texture perfect on an Old Fashioned Baked Custard can seem tricky, but once you know the ropes, it’s simple. Let’s tackle those last few worries so you can feel confident making this no fail custard!
Can I make this Keto Egg Custard Variation?
This recipe is built around standard sugar, as that’s key to the classic texture. If you strictly watch your carbs, I totally understand wanting a swap! While this specific recipe doesn’t detail sweetener conversion, if you look around, plenty of folks have amazing recipes designed specifically for keto or sugar-free baking. They usually swap granulated sugar for erythritol or monk fruit, but remember, the overall water content and sweetness profile is different, so go searching for a recipe truly engineered for those ingredients!
Why did my egg custard crack even with a water bath?
Ah, the dreaded crack! Nine times out of ten, even with a water bath, cracking happens because the heat got too high or you left it in too long. The water bath is designed to buffer the outside, but if your oven runs hot, or if you let it bake until the center looks completely solid, those edges keep cooking after you remove it. Remember that residual heat! You want that slight jiggle left—it continues setting as it cools. If you’re nervous, pull it out 5 minutes early, not 5 minutes late.
If you have any other burning questions about getting your dessert just right, please don’t hesitate to reach out through my contact page!
PrintFail-Proof Old Fashioned Egg Custard Recipe
Make a creamy, smooth baked egg custard dessert from scratch. This traditional recipe is simple, uses basic ingredients, and delivers a velvety texture every time.
- Prep Time: 15 min
- Cook Time: 50 min
- Total Time: 65 min
- Yield: 4 servings 1x
- Category: Dessert
- Method: Baking
- Cuisine: American
- Diet: Vegetarian
Ingredients
- 3 large eggs
- 1/2 cup sugar
- 2–2/3 cups milk (whole milk recommended)
- 1 teaspoon pure vanilla extract
- Pinch of salt
- Freshly grated nutmeg for topping
Instructions
- Preheat your oven to 325°F (160°C). Place a large baking pan on the oven rack.
- In a medium bowl, whisk the eggs lightly. Do not over-beat the eggs; you want to avoid incorporating too much air for a smooth custard.
- Whisk in the sugar and salt until dissolved.
- Slowly whisk in the milk and vanilla extract until just combined.
- Strain the custard mixture through a fine-mesh sieve into a clean bowl or large measuring cup. This step removes any chalazae or unmixed egg bits, helping you achieve a velvety smooth dessert.
- Pour the strained mixture into four 6-ounce ramekins or custard cups.
- Carefully place the filled ramekins into the larger baking pan.
- Pour hot water into the baking pan until the water reaches halfway up the sides of the ramekins. This water bath (bain-marie) prevents the custard from cracking.
- Sprinkle a small amount of freshly grated nutmeg over the top of each custard.
- Bake for 40 to 50 minutes, or until the edges are set but the center still has a slight jiggle when gently nudged.
- Carefully remove the ramekins from the water bath. Let them cool on a wire rack before chilling them in the refrigerator for at least 4 hours before serving.
Notes
- For a truly fail-proof result, use whole milk for the richest flavor and creamiest texture.
- If you are making an Egg Custard Pie, use the filling recipe above and pour it into a pre-baked 9-inch pie shell. Bake until set, usually 45-55 minutes.
- To test for doneness without a jiggle, insert a thin knife near the edge; if it comes out clean, the custard is ready.
Nutrition
- Serving Size: 1 custard cup
- Calories: 210
- Sugar: 25g
- Sodium: 110mg
- Fat: 6g
- Saturated Fat: 3.5g
- Unsaturated Fat: 2.5g
- Trans Fat: 0g
- Carbohydrates: 28g
- Fiber: 0g
- Protein: 9g
- Cholesterol: 135mg