
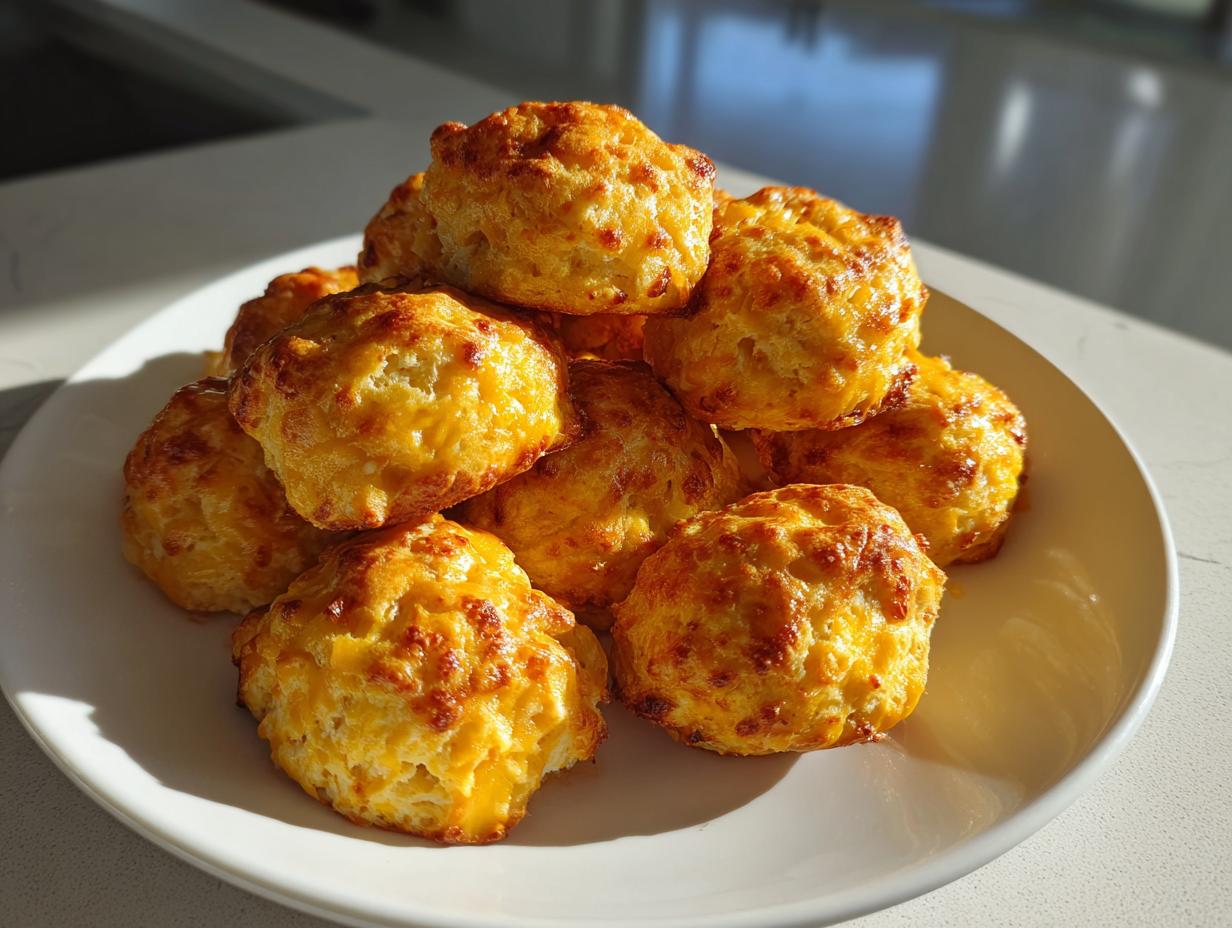

If you’ve ever stared down a massive guest list or a looming game day and thought, “I need something impressive, but like, *now*,” then you understand my mission here at Gourmet Gaze. Moving away from those complicated corporate meals, I realized that true satisfaction in cooking comes from reliable, simple recipes that taste like you worked all day. That’s exactly what these **bisquick sausage balls** deliver. They are, without a doubt, the ultimate shortcut to crowd-pleasing appetizers. Forget fiddling with fussy doughs; this classic combination of savory meat, sharp cheese, and that magic baking mix means you get maximum flavor with minimum effort. Trust me, these disappear first on any platter. For more easy entertaining ideas like this, make sure you check out my full collection of appetizers and snacks.

- Why This is the Best Bisquick Sausage Balls Recipe (3-Ingredient Magic)
- Ingredients for Classic Bisquick Sausage Balls
- How to Prepare Perfect Bisquick Sausage Balls Step-by-Step
- Tips for Success: Making the Best Sausage Cheese Balls
- Make Ahead Appetizers and Freezer Friendly Snacks: Storing Bisquick Sausage Balls
- Serving Suggestions for Your Crowd Pleasing Appetizers
- Frequently Asked Questions About Bisquick Sausage Balls
- Estimated Nutritional Data for Simple Savory Bites
- Share Your Favorite Bisquick Sausage Balls Creations
- Estimated Nutritional Data for Simple Savory Bites
- Share Your Favorite Bisquick Sausage Balls Creations
Why This is the Best Bisquick Sausage Balls Recipe (3-Ingredient Magic)
When I was drowning in those spreadsheets back in Chicago, the idea of an appetizer that required more than four ingredients felt like a personal attack. That’s why I tested this fundamental recipe for **bisquick sausage balls** dozens of times. I needed foolproof results, and folks, this is it. It’s the definition of an 3 Ingredient Appetizer that delivers enormous flavor. The balance of salty sausage, tangy cheddar, and the rise from the mix creates that perfect, slightly crunchy exterior and soft center. This is the definitive Easy Sausage Balls Recipe, refined for maximum impact.
Quick Party Snacks: Ready in Under 30 Minutes
Speed is non-negotiable for impromptu gatherings! What I truly love about this formula is its efficiency. From the moment you pull out your mixing bowl to the second they come out of the oven, you’re looking at a total of around 30 minutes. That makes these prime Quick Party Snacks. You can literally decide you need snacks when the doorbell rings and still have them ready before the guests are settled!
Ingredients for Classic Bisquick Sausage Balls
When I first started testing these, I was using whatever I had on hand, and let me tell you, the results were inconsistent. Consistency is everything when you’re trying to keep things simple! These **bisquick sausage balls** rely on just three core players, so you need to make sure they are the right ones. Don’t worry about finding some obscure specialty item; you likely have all of this ready to go, which is why this is my go-to recipe for reliable entertaining.
- 1 pound bulk pork sausage (mild or spicy—your choice!)
- 1 cup sharp cheddar cheese, shredded
- 1 1/2 cups Bisquick Baking Mix
Ingredient Notes and Substitutions for Your Bisquick Sausage Balls
Okay, let’s talk about getting the *most* flavor out of these seemingly simple ingredients. First, the cheese: Sharp cheddar is my non-negotiable. Regular cheddar just doesn’t have that necessary little tangy kick to cut through the richness of the pork. If it’s not sharp, you’ll end up with a flatter taste. Secondly, the sausage? If you want these **bisquick sausage balls** to be punchy and exciting—especially for game day—use spicy pork sausage. If you keep it mild, I highly recommend throwing in a half teaspoon of onion powder or garlic powder just to wake everything up.
Now, for a little secret upgrade that turns these into next-level savory bites: the cream cheese addition. If you want an ultra-moist bite that stays tender forever, take the note from the more complex recipes and swap out half a cup of your cheese for 4 ounces of softened cream cheese. It binds beautifully and adds a little extra luxurious texture. If you try that version and love it, you’ll definitely want to check out my recipe for Cheese Crunch Bites; it uses similar principles of binding fat and powder for incredible results.
How to Prepare Perfect Bisquick Sausage Balls Step-by-Step
Okay, this is where we turn simple ingredients into culinary gold. While the list is short, the technique is what separates the good **bisquick sausage balls** from the truly legendary ones. I’ve learned—the hard way, by eating crumbly, overly dense ones—that you need to be gentle and precise during the mixing stage. Get your oven preheated to 350 degrees F first; you want that heat waiting patiently for our little flavor bombs. I always line my baking sheets with parchment paper. Seriously, don’t skip this step; nothing ruins a good time like scrubbing baked-on cheese and sausage.
Next, you go in with your hands! Toss the sausage, the cheese, and the Bisquick right into a big bowl. Now, this next part is crucial—and where I used to rush things back in my corporate crunch days. You mix it, yes, but you mix it *just* until everything is combined. I mean it, stop stirring the second you don’t see dry pockets of mix anymore. Overmixing develops the gluten in the Bisquick, and that makes your beautiful, tender bites turn into little rubber hockey pucks. We want moist, savory goodness, not bouncy balls!
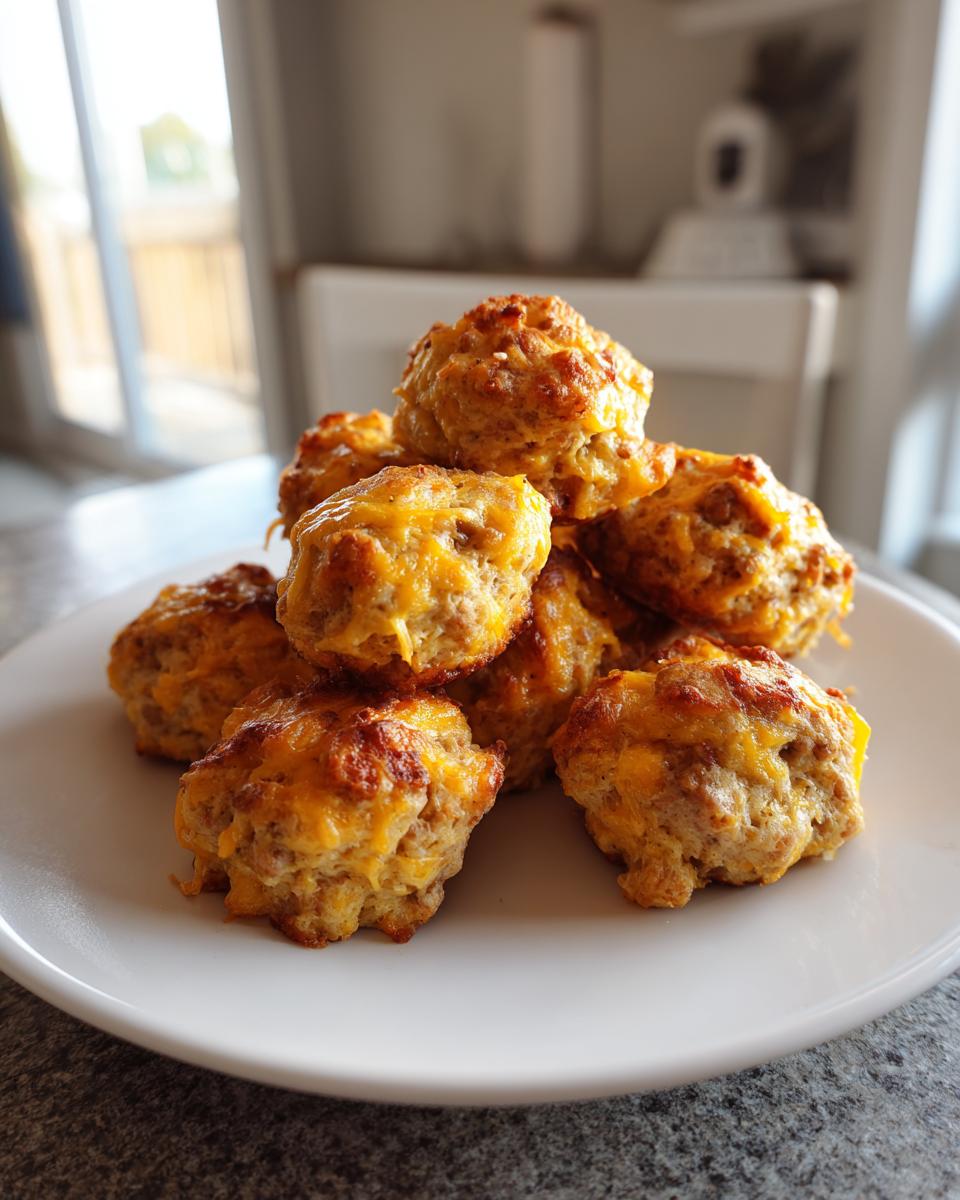
- Preheat your oven to 350 degrees F. Lightly grease a baking sheet or line it with parchment paper.
- In a large bowl, combine the bulk pork sausage, shredded cheddar cheese, and Bisquick Baking Mix.
- Mix the ingredients thoroughly with your hands until they are fully combined. Do not overmix.
- Roll the mixture into small, uniform balls, about 1 inch in diameter. Place the sausage balls onto the prepared baking sheet, leaving about 1 inch of space between them.
- Bake for 15 to 20 minutes, or until the sausage balls are golden brown and cooked through.
- Remove from the oven and let them cool slightly on the baking sheet before serving.
Achieving the Best Texture in Your Cheesy Sausage Bites
Texture is my obsession, whether I’m plating a fancy steak or whipping up these casual **cheesy sausage bites**. For the best results, aim for uniformity when you roll them. I use a soup spoon to scoop out just enough mixture—aiming for about a one-inch sphere. If they are too big, the outside burns before the center cooks properly. If they are too small, they dry out too fast!
You want every ball to be roughly the same weight and size so they all finish baking at the exact same moment. Don’t worry if your hands get a little messy in the process; that’s a good sign you’re really getting into the mix! I’ve found that if your sausage is really soft straight from the fridge, rolling is tricky. If that happens, pop the whole bowl into the fridge for about 10 minutes before rolling. It firms everything up nicely, making shaping much cleaner. If you enjoy this kind of reliable prep, you might also like the simple binding tricks I use in my Cheese Crunch Bites recipe.
Tips for Success: Making the Best Sausage Cheese Balls
Even with only three ingredients, there are a few little chef moves that elevate these from good to, frankly, the absolute **Best Sausage Cheese Balls** you’ll ever serve. Consistency is key here, especially when dealing with ground meat, which can vary wildly depending on how cold it is when you start mixing. My biggest tip, which saved me a lot of grief when I was first perfecting these **bisquick sausage balls**, relates to the temperature of the sausage mixture.
If your sausage feels too soft or greasy when you try to roll the balls, they might flatten out on the baking sheet and end up looking more like little flat patties than perfect spheres. If that happens, stop! Pop the entire bowl into the refrigerator for about 15 minutes. Chilling firms up the fat in the sausage, making the dough easier to handle and ensuring you get those beautiful, round shapes that bake evenly.
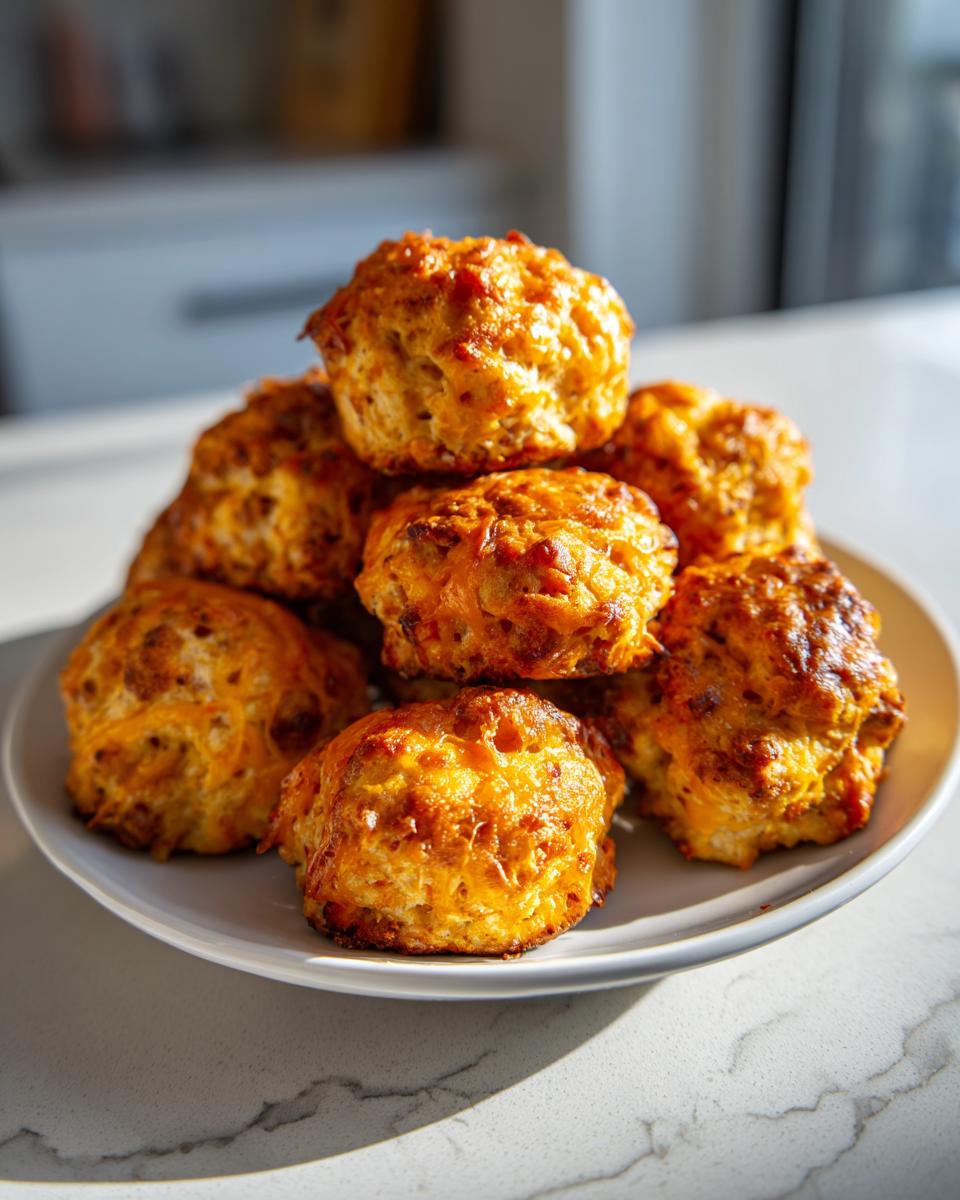
When you test for doneness, don’t just rely on the timer. Look for that rich, golden-brown color on the outside. That lovely crust tells you the cheese has caramelized just right and the Bisquick has set up perfectly. When you pull them out, they’ll look slightly soft in the middle—don’t panic! As they cool for five minutes on the pan, they firm right up. That residual heat finishes the cooking process gently, locking in all that savory moisture. This attention to color and final resting phase is exactly how you guarantee the best texture every single time.
Make Ahead Appetizers and Freezer Friendly Snacks: Storing Bisquick Sausage Balls
Hosting a game day or holiday party is always better when you can front-load the work, right? That’s one of the main reasons these **bisquick sausage balls** rocketed to the top of my personal entertaining rotation. They are fantastic fresh out of the oven, but honestly, they are even better when you know you can whip up a double batch ahead of time. These are truly among the best Make Ahead Appetizers because they reheat like a dream and hold their satisfying texture.
If you’re just planning a few days ahead, say for a weekend brunch, refrigeration works perfectly. Let your sausage balls cool completely after baking—this is vital. Warm food creates condensation in containers, which leads to soggy bites. Once totally cool, layer them between sheets of wax or parchment paper in an airtight container. They’ll keep beautifully in the fridge for about four days.
But let’s talk about the real time-saver: freezing! These are phenomenal Freezer Friendly Snacks. You can freeze them baked or unbaked, but honestly, baking them first gives you the instant satisfaction later. If baking first, arrange the cooled balls on a baking sheet, ensuring they aren’t touching, and freeze them solid—this flash-freezing stops them from clumping together. Once they are hard little nuggets, transfer them all to a heavy-duty freezer bag. You can keep them frozen for up to three months!
When party time rolls around, handling frozen **bisquick sausage balls** is simple. You just pull out what you need and reheat them in a 350 degree F oven. They usually take about 15 minutes or so to warm right through, and they come out tasting like they were just baked fresh. No one will ever guess you made them last month!
Serving Suggestions for Your Crowd Pleasing Appetizers
Even though these little bites are perfectly seasoned and packed with cheese all on their own, serving them up with a fantastic dipping sauce is like putting the cherry on top of a sundae. It just takes these simple **cheesy sausage bites** to the next level of casual deliciousness! I find that when I present a platter of these, having at least two different sauces nearby doubles how fast they vanish.
For a flavor profile that perfectly balances the salty, savory pork, you absolutely must offer a simple honey mustard. It’s tangy, it’s sweet, and it’s incredibly easy to mix up at home. If you are looking for something a little bolder to pair with these, I actually have a phenomenal homemade sauce recipe that works in a pinch for these things. You can find the steps for my honey garlic sauce; just use a little less of the garlic component, and it’s fantastic with pork!
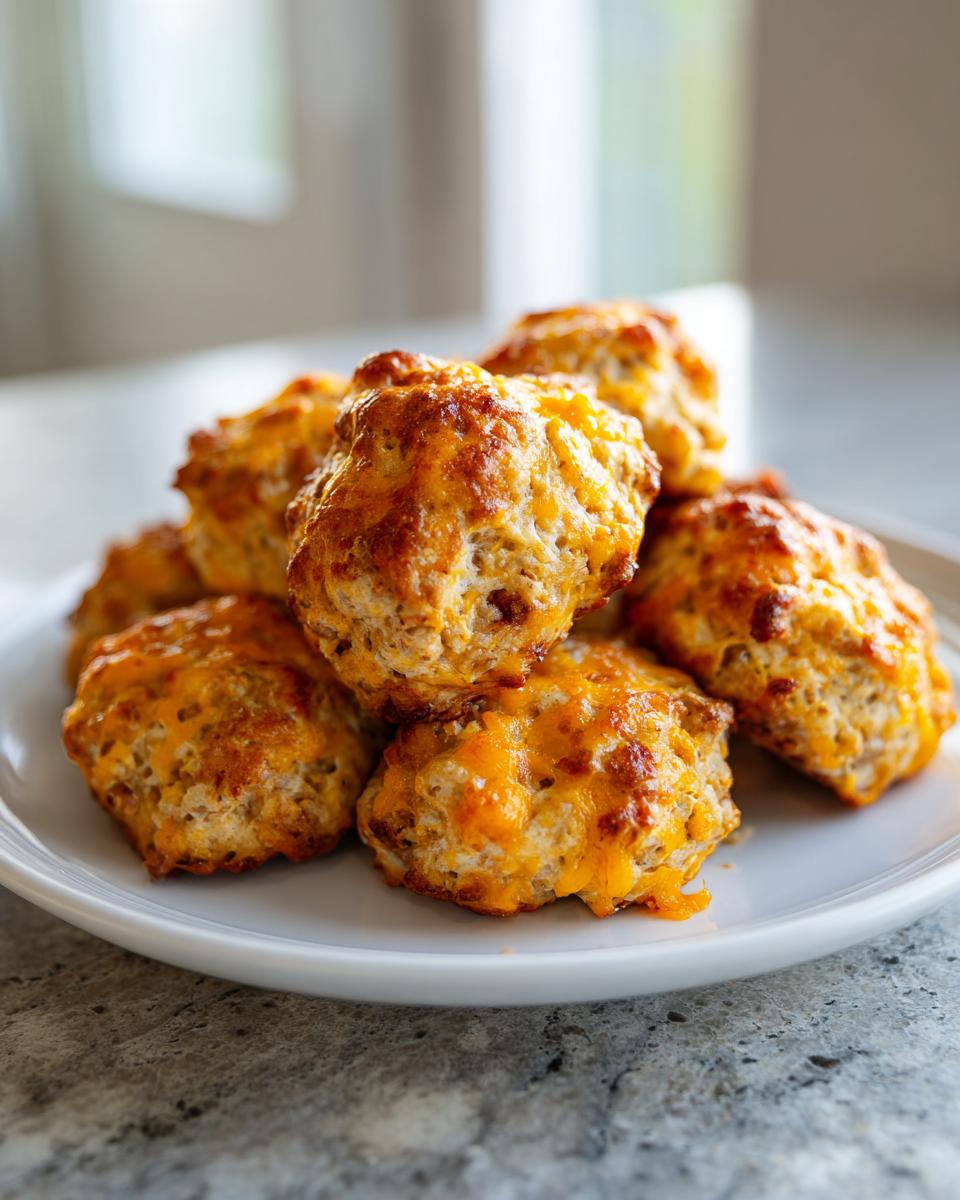
On the other side of the spectrum, you need that cool, creamy option. Ranch dressing is a classic for a reason—it just works with anything fried or baked involving cheese and meat. Keep those out on the table right next to the serving platter.
And what occasion are these **crowd pleasing appetizers** best for? Honestly, any time! They are mandatory for football season—think of them as essential Game Day Food Ideas. They are also surprisingly elegant when served warm alongside a cheese board during the winter holidays, making them stellar Holiday Appetizer Recipes too. Just make sure you have enough—I promise, you’ll always wish you had doubled the recipe!
Frequently Asked Questions About Bisquick Sausage Balls
I always get so many great questions when people first try making these savory bites! It’s one of those recipes where people are wary that something so simple could be so good. I’ve compiled the ones I hear most often when folks are planning their party spreads. If you’re nervous about making substitutions or worried about the texture, check these reliable answers first!
Can I use turkey sausage instead of pork sausage in this recipe?
That’s a really common question, especially if you’re trying to lighten things up a bit! Yes, you absolutely can use ground turkey or chicken sausage if that’s your preference. However, and this is important for texture, ground poultry is much leaner than pork sausage. Because we rely on the fat from the pork to keep these **bisquick sausage balls** moist, if you switch to turkey, you absolutely have to add extra moisture back in. I’d recommend adding 4 ounces of softened cream cheese—which you can see hinted at in my primary recipe notes—or adding a couple of tablespoons of sour cream or Greek yogurt to make sure they don’t turn out dry and crumbly.
What is the best cheese for the ultimate sausage cheese balls?
Trust me on this one: sharp cheddar is the way to go. If you use mild cheddar, you lose that vital sharp flavor that cuts through the richness of the sausage and the buttery flavor of the Bisquick. You need that bite! If you’re looking to really amp up the flavor game, try using half sharp cheddar and half Pepper Jack. That gives you the sharp tanginess plus a very gentle background heat. It makes for truly unforgettable cheese balls!
Can I substitute the Bisquick Baking Mix with another flour or mix?
This is where you stray from the classic experience, but I understand sometimes you just don’t have that specific mix. Bisquick does more than just add structure; it contains leavening agents and salt, which are crucial to the texture. If you absolutely must make your own mix, you need to replicate that, usually by combining flour with baking powder and salt. However, if you have self-rising flour, that’s the closest replacement because it already has the leavening agents included. If you use self-rising flour, leave out any extra salt in the recipe. For the best results, though, stick to the original **bisquick sausage balls** recipe—it’s famous for a reason!
Are these freezer friendly snacks? How do I freeze the sausage balls?
They are fantastic as freezer friendly snacks! The storage advice is detailed in the section above, but the key takeaway is to freeze them *after* baking. Let them cool completely, flash freeze them on a tray so they don’t stick together, and then bag them up. When you need them, just reheat them from frozen or thawed in a 350 degree F oven until they are piping hot throughout. It’s the perfect trick for having instant Quick Party Snacks anytime.
Estimated Nutritional Data for Simple Savory Bites
For those of you who like to keep track of what you’re serving—and I completely get that, especially when feeding a crowd—here is the estimated nutritional breakdown for these Simple Savory Bites based purely on the original three-ingredient recipe. Remember, because sausage and cheese brands vary widely in fat and sodium content, this is just a helpful estimate, not a guarantee!
- Serving Size: 1 ball
- Calories: 110
- Fat: 9g
- Saturated Fat: 3.5g
- Carbohydrates: 3g
- Protein: 5g
- Sugar: 1g
- Sodium: 320mg
Keep in mind that if you add cream cheese for extra richness, or use a spicier sausage, these numbers will shift slightly, but they remain a truly satisfying, savory bite regardless!
Share Your Favorite Bisquick Sausage Balls Creations
Now that you have the keys to the ultimate appetizer kingdom, I want to hear all about it! Did you serve these **bisquick sausage balls** at a big holiday gathering, or did they save your tail on a random Tuesday night when unexpected guests showed up? Head down to the comments below and let me know! I love seeing how you incorporate these reliable recipes into your own life. Your feedback really helps me refine and improve recipes for everyone else visiting Gourmet Gaze. If you made these and they were a huge hit, please give them a rating of 5 stars—it means the world to me!
If you got creative with those dipping sauces, or tried the turkey sausage substitution, please share your results! You can also tag me on social media; you can find my contact information via my contact page. Thank you for joining me at the table today. Happy cooking, and I hope these bites are the star of your next event!
Estimated Nutritional Data for Simple Savory Bites
For those of you who like to keep track of what you’re serving—and I completely get that, especially when feeding a crowd—here is the estimated nutritional breakdown for these Simple Savory Bites based purely on the original three-ingredient recipe. Remember, because sausage and cheese brands vary widely in fat and sodium content, this is just a helpful estimate, not a guarantee!
- Serving Size: 1 ball
- Calories: 110
- Fat: 9g
- Saturated Fat: 3.5g
- Carbohydrates: 3g
- Protein: 5g
- Sugar: 1g
- Sodium: 320mg
Keep in mind that if you add cream cheese for extra richness, or use a spicier sausage, these numbers will shift slightly, but they remain a truly satisfying, savory bite regardless!
Share Your Favorite Bisquick Sausage Balls Creations
Now that you have the keys to the ultimate appetizer kingdom, I want to hear all about it! Did you serve these **bisquick sausage balls** at a big holiday gathering, or did they save your tail on a random Tuesday night when unexpected guests showed up? Head down to the comments below and let me know! I love seeing how you incorporate these reliable recipes into your own life. Your feedback really helps me refine and improve recipes for everyone else visiting Gourmet Gaze. If you made these and they were a huge hit, please give them a rating of 5 stars—it means the world to me!
If you got creative with those dipping sauces, or tried the turkey sausage substitution, please share your results! You can also tag me on social media; you can find my contact information via my contact page. Thank you for joining me at the table today. Happy cooking, and I hope these bites are the star of your next event!
PrintThe Best Original Bisquick Sausage Balls: Easy 3-Ingredient Appetizer

Make the ultimate crowd-pleasing appetizer with this simple Bisquick Sausage Balls recipe. Using just three core ingredients, these cheesy, savory bites are perfect for game day, holidays, or brunch. They are quick to mix and bake, making them a dependable party snack.
- Prep Time: 10 min
- Cook Time: 20 min
- Total Time: 30 min
- Yield: About 30 servings 1x
- Category: Appetizer
- Method: Baking
- Cuisine: American
- Diet: Vegetarian
Ingredients
- 1 pound bulk pork sausage (mild or spicy)
- 1 cup sharp cheddar cheese, shredded
- 1 1/2 cups Bisquick Baking Mix
Instructions
- Preheat your oven to 350 degrees F. Lightly grease a baking sheet or line it with parchment paper.
- In a large bowl, combine the bulk pork sausage, shredded cheddar cheese, and Bisquick Baking Mix.
- Mix the ingredients thoroughly with your hands until they are fully combined. Do not overmix.
- Roll the mixture into small, uniform balls, about 1 inch in diameter. Place the sausage balls onto the prepared baking sheet, leaving about 1 inch of space between them.
- Bake for 15 to 20 minutes, or until the sausage balls are golden brown and cooked through.
- Remove from the oven and let them cool slightly on the baking sheet before serving.
Notes
- For a richer, moister bite, substitute 4 ounces of cream cheese (softened) for 1/2 cup of the shredded cheese.
- If you use spicy sausage, you can skip adding extra seasoning. If using mild sausage, consider adding 1/2 teaspoon of garlic powder or onion powder to the mix.
- These make-ahead appetizers freeze well. Place baked, cooled balls on a baking sheet to freeze solid, then transfer them to a freezer bag for up to 3 months. Reheat in a 350 degree F oven until warm.
- Serve these savory bites with your favorite dipping sauces, such as honey mustard or ranch dressing.
Nutrition
- Serving Size: 1 ball
- Calories: 110
- Sugar: 1
- Sodium: 320
- Fat: 9
- Saturated Fat: 3.5
- Unsaturated Fat: 5.5
- Trans Fat: 0
- Carbohydrates: 3
- Fiber: 0
- Protein: 5
- Cholesterol: 25