
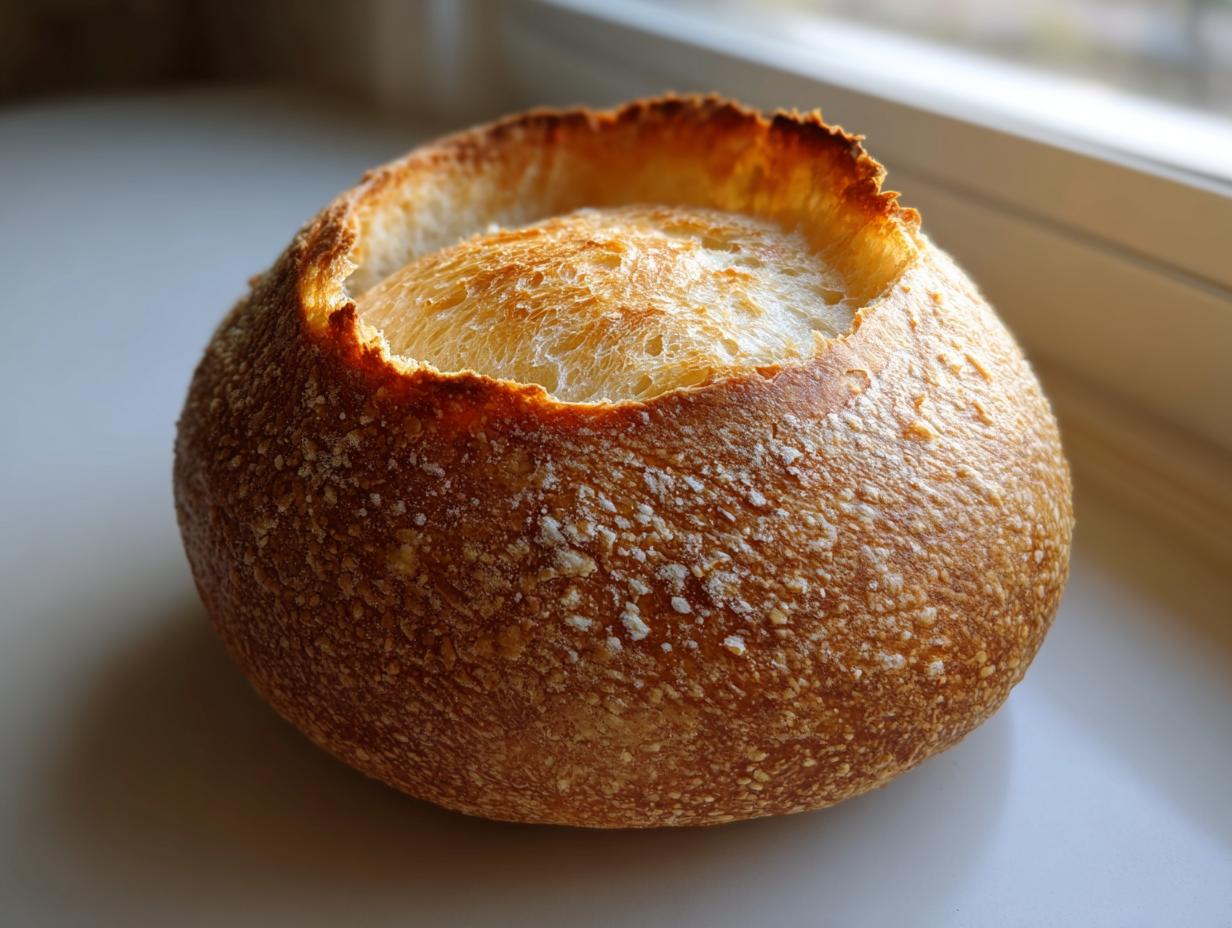

When the weather turns cool, nothing truly beats that deep, satisfying feeling of comfort food, right? For me, that feeling is channeled directly into crafting the perfect vessel for creamy indulgence. Forget those flimsy little soup cups; I’m talking about real, edible architecture! I used to spend my days chained to spreadsheets, dreaming of escaping the concrete jungle, until a single bowl of Creole stew changed everything. That moment sparked the journey that moved me from marketing director to obsessive home cook. Now, my greatest pleasure is sharing how to conquer the challenge of making genuinely sturdy, restaurant-style bread bowls that hold your thickest clam chowder or beef stew without ever collapsing. Trust me, these are game-changers for your cozy dinners!
- Why This Easy Bread Bowl Recipe Delivers Comfort and Sturdiness
- Gathering Your Ingredients for Homemade Bread Bowls
- Step-by-Step Bread Bowl Tutorial: Making the Best Bread Dough
- How to Bake Edible Bowls: Shaping and Steaming
- Finishing Your Crusty Bread Bowls for Soup
- Ingredient Notes and Substitutions for Artisan Bread Bowls Recipe
- Serving Suggestions: What to Serve in Your Bread Bowls
- Frequently Asked Questions About Making Bread Bowls
- Storing and Reheating Your Leftover Bread Bowls
Why This Easy Bread Bowl Recipe Delivers Comfort and Sturdiness
When you’re making something this special, you need it to deliver on its promise. Sturdiness is non-negotiable! I developed this recipe focusing purely on structure so you don’t end up with a soup-soaked disaster halfway through dinner. It’s the reliability that I love most about this dough.
- The high-protein bread flour creates a tighter gluten network than standard all-purpose flour, making the walls strong.
- We use less liquid than typical dough recipes to achieve a denser crumb that resists immediate sogginess.
- The high-heat baking, combined with steam, locks in that perfect chewiness right from the start.
You can see the difference this makes when you compare it to airy dinner rolls. This structure means you can fill these beauties up! Check out some inspiration for what to fill them with over at Delicious Recipes Blog.
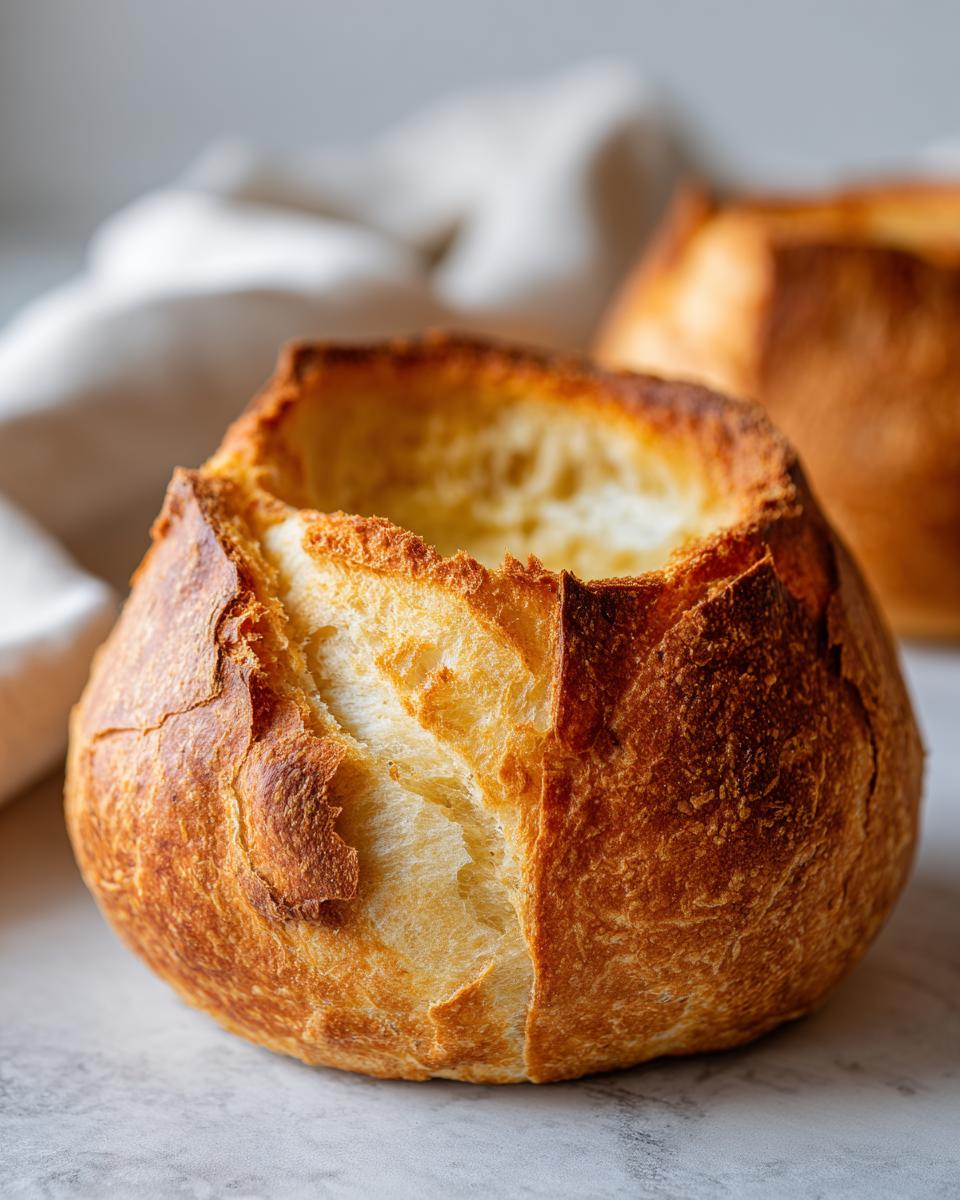
Achieving the Perfect Crusty Bread Bowls for Soup
The texture you’re looking for is that classic bakery feel—a deep golden, shatteringly crusty exterior contrasted by a soft, slightly chewy interior. That beautiful crust isn’t luck; it’s science! We leverage steam in the oven, just like the professional bakeries do, which keeps the crust soft enough to expand quickly while baking, locking in moisture. This technique ensures your bread bowls look like they came straight from a high-end bistro, ready to withstand any hearty soup you throw at them.
Gathering Your Ingredients for Homemade Bread Bowls
When I first started baking, I was terrible at reading ingredients lists. I’d substitute anything, and frankly, my early loaves were bricks! For these Homemade Bread Bowls to hold up to stew, we can’t compromise on a few key components. Bread flour isn’t optional here; it’s our secret weapon for sturdiness. Its higher protein content builds better gluten structure, which is essential when you need thick bread walls.
Grab everything before you start mixing things up. For this recipe, you’ll need:
- 2 1/4 cups warm water (Make sure this is between 105–115°F—too hot kills the yeast, too cold makes it sulk!)
- 1 tablespoon honey (This feeds the yeast and adds a subtle sweetness.)
- 3 teaspoons active dry yeast
- 1 tablespoon olive oil
- 2 teaspoons salt
- 4 1/2 cups bread flour (Plus whatever extra you need for dusting and handling.)
- 1 egg, beaten (This is just for the lovely golden wash on top.)
- Water in a separate, shallow pan (This is critical for the steam bath!)
When you gather your flour, make sure you are reaching for the bread flour. If you want those restaurant-quality results, Leo says you need that extra structure! For a great collection of baking inspiration, check out Clara’s guide over at Kitchen by Clara.
Step-by-Step Bread Bowl Tutorial: Making the Best Bread Dough
Alright, time to get our hands dirty! This is where the magic starts, and trust me, this dough is beautifully forgiving for beginners. First things first, we need to wake up that yeast. Grab your large bowl, warm up that water—remember, slightly warmer than bath water is perfect—and gently stir in your honey. Sprinkle the active dry yeast on top and just let it sit for about five to ten minutes. If you see a fuzzy, foamy cap form, that yeast is happy and ready to work for us!
Next, mix in that olive oil and salt. Now for the flour. We add it gradually, mixing until it all comes together in what I call a ‘shaggy dough.’ It’s going to look a little messy, and that’s fine. If you notice it’s struggling to come together, add just one tablespoon of extra flour at a time until it’s manageable but still feels a little tacky when you poke it. That slight tackiness is what keeps these bread bowls from getting dense later.
Turn that shaggy mess out onto your floured surface. Kneading is therapeutic, right? I used to dread this part in my corporate life, but now I welcome the rhythmic work. Knead hard for a full 8 to 10 minutes until that dough feels smooth and elastic. It should spring back slowly when you poke it. Once it’s perfect, pop it in an oiled bowl, turn it over once to coat, and get ready for the first rest.
You can find Chef Not Required’s take on shaping dough over at Chef Not Required, but for our sturdy bread bowls, patience wins!
First Rise: Developing Flavor in Your Bread Bowls
This resting stage is my favorite because I can finally step away! Cover that oiled bowl tightly, maybe drape a warm kitchen towel over it, and find a warm spot in your kitchen. You want this dough to relax and grow for at least 1 to 1.5 hours, or until it has doubled in size. When I first tried making bread, I rushed this step, thinking I could cheat time. Nope! That first rise builds the flavor foundation and air pockets necessary for chewy interiors. Don’t stress about the time; just watch the bowl—when it’s doubled, your flavor development for these amazing bread bowls is complete.
How to Bake Edible Bowls: Shaping and Steaming
Okay, our dough has ballooned up beautifully; now we shape these future soup holders! Gently punch the air out—it’s satisfying! Then, divide your dough into four equal pieces. Work quickly now to shape each piece into a really tight, perfect round ball. We want smooth surfaces because that helps that crust form evenly. Place these beauties on a parchment-lined baking sheet, giving them plenty of personal space to grow during their second nap.
Cover them loosely and let them rest for just 30 minutes. This second proof is much shorter, just enough to relax the gluten again before baking. While they rest, get your oven screaming hot—we’re setting it to 425°F. Here’s the trick for achieving that sturdy, crackly exterior that sings when you bite into it: steam! Take a shallow pan and set it on the bottom rack while the oven heats up. We need that moisture to keep the crust soft enough to expand quickly while baking, locking in moisture. This technique ensures your bread bowls look like they came straight from a high-end bistro, ready to withstand any hearty soup you throw at them.
Just before they go in, brush the tops lightly with that beaten egg wash for color. Then, slide the baking sheet onto the middle rack, and *carefully* pour about a cup of hot water into that lower pan—watch out for the steam blast! Bake them for 20 to 25 minutes. If you want more insight on why steam makes such a huge difference in crust perfection, take a look at Tastes Better From Scratch for their guide on Homemade Bread Bowls. Patience during this final bake pays off with edible masterpieces!
Finishing Your Crusty Bread Bowls for Soup
Your loaves should be singing at this point! After 20 to 25 minutes, pull them out of the oven. They will be a gorgeous, deep golden brown. How do you know they’re done and truly sturdy? Give the bottom of one a gentle tap—if it sounds hollow, you nailed it! These incredible bread bowls need to cool completely on a wire rack before we do any carving. Seriously, don’t rush this part; trying to cut a hot loaf results in mushy insides.
Once they are totally cool, it’s time for the fun reveal. Take a sharp knife and carefully slice a circle around the top of each loaf, like cutting a lid. You want to leave a really thick base and generous side walls—we aren’t making hollow shells; we are building sturdy soup containers! Gently pull out the soft bread from the center. That beautiful, soft interior bread? Don’t waste it! That’s your perfect dipping bread for the soup. For more presentation ideas, check out the lovely styling over at Hostess at Heart.
Ingredient Notes and Substitutions for Artisan Bread Bowls Recipe
I always get questions about tweaking a recipe, especially when technique matters as much as ingredients do. Remember those notes I keep tucked into my recipe cards? They hold the secrets to making these bread bowls truly exceptional. I want you to feel confident substituting where needed, but also know where to stand firm on ingredients for the best structure!
If you really want that extra crisp factor outside—the kind that makes a satisfying crunch when you lean in for a spoonful of chili—go ahead and add one more tablespoon of olive oil to the dough mix. It’s a small change, but it really accentuates the crust during that high-heat bake. You can see how others approach their dough over at Tornado Dough Alli.
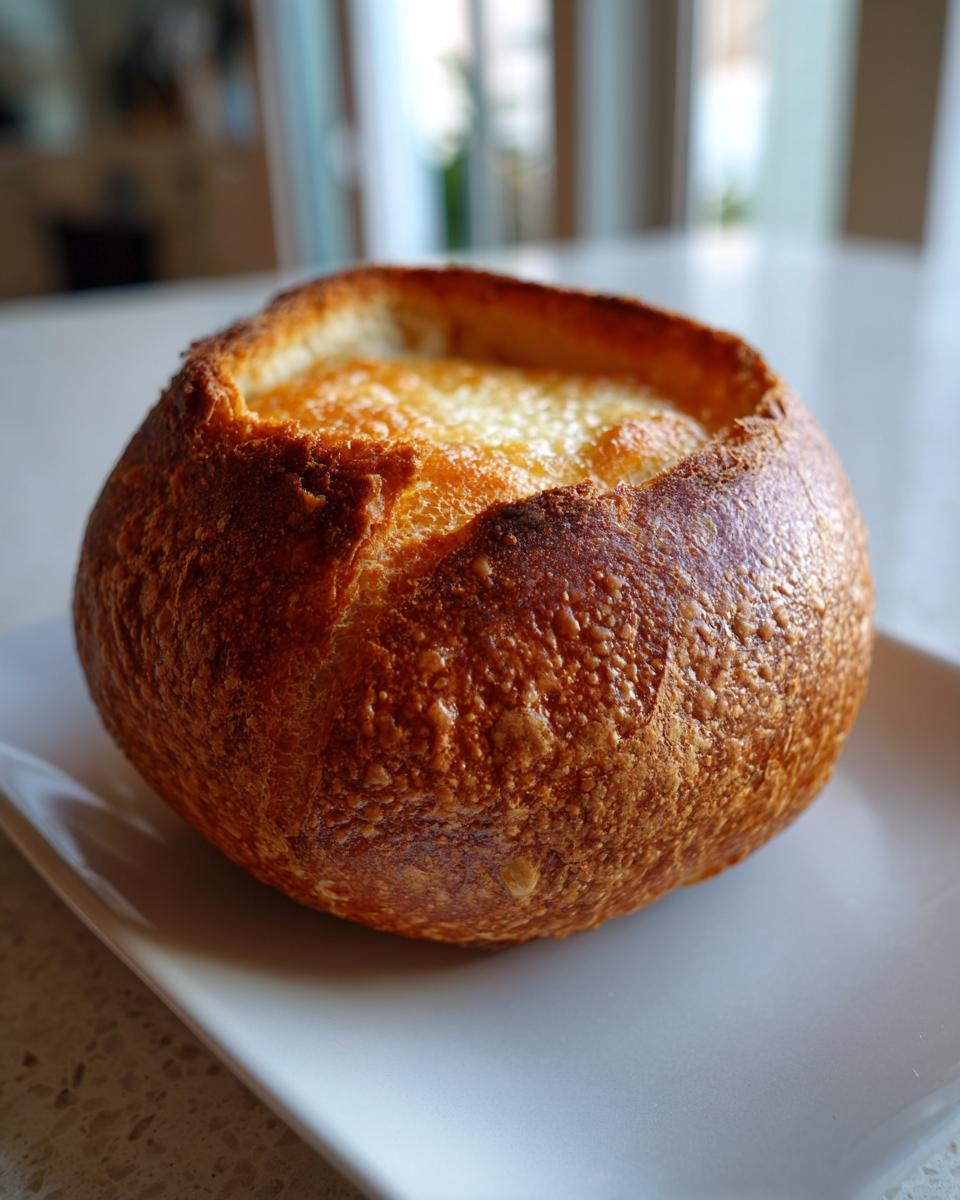
And what about the bread you pull out? That soft, fluffy center piece of your baked bread bowl is absolute gold. Don’t even think about tossing it! I usually cube it up, toss it with a little garlic powder and melted butter, and bake it until it’s perfectly golden. Those make the world’s best croutons for your next soup day!
Serving Suggestions: What to Serve in Your Bread Bowls
We’ve made the perfect edible container; now for the absolute best part—filling them up! This delicious bread is destined to hold something truly comforting. If you’re going for the classic New England route, a thick, creamy clam chowder is practically mandatory. Honestly, that salty, creamy soup soaking up the bottom crust is just heaven.
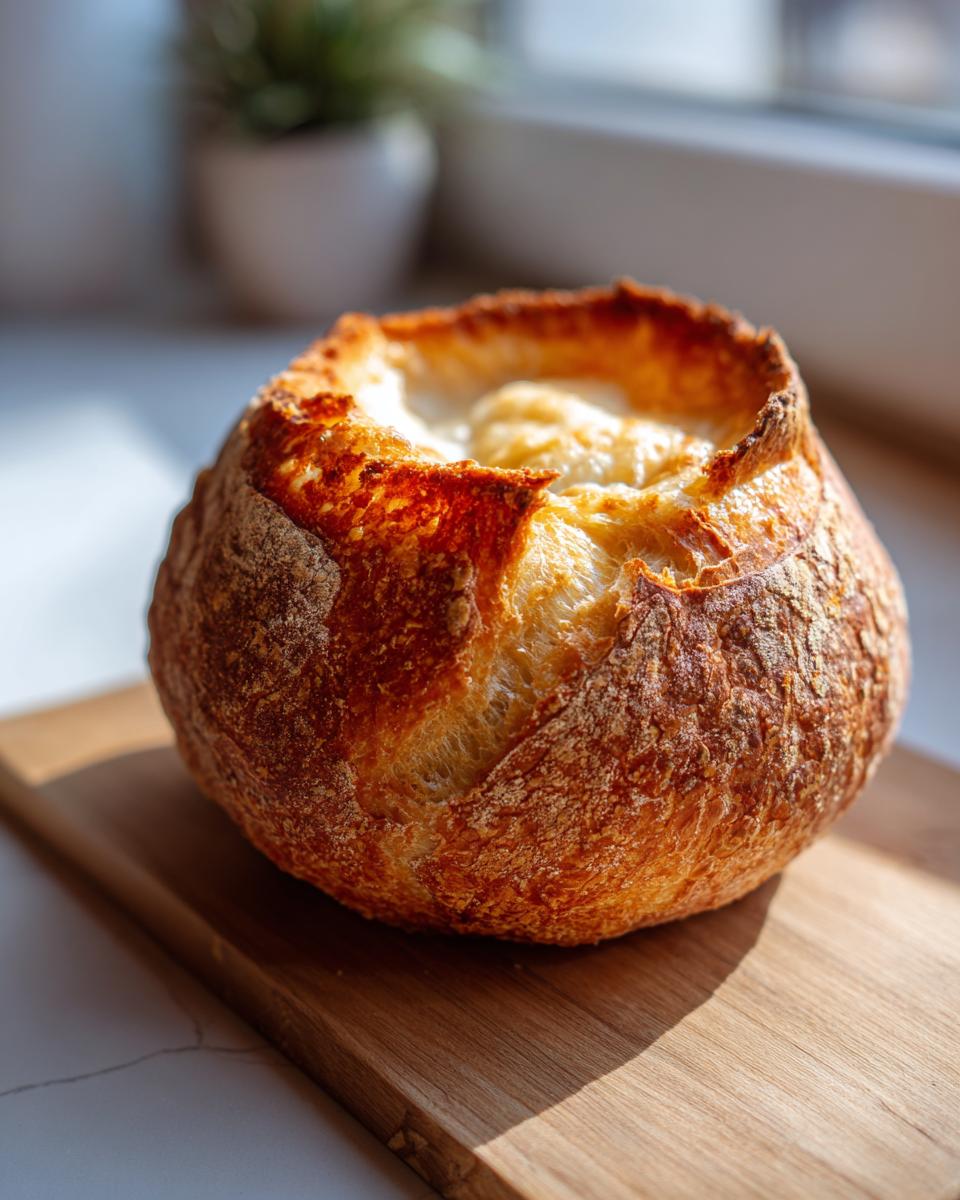
But don’t stick to just soup! These sturdy structures hold up wonderfully to thick, hearty beef chili, or even a rich, velvety tomato bisque. If you’re throwing a party, ditch the usual chips and use these warm loaves to scoop up spinach-artichoke dip or warm queso. The entire edible dish becomes the centerpiece!
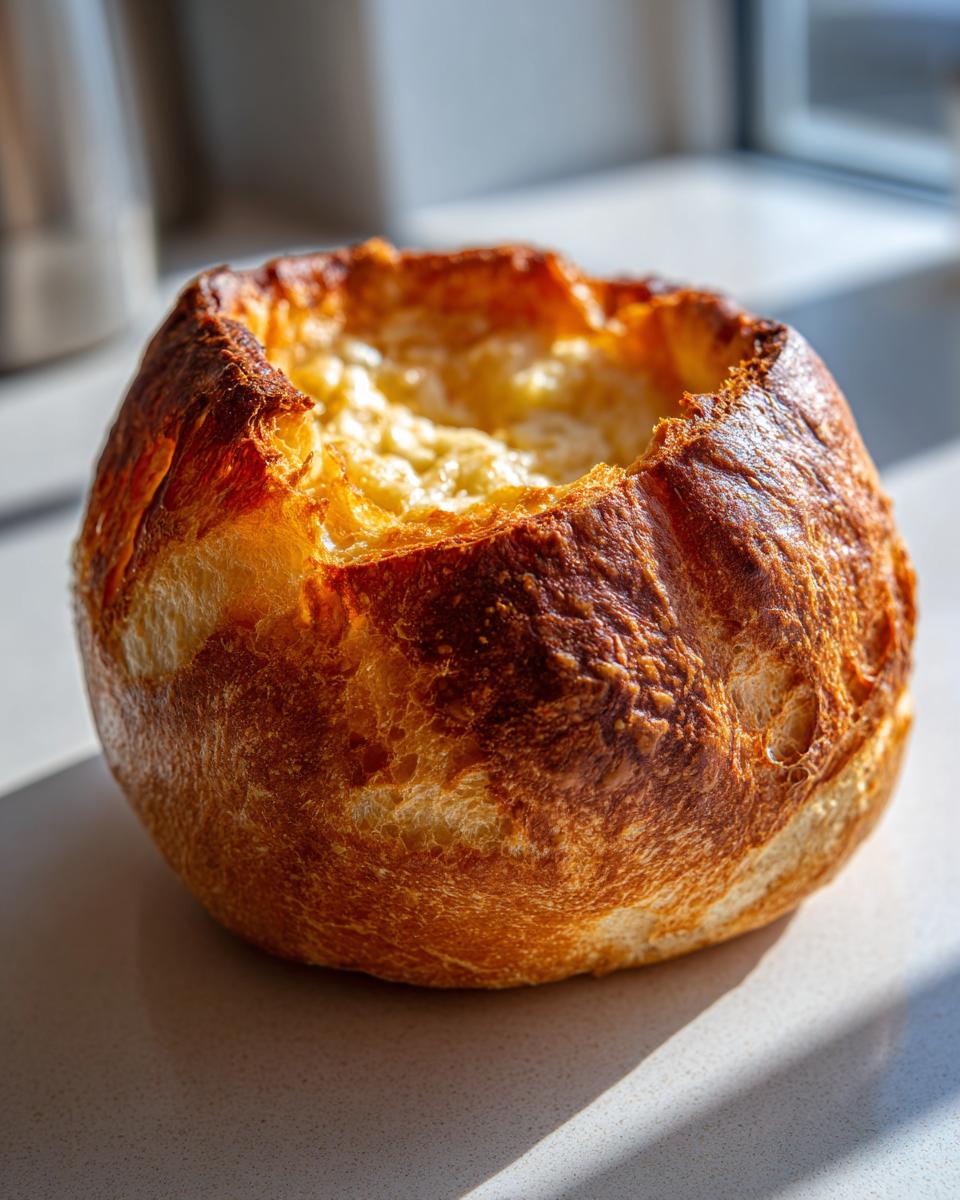
For serious inspiration on incredible pairings, Parade has pulled together some fantastic ideas for what to serve in these beauties. You can check out their roundup here: 126 Reactions on Parade.
Variations: Cheese and Garlic Bread Bowls
If you want to upgrade your plain loaf before you even fill it, I have two quick hacks that are always crowd-pleasers! First, for garlic lovers, brush the inside walls liberally with melted garlic butter right after you hollow them out. Then, sprinkle in some smoked Gruyère before baking for just five more minutes until it melts. Or, skip the soup entirely and load them up with mozzarella, cheddar, and Parmesan for an epic cheesy appetizer!
Frequently Asked Questions About Making Bread Bowls
I completely get it; when you’re finally committing the time to bake, you want zero guesswork. I’ve answered the top questions I always hear about these beauties so your first batch of Homemade Bread Bowls turns out perfectly sturdy every single time. My goal here is always to ensure you create reliable, edible masterpieces!
Can I use all-purpose flour instead of bread flour?
You absolutely can, but hear me out: for truly Sturdy Soup Bowls Bread that stands up to simmering chili, bread flour is worth the switch because of its higher protein content. If you must use all-purpose flour, reduce the amount of water by about 2 tablespoons initially. You’ll likely end up with a slightly softer crust and loaf, which is fine, but it might not hold liquid quite as long through the meal.
How long do the bread bowls last once baked?
If you’ve baked these perfectly, they are best eaten the day they are made, served warm with dinner! If you have leftovers, store them tightly wrapped at room temperature for up to two days. Once they start to dry out, they transform into the best croutons ever, but they won’t hold up well to a second round of soup straight from the fridge.
Can I make these ahead of time?
Yes, this is one of my favorite make-ahead recipes! You can complete the entire process—mixing, kneading, shaping, and the second proof—and store the shaped dough balls covered tightly in the refrigerator for up to 24 hours. When you’re ready to bake, let them sit on the counter for about 30 minutes before applying the egg wash and baking. For more storage tips, check out Love Bakes Good Cakes here!
What if my dough doesn’t rise during the first proof?
If your dough seems flat after an hour and a half, it usually means one of two things: your water was too cold, or your yeast was old. Don’t just throw it out! Try moving the bowl into a slightly warmer spot—like near the oven if it’s on its preheat cycle (but not touching!). If it still won’t budge significantly, just pitch it and be sure to use fresh yeast next time. Fresh ingredients are the foundation of great Homemade Bread Bowls. See Good For Recipes for more tips on baking the best bread!
Storing and Reheating Your Leftover Bread Bowls
So, you miraculously have leftover bread that wasn’t devoured with chili? That’s a win, friend! If you have extra baked bowls, you need to keep that glorious crust crunchy. Store them tightly wrapped in plastic wrap at room temperature for up to two days. The fridge tends to make bread stiff, so I skip that unless I wrap them very carefully.
When you’re ready to bring that crust back to life, forget the microwave—it turns bread rubbery quickly. Instead, toss the hollowed-out bowls (or the tops you cut off) into a 350°F oven for about 5 to 7 minutes. That little blast of dry heat crisps the exterior right back up, making them perfect for dipping into sauce or another bowl of soup the next day!
PrintEasy Homemade Bread Bowls for Soup and Stew
Learn how to make sturdy, crusty homemade bread bowls perfect for holding your favorite creamy soups, hearty stews, or dips. This recipe yields golden, edible bowls that impress.
- Prep Time: 20 min
- Cook Time: 25 min
- Total Time: 1 hr 55 min
- Yield: 4 servings 1x
- Category: Baking
- Method: Baking
- Cuisine: American
- Diet: Vegetarian
Ingredients
- 2 1/4 cups warm water (about 105-115°F)
- 1 tablespoon honey
- 3 teaspoons active dry yeast
- 1 tablespoon olive oil
- 2 teaspoons salt
- 4 1/2 cups bread flour (plus extra for dusting)
- 1 egg, beaten (for egg wash)
- Water in a separate pan for steam
Instructions
- Combine the warm water and honey in a large bowl. Sprinkle the yeast over the top and let it sit for 5 to 10 minutes until foamy.
- Stir in the olive oil and salt into the yeast mixture.
- Gradually add the bread flour, mixing until a shaggy dough forms. If the dough is too sticky, add one tablespoon of flour at a time until it is manageable but still slightly tacky.
- Turn the dough out onto a lightly floured surface and knead for 8 to 10 minutes until the dough is smooth and elastic.
- Place the dough in a lightly oiled bowl, turning once to coat. Cover the bowl with plastic wrap or a clean towel and let it rise in a warm place for 1 to 1.5 hours, or until doubled in size.
- Preheat your oven to 425°F. Place a shallow pan on the bottom rack of the oven to create steam later.
- Gently punch down the risen dough. Divide the dough into 4 equal pieces. Shape each piece into a tight, round ball.
- Place the dough balls on a baking sheet lined with parchment paper, leaving space between them.
- Cover the shaped dough loosely and let them rest for a second proof for 30 minutes.
- Brush the tops of the dough balls lightly with the beaten egg wash.
- Carefully place the shallow pan on the bottom rack into the oven. Immediately place the baking sheet with the dough balls on the middle rack. Pour about 1 cup of hot water into the shallow pan to create steam.
- Bake for 20 to 25 minutes, or until the bread bowls are deep golden brown and sound hollow when tapped.
- Remove the bread bowls from the oven and let them cool completely on a wire rack before hollowing them out.
- To serve, use a sharp knife to cut a circle around the top of each loaf, leaving a sturdy base and sides. Gently pull out the soft interior bread, leaving a thick wall to hold your soup or chili.
Notes
- For a crispier crust, add an extra tablespoon of olive oil to the dough recipe.
- If you want to serve dips or chili, ensure you hollow out the center deeply enough to hold the filling without breaking the bottom crust.
- The interior bread you remove is perfect for dipping or making croutons.
Nutrition
- Serving Size: 1 bread bowl
- Calories: 350
- Sugar: 3
- Sodium: 350
- Fat: 4
- Saturated Fat: 1
- Unsaturated Fat: 3
- Trans Fat: 0
- Carbohydrates: 70
- Fiber: 3
- Protein: 10
- Cholesterol: 5