
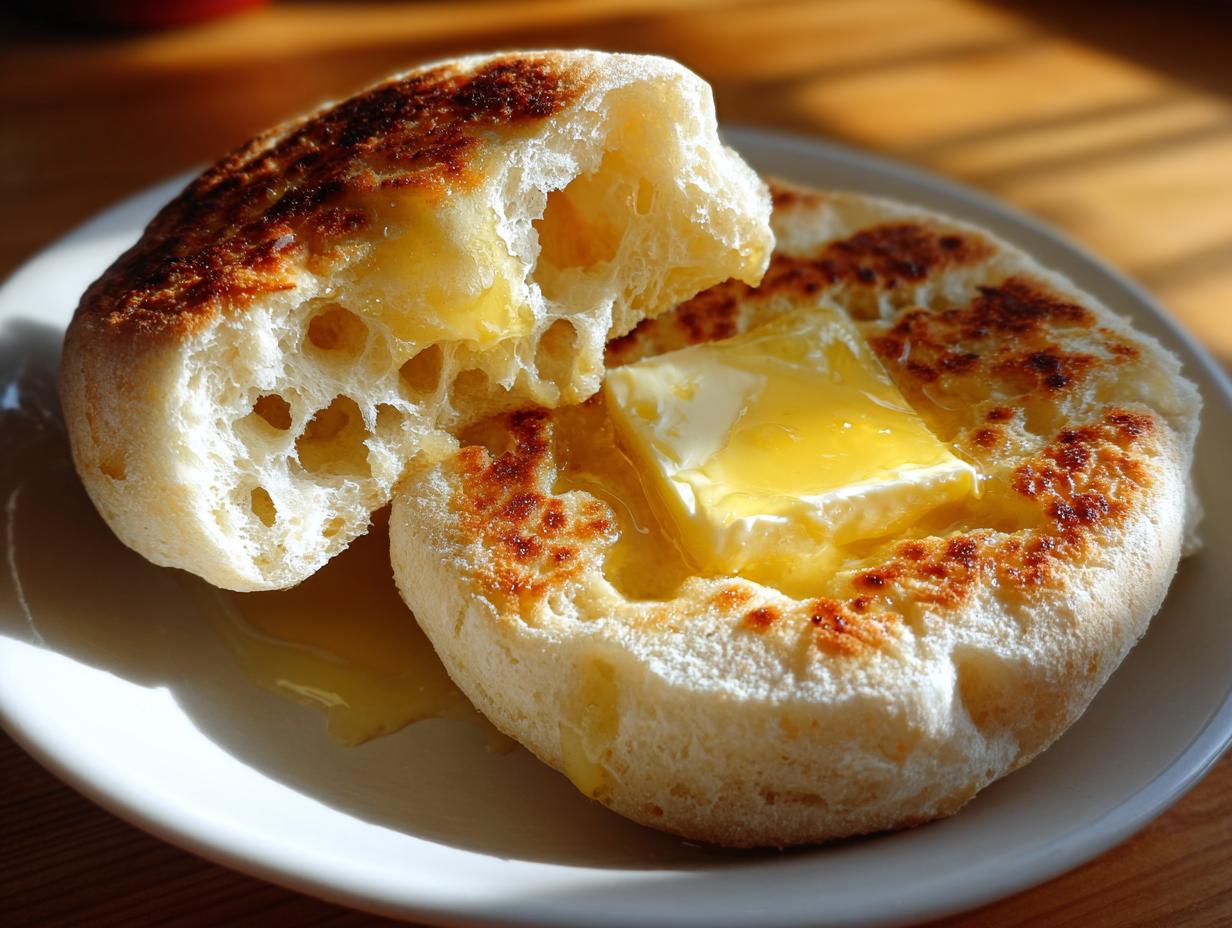

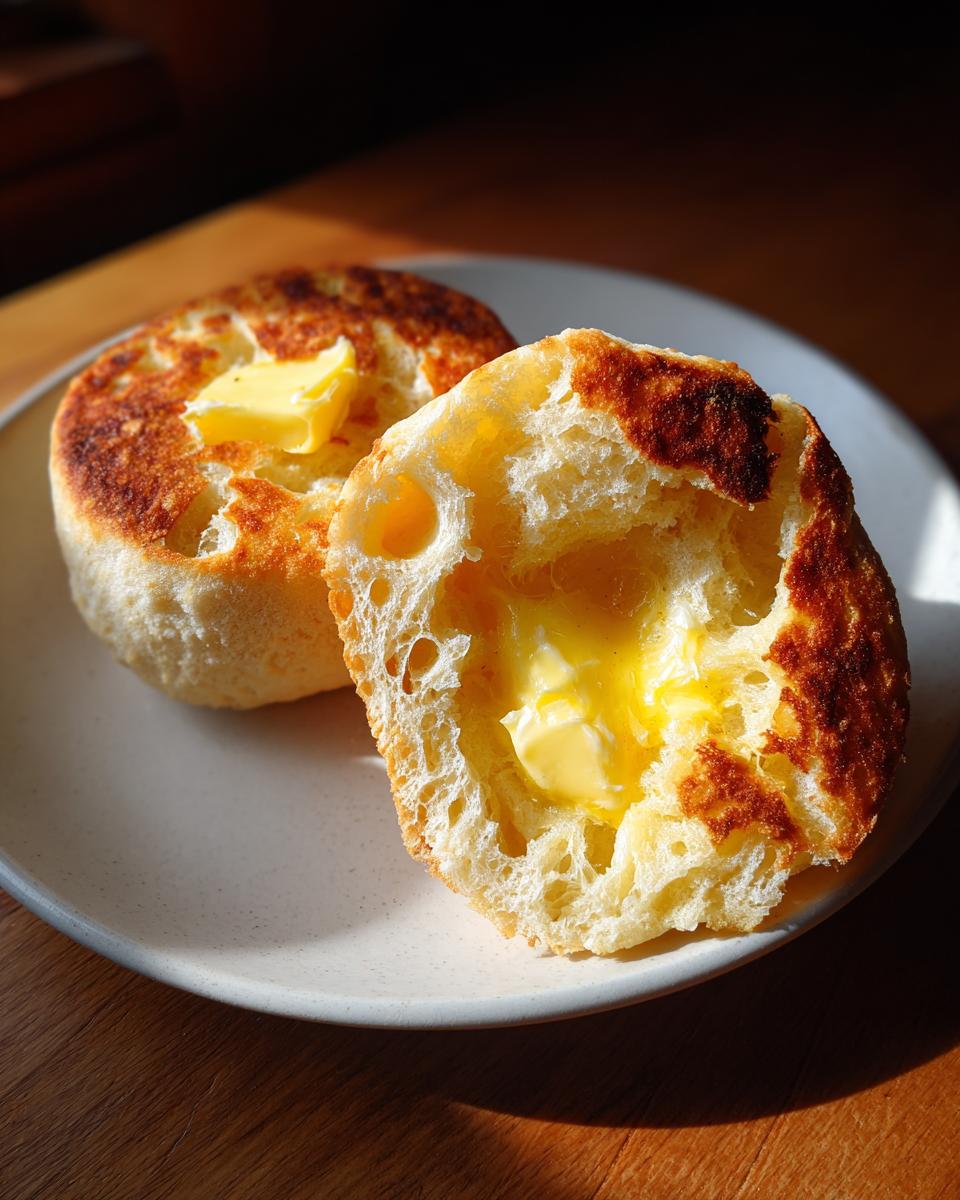
When I started Gourmet Gaze, I vowed to ditch the compromises we make every day in the kitchen. Too often, we settle for ingredients or textures that are “good enough.” I’m here to tell you, “good enough” is the enemy of a great breakfast! That’s why I spent months perfecting this recipe, shifting flour ratios and testing rise times until I cracked the code. What resulted is truly the Best Homemade English Muffins you will ever taste. They are perfectly soft, wonderfully tender, and yes—they boast those iconic, hole-pocked textures inside that bakers chase. If you’re ready to elevate your breakfast game from zero to breakfast hero, this guide is for you! You can find more of my must-try breakfast and brunch staples right here on the site.
- Why You Will Make These Homemade English Muffins Again and Again
- Essential Ingredients for Perfect English Muffins
- How To Make English Muffins: Step-by-Step Skillet Cooking
- Expert Tips for Achieving Perfect English Muffins Nooks and Crannies
- Making Ahead and Storing Your English Muffins
- Creative English Muffin Uses Beyond Toast
- Frequently Asked Questions About Homemade English Muffins
- Estimated Nutritional Data for This English Muffin Recipe
- Share Your Homemade Breakfast Breads
Why You Will Make These Homemade English Muffins Again and Again
Forget the flimsy, spongy store-bought versions. These Homemade English Muffins are designed to be a staple in your week. Here’s why I think you’ll fall in love:
- They achieve the ultimate fluffy texture, soft as clouds on the inside.
- That classic, open ‘nooks and crannies’ surface that just begs for melted butter.
- The cooking method is wonderfully simple—just a heavy skillet on the stovetop; no oven required!
- They are fantastic for meal prep since they are completely freezer-friendly for grab-and-go mornings.
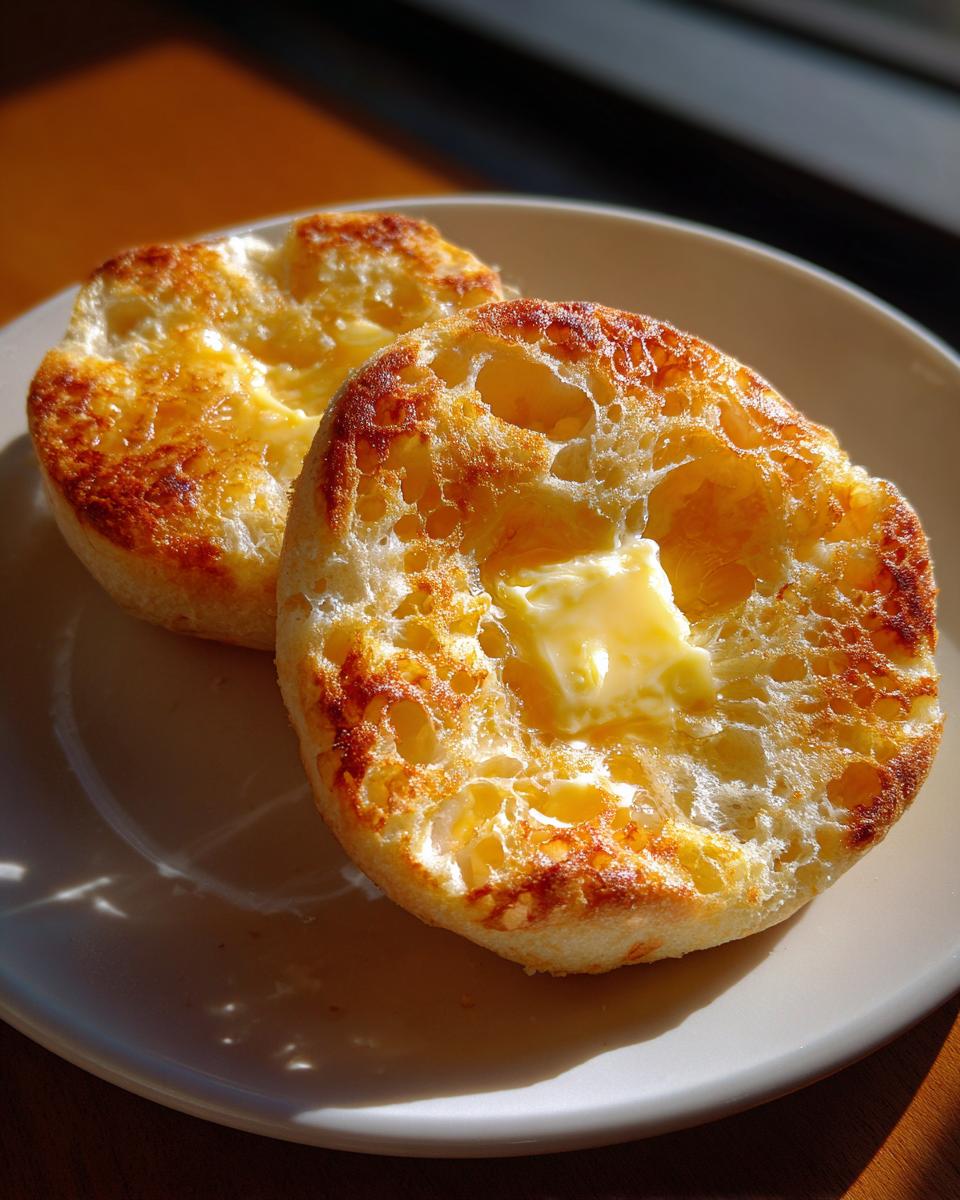
Essential Ingredients for Perfect English Muffins
When we talk about achieving that perfect rise and tender structure for our English Muffin Recipe, the ingredients matter—especially the temperature! For the yeast to wake up happy and do its job creating the air pockets you need, that milk has to be just right. Don’t guess, use a thermometer!
Here is exactly what you need to gather for a batch of these phenomenal stovetop breads:
- 1 cup warm milk (aiming for 105°F to 115°F—too hot and you kill the yeast!)
- 2 1/4 teaspoons active dry yeast
- 1 tablespoon granulated sugar
- 3 cups all-purpose flour, plus more for dusting the surface
- 1 teaspoon salt
- 1/4 cup unsalted butter, melted down gently
- 2 tablespoons cornmeal, which we use liberally for dusting the trays
- Butter or oil, whatever you prefer for coating that griddle later on
Getting that milk temperature spot-on is my first non-negotiable step, as it directly impacts how fluffy your final Homemade English Muffins turn out. Trust me, I learned the hard way after one batch that stayed stubbornly flat!
How To Make English Muffins: Step-by-Step Skillet Cooking
Now that we have our perfect ingredients ready, let’s get to the assembly! Making English muffins from scratch is incredibly satisfying, especially when you realize it’s mostly hands-off time waiting for the dough to bloom. We are using the traditional stovetop method here, bypassing the oven entirely, which is key to developing that signature texture. Don’t worry if you’re new to bread making; this is simpler than you think! For more tips on general bread handling, check out my general baking techniques guide.
Activating Yeast and Mixing the English Muffin Dough
First things first: we need to wake up that yeast. In your main mixing bowl, combine that warmed milk, the yeast, and the sugar. Give it a gentle swirl and just walk away for about five to ten minutes. If you see a nice layer of foam or bubbles sitting on top—that beautiful froth—you know your yeast is alive and ready for action! This guarantees a great rise later on.
Kneading and First Rise for Fluffy English Muffins
Next, add in your dry ingredients—flour and salt—along with the melted butter. Mix it all up with a sturdy spoon until it looks a bit like a shaggy mess. Turn that dough out onto a lightly floured countertop and knead it with purpose for about five minutes until it starts to feel smooth. Listen, this dough is supposed to stay a little bit tacky! After kneading, place it in an oiled bowl, cover it tightly, and let it rest in a nice warm spot for about an hour to an hour and a half. You’re waiting for it to double in size.
Cutting and Resting the English Muffin Rounds
Once it’s puffy, gently punch that dough down—we don’t want to knock out all the air we just created! Pat it out firmly across your counter until it’s about half an inch thick. Grab a 3-inch round cutter and start punching out those rounds. Place those beautiful circles onto a platter generously dusted with cornmeal. Cover them loosely and let them sit for a quick 30-minute rest period before we start cooking.
The Secret to Nooks and Crannies: Stovetop Cooking
This is where the magic happens! Heat a nice, heavy skillet or griddle over medium-low heat. Do not add any butter or oil yet! Place your rested rounds directly onto the dry, warming surface. We cook these low and slow—that’s the real trick for developing the internal structure that leads to those famous nooks. Cook these for a solid 8 to 12 minutes per side until they are a deep, beautiful golden brown. After they come off the heat, remember this: always split them open with a fork, never a knife, to maximize those little pockets!
Expert Tips for Achieving Perfect English Muffins Nooks and Crannies
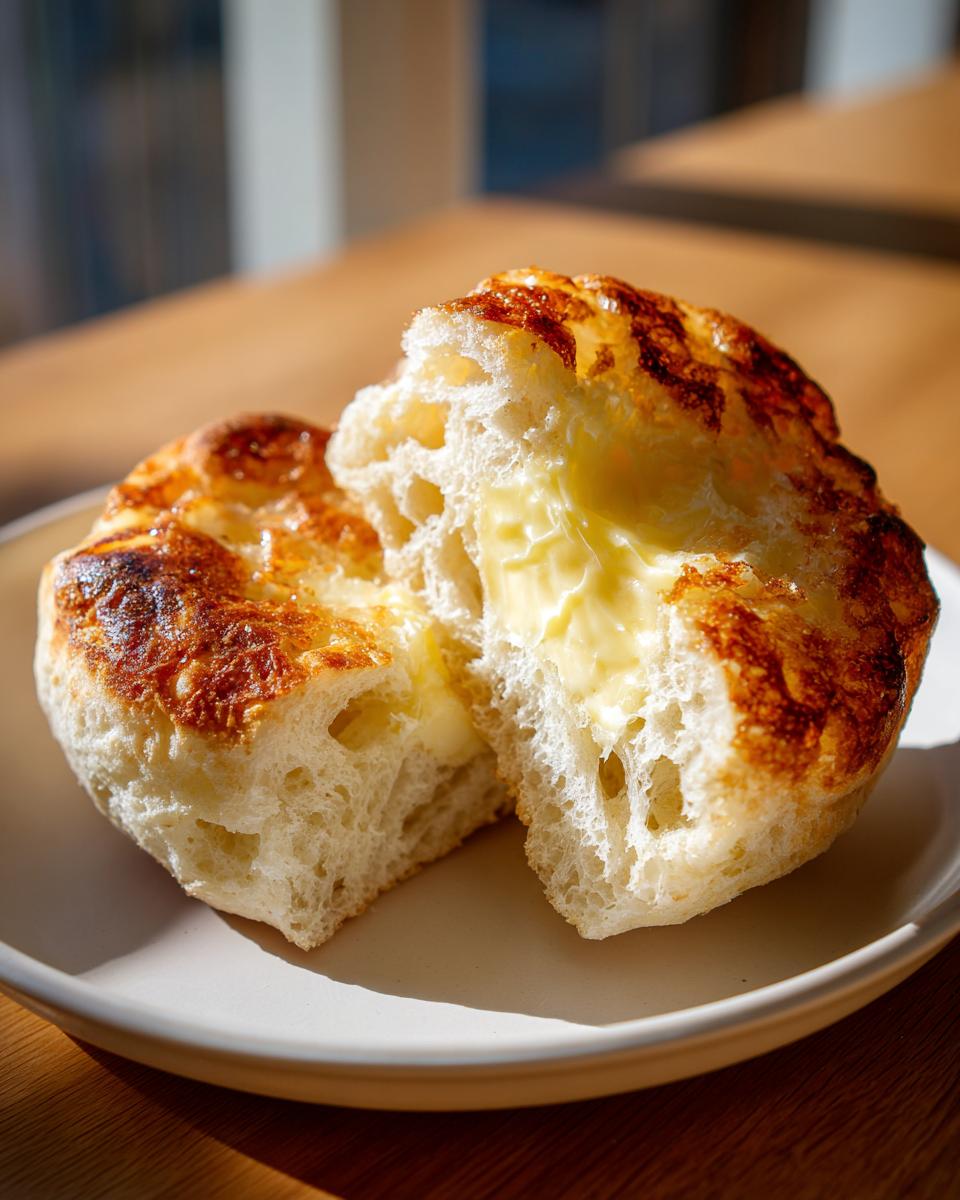
If you take away only one piece of wisdom from my long quest to create bakery-quality results at home, let it be this: patience during the cooking process is everything. Early on, I confess, I used heat that was too high because I was impatient to get my English Muffins done. The result? Beautifully dark brown outsides and dense, slightly doughy centers that didn’t have a single recognizable cranny.
The secret to those irresistible holes is cooking them slowly over medium-low heat. This allows the interior to steam and set slowly, creating those air channels you crave. Once they are cooked through and golden, you must use a fork to split them open. Slicing with a knife seals those little internal tunnels shut! Forking creates those jagged edges that are perfect for trapping melted butter. If you want to see another baker’s take on achieving this texture, check out this great guide for reference. It really helps to visualize how important those tiny pockets are to the whole experience.
Making Ahead and Storing Your English Muffins
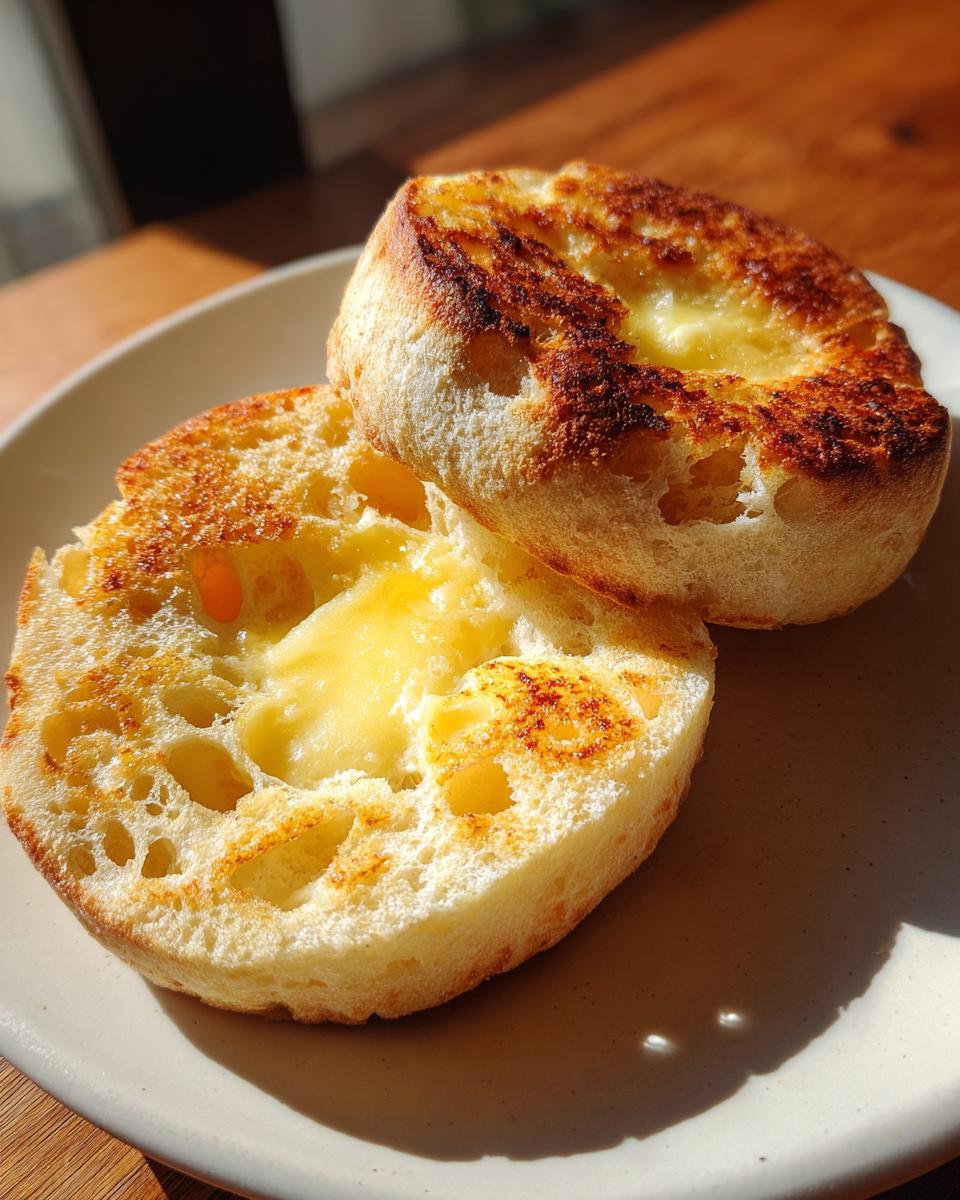
One of the best parts about making a big batch of Homemade English Muffins is knowing you have fantastic breakfast covered for the whole week! Don’t be tempted to eat them all today, though they certainly are tempting when they are warm off the griddle.
First, you must let them cool completely on a wire rack; this is crucial so they don’t steam themselves into doughy messes in the bag. Once cool, just pop them into an airtight, freezer-safe bag. You can leave them right there on the counter for about three days if you plan to eat them quickly. For longer storage, though, freeze them! They stay perfectly fresh and ready for your next craving for up to three months. You can sneak one over to this guide for another reliable storage tip if you like!
Creative English Muffin Uses Beyond Toast
Toast with butter is a classic for a reason, especially when that muffin is split open fork-style! But these incredible English Muffins deserve to be the star of the show in more creative ways. Honestly, once you taste the freshness compared to store-bought, you’ll want to use them everywhere!
My absolute favorite use, hands down, is turning them into the ultimate Homemade Breakfast Sandwich Buns. Toast them lightly on the griddle where you cooked them, melt some sharp cheddar right on top of the toasted surface, and then pile on crispy bacon and a perfect fried egg. If you want to kick that sandwich up ten notches, you need to try the sauce from my best steak sandwich recipe—it works magically with eggs!
Don’t stop at sandwiches, either. They make fantastic, sturdy bases for quick weeknight dinners. Split a muffin, top it with a smear of sauce, some mozzarella, and maybe a slice of pepperoni. They bake up fast and become instant mini pizzas! They are also wonderfully comforting when used for a rich serving of English Muffins and Gravy when you’re craving some serious breakfast comfort food.
Frequently Asked Questions About Homemade English Muffins
I know you might have a few lingering questions, especially if this is your first foray into making these at home. Bread baking can feel intimidating, but these are very forgiving once you know the small secrets! Here are the things I hear most often from home cooks just starting out with this English Muffin Recipe.
Can I use an oven instead of a skillet for these English Muffins?
You technically can bake them in the oven, especially if you’re making a huge batch, but I really caution against it if you are looking for that classic texture. The skillet cooking method, done low and slow without any grease, is what allows the dough to puff up and set internally, which is what creates those amazing nooks and crannies you want. Baking can dry them out too fast on the exterior before the inside is fully cooked.
My English Muffins came out flat. What went wrong?
Oh, that’s frustrating, I’ve been there! Flatness usually boils down to one of three things preventing that beautiful rise. Did your yeast foam up properly? If not, it wasn’t active enough. Second, did you punch the air out too aggressively when you handled the dough after the first rise? Go gentle! Finally—and this is a big one—if your griddle was too hot, the outside closed up before the yeast could finish its job inside, squashing the interior structure.
What is the best way to reheat a frozen english muffin?
To bring back the fresh-from-the-griddle texture, you have to reheat them correctly after they’ve been frozen and thawed. Don’t just microwave them! The absolute best way is to split the frozen or thawed muffin and put the cut sides down on a dry, medium-hot skillet for just a minute or two until they are toasted golden. It crisps up the edges and revives that soft interior beautifully.
Estimated Nutritional Data for This English Muffin Recipe
I believe that enjoying food means understanding what’s in it, but please remember that because these are made from scratch, they are simply estimates! The final counts can change based on the brands of flour or butter you use. This data reflects the approximate values for one single, glorious muffin:
- Calories: 190
- Fat: 4g
- Carbohydrates: 33g
- Protein: 6g
- Sugar: 2g
- Sodium: 280mg
It is still a delightful start to any morning, offering a solid base for whatever fillings you decide on!
Share Your Homemade Breakfast Breads
Seeing what you create in your own kitchen after following these steps is honestly the best reward for me here at Gourmet Gaze. The whole point of moving away from the corporate spreadsheets and into this culinary world was to share that joy and connection that comes from making something truly exceptional at home.
When you’re pulling those perfectly golden English Muffins off the griddle—especially when you see those nooks and crannies emerge—I really want to see them! Don’t forget to snap a picture of your finished batch, whether they’re stacked high, slathered with butter, or already built into what looks like the world’s best breakfast sandwich.
I encourage you to rate the recipe right on the page; your feedback helps me keep these recipes reliable and refined for everyone else who visits. If you have a shining example of your home baking success, feel free to reach out and let me know how they turned out by heading over to my contact page. I cherish hearing from everyone who sits down to eat at the table we’re building here!
PrintThe Best Homemade English Muffins with Signature Nooks and Crannies

Make superior English muffins from scratch. This recipe yields soft, fluffy rounds with the classic open texture perfect for holding melted butter or building breakfast sandwiches.
- Prep Time: 25 min
- Cook Time: 30 min
- Total Time: 1 hour 55 min
- Yield: 8 servings 1x
- Category: Breakfast
- Method: Skillet Cooking
- Cuisine: American
- Diet: Vegetarian
Ingredients
- 1 cup warm milk (105°F to 115°F)
- 2 1/4 teaspoons active dry yeast
- 1 tablespoon granulated sugar
- 3 cups all-purpose flour, plus more for dusting
- 1 teaspoon salt
- 1/4 cup unsalted butter, melted
- 2 tablespoons cornmeal, for dusting
- Butter or oil, for griddle
Instructions
- Combine the warm milk, yeast, and sugar in a large bowl. Let this mixture sit for 5 to 10 minutes until it becomes foamy. This shows the yeast is active.
- Add the flour, salt, and melted butter to the yeast mixture. Mix with a wooden spoon until a shaggy, sticky dough forms.
- Turn the dough out onto a lightly floured surface. Knead for about 5 minutes until the dough is smooth. It will remain slightly tacky.
- Place the dough in a lightly oiled bowl, turning to coat. Cover the bowl with plastic wrap and let it rise in a warm place for 1 to 1.5 hours, or until doubled in size.
- Gently punch down the dough. Turn it onto a lightly floured surface and pat it out to about 1/2 inch thickness.
- Use a 3-inch round cutter to cut out the English muffins. Gather the scraps, gently re-knead them, and cut out any remaining rounds.
- Lightly dust a baking sheet or large platter with cornmeal. Place the cut rounds on the prepared surface, leaving space between them. Cover loosely and let them rest for 30 minutes.
- Heat a large, heavy-bottomed skillet or griddle over medium-low heat. Do not add fat yet.
- Place the rested muffins onto the dry, warm skillet. Cook for 8 to 12 minutes per side. You are looking for a deep golden brown color. Adjust the heat as necessary to cook them through without burning the exterior. The low heat helps them cook internally and develop the nooks and crannies.
- Remove the cooked English muffins from the skillet. For the best texture, split them open using a fork rather than a knife.
- Toast the split sides on the griddle or under a broiler until lightly crisp. Serve immediately with butter or use them for your favorite breakfast sandwich.
Notes
- To achieve those signature ‘nooks and crannies,’ cook the muffins slowly over medium-low heat. This slow cooking process allows the interior structure to set properly.
- Split the muffins with a fork instead of slicing them with a knife. The fork tines create jagged edges that trap butter and jam better.
- These muffins freeze well. Cool them completely, place them in a freezer-safe bag, and freeze for up to 3 months. Thaw overnight or reheat directly from frozen.
Nutrition
- Serving Size: 1 muffin
- Calories: 190
- Sugar: 2
- Sodium: 280
- Fat: 4
- Saturated Fat: 2
- Unsaturated Fat: 2
- Trans Fat: 0
- Carbohydrates: 33
- Fiber: 1
- Protein: 6
- Cholesterol: 12