
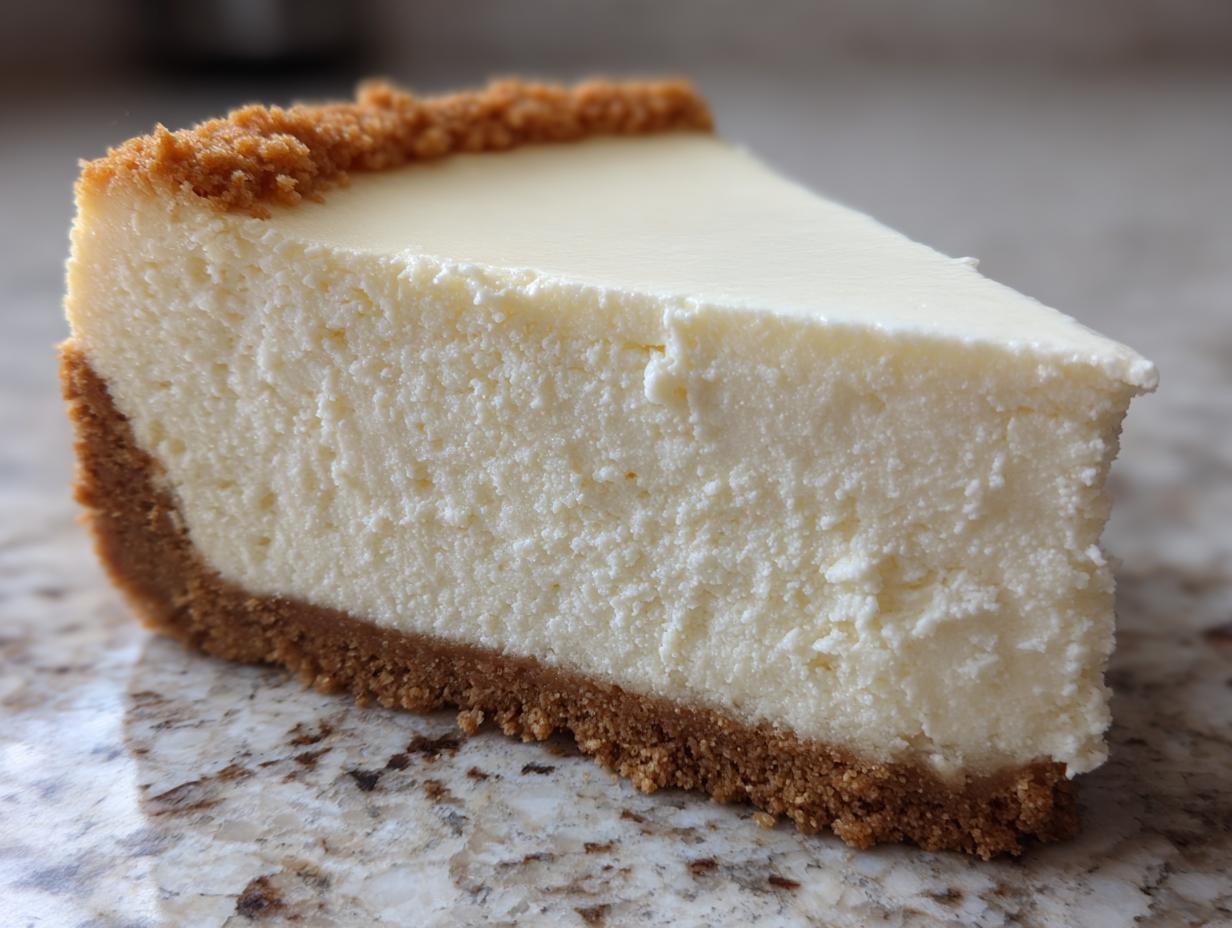

If there’s one dessert that intimidates home bakers, it’s the cheesecake. I remember those early days years ago, coming straight from spreadsheets and deadlines, trying to conquer the perfect, creamy indulgence—only to end up with a sunken disaster or a cracked surface screaming for a topping. Forget all that frustration! I’m Leo Maxwell, and after trading that corporate hustle for culinary mastery, I’ve locked down the one true **cheesecake recipe** that you deserve: the Classic New York Style Cheesecake. Trust me, this isn’t just dessert; it’s an architectural triumph that guarantees a rich, velvety, and most importantly, totally no-crack result. I tested this until it was flawless, so you can focus only on the sheer joy of that first, unbelievably smooth bite. You can see more of my favorite indulgent creations over on my Desserts archive.
- Why This Classic New York Style Cheesecake Recipe Works
- Gathering Ingredients for Your Homemade Cheesecake Guide
- Step-by-Step Rich Cheesecake Instructions: Crust Preparation
- Creating the Filling for the No-Fail New York Cheesecake
- Baking and Slow Cooling: The Secret to a Perfect Cheesecake Texture
- Chilling and Serving Your Timeless Cheesecake Recipe
- Storing and Reheating This Creamy Dessert
- Frequently Asked Questions About This Cheesecake Recipe
- Sharing Your Indulgent Sweet Treats
Why This Classic New York Style Cheesecake Recipe Works
Honestly, after years of wrestling with temperamental desserts, I cracked the code on this one. This isn’t just another recipe plucked from a random cookbook; it’s the result of dedicated testing to eliminate every potential pitfall. When you follow these steps, you’re guaranteed a dessert that honors the best of New York tradition while being incredibly dependable for home bakers like us. I want you to feel the confidence I finally found in my kitchen!
- The signature tangy flavor that cuts through the richness.
- A velvety, dense body—that incredible mouthfeel everyone talks about.
- My absolute no-crack guarantee, provided you follow the cooling instructions religiously!
If you want to see how the pros deal with their creamy creations, check out some amazing techniques detailed over at Revealed Recipe.
Achieving That Perfect Creamy Cheesecake Texture
If you want that super smooth, **Creamy Cheesecake** that melts on your tongue, you have to respect the ingredients’ starting temperature. Seriously, take the time to let your cream cheese, eggs, and sour cream warm up! Cold chunks of cream cheese lead to lumps, and lumps mean you over-mix trying to smooth them out.
And speaking of mixing—this is crucial for that **Perfect Cheesecake Texture**: use low speed only! High speed whips in tiny air bubbles, and those little bubbles expand during baking and then collapse when cooling, which is the number one cause of cracking. We are aiming for dense and rich, not light and fluffy here. Avoid over-beating at all costs!
Gathering Ingredients for Your Homemade Cheesecake Guide
Okay, let’s talk components. Making the **Best Cheesecake Recipe** starts long before you hit the ‘on’ button on your mixer. For this **Homemade Cheesecake Guide**, we need quality—plain and simple. While you’re gathering everything, remember this golden rule: if it calls for cream cheese, it *must* be full-fat. Low-fat options just won’t support the structure we need for that signature New York density.
I use my ingredient list below, but the preparation of those components is what truly separates good cheesecake from truly great cheesecake. Don’t rush the setup!
- For the Crust: 1 3/4 cups graham cracker crumbs, 1/2 cup granulated sugar, and 6 tablespoons unsalted butter, melted.
- For the Filling: 4 (8 ounce) packages full-fat cream cheese, 1 1/2 cups granulated sugar, 1/4 cup all-purpose flour, 1 teaspoon vanilla extract, 1/4 teaspoon salt, 1 cup sour cream, and 4 large eggs.
Ingredient Notes and Substitutions for This Cheesecake Recipe
The absolute most important thing you need to do before you start mixing is let that cream cheese, sour cream, and those eggs sit out! I mean it. They need to be completely at room temperature, just like the recipe notes mention in the Baking Guide. When those ingredients are cool, they don’t incorporate properly, leading to bumps and curdling.
And listen, for these **Rich Cheesecake Instructions**, please stick to full-fat cream cheese. Anything less robs you of the necessary fat content that provides that velvety stability. We aren’t trying to cut corners here; we are aiming for indulgence!
Step-by-Step Rich Cheesecake Instructions: Crust Preparation
Alright, step one! Before we even mix the filling, we need a sturdy foundation for our **Easy Cheesecake Recipe From Scratch**. Start by getting your oven preheated to 350°F (175°C). While that warms up, grab your graham cracker crumbs and whisk them together with the 1/2 cup of sugar and your melted butter. Don’t just toss it—make sure it’s evenly moistened, like wet sand.
Press that mixture down firmly into the bottom of your 9-inch springform pan. I like to use the bottom of a flat measuring cup to really compact it; we want this crust to hold strong against that heavy filling. Bake this shell for just 10 minutes, then pull it out and let it cool while you get the filling ready. Don’t forget to drop the oven temp down to 325°F (160°C) when you get to the next stage!
Now, the water bath prep—this is key to avoiding cracks. You need heavy-duty foil, and I mean *heavy-duty*. Wrap the entire outside bottom and sides of your springform pan tightly. We are building a dam to keep out rogue water! Place that beautifully wrapped pan into a larger roasting pan. It’s a little extra work, but it’s part of my **Simple Cheesecake Instructions** for getting that gorgeous, smooth top. If you want a brilliant shortcut for pan release, check out some handy tips for Alatte Food.
Creating the Filling for the No-Fail New York Cheesecake
This is where we earn that **No-Fail New York Cheesecake** badge! If you take anything away from my journey from spreadsheet jockey to happy baker, let it be this: mixing technique is everything when it comes to a smooth **Tangy Cream Cheese Dessert**.
First, grab that softened cream cheese. You need to beat it until it looks like silk—absolutely zero lumps allowed. Scrape your bowl down thoroughly while you do this so everything gets incorporated right at the start.
Next, on *LOW* speed, gently mix in the sugar, flour, vanilla, and salt. Keep that speed low! We are mixing ingredients, not whipping air into this batter. Air is our enemy.
Once that’s just combined, stir in the sour cream until it’s smooth again—again, low speed! Now for the most crucial part for achieving that **Ultimate Cheesecake Baking Secrets** texture: the eggs. Add them in one at a time. You want to mix only until you no longer see streaks of yellow yolk disappearing. As soon as the last egg is blended, stop the machine! Seriously, turn it off, scrape the bowl one final time by hand, and give it a quick fold if you must. Overmixing those eggs is the express ticket to cracks on top!
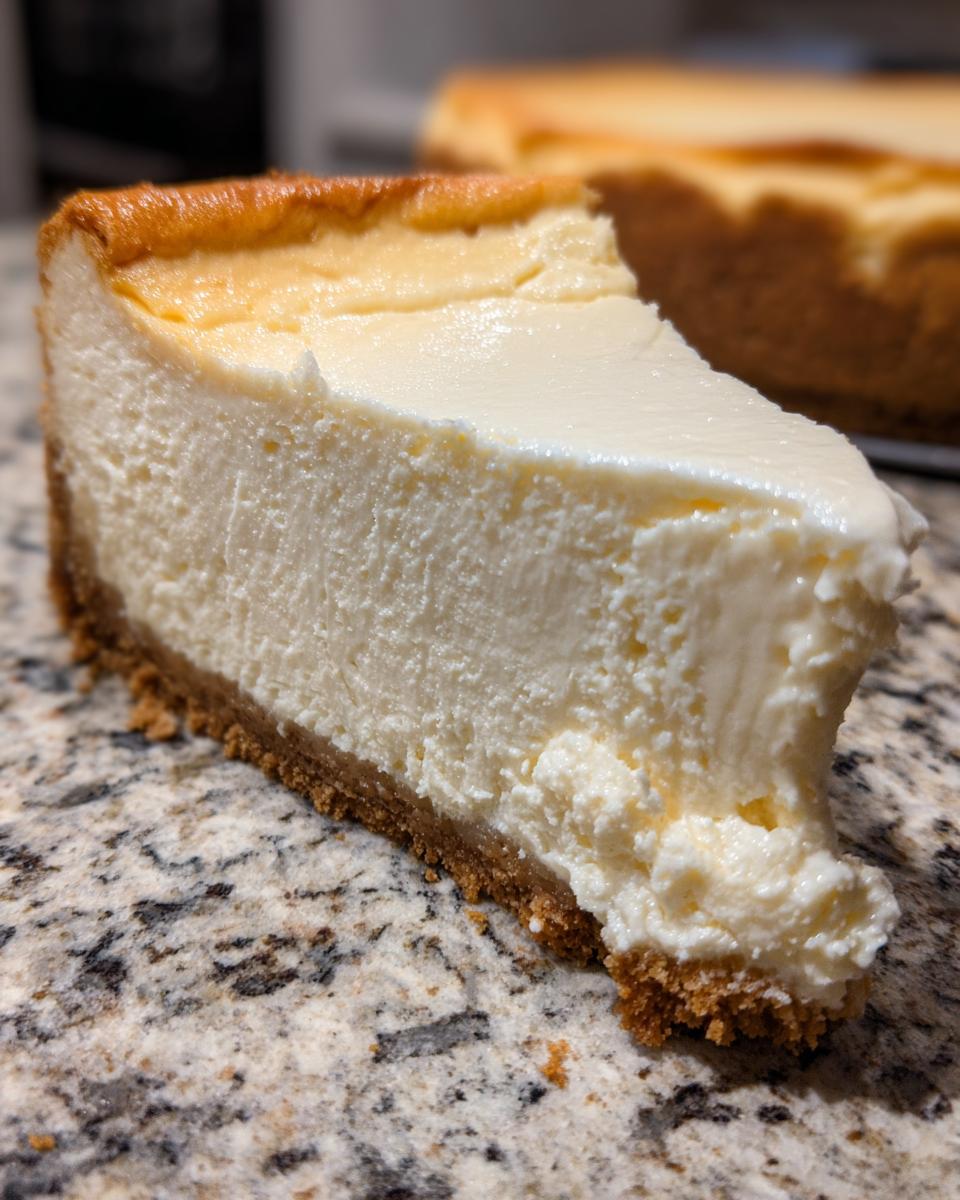
Pour this beautiful, thick mixture over your cooled crust. This controlled mixing process keeps the batter dense and ready for perfection. If you want to see the methods Natasha uses to keep her cheesecakes smooth, you can check out her guide here.
Baking and Slow Cooling: The Secret to a Perfect Cheesecake Texture
This baking stage is where we finally secure that **Perfect Cheesecake Texture** and deliver on the promise of a surface without any dreaded cracks. Remember that roasting pan we wrapped up so tightly? Now, we carefully pour hot water into the roasting pan until it comes about halfway up the side of your springform pan—that’s your water bath doing its job to keep the bake gentle and even.
Bake this beauty at 325°F (160°C) for about 60 to 75 minutes. How do you know it’s done? Don’t wait for it to look completely solid! The edges should look nicely set, but if you nudge the pan gently, the center two inches should still have a slight, adorable wobble. That movement means it’s creamy inside, not dry!
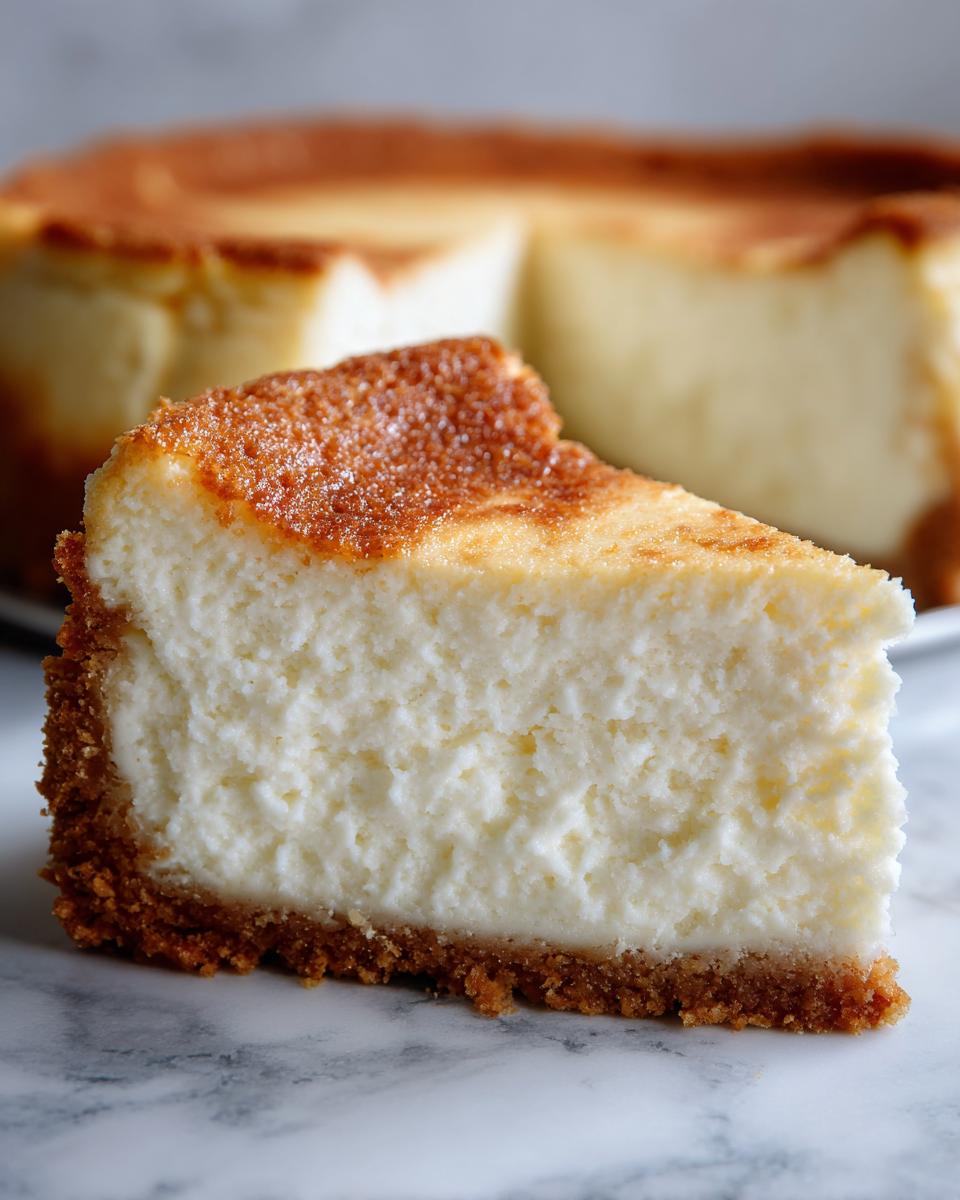
Now comes the part where most people mess up, so pay close attention! When the time is up, turn the oven OFF. Don’t pull it out! Prop the oven door open slightly—I use a sturdy wooden spoon handle to keep it just ajar—and leave the cheesecake in the cooling oven for a full hour. This slow, gradual temperature decrease is non-negotiable for preventing contraction and cracking. For more expert insights on technique, you can check out the amazing guidance on slow-baking provided by Sweetly Cakes.
Essential No-Crack Cheesecake Tips for Beginners
Look, if you follow these **Simple Cheesecake Instructions**, you can truly succeed at **Dessert Baking for Beginners**. Think of these as the Big Three rules for success:
- Room Temperature Ingredients: Cold ingredients equal lumpy filling, requiring overmixing. Always let your cream cheese, eggs, and sour cream warm up first!
- Minimal Mixing: We are *combining*, not whipping. Low speed, stop immediately after the eggs disappear. No bubbles allowed!
- Slow Cooling is Key: Never shock the cheesecake. Always use the oven-off, door-ajar method for at least one hour before taking it out to finish cooling on the counter.
Chilling and Serving Your Timeless Cheesecake Recipe
We are so close now—don’t rush the finish line! After that hour in the cooling oven, you can finally remove the cheesecake from the water bath and foil. Let it cool down completely on a wire rack at room temperature; this takes a couple of hours. No peeking! Once it’s totally cool to the touch, wrap it loosely and move it into the fridge. This is where the magic sets in. You absolutely must let it chill for a minimum of six hours, but honestly, overnight makes this **Homemade Cheesecake Guide** truly a masterpiece.
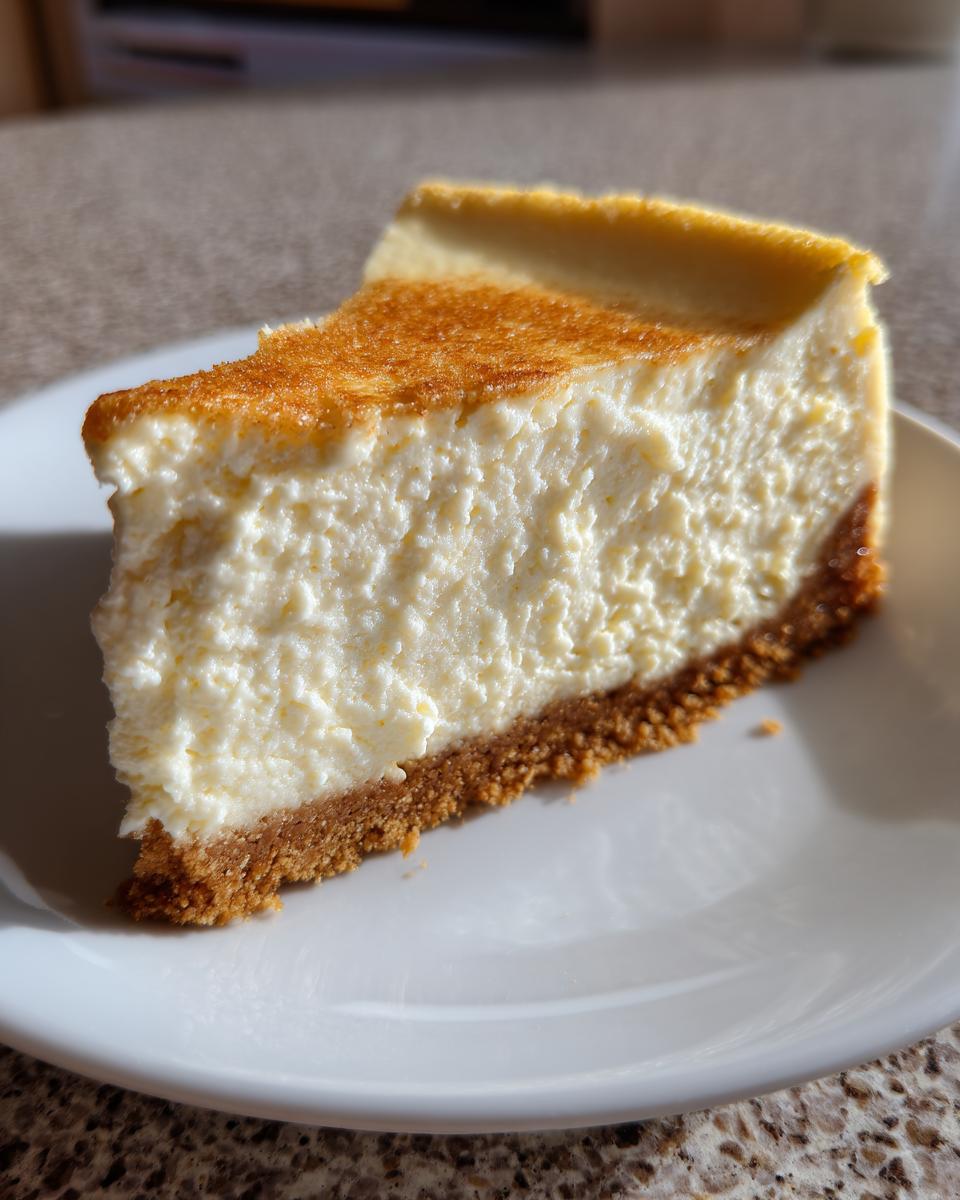
When it’s finally time to serve this **Timeless Cheesecake Recipe**, here’s a little trick: run a very thin, sharp knife around the inside edge of the pan first. This releases any spots that might have gently stuck during cooling. Then, unlatch that springform side, and reveal that perfectly smooth top! You’ll want to check out my collection of baking tips if you need a refresher on any of the earlier steps!
Storing and Reheating This Creamy Dessert
Now that you’ve perfected your **Creamy Cheesecake**, you need to know how to treat it right! Since this is such a rich dessert, covering it loosely and keeping it refrigerated is the way to go. I find that cheesecake honestly tastes best after two days in the fridge—it just deepens those flavors. If you look for more general tips on storing amazing treats, I keep a running list on my site, like this one dedicated to Kitchen Momy’s baking tips.
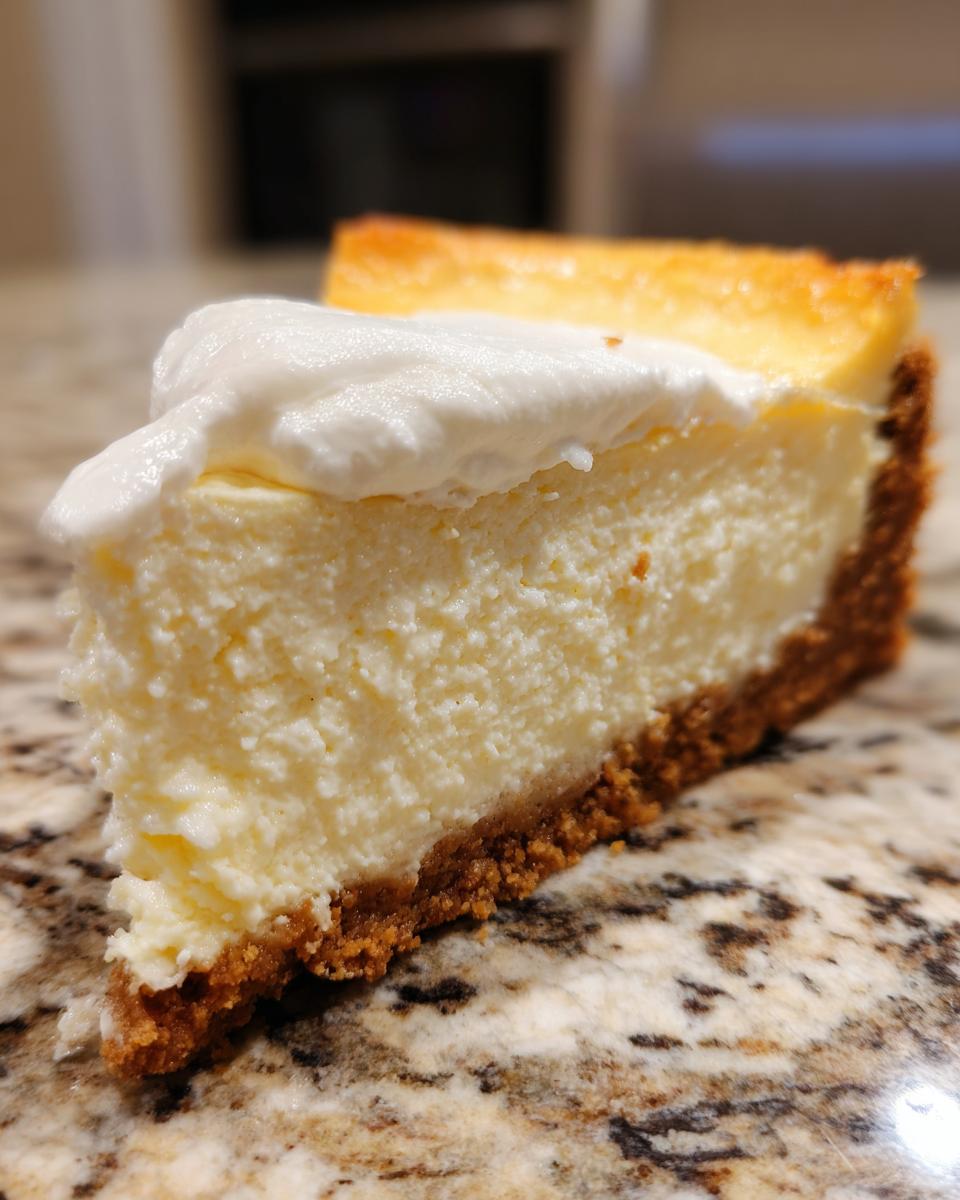
Technically, you can eat it straight from the fridge, but for the absolute best slice of this **Indulgent Sweet Treat**, pull it out about 30 minutes before you plan to serve it. Letting it sit on the counter for a short while warms it up just enough to bring out that beautiful, tangy flavor profile. I wouldn’t recommend reheating slices in the microwave; that just ruins that perfect, dense texture we worked so hard to achieve!
Frequently Asked Questions About This Cheesecake Recipe
I get so many questions after people try this recipe for the first time because they are shocked at how easy it was to get a professional result! Don’t worry if you’re nervous; this is why I put so much effort into making this the ultimate guide to making that **Best Dessert for Parties**.
Most people worry about texture and cracking, which we have tackled with our mixing and cooling techniques, but here are a few other things I hear often:
Can I make this cheesecake recipe without a water bath?
Look, I know the water bath feels fussy, but for a truly **Classic Baked Cheesecake** like this New York style one, it’s non-negotiable if you want my absolute no-crack guarantee. The gentle, humid heat from the water bath is what steams the sides of the cake, ensuring it bakes evenly and doesn’t dry out. If you skip it, you run a huge risk of getting dry edges and a cracked top. I engineered this recipe around the bath because I want you to experience flawless results!
What is the best way to get a tangy flavor in my cheesecake?
That beautiful, bright tang that cuts through the richness is what makes New York cheesecake superior, and it comes from two places you already have in your filling ingredients! First, you *must* use full-fat cream cheese—that quality base makes a huge difference in the depth of flavor. Second, the sour cream is essential. It adds that perfect sour backdrop, creating that **Tangy Cream Cheese Dessert** profile as it bakes. Don’t even think about swapping it for plain yogurt; it changes the entire chemical balance!
I’m a beginner; is this too complex for me?
Absolutely not! This is why I included all those **Simple Cheesecake Instructions** and tips for achieving that **Perfect Cheesecake Texture**. If you can follow directions and manage to let your ingredients come to room temperature, you can master this! We focused heavily on the ‘how-to’ during the mixing stage for that main reason. You’ve got this!
Sharing Your Indulgent Sweet Treats
Now that you’ve mastered the technique for this incredible dessert, I truly want to see your success! Did you top it with fresh berries, or maybe a bright fruit coulis? Don’t keep that gorgeous, creamy cheesecake to yourself!
Please rate this **cheesecake recipe** below, and share your finished creation in the comments. I love seeing what you serve your **Indulgent Sweet Treats** with! For more inspiration on pairing desserts, you can browse through what my friends over at Delicious Dishes Blog are making.
PrintClassic New York Style Cheesecake: Rich, Creamy, and No-Crack Guaranteed
Follow this guide to make the ultimate rich, creamy, and tangy New York Style Cheesecake with a perfect graham cracker crust. This recipe is designed to give you a velvety texture without cracking, making it the best homemade cheesecake you will ever bake.
- Prep Time: 25 min
- Cook Time: 75 min
- Total Time: 9 hours 40 min
- Yield: 12 servings 1x
- Category: Dessert
- Method: Baking
- Cuisine: American
- Diet: Vegetarian
Ingredients
- 1 3/4 cups graham cracker crumbs
- 1/2 cup granulated sugar (for crust)
- 6 tablespoons unsalted butter, melted
- 4 (8 ounce) packages full-fat cream cheese, softened to room temperature
- 1 1/2 cups granulated sugar (for filling)
- 1/4 cup all-purpose flour
- 1 teaspoon vanilla extract
- 1/4 teaspoon salt
- 1 cup sour cream, room temperature
- 4 large eggs, room temperature
Instructions
- Prepare the crust: Preheat your oven to 350°F (175°C). Mix graham cracker crumbs, 1/2 cup sugar, and melted butter. Press the mixture firmly into the bottom of a 9-inch springform pan. Bake for 10 minutes. Remove and let cool while you prepare the filling. Reduce oven temperature to 325°F (160°C).
- Prepare the water bath: Wrap the outside bottom and sides of the springform pan tightly with heavy-duty aluminum foil to prevent water from leaking in. Place the wrapped pan inside a larger roasting pan.
- Make the filling: In a large bowl, beat the softened cream cheese with an electric mixer until completely smooth. Scrape down the sides.
- Add 1 1/2 cups sugar, flour, vanilla extract, and salt. Beat on low speed until just combined. Do not overmix.
- Beat in the sour cream until smooth. Add the eggs one at a time, mixing only until each egg is incorporated. Stop mixing as soon as the last egg is blended in to prevent air incorporation, which causes cracks.
- Pour the filling over the cooled crust in the springform pan.
- Bake using the water bath: Carefully pour hot water into the roasting pan until the water reaches about halfway up the sides of the springform pan.
- Bake for 60 to 75 minutes. The edges should look set, but the center 2 inches should still wobble slightly when gently nudged.
- Cool slowly: Turn off the oven, but leave the cheesecake inside with the oven door propped open slightly (use a wooden spoon) for 1 hour. This slow cooling prevents cracking.
- Remove the cheesecake from the water bath and foil. Let it cool completely on a wire rack at room temperature.
- Chill: Cover the cheesecake loosely and refrigerate for at least 6 hours, or preferably overnight, before serving. Run a thin knife around the edge before releasing the springform side.
Notes
- Room temperature ingredients (cream cheese, sour cream, eggs) mix much more smoothly, which is key for a perfect cheesecake texture.
- Do not use a hand mixer on high speed for the filling; low speed prevents incorporating excess air.
- For the best results, use full-fat cream cheese only.
Nutrition
- Serving Size: 1 slice
- Calories: 450
- Sugar: 35g
- Sodium: 350mg
- Fat: 30g
- Saturated Fat: 18g
- Unsaturated Fat: 12g
- Trans Fat: 0.5g
- Carbohydrates: 40g
- Fiber: 1g
- Protein: 8g
- Cholesterol: 120mg