
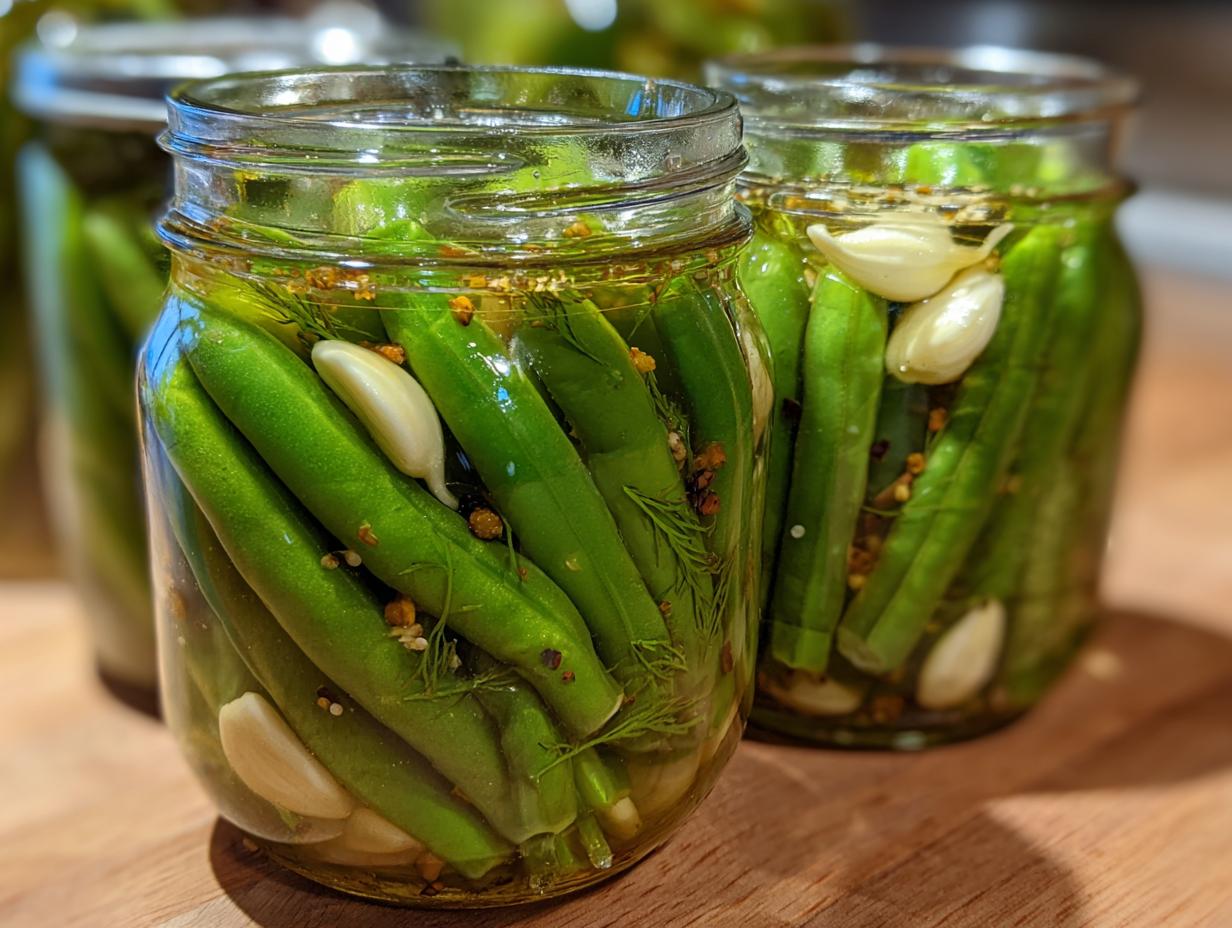

There is something deeply satisfying about taking fresh garden produce—even just a small quart of green beans—and transforming it into something tangy, crisp, and bright. When I was drowning in spreadsheets back in Chicago, I never thought I’d find true culinary peace in a humble jar of pickles. But here we are! These **dilly beans** are my testament to that shift from corporate life to finding joy in simple, perfect flavors. We’re not breaking out the canner today; this is my Quick & Easy Refrigerator Dilly Beans recipe, delivering that perfect, zesty crunch faster than you can finish your first batch.
- Why You Will Love These Quick & Easy Dilly Beans Recipe
- Essential Ingredients for Perfect Dilly Beans
- How to Make Dilly Beans: Step-by-Step Refrigerator Pickling
- Tips for Success with Homemade Pickles Recipe
- Serving Suggestions for Your Preserved Vegetables
- Storage and Shelf Life for Refrigerator Dilly Beans
- Addressing Common Questions About Dilly Beans Recipe
- Nutritional Estimates for Dilly Beans
- Share Your Homemade Pickles
Why You Will Love These Quick & Easy Dilly Beans Recipe
I promise you, these aren’t just good—they are truly addictive. Moving away from complex, days-long preservation methods was liberating, and these refrigerator pickles showcase that simplicity is often the secret ingredient. They capture the flavor of the garden but give you instant gratification. Here’s why this recipe jumped right to the top of my favorites list.
-
Snappy Crunchy Pickles Ready Fast
The best part about the refrigerator method is the speed. You boil the brine, pour the jars, and you’re practically done! Forget waiting weeks; this guarantees you those satisfyingly snappy crunchy pickles often missing from bulk canning projects. You get the crunch factor every single time.
-
Perfect for Summer Vegetable Preservation
When the garden is overflowing or the farmer’s market haul is amazing, you don’t always have time for a full water bath setup. This is my go-to for low-fuss summer vegetable preservation. It lets you preserve that peak-season flavor using just a couple of clean jars and a bit of counter space.
Essential Ingredients for Perfect Dilly Beans
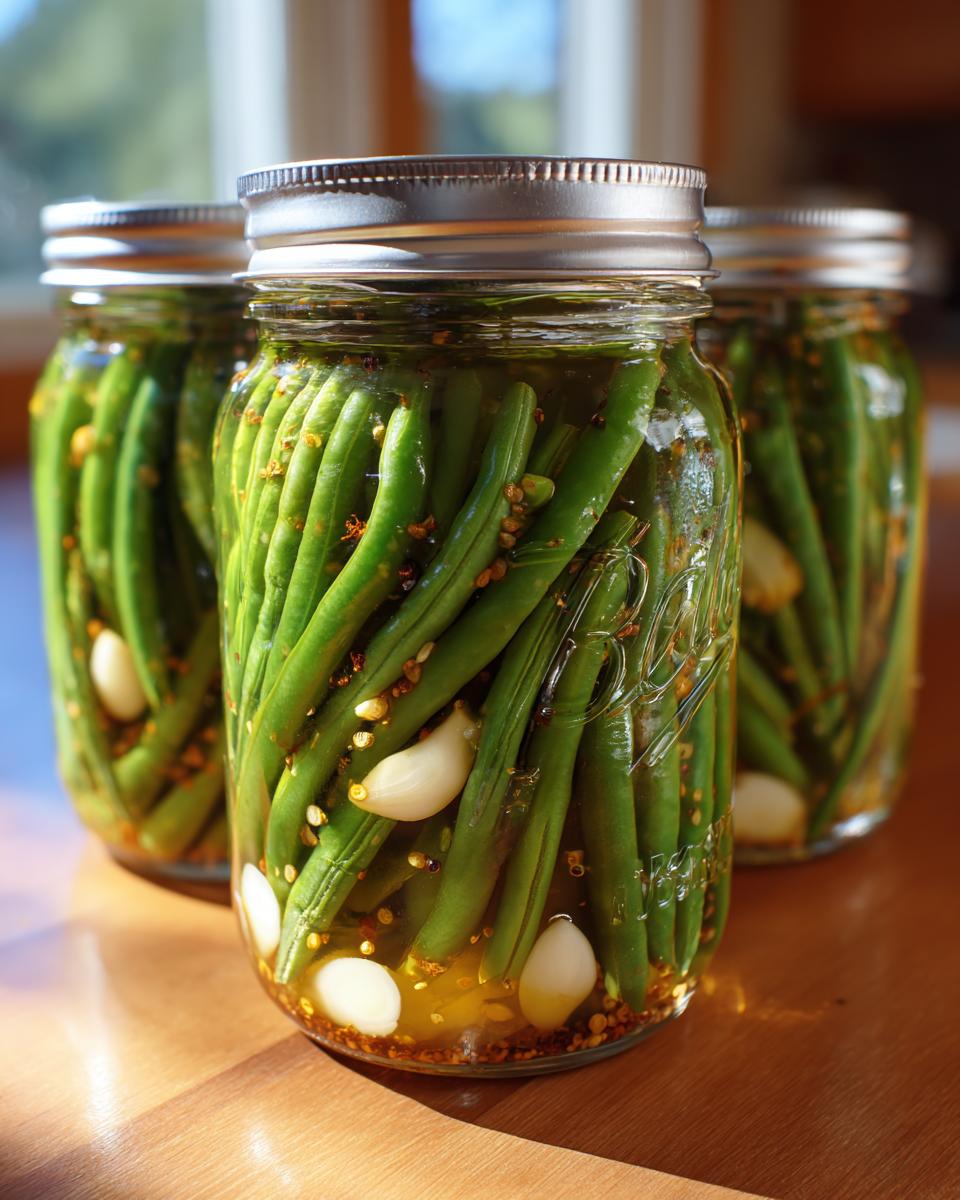
When I first started experimenting with preserving veggies, I thought all you needed was a jar and some vinegar. Oh, how wrong I was! The secret to nailing these dilly beans isn’t just the technique; it’s using the right balance of savory, salty, and sharp components. Trust me, you want everything measured precisely here. Once you have these few core items ready, the rest is just assembling your delicious preserved vegetables. If you’re looking for more tasty things to serve alongside these pickles, definitely check out my guide to Appetizers and Snacks.
- 1 pound fresh green beans, ends trimmed
- 4 cloves garlic, thinly sliced
- 1 teaspoon mustard seeds
- 1 teaspoon whole black peppercorns
- 1/2 teaspoon red pepper flakes (optional, for spicy dilly beans)
- 4 sprigs fresh dill (or 2 teaspoons dried dill seed)
- 2 cups white vinegar (5% acidity)
- 2 cups water
- 2 tablespoons pickling salt
- 1 teaspoon granulated sugar
The Vinegar Brine Recipe Base
This is the backbone of any good pickle, what we call the vinegar brine recipe. We use equal parts vinegar and water—two cups of each—for a perfectly balanced acidity. You absolutely must use pickling salt here, not table salt, as it keeps the brine clear and prevents cloudiness. A tiny bit of granulated sugar balances out the sharp vinegar. It sounds simple, but the ratio of these four liquids and salts is what makes the brine sing.
Flavor Builders for Garlic Dill Pickles
Now for the superstars! To get those deep, earthy notes we all crave in proper garlic dill pickles, you need to load up on the aromatics. I insist on using fresh dill if I can get it—the flavor is miles ahead of dried. Four cloves of thinly sliced garlic per pint jar sounds like a lot, but it mellows beautifully as it pickles. Don’t forget the mustard seeds and black peppercorns for that little background spice. If you like heat, toss in those red pepper flakes for a proper kick!
How to Make Dilly Beans: Step-by-Step Refrigerator Pickling
This is where the magic happens, but it happens fast! Since these are refrigerator pickles, the process is wonderfully streamlined. You’ll spend about 15 minutes prepping and 5 minutes bringing the brine up to temperature. This simplicity is why I always recommend this method when someone asks how to make dilly beans for the first time. It’s nearly foolproof, and the results are spectacular. Don’t worry if you’ve never done any kind of preserving; this is the confidence booster you need before tackling traditional canning. If you want more inspiration on quick food processes, check out my latest thoughts over on the Gourmet Gaze Blog.
Preparing Jars and Packing Your Dilly Beans
First things first: get your jars ready. You need two clean, pint-sized jars with tight lids. Wash them well, but since we aren’t processing these for long-term storage, a good wash is usually enough. Next, trim the tough ends off your green beans. You want them snug in the jar—pack them in tightly, standing them up if you can, but don’t bruise them by forcing them in!
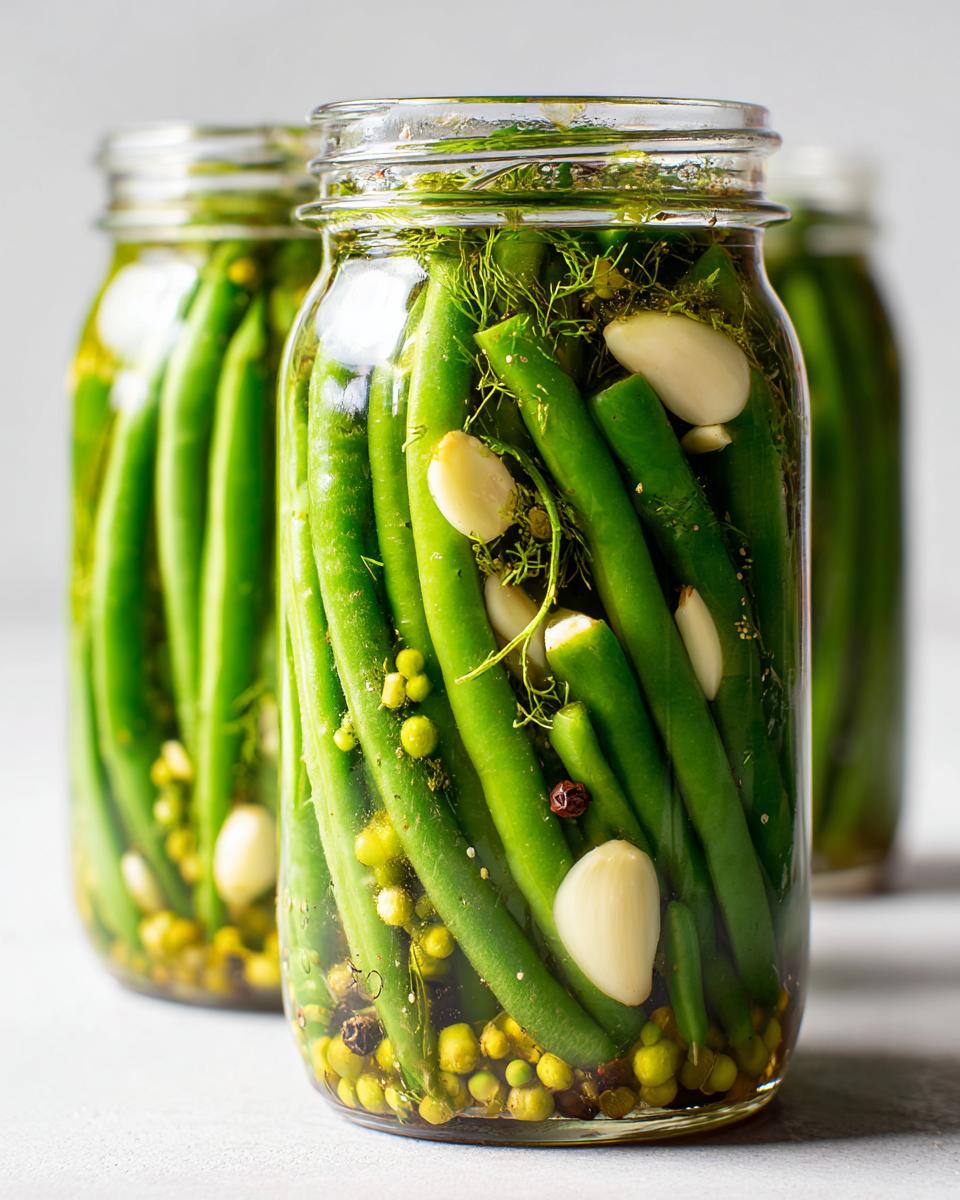
Now, here’s a little trick I picked up from a very wise farmer out west: for the absolute snappiest texture, put those green beans in a bowl of ice water for about 30 minutes before you even start packing them. It shocks them awake! After that soak, pack your beans, then divide all those lovely aromatics—the garlic slices, mustard seeds, peppercorns, and dill—evenly between the jars on top of the beans.
Creating and Pouring the Hot Brine
Grab a medium saucepan. Combine your vinegar, water, pickling salt, and sugar. Put it on medium-high heat and let it come to a rolling boil. You need to stir it constantly until you see every grain of salt and sugar disappear completely into the liquid. That’s critical!
Once boiling, carefully ladle that hot brine right over your packed beans and spices. Pour slowly! The goal here is to completely submerge every single green bean under the liquid. Leave about a half-inch of space empty at the very top of the jar—that’s called headspace, and it’s important even for refrigerator pickles. Give the counter a gentle tap or two to let any air pockets trapped near the bottom escape. If you see the liquid drop below that 1/2 inch mark, just add a little more hot brine.
Sealing and Chilling for Easy Pickled Green Beans
Wipe the rims of your jars down with a clean cloth; a sticky rim can prevent a tight seal later. Screw those lids on tight. You don’t need to invert them or process them in a water bath, which is the beauty of these easy pickled green beans. Just set the jars on the counter and let them cool down naturally to room temperature. Once they aren’t hot to the touch anymore, cover them and pop them straight into the fridge.
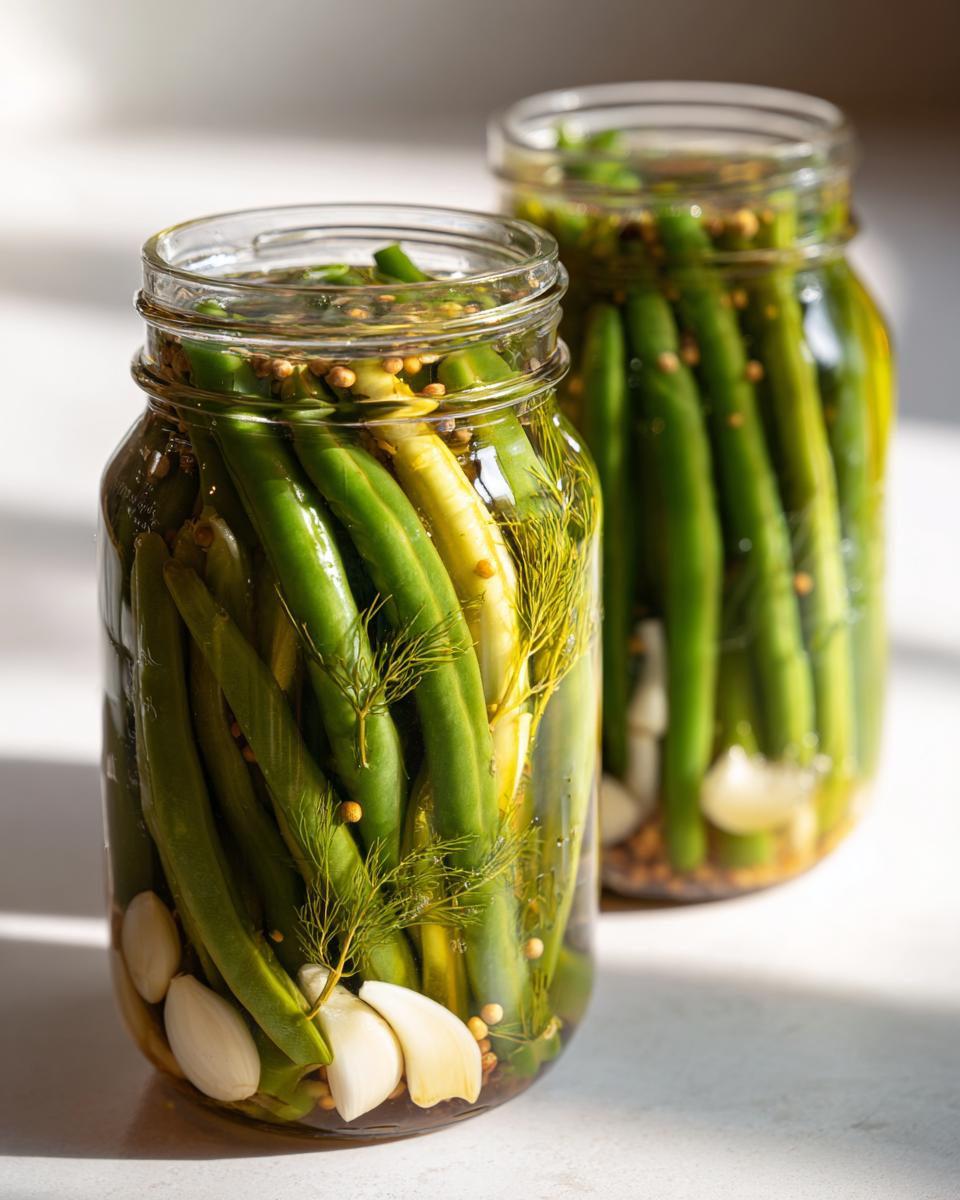
And here is the hardest part: waiting. You absolutely can snack on them after an hour, but for that true, deep, tangy flavor, you need to leave them alone for at least 24 hours. Honestly, they are usually perfection around day three or four. They should stay delicious in the fridge for about three weeks!
Tips for Success with Homemade Pickles Recipe
Making dilly beans successfully is all about paying attention to the details that separate a limp, boring vegetable from a flavorful, snappy treat. I made plenty of mushy pickles in the beginning, so don’t feel bad if your first batch isn’t perfect! But trust me, a few simple checks can elevate your finished product dramatically. These are the little secrets I’ve gathered that ensure every jar is a winner. If you run into any snags or have follow-up questions, please don’t hesitate to reach out to me via my contact page—I love hearing from fellow cooks!
Achieving Maximum Crunch in Your Dilly Beans
If crunch is what you are aiming for—and honestly, who isn’t?—you need to start with the best beans. Grab the freshest, firmest green beans you can find. If they are already floppy at the store, they’ll only get softer in the brine. Remember that ice bath trick I mentioned? That 30-minute soak in ice water before packing them is non-negotiable for me now. It shocks them awake and firms up the cell walls. It’s the difference between a pickle you just eat and one you can’t stop snacking on.
Variations: Making Spicy Dilly Beans or Garlic Forward
The beauty of refrigerator pickling is how easily you can customize the jar right before you pour the brine. If you love a little fire, this is where you push the heat! Feel free to crank up your red pepper flakes to a full teaspoon, or even add a sliced jalapeño if you’re feeling bold—that makes fantastic spicy dilly beans. On the flip side, if you are a true garlic fanatic, don’t be shy! I often increase the garlic in my jars from four cloves to six, especially if I know these are just for me to enjoy during a quiet evening. Just eyeball it based on what your soul craves.
Serving Suggestions for Your Preserved Vegetables
Once you’ve put in the minimal effort to create these incredible dilly beans, the real fun begins: eating them! They are wonderful straight from the jar as a healthy snack, but they truly shine when used to add a pop of acid and texture to other dishes. I’ve found that because they are so bright and flavorful, they jazz up meals instantly. Think about how just one crisp, vinegary bite can cut through the richness of a heavy lunch. If you’ve run out of ideas for pairing interesting flavors, swing by my thoughts on Drinks and Cocktails for some pairing inspiration!
Dilly Beans as Charcuterie Board Additions
This is truly my favorite way to showcase the crispness of these pickles. A vibrant jar of dilly beans makes an immediate visual statement on any grazing platter. Their sharp, salty flavor cuts through rich fats beautifully, balancing out creamy cheeses, pâtés, and cured meats. They are one of the best charcuterie board additions you can offer, providing that necessary acidic counterpoint that keeps guests coming back for more.
Cocktail Garnishes Vegetables
Forget a simple celery stick! If you are making a weekend brunch cocktail, these are your new best friend. They are fantastic, zesty cocktail garnishes vegetables for anything tomato-based. I personally always drop one or two of these garlicky spears right into a Bloody Mary or, if I’m feeling appropriately savory, a Caesar. The brine on the outside of the pickle gives the whole drink an incredible savory kick. They look amazing jutting out of the glass!
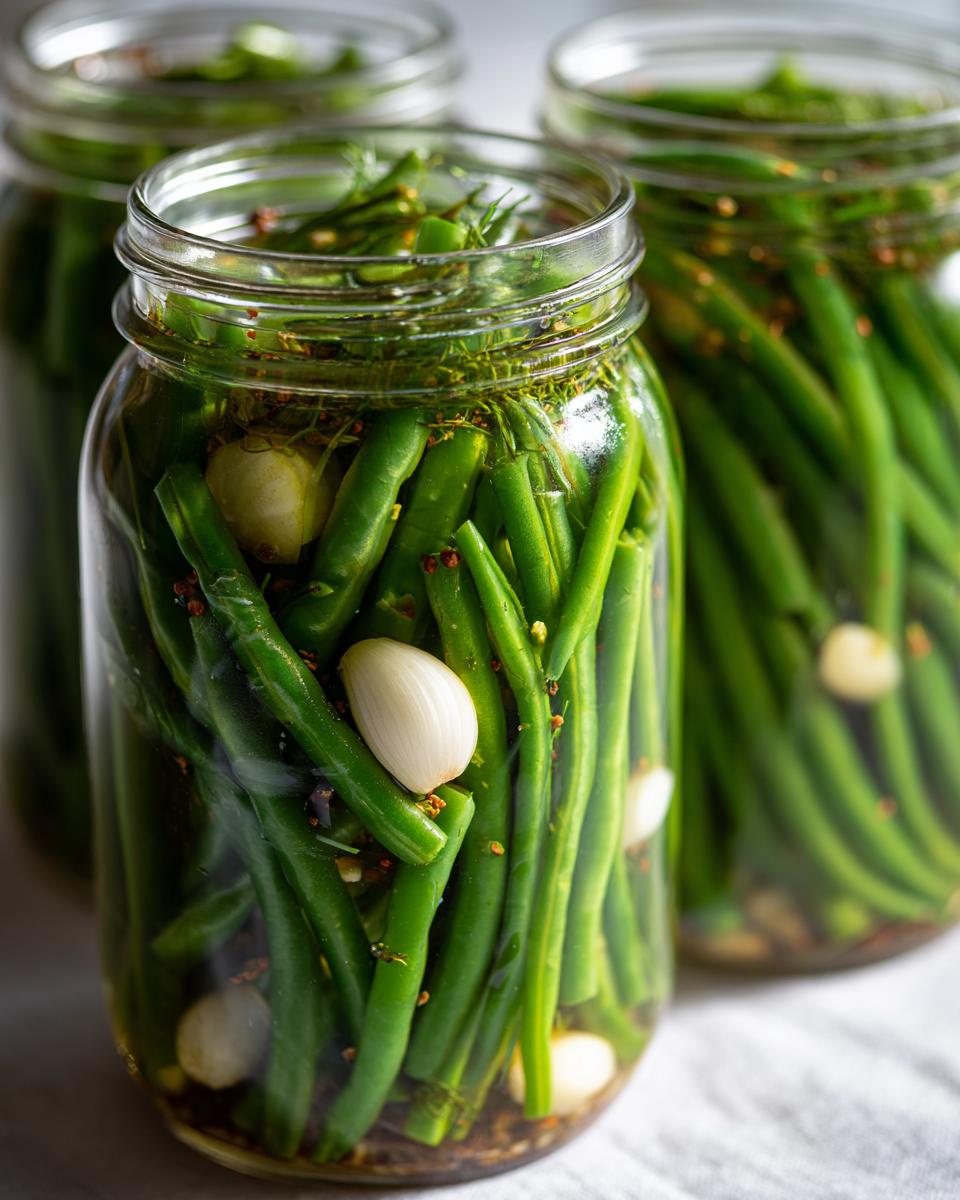
Storage and Shelf Life for Refrigerator Dilly Beans
Okay, so you’ve made your batch of incredible, tangy, crunchy dilly beans. Congratulations! Now, let’s talk about keeping them perfect. Since we skipped the long-term canning process—which is what makes them ‘refrigerator pickles’—you need to treat these a bit differently than shelf-stable preserves.
The critical thing to remember here, as we build that trust in delivering reliable recipes, is that these must stay cold. The brine is acidic enough to keep spoilage at bay for a while, but without the high heat sterilization of canning, they aren’t safe to keep on the counter. Always put them directly into the refrigerator once they’ve cooled down to room temperature after pouring the hot brine.
But how long do they last? I find that these are at their absolute peak flavor—that perfect balance of dill, garlic, and vinegar—somewhere between day four and day ten. Even so, I’ve kept jars comfortably for up to three weeks in the back of a cold fridge. If you notice the brine getting cloudy or if the beans lose their snap completely, it’s time to say goodbye. But trust me, they disappear way faster than three weeks when you have them sitting there, ready to snack on!
Addressing Common Questions About Dilly Beans Recipe
Even though this is a super straightforward dilly beans recipe, I always get a few questions popping up, usually about preservation or flavor intensity. It’s completely normal! When you start making homemade pickles, you want to do it right to ensure safety and, more importantly, maximum crunch. I’ve gathered the most common queries right here so you can feel totally confident about your jarred goodies. If you ever have a question that isn’t covered here, please feel free to reach out to me through the contact page!
Can I make these traditional canned dilly beans instead?
That’s a great question for anyone looking to make huge batches! Yes, you absolutely can convert this recipe for long-term storage, but you cannot just pour the hot brine over them and put them in the fridge; that only works for quick pickles. If you want canned green beans that sit safely in your pantry for months, you need to process these jars in a boiling water bath canner for the specified time required for high-acid foods. That extra step kills bacteria and creates a true vacuum seal. For that process, you’ll need to find a guide specifically detailing water bath canning procedures!
What is the best type of vinegar for dilly beans?
For this particular recipe, stick to the white stuff! I specify 5% acidity white vinegar in the ingredient list, and that is crucial. This standard white vinegar is widely available and reliable. It hits that perfect sweet spot of acidity required for safe refrigerator dill pickles without imparting any unwanted off-flavors from apple cider or balsamic varieties. We want clean, bright flavor here, and standard white vinegar delivers that every time.
How long do I need to wait before eating my refrigerator dill pickles?
This may be the most painful part of the whole process! While technically, the beans start absorbing flavor almost immediately after the hot brine hits them, you must give them time to properly cure. I generally tell everyone to wait a full 24 hours minimum before you even *think* about testing one. That’s the minimum time for them to transition from snappy bean to actual pickle. If you can hold out longer, though—ideally three to five days—that’s when the garlic, dill, and peppercorns really infuse the brine, giving you that truly developed flavor profile that makes these homemade pickles recipe treasures!
Nutritional Estimates for Dilly Beans
Now, since these are refrigerator pickles and we’re skipping the heavy sugars or oils found in some other preparations, these dilly beans are a lovely, bright addition to any snack rotation—and they happen to be quite light! I always caution everyone that these are *estimates*. Since we are using fresh vegetables and simple base ingredients, the nutrition fluctuates based on the exact size of your green beans and how much brine gets absorbed, but this gives you a good baseline.
For a serving size of about a half-cup, you are looking at a snack that is low in calories and truly fat-free. This is the kind of honest, unprocessed food I strive for in my kitchen now, far removed from those quick, processed meals I used to rely on! Here is the breakdown based on the recipe above:
- Serving Size: 1/2 cup
- Calories: 25
- Sugar: 2g
- Sodium: 350mg (Remember, this is higher due to the pickling salt, which is standard for preserved vegetables!)
- Fat: 0g
- Saturated Fat: 0g
- Unsaturated Fat: 0g
- Trans Fat: 0g
- Carbohydrates: 6g
- Fiber: 2g
- Protein: 1g
- Cholesterol: 0mg
It’s wonderful fuel for the afternoon slump, right? The fiber from the green beans is a bonus, and keeping the cholesterol and fat at zero makes them a wonderfully light choice for a healthy snack recipe.
Share Your Homemade Pickles
Seeing your jars of bright, crisp dilly beans makes all this recipe testing worth it, truly. That moment when you pull a jar out of the fridge and hear the satisfying *pop* of the lid—that’s the moment I want everyone to share! I really hope you give this quick pickled vegetables recipe a try soon, especially if you’re just dipping your toes into the world of homemade pickles.
When you nail that perfect tanginess and share them with friends or family, please come back and tell me all about it! Did you go heavy on the garlic? Did you turn them into a spicy batch? Leave your star rating right down below in the comments section. Your feedback helps me know which reliable recipes continue to bring comfort and flavor to your table.
I always love seeing how you’re using these bright, zesty additions in your own kitchens. If you want to send photos of your perfectly packed jars or ask a follow-up question about the brine recipe, don’t hesitate to drop me a line through the contact page. I look forward to connecting with you and seeing the delicious results of your pickling adventure!
PrintQuick & Easy Refrigerator Dilly Beans (Pickled Green Beans)
Make these craveable refrigerator dilly beans. They are perfect for snacking, picnics, or adding a zesty crunch to any meal. This simple, no-canning-required recipe delivers tangy, garlicky flavor fast.
- Prep Time: 15 min
- Cook Time: 5 min
- Total Time: 20 min
- Yield: 2 pints 1x
- Category: Side Dish
- Method: Refrigerator Pickling
- Cuisine: American
- Diet: Vegetarian
Ingredients
- 1 pound fresh green beans, ends trimmed
- 4 cloves garlic, thinly sliced
- 1 teaspoon mustard seeds
- 1 teaspoon whole black peppercorns
- 1/2 teaspoon red pepper flakes (optional, for spicy dilly beans)
- 4 sprigs fresh dill (or 2 teaspoons dried dill seed)
- 2 cups white vinegar (5% acidity)
- 2 cups water
- 2 tablespoons pickling salt
- 1 teaspoon granulated sugar
Instructions
- Prepare your jars: Wash and dry two clean, pint-sized canning jars with lids. Set aside.
- Pack the jars: Divide the trimmed green beans evenly between the two jars, packing them in tightly but without crushing them.
- Add aromatics: Distribute the sliced garlic, mustard seeds, black peppercorns, red pepper flakes (if using), and fresh dill evenly between the two jars over the beans.
- Make the brine: In a medium saucepan, combine the vinegar, water, pickling salt, and sugar. Bring the mixture to a rolling boil over medium-high heat, stirring until the salt and sugar dissolve completely.
- Pour the brine: Carefully pour the hot brine over the beans in the jars, ensuring the vegetables are completely submerged. Leave about 1/2 inch of headspace at the top of each jar.
- Remove air bubbles: Gently tap the jars on the counter to release any trapped air bubbles. Add more brine if necessary to maintain the 1/2 inch headspace.
- Seal and chill: Wipe the rims clean, place the lids on tightly, and allow the jars to cool to room temperature on the counter. Once cool, transfer the jars to the refrigerator.
- Wait to eat: Allow the dilly beans to chill and pickle for at least 24 hours before eating. They are best after 3 to 5 days. Store in the refrigerator for up to 3 weeks.
Notes
- For the crunchiest pickles, soak the green beans in ice water for 30 minutes before packing them into the jars.
- If you prefer a stronger garlic flavor, increase the garlic to 6 cloves per pint jar.
- These refrigerator pickles are excellent garnishes for cocktails like Caesars or Bloody Marys.
- Use fresh dill heads if you can find them for the best dill flavor.
Nutrition
- Serving Size: 1/2 cup
- Calories: 25
- Sugar: 2
- Sodium: 350
- Fat: 0
- Saturated Fat: 0
- Unsaturated Fat: 0
- Trans Fat: 0
- Carbohydrates: 6
- Fiber: 2
- Protein: 1
- Cholesterol: 0