
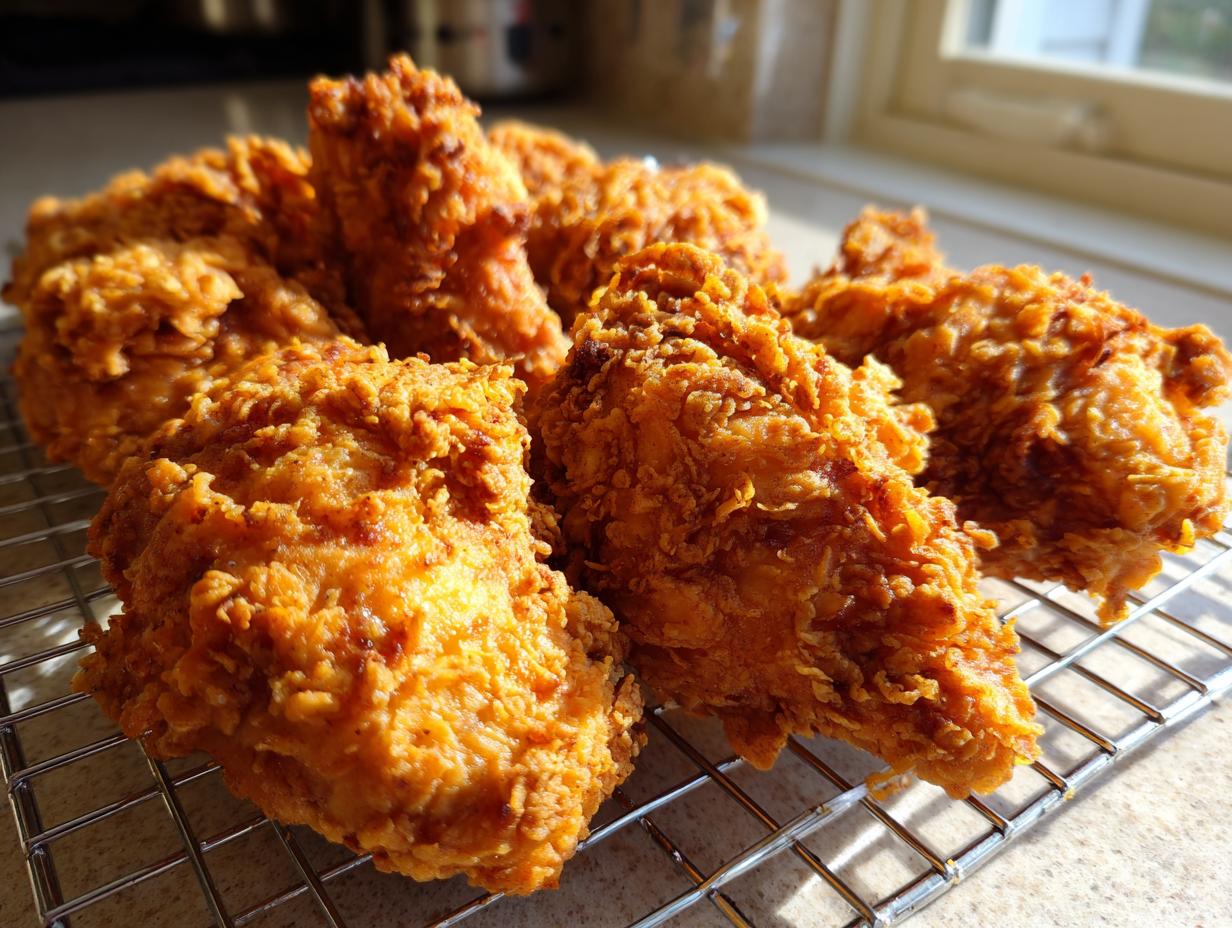

If you are chasing that perfect, impossible bite—the one where the crust shatters like thin glass, yet the meat inside is so tender it melts—then you’ve come to the right spot. For years, perfecting classic American home cooking staples has been my mission here at Gourmet Gaze. You can read more about my journey from spreadsheets to skillets over on our About page! I’ve tested countless recipes, ruined pans of oil, and basically lived in brine buckets to bring you this master recipe. Forget everything you think you know about making it at home; this is the formula for The Best Crispy Southern Fried Chicken. I promise you, this technique guarantees that signature golden crunch and an unbelievably juicy interior every single time you make fried chicken.
- Why This is The Best Crispy Fried Chicken Recipe
- Ingredients for Perfect Southern Fried Chicken
- Essential Equipment for Deep Fried Chicken Perfection
- How to Make Fried Chicken: Step-by-Step Tutorial
- Tips for Success with Your Homemade Fried Chicken
- Variations on Classic Fried Chicken
- Serving Suggestions for Your Easy Fried Chicken Dinner
- Storage and Reheating Instructions for Leftover Fried Chicken
- Frequently Asked Questions About Fried Chicken
Why This is The Best Crispy Fried Chicken Recipe
Look, the internet is overflowing with standard recipes, but when you’re looking for that showstopper, you need technique, not just ingredients. This recipe is designed to be utterly fail proof fried chicken. It hits all the marks that make Southern cooking famous—that incredible texture and deep flavor. I’ve seen so many great cooks get discouraged when their crust turns soggy, but we’ve solved that problem here. Find more of my tried-and-true methods that help make every meal an adventure over on the Gourmet Gaze blog!
- Guaranteed ultra-crispy, golden-brown coating.
- Meat that stays unbelievably juicy, even the breasts!
- Authentic Southern flavor profile derived from quality spices.
I learned early on that you need two critical steps working together: the brine and the dredge. Trust me, these aren’t optional steps if you want serious crunch.
Achieving Ultra-Crispy Fried Chicken Coating
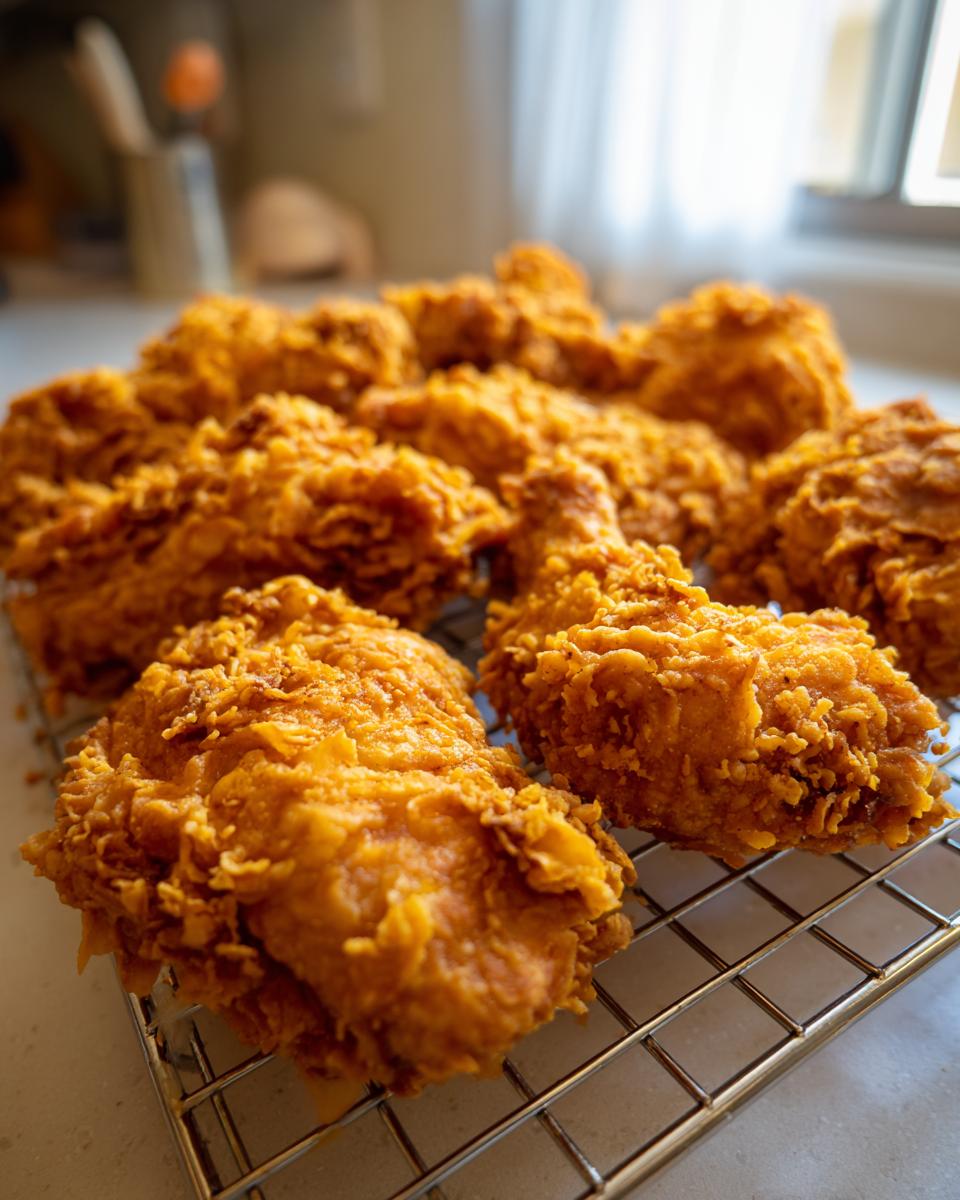
The secret weapon for that shatteringly crisp crust is in the flour mix we use. We mix in cornstarch—don’t skip it! That starch inhibits gluten formation, which keeps the coating light instead of heavy. Then comes the double-dredge. After the first flour coating, a quick dip back into the buttermilk, and then one more solid press into the dry mix. This builds up those beautiful craggy bits that fry up into the best crunch you can imagine. It’s the definition of crispy fried chicken recipe success.
Juicy Fried Chicken Secrets Through Marinade Time
The buttermilk isn’t just for flavor, folks; it’s a tenderizer! The light acidity breaks down the muscle fibers just enough to keep the meat moist during the high heat of frying. This is one of those key juicy fried chicken secrets I rely on. If you’re whipping this up on a whim, you must let it sit for at least four hours. But if you can plan ahead? Marinate it overnight. I promise you, the difference in tenderness and flavor development is worth the advance planning.
Ingredients for Perfect Southern Fried Chicken
Okay, let’s talk about what goes into this amazing showstopper. You don’t need 50 fancy spices, you just need the right ones used generously. We are using bone-in, skin-on pieces because they always yield the most flavor and stay the juiciest—especially those chicken thighs!
For the best results, make sure you have enough oil heating up; we need about 2 inches deep in whatever heavy skillet or Dutch oven you choose. Here’s the full rundown of what you need for about four hungry people:
- 3 lbs bone-in, skin-on chicken pieces (thighs, breasts, drumsticks)
- 4 cups buttermilk
- 2 tablespoons hot sauce
- 1 tablespoon salt
- 1 tablespoon black pepper
- 1 tablespoon paprika
- 1 teaspoon cayenne pepper
- 4 cups all-purpose flour
- 1 cup cornstarch
- 1 tablespoon garlic powder
- 1 tablespoon onion powder
- Vegetable oil or shortening, for frying (enough to reach 2 inches deep)
Essential Equipment for Deep Fried Chicken Perfection
Now, you can’t achieve that beautiful golden crispiness without the right tools. My old kitchen had a lot of gadgets, but for this specific dish, three things are non-negotiable for guaranteed success. Having these on hand makes the whole process feel less like a battle and more like an art form.
First, you absolutely need a heavy-bottomed skillet or, better yet, a Dutch oven. This holds heat beautifully, which is crucial for temperature stability. Second, grab a reliable thermometer—either an instant-read or a deep-fry candy thermometer. Guessing the temperature is how you end up with pale, greasy coatings. Finally, ditch the paper towels! Get yourself a sturdy wire rack set over a baking sheet for draining. That tiny bit of space underneath is what keeps the bottom coating from getting soggy.
How to Make Fried Chicken: Step-by-Step Tutorial
This is where the magic truly happens, and I want you to feel confident walking through these steps. Remember, we already marinated the chicken—ideally overnight, but four hours is the absolute minimum for the best moisture retention. Once you’re ready to cook, the system is straightforward, but paying attention to the heat is everything. We are going to build that incredible crust manually before it ever meets the hot oil. These instructions will lead you directly to that perfect crunch and serve as your guide for any great fried chicken dinner.
The Buttermilk Marinade and Dredge Process for Fried Chicken
After your chicken rests in that spicy buttermilk bath, it’s time to season the coating. Whisk your flour, cornstarch, and spices together thoroughly. Now, take your chicken piece out of the buttermilk, letting the biggest drips fall back in—we don’t want soup, just a good tacky coating. Press it firmly into the flour mix first. Here’s the secret for that unbelievable crunchy chicken coating: Dip that floured piece quickly back into the buttermilk, and then immediately back into the flour mixture. Press down again! That second coating creates those wonderful, flaky peaks that crisp up beautifully when they hit the oil.
Frying Technique for Golden Brown Fried Chicken
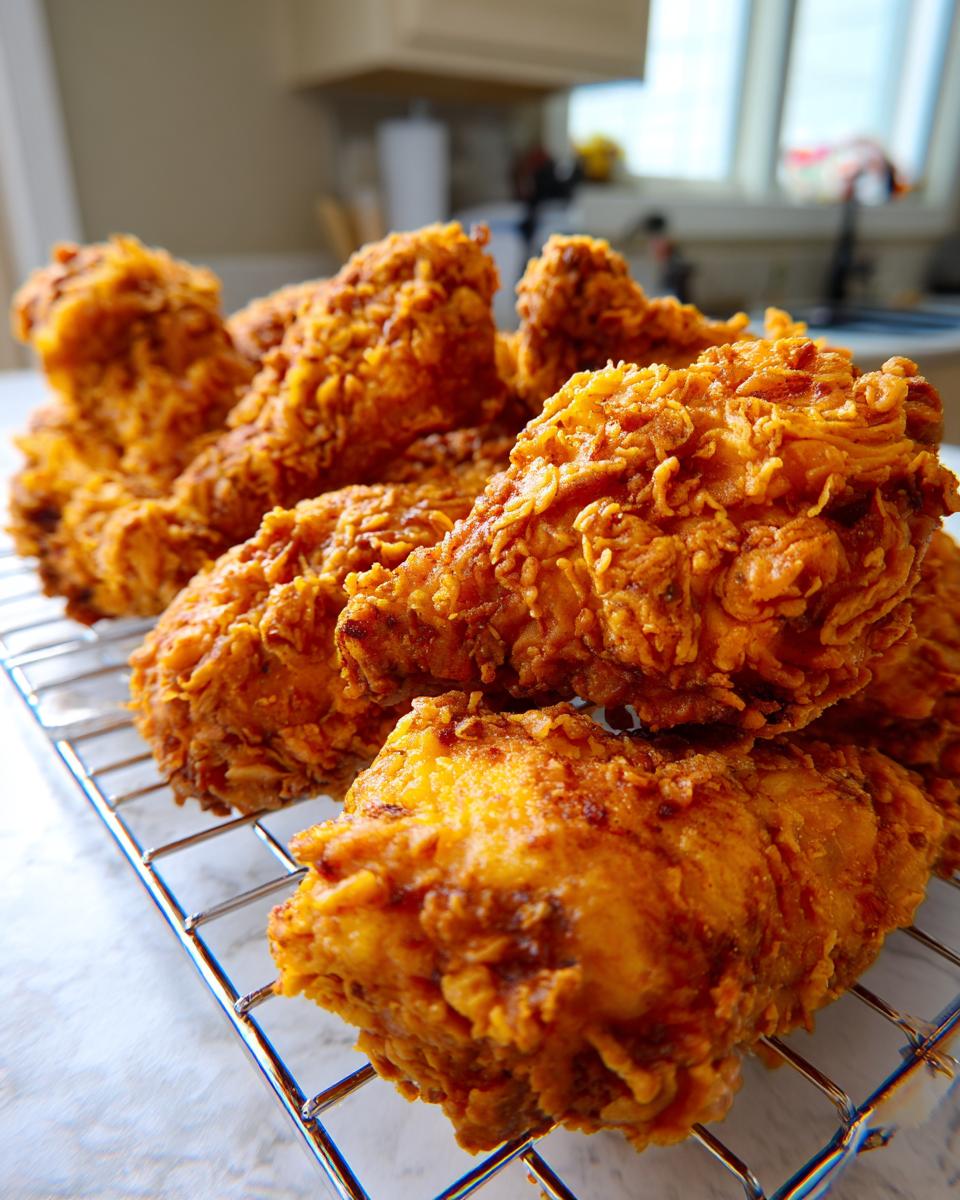
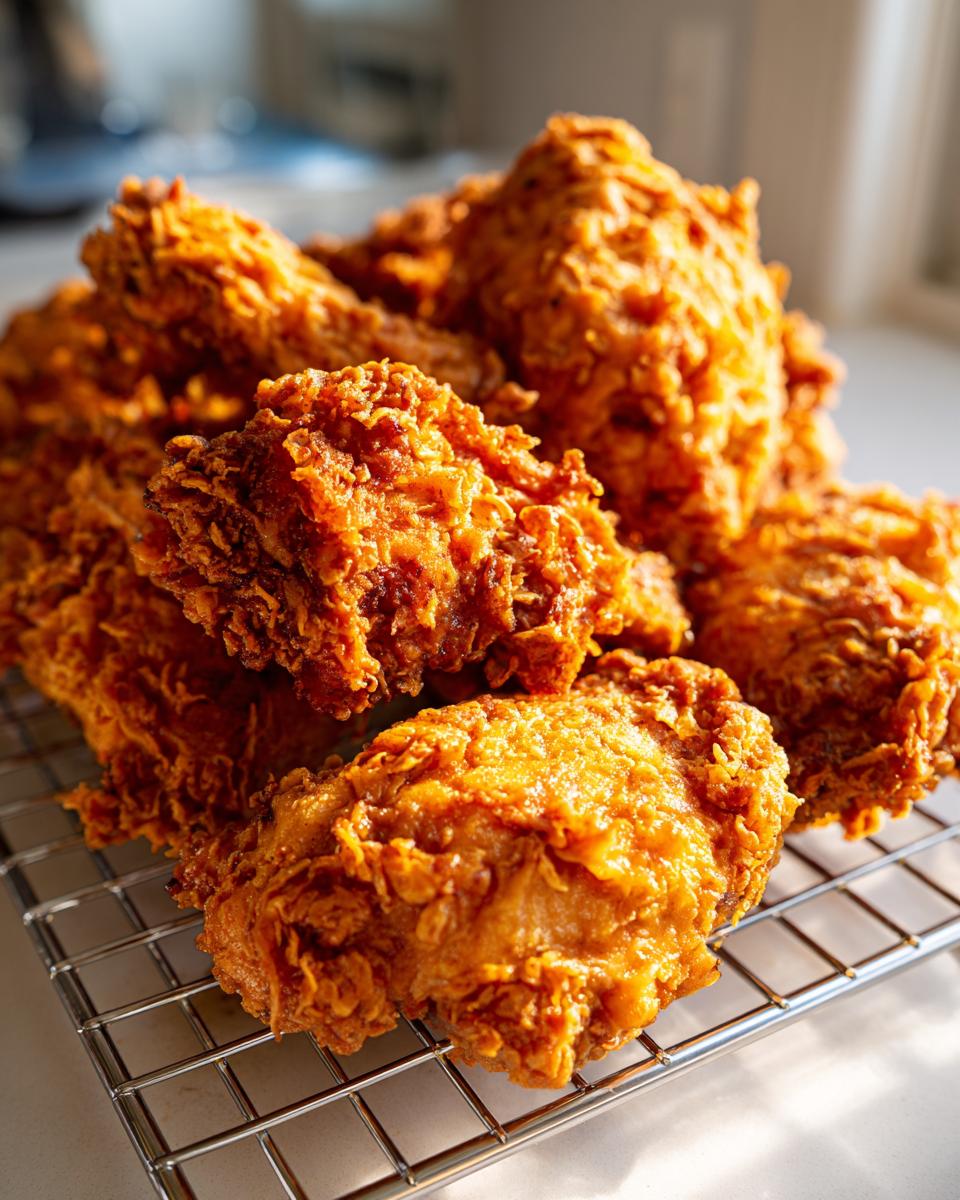
Get your oil heated to precisely 325 degrees Fahrenheit. This temperature is the sweet spot. If you put too much chicken in—don’t overcrowd the pan! That drops the temperature way too fast and leads to greasy results. Fry your pieces in batches for about 6 to 8 minutes per side until they are a deep, glorious golden brown. You are looking for a beautiful color, but always check the center with a thermometer; 165 degrees Fahrenheit means you succeeded! When they’re done, pull them out *immediately* and set them on that wire rack to drain. We must let the air circulate underneath to keep that crust perfect.
Tips for Success with Your Homemade Fried Chicken
I always tell folks that the difference between decent fried chicken and *amazing* fried chicken is those tiny details you handle right before and during the actual frying. We’ve crushed the marinating, so let’s focus on setting that coating up for success right before it hits the heat. This advice is how you make fried chicken crispy and prevent any greasy sadness.
You have to let that dredged, coated chicken rest for about 15 minutes on the wire rack before it goes into the oil. I know, I know, we’re already waiting forever for the marinade, but trust me! This resting time helps the flour soak up just enough moisture from the buttermilk to adhere perfectly, making the crust super stable. Don’t skip it!
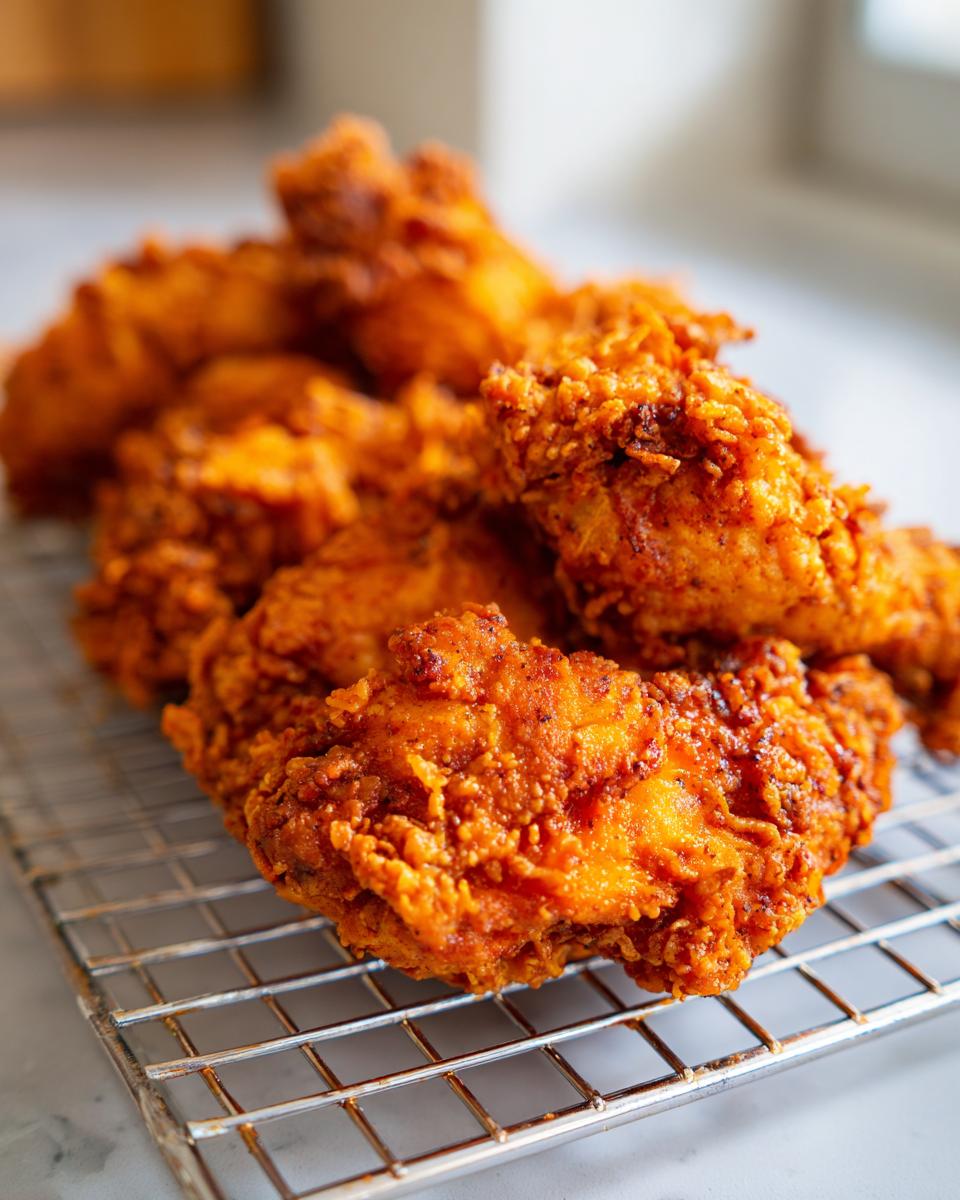
Also, please monitor your oil temperature religiously. If it dips below 315°F, the crust soaks up oil and gets heavy—no good! If it’s way over 330°F, you’ll burn the outside beautifully while leaving the inside raw. That 325°F zone is your friend until the chicken is cooked through to that perfect 165°F internal temperature. For really big pieces, finishing them in the oven briefly after frying is a trick I use to guarantee they’re done without darkening the crust too much.
Variations on Classic Fried Chicken
While I stand by the classic Southern preparation—it’s a favorite for a reason—sometimes you need a little twist to keep things interesting! This base recipe is incredibly versatile. If you’re looking for a totally different experience, you can easily pivot this into a Chicken Fried Chicken situation. You’d treat the pounded-thin chicken breast just like you are doing here, but instead of deep frying, you’d pan-fry it quickly in a small layer of oil and then toss it in a creamy gravy instead of keeping it crispy. That transition shows you exactly how to make Chicken Fried Chicken using the same foundational spice blend we used for the dredge!
For those who like it hot, don’t be shy with the cayenne in the marinade. Or, if you want a deeper, earthier flavor, try adding a teaspoon of smoked paprika to your flour mix. It adds this wonderful, complex layer that’s just divine. It’s all about putting your own stamp on these Southern cooking classics!
Serving Suggestions for Your Easy Fried Chicken Dinner
Now that you’ve mastered the crunch, you need the perfect supporting cast! This rich, savory fried chicken demands creamy, bright sides to balance everything out. When I serve this, I always go for classic Southern comfort that makes the meal truly satisfying. Naturally, creamy mashed potatoes are a must-have—they are perfect for soaking up any extra flavor.
If you want to impress everyone, try my recipe for creamy potatoes; they are totally dreamy and pair beautifully with the crispy coating. You can find the recipe for those creamy colcannon potatoes right here on the site! A sharp, acidic coleslaw helps cut through the richness of the fried coating, making every bite feel fresh. It’s the ideal way to turn this into a complete, memorable easy fried chicken dinner.
Storage and Reheating Instructions for Leftover Fried Chicken
Don’t you dare think about microwaving leftovers—that’s instant sogginess, and we worked too hard for that golden crust! When storing your glorious fried chicken, the absolute best thing you can do is let it cool completely, then store it in a single layer in an airtight container lined with a paper towel. This absorbs any residual steam.
To reheat, skip the microwave entirely. Set your oven to 375 degrees Fahrenheit. Place the pieces on a wire rack set over a baking sheet and bake for about 10 to 15 minutes. This method reactivates the crispiness you worked so hard to create. It brings that crunch right back!
Frequently Asked Questions About Fried Chicken
I always get questions about this recipe because people struggle to get that perfect texture at home. You’ve nailed the marinade and the double-dredge, so let’s run through a few common hurdles so you can achieve deep fried chicken perfection with every single batch. Don’t hesitate to reach out if you have more questions; my goal is to make sure your kitchen is full of that incredible aroma, and you can always hit our contact page if you get stuck!
Can I achieve crispy fried chicken in an air fryer?
You certainly can make chicken in an air fryer, and it will be healthier, sure! However, this specific recipe—with its thick, craggy coating achieved through the buttermilk and double-dredge—is truly optimized for deep frying. The air fryer tends to cook the flour coating more evenly but doesn’t give you that authentic, bubbly, shatter-like texture you get from hot oil. If you want the best homemade fried chicken experience, stick to the skillet method here.
What oil should I use for the best results?
For the cleanest flavor that lets the spices shine through in your classic comfort food chicken, I highly recommend a neutral, high-smoke-point oil. Vegetable oil works perfectly well, just like the recipe suggests. Shortening is also very traditional in the South, offering a richer flavor profile. Just make sure you use enough—at least two inches deep—so the chicken isn’t touching the bottom, which causes burning!
How do I stop the crust from falling off my chicken pieces?
This is often caused by either not marinating long enough, or by not properly pressing the flour onto the chicken during dredging. Remember we talked about pressing hard during the second dredge? You need to really compact that coating onto the wet surface; that pressure bonds the flour to the chicken. Also, make sure your oil temperature is right before you drop the pieces in—if it’s too cold, the crust softens before it sets, and it just falls away.
Can I use chicken breasts instead of mixed cuts?
Absolutely, but you’ll need to adjust your cooking time! Chicken breasts tend to be thicker than thighs and drumsticks. If you use them, make sure they’re pounded slightly thinner for even cooking, or plan on finishing them in a 350°F oven for 8–10 minutes after you pull them out of the fryer to ensure they reach 165°F internally without burning the exterior.
PrintThe Best Crispy Southern Fried Chicken: Juicy and Golden Perfection
You will make the best homemade fried chicken using this foolproof Southern Fried Chicken recipe. It features a buttermilk marinade and a double-dredge technique for an ultra-crispy, golden-brown coating and a guaranteed juicy interior every time. This is classic comfort food perfected.
- Prep Time: 30 min
- Cook Time: 35 min
- Total Time: 7 hours 5 min
- Yield: 4 servings 1x
- Category: Dinner
- Method: Deep Frying
- Cuisine: American Southern
- Diet: None
Ingredients
- 3 lbs bone-in, skin-on chicken pieces (thighs, breasts, drumsticks)
- 4 cups buttermilk
- 2 tablespoons hot sauce
- 1 tablespoon salt
- 1 tablespoon black pepper
- 1 tablespoon paprika
- 1 teaspoon cayenne pepper
- 4 cups all-purpose flour
- 1 cup cornstarch
- 1 tablespoon garlic powder
- 1 tablespoon onion powder
- Vegetable oil or shortening, for frying (enough to reach 2 inches deep)
Instructions
- In a large bowl, combine the buttermilk, hot sauce, salt, pepper, paprika, and cayenne pepper. Add the chicken pieces, ensuring they are fully submerged. Cover and refrigerate for at least 4 hours, or preferably overnight for the juiciest results.
- In a separate shallow dish, whisk together the flour, cornstarch, garlic powder, and onion powder. This is your seasoned dredge mix.
- Remove the chicken from the buttermilk marinade, letting excess drip off, but do not wipe it dry.
- Dredge each piece of chicken thoroughly in the flour mixture, pressing the coating firmly onto the chicken to create a thick layer.
- For the double-dredge technique, dip the floured chicken back into the remaining buttermilk mixture for just a second, then immediately return it to the flour mixture. Press and lightly shake off any excess flour. This step creates the ultimate crunchy coating.
- Heat the oil in a large, heavy-bottomed skillet or Dutch oven to 325 degrees Fahrenheit. You need about 2 inches of oil depth.
- Carefully place the chicken pieces into the hot oil, ensuring you do not overcrowd the pan. Work in batches.
- Fry the chicken for about 6 to 8 minutes per side, turning occasionally, until it reaches a deep golden brown and the internal temperature reaches 165 degrees Fahrenheit. Thicker pieces may require slightly longer cooking times.
- Remove the fried chicken from the oil and place it on a wire rack set over a baking sheet to drain excess oil. Do not place it on paper towels, as this can steam the crust and make it soggy.
- Serve your perfect crispy fried chicken immediately.
Notes
- For the crispiest skin, let the dredged chicken rest on the wire rack for 15 minutes before frying. This allows the coating to adhere better.
- Maintain your oil temperature between 315°F and 330°F throughout the frying process. If the oil is too cool, the chicken absorbs too much oil; if too hot, the crust burns before the inside cooks.
- If you are frying larger pieces like breasts, you can finish them in a 350 degree Fahrenheit oven for 10 minutes after frying to guarantee they are cooked through without burning the crust.
Nutrition
- Serving Size: 1 piece (mixed cuts)
- Calories: 450
- Sugar: 2
- Sodium: 750
- Fat: 28
- Saturated Fat: 8
- Unsaturated Fat: 20
- Trans Fat: 0
- Carbohydrates: 18
- Fiber: 1
- Protein: 30
- Cholesterol: 110