
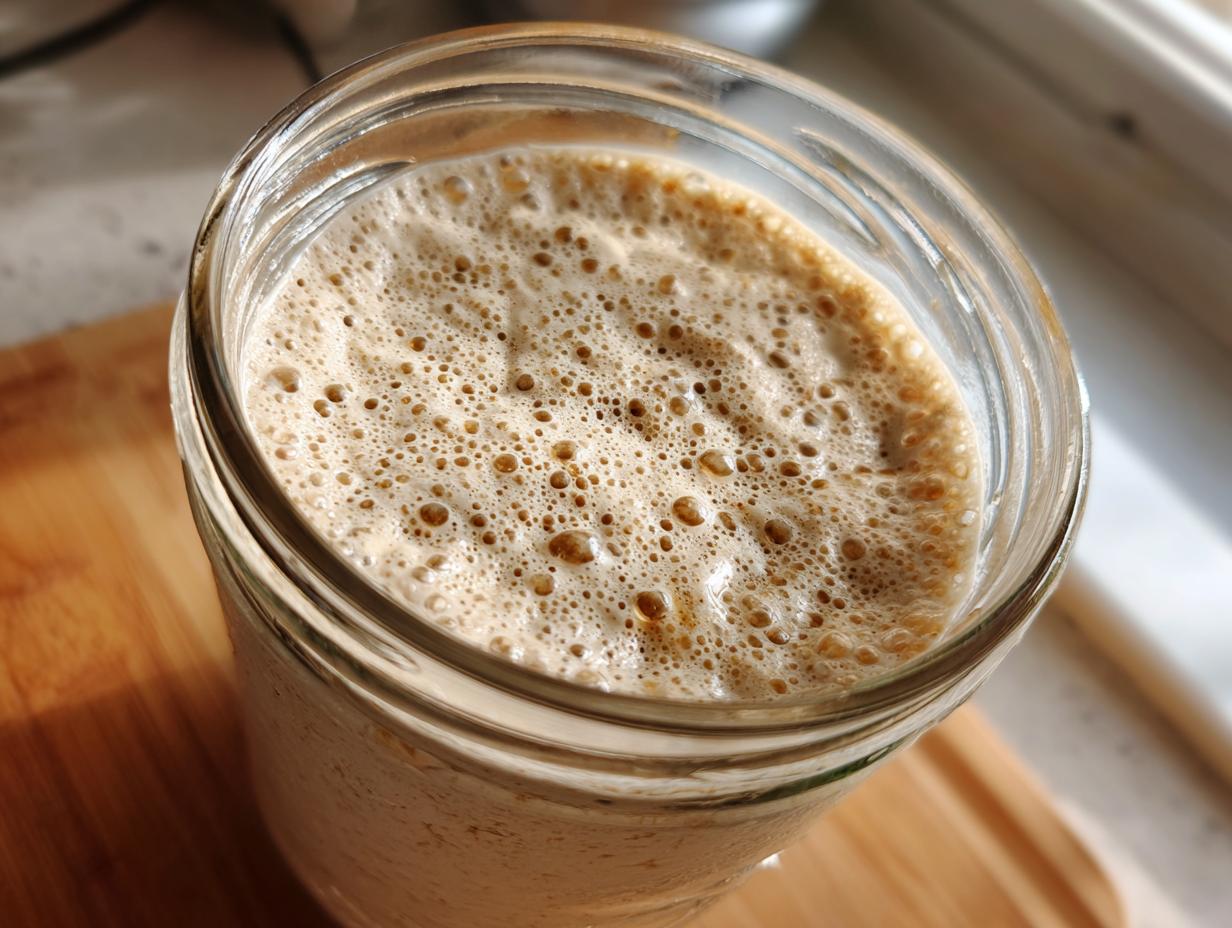

When the deadlines pile up and life moves at warp speed, there’s a profound sense of satisfaction in slowing down to create something ancient and real. Trading the lukewarm office coffee for the patient ritual of baking—that’s where the real nourishment happens. I remember feeling that shift when I first learned about natural fermentation; it forces you to be present. That’s exactly what we’re doing now: we’re leaving the frantic pace behind to begin our journey with a simple **sourdough starter** made only from flour and water. You can learn a bit more about my own journey right here. Trust me, if I can go from marketing director to someone obsessed with wild yeast, you can absolutely master this. This is my easiest, most reliable guide designed specifically for beginners ready to bake.
- Why You Need an Active Sourdough Starter for Artisan Bread
- Essential Ingredients for Your Flour and Water Starter
- How to Make Sourdough Starter From Scratch: Step-by-Step Instructions
- Tips for Success When Creating Your Homemade Bread Starter
- How To Feed Sourdough Starter for Ongoing Maintenance
- Troubleshooting Common Sourdough Starter Issues
- Understanding Your Bubbly Sourdough Starter
- Estimated Nutritional Data for Flour and Water Starter
- What to Bake First With Your New Sourdough Starter
Why You Need an Active Sourdough Starter for Artisan Bread
Forget those packets of instant yeast, please! What we’re creating here is a living culture, your very own **Natural Yeast Starter**. This isn’t just about leavening; this is about flavor. During my time studying baking traditions, I realized that the slow, natural fermentation process is what deepens the crumb and gives that classic tangy profile to true **Artisan Bread Starter** loaves. It’s complex, satisfying, and totally worth the wait. It truly transforms simple flour and water into something magical.
The Sourdough Starter Timeline: What to Expect Day by Day
You are essentially cultivating microscopic life, and that takes time! Don’t expect magic on day one. The whole journey to a reliably **active sourdough starter** usually takes about seven days, though sometimes it’s a little longer if your kitchen is cool. Just remember the **Sourdough Starter Timeline**: we start slow with the whole grain, and then we build strength through consistent feeding. Patience is the secret ingredient here, believe me. Don’t rush this part; we want a healthy colony ready when you are.
Essential Ingredients for Your Flour and Water Starter
We are keeping this delightfully simple, which is the beauty of the traditional approach to a **Flour and Water Starter**. You won’t need yeast—the wild yeast is already floating around! You just need two main things: flour and water. I recommend we start with a hearty whole grain flour and move to unbleached all-purpose flour for the bulk of the feedings. And please, pay attention to that water temperature; we want it lukewarm, room temperature, nothing shocking for our new little guys.
Ingredient Notes and Substitution Guidance
Now, let’s talk about why we use whole grain flour first. Those outer layers of the grain are where most of the natural, happy wild yeast bacteria hang out! They give our starter the best possible environment to kick off fermentation quickly. Also, the water matters. Chlorine can sometimes hinder the growth of our beneficial little microbes, so if your tap water is heavily chlorinated, grab some filtered or bottled water just for this initial stage. It’s these small details that build trust in your process and set you up for success!
How to Make Sourdough Starter From Scratch: Step-by-Step Instructions
This is where the adventure really begins! Learning to **Make Sourdough Starter From Scratch** feels like unlocking a secret in the kitchen. The whole process is a daily commitment, but honestly, the mixing takes about five minutes, and then you just watch. I had my jar right next to my computer when I started, just so I wouldn’t forget to check on the activity. Seeing those first tiny bubbles appear after a couple of days is honestly more exciting than getting a huge client win! We’re going to follow a very clear progression to make sure we capture the best wild yeasts available.
Days 1–3: Initial Activation of Your Sourdough Starter
For Day One, grab your clean jar—remember, glass is best so you can watch the magic happen! Mix 50 grams of that whole grain flour (rye or wheat) with 50 grams of room-temperature water. Stir it until it looks like thick, shaggy paste. Don’t seal the lid tight; just cover it loosely so air can get in but dust stays out. Let it sit for a full 24 hours in a spot that stays around 70 to 75 degrees Fahrenheit.
On Day Two and Three, the procedure changes slightly. You need to discard about half of what’s left. Don’t feel bad throwing it out; that just makes room for fresh food! Now switch to only using unbleached all-purpose flour, mixing 50g flour and 50g water into the remainder. You might see some weak bubbles or smell something a bit funky—that’s totally normal at this stage. Keep that temperature consistent!
Days 4–7: Developing an Active Sourdough Starter
By Day Four, if you’re seeing some real action—a little puffiness or more defined bubbles—it’s time to step up the schedule. You’ll continue discarding half and feeding 50g of flour and 50g of water, but now you’ll do it every 12 hours instead of every 24! This consistent feeding schedule is what builds strength and moves you toward an **Active Sourdough Starter**.
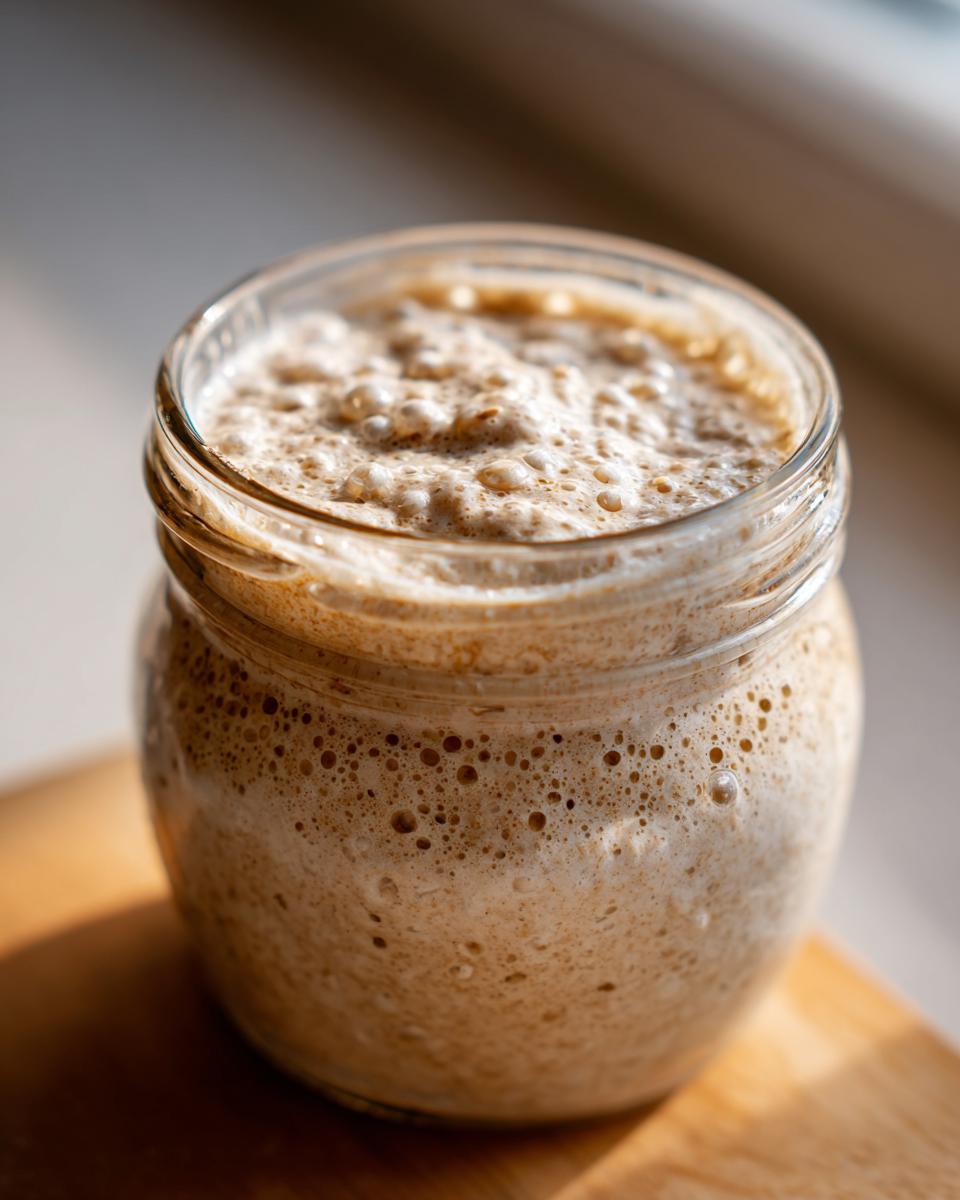
Keep up those twice-daily feedings through Day Seven. The true sign that you’ve succeeded isn’t just bubbles, though! You’re looking for it to consistently double in size (or even look puffy!) within 4 to 8 hours after you feed it, and the smell should be pleasantly tangy and sour, not unpleasant. If you’re following along, you can click here for my favorite tips on what to bake once your new starter is ready to go!
Tips for Success When Creating Your Homemade Bread Starter
You’ve put in the work for almost a week to cultivate this **Homemade Bread Starter**, and now you have to keep that momentum going! The biggest thing I learned during my culinary travels is that environment matters immensely. If your kitchen runs cool, especially in the winter as some bakers find, the whole process will just take longer. Don’t panic if that means going to day nine or ten!
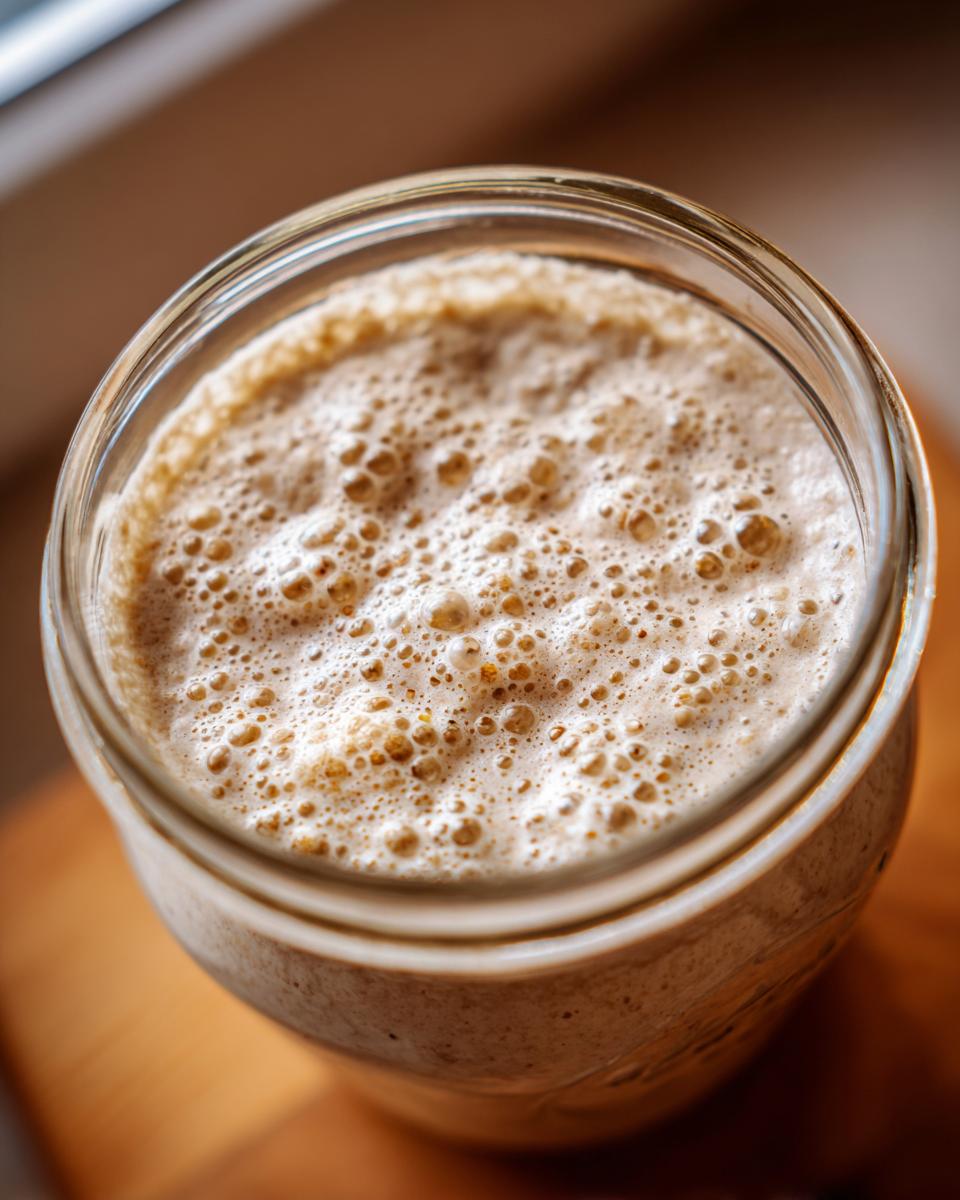
Keep a close eye on your jar. If you start seeing a little dark liquid pooling on top—that’s called “hooch”—it just means your starter is really hungry and eager for its next meal. Don’t dump it all out! Just stir that hooch right back in before you feed it, or pour it off if you prefer a milder flavor. It shows the wild yeast is active and happy!
When is the Sourdough Starter Ready for Baking?
So, how do you graduate from developing to baking? We’re looking for reliable, predictable growth. You want to see that starter **consistently double in size**—not just once, but every single time you feed it—within that 4 to 8 hour window. While some folks swear by the float test (dropping a tiny bit in water), I trust consistency more. If it’s doubling predictably, it’s full of the power needed for great **Beginner Sourdough Baking**, and you’re ready to go!
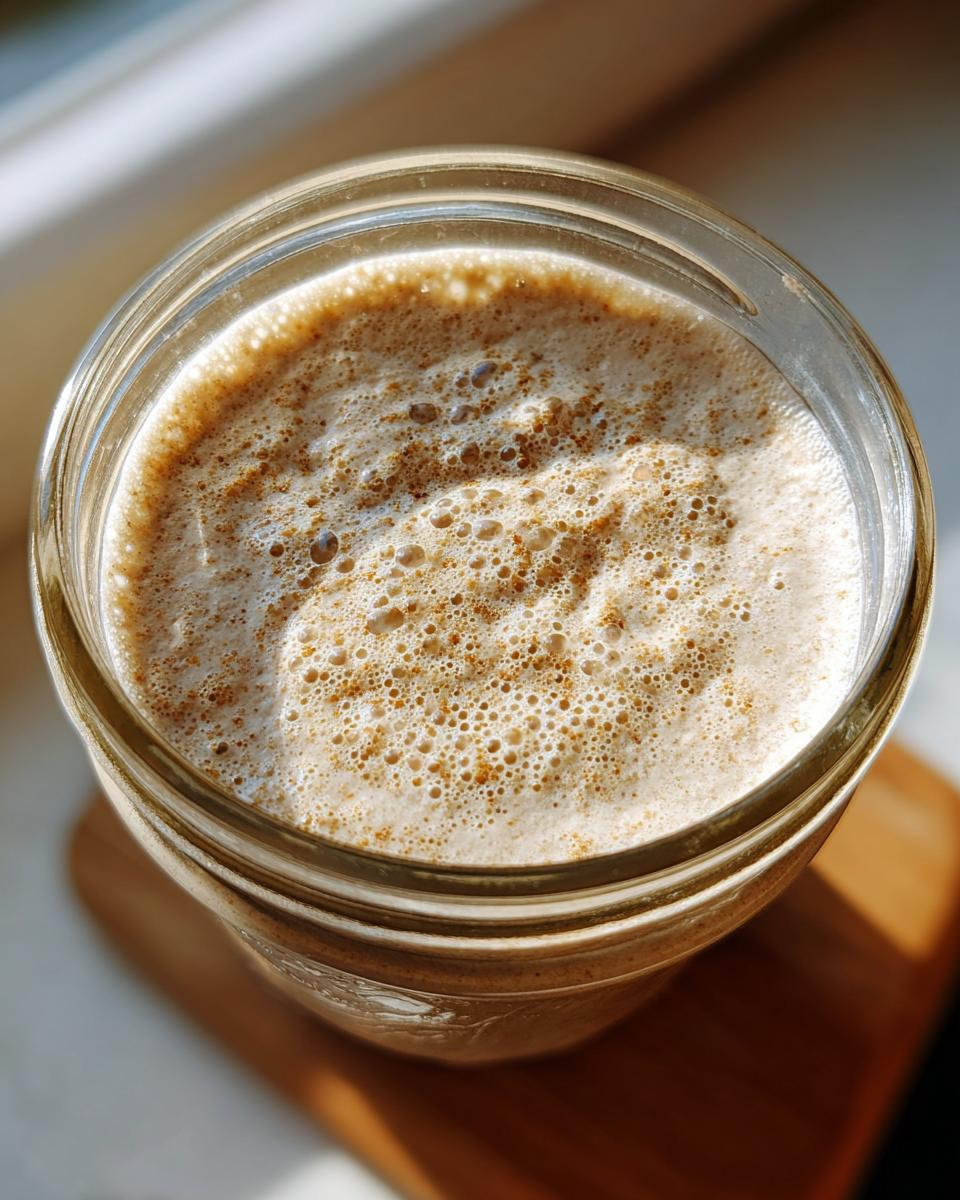
If you need a little visual reinforcement alongside your own monitoring, I always recommend checking out guides like this one for extra inspiration on getting that perfect fluff: Easy Fluffy Sourdough Starter Guide for Beginners.
How To Feed Sourdough Starter for Ongoing Maintenance
Congratulations! You’ve done the hard work, and now you have a vibrant, living **sourdough starter**. The question shifts from ‘how do I make it?’ to ‘how do I keep it happy?’ The answer really depends on how often you plan on baking. If you’re baking every day or two, you’ll want to keep it right on the counter and follow a daily routine for **How To Feed Sourdough Starter**—usually 1:1:1 ratio by weight (starter:flour:water).
But if you’re like me, baking perhaps once a week, the refrigerator is your best friend! Keep it cozy in the fridge after a good feeding. This slows down fermentation way down. Before you plan to bake a loaf, you’ll need to wake it up by giving it two or three feedings at room temperature over about 24 hours. It needs to be buzzing with activity again before it can give you a great rise.
Starter Maintenance Tips: Reviving Old Sourdough Starter
Sometimes life gets busy, and our starters get sluggish, maybe developing that layer of dark hooch we talked about. Don’t worry; we can always work on **Reviving Old Sourdough Starter**! The secret is consistency. If it looks sad, just discard most of it, feed it twice a day with fresh flour and water, maybe using a bit of rye flour to boost its food source, and it should perk right back up. A sleepy starter just needs a refresh and some reliable meals. I keep my contact information handy on my contact page in case you ever need to send a quick question!
Troubleshooting Common Sourdough Starter Issues
Listen, when you start this journey, it can feel like you’re failing if every day isn’t an Instagram-perfect rise. But honestly, **Sourdough 101** is mostly about learning what’s normal! In the first few days, your starter might look absolutely dead, or it might smell a bit like stinky cheese or even gym socks. That’s usually just the bacteria fighting it out for dominance. Hang in there! If you keep feeding it consistently, the good bacteria that create that wonderful sour flavor will eventually win out.
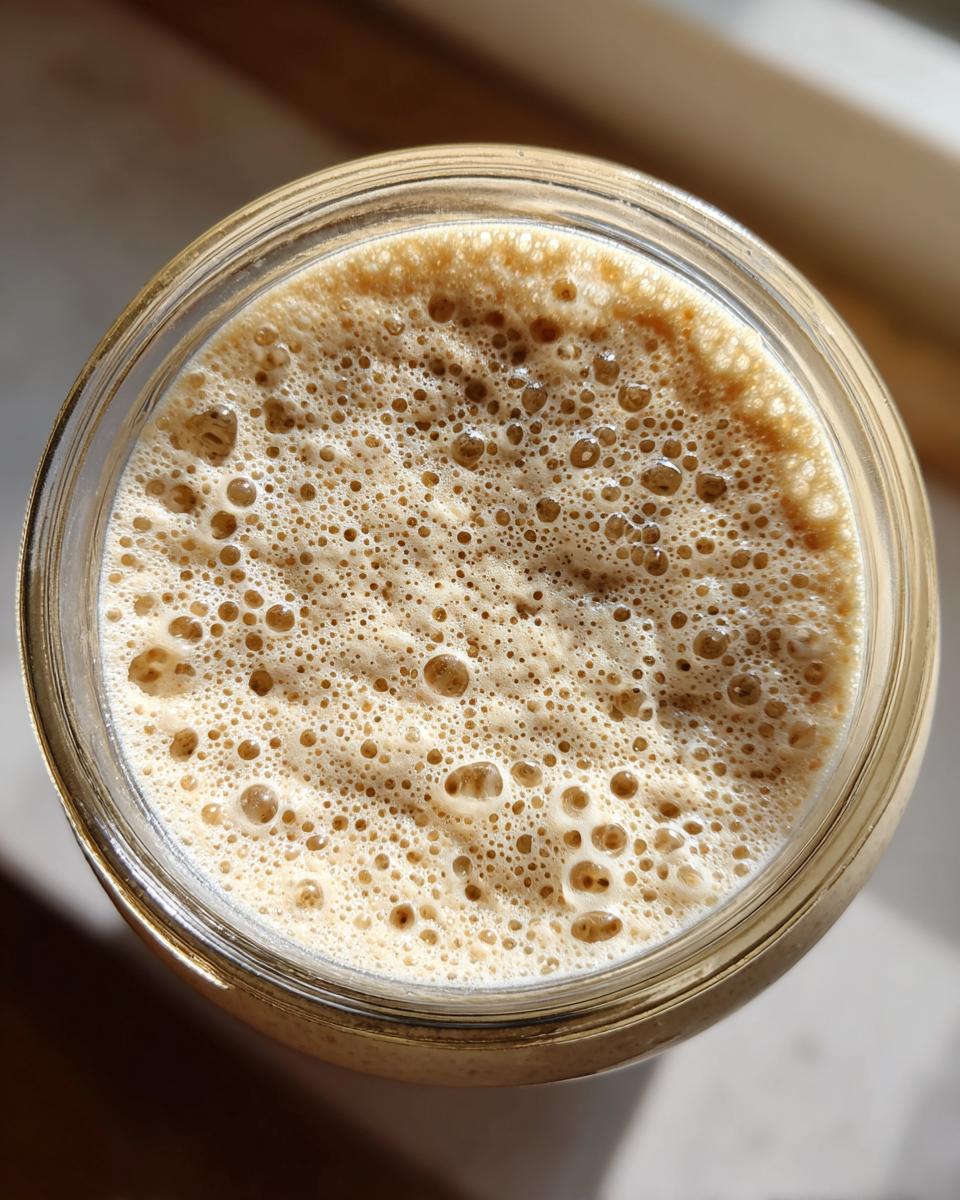
The key thing to watch for is actual mold—fuzzy black or green spots. If you see that, you have to toss it and start again with a clean jar. But anything smelly or sluggish in the first week? That’s usually fixable with just another feeding. If you smell something strange, I always recommend checking out detailed guides, like this helpful resource on making your starter from scratch: How To Make Sourdough Starter (From Scratch). Don’t let a slow start discourage you; fermentation takes its own sweet time!
Understanding Your Bubbly Sourdough Starter
When you finally see that jar start to froth up, that’s the moment you realize you aren’t just mixing ingredients; you’re growing something alive! That **Bubbly Sourdough Starter** is the result of lactic acid bacteria and wild yeasts working together. They eat the flour’s sugars and breathe out the carbon dioxide that gives your future bread its lift and that amazing sour tang I fell in love with. It’s nature doing the heavy lifting! It’s proof that the process is working exactly as it should—a little ecosystem thriving on your countertop.
If you want to review all the legal stuff about how I run this site, I keep all my policies clear on the Terms of Use page, but trust me, the science in that jar is way more interesting!
Estimated Nutritional Data for Flour and Water Starter
Now, I know what you’re thinking: Leo, this is yeast, not dinner! And you’re right, technically! But since we’re focusing on **Sourdough 101** and you’ll be discarding and feeding regularly, folks always ask about the nutrition happening inside that jar. I want to be super clear here: this data reflects the general profile of the *flour and water mixture* used for active feeding, not the final baked bread, which is entirely different once the fermentation process changes the starches.
This is just an estimate based on the flour we use in the daily feeding cycle. It shows you what you are feeding your culture, which is high in energy for the yeast! You’ll notice a decent amount of carbs from the flour, but because we’re just mixing it raw, the macros look different from a finished loaf you see on my breakfast page. Think of this as the fuel log for your little living friend.
- Calories: Approximately 180 per 100g serving of fresh feed
- Carbohydrates: Around 37g
- Protein: Roughly 5g
- Fat: Very low, about 0.5g
Keep in mind this is a snapshot of the feeding mixture itself. The joy of sourdough is that the resulting baked bread has a much lower glycemic index and improved digestibility—that’s what we really care about when we talk about the benefits of this wonderful process!
What to Bake First With Your New Sourdough Starter
Okay, you’ve nurtured this culture for a week, you’ve seen it double consistently, and now it’s practically vibrating with wild yeast energy! What now? This is the exciting part—it’s time to transition into actual **Beginner Sourdough Baking**. I know taking that first plunge into making a whole loaf seems intimidating, but I promise, once you see that crust form, you’ll never look back. My recommendation for your very first bake is often a simple artisan loaf, letting the starter shine without too many fussy additions.
However, if you have a ton of starter ready and don’t want to dive straight into a full boule, an excellent no-pressure training ground is sourdough focaccia. It’s forgiving, it spreads beautifully, and it smells like heaven while proofing. You get all the flavor benefits of your healthy, active starter, but the structure is much more relaxed than a standard sandwich loaf.
If you need some visual inspiration to get that first loaf looking as good as it tastes—think golden crust, open crumb—check out this great resource for beginners: Sourdough Starter Recipe: Easy Homemade Guide for Beginners. Get that starter fed, keep it warm, and get ready to bake something truly special!
And hey, don’t forget about the discard! That liquid you pour off during feedings for weeks? Save it! Once your starter is mature, that discard can be instantly transformed into pancakes or waffles that carry a subtle, delicious tang. I have a few favorite sweet ways to use that excess starter over on my breakfast and brunch page. Happy baking!
PrintHow to Make a Sourdough Starter From Scratch: A Beginner Guide

Follow this simple, step-by-step guide to create your own active sourdough starter using only flour and water. This recipe is perfect for beginners wanting to bake artisanal bread at home.
- Prep Time: 5 min
- Cook Time: 0 min
- Total Time: 7 days (active development)
- Yield: Approx. 100g active starter
- Category: Baking Foundation
- Method: Wild Fermentation
- Cuisine: American Home Baking
- Diet: Vegetarian
Ingredients
- 100g Whole Grain Flour (Rye or Whole Wheat recommended for initial mix)
- 100g Unbleached All-Purpose Flour
- 100g Unchlorinated Water (room temperature)
Instructions
- Combine 50g of whole grain flour and 50g of room temperature water in a clean glass jar. Stir until fully mixed. Cover loosely and let it sit at room temperature (ideally 70-75°F or 21-24°C) for 24 hours.
- Day 2: Discard half of the mixture. Add 50g of unbleached all-purpose flour and 50g of water to the remaining starter. Mix well, cover loosely, and wait 24 hours.
- Day 3: You might see some small bubbles. Discard half. Feed with 50g of all-purpose flour and 50g of water. Wait 24 hours.
- Day 4: Discard half. Feed with 50g of all-purpose flour and 50g of water. If you see significant activity (doubling in size or many bubbles), switch to feeding every 12 hours.
- Days 5 through 7 (or until active): Continue discarding half and feeding with 50g of all-purpose flour and 50g of water every 12 hours. Your starter is ready when it consistently doubles in size within 4-8 hours after feeding and smells pleasantly sour.
- Once active, you can maintain your starter by feeding it daily if kept at room temperature, or refrigerate it and feed it weekly.
Notes
- Use a clear jar so you can watch your sourdough starter come to life and monitor its rise.
- Temperature affects speed; warmer rooms speed up fermentation, cooler rooms slow it down.
- If you see dark liquid (hooch) on top, stir it in or pour it off before feeding. This means your starter is hungry.
- For the best results when baking, use the starter when it is at its peak rise, usually 4-8 hours after feeding.
Nutrition
- Serving Size: 100g
- Calories: 180
- Sugar: 0.5
- Sodium: 1
- Fat: 0.5
- Saturated Fat: 0.1
- Unsaturated Fat: 0.4
- Trans Fat: 0
- Carbohydrates: 37
- Fiber: 2
- Protein: 5
- Cholesterol: 0