
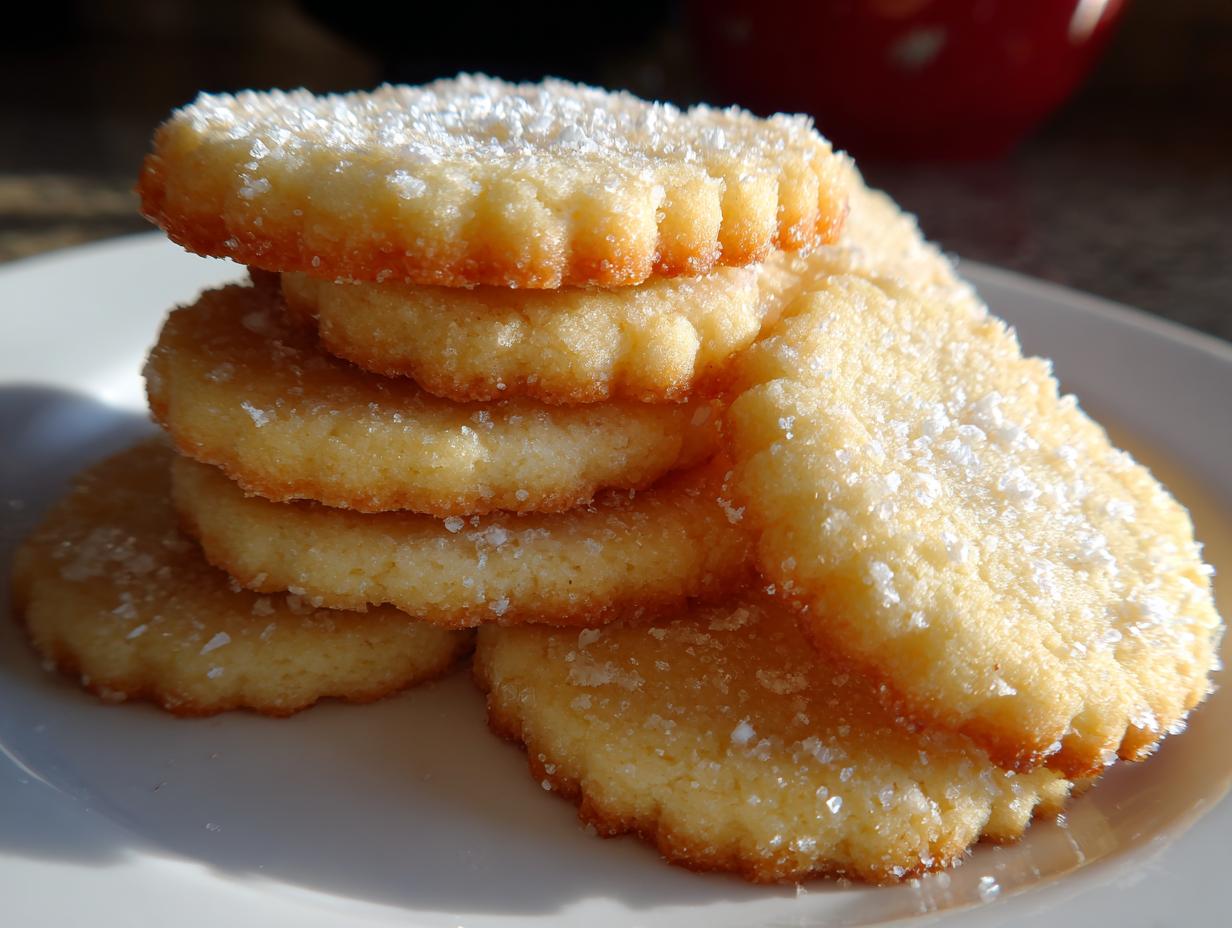

I remember sitting in my own kitchen, covered in flour dust, trying to replicate that specific snap and immediate melt of the fancy Danish cookie tins we used to get as kids. It sounds silly, but capturing that perfect texture—the one where the cookie dissolves almost instantly on your tongue—takes dedication. It’s not just about the butter; it’s about how that butter behaves. After countless tests, late nights, and probably too much sugar, I finally cracked the code for what I now confidently call the Classic Melt-in-Your-Mouth Butter Cookies. Forget those dry, crumbly imitations; these are packed with such a rich butter flavor they feel luxurious. My entire philosophy here at Gourmet Gaze centers on mastering the reliable classics, and trust me, perfecting these made them easily the best cookie recipe I have ever developed. If you want to learn more about my journey in finding these perfect recipes, check out my story here. Get ready for that truly buttery bite!
- Why These Classic Butter Cookies Are Your New Favorite
- Ingredients for Perfect Melt-in-Your-Mouth Butter Cookies
- How to Prepare Your Classic Butter Cookie Recipe
- Tips for Success When Baking Classic Butter Cookies
- Variations on Your Simple Tea Time Cookies
- Serving Suggestions for Homemade Butter Cookies
- Storage and Reheating Instructions for Your Butter Cookies
- Frequently Asked Questions About Baking Butter Cookies
- Nutritional Estimate for These Rich Butter Flavor Desserts
- Nutritional Estimate for These Rich Butter Flavor Desserts
Why These Classic Butter Cookies Are Your New Favorite
When I say these are butter cookies that melt, I mean it. These treats deliver that signature texture you chase when buying those fancy imported tins. They aren’t hard or overly sweet; they have just the right structural integrity while still feeling incredibly rich on your tongue. That’s what makes them the ideal Melt in Your Mouth Cookies.
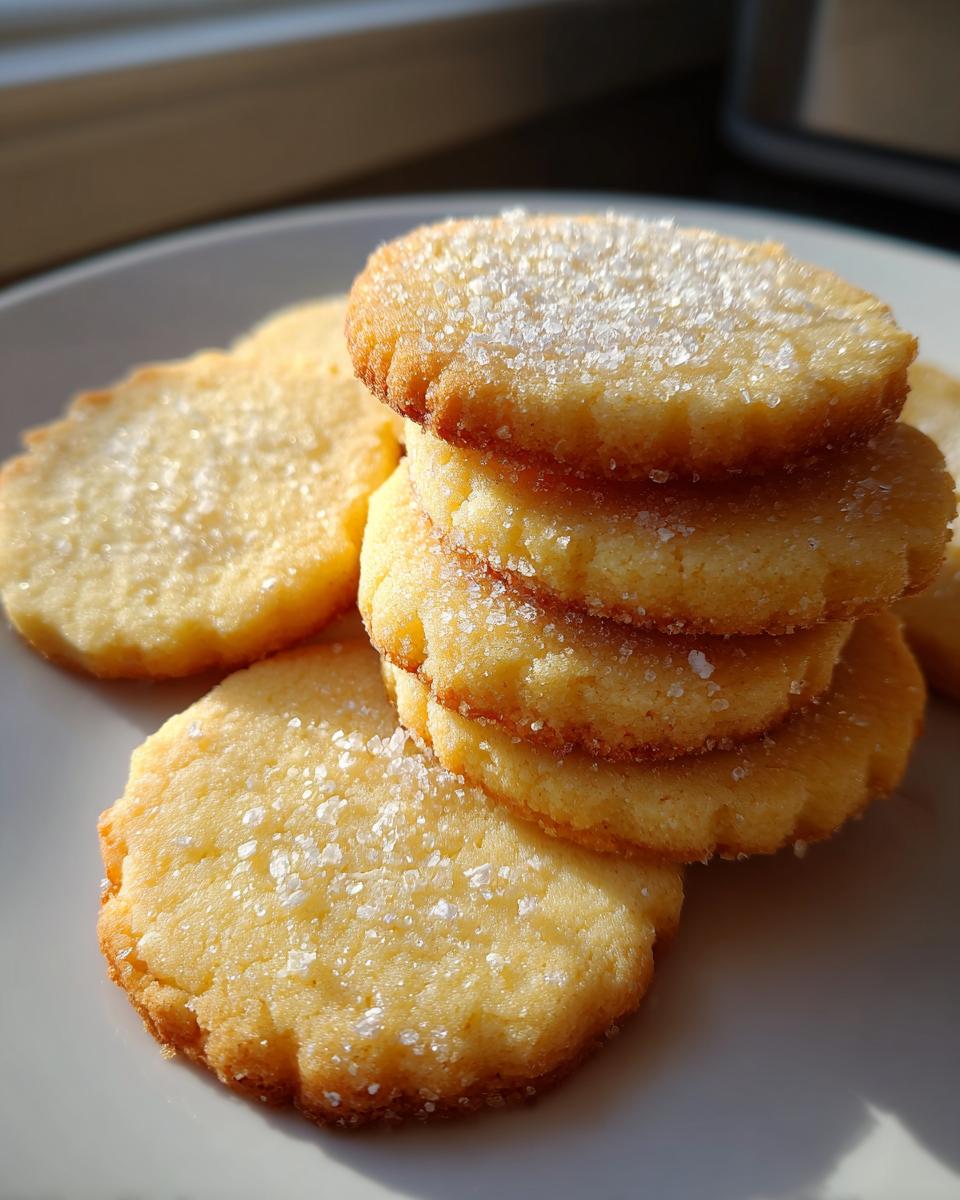
- They bake up perfectly crisp on the edges yet remain delightfully tender inside.
- The flavor profile is pure, straightforward, rich butter; nothing competes.
- They are fantastic for quick baking projects! You can have them ready for tea time fast.
Achieving the Perfect Melt in Your Mouth Cookies Texture
The big secret here isn’t some rare extract; it’s the partnership between the high-quality butter and a small, crucial addition: cornstarch. Cornstarch interferes with gluten development in the flour, resulting in a cookie that is softer and less chewy. This minor adjustment is what transforms a standard shortbread into truly soft center cookies that deliver that desired Danish butter cookies replication.
Simple Ingredients for Rich Butter Flavor Desserts
You won’t need a scavenger hunt to gather supplies for these cookies, which appeals directly to the desire for Easy Homemade Cookies. We are focusing on quality over complexity. Using just butter, sugar, flour, salt, egg yolk, and vanilla lets that beautiful, high-quality butter truly shine. It proves you don’t need ten different things to create a stunning, Rich Butter Flavor Dessert.
Ingredients for Perfect Melt-in-Your-Mouth Butter Cookies
When we talk about the best cookie recipe, we have to start with the foundation: the ingredients. Since butter is the star of the show, its quality and handling are everything. You’ll want to make sure everything is measured precisely, just like I learned when I started taking baking seriously. Remember, precision here leads to that incredible, Buttery Shortbread Cookies texture we are aiming for.
- 1 cup (2 sticks) unsalted butter, softened
- 1/2 cup granulated sugar
- 1 large egg yolk
- 1 teaspoon vanilla extract
- 2 1/2 cups all-purpose flour
- 1/4 teaspoon salt
- 1/4 cup cornstarch
Ingredient Notes and Substitutions for Butter Cookies
Let’s talk about preparation before you dive into mixing! The most critical aspect here is the butter. You must use butter that is truly softened—it should give easily when pressed, but it absolutely cannot be melted or greasy. I always pull mine out two hours before I plan to start baking so it reaches that perfect state. That’s the secret to achieving that beautiful incorporation during creaming.
Now, about the cornstarch. That 1/4 cup is key for making these Traditional Butter Cookies tender rather than dense. If, by some emergency, you run out, you can substitute it by reducing the flour by the same amount (so use 2 1/4 cups flour). But please know this: the texture will shift slightly. It will be firmer, more like a classic shortbread, and you might lose just a tiny bit of that signature ‘melt away’ quality. For the absolute Perfectly Buttery Treats, stick to the cornstarch!
How to Prepare Your Classic Butter Cookie Recipe
Alright, buckle up, because this process is where the magic happens. Getting these butter cookies right isn’t just about following steps; it’s about mastering the texture you want. If you try to rush any of this, you’ll end up with a cookie that spreads into a sad, buttery puddle. I learned the hard way that the secret to making these truly melt-in-your-mouth treats lies squarely in temperature control and patience. We’re breaking this down into four fail-safe stages, making sure your Classic Butter Cookie Recipe comes out exactly as intended.
Step 1: Creaming Butter and Sugar for Better Butter Cookies
This is the step I used to skip when I was busy, and that’s exactly why my cookies used to fail! Creaming the butter and sugar correctly introduces necessary air bubbles into the foundation of the cookie. You need an electric mixer for this part, trust me. Beat that softened butter and granulated sugar until the mixture is visibly lighter in color—pale yellow—and wonderfully fluffy, almost like a light icing. I always stop and scrape down the bowl halfway through. When I finally understood that this step is non-negotiable for achieving the melt factor for these butter cookies, everything changed! Then, you gently beat in that single egg yolk and the vanilla extract.
Step 2: Mixing Wet and Dry Components for Crisp and Tender Cookies
Now, we incorporate the dry ingredients—that mix of flour, salt, and our secret weapon, cornstarch. The key here is to add them gradually. I usually add about a third of the dry mixture at a time, mixing only on the lowest speed. As soon as that flour streak disappears, you stop! Seriously, stop the mixer. Overmixing develops gluten, and gluten is the enemy of a Crisp and Tender Cookie. You want a soft, shaggy dough, not a smooth, elastic one. If you see tiny flour streaks, that’s okay; they’ll incorporate later when you handle it by hand.
Step 3: Chilling and Shaping Your Homemade Butter Cookies
This step is what separates the perfectly shaped Danish Butter Cookies Replication from the ones that look like flat pancakes. The chilling has to happen, no exceptions! Wrap that dough tightly into a smooth log using plastic wrap and let it relax in the fridge for at least one hour. This firms up that high butter content. Once chilled, you can slice uniform rounds if you’re going for that classic disk shape, or you can load the dough into a cookie press to make beautiful rosettes. No matter how you shape them, make sure they are all roughly the same size so they bake evenly. If you plan on chilling them longer, say overnight, just pull them out about 15 minutes before you plan to bake so they soften up just enough to shape or slice.
Step 4: Baking and Cooling for Perfectly Buttery Treats
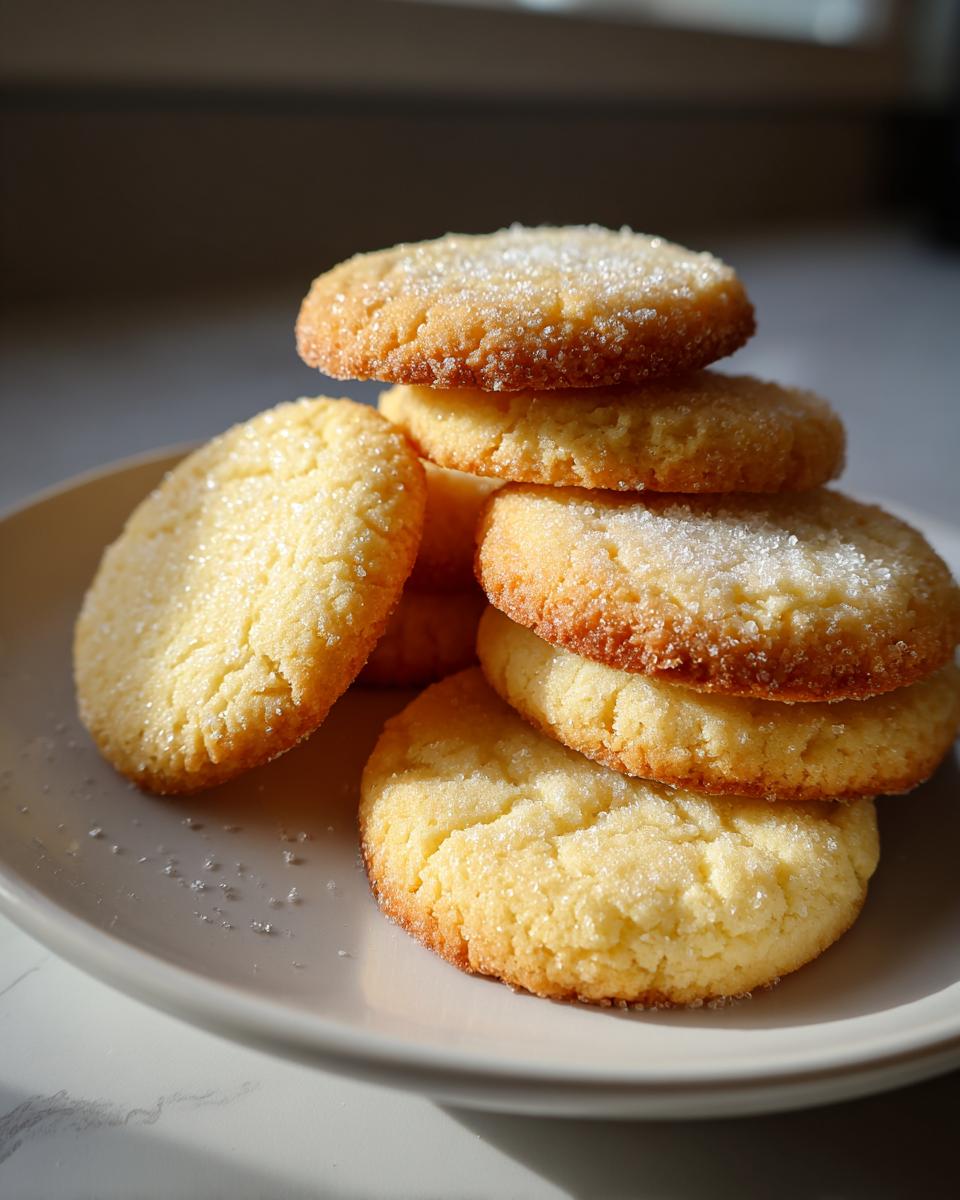
Preheat your oven to 350°F (175°C) and make sure those baking sheets are lined with parchment paper—I even grab my best baking sheets for this, you need even heat! Place your cookies about an inch apart. They don’t spread aggressively, but they need room to breathe. Bake them for 10 to 12 minutes. You are looking for the edges to just turn light golden brown; the centers should still look very pale. That’s how you lock in the moisture! When you pull them out, leave them on the hot sheet for a solid five minutes to firm up before gently moving them to a wire rack to cool completely. This resting period is vital so they don’t crumble when you move them.
Tips for Success When Baking Classic Butter Cookies
Even with a fantastic recipe, baking is still chemistry, and sometimes things go slightly sideways! Since I’ve already spent way too much time learning the hard way, let me save you some trouble. Getting these butter cookies right is about mitigating the things that can ruin that incredible melt-in-your-mouth quality we spent so much time developing in the dough. Don’t worry if your first batch isn’t perfect; my first ones looked like buttery puddles, but I figured out why!
Troubleshooting Common Butter Cookies Issues
If your cookies spread everywhere, 99% of the time the dough was too warm when it hit the oven. If you see them flattening out too quickly, stick the whole sheet pan back into the fridge for just ten minutes before baking. That fast chill locks the fat in place! Conversely, if your cookies ended up tasting slightly tough or dense, you definitely overmixed after adding the flour—we want minimum gluten activation here. Remember, we are aiming for those Perfectly Buttery Treats, not chewy treats. If you’re looking for a beautiful pairing for these, I’ve done a deep dive on old-fashioned preparations over here!
Variations on Your Simple Tea Time Cookies
Once you master the base recipe for these incredibly rich butter cookies, the world opens up! While I stand by the classic, simple flavor as the ultimate treat for afternoon tea, sometimes you want to spice things up a bit, especially around the holidays. These cookies are so sturdy and buttery, they stand up beautifully to additions. You don’t have to start a whole new recipe when you want to try something different!
Making Butter Pecan Cookies
If you’ve seen recipes for Butter Pecan Cookies, know that they are an absolutely seamless addition to this dough. If you want to try this out for your next batch, I highly recommend it—the nuts bake up perfectly tender alongside the cookie. Here is the substitution ratio I use: Take out 1/4 cup of the all-purpose flour you originally planned to use, and replace that exact volume with finely chopped pecans. You can find some great inspiration for making these kinds of specialized treats over at this pecan cookie recipe, but remember to use our chilled dough base for that melt-in-your-mouth quality!
Flavoring French Style Butter Cookies
If you’re aiming for something that tastes a little more sophisticated—maybe something you’d serve with espresso—you can nudge this recipe toward a sort of French Style Butter Cookie feel. The French approach often leans on either salt or unique extracts. My favorite easy trick is to add a generous pinch of flaky sea salt directly into the dough when you whisk the dry ingredients together. It really heightens the salt level, which balances the butter perfectly. Alternatively, ditch the vanilla entirely and use 1/2 teaspoon of pure almond extract instead. That touch of nuttiness gives it a lovely, unexpected depth, making them feel far fancier than the simple steps suggest!
Serving Suggestions for Homemade Butter Cookies
Now that you have mastered the technique and have a stack of these incredible, tender cookies, the fun part is deciding how to present them! Because they have such a pure, buttery profile, they pair beautifully with almost anything slightly acidic or warm. They are definitely the kind of easy dessert baking item that elevates a simple afternoon catch-up with friends.
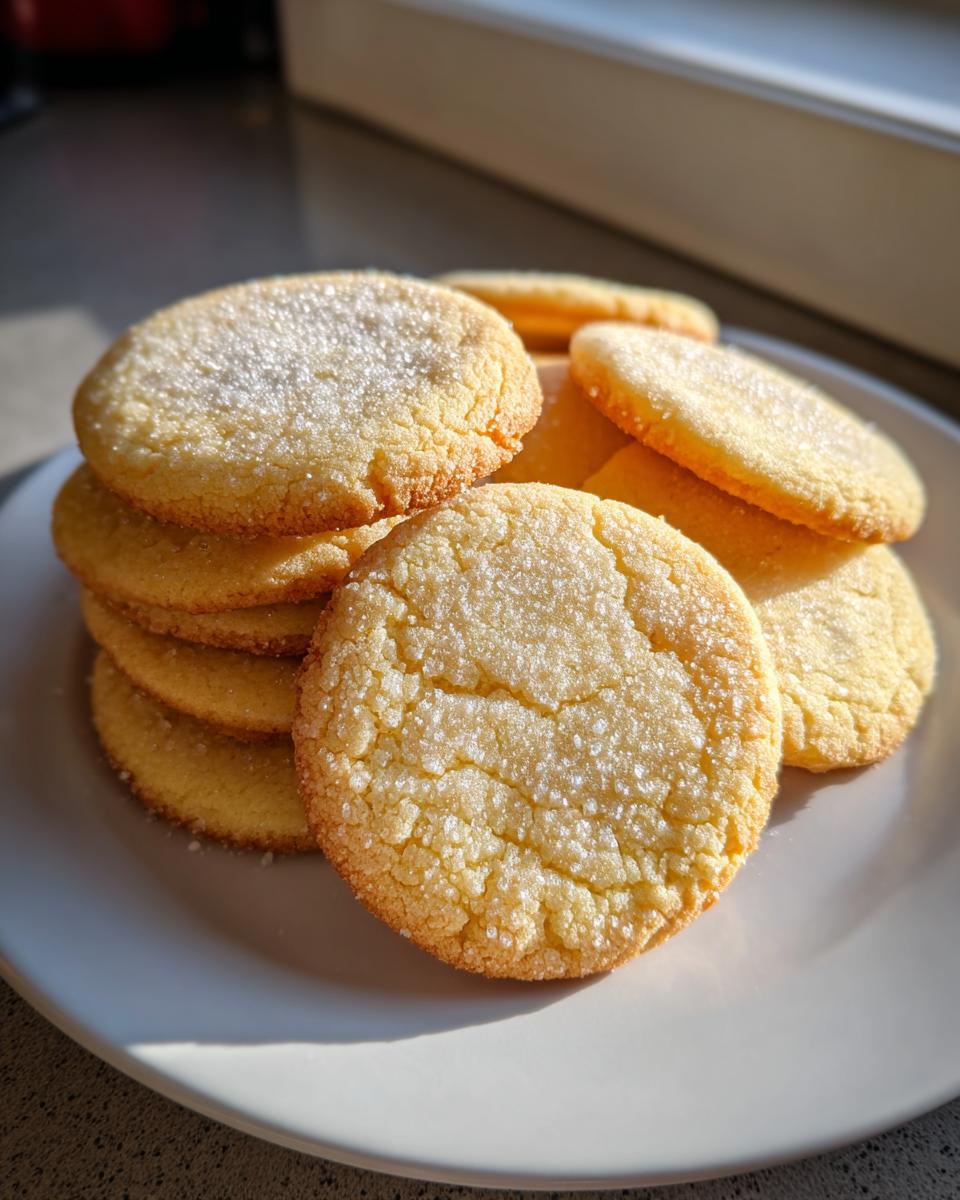
For the classic tea time vibe, you simply can’t go wrong with a robust cup of Earl Grey or a smooth Darjeeling. The slight tannins in the tea really cut through the richness of the butter, making each bite taste fresh again. I also love placing a few on a tiered stand alongside some lemon curd tarts—the bright citrus highlights the vanilla in the cookies perfectly.
If you’re planning on packaging these for gifting, which they are absolutely perfect for, remember to keep presentation elegant. You can explore some great ways to package baked goods for gifting in this guide. A simple stack tied with a natural twine and maybe a small jar of homemade raspberry jam makes for a thoughtful, deeply satisfying present. These are the kinds of traditional butter cookies people remember receiving!
Storage and Reheating Instructions for Your Butter Cookies
One of the greatest joys of making a big batch of butter cookies is knowing you have perfectly crisp and tender treats ready for days! Because these cookies rely heavily on fat (butter!), they can dry out if left exposed to air. My goal when storing these is always to keep that initial structural integrity—that satisfying snap—intact, while preserving the delicate melt-in-your-mouth texture.
The good news is that they are very forgiving! The instructions I shared noted a shelf life of about one week, and I’ve found that’s very accurate, provided you follow a couple of simple rules regarding containers. This is crucial for keeping them tasting as fresh as the day they came out of the oven.
For short-term storage, say three to five days, you can use any sturdy, airtight cookie tin or plastic container. Just make sure you line the bottom layer with a piece of parchment paper, like the kind we used for baking. This stops the bottom layer from sticking to the container, which can happen when the cookies settle and release small amounts of surface butter.
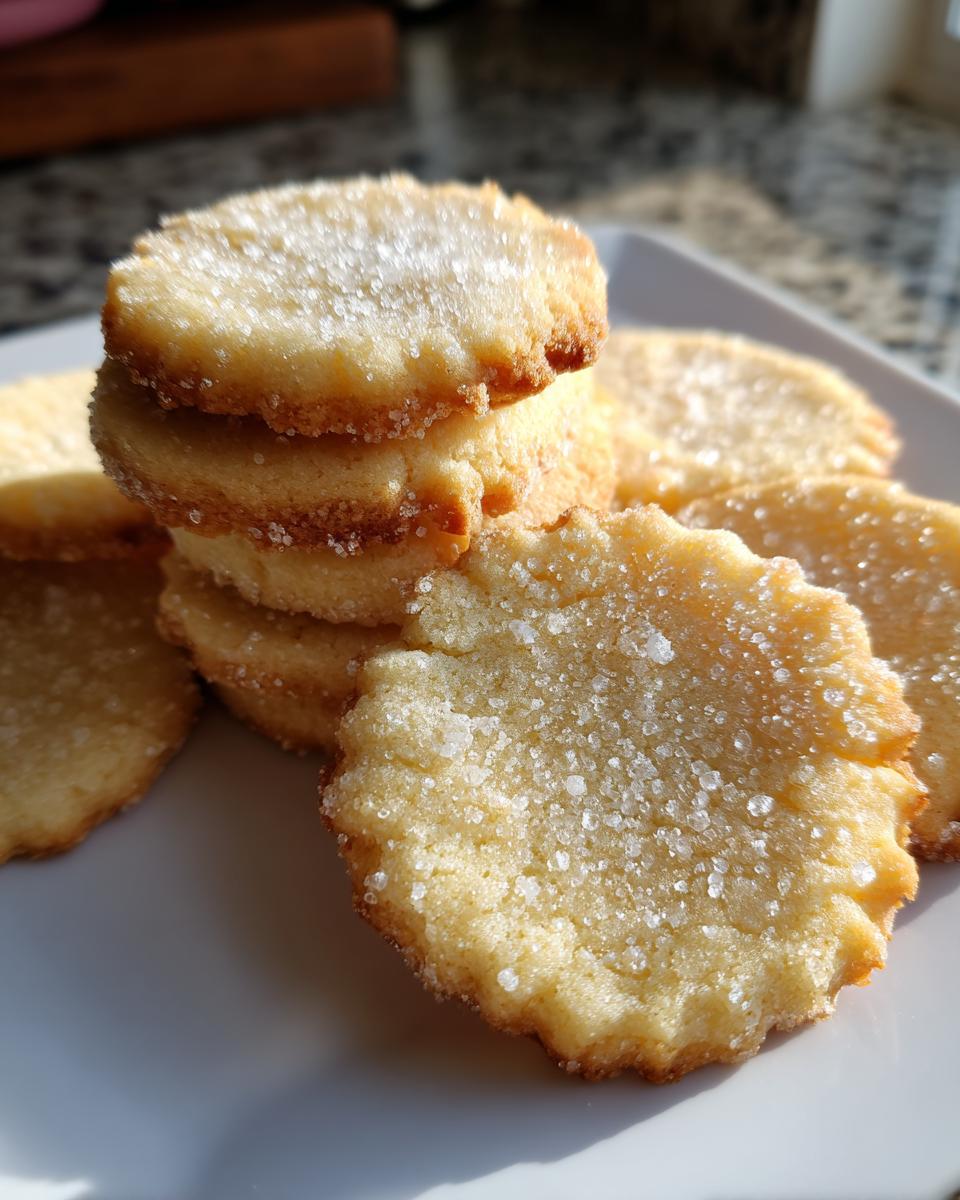
If you are aiming for that full week, or if your kitchen is particularly humid, I suggest layering them, using parchment or wax paper as separators between the layers. Do not stack them too tightly; leave a little air space. The absolute best place is room temperature—don’t bother trying to store these in the fridge! The cold air wicks away moisture and can make your beautiful cookies taste stiff.
Now, what if they’ve been sitting around for five days and just aren’t *quite* that first-day perfect? Don’t toss them! Reheating is your secret weapon for instant bliss. Pop two or three cookies onto a microwave-safe plate and zap them for just 5 to 8 seconds. This gently warms the butter just enough to make them feel soft and freshly baked again, achieving that perfect bite all over again!
Frequently Asked Questions About Baking Butter Cookies
I totally get it—even when a recipe seems straightforward, questions pop up once you get your hands dirty. Baking these butter cookies is simple, but getting that authentic texture sometimes requires a little clarification. I’ve gathered the questions I get most often from folks trying to nail that perfect, melt-in-your-mouth result. Think of this as our little troubleshooting session so your next batch is a complete success!
Can I use salted butter instead of unsalted butter in this butter cookies recipe?
That’s a frequent question, especially if you’re reaching for whatever’s in the fridge! You absolutely can substitute salted butter for the unsalted, but you have to adjust the salt you add to the dry mix. In most cases, salted butter contains about 1/4 teaspoon of salt per half-cup (one stick). Since this recipe calls for 1 cup of butter and only 1/4 teaspoon of salt, you should completely omit the 1/4 teaspoon of salt in the dry ingredients if you use salted butter. If you want that beautiful, clean flavor, I still prefer unsalted butter so I can control the exact amount of sodium!
How do I make these cookies crispier for a different texture?
If you’re craving a texture that leans a bit more like a traditional shortbread—something with a firmer snap throughout—you just need to give them a little extra time in the heat. Remember that moment when I told you to watch for those pale centers? If you want crispier edges and a firmer body, simply leave them in the oven for an extra minute or two past the 12-minute mark. Don’t push it past 14 minutes, or you risk drying them out too much. A slightly longer bake time is the simplest way to shift from a soft-center cookie to a crispier, yet still tender, result.
Are these butter cookies suitable for holiday baking?
Oh, absolutely! These are some of the best Homemade Butter Cookies for the holidays you can make! They look elegant just piled onto a platter, especially when you use a cookie press for that beautiful piped look. They are so simple that they make an excellent component of a larger holiday baking spread when you need an Easy Dessert Baking win. If you want to dress them up, try dipping one end of the completely cooled cookie into melted dark chocolate and immediately sprinkle on some fancy flaky sea salt or some crushed candy canes. They look professional but take zero extra work on the dough itself. You can find more ideas for festive presentations over in my desserts section!
Nutritional Estimate for These Rich Butter Flavor Desserts
As a chef, I focus mostly on flavor and technique, but I know many of you are curious about the numbers! Because these are truly rich butter flavor desserts, they do have a higher fat content, as you’d expect from a recipe where butter is the leading ingredient. Please remember that this is just a general estimate based on the ingredients listed above, and your actual counts might vary slightly depending on the exact brands you use.
Here is the breakdown for one single cookie:
- Serving Size: 1 cookie
- Calories: 110
- Fat: 7g
- Saturated Fat: 4g
- Carbohydrates: 11g
- Sugar: 6g
- Protein: 1g
They are definitely a treat to be savored! If you want to explore other satisfying desserts that might fit different nutritional goals, feel free to browse my full collection of recipes.
Nutritional Estimate for These Rich Butter Flavor Desserts
As a chef, I focus mostly on flavor and technique, but I know many of you are curious about the numbers! Because these are truly rich butter flavor desserts, they do have a higher fat content, as you’d expect from a recipe where butter is the leading ingredient. Please remember that this is just a general estimate based on the ingredients listed above, and your actual counts might vary slightly depending on the exact brands you use. That corporate background of mine means I still appreciate good data, even if I’ve traded spreadsheets for dough proofing!
Here is the breakdown for one single cookie:
- Serving Size: 1 cookie
- Calories: 110
- Fat: 7g
- Saturated Fat: 4g
- Carbohydrates: 11g
- Sugar: 6g
- Protein: 1g
They are definitely a treat to be savored! If you want to explore other satisfying desserts that might fit different nutritional goals, feel free to browse my full collection of recipes.
PrintClassic Melt-in-Your-Mouth Butter Cookies
Achieve the rich, buttery flavor and signature tender texture of authentic Danish butter cookies with this straightforward recipe. These cookies dissolve beautifully, making them perfect for tea time or holiday gifting.
- Prep Time: 20 min
- Cook Time: 12 min
- Total Time: 1 hour 32 min
- Yield: About 3 dozen 1x
- Category: Dessert
- Method: Baking
- Cuisine: American
- Diet: Vegetarian
Ingredients
- 1 cup (2 sticks) unsalted butter, softened
- 1/2 cup granulated sugar
- 1 large egg yolk
- 1 teaspoon vanilla extract
- 2 1/2 cups all-purpose flour
- 1/4 teaspoon salt
- 1/4 cup cornstarch
Instructions
- In a large bowl, cream the softened butter and granulated sugar together using an electric mixer until the mixture is light and fluffy. This step is key for texture.
- Beat in the egg yolk and vanilla extract until just combined. Scrape down the sides of the bowl as needed.
- In a separate medium bowl, whisk together the all-purpose flour, salt, and cornstarch.
- Gradually add the dry ingredients to the wet ingredients, mixing on low speed until just combined. Do not overmix the dough.
- Shape the dough into a log, wrap it tightly in plastic wrap, and chill in the refrigerator for at least 1 hour. Chilling prevents spreading.
- Preheat your oven to 350°F (175°C). Line baking sheets with parchment paper.
- Remove the dough from the refrigerator. Roll the dough into small balls or use a cookie press fitted with your desired shape. Place the cookies about 1 inch apart on the prepared baking sheets.
- Bake for 10 to 12 minutes, or until the edges are lightly golden brown. The centers should still look pale.
- Let the cookies cool on the baking sheets for 5 minutes before transferring them to a wire rack to cool completely.
Notes
- For the best melt-in-your-mouth cookies, use high-quality, room-temperature butter.
- If you want a crispier cookie, bake for an additional 1 to 2 minutes.
- For a variation, substitute 1/4 cup of the flour with finely chopped pecans to make buttery pecan cookies.
- Store these homemade butter cookies in an airtight container at room temperature for up to one week.
Nutrition
- Serving Size: 1 cookie
- Calories: 110
- Sugar: 6g
- Sodium: 35mg
- Fat: 7g
- Saturated Fat: 4g
- Unsaturated Fat: 3g
- Trans Fat: 0g
- Carbohydrates: 11g
- Fiber: 0g
- Protein: 1g
- Cholesterol: 25mg