
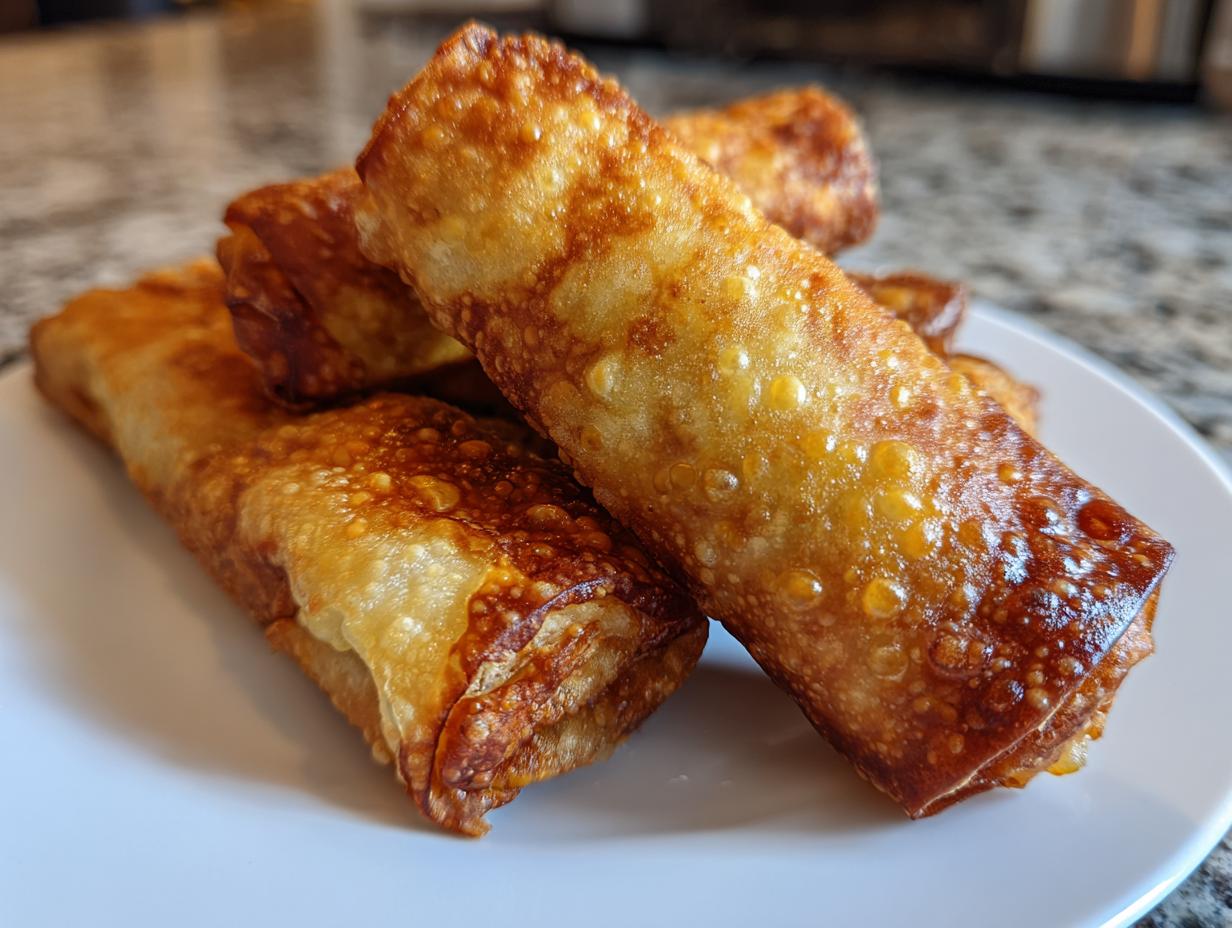

There’s nothing quite like that moment when you’re staring down a takeout menu, desperately craving something savory, crunchy, and completely satisfying. For me, that craving always pointed straight to the ultimate appetizer: the crisp, perfectly golden egg roll. Believe me, moving from boardrooms to burner tops I’ve spent countless hours testing fillings and frying temperatures so you don’t have to! This recipe isn’t just my favorite; it’s the result of dozens of trials to finally nail that delicate balance between a juicy interior and a wrapper that screams crunch. Forget soggy bottoms and bland fillings; this is how you bring restaurant-quality appetizers home.
When I finally left the corporate grind behind, I vowed to master the things I constantly ordered out. Getting this homemade egg roll technique right was a huge milestone. I wanted that snap, that audible crack when you bite in, which honestly is hard to find even at many popular spots. After switching from an immersion fryer to a deep pot a couple of times (and cleaning up a few oil splashes!), I found the secret to true crispiness. I can’t wait for you to try this tried-and-true method that I perfected right here in the Gourmet Gaze kitchen. You’ll find all the details, including how to manage the filling so it stays perfectly seasoned, in the sections below.
If you’re curious about my journey from marketing director to full-time cook sharing recipes, you can read more about how I approach cooking—always focusing on flavor and presentation—over on the About Page.
- Why This Crispy Homemade Egg Rolls Recipe Beats Takeout
- Gathering Your Ingredients for the Perfect Egg Roll
- How to Make Egg Rolls: Step-by-Step Assembly and Frying
- Tips for Success When Making Your Egg Roll
- Alternative Cooking Methods for Your Egg Roll
- Make Ahead & Freezer Friendly Egg Rolls
- Serving Suggestions for Your Delicious Egg Roll
- Frequently Asked Questions About the Egg Roll
- Storage and Reheating Instructions for Leftover Egg Rolls
Why This Crispy Homemade Egg Rolls Recipe Beats Takeout
The biggest difference between these and the ones you call in for? It’s all about texture and freshness. Nobody wants soggy wrappers, right? Achieving true Restaurant Style Egg Rolls means controlling the moisture content from start to finish. I remember the first time I pulled a batch out of the oil, and they held their beautiful golden color without collapsing—it felt like a breakthrough! That perfect crunch is what we’re chasing here.
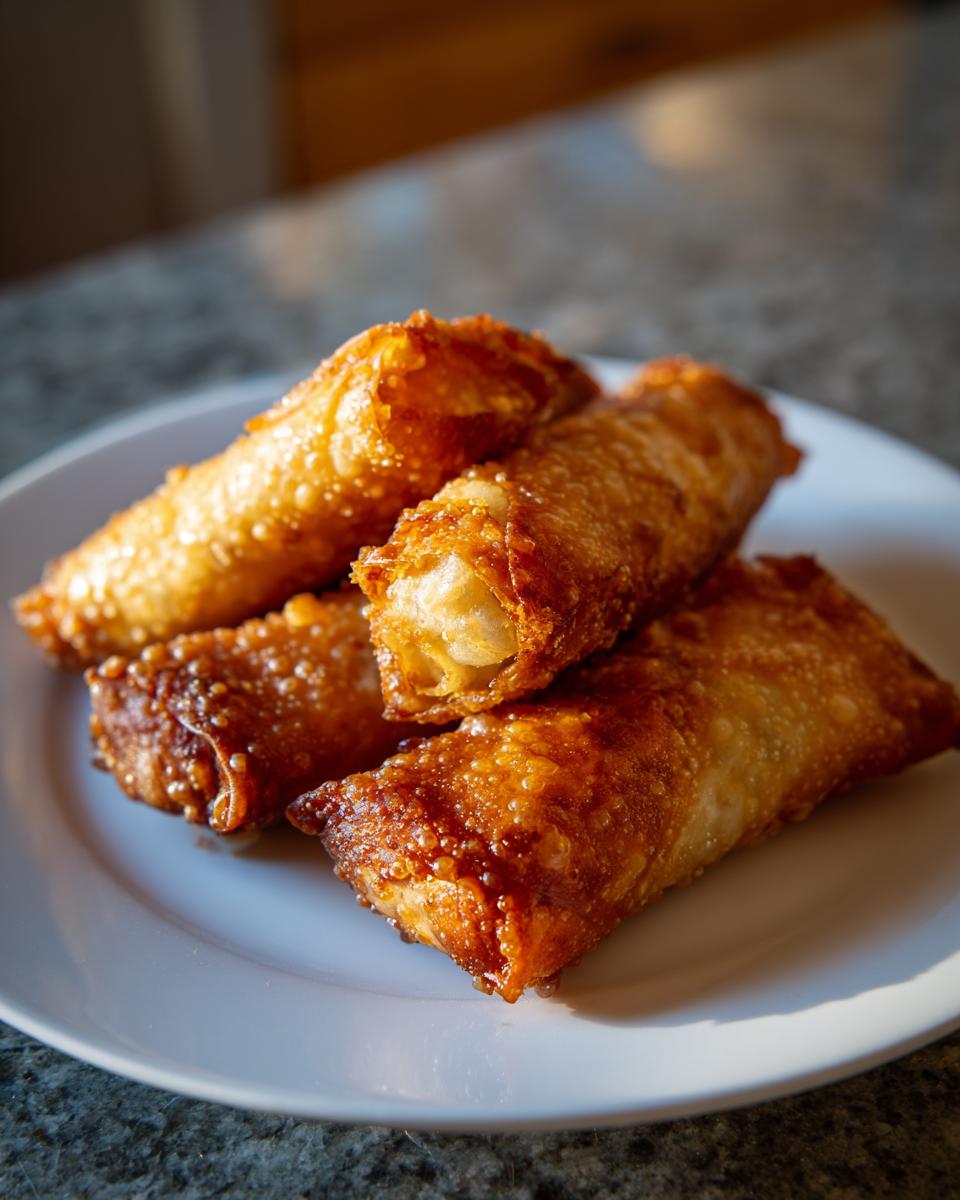
We’re mixing vibrant, fresh vegetables with perfectly seasoned meat to create the Best Egg Roll Filling you’ve ever had. You control the salt, the ginger, and the subtle vinegary tang. It’s deeply satisfying to know exactly what went into that crispy shell. Trust me, once you master this technique, you’ll never look at your local delivery spot the same way again. For more exciting appetizer ideas that impress guests, check out my main category for Appetizers and Snacks!
Gathering Your Ingredients for the Perfect Egg Roll
Alright, let’s talk gathering. When you’re going for that deep golden crisp, you can’t cut corners on the ingredients, especially if you want these to taste better than takeout. Precision here is what builds trust with the final product—it’s why I list weights and exact cup measurements. I’ve tested this ratio of meat to vegetable dozens of times, and this specific amount works beautifully.
The ingredients you see below are for the classic pork version, which I think is the richest, but please feel free to swap the ground pork for ground chicken or turkey to make a different type of egg roll. If you’re going vegetarian, just double up on the mushrooms and maybe toss in some chopped scallions for extra zing!
For the Savory Egg Roll Filling
This filling needs to be cooked and then completely cool before you start rolling. This is non-negotiable, folks! Warm filling steams the wrapper from the inside, and that’s the number one recipe killer for crispness.
- 1 tablespoon sesame oil
- 1 pound ground pork (or your preferred protein!)
- 1 cup shredded carrot
- 1 cup shredded cabbage
- 1 cup sliced mushrooms
- 4 ounces bean sprouts
- 2 cloves garlic, minced
- 1 teaspoon ground ginger
- 1/4 cup soy sauce
- 1 tablespoon rice vinegar
- 1/2 teaspoon black pepper
For Assembling the Egg Rolls
Gather these essentials right before you start rolling so you can move quickly. The less time the wrappers sit out uncovered, the better they behave!
- 18 egg roll wrappers (standard size works best)
- Vegetable oil, for deep frying (enough for about 2 inches in your pot)
- Water, for sealing the edges
How to Make Egg Rolls: Step-by-Step Assembly and Frying
Okay, we have our ingredients; now it’s time for the real fun—bringing this egg roll magic to life! Remember what I said? The single most important thing you can do between cooking the filling and rolling is letting it cool down. If it’s warm, you’re throwing away your chance at that super crisp texture we want. I usually whip up the filling first and then wander off to clean up the measuring spoons or check my email while it completely chills.
Preparing the Best Egg Roll Filling
Time to get that filling seasoned perfectly! You start by heating your sesame oil over medium-high heat. Drop in that ground pork and cook it down until it’s nicely browned. Make sure you drain off any excess fat—nobody wants an oily filling that weighs down the wrapper. Once the meat is cooked, toss in the carrots, cabbage, mushrooms, and bean sprouts. We cook these veggies just until they are tender-crisp, which should only take about five to seven minutes. We want them soft enough to eat, but they still need a little bite left in them!
Right at the end, bring in the flavor: the minced garlic, ginger, soy sauce, rice vinegar, and pepper. Give that a quick minute stir until everything smells incredible. Then, pull it off the heat and walk away! Seriously, let it cool to room temperature, or chill it in the fridge for 30 minutes if you’re in a hurry. If you skip this, I promise you’ll end up with a mushy mess instead of a crispy egg roll recipe success story.
Rolling Your Homemade Egg Rolls Perfectly
This part is all about presentation and technique. Lay one wrapper flat on your slightly damp cutting board or counter, making sure a corner points directly at you—it should look like a diamond. Spoon about two tablespoons of that cooled filling near the bottom corner, leaving a good border at the edges.
First, take that bottom corner and fold it up snugly over the filling. Don’t be shy about pressing it down to tuck everything in. Next, fold the left and right sides inward neatly over the center package. You want those sides tucked in tight so they don’t unravel during frying. Now, roll the entire package upward toward that top corner. When you get to the very end, take a little bit of water on your fingertip and dab it along the final edge of the wrapper. Press firmly to seal that top corner down. That water acts like edible glue! Keep going until all your beautiful Chinese egg rolls are ready for their close-up.
Achieving Crispy Egg Rolls Through Deep Frying
This is where the transformation happens! Pour your vegetable oil into a heavy pot—you need about two inches deep. Get that temperature up to exactly 350°F (175°C). If you don’t have a thermometer, you can test it by dropping a tiny piece of extra wrapper in; if it bubbles furiously right away, it’s ready!
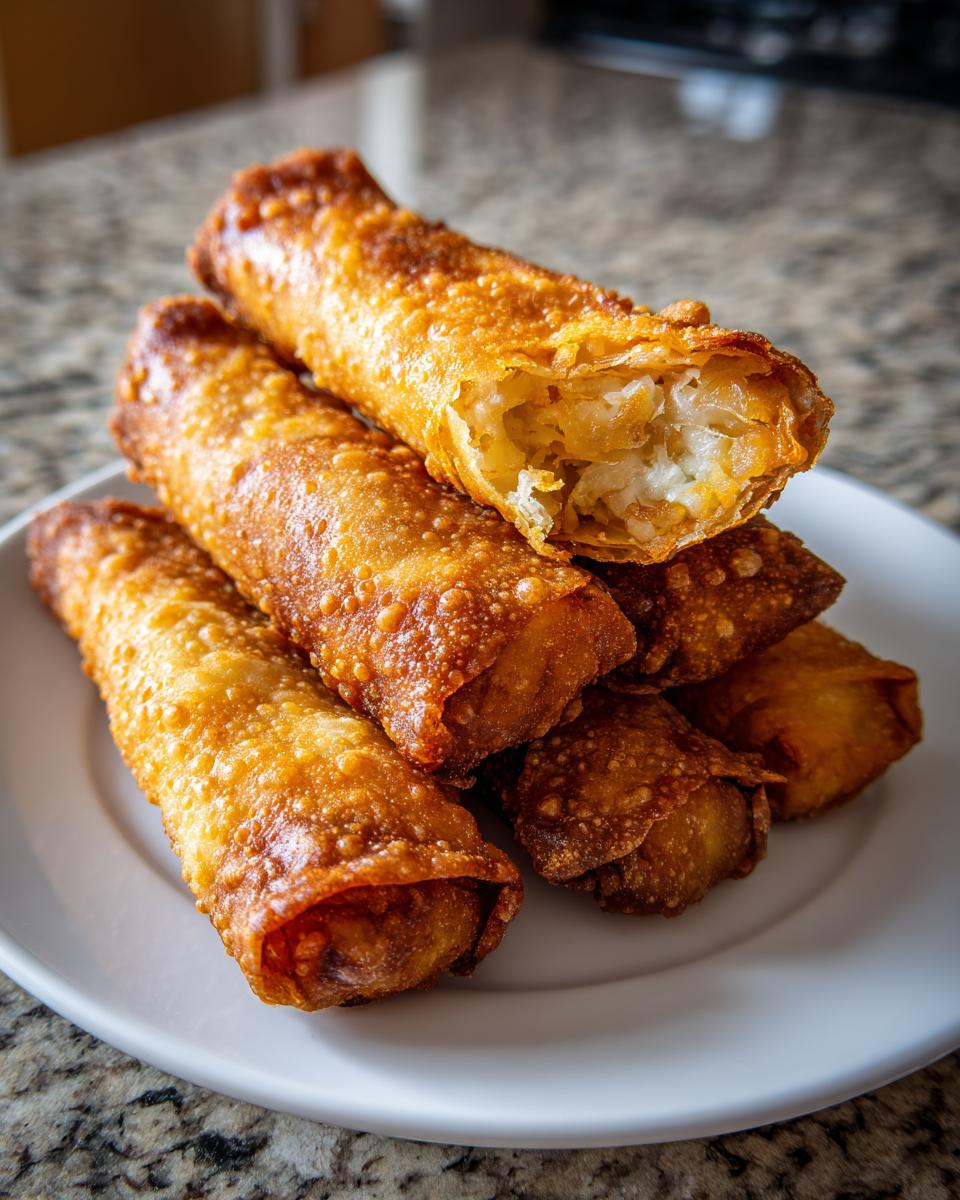
Be careful when adding them; work in small batches—maybe three or four at a time. Do *not* overcrowd the pot! Overcrowding drops the oil temperature too fast, and that’s how you get greasy, soggy fried egg rolls. Let them cook for about three to four minutes per side, turning them gently with tongs until they achieve that perfect, deep golden color. Once they look flawless, lift them out and set them immediately on a wire rack placed over paper towels. This setup allows air to circulate underneath, which is key to keeping the bottom crisp, not soggy.
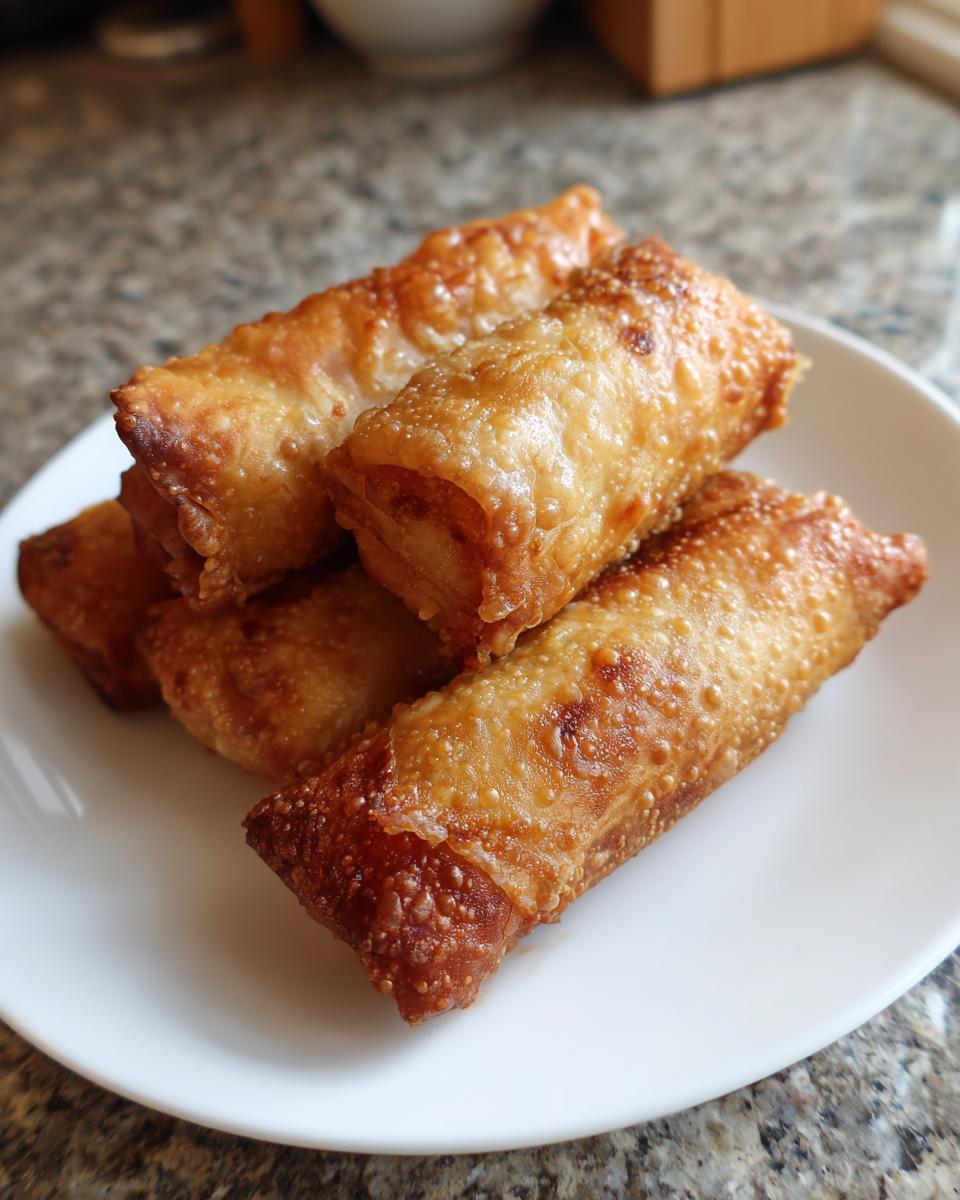
Serve these beauties right away while they are piping hot and crunchy. If you’re looking for a sauce that complements this perfectly, I have a quick recipe for a tangy dipping sauce that works wonders over on my page about sauces!
Tips for Success When Making Your Egg Roll
Even with a solid blueprint, cooking is always about managing little details. People often ask me, “Leo, why did my wrappers stick together?” or “How do I stop them from getting greasy?” These small issues trip up even seasoned cooks, but I’ve learned how to troubleshoot them in my nearly constant testing phase for this Easy Egg Roll Recipe.
First rule: Treat those wrappers like delicate silk scarves! They dry out incredibly fast once you take them out of the package. If you aren’t going to use a wrapper right away, cover the stack with a slightly damp kitchen towel or plastic wrap. You only want the one you are actively working with exposed. If they get dry, they crack when you try to fold, and you’re back to square one.
Second, temperature control is your best friend when deep frying. I mentioned earlier that 350°F (175°C) is the sweet spot. If your oil is too cold, the wrapper soaks up fat before it crisps, leading to that gummy texture we hate. If it’s smoking hot, the wrapper burns instantly before the filling even warms up. Use that thermometer, or get really good at watching that tiny test piece bubble!
And one last thing that trips people up: the seal. Make sure you use enough water to seal that final corner—it’s what holds the whole thing together when it’s tumbling around in the hot oil. If you need a sauce to go with these perfect rolls, check out my recipe for tangy dipping sauce over on the page about sauces!
Alternative Cooking Methods for Your Egg Roll
I totally get it—not everyone wants to break out the deep fryer for an appetizer, and sometimes you just need something a little lighter after packing all that amazing filling in there. Deep frying is classic for a reason, but we have some fantastic options for those nights when we want to feel less guilty!
When I moved to focusing solely on my recipes, one of the first things readers asked for was a way to get that satisfying crunch without the oil bath. So, I tested the oven method extensively. The key here is high heat and ensuring the wrapper gets hit by dry air to crisp up rather than steam itself soft.
For a fantastic, healthier alternative, let’s talk about baking. If you want a super crunchy result, you have to utilize some oil, but far, far less than frying. I recommend preheating your oven to a solid 400°F (200°C). Once you’ve rolled your egg rolls, you need to give them a thorough, but light, spritz or brush with cooking spray. Every surface needs a little fat absorption to crisp properly. Lay them out on a baking sheet, preferably lined with parchment paper, ensuring they aren’t touching.
Slide them into that hot oven for about 15 to 20 minutes. You absolutely must flip them halfway through—usually around the 10-minute mark—to make sure they brown evenly on both sides. They won’t look *exactly* like the deep-fried ones, but they get wonderfully golden and set up nice and firm. For more ideas on crisp, healthier baking, check out my Baked Parmesan Zucchini Recipe for inspiration!
Now, everyone asks about the air fryer, and honestly, it’s a fantastic middle ground! While I didn’t use the air fryer for the finalized recipe above because I wanted that ultimate ‘restaurant style’ crisp, it does a phenomenal job with Air Fryer Egg Rolls. You generally set it around 380°F (195°C) and cook for about 10 to 12 minutes, shaking the basket halfway through. You still need that light spray of oil, but the rapid air circulation makes them incredibly crisp fast. If you are looking for more detailed instructions on achieving a perfect baked version, I highly recommend checking out this guide on Oven Baked Egg Rolls.
While these methods won’t give you that classic deep-fried texture, they give you a delicious, lighter appetizer perfect for game day or a quick weeknight meal when you don’t want the fuss of deep frying.
Make Ahead & Freezer Friendly Egg Rolls
One of the absolute best things about making a huge batch of these isn’t just eating them immediately—it’s knowing you have future snacks locked and loaded in the freezer! Since making the filling is the most time-consuming part of this egg roll adventure, I always double the batch. Having these on hand turns a quiet Tuesday into an impromptu game day!
This is where our Freezer Friendly Egg Rolls really shine. Remember how crucial it was to fully cool the filling? That rule applies double-time here. Any residual warmth will cause the wrappers to stick to the tray or to each other once frozen solid, leading to tears when you try to separate them.
Here is the exact process I use to get these ready for long-term storage:
- Assemble, But Don’t Cook: Roll the egg rolls completely, sealing them tightly with water, just as we covered in the rolling section.
- Flash Freeze is Key: Line a sturdy baking sheet with parchment paper—this stops them from freezing to the metal. Lay all your assembled, uncooked rolls in a single layer on that sheet, making sure none of them are touching.
- Into the Deep Freeze: Pop that sheet straight into the freezer for about two to three hours. You want them rock hard. This “flash freeze” stage is what keeps them from sticking together later.
- Bag Them Up: Once they are completely frozen and solid, carefully transfer the rolls into a heavy-duty freezer bag or an airtight container. I try to press out as much air as possible before sealing. You want these to last!</li
The best part? Cooking them straight from frozen is incredibly simple. You don’t even need to thaw them! Whether you are deep-frying or baking, just add about 3 to 5 extra minutes to your normal cook time. If you’re frying, keep that oil temperature steady at 350°F (175°C) and just watch for that deep golden color. If you’re baking, set your oven a little lower, maybe 375°F (190°C), and plan for closer to 20–22 minutes total, flipping halfway for even crispness.
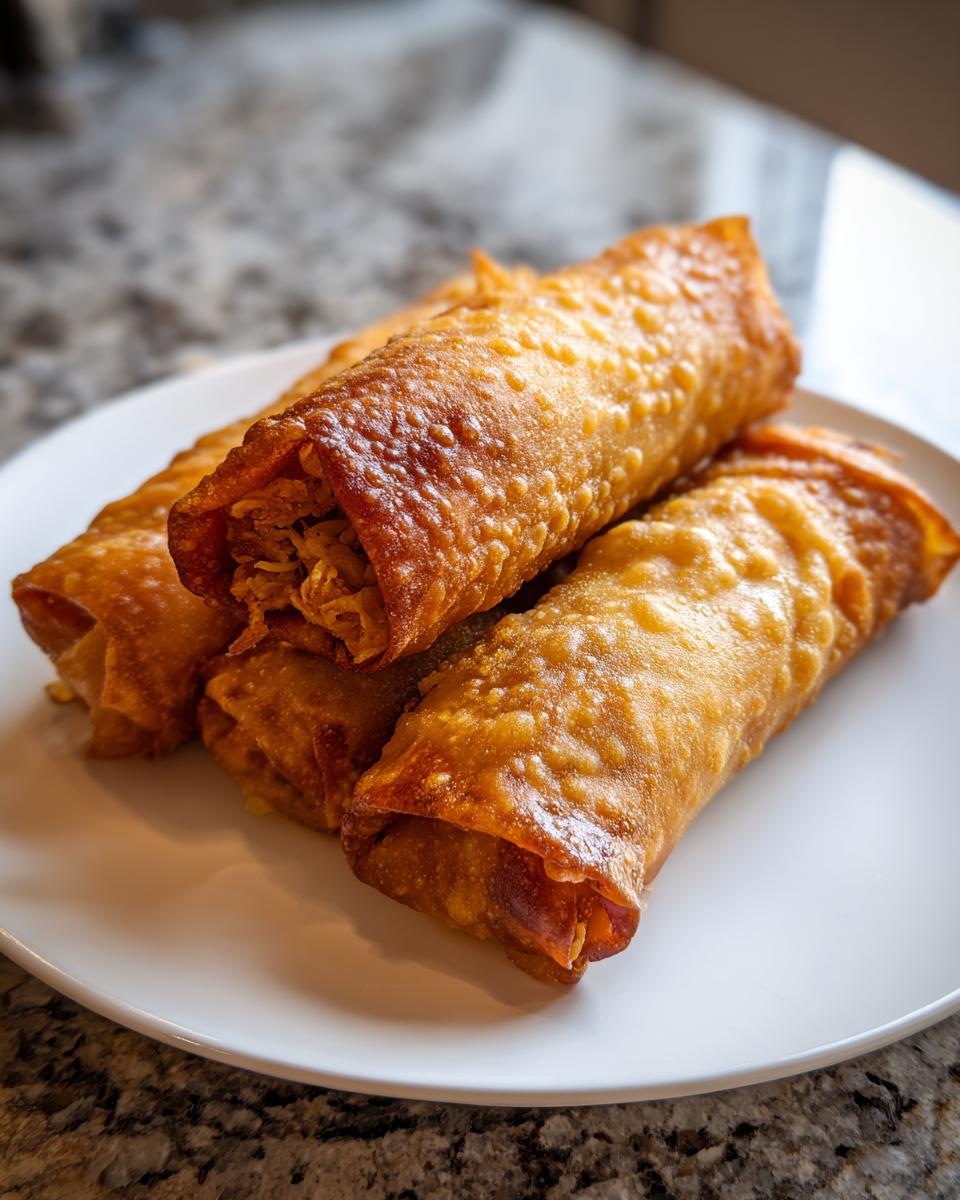
These work so well as Make Ahead Appetizers because you can pull out just two or three when a craving hits, or the whole bag for a party. It saves so much time later! Speaking of side dishes for those parties, if you ever need a great bread to go alongside your appetizers, check out my recipe for Small Batch Dinner Rolls—perfect for soaking up extra sauce!
Serving Suggestions for Your Delicious Egg Roll
So, you’ve successfully made these incredible, crispy egg rolls. Congratulations! Now comes the fun part: eating them! A glorious, golden roll like this deserves the perfect partner on the plate, whether you’re serving them up as a starter or making them the main event.
First, let’s talk dips. You simply cannot have an Asian appetizer spread without the classics. I always serve these with a small dish of bright, homemade sweet and sour sauce. It cuts right through the richness of that fried wrapper. If you want something a little thicker and fruitier, duck sauce is my second choice. Every little bit of dipping joy counts, right?
But what if you’re turning this snack into a full dinner? Since the filling ingredients here are so robust—pork, cabbage, carrots, ginger—they pair beautifully with something simple and carby to balance them out. My go-to is definitely a generous serving of my High-Protein Garlic Chicken Fried Rice. The textures just complement each other perfectly: crunchy, smooth, savory, and satisfying.
If you’re making these for the big game or a party, you need variety! Pair four or five finished rolls with a big bowl of vibrant noodles tossed lightly with sesame oil and soy sauce. That way, people can graze easily without needing a full plate setting. These rolls are so flavorful they don’t need much else, but a small side of fresh cucumber salad or some quick pickled carrots adds a wonderful cool contrast to the heat of the fried egg roll. Enjoy every single crunchy bite!
Frequently Asked Questions About the Egg Roll
What is the best oil temperature for getting ultra-crispy fried egg rolls?
This is critical for that golden exterior! You absolutely must maintain 350°F (175°C) during the entire frying process. If the oil drops below 340°F, the wrapper will start absorbing too much grease before it gets crisp, leading to that heavy, soggy bottom. If you don’t have a thermometer, you must watch those little test pieces closely. If you dip yours into a temperature that’s too cool, you might want to check out my guide for Chicken Cheese Steak Sandwiches, which covers how to quickly bring oil back up to temp without burning the crust!
I hate soggy bottoms! What’s the secret to keeping my homemade egg rolls crisp after frying?
Ah, the eternal struggle! Soggy bottoms happen when the egg roll sits directly on a flat surface immediately out of the fryer, trapping steam underneath. The trick I learned through tedious testing is air circulation! Never drain them directly onto paper towels laid flat on a plate. You need to create a little chimney for the steam to escape. Use a wire cooling rack—the kind you use for cookies—placed over a baking sheet lined with paper towels. This lifts the egg roll slightly off the surface so the hot air keeps circulating around the entire bottom.
Can I use this filling to make an Egg Roll in a Bowl?
Absolutely, yes! That’s one of the best parts about making your own filling—it’s versatile. If you want that Low Carb Egg Roll Bowl experience, just skip the rolling and frying entirely. After you cook the filling (step 3 in the instructions), let it cool slightly, then serve it right over a bed of shredded lettuce or cauliflower rice. You might want to add a tiny splash more soy sauce or rice vinegar to thin out the juices a bit since there’s no wrapper to absorb the flavor. For great ideas on deconstructed meals like this, I always look at sites like Grumpy Recipes for inspiration!
What are the best protein swaps if I don’t want to use ground pork?
This recipe is incredibly flexible! Ground pork gives that traditional richness, but if you’re aiming for a lighter meal or just prefer something else, ground chicken or ground turkey are flawless 1-to-1 substitutes. If you want to make Chicken Egg Rolls, just follow the exact same procedure; the cooking time for chicken will be practically the same. For an equally delicious vegetarian option, replace the pound of pork with 10 ounces of extra finely chopped firm tofu that you press and crumble first, or feel free to amp up the mushrooms and add some shredded carrots or water chestnuts for texture!
Storage and Reheating Instructions for Leftover Egg Rolls
Because these homemade egg rolls are so addictive, you’ll probably have leftovers—hopefully! My goal is always to give you guidance that keeps the food amazing quality, which means we have to be strategic about reheating. That glorious crunch fades quickly if you store them wrong or use the wrong heating method. Honestly, the microwave is the enemy of crispiness, so we are shelving that option immediately!
If you have leftover fried egg rolls, the first step is to make sure they are completely cool before you even think about putting them away. If you seal them up while they are still warm, the trapped condensation will turn the beautiful crispy wrapper soft and oily overnight. Once they’ve cooled to room temperature, transfer them into an airtight container. They’ll keep well in the refrigerator for about three to four days. I’ve tested this timeline repeatedly, and they hold up beautifully—far better than most takeout options!
The Best Way to Reheat for Maximum Crunch
If you want that perfect snap back, we have to go back to dry heat. Forget the microwave, as it just steam-cooks the exterior, making it chewy. The oven or the air fryer are your absolute best friends here.
Oven Method: Preheat your oven to about 375°F (190°C). Lay the cold egg rolls on a wire rack placed over a baking sheet—just like we did for draining them! This is crucial for crisping the bottom. Bake them for about 8 to 10 minutes. They should heat right through and the exterior will crisp right back up. If you used the baked method for the initial cooking, this reheating works even faster!
Air Fryer Method: This is my personal favorite for quick leftovers! Set your air fryer to 380°F (195°C). Pop the rolls in a single layer, don’t stack them! Cook for about 4 to 6 minutes, checking them after 4 minutes. They come out incredibly crunchy, almost like they were just made.
We want every bite to be a feast and not a letdown, so prioritizing dry heat is non-negotiable for leftovers. If you are looking into the finer details of our site policies or how we manage recipe testing security, you can always take a look at our Terms of Use page. Happy snacking!
PrintCrispy Homemade Fried Egg Rolls: Better Than Restaurant Style
Make restaurant-quality crispy egg rolls at home. This recipe delivers a perfectly golden, crunchy wrapper filled with a savory, juicy mixture of seasoned pork and fresh vegetables. This is a satisfying appetizer or main dish that beats takeout.
- Prep Time: 25 min
- Cook Time: 15 min
- Total Time: 40 min
- Yield: 18 rolls 1x
- Category: Appetizer
- Method: Deep Frying
- Cuisine: Chinese American
- Diet: Low Fat
Ingredients
- 1 tablespoon sesame oil
- 1 pound ground pork
- 1 cup shredded carrot
- 1 cup shredded cabbage
- 1 cup sliced mushrooms
- 4 ounces bean sprouts
- 2 cloves garlic, minced
- 1 teaspoon ground ginger
- 1/4 cup soy sauce
- 1 tablespoon rice vinegar
- 1/2 teaspoon black pepper
- 18 egg roll wrappers
- Vegetable oil, for deep frying
- Water, for sealing
Instructions
- Heat sesame oil in a large skillet over medium-high heat. Add ground pork and cook until browned, breaking it up as it cooks. Drain excess fat.
- Add carrot, cabbage, mushrooms, and bean sprouts to the skillet. Cook for 5 to 7 minutes, stirring often, until vegetables are tender-crisp.
- Stir in garlic, ginger, soy sauce, rice vinegar, and black pepper. Cook for 1 minute more. Remove filling from heat and let it cool completely before rolling.
- Place one egg roll wrapper on a clean, dry surface with a corner pointing toward you (diamond shape).
- Spoon about 2 tablespoons of the cooled filling onto the bottom third of the wrapper.
- Fold the bottom corner up over the filling. Fold the left and right sides inward over the filling.
- Roll the wrapper tightly upward toward the top corner. Moisten the top corner edge with a little water to seal the roll closed. Repeat with remaining wrappers and filling.
- Pour vegetable oil into a deep, heavy-bottomed pot or deep fryer to a depth of about 2 inches. Heat oil to 350°F (175°C).
- Carefully place 3 or 4 egg rolls into the hot oil, ensuring you do not overcrowd the pot. Fry for 3 to 4 minutes, turning occasionally, until they are deep golden brown and crisp.
- Remove egg rolls with tongs and place them on a wire rack set over paper towels to drain excess oil. Serve immediately with your favorite dipping sauce.
Notes
- For a lighter option, you can bake these egg rolls. Preheat your oven to 400°F (200°C). Lightly spray the assembled rolls with cooking spray and bake for 15 to 20 minutes, flipping halfway through, until golden brown.
- You can substitute the ground pork with ground chicken or use only vegetables for a vegetarian filling.
- These are excellent for freezer meals. Place assembled, uncooked rolls on a baking sheet lined with parchment paper and freeze until solid. Transfer frozen rolls to a freezer bag. Fry or bake directly from frozen, adding a few extra minutes to the cooking time.
Nutrition
- Serving Size: 1 roll
- Calories: 180
- Sugar: 1
- Sodium: 350
- Fat: 10
- Saturated Fat: 2
- Unsaturated Fat: 8
- Trans Fat: 0
- Carbohydrates: 16
- Fiber: 1
- Protein: 7
- Cholesterol: 25