
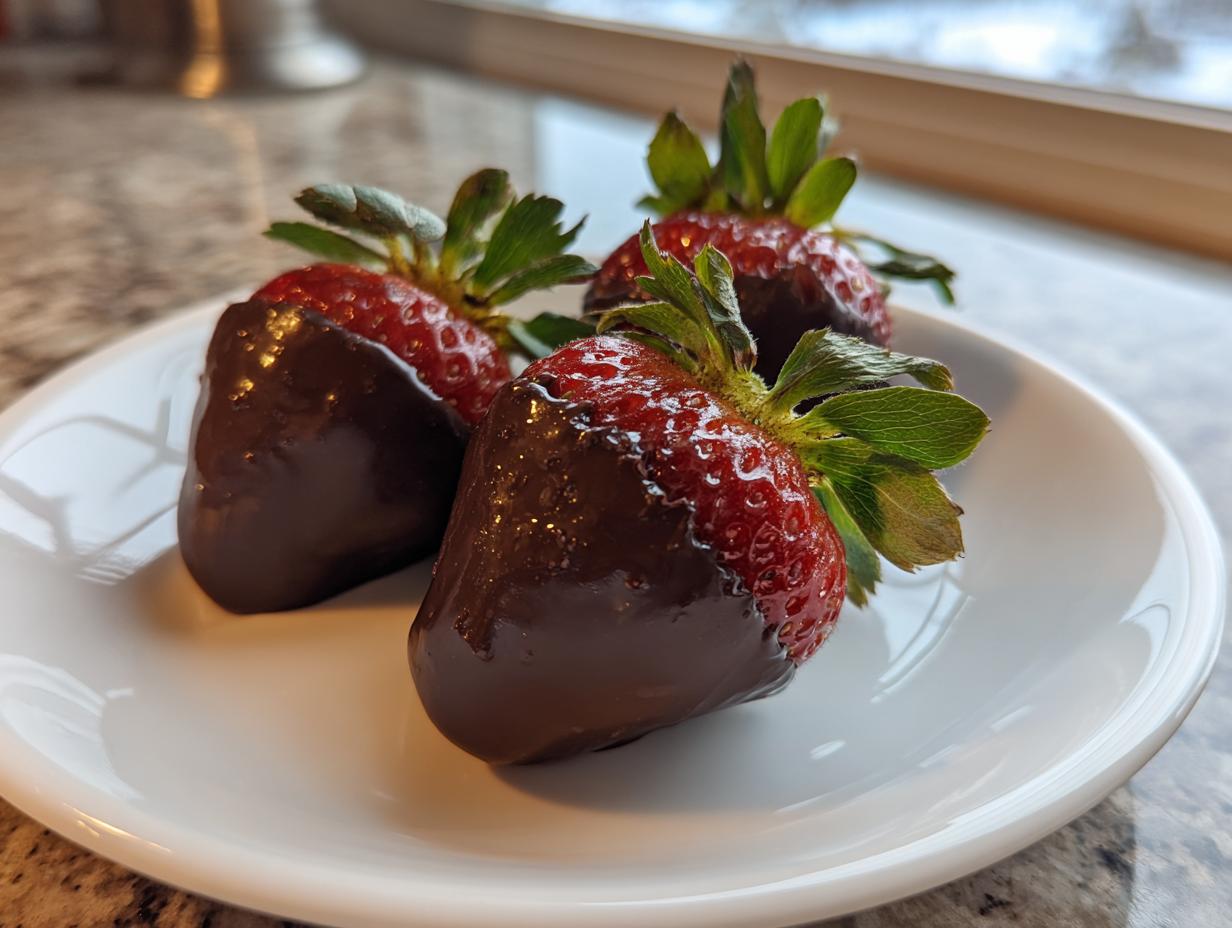

It always amazes me how something as basic as a fresh strawberry and good quality chocolate can transform into such an elegant showstopper. When I first tried making these, they looked… well, they looked like I needed more practice. They were dull, and the chocolate cracked everywhere! But I wasn’t deterred. I spent weeks testing different melting techniques and chocolate types right here in my kitchen because I believe everyone deserves to create a truly flawless batch of chocolate covered strawberries.
This recipe isn’t just another set of instructions; it’s my roadmap to that perfect mirror-like gloss and that satisfying *snap* when you bite into the shell. Forget complicated tempering—we are leveraging simple kitchen hacks to deliver a gourmet experience that is shockingly easy. To learn more about my journey from corporate life to the kitchen, check out my story. Trust me, these foolproof steps guarantee you’ll impress anyone, whether it’s for a big party or just an effortless date night dessert.
- Why This Guide Guarantees Perfect Chocolate Covered Strawberries
- Ingredients for Elegant Chocolate Covered Strawberries
- Essential Equipment for Making Chocolate Covered Strawberries
- Step-by-Step Guide to Perfect Chocolate Covered Strawberries
- Elevating Your Chocolate Covered Strawberries with Toppings
- Variations: White Chocolate Covered Strawberries and More
- Serving and Storing These Romantic Desserts
- Frequently Asked Questions About Dipped in Chocolate Fruit
- Share Your Homemade Chocolate Treats
Why This Guide Guarantees Perfect Chocolate Covered Strawberries
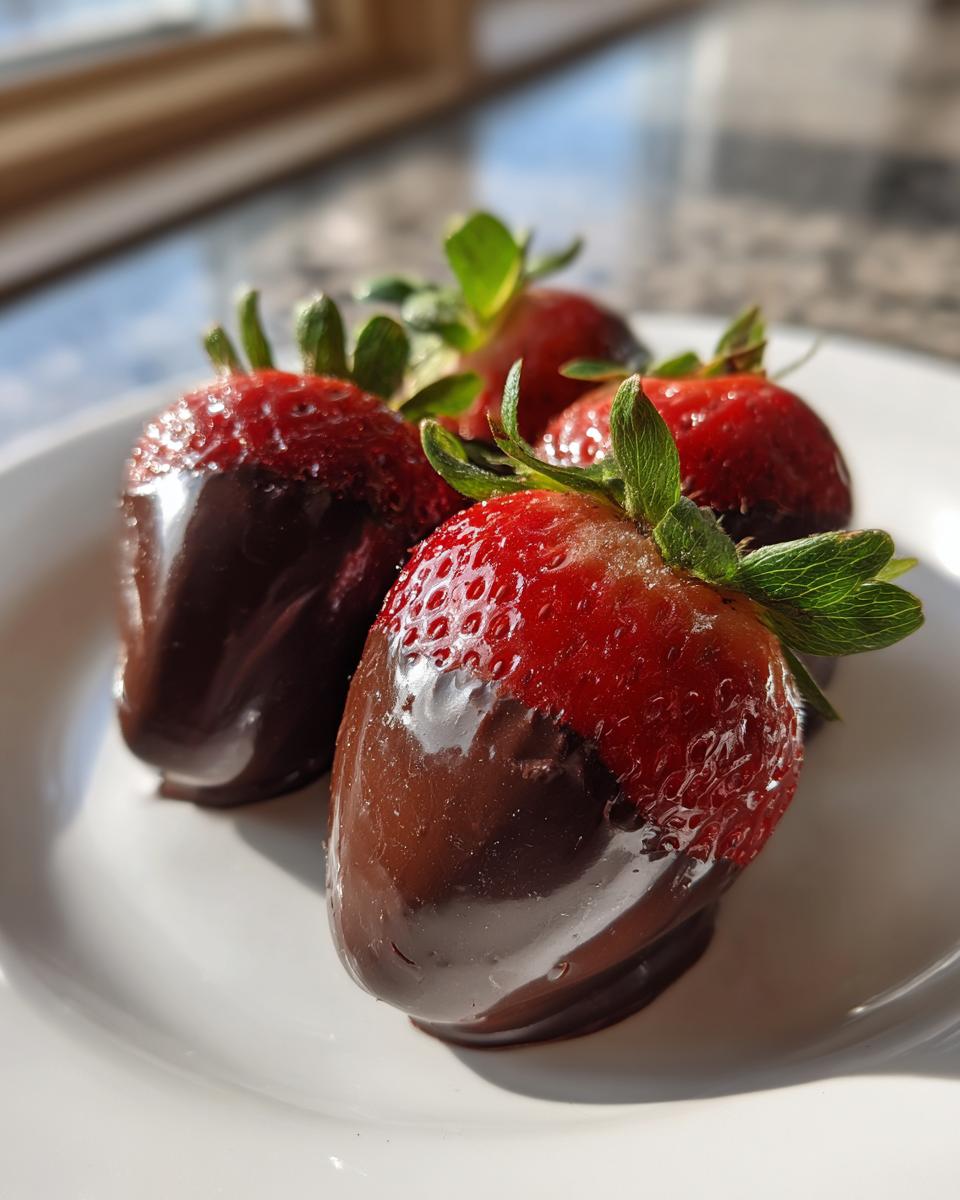
I know there are a million ways to approach chocolate covered strawberries out there, but mine keeps coming out gorgeous and never fails. Why should you trust this method? Because I obsessed over texture and shine so you don’t have to! This is the recipe I rely on when I need impressive snacks.
- This is truly one of the fastest easy dessert recipes you’ll ever make.
- It guarantees that smooth, professional shell every single time.
- It’s designed for the home cook who wants elegance without the fuss.
Quick Chocolate Dessert Ready in Under 35 Minutes
Seriously, this is lightning fast. With just 15 minutes of prep time—most of that drying strawberries—you have a stunning quick chocolate dessert ready to chill. Total time is under 35 minutes, making these the ultimate impulse romantic dessert for any night.
Mastering Glossy Chocolate Coating Tips
The secret to that high-end look isn’t tempering; it’s using the right type of chocolate and one tiny addition. We use high-quality wafers plus a touch of coconut oil during melting. This simple trick ensures your chocolate dipped strawberries are glossy and shatter-crisp, not dull or thick. It’s the single best tip for perfect chocolate covered strawberries.
Ingredients for Elegant Chocolate Covered Strawberries
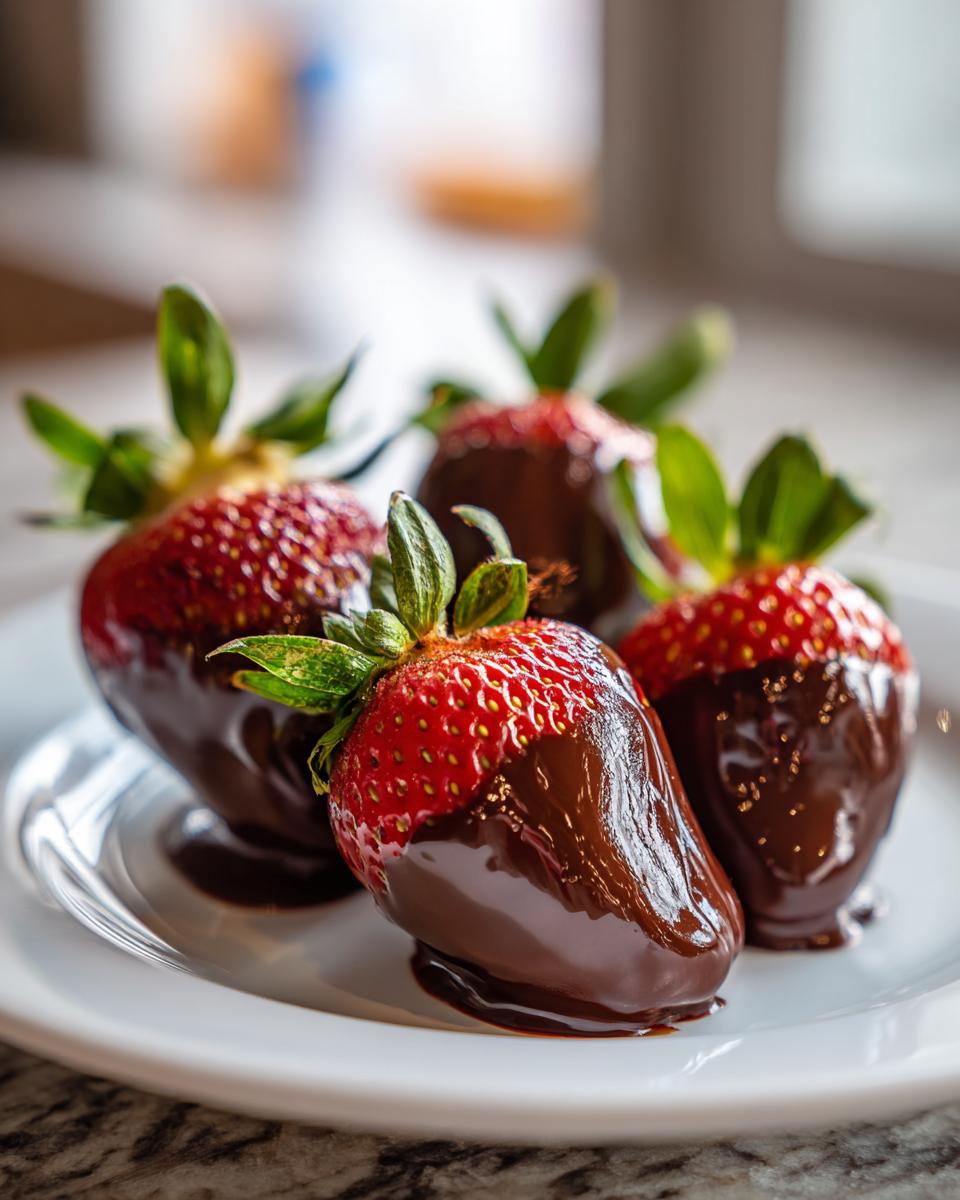
When putting together these homemade chocolate treats, quality matters, but simplicity rules the day. You only need four main things to make these look like they came from a gourmet shop! Make sure you have your strawberries fully ready before you even think about melting anything. It’s all about being prepared.
- 1 pound fresh strawberries, washed and completely dried
- 12 ounces high-quality melting wafers (dark, milk, or white chocolate)
- 1 teaspoon coconut oil or vegetable shortening (optional, for smoother dipping)
- 2 tablespoons crushed nuts, sprinkles, or white chocolate (for topping)
Ingredient Notes and Substitutions
Let’s talk chocolate. You need the best chocolate for dipping strawberries, and for ease, I push melting wafers every time. Standard chocolate chips have stabilizers that make them seize up or look dull when melted down—nobody wants a sad, matte strawberry! If you want that beautiful sheen, go for the wafers or actual tempered chocolate.
That tiny bit of coconut oil or shortening is my secret weapon for making the chocolate thinner, which gives you that lovely, almost brittle shell. It allows the berry underneath to truly shine. If you skip it, the chocolate will still work, but it might be a little thicker than I prefer for cutting through the fruit.
Essential Equipment for Making Chocolate Covered Strawberries
Before we dive into the actual dipping part—which is honestly the most fun—we need to make sure your staging area is ready to go. If you’re not set up beforehand, you’ll panic when that chocolate starts setting up quickly! Think of this like setting up your workspace before a big presentation.
You don’t need anything super fancy here; this is definitely in the realm of elegant party snacks without needing specialized candy-making gear. Having these items ready means the whole process moves seamlessly.
- A sturdy, microwave-safe bowl for melting down your chocolate wafers. Don’t use anything too wide, or stirring becomes a pain!
- Parchment paper or wax paper. This is non-negotiable! If you try setting these on bare aluminum foil or a plate, they will stick badly, and we want zero mess when we clean up.
- A rimmed baking sheet. You need a place to hold all those beautiful berries once they’re dipped, and a rim prevents any accidental drips from ruining your counter.
- A small offset spatula or a fork for gently moving the berries to the parchment paper, though using that stem as a handle works nearly every time!
Step-by-Step Guide to Perfect Chocolate Covered Strawberries
Okay, you’ve got your setup ready—your parchment paper is down, your berries are washed. Now for the fun part! This is where we turn simple fruit into the most elegant fruit dipped in chocolate you can imagine. We are going to follow these steps exactly to make sure we get that fantastic coating on our chocolate covered strawberries.
Remember, timing is key here. Once the chocolate is melted, you have to work at a good clip before it starts to cool down and thicken up on you!
Preparing the Fruit: Moisture Control is Key
This first step gets more attention than maybe it deserves, but trust me, it’s everything. You wash your strawberries, and then you have to dry them—and I mean dry them. I once rushed this step because I was late for a party, and sure enough, the chocolate seized up halfway through the batch! It looked like muddy sandpaper.
So, gently wash them, leave the stems on—they act as the perfect little handle!—and pat every single berry down with paper towels until they feel bone dry to the touch. Moisture is the absolute enemy of shiny, smooth chocolate.
How to Melt Chocolate for Dipping Smoothly
This is where we achieve that unbelievable gloss. We aren’t using a double boiler; we are keeping it simple with the microwave. Take your high-quality melting wafers and pop them in your bowl. Heat them for just 30 seconds at a time because microwave settings vary wildly.
After each 30 seconds, stir it really well, even if it doesn’t look melted yet. Then, stir until it’s *almost* perfectly smooth, and finish stirring off the heat. If it looks a little too thick for easy dipping, stir in that tiny teaspoon of coconut oil or shortening we talked about. That’s the secret to perfectly runny chocolate ready for dipping your chocolate covered strawberries.
Elevating Your Chocolate Covered Strawberries with Toppings
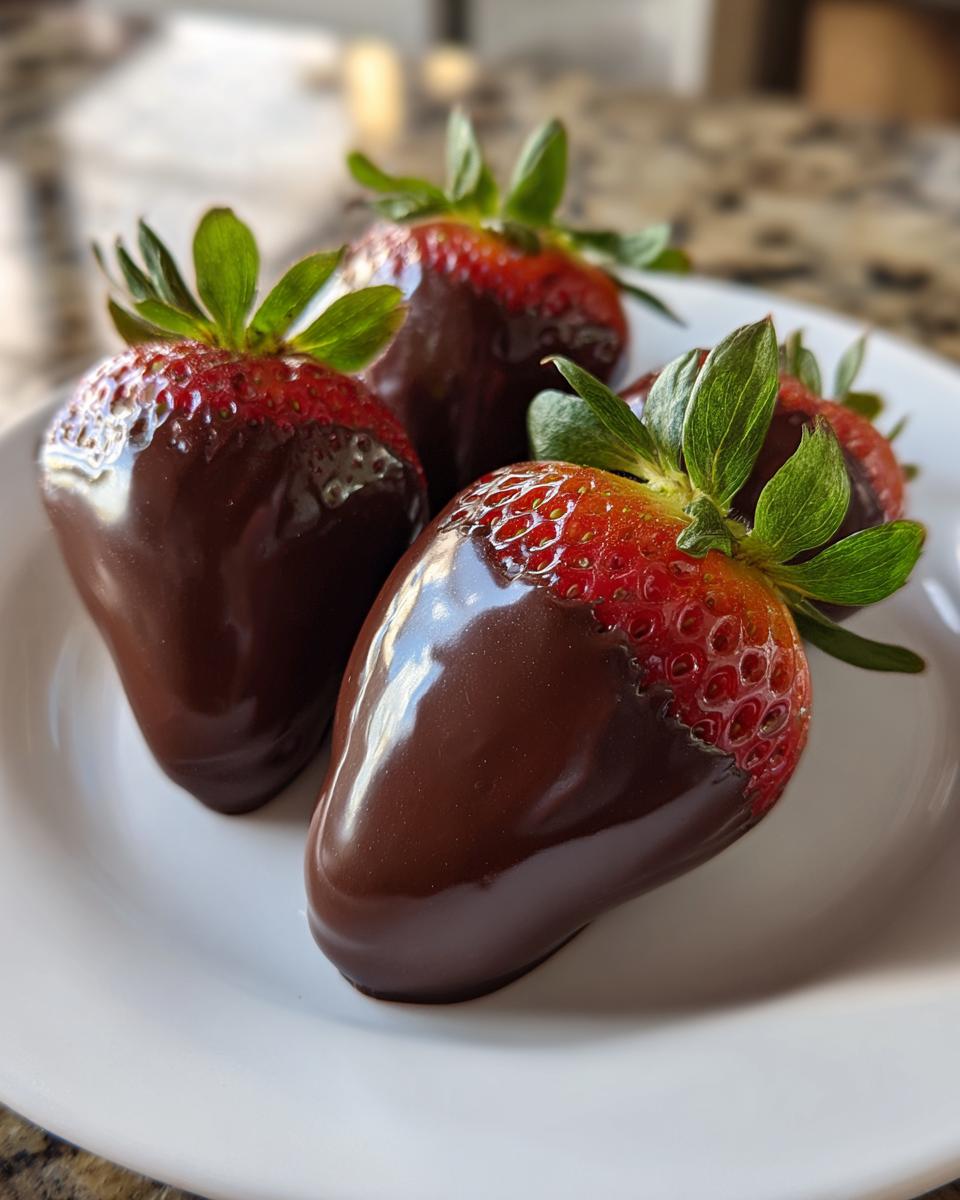
Once you have that gorgeous, smooth shell on your chocolate covered strawberries, it’s time for the fun finishing touches—the dazzling decorations that take them from a simple treat to something truly spectacular. I love using toppings because they also add a nice little textural contrast to the silky chocolate beneath. This is where you can really make them your own!
Have your toppings ready to go *before* you dip, because once that chocolate cools, nothing will stick. I keep a few small containers ready with things like finely crushed pecans, colorful sprinkles, or even crushed freeze-dried raspberries. Just drop your dipped berry right into the bowl of toppings, roll it gently, and set it back on the parchment paper to set up.
If you want that elegant, delicate finish that makes these look like they belong in a French pastry shop, you absolutely must try a drizzle. For this, melt a small amount of white chocolate wafers separately—use the same low-and-slow microwave technique. Once it’s liquid, grab a fork or a piping bag with a tiny round tip. Hold the fork parallel to the berries and flick or drizzle the white chocolate back and forth over your dark-coated strawberries. It creates those beautiful contrasting lines! They look so impressive, and honestly, they take less than 30 seconds. If you need ideas for other elegant dessert sauces, check out my recipe for a cream cheese caramel dip—imagine that on the side!
Honestly, even just leaving them plain is amazing because you get that pure, unadulterated flavor of the berry and the rich chocolate. But for parties, dustings make them feel special. They are such versatile impressive homemade sweets!
Variations: White Chocolate Covered Strawberries and More
While the classic dark chocolate coating is just to die for, mixing things up is half the fun! Especially when you’re making a big platter for a get-together, having a few different colors makes the presentation pop. This is where those melting wafers really shine because they come in loads of colors and flavors beyond the standard dark and milk.
The biggest variation everyone asks about is, of course, making white chocolate covered strawberries. You follow the exact same process outlined in the dipping section, but you use white melting wafers instead. White chocolate can sometimes be a little stiffer than dark, so you might want to lean on that extra teaspoon of coconut oil we discussed earlier to keep it runny enough to get a nice thin coat.
Speaking of variations, don’t limit yourself! Try using half milk chocolate and half white chocolate wafers in separate bowls. You can even use semi-sweet wafers dyed with a tiny drop of oil-based gel food coloring. Imagine bright pink berries for a baby shower or deep purple ones for a fun party snack. They still count as fruit dipped in chocolate, but they look completely custom-made!
If you’re feeling extra adventurous, try making brownies first and then dipping those! I have a totally decadent recipe for S’mores Brownies, and just imagine dipping those little squares in chocolate for an unbelievable treat. But for the traditionalists, the elegance of a perfectly executed chocolate covered strawberries batch—whether dark, milk, or white—is simply unmatched.
Serving and Storing These Romantic Desserts
Once you’ve cooled and perhaps drizzled those gorgeous chocolate covered strawberries, the big question is: how do we keep them looking perfect until they get devoured? These are definitely at their peak when they are fresh, making them perfect for last-minute special occasions or romantic desserts.
For serving, remember we are going for that “feast for the eyes” vibe! If you are setting them out for a party, arrange them artfully on a plain white or dark platter. When arranging them, stand them up slightly so the chocolate coating is fully visible. They look fantastic clustered around a bowl of fresh whipped cream or maybe some contrasting fresh raspberries. They are such simple, yet stunning, elegant party snacks.
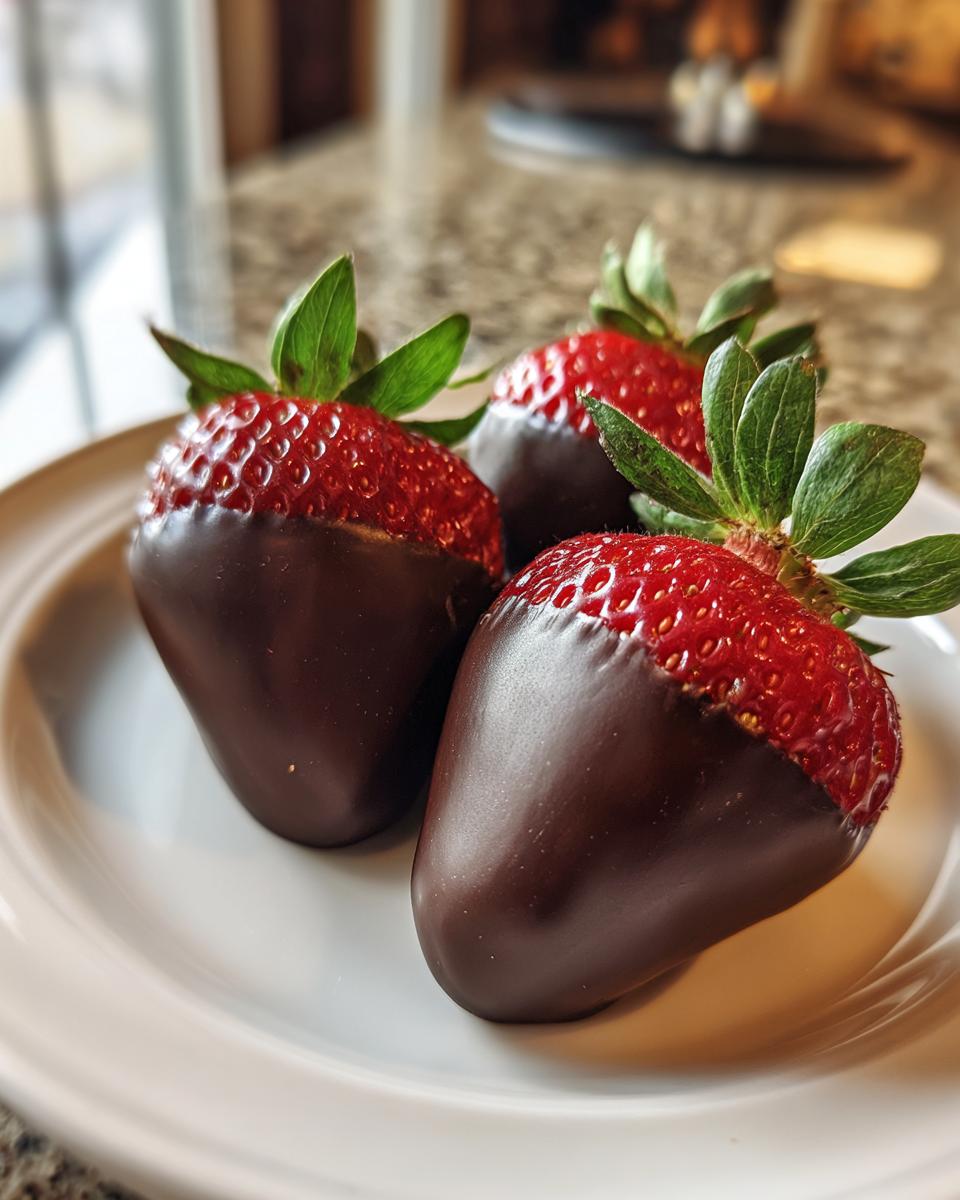
Now for storage—this requires a little care. Moisture is still our enemy, even when the chocolate is set! Never store them in an airtight container in the fridge directly after they have been dipped. The condensation will ruin that glossy finish and make the chocolate weep.
The trick is to let them fully set up at room temperature first, if possible. If you need to refrigerate them (which is best if using soft fruit like strawberries), place them on the parchment-lined tray and cover them *loosely* with plastic wrap, making sure the plastic isn’t touching the chocolate surface. They should be good for about 24 hours this way. For the ultimate easy dessert for date night, though, I always aim to make them the morning of the event!
When you pull them out of the fridge, let them sit on the counter for about 15 minutes before serving. This takes the chill off the berry and lets the chocolate’s flavor really open up. You can see more of my favorite dessert recipes right here!
Frequently Asked Questions About Dipped in Chocolate Fruit
I totally get it; sometimes the little details trip us up when we are aiming for that perfect presentation. We want these homemade chocolate treats to look magazine-ready, especially when they are meant to be romantic desserts! Here are the few snags I usually hear about when people make these at home.
Can I make chocolate covered strawberries the day before?
You *can*, but honestly, I highly advise against it if you want them truly perfect. Strawberries are living fruit, right? They hold water, and that moisture will eventually start fighting against your beautiful chocolate shell, making it look dull or even causing it to weep condensation. For the absolute best experience—that glorious moment when the chocolate snaps—make them the day you plan to serve them. If you absolutely must, make them the morning of the event and keep them in the fridge, but try to serve them within a few hours of chilling.
What is the secret to a glossy chocolate coating?
The secret comes down to two things that we talked about, but let me stress them one more time! First, the strawberries must be bone dry—no exceptions. Second, you need to introduce a little bit of fat into your chocolate medium. That teaspoon of coconut oil or vegetable shortening is what really thins the chocolate beautifully when you melt it, ensuring it flows on thinly and sets with a high shine. It prevents that dull, matte look that signals the chocolate might have seized or overheated a little!
If you ever have trouble, or if you have more specific questions about these or any other recipe, please don’t hesitate to reach out!
Share Your Homemade Chocolate Treats
Now it’s your turn to make some magic! I truly hope this guide makes creating spectacular chocolate covered strawberries fun and stress-free for you. Did they turn out glossy? Did you try the white chocolate drizzle? I absolutely love seeing your stunning creation photos!
Please leave a rating below and tell me in the comments how your batch turned out. Knowing I helped you achieve that perfect, professional finish is the best part of running Gourmet Gaze. Head over to the blog to see what else we are cooking up this week!
PrintThe Ultimate Guide to Perfectly Glossy Chocolate Covered Strawberries: Easy Tips for a Professional Finish

Learn how to make elegant, glossy chocolate covered strawberries at home. This simple recipe uses high-quality melting chocolate to achieve a professional, shatter-crisp coating perfect for romantic treats or parties.
- Prep Time: 15 min
- Cook Time: 0 min
- Total Time: 35 min
- Yield: About 18-20 servings 1x
- Category: Dessert
- Method: Dipping
- Cuisine: American
- Diet: Vegetarian
Ingredients
- 1 pound fresh strawberries, washed and completely dried
- 12 ounces high-quality melting wafers (dark, milk, or white chocolate)
- 1 teaspoon coconut oil or vegetable shortening (optional, for smoother dipping)
- 2 tablespoons crushed nuts, sprinkles, or white chocolate (for topping)
Instructions
- Prepare the strawberries: Gently wash the strawberries and dry them completely. Moisture is the enemy of smooth chocolate coating. Leave the green stems intact for easy dipping and a decorative look.
- Melt the chocolate: Place the melting wafers in a microwave-safe bowl. Microwave in 30-second intervals, stirring well after each interval, until the chocolate is mostly melted and smooth. Do not overheat. If using, stir in the coconut oil or shortening for a thinner, glossier consistency.
- Dip the strawberries: Hold a strawberry by the stem. Dip it into the melted chocolate, swirling to coat about three-quarters of the berry. Lift the berry out, allowing excess chocolate to drip back into the bowl.
- Add toppings (optional): Immediately after dipping, sprinkle with crushed nuts or sprinkles, or set aside to dry if you prefer a plain finish.
- Set the coating: Place the dipped strawberries on a baking sheet lined with parchment paper or wax paper.
- Chill: Place the baking sheet in the refrigerator for 15 to 20 minutes, or until the chocolate is completely firm and set.
- Serve: Serve the chocolate covered strawberries chilled or at room temperature.
Notes
- For the glossiest finish, ensure your strawberries are completely dry before dipping. Pat them down with paper towels.
- If you want a white chocolate drizzle, melt a small amount of white chocolate separately and use a fork or piping bag to create thin lines over the set dark chocolate coating.
- Use high-quality melting wafers or tempered chocolate for the best results; standard chocolate chips may seize or look dull.
Nutrition
- Serving Size: 1 strawberry
- Calories: 110
- Sugar: 12g
- Sodium: 5mg
- Fat: 7g
- Saturated Fat: 4g
- Unsaturated Fat: 3g
- Trans Fat: 0g
- Carbohydrates: 13g
- Fiber: 1g
- Protein: 1g
- Cholesterol: 0mg