
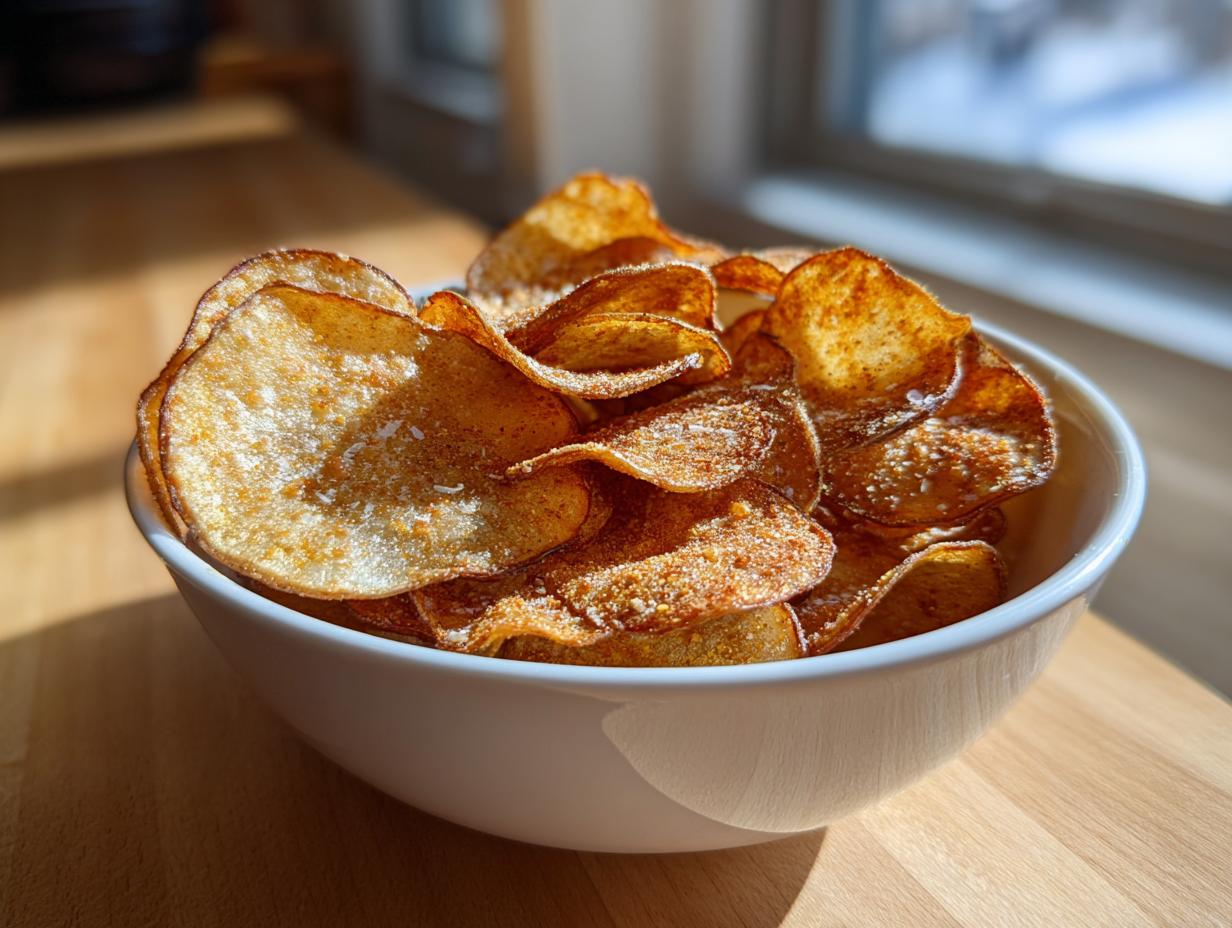

There is nothing—absolutely nothing—that compares to the sound of that first, perfect crunch of a homemade potato chip breaking between your teeth. When I was stuck in the grind of corporate life, the closest I got to a satisfying crunch was the sound of my keyboard after sending a final, exhausting email. Cooking felt impossible. But mastering the simple, beautiful texture of the perfect potato chip? That became my obsession once I started this culinary journey. Forget grabbing a generic bag; I’m going to show you how to make the ultimate batch of **crispy homemade potato chips** using three different, reliable methods: we’re doing the classic fry, the easy oven bake, and the modern air fryer touch. Trust me, once you nail this, you’ll never look back.
- Why You Need These Ultimate Crispy Homemade Potato Chips
- Selecting Ingredients for Perfect Potato Chips
- How to Prepare Potato Chips: Three Crispy Methods
- Tips for Guaranteed Crunchy Potato Chips Every Time
- Flavor Variations for Your Homemade Potato Chips
- Serving Suggestions for These Crunchy Potato Chips
- Storage and Reheating Instructions for Homemade Potato Chips
- Frequently Asked Questions About Making Potato Chips
- Estimated Nutritional Information for Potato Chips
- Share Your Crispy Potato Chips Creation
Why You Need These Ultimate Crispy Homemade Potato Chips
I know what you’re thinking: why bother when I can grab a bag? Because these homemade potato chips deliver on every single promise. They are built different, friend. They are truly the best way to scratch that savory, salty itch.
- Maximum Crisp Factor: We detail the soaking process that guarantees you get those light and airy, crunchy homemade snacks that stay crunchy.
- Total Control: You get three cooking methods in one recipe—fry, bake, or air fry—so you choose your adventure!
- Guilt-Free Snacking: Especially using the air fryer or oven, you finally have a genuinely satisfying and relatively guilt free chips option for movie night.
Selecting Ingredients for Perfect Potato Chips
Before we even think about slicing, we need to talk quality. Just like you wouldn’t use a cheap canvas for a masterpiece, you can’t use just any potato for the perfect, snappy chip. My extensive testing showed that you absolutely need high-starch potatoes for the best texture. That means our go-to friends are large Russet potatoes; they hold their structure and dry out beautifully.
Here is exactly what you need for your initial batch. Remember, using fresh, high-quality elements is how we ensure we get those incredible party appetizers that disappear instantly.
- 3 large Russet potatoes (these are the best potatoes for chips, trust me!).
- 1 tablespoon white vinegar (I know, sounds weird, but hang in there!).
- Oil for frying (if you go classic—you need enough for 2 inches deep).
- Just 1 tablespoon of olive oil for the oven baking method.
- For the air fryer, a tiny bit: 1 teaspoon olive oil or just a quick spray.
- 1 teaspoon of fine sea salt (always taste testing helps!).
- 1/2 teaspoon garlic powder and 1/4 teaspoon paprika for our base seasoning.
Ingredient Notes and Substitutions for Potato Chips
The vinegar might seem aggressive, but it’s a secret weapon! When you soak those thin slices, the vinegar helps lock out some of that starch, which means they get crispier rather than gummy. It washes right off, so don’t worry about the taste.
For the fat, if you are deep frying, you need a neutral, high smoke point oil like peanut or canola. If baking or air frying, stick to olive oil—it tastes lovely and adds just enough richness without weighing everything down. Seasoning is flexible, too! If you hate paprika, maybe toss in a pinch of dried rosemary or some onion powder for a new spin on your savory snack ideas.
How to Prepare Potato Chips: Three Crispy Methods
Alright, this is where the magic really starts to happen! Since we want the absolute best homemade potato chips, the preparation is non-negotiable. No matter which cooking method you choose—and we have three showstoppers for you—the prep work is identical and truly dictates how crunchy your final snack will be. Remember what I said about perfection coming from technique? This is it!
Step 1: Prepping and Soaking for Crispy Potato Chips
First things first: slicing. You must get those potato slices thin. I cannot stress this enough. If your slices are thick, they’ll be floppy after cooking. Grab a mandoline if you have one; it’s the only real trick to getting those paper-thin, uniform slices that lead to a truly excellent crispy potato chips recipe. We are aiming for 1/16th of an inch—it takes practice, but the payoff is huge!
Next, plunge those slices into a bowl of cold water mixed with that tablespoon of vinegar. Let them hang out for at least half an hour. This pulls out the excess starch, which stops the chips from sticking together and getting gummy. After the soak, drain them, rinse them until the water is totally clear, and then… the crucial part: DRY THEM. Use kitchen towels and blot until they feel like completely dry paper. Seriously, wet potatoes equal soggy chips. That’s a pro tip you’ll want to bookmark!
Method A: Classic Deep Fried Potato Chips
If you want that true, nostalgic, golden-brown perfection, you have to fry them. Heat up about two inches of neutral oil in a heavy pot until it hits exactly 350°F (175°C). Fry the dry slices in small batches—do not overcrowd the pot, or the oil temperature will drop! Stir them gently while they bubble away. They only take about three to five minutes until they turn that gorgeous, rich golden color. Use a slotted spoon to rescue them immediately and set them on a wire rack—not paper towels—to drain the excess heat and oil.
Method B: Perfect Oven Baked Potato Chips
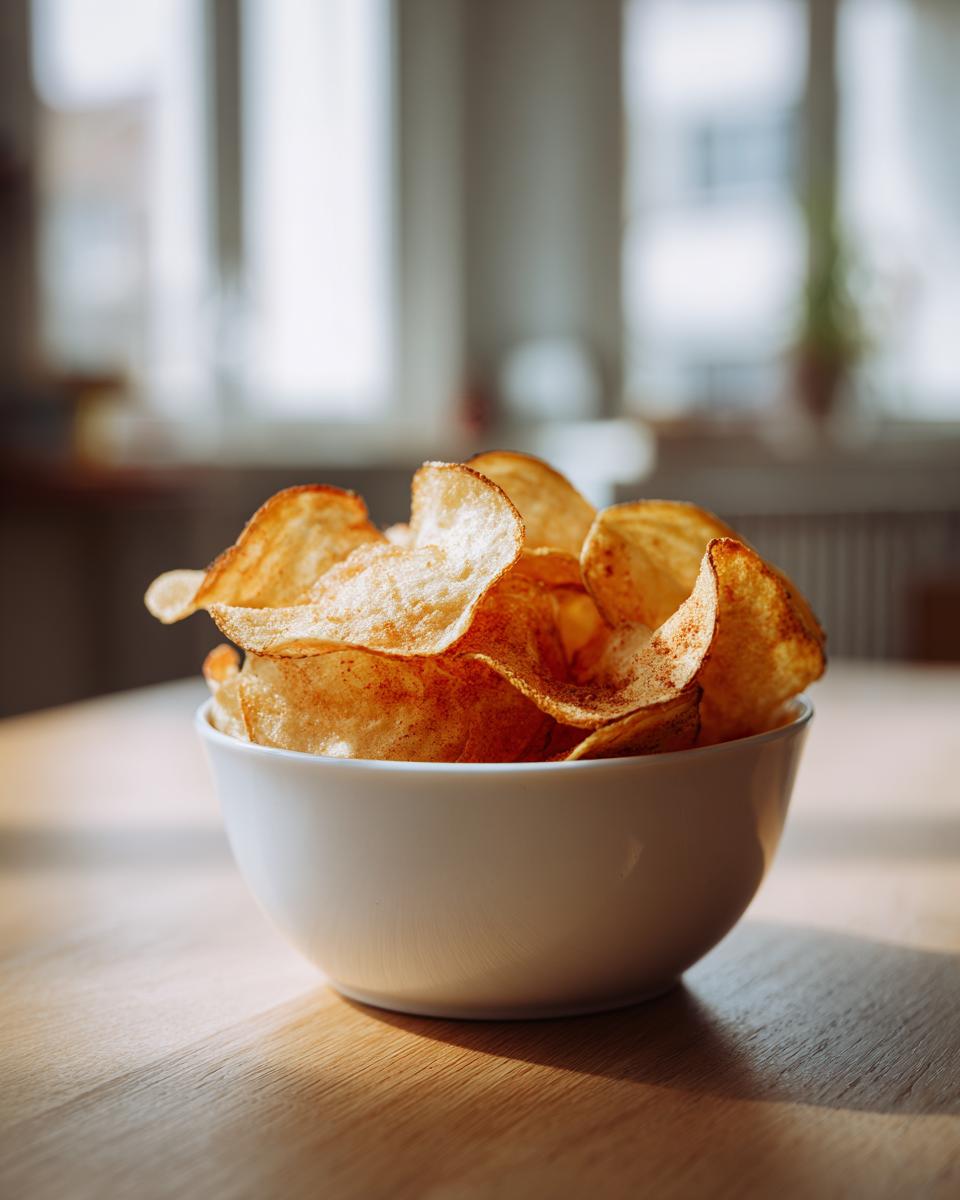
For a lighter crunch, the oven is your friend. Preheat to 400°F (200°C). In a big bowl, toss those dry, thin slices with just one tablespoon of olive oil and our base seasoning blend (salt, garlic powder, paprika). Spread them out on baking sheets layered with parchment paper. Make sure they are in a single layer; overcrowding makes them steam instead of crisp. Bake for 15 minutes, give them a flip, and keep watching them like a hawk for another 5 to 10 minutes until they turn golden. They’ll crisp up more as they cool!
Method C: Light Air Fryer Potato Chips
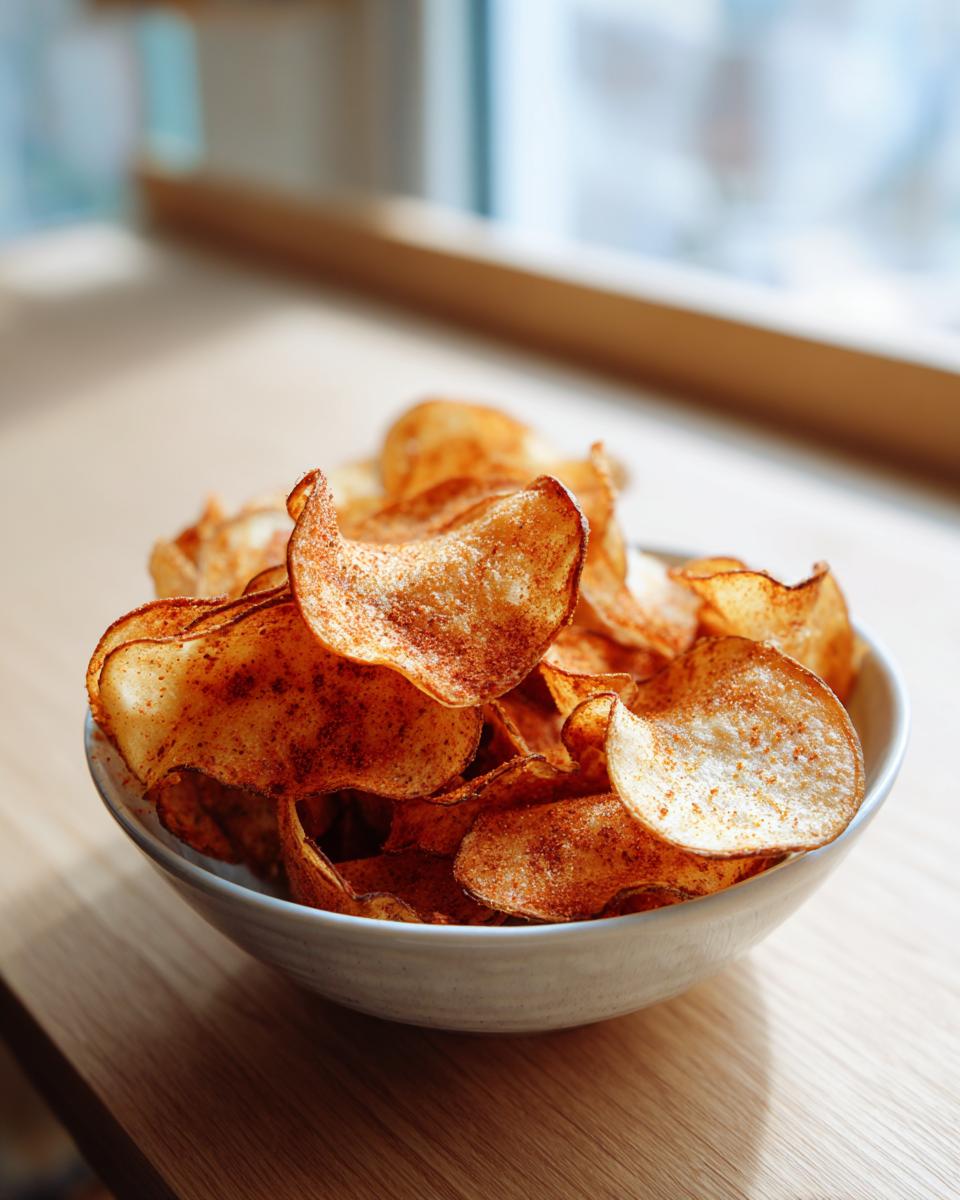
This method is fantastic for those days you want that crunch fast and without much fuss. Set your air fryer to 375°F (190°C). Toss your seasoned slices with just a light spray of oil or that tiny amount of olive oil. Cook them in a single layer—you’ll need to work in batches here, or they won’t move—for about 10 to 15 minutes total. The secret here is shaking the basket every five minutes. This ensures air gets to all surfaces so you get those beautifully cooked air fryer potato chips.
Final Seasoning for Your Homemade Potato Chips
This step is crucial, no matter which cooking path you chose! As soon as those chips come out of the hot oil, oven, or air fryer basket, immediately put them into a big, clean bowl. Shake them vigorously with extra salt or your chosen seasoning mix while they are piping hot. Think of this as applying the best potato chip seasoning—the heat helps the salt stick perfectly to the surface. Do a quick taste test right then. If they need more salt, hit them again! Serve them right away for that magnificent crunch.
Tips for Guaranteed Crunchy Potato Chips Every Time
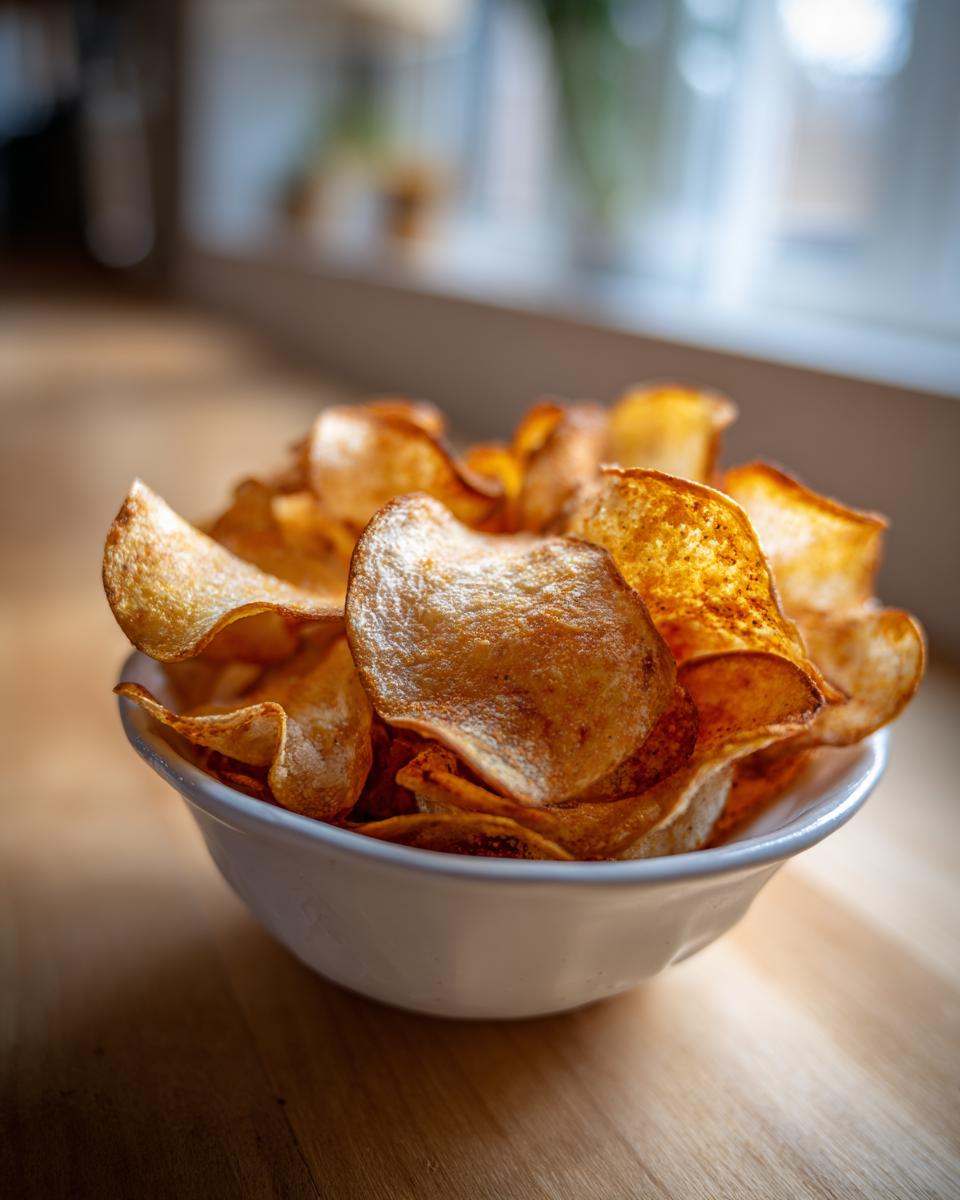
I’ve mastered making these chips dozens of times now, and I can tell you that the difference between satisfying crunch and a sad, limp slice absolutely comes down to precision in the final stages. You can have the right oil temperature, but if your prep wasn’t perfect, you’ll end up shortchanged. Don’t worry, I’ve pulled all my hard-learned lessons together here so you can skip straight to the good part.
The first and most common mistake I see people make when trying to achieve crispy baked chicken tenders (or chips!) is rushing the drying process. I mentioned it before, but I’ll say it again: those potatoes need to be dryer than the desert air before they hit the heat. Moisture is the enemy of crunch! Blot them, press them, even leave them spread out on a clean towel for ten minutes while your oil heats up. Every drop of water has to go.
Secondly, focus on uniformity. If you had to slice by hand and noticed some are thicker than others, separate those fatty slices out. The thin ones will burn before the thick ones are cooked through, resulting in uneven texture. If you’re baking or air frying, overcrowding the pan or basket is a death sentence for crispiness. The heat needs space to circulate and actually *fry* or *bake* the exterior. Work in smaller batches! You’ll spend an extra five minutes circulating air, but you’ll have a whole bowl of perfect, crunchy homemade snacks instead of a sheet pan full of sad, half-cooked wedges.
Finally, if you’re deep frying, use a thermometer, every single time. Dropping chips into oil that isn’t hot enough (below 340°F) means the potatoes absorb fat instead of releasing moisture, which leads straight to grease-logged sadness. If the oil is smoking, it’s too hot and your chips will burn immediately. Stick to that 350°F mark, and you’ll see those beautiful golden edges appear exactly when they should.
Flavor Variations for Your Homemade Potato Chips
Now that you’ve mastered the base technique—the one that locks in that impossible crunch—it’s time to have some fun! The beauty of making your own potato chips is that you control the flavor profile completely. No more settling for the standard salt-and-vinegar bag. This is your chance to create gourmet-level savory snack ideas right in your own kitchen.
The seasoning needs to go on immediately after cooking, while the residual oil or moisture on the surface is still hot, so it adheres properly. Think of these combinations as finishing touches you apply before serving.
If you want to elevate your snack game beyond our simple garlic and paprika start, try one of these tweaks on your next batch:
- Truffle Salt Dream: This is pure elegance. After the chips come out of the oil or air fryer, immediately toss them with a generous pinch of high-quality truffle salt. It works with all three methods, but it shines brightest on the fried version. It feels decadent, honestly.
- Cheesy Goodness: For a truly addictive, cheesy flavor without heavy dairy, mix in a couple of tablespoons of nutritional yeast with your salt. It gives a fantastic umami complexity that people often swear is cheddar cheese powder. This is one of my favorite ways to make homemade potato chips feel special.
- Sweet Heat BBQ Dust: If you lean toward those sweeter, complex flavors, combine a teaspoon of smoked paprika, a pinch of cayenne pepper, a half teaspoon of brown sugar (yes, sprinkle it on hot!), and a tiny dash of Onion powder. It creates a smoky, slightly sweet coating that is dynamite for movie night.
- Herby Dill Pickle: This one is fun and tangy! Once seasoned with salt, toss the hot chips with half a teaspoon of dried dill weed and a quarter teaspoon of onion powder. It gives you that classic pickle flavor without the liquid brine, which would obviously ruin the texture.
Remember, start small with any new seasoning. Sprinkle a little, toss gently, and taste. You can always add more salt, but you can’t take it away once it’s stuck to the chip!
Serving Suggestions for These Crunchy Potato Chips
Okay, we made the chips. They are golden, they are crunchy, and the house smells incredible. The last thing you want to do is let these perfect party appetizers sit sadly on the counter! These aren’t just sides; they’re often the main event, especially when we’re gathering for a big game or just settling in for serious movie night snacks.
The simplest way to serve them is, of course, piled high in a big vintage bowl with an extra pinch of salt sprinkled on top for good measure. But why stop there? Since these homemade potato chips have that superior crunch, they hold up beautifully when paired with creamy dips. You absolutely have to try them with a classic seven-layer dip; the combination of textures is just out of this world.
If you are making these for dinner instead of a party, I love crushing them slightly over a bowl of creamy tomato soup—it’s a much brighter, crunchier alternative to croutons. They are also amazing crumbled on top of a simple lunchtime sandwich instead of just tossing plain chips on the side. The flavor variations we discussed earlier really shine when they interact with soup or a rich filling. Honestly, making these is an investment in better snacking, so let’s make sure we show them off properly!
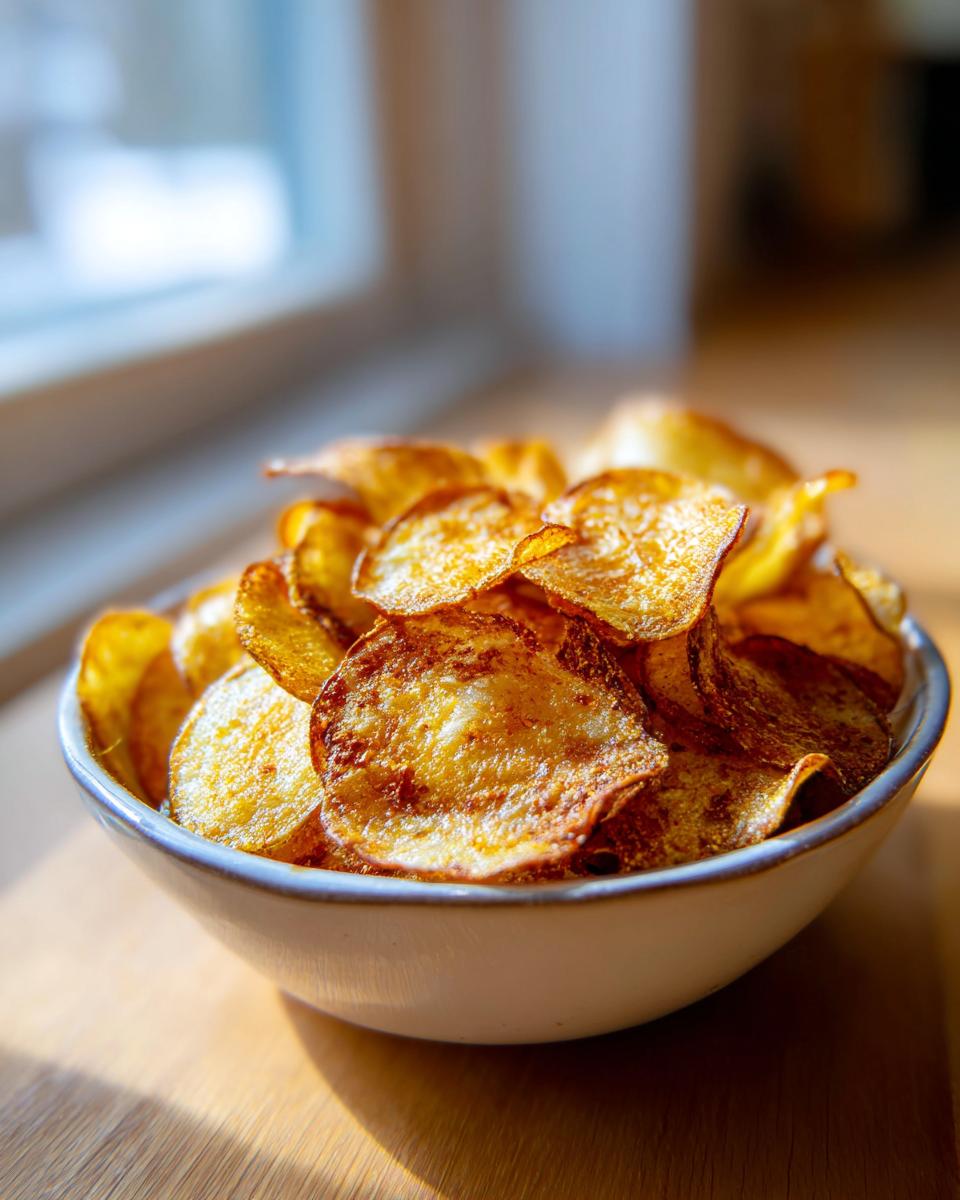
Storage and Reheating Instructions for Homemade Potato Chips
The hardest part about making these glorious, crunchy homemade potato chips is stopping yourself from eating the entire batch in one sitting! But let’s say you manage to save a few—maybe even enough for tomorrow? Storing them correctly is absolutely vital if you want them to retain that incredible snap we worked so hard to achieve. The biggest enemy here is humidity, so sealing them up tight is the name of the game.
For best results, you want to store any leftovers at room temperature in a truly airtight container. I mean it—snap-top plastic containers or heavy-duty Ziploc bags work way better than just putting the paper bag back in the pantry. The goal is to keep outside air away from those crunchy surfaces. They are definitely best enjoyed the day you make them, that’s for sure, but a sealed batch should last a good day or two keeping most of that crunch intact.
Now, what happens if they maybe got a little soft overnight? Don’t panic! We can attempt a refresh, although for deep-fried ones, it’s always a bit harder. Reheating them is about trying to drive out any moisture the air managed to sneak in. If you used the oven or air fryer method, this is super simple. Just spread the chips back onto your baking sheet or toss them in the air fryer basket and heat them at a low temperature—about 300°F (150°C)—for just three to five minutes. Watch them closely, though! You are just drying them out, not cooking them again.
If you tried the traditional deep-fried version and they’ve gone totally limp, maybe try heating them in a dry skillet over medium-low heat. Toss them constantly for just a minute or two. You want them hot and dry, but if they start to smoke or smell oily, pull them off immediately. Honestly, the best advice for storing these light and crispy snacks is to make the exact amount you think you will eat in one sitting, but knowing you have this quick refresh option makes saving them for tomorrow afternoon’s snack attack painless!
Frequently Asked Questions About Making Potato Chips
I always get so many questions when people try this recipe for the first time! It’s normal to wonder about substitutions or troubleshooting when you’re aiming for that perfect, delicate crunch. I’ve pulled together the ones I hear most often about how to make your homemade potato chips sing!
Can I use sweet potatoes instead of Russets for these potato chips?
You absolutely can, and they are delicious! Just understand that sweet potatoes have more natural sugar. That means they will brown much faster than regular Russets, especially in the oven or air fryer. You’ll want to watch them closely and maybe drop the temperature a bit, but they make a wonderful, colorful batch of chips!
Why are my homemade potato chips soggy instead of crispy?
Oh, that’s the number one frustration, isn’t it? If your chips come out soggy, it means there was too much moisture left in them when they hit the heat. This almost always comes down to skipping or rushing Step 1—that soaking and *thorough* drying phase. Seriously, get them as dry as possible. If you skip the oil or bake them too close together, they steam instead of crisping, too. Moisture is the enemy!
Are air fryer potato chips truly a healthy snack recipes option?
They certainly are! When we compare the air fryer method to the classic deep fry—where those thin slices soak up a lot of fat—the air fryer is miles ahead in terms of being a lighter choice. You are limiting the oil intake drastically, which immediately makes them a much better, more guilt free chips style snack while still giving you that addictive crunch!
Estimated Nutritional Information for Potato Chips
I always feel a little weird posting nutritional counts here because, let’s be real, these are meant to be a satisfying indulgence! If you’re making these as a party appetizer or a true movie night snack, the focus is on the joy and crunch, not the macros. However, since we are dedicated to making sure you know exactly what you’re putting on your table, I’ve included the estimates below.
Please remember this crucial caveat from the Gourmet Gaze kitchen: these numbers are calculated based on the recipe portion size (about 1 cup) using the oven-baked method with the minimal oil listed. If you go heavy on the deep-frying oil, or if you use much more salt than I did, these figures will certainly change. Think of these as a general guide for our lighter healthy snack recipes profile.
- Serving Size: 1 cup
- Calories: 180
- Fat: 10g
- Saturated Fat: 1.5g
- Carbohydrates: 22g
- Protein: 2g
- Sodium: 250mg (This is the variable you control most!)
I always tell people that the real magic of making your own chips is controlling that sodium. If you use just a pinch of salt when seasoning them right out of the heat, you can keep that number way lower than anything you pull from a supermarket shelf. Go ahead, enjoy this perfectly seasoned, crunchy snack!
Share Your Crispy Potato Chips Creation
Well, my friend, we’ve done it. We’ve taken a humble potato and transformed it into the ultimate crunchy snack using three different paths to perfection! Whether you chose the deep-fried indulgence, the slightly lighter oven bake, or the speedy air fryer approach, I truly hope the sound of that first crunch brought you as much relief and satisfaction as it brings me every time I make them.
Now that you have your beautiful, golden pile of homemade potato chips, the best part is sharing the success! Food tastes better when it’s made with love and shared with others. So please, I genuinely want to see your results!
When you make a batch—whether they are perfectly salted or you decided to experiment with that truffle seasoning—take a photo. Capture the texture! Tag me on social media so I can see how they turned out. Did you achieve that incredible thin cut consistency? Did your air fryer handle the load like a champion? I’m here for all the crispy details.
And if this recipe has earned a spot in your regular rotation, please do me a huge favor: head back up to the top of the page and leave a star rating. Those ratings are everything for a new recipe, helping others who are hesitant about making their own chips realize that they absolutely can achieve this level of crunch. Thank you again for stepping out of the corporate grind mindset (if you were in one!) and joining me in the kitchen. Let’s keep making food that nourishes the soul, one perfectly seasoned snack at a time. Happy Cooking!
PrintUltimate 3-Way Crispy Homemade Potato Chips: Oven Baked, Air Fryer, and Classic Fried
Make the crispiest, golden homemade potato chips using three methods: deep frying, oven baking, or air frying. This recipe provides a satisfying, crunchy snack that beats store-bought versions.
- Prep Time: 20 min
- Cook Time: 20 min
- Total Time: 40 min
- Yield: 6 servings 1x
- Category: Snack
- Method: Frying, Baking, Air Frying
- Cuisine: American
- Diet: Vegetarian
Ingredients
- 3 large Russet potatoes (best potatoes for chips)
- 1 tablespoon white vinegar (for soaking)
- Oil for frying (if using classic method, enough for 2 inches depth)
- 1 tablespoon olive oil (for oven baking)
- 1 teaspoon olive oil or cooking spray (for air fryer)
- 1 teaspoon fine sea salt (or to taste)
- 1/2 teaspoon garlic powder
- 1/4 teaspoon paprika
Instructions
- Prepare the potatoes: Wash and dry the potatoes completely. Do not peel them for a rustic texture. Slice the potatoes very thinly, aiming for 1/16 inch thickness, using a mandoline slicer for uniformity.
- Soak the slices: Place the potato slices into a large bowl of cold water mixed with the white vinegar. Let them soak for at least 30 minutes to remove excess starch. This step is key for crispy potato chips.
- Dry thoroughly: Drain the slices and rinse them under cold water until the water runs clear. Spread the slices in a single layer on clean kitchen towels or paper towels. Press firmly to remove as much moisture as possible. They must be completely dry before cooking.
- Choose your method:
- Classic Fried Chips: Heat 2 inches of oil in a heavy-bottomed pot to 350°F (175°C). Fry the chips in small batches, stirring occasionally, until golden brown and crisp, about 3 to 5 minutes. Remove with a slotted spoon and drain on a wire rack lined with paper towels.
- Oven Baked Chips: Preheat your oven to 400°F (200°C). Toss the dry slices with 1 tablespoon of olive oil, salt, garlic powder, and paprika. Spread them in a single layer on baking sheets lined with parchment paper. Bake for 15 to 20 minutes, flipping halfway, until golden and crisp. Watch closely to prevent burning.
- Air Fryer Potato Chips: Preheat the air fryer to 375°F (190°C). Lightly toss the seasoned slices with just enough oil or cooking spray to coat lightly. Cook in a single layer (work in batches) for 10 to 15 minutes, shaking the basket every 5 minutes, until they achieve a light golden color and crunch.
- Season immediately: While the chips are still hot from any method, transfer them to a large bowl and sprinkle with additional salt if needed. Toss gently to coat evenly.
- Serve: Serve your crunchy homemade snacks immediately for the best texture.
Notes
- For the best results when baking or air frying, ensure your potato slices are uniform in thickness. A mandoline is highly recommended for achieving thin cut potatoes.
- If you want a guilt free chips version, use the air fryer method and use cooking spray instead of oil.
- Store cooled, leftover chips in an airtight container at room temperature for up to two days, though the crunch is best right away.
Nutrition
- Serving Size: 1 cup
- Calories: 180
- Sugar: 0.5
- Sodium: 250
- Fat: 10
- Saturated Fat: 1.5
- Unsaturated Fat: 8.5
- Trans Fat: 0
- Carbohydrates: 22
- Fiber: 2
- Protein: 2
- Cholesterol: 0