
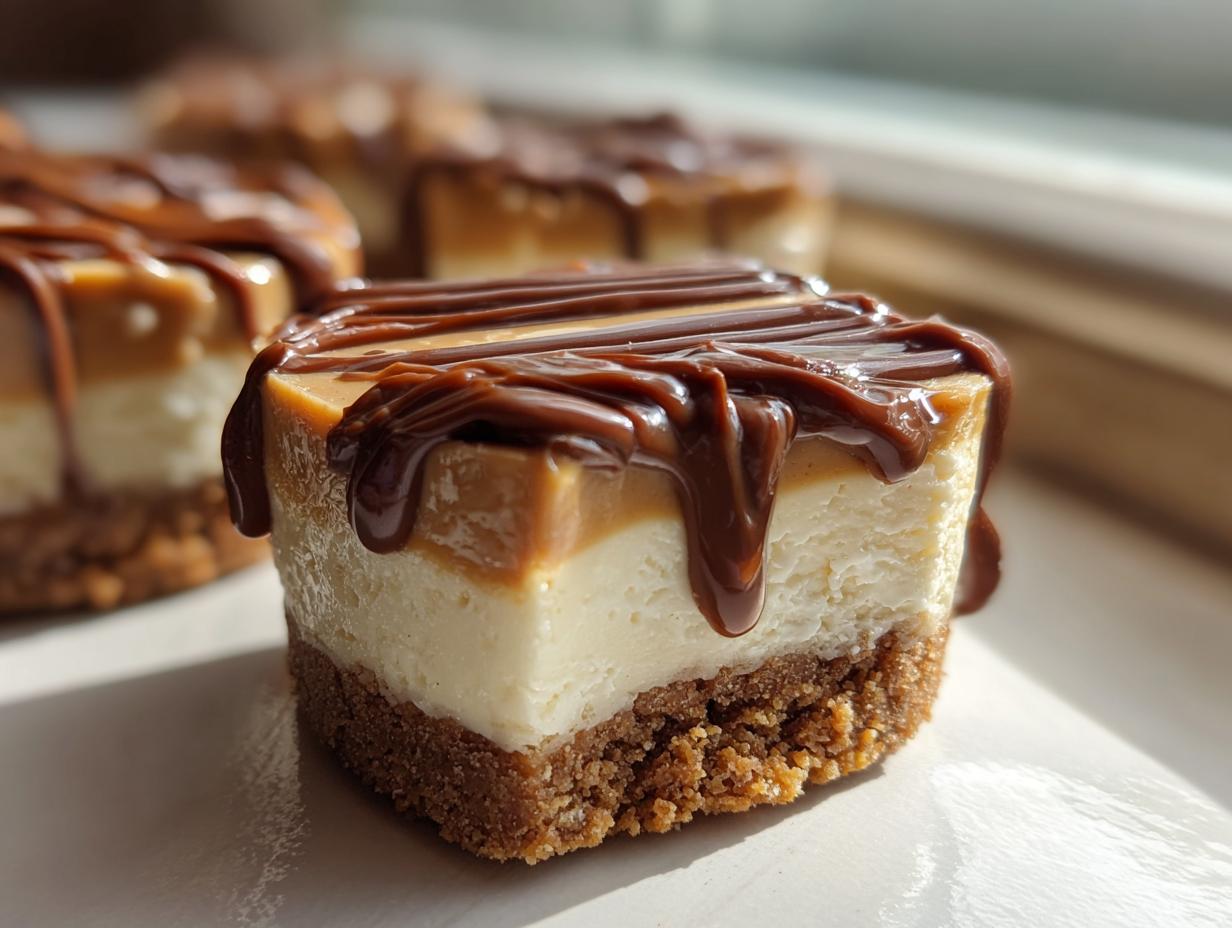

When I was stuck staring at spreadsheets, dreaming of a sweet escape that didn’t involve turning on the oven, I found my culinary moment of clarity. You see, finding true satisfaction in food doesn’t require hours of complex technique; sometimes, it just needs really good ingredients assembled simply. That’s why I am absolutely thrilled to share these cookie butter cheesecake cups with you. They are the epitome of decadent simplicity—all the creamy, tangy richness of cheesecake presented in stunning, perfect individual servings. After years of traveling and learning that the best food tells a story, I realized these layered dessert cups tell one of pure, unadulterated joy. Forget complicated baking; this recipe is reliable, approachable, and ready for your next gathering.
- Why You Will Love These No-Bake Cookie Butter Cheesecake Cups
- Gathering Ingredients for Your Cookie Butter Cheesecake Cups
- Step-by-Step Instructions to Make Cookie Butter Cheesecake Cups
- Tips for Perfect Cookie Butter Cheesecake Cups Success
- Make Ahead Dessert Cups and Storage for Cookie Butter Cheesecake Cups
- Serving Suggestions for Party Dessert Ideas
- Variations on These Simple Cheesecake Recipe Cups
- Frequently Asked Questions About No Bake Cheesecake Cups
- Nutritional Estimates for Your Cookie Butter Cheesecake Cups
Why You Will Love These No-Bake Cookie Butter Cheesecake Cups
If you need a dessert that looks like you labored over it but actually takes next to no time, you’ve found your answer. These **cookie butter cheesecake cups** are just unbelievably satisfying. They hit all the right marks for a modern, quick indulgence.
-
Perfect Individual Cheesecake Servings
I love handing somebody a perfectly layered little cup. There’s zero risk of slicing a crumbly mess, and everyone gets the perfect ratio of crust to filling. They look fantastic pre-set on a platter for any party idea!
-
The Ultimate Easy Cookie Butter Dessert Experience
Since these are a true no-bake recipe, you can completely skip the stress of oven pre-heating and monitoring. This makes it the ultimate easy cookie butter dessert for when you need a quick sweet treat without turning on any heat!
Gathering Ingredients for Your Cookie Butter Cheesecake Cups
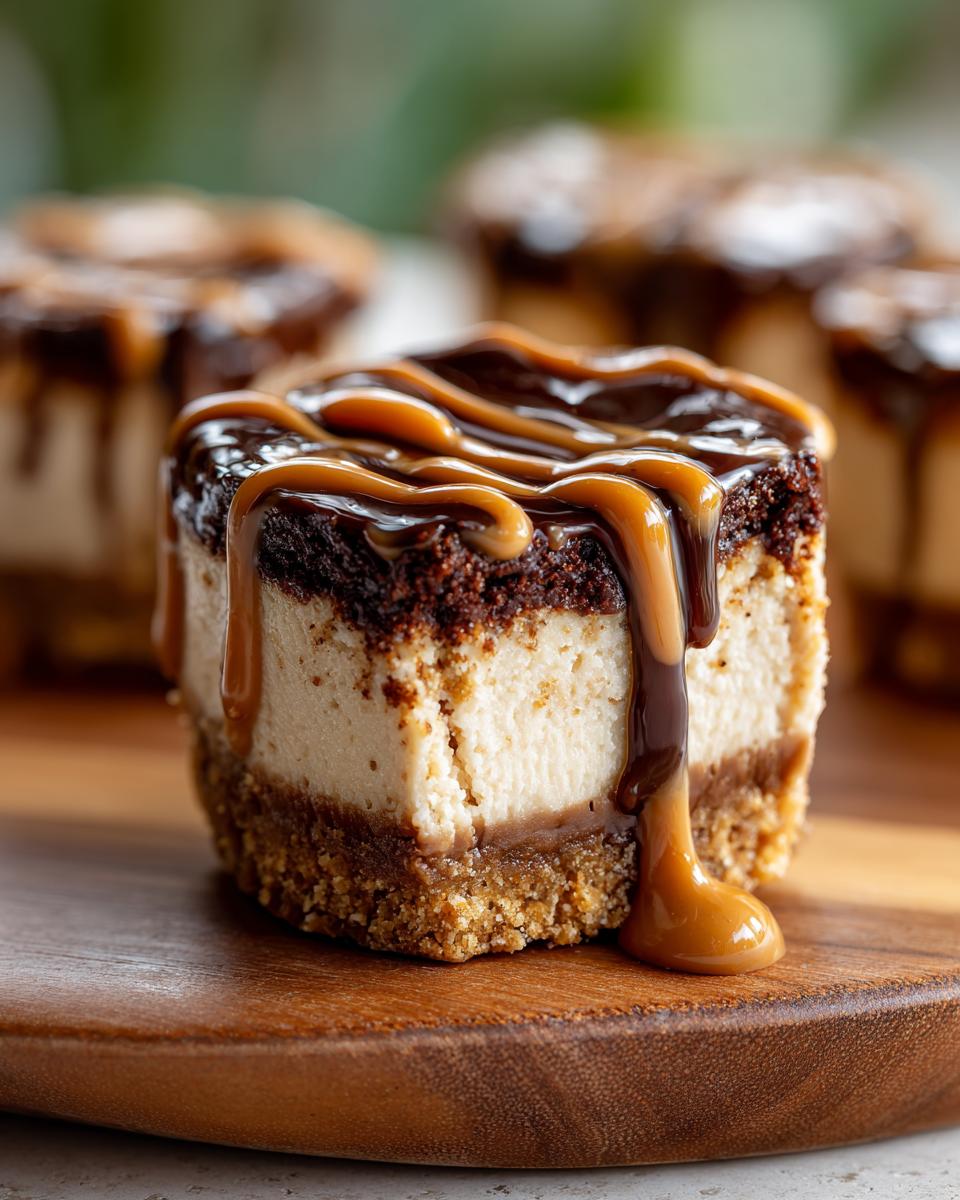
The real beauty of these cookie butter cheesecake cups is just how short the ingredient list is. We aren’t going to clutter things up with gelatin or stabilizers; we are using simple, high-quality items to get that perfect creamy texture. Trust me, keeping your cream cheese nice and soft is the key here so you don’t end up with any grumpy little lumps later on.
-
Biscoff Crumb Crust Components
You only need two things for that phenomenal base. Make sure your butter is melted before you start crumbling those cookies!
- 1 1/2 cups crushed Biscoff or Speculoos cookies (don’t skimp here!)
- 6 tablespoons unsalted butter, melted
-
For the Creamy Cheesecake Filling
This is where all the magic happens. You’ll need your mixer ready for this part!
- 16 ounces cream cheese, softened (this must be fully softened)
- 1/2 cup granulated sugar
- 1 teaspoon vanilla extract
- 1/4 cup cookie butter (like Biscoff spread), plus extra for topping
- 1/2 cup heavy whipping cream, cold
- 12-16 small dessert cups or jars
Step-by-Step Instructions to Make Cookie Butter Cheesecake Cups
Now that we have our gorgeous ingredients lined up—this is where that corporate director in me loves the organization! Following the steps precisely ensures you get that restaurant-quality, rich texture in your cookie butter cheesecake cups without any hassle. Remember, we are layering flavors, so pay attention to the chilling steps!
-
Creating the Biscoff Crumb Crust Base
Start by mixing your 1 1/2 cups of crushed cookies with the 6 tablespoons of melted butter until everything looks like damp sand. You want those crumbs totally moistened! Divide this evenly among your 12 to 16 little dessert cups. Use the back of a spoon or the bottom of a measuring cup to press that crust down firmly. That structural integrity is important! Pop those cups straight into the fridge while you get the beautiful filling ready.
-
Whipping the Filling for Creamy Cheesecake Cups
First, take your softened cream cheese, sugar, and vanilla in a bowl and beat it until it’s totally smooth—no lumps allowed if you want that creamy finish. Then, mix in that 1/4 cup of cookie butter until the color is uniform—it should look like melted caramel goodness! Now for the secret to airy lightness: In a separate, totally clean bowl, whip your heavy whipping cream until you see stiff peaks form. When folding the whipped cream into the cream cheese base, use a rubber spatula and cut down the center, then sweep up the side of the bowl. This keeps the air in your filling and stops it from deflating!
-
Assembling and Chilling Your Cookie Butter Cheesecake Cups
Once your filling is light and fluffy, gently spoon or pipe it right over that chilled crust base in each cup. Try to keep the tops as neat as possible right now since decorating comes later. Then, the hardest part: patience! These must chill in the refrigerator for at least 4 hours to properly set up. Honestly, I always aim for overnight chilling because that guarantees you get those firm, luscious **creamy cheesecake cups** that hold their shape perfectly when served.
Tips for Perfect Cookie Butter Cheesecake Cups Success
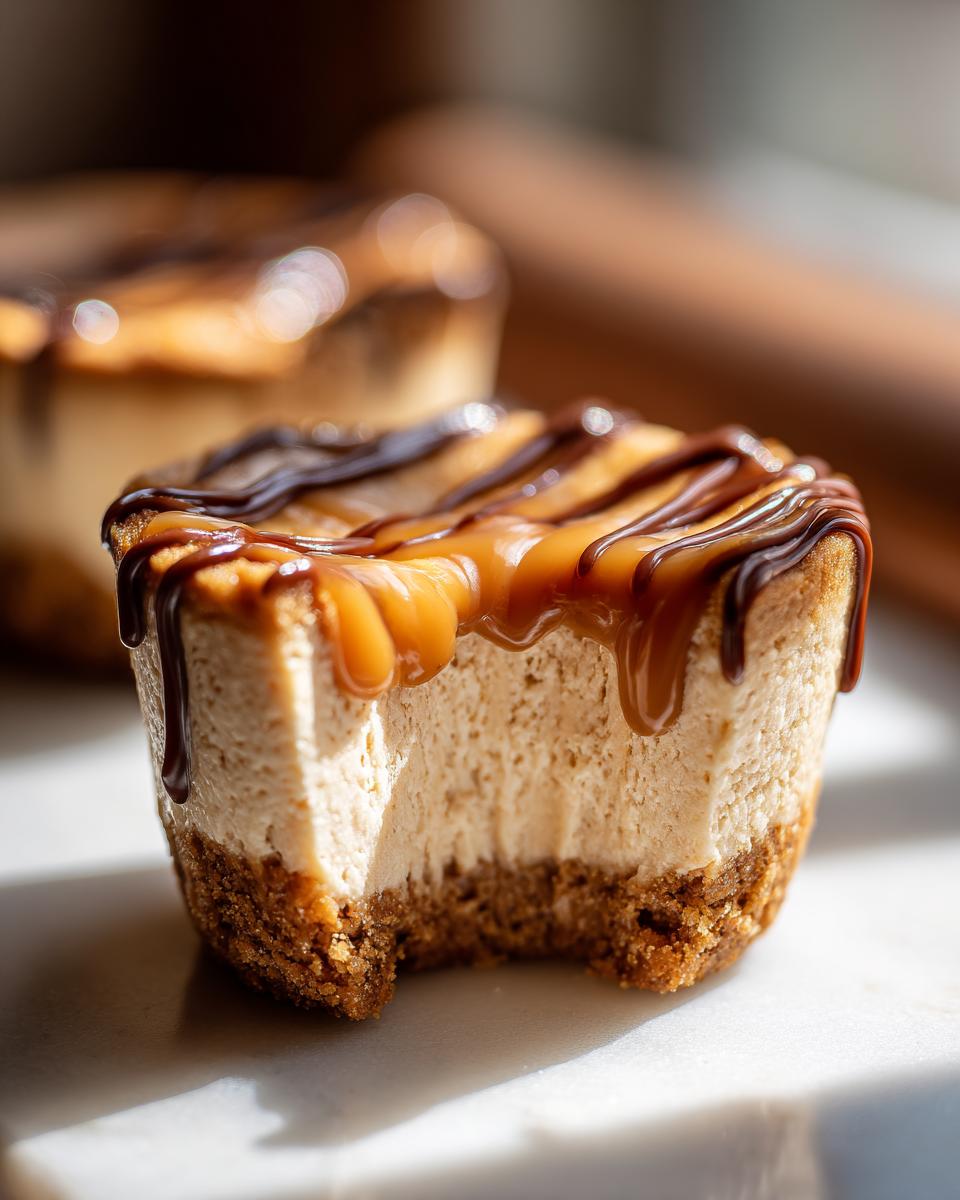
Look, I used to think all recipes were just suggestions, but with something creamy like these cookie butter cheesecake cups, technique really makes the difference between ‘good’ and ‘absolutely crave-worthy.’ I’ve learned that paying close attention to the state of your ingredients saves so much trouble later on. You don’t want lumps, and you definitely don’t want a runny top layer!
-
Ingredient Temperature Matters for Smooth Filling
This is non-negotiable for me. If your cream cheese is straight from the fridge, you’re going to fight little firm chunks when you try to mix it. Make sure that cream cheese is completely softened—to the point where it feels almost squishy. That’s the only way to guarantee lump-free, beautiful cheesecake filling for your **cookie butter cheesecake cups**.
-
Achieving the Right Texture
When you fold in that beautiful whipped cream, take it slow! Overmixing is the enemy here, as it deflates all that lovely air we just worked so hard to beat into it. Another little trick I learned? If you’re out of Biscoff or just want a slightly different crunch, feel free to swap in graham crackers for the crust—the recipe holds up beautifully no matter which option you choose. For more inspiration on making irresistible treats, check out this great guide on Biscoff cheesecake cups.
Make Ahead Dessert Cups and Storage for Cookie Butter Cheesecake Cups
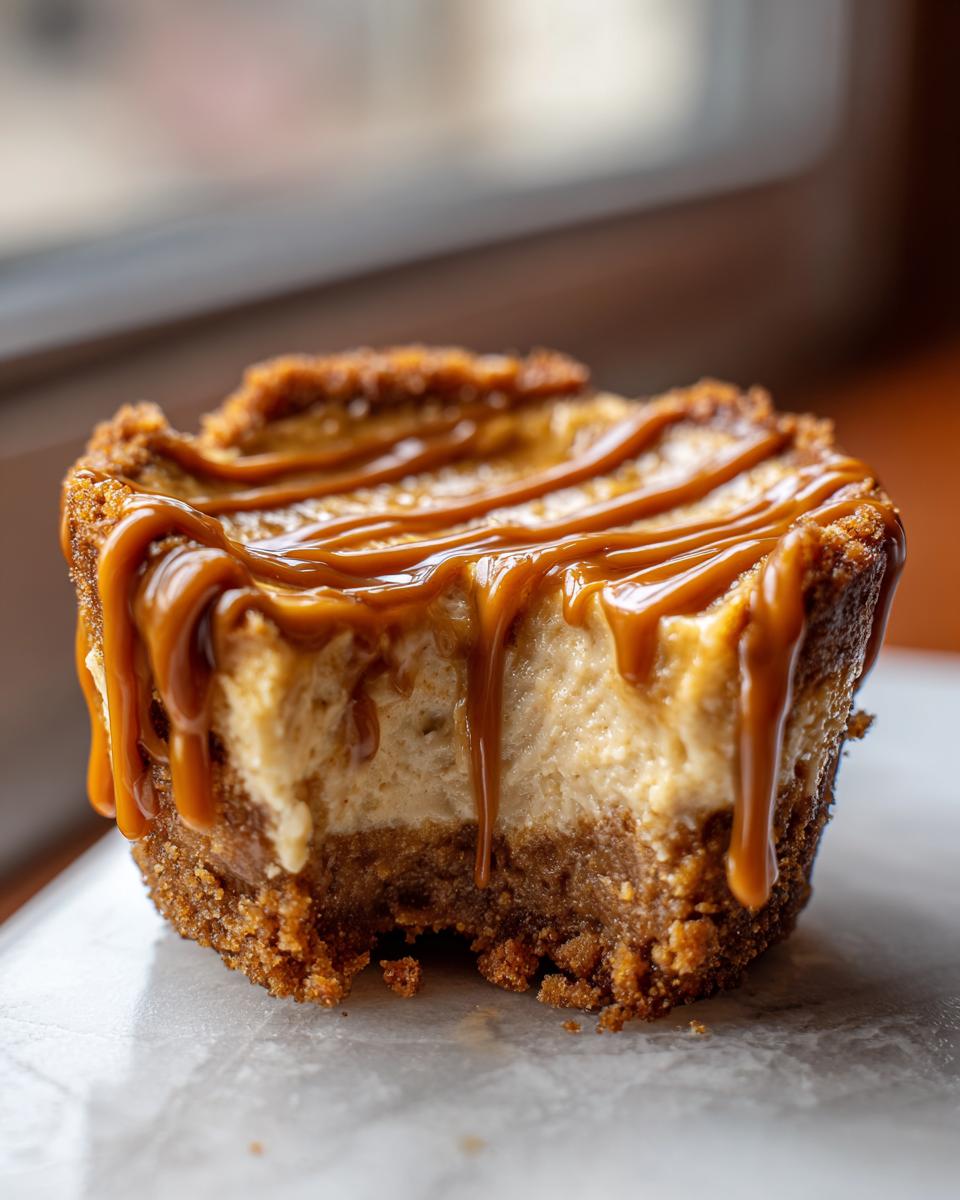
One thing I absolutely adore about these cookie butter cheesecake cups is how wonderfully they handle making ahead. Honestly, they transform from great to absolutely spectacular if you give them time to chill! Since these are no-bake, they are perfect for planning parties. You can easily whip these up a day or even two before your event. Just keep them covered tightly with plastic wrap in the refrigerator. This chilling time really allows the filling to firm up and the flavors to meld beautifully.
When you’re ready to serve this fantastic make ahead dessert cups treat, simply pull them out about 15 minutes before serving. If you want to add that final drizzle of slightly warmed cookie butter, now is the time to do it; check out how another fantastic baker handles their cookie butter dessert recipes for topping ideas!
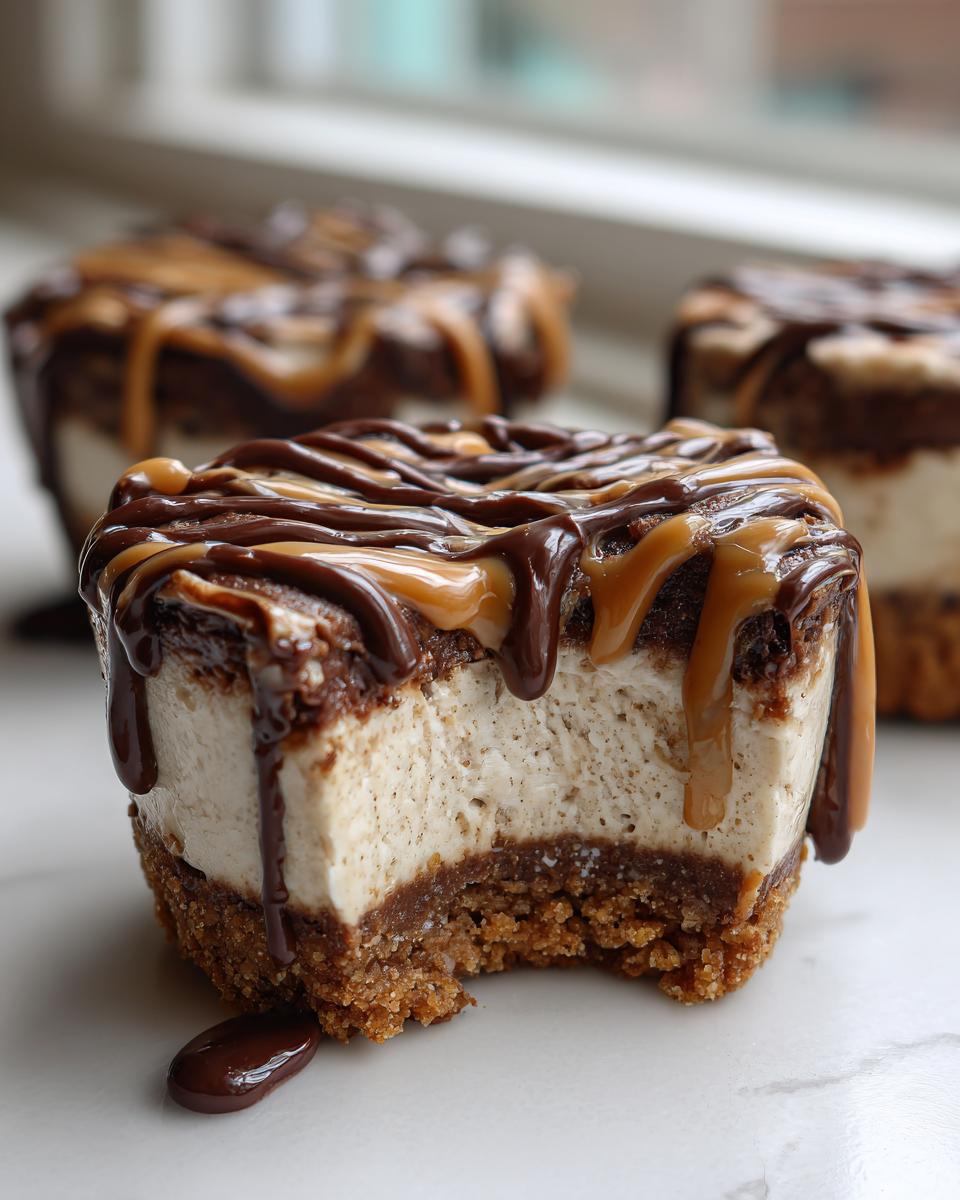
Serving Suggestions for Party Dessert Ideas
These little gems are already visual stunners, but a little extra touch of flair makes them showstoppers at any gathering. Since they are already perfectly portioned party dessert ideas, all you need is a quick garnish before they hit the table. I love keeping it simple but elegant. Try dusting the top just before serving with a whisper of ground cinnamon or a tiny sprinkle of finely crushed cookie crumbs.
For a fancier look, a tiny square of a whole cookie wafer placed right on top adds height and texture. They look amazing lined up next to fruit platters or small chocolate bites.
Variations on These Simple Cheesecake Recipe Cups
While nothing beats the spiced, warm flavor of our main recipe, I always encourage home cooks to feel creative in the kitchen! You don’t have to stick strictly to Biscoff if you want to explore other tastes. That core structure we built for the filling—the cream cheese, sugar, and whipped cream—is so reliable. It’s truly a simple cheesecake recipe waiting for your twist.
If you love chocolate, try folding in a tablespoon of melted dark chocolate into the filling base before adding the whipped cream for a rich chocolate **cookie butter cheesecake cups** experience. Or, for a bright flavor, a teaspoon of lemon zest elevates the tanginess beautifully. You can even substitute the cookie butter entirely with peanut butter or salted caramel spread if you’re looking for something new. Check out some stunning inspiration for cookie butter cheesecake cups to get those creative juices flowing!
Frequently Asked Questions About No Bake Cheesecake Cups
When I moved from deadlines to dough, I realized everyone has little hang-ups about new recipes. That’s totally normal! These no bake cheesecake cups are simple, but once you know the answers to these common questions, you’ll be churning them out like a pro. These are the little clarifications that really help your dessert cups shine.
-
Can I use a different cookie for the crust in these dessert cups?
Absolutely! I mentioned this in the notes because sometimes you just don’t have those spiced cookies on hand. Graham crackers work fantastically well as a substitute for the crust, giving you a classic flavor profile instead of the spiced Biscoff taste. Even simple shortbread cookies will do the trick if you’re looking for a buttery base instead!
-
How long do these individual cheesecake servings last in the fridge?
Because we aren’t using any eggs or baking them, the freshness window is pretty good. For the absolute best texture—when the crust is still a little crisp and the filling is perfectly firm—I recommend enjoying these within 3 days. After that, the crust starts to get a little damp, but they are certainly safe to eat if you can resist finishing them sooner!
-
Can I make these Speculoos Cheesecake Bites vegan?
That’s a great question for those managing different diets! Yes, you can definitely adapt these into one of those lovely Speculoos cheesecake bites. You’ll need to swap in good quality vegan cream cheese, use a similar amount of plant-based heavy whipping cream that whips up well, and of course, ensure you source vegan versions of the cookies for both the crust and the topping. It takes a little sourcing, but it’s totally doable!
Nutritional Estimates for Your Cookie Butter Cheesecake Cups
Since these cookie butter cheesecake cups are pure indulgence, I always tell people to look at them as a treat first! Because we are using full-fat cream cheese and rich cookie butter, the numbers reflect that decadent taste. Please remember, these are just estimates based on my standard ingredient breakdown for one cup, so your final tally might vary slightly depending on the brand of cookie butter you choose.
- Serving Size: 1 cup
- Calories: 350
- Sugar: 25g
- Sodium: 210mg
- Fat: 24g (Saturated Fat: 15g)
- Carbohydrates: 30g
- Protein: 5g
No-Bake Cookie Butter Cheesecake Cups
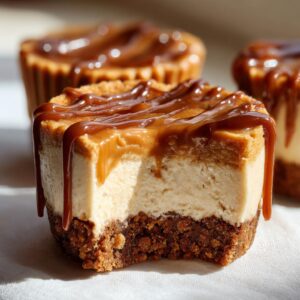
Create these simple, creamy, no-bake cookie butter cheesecake cups. They feature a crunchy cookie crust, a rich cheesecake filling, and a decadent cookie butter topping, perfect for individual servings at any gathering.
- Prep Time: 20 min
- Cook Time: 0 min
- Total Time: 4 hr 20 min
- Yield: 14 servings 1x
- Category: Dessert
- Method: No Bake
- Cuisine: American
- Diet: Vegetarian
Ingredients
- 1 1/2 cups crushed Biscoff or Speculoos cookies (for crust)
- 6 tablespoons unsalted butter, melted (for crust)
- 16 ounces cream cheese, softened
- 1/2 cup granulated sugar
- 1 teaspoon vanilla extract
- 1/4 cup cookie butter (like Biscoff spread), plus extra for topping
- 1/2 cup heavy whipping cream, cold
- 12–16 small dessert cups or jars
Instructions
- Prepare the crust: Combine the crushed cookies and melted butter in a bowl. Mix until the crumbs are evenly moistened.
- Divide the crust mixture evenly among your 12 to 16 dessert cups. Press the mixture down firmly to create a base layer in each cup. Place the cups in the refrigerator while you prepare the filling.
- Make the filling: In a large bowl, beat the softened cream cheese, granulated sugar, and vanilla extract with an electric mixer until the mixture is smooth and lump-free.
- Beat in the 1/4 cup of cookie butter until fully incorporated and the mixture is uniform in color and flavor.
- In a separate, clean bowl, whip the cold heavy whipping cream until stiff peaks form.
- Gently fold the whipped cream into the cream cheese mixture in two additions until just combined. Do not overmix.
- Spoon or pipe the cheesecake filling evenly over the crust layer in each cup. Smooth the tops.
- Chill the cheesecake cups in the refrigerator for at least 4 hours, or until firm. For best results, chill overnight.
- Before serving, warm a small amount of extra cookie butter slightly so it is easily drizzled. Top each cheesecake cup with a spoonful of the spread or a small dollop of whipped cream and an extra cookie crumb, if desired.
Notes
- You can substitute graham crackers for the cookie butter crust if you prefer a less intense cookie butter flavor.
- For a quicker set time, you can chill the cups in the freezer for about 1 hour, but the texture is best when fully refrigerated.
- These are excellent make-ahead dessert cups, perfect for parties or potlucks.
Nutrition
- Serving Size: 1 cup
- Calories: 350
- Sugar: 25
- Sodium: 210
- Fat: 24
- Saturated Fat: 15
- Unsaturated Fat: 9
- Trans Fat: 0
- Carbohydrates: 30
- Fiber: 1
- Protein: 5
- Cholesterol: 75