
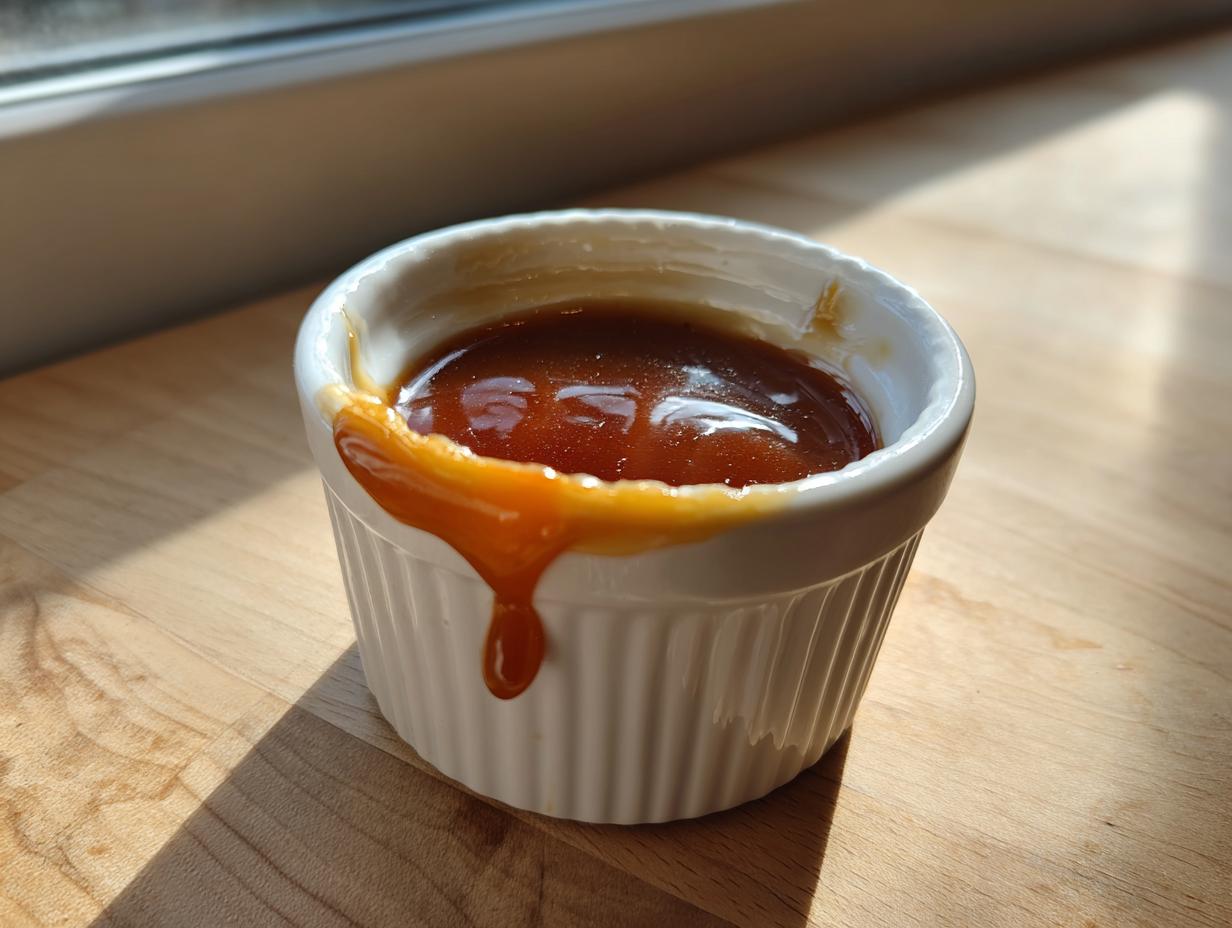

There’s a certain magic that happens when simple sugar transforms into liquid gold, isn’t there? I remember being terrified of making anything that involved boiling sugar when I first started cooking—it felt so precise and unforgiving. But when I finally conquered my first batch of homemade caramel, I realized how rewarding it was! That rich, buttery flavor beats anything you pull off a shelf every single time. That’s why I’m so excited to share my Simple Homemade Salted Caramel Sauce Recipe with you today. This sauce is ridiculously easy, takes less than 20 minutes total, and is the absolute key to elevating any dessert you put in front of your guests. After leaving my corporate life, this recipe became my go-to assurance that I could create something truly gourmet with very little fuss, right on my stovetop.
- Why This Homemade Caramel Sauce Recipe Works for Everyone
- Gathering Ingredients for Your Salted Caramel
- How To Make Caramel: Step-by-Step Instructions
- Expert Tips for No Fail Caramel Success
- Using Your Homemade Caramel Drizzle
- Storage and Reheating Instructions for Caramel
- Frequently Asked Questions About Making Caramel Recipes
- Nutritional Estimates for this Caramel
- Share Your Caramel Creations
Why This Homemade Caramel Sauce Recipe Works for Everyone
I truly believe this simple homemade caramel sauce is one of those recipes that just *works*. When I first started Gourmet Gaze, I needed recipes that required minimal fuss but delivered maximum flavor payoff. This one is my secret weapon for those last-minute dessert needs. It completely removes the intimidation factor you get with other sugar recipes, giving you reliability every single time.
Quick Dessert Sauce Ready in Under 20 Minutes
Seriously, twenty minutes. That’s all it takes from start to finish for a sauce that tastes like it simmered all afternoon. It’s perfect for adding an incredible drizzle to weeknight ice cream or whipping up a quick topping for those impromptu moments when you need something special fast. This is your new go-to quick dessert sauce, trust me.
Achieving Perfect Buttery Caramel Texture
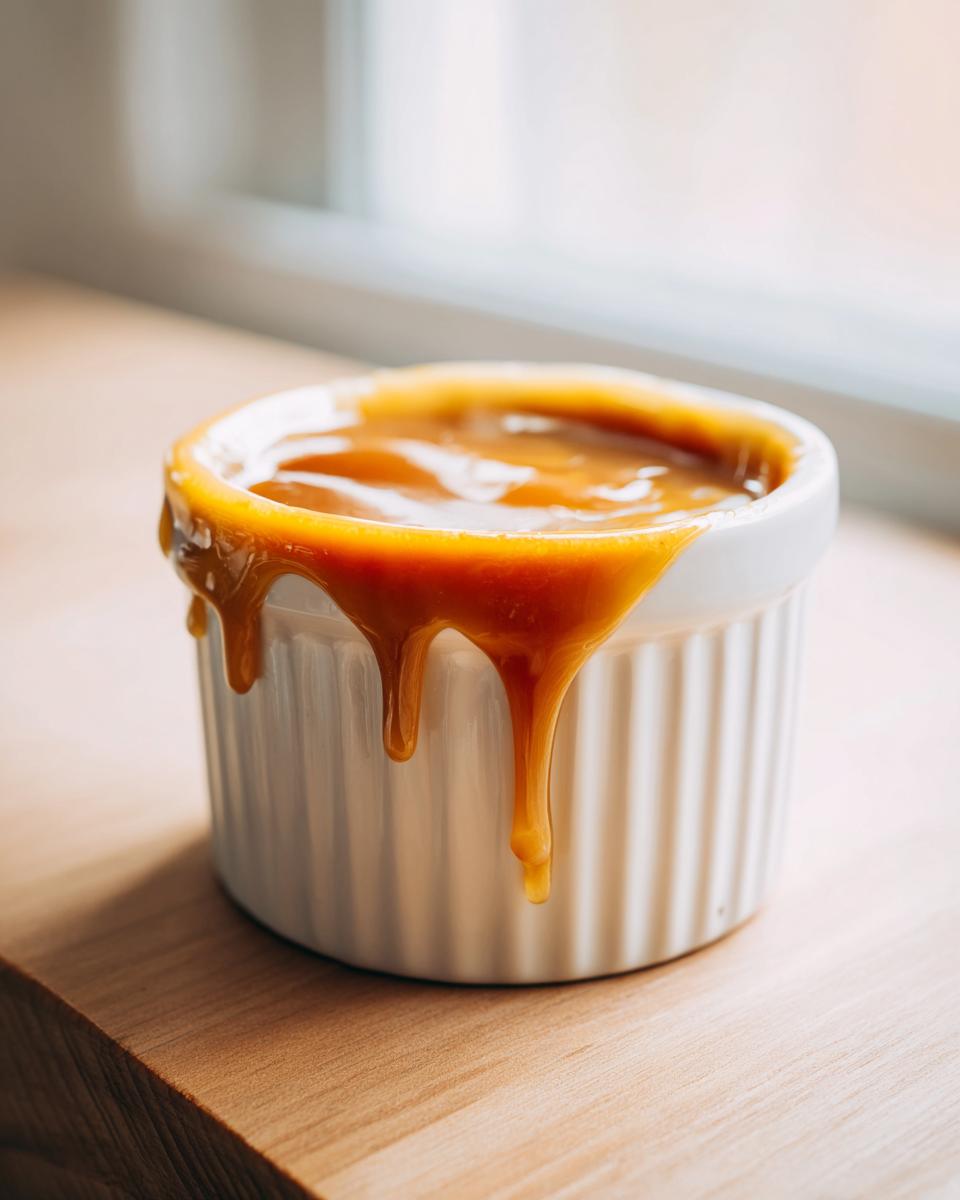
The balance here is incredible. We aren’t aiming for rock-hard candy; we want pourable, luscious liquid gold. The right amount of butter and cream ensures you get that incredibly rich, buttery caramel mouthfeel without any graininess. It clings perfectly to cake, apples, or even just a spoon!
Gathering Ingredients for Your Salted Caramel
Before we even think about heating the sugar, let’s gather our tools and ingredients. Clarity here is key, especially when working with hot sugar—you don’t want to be scrambling for the heavy cream mid-stir! I always lay everything out first, just like I learned in those high-pressure kitchen stages. Keeping organized prevents mistakes, especially when that beautiful amber color comes calling.
For this classic, rich batch of homemade caramel, here is exactly what you’ll need:
- 1 cup granulated sugar (Keep that white sugar handy for the purest flavor base!)
- 6 tablespoons unsalted butter, cut into small pieces (Having them cut up helps them melt smoothly)
- 1/2 cup heavy cream, warmed slightly (This is crucial; don’t skip warming it!)
- 1 teaspoon vanilla extract
- 1/2 teaspoon sea salt, or adjust to taste (We want that perfect sweet and salty treat finish!)
That’s it! Just five things, and you’ve got the foundation for almost any dessert you can dream up. Make sure your butter is ready to go so you can move quickly once the sugar is melted.
How To Make Caramel: Step-by-Step Instructions
Making the sauce is where the real theater begins! I know the initial sugar melt can look scary—it goes from solid white crystals to a bubbling, hot liquid fast. But if you follow these steps, you’ll nail that professional, deep amber color that provides all that gorgeous, complex flavor for your caramel.
Melting the Sugar to Deep Amber Caramel
First things first: Medium heat is your friend. Put that cup of sugar into your dry, heavy-bottomed saucepan. Now, here’s what I learned the hard way: Don’t touch it! For the first minute or two, resist the urge to stir. You need to let the sugar around the edges start pooling and melting on its own. Once you see those liquid edges forming, *then* you can gently start nudging the sugar around with a heatproof spatula. Keep stirring slowly and deliberately until every single sugar crystal has dissolved and the whole thing is one gorgeous, deep amber color. I mean it—watch it like a hawk because it goes from perfect to scorched in seconds. That rich brown color is what makes this sauce sing!
Incorporating Butter and Cream into the Caramel
Okay, sugar is perfectly amber? Take that pan RIGHT OFF the heat. This is the safety moment! Carefully toss in your cut-up butter pieces, one by one, stirring constantly. It’s going to bubble up like a volcano, foaming vigorously—don’t panic, that’s the water in the butter escaping. Once that’s mostly incorporated, it’s time for the warmed heavy cream. Pour it in slowly, stirring the whole time. Wow, does it rage! It will seize up a bit, maybe look stringy, but just keep stirring gently until it smooths out again. Then, pop it back on very low heat for just one final minute to ensure everything is unified before you take it off for the final touches.
Expert Tips for No Fail Caramel Success
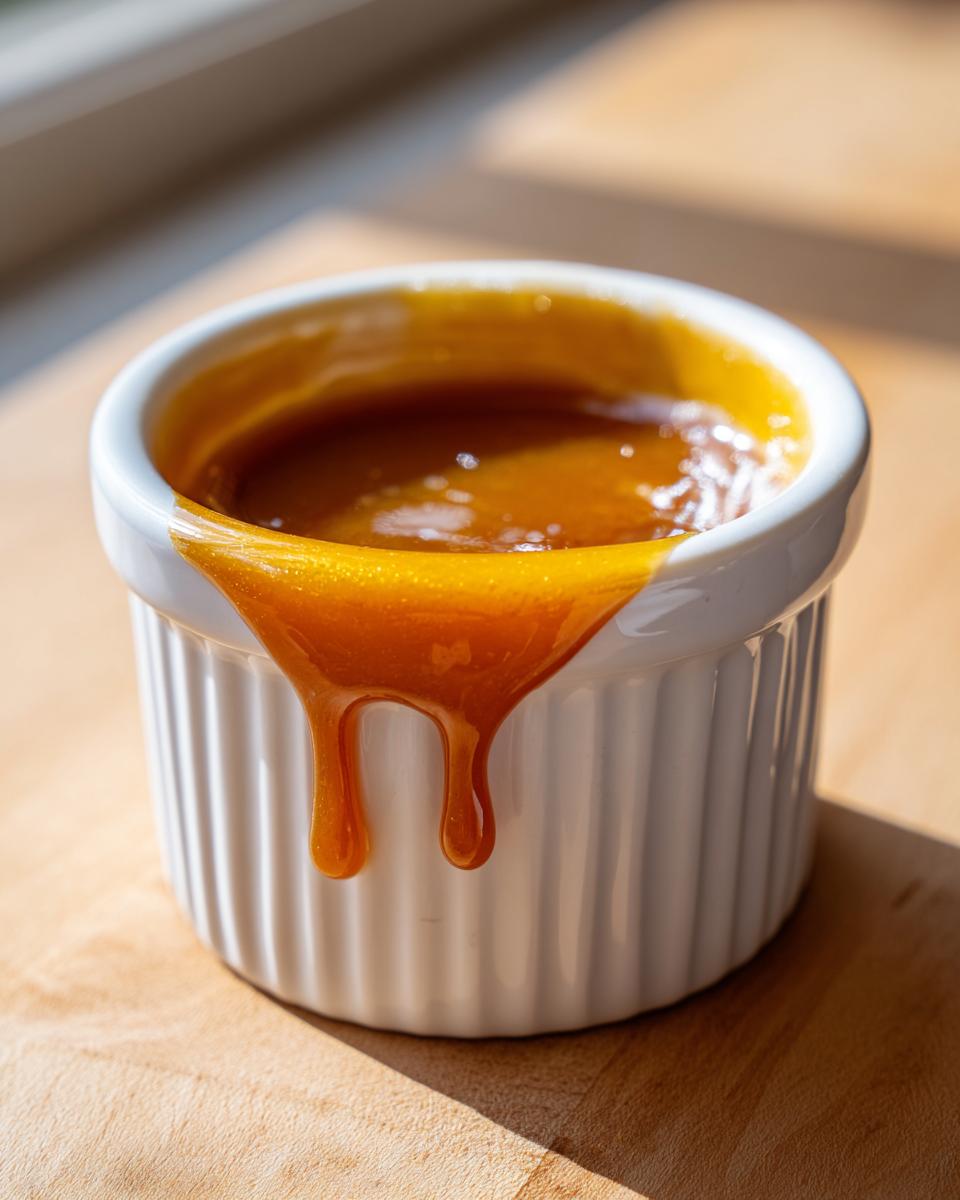
Making a truly flawless, no fail caramel relies on respecting the heat and having your ingredients ready to go at the right temperature. As I moved past just following recipes to truly understanding sugar science, I realized these small details are what separate a good sauce from a *great* one. My first tip for anyone trying this for the first time is: use the right pot! I always grab my heaviest saucepan—the thick bottom distributes the heat evenly so you don’t get scorched spots where the sugar sits too long. That uneven heat is the number one culprit for bitterness!
Managing Seized Caramel and Temperature Control
If you notice your caramel has seized up—meaning it looks hard, grainy, or separated after you added the cream—don’t throw it out! We’ve all been there. Just put the pan back on the lowest heat setting. I mean *very* low. Gently stir it constantly until those hard sugar chunks dissolve back into the liquid. It takes patience, which is something I really had to learn when I traded spreadsheets for whisks. Also, remember the note about warming your heavy cream just a bit? That slight temperature boost reduces the shock when it hits the hot sugar mixture, which drastically cuts down on the seizing in the first place. If you watch the heat, the sauce will be perfect every time.
Using Your Homemade Caramel Drizzle
Now that you have this incredibly rich, warm sauce, the real fun begins: deciding what to ruin with it! I genuinely love keeping a jar of this caramel drizzle in the fridge at all times because it solves almost any dessert crisis. It’s the ultimate caramel topping, simple as that.
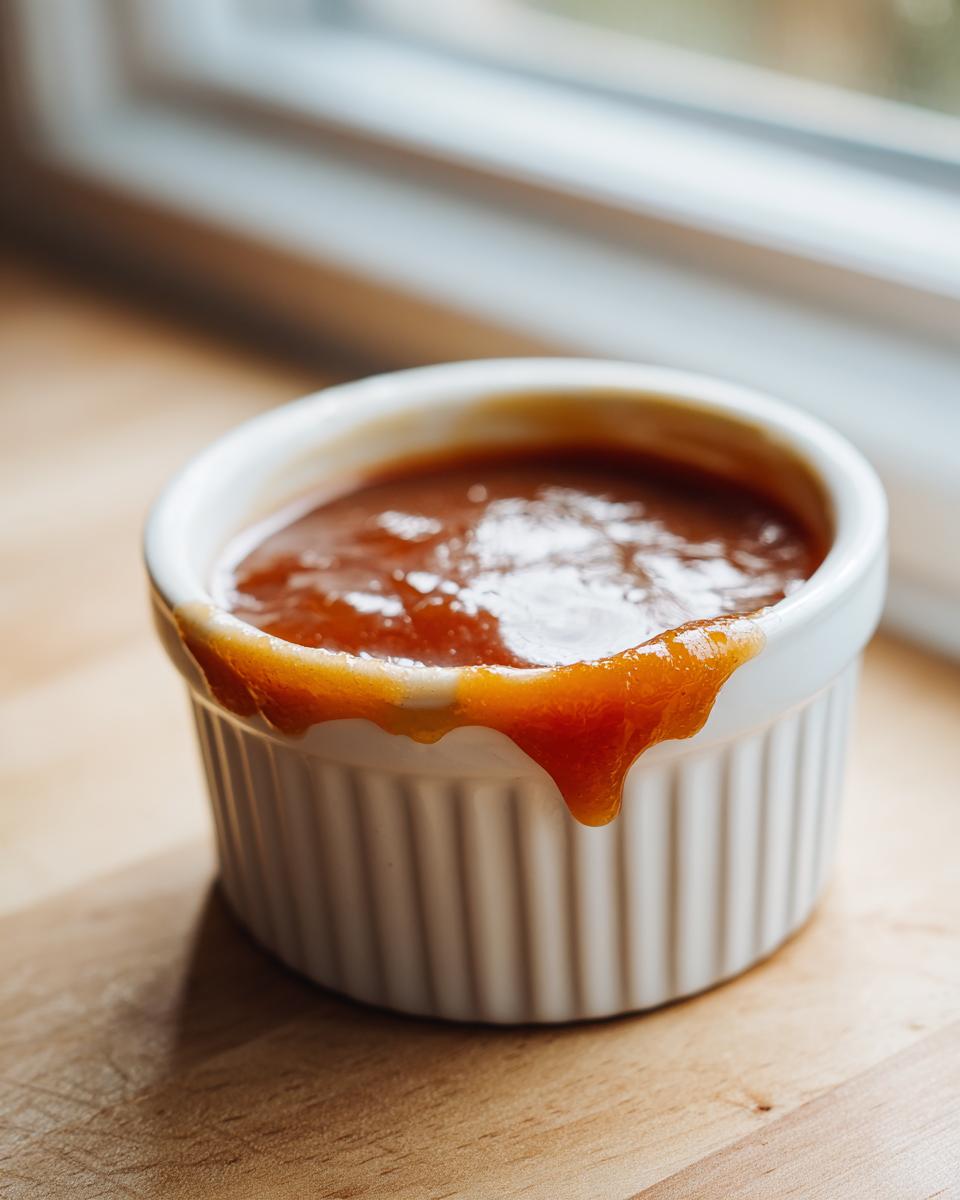
My favorite, obviously, is a big scoop of vanilla bean ice cream drowned willingly beneath a generous pour. But don’t stop there! This sauce sets beautifully when cooled slightly, making it fantastic for dipping apples or pretzels for a sweet and salty snack. It’s also incredible swirled into coffee for a gourmet latte experience. Honestly, when you make it this easy and this delicious from scratch, you’ll find yourself looking for excuses to use this decadent caramel topping!
Storage and Reheating Instructions for Caramel
The wonderful thing about this simple caramel sauce is that it genuinely lasts much longer than any store-bought version, assuming you keep it sealed up tightly. We want to maintain that gorgeous, smooth texture, so proper storage is everything here. This sauce is an investment in future dessert enjoyment!
For keeping your sauce fresh, you need an airtight container. I prefer reusing a glass jar that I’ve sterilized, though any good quality container will do. Pop it in the refrigerator, and you should have excellent, flavorful sauce for up to two weeks. If you find yourself making massive batches around the holidays, freezing is an option too! Just leave some headspace in the container because liquids expand when they freeze solid.
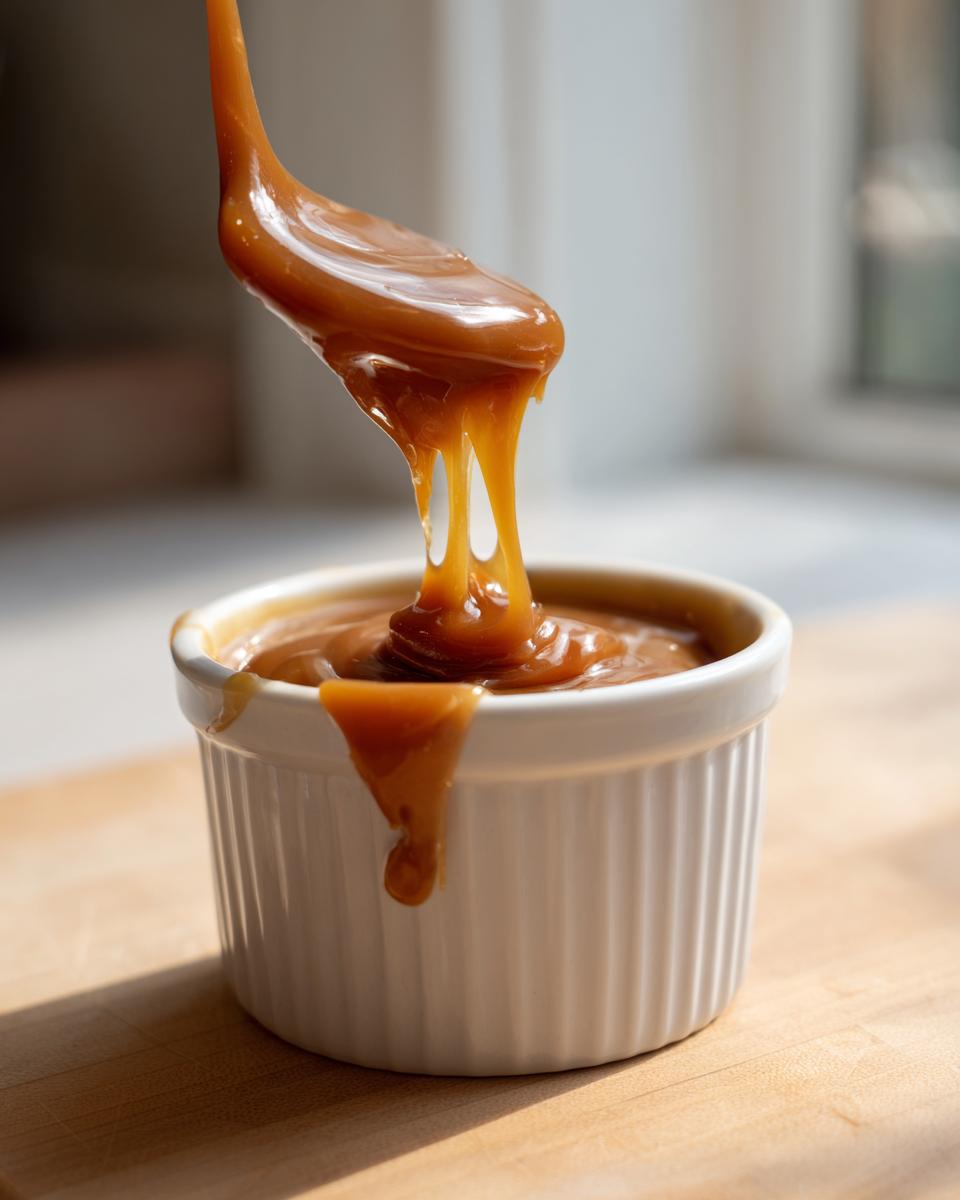
Now, if you pull that jar out of the fridge and it looks like thick cement—don’t worry! That’s perfectly normal for homemade salted caramel that has chilled. You almost never want to use it straight from the fridge because it won’t drizzle at all. To bring it back to life and restore that beautiful flow, just reheat it gently. I usually scoop out what I need into a small saucepan and warm it over very low heat, stirring constantly. You can also microwave it in short 10-second bursts, stirring well between each one, until it loosens up again. It will return to its perfect, pourable consistency almost immediately. See? Total trustworthiness in the kitchen!
Frequently Asked Questions About Making Caramel Recipes
It’s funny how making one simple sauce can bring up so many little questions! When I moved away from my predictable life and started focusing on these fundamentals—like how exactly to handle sugar—I had a million questions myself. I want this caramel recipe to be totally approachable, so let’s tackle some of the things I hear most often about perfect, glossy homemade goodness.
Can I use brown sugar instead of white sugar for this caramel?
You absolutely can, but be aware that you’re changing the game a little bit! White granulated sugar gives you that perfectly clean, bright, classic caramel flavor. Brown sugar, because it contains molasses, will deliver a much deeper, richer, more pronounced molasses note. It makes for a wonderful, slightly more rustic flavor profile, leaning into that Buttery Caramel taste profile right away. Just know it might result in a slightly darker sauce even if you cook it for the same amount of time!
How do I make this a salted caramel sauce?
This is my favorite part, of course! The sweetness of the sauce needs that contrast to truly sing. We add the sea salt right at the very end, after you’ve taken the pan completely off the heat and stirred in the vanilla. This ensures the salt dissolves just enough but still gives you those little pops of salinity. I always suggest starting with half a teaspoon, giving it a taste, and then deciding if you want to push it further to really lean into those Sweet and Salty Treats. Trust your palate!
I also often get asked about making Chewy Caramels from this, and while this sauce is perfect for drizzling, it’s definitely too thin for cutting into blocks. For chewy candy, you need to cook the mixture to a much higher temperature—usually around 245°F! That’s a whole other adventure, but this sauce recipe is foolproof for drizzling and dipping!
Nutritional Estimates for this Caramel
Now, I know when we’re indulging in something this rich and delicious, we probably aren’t tracking every macro, but it’s good practice to know what we’re working with. After all, this is Gourmet Gaze, and we appreciate all the details! Keep in mind that since this is made completely from scratch, these numbers are estimates based on the specific portion sizes listed in the recipe. If you use a different brand of butter or cream, ratios might shift slightly, but this gives you a solid baseline for your homemade caramel.
This data reflects a serving size of just two tablespoons, which goes a *long* way, believe me. This sauce is pure indulgence, especially in the sugar and fat departments, which is just what you expect from a genuinely buttery caramel!
Here are the approximate values:
- Serving Size: 2 tablespoons
- Calories: 180
- Sugar: 25g (Yes, it’s sweet, but that’s the fun part!)
- Fat: 9g
- Saturated Fat: 5g
- Carbohydrates: 26g
- Sodium: 150mg (That’s where our sea salt comes in!)
This is why a little bit of this Caramel Sauce makes such a big impact! It’s concentrated flavor, perfect for when you only need a small amount to transform an apple or a brownie. Use it wisely, but please, use it!
Share Your Caramel Creations
I truly hope you feel more confident about making your own caramel now. Honestly, once you master that sugar melt, you unlock a whole new level of dessert mastery! I find I’m practically looking for excuses to make a batch of this sauce just so I can keep it around for a week.
But here is my favorite part of sharing these recipes: seeing what you all do with them! Did you use this Salted Caramel to top a cheesecake? Did you swirl it into a quick cup of coffee? Or maybe you dipped some homemade pretzels in it for the ultimate sweet and salty experience?
Please, please let me know how it turned out for you! If you make this recipe, don’t forget to leave a rating right here on the page—it helps other cooks gain confidence when they see others loving the results. If you snap a photo of your incredible drizzle, tag us on social media so I can squeal with delight over your creations! You can always reach out directly if you have questions or just want to chat about your favorite caramel applications. Happy cooking, everyone!
PrintSimple Homemade Salted Caramel Sauce Recipe
You can make rich, buttery salted caramel sauce at home quickly. This recipe is easy to follow and perfect for drizzling over ice cream, cakes, or enjoying as a sweet and salty treat.
- Prep Time: 5 min
- Cook Time: 15 min
- Total Time: 20 min
- Yield: About 1 1/4 cups 1x
- Category: Dessert Topping
- Method: Stovetop Cooking
- Cuisine: American
- Diet: Vegetarian
Ingredients
- 1 cup granulated sugar
- 6 tablespoons unsalted butter, cut into pieces
- 1/2 cup heavy cream, warmed slightly
- 1 teaspoon vanilla extract
- 1/2 teaspoon sea salt, or to taste
Instructions
- Place the sugar in a medium, heavy-bottomed saucepan over medium heat. Do not stir initially.
- Allow the sugar to melt around the edges. Once it starts melting, gently stir the sugar with a heatproof spatula until all the sugar dissolves and turns a deep amber color. Watch closely to prevent burning.
- Remove the pan from the heat. Carefully add the butter pieces one at a time, stirring constantly until the butter is fully melted and incorporated. The mixture will bubble vigorously.
- Slowly pour in the warm heavy cream while stirring continuously. The mixture will bubble up again. Continue stirring until the sauce is smooth.
- Return the pan to low heat and cook for one minute, stirring constantly. Do not let it boil rapidly.
- Remove the pan from the heat and stir in the vanilla extract and sea salt.
- Let the caramel sauce cool slightly before using. It will thicken as it cools. Store leftovers in an airtight container in the refrigerator for up to two weeks.
Notes
- Warm the heavy cream slightly before adding it to the melted sugar and butter. This helps prevent the caramel from seizing or hardening too quickly.
- If the caramel seizes (becomes hard or grainy) after adding the cream, return the pan to very low heat and stir gently until the sugar dissolves back into the sauce.
- Taste the sauce before adding all the salt; adjust the amount based on your preference for sweet and salty treats.
Nutrition
- Serving Size: 2 tablespoons
- Calories: 180
- Sugar: 25g
- Sodium: 150mg
- Fat: 9g
- Saturated Fat: 5g
- Unsaturated Fat: 4g
- Trans Fat: 0g
- Carbohydrates: 26g
- Fiber: 0g
- Protein: 0g
- Cholesterol: 30mg