
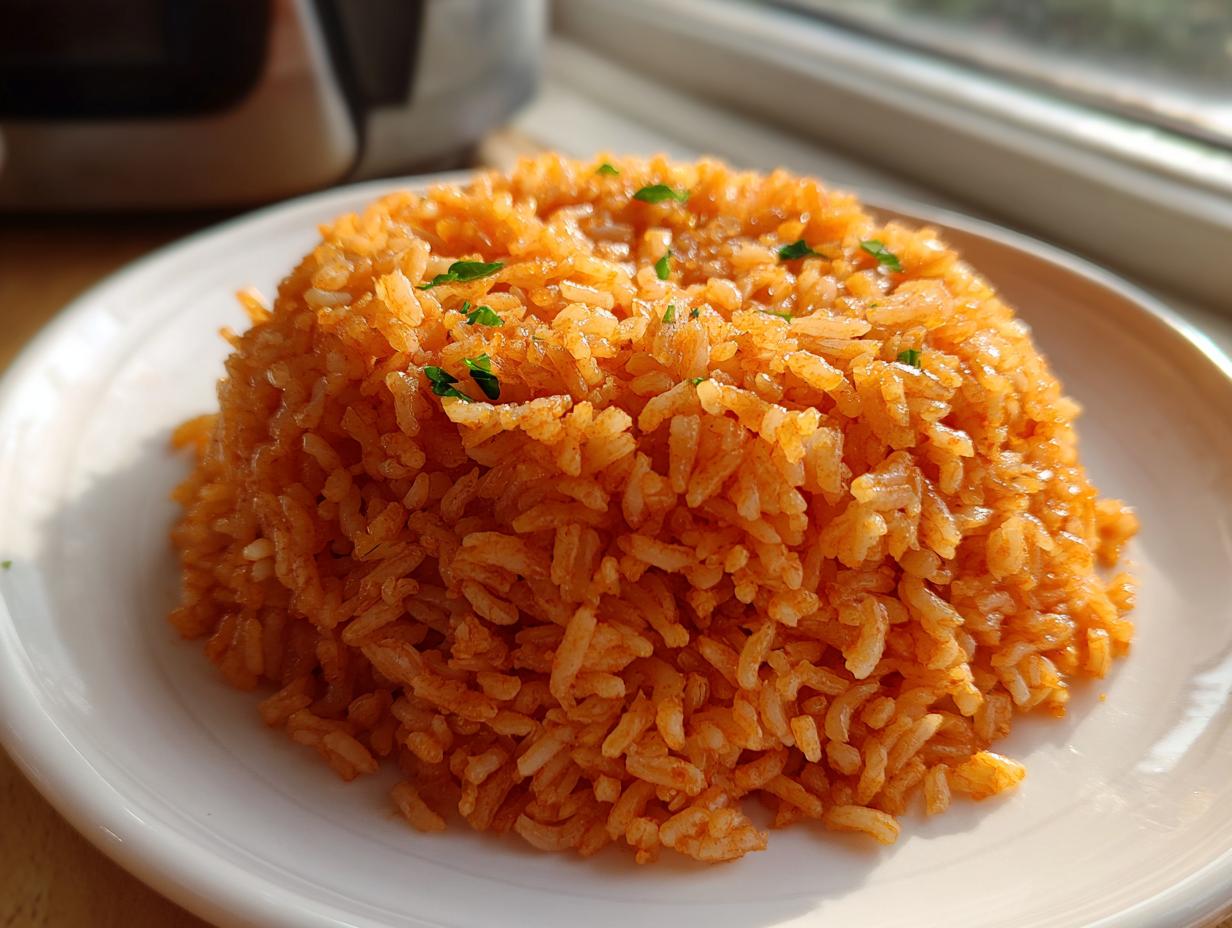

There are those nights, aren’t there? You’re craving vibrant, authentic Mexican flavors, something that tastes like you waited patiently for it all day, but you need it *now*. Forget the bland, mushy rice you sometimes get. I spent years chasing that perfectly savory, satisfying side dish that makes every taco or enchilada taste better. When I finally left the corporate world behind to focus on cooking—to really understand the ‘why’ behind every great recipe—this became my mission: mastering the Easy Restaurant-Style Mexican Rice Recipe.
This isn’t just about speed; it’s about delivering deeply satisfying home cooking that looks stunning on the plate. I’ve taken all the guesswork out of that perfect, fluffy texture you get when dining out. Trust me, by the time we’re done, you’ll have a reliable one-pot staple that anchors any Mexican fiesta you whip up at home.
- Why This Is the Best Mexican Rice Recipe for Your Table
- Gathering Ingredients for Your Mexican Rice Recipe
- How to Make Mexican Rice: Step-by-Step Instructions
- Tips for Success with Your Authentic Mexican Rice
- Serving Suggestions for Your Simple Mexican Rice Side
- Storage and Reheating Instructions
- Frequently Asked Questions About Arroz Mexicano Recipe
- Nutritional Estimates for This Flavorful Rice Recipe
- Share Your Experience Making This Dish
Why This Is the Best Mexican Rice Recipe for Your Table
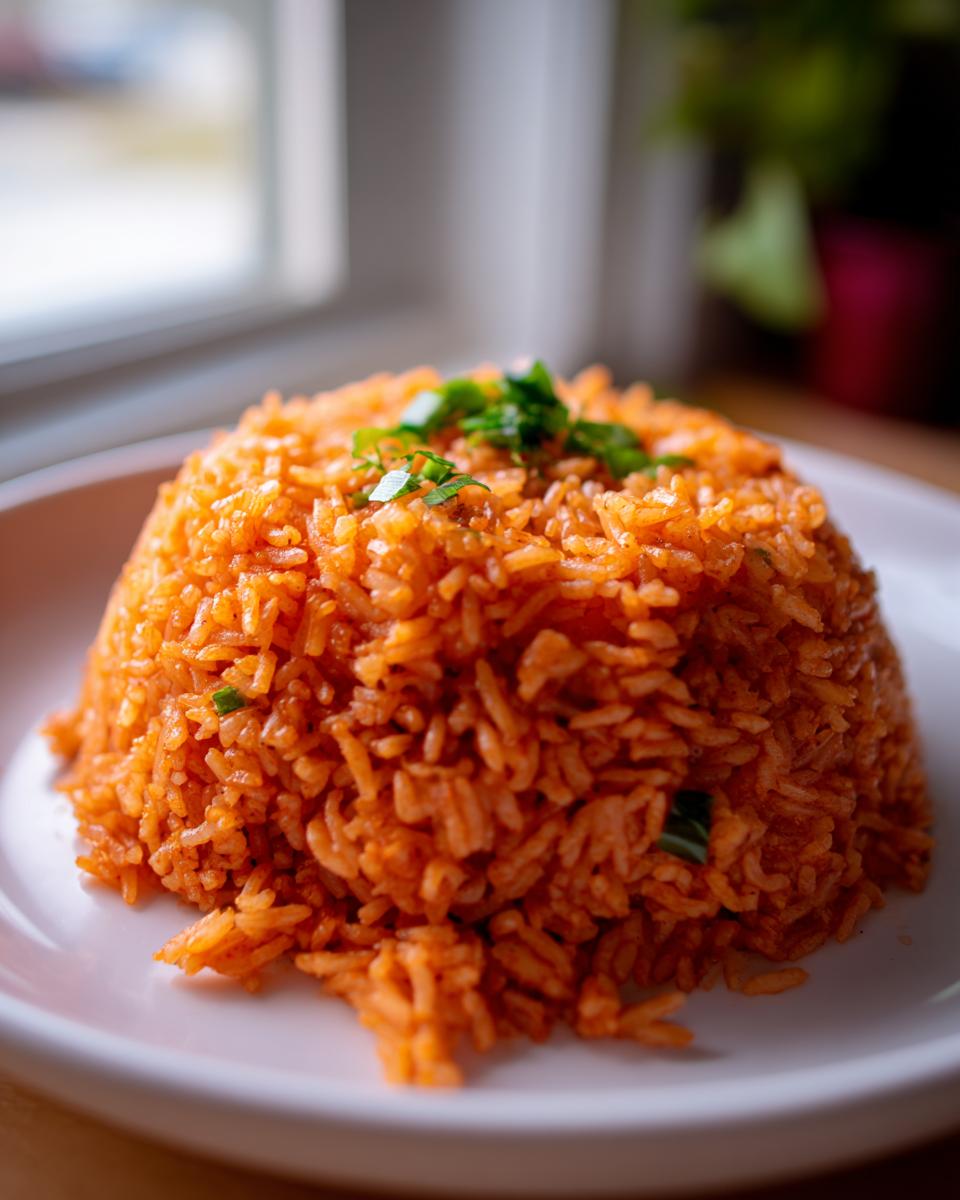
I know you hear ‘best’ thrown around a lot online, but this Restaurant Style Mexican Rice Recipe is earned. It’s the one I rely on when I need a side dish that sings alongside smoky enchiladas or spicy grilled meats. The goal here was pure authenticity without the fuss. We nail that signature deep tomato-and-spice flavor that makes you think you’re back in your favorite local spot, even though it’s coming straight out of your own kitchen.
What sets this recipe apart is how we handle the rice itself. We are achieving that famous Fluffy Mexican Rice texture that never gets sticky or clumpy. It’s a game-changer, honestly. Plus, it’s built for speed, which is why it’s become my go-to Quick Mexican Rice Side Dish for busy weeknights. You get maximum flavor payoff for minimal effort. If you love rice dishes, you need to check out my easy creamy cheesy rice recipe too!
Achieving Authentic Mexican Rice Texture
Texture is everything with Arroz Mexicano, and the single most crucial moment happens right at the beginning in Step 2: toasting the rice. You’re not just warming it up; you’re sealing every grain. This step prevents the rice from absorbing liquid too quickly and turning into mush. When I was first learning how to make Mexican rice, I skipped this step a few times out of impatience. Big mistake! The resulting rice was soft, yes, but it lacked that fantastic bite. You want the grains lightly toasted to a pale gold before anything wet touches them. That toasting creates a tiny barrier, forcing the rice to steam perfectly, giving you that incredible fluffiness.
Quick Mexican Rice Side Dish Ready in Minutes
Don’t let the deep flavor fool you into thinking this takes hours. It truly doesn’t! We’re looking at just 10 minutes of prep time and about 25 minutes of active cooking/resting, clocking in under 35 minutes total. That’s what makes this the ultimate Weeknight Mexican Rice solution. You can literally start this when you toss your chicken or steak on the grill, and it will be ready at the exact same time. It’s reliability you can count on, meal after meal.
Gathering Ingredients for Your Mexican Rice Recipe
Before we dive into the magic of toasting, let’s talk ingredients. When you’re aiming for that truly Authentic Mexican Rice profile, you want to make sure the items hitting your pan are the right quality. This recipe is delightfully straightforward—no weird specialty store trips needed! You likely have most of this already, which is part of why this makes such a fantastic quick side dish.
Here’s what you’ll need to gather up for about four generous servings:
1 tablespoon olive oil
1 cup long-grain white rice
1/2 medium white onion, finely chopped
2 cloves garlic, minced
1/2 cup tomato sauce
1 teaspoon chili powder
1/2 teaspoon ground cumin
1/4 teaspoon dried oregano
1 3/4 cups chicken broth (or vegetable broth for vegetarian)
1/2 teaspoon salt, or to taste
1/4 cup frozen peas and carrots mix (optional)
Ingredient Notes and Substitutions
I get asked all the time about ingredient swaps, so let me clear up a few things upfront. You absolutely must use long-grain white rice here. It has the right starch content to dry out beautifully during the toasting and resting phases, which is the difference between clumpy and fluffy. Basmati is too fragrant, and brown rice changes the entire cooking dynamic, so stick with standard white.
The broth choice matters too! I use low-sodium chicken broth because it already has a little depth of flavor built in. If you’re keeping this vegetarian, simply swap it for veggie broth; it works perfectly fine. And why the tomato sauce? It’s not just for aesthetics, though the vibrant color is certainly part of that classic look. The sauce adds a slight acidity and rich, foundational flavor right at the beginning, helping that rice absorb flavor instead of just plain water.
How to Make Mexican Rice: Step-by-Step Instructions
Alright, this is where the magic—and the method—comes into play. Because this is a One Pot Mexican Rice Recipe, we are layering flavor as we move through the steps, which makes cleanup an absolute breeze. Follow these timings closely, especially during the hands-off parts, and you are guaranteed a beautiful, flavorful result that rivals any great Mexican restaurant.
First, get your pan nice and warm over medium heat. We start with that olive oil. Then, we move straight into the most important part of achieving that perfect texture.
The Critical Step: Toasting the Rice
When you add that cup of long-grain white rice in Step 2, you need to give it your full attention for about five to seven minutes. Stir it constantly. Seriously, keep it moving! You’re looking for the grains to transition from bright white to a lovely, pale golden brown. It’s not supposed to be dark brown or burnt; just that light, nutty color. That toasting process is what creates the structural integrity for Fluffy Mexican Rice. If you rush this, those starch molecules get weird when the liquid hits them, and you end up with something gummy. Once you hit that golden hue, toss in your chopped onion and let it soften up for about three minutes.
Next, introduce your aromatics and spices—the garlic, cumin, chili powder, and oregano. They only need about sixty seconds in that residual heat to bloom their flavor. Wow, the smell in the kitchen right now is incredible. Then, stir in the tomato sauce and let it cook for a couple of minutes until it darkens slightly and really coats every single grain of rice. That’s your color base established right there!
Simmering and Resting for Perfect Results
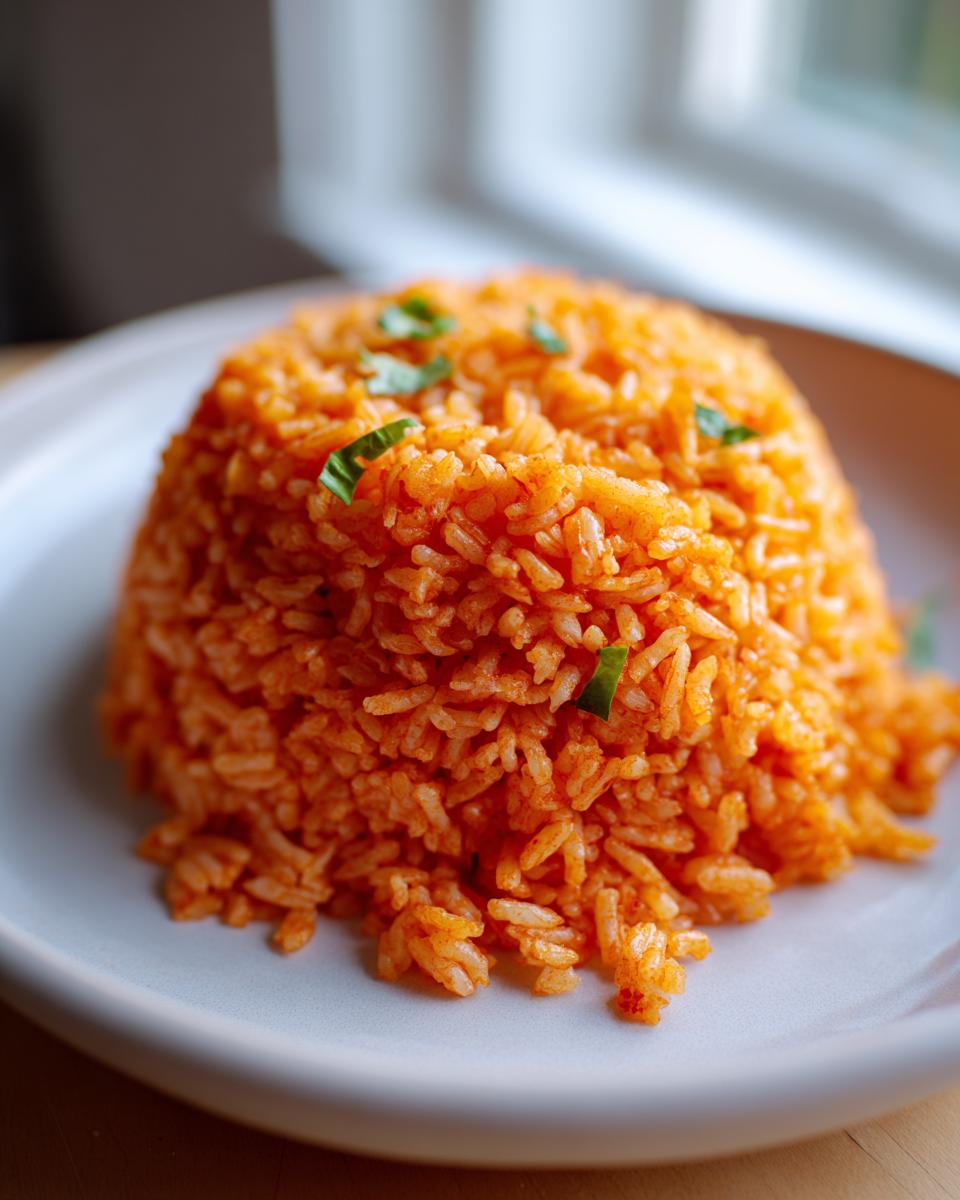
Time for the liquid. Pour in that chicken broth and the salt, bring it up fast to a full, rolling boil. Once it’s bubbling hard, perform the ceremony: reduce the heat to as low as your burner will go, slap that lid on tight, and step away. I mean it—this is the hardest part. You need to let it simmer, completely undisturbed, for exactly 15 minutes. Do not peek! Lifting that lid lets essential steam escape, and we need every molecule of that steam to properly cook the center of the grains.
When the timer goes off, kill the heat entirely. If you are adding those optional peas and carrots, fold them in gently now. Then, the second resting period begins—another 10 minutes, still covered, letting the residual heat do the final, critical work. This resting period lets the moisture distribute evenly throughout the pot. Once those last ten minutes are up, only then can you lift the lid and gently fluff everything with a fork. Honestly, this combination of aggressive toasting and patient resting is why this is the Best Mexican Rice Recipe you’ll find.
For more foolproof cooking techniques that rely on simple physics, you might enjoy my guide on easy garlic turmeric rice!
Tips for Success with Your Authentic Mexican Rice
Getting the core components right—toasting, simmering, and resting—is 90% of the battle for making delicious Mexican rice. But since I’ve made this dozens of times now, I’ve picked up a few little tricks that push this from a great side dish to something that genuinely makes people ask for the recipe. These are the little details that build truly Flavorful Rice Recipes.
First, you need to use that low-sodium broth I mentioned in the ingredients list. If you use regular (high-sodium) broth, you throw off the balance entirely. The tomato sauce, cumin, and chili powder already bring a lot of savory depth. If your broth is too salty, you can’t adjust down, and your final product ends up tasting flat instead of complex. Always stick to low-sodium so you can control the salt yourself at the end!
Second, don’t skip the optional frozen peas and carrots. I know some purists skip them, but that little bit of frozen veg not only adds vibrant color when you fold it in at the end but also helps steam everything gently during that final resting phase. They absorb some of the moisture without turning to mush because they are added *after* the main simmer. It’s a textural win!
I have to tell you about a huge mistake I made early on when trying to scale this recipe up for a large party. I doubled everything—the rice, the broth, the spices—but I kept the same size pot. Big mistake, folks. The rice didn’t have enough surface area to toast properly because the grains were piled too deep in the center. It led to a gummy bottom layer and some undercooked grains near the top. If you double this recipe, you absolutely need a wider, shallower pan to give that rice room to breathe and toast evenly. Trust me on the surface area!
Finally, for something quick to prepare for your next gathering, consider making this alongside my posts on the main Gourmet Gaze blog. Consistency is key in home cooking, and understanding the ‘why’ behind the technique means you nail it every time you need a reliable side!
Serving Suggestions for Your Simple Mexican Rice Side
Now that you have mastered the mexican rice recipe and it’s beautifully fluffy and seasoned, the real fun begins: plating! This dish is designed to be the perfect supporting actor, but frankly, it’s so flavorful it often steals the show. You want this rice to look just as fantastic as it tastes, right? Presentation is everything in my book.
For the ultimate straightforward pairing, this rice is phenomenal alongside a plate of tender grilled meat. If you’re making Carne Asada, you absolutely must check out my recipe for the authentic carne asada marinade; the smoky, charred beef against this savory rice is just perfection. It also settles right in next to saucy classics like enchiladas or smothered burritos.
If you’re looking for a specific holiday meal inspiration, this is a must-have for any spread of Cinco de Mayo Side Dishes. It’s vibrant, it’s easy to make ahead for a crowd, and it complements everything from spicy dips to mild grilled chicken.
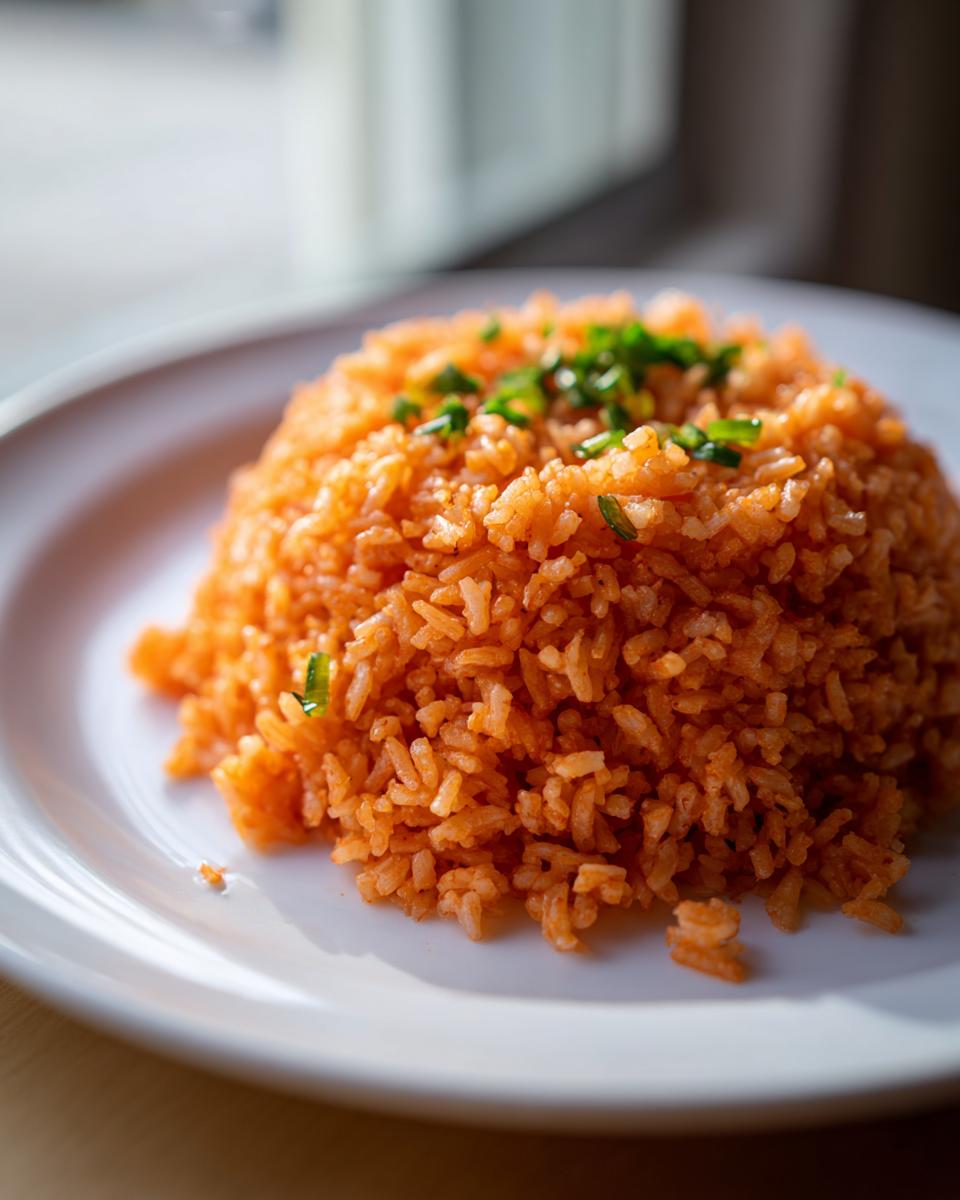
When serving, try fluffing it gently with a fork right before it hits the serving platter to maximize that airy texture. A light sprinkle of finely chopped fresh cilantro on top gives you that necessary pop of green color. It literally finishes the look! If you’re ever looking for more inspiration on dishes that look as good as this rice, I love seeing what others are making over at this site Restaurant Style Ina.
Storage and Reheating Instructions
One of the great things about this Easy Mexican Rice Recipe is that it’s fantastic the next day, which means you can totally make this ahead of time! If you’re planning for a big event, maybe even Christmas or Cinco de Mayo, storing leftovers is simple, but you have to treat the rice right so it doesn’t turn into a solid brick.
Once the rice has cooled down slightly after resting (don’t put piping hot rice straight into the fridge—that’s bad form!), transfer it to an airtight container. It keeps beautifully in the refrigerator for up to three or four days. I’ve definitely enjoyed an almost-Restaurant Style Mexican Rice lunch the day after making it!
Now, reheating is where many people lose the battle because they scorch the bottom layer. You want to restore that beautiful, fluffy texture we worked so hard to achieve. If you’re just reheating a small portion, the microwave is your friend, but you need to introduce moisture back into the grains.
Microwave Reheating for Fluffiness
Place your rice portion in a microwave-safe bowl. I mean it when I say you need to cover it with a slightly damp (not soaking wet!) paper towel before popping it in. This traps the steam. Heat it in short 30-second bursts, checking and fluffing gently in between. The steam basically steams the grains back to life, restoring that wonderful, light texture.
Stovetop Reheating for Larger Batches
For larger amounts, I prefer the stovetop method. Grab back that original saucepan you used (see, clean up is easy!). Add just a tablespoon or two of water or broth—just enough to coat the bottom layer—and set the heat to low. Cover it tightly and let the steam build underneath for about 5 to 8 minutes. Gently fold the rice over itself once it’s heated through. This method avoids drying out the edges and mimics the original cooking process perfectly.
This ability to be Make Ahead Mexican Rice, ready when you need it, is just one more reason this remains my favorite go-to side dish!
Frequently Asked Questions About Arroz Mexicano Recipe
I always get questions after people try this for the first time, which is a great sign! It usually means they loved it and want to make sure they can replicate that perfect result next time, or maybe they want to tweak it for dietary needs. Here are some of the most common things I hear about making this Authentic Mexican Rice.
Can I use brown rice instead of white rice?
That is a tricky one, my friend. While I love brown rice generally, for this specific recipe, I really advise sticking to long-grain white rice. Brown rice cooks differently; it takes much longer to hydrate, and crucially, it won’t toast correctly in the short time we allow it in Step 2. If you try it with brown rice, you’d have to increase the liquid ratio and the simmer time significantly—probably doubling it—and you won’t get that quintessential restaurant texture. It becomes a totally different dish, honestly.
How do I make this spicier?
I keep this core mexican rice recipe versatile, relying on chili powder, but I know some of you like a real kick! If you want more heat, don’t just dump in cayenne pepper; that adds heat without flavor complexity. Instead, amp up the heat subtly during the aromatics stage in Step 4. You can add 1/4 teaspoon of chipotle powder along with the cumin and oregano for a smoky heat, or stir in about a tablespoon of finely minced jalapeño right after the onion softens. Cook the jalapeño for a good three minutes until it softens before adding the garlic—that deepens the flavor even more.
Can I make this ahead of time? (Make Ahead Mexican Rice)
Yes, absolutely! As I mentioned earlier, it makes fantastic leftovers. This is a great Mexican Food Side Dishes staple that holds up well. I usually make a bigger batch than needed precisely so I can have it for lunch the next day. Just cool it completely, store it airtight, and follow the reheating instructions with steam to refresh those grains. It’s perfect for meal prepping too!
Is this Mexican Rice Recipe naturally Gluten Free?
This is an excellent question, especially for those of you who need to be diligent about ingredients. Yes, this Arroz Mexicano Recipe, as written, is completely naturally gluten free. We are using rice, vegetables, spices, and chicken broth. The only potential area for concern is your broth. While most chicken broths sold today are gluten free, always double-check the label to ensure no wheat fillers or barley derivatives were added during processing. If you use homemade broth or confirm your store-bought choice, you are good to go!
If you ever have questions about our policies regarding any recipes, feel free to check out our Privacy Policy—we believe in full transparency!
Nutritional Estimates for This Flavorful Rice Recipe
Now, because I focus on flavor and technique first here at Gourmet Gaze, I always approach nutrition facts with a little bit of perspective. These numbers are an educated estimate based on the standard data available for the quantities listed, but actual results can vary depending on the exact salt content of your broth or the specific brand of tomato sauce you use. You always know exactly what’s going into your food when you cook it at home, which is an advantage over eating out!
If you are tracking macros or watching specific elements as you plan your meals, here is the estimated breakdown for one serving (about 3/4 cup cooked) of this wonderful side:
- Calories: 210
- Fat: 4g (with 1g saturated)
- Carbohydrates: 39g
- Fiber: 2g
- Protein: 5g
See? That’s really balanced for a side dish, especially when you consider how filling and satisfying this Flavorful Rice Recipe is! We keep the sugar quite low, and since we are using olive oil instead of lard, the fat profile leans toward unsaturated sources. It’s a side dish that truly holds its own alongside your main course without weighing you down. I always say, if you can control the inputs, you control the output—and that applies to nutrition just as much as taste!
Share Your Experience Making This Dish
I poured my heart into making sure this mexican rice recipe is the most reliable, delicious side dish you’ll ever make. Now that you’ve toasted, simmered, and finally fluffed your rice to perfection, I truly want to hear about it! Did it remind you of your favorite taco spot? Did your kids clear their plates?
This community thrives on shared experiences. That’s why I encourage you—truly—to leave a rating below and tell me how it went in the comments section. Did you use chicken broth or vegetable broth? Did you sneak in extra jalapeños? Every piece of feedback helps me serve you better recipes in the future!
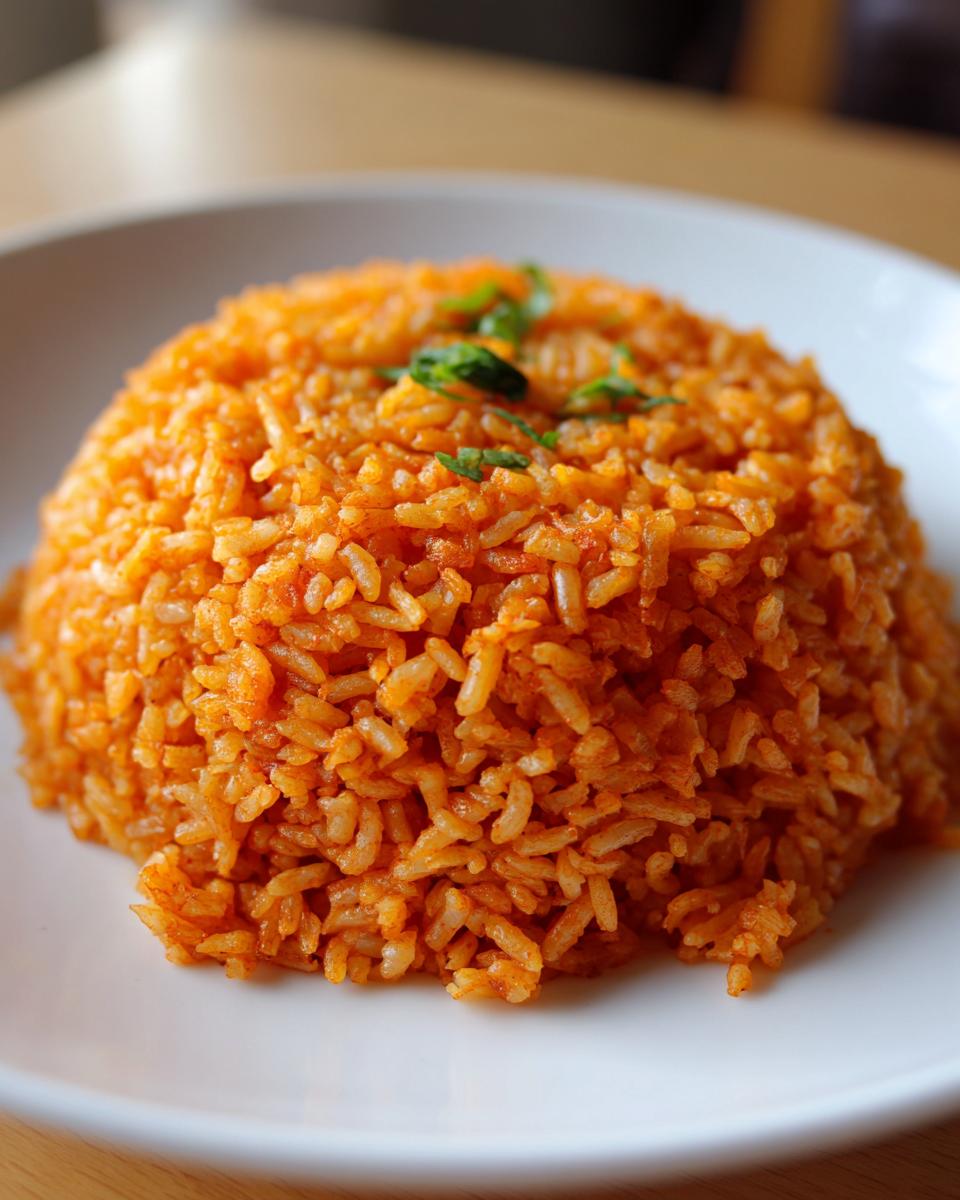
If you took a picture of your final plate—and I really hope you did, because the color on this rice is fantastic—tag me on social media. Seeing my recipes come to life on your tables is genuinely the best part of stepping away from spreadsheets and focusing on food. It fuels my passion here at Gourmet Gaze, knowing I’m helping you create feasts for the soul.
If you have any specific questions about scaling this up for a huge crowd or need to chat about substitutions that might work, don’t hesitate to reach out directly through the Contact page. Happy cooking, and thank you again for inviting my favorite Quick Mexican Rice Side Dish into your home!
PrintEasy Restaurant-Style Mexican Rice Recipe
Learn how to make authentic, fluffy Mexican rice at home. This simple, one-pot recipe delivers the flavorful taste you expect from your favorite Mexican restaurants, ready in under 30 minutes.
- Prep Time: 10 min
- Cook Time: 25 min
- Total Time: 35 min
- Yield: 4 servings 1x
- Category: Side Dish
- Method: Stovetop (One Pot)
- Cuisine: Mexican
- Diet: Gluten Free
Ingredients
- 1 tablespoon olive oil
- 1 cup long-grain white rice
- 1/2 medium white onion, finely chopped
- 2 cloves garlic, minced
- 1/2 cup tomato sauce
- 1 teaspoon chili powder
- 1/2 teaspoon ground cumin
- 1/4 teaspoon dried oregano
- 1 3/4 cups chicken broth (or vegetable broth for vegetarian)
- 1/2 teaspoon salt, or to taste
- 1/4 cup frozen peas and carrots mix (optional)
Instructions
- Heat the olive oil in a medium saucepan or Dutch oven over medium heat.
- Add the rice to the pan. Toast the rice, stirring frequently, for 5 to 7 minutes until it turns light golden brown. This step is key for fluffy Mexican rice.
- Add the chopped onion and cook for 3 minutes until softened.
- Stir in the minced garlic, chili powder, cumin, and oregano. Cook for 1 minute until fragrant.
- Pour in the tomato sauce and stir to coat the rice completely. Cook for 2 minutes, allowing the sauce to darken slightly.
- Add the chicken broth and salt. Bring the mixture to a boil.
- Once boiling, reduce the heat to the lowest setting, cover the pan tightly with a lid, and simmer undisturbed for 15 minutes. Do not lift the lid during this time.
- Remove the pan from the heat. If using, gently stir in the frozen peas and carrots mix.
- Keep the pan covered and let the rice steam off the heat for an additional 10 minutes.
- Fluff the rice gently with a fork before serving as your perfect Taco Tuesday rice side.
Notes
- For an authentic flavor, use low-sodium chicken broth.
- If you want a richer color, add a small pinch of saffron threads with the broth.
- This recipe is naturally gluten free.
Nutrition
- Serving Size: 3/4 cup cooked
- Calories: 210
- Sugar: 3
- Sodium: 450
- Fat: 4
- Saturated Fat: 1
- Unsaturated Fat: 3
- Trans Fat: 0
- Carbohydrates: 39
- Fiber: 2
- Protein: 5
- Cholesterol: 0