
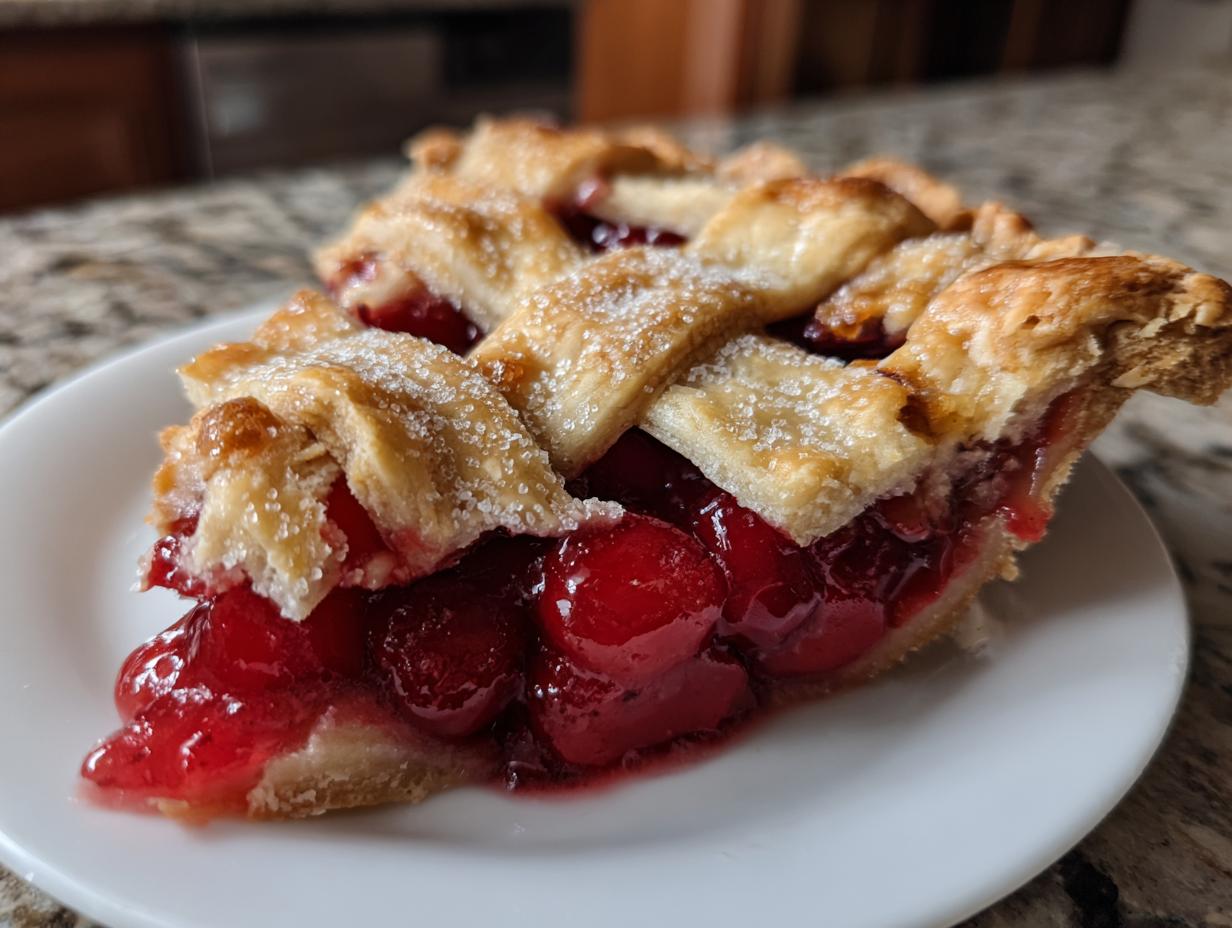

There’s something magical about a homemade cherry pie—the kind that makes your kitchen smell like a corner bakery and fills your heart with that warm, nostalgic glow. This isn’t just any pie; it’s a café-style masterpiece with a thick, sliceable filling that holds its own and a buttery lattice crust so crisp, you’ll swear it came from a professional patisserie. I still remember the first time I nailed this recipe—it was during my road-trip-turned-culinary-journey, holed up in a tiny Oregon farmhouse kitchen. The owner, a no-nonsense grandma named Elsie, showed me her secret: a splash of almond extract that makes the cherries sing and a patience-testing cooling time that ensures every slice is picture-perfect. Funny how something as simple as cherry pie can tie together memories, seasons, and generations. This recipe? It’s my love letter to those moments.
Why You’ll Love This Cherry Pie
Let me tell you why this homemade cherry pie has become my go-to dessert for family dinners, summer barbecues, and yes – especially during the holidays. It’s everything a classic cherry pie recipe should be:
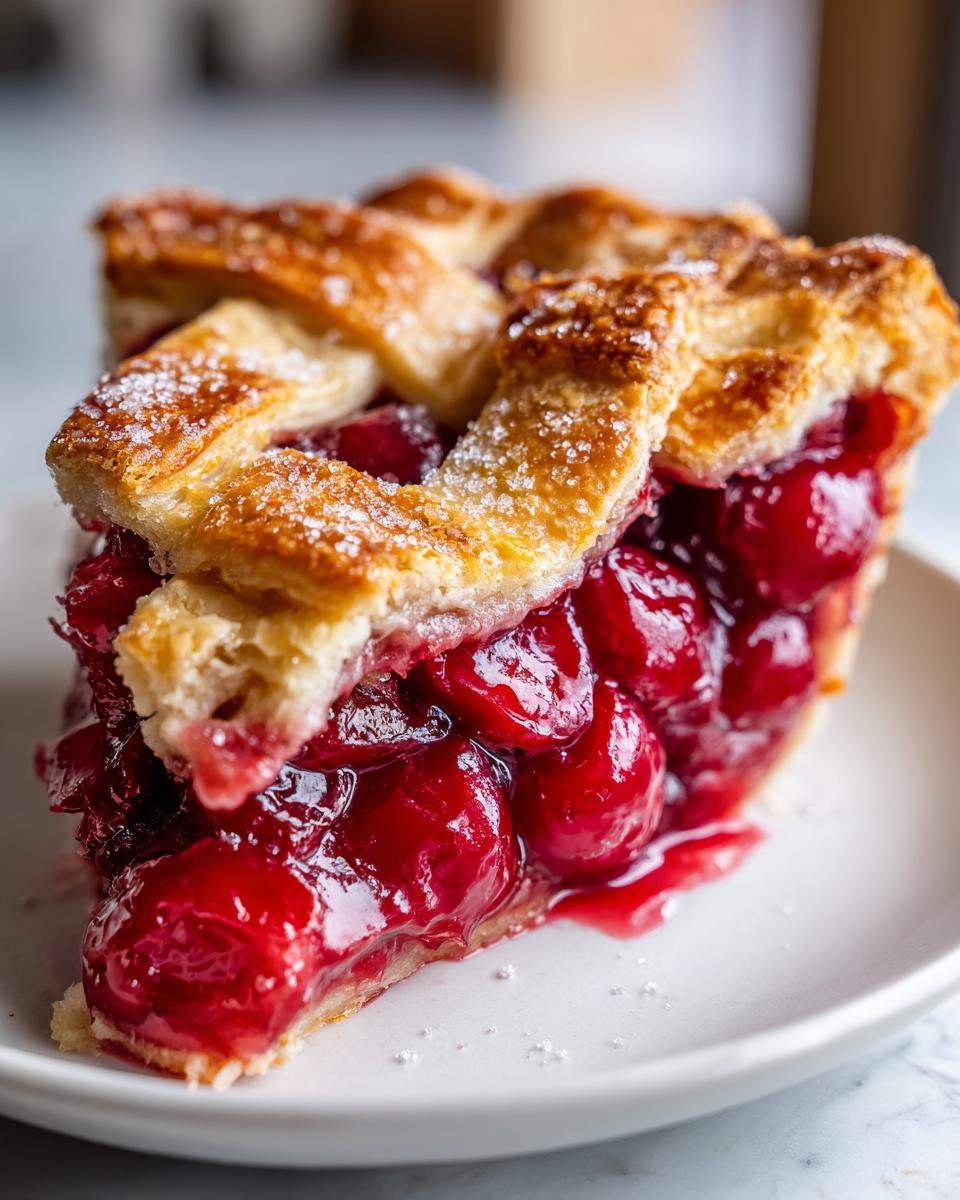
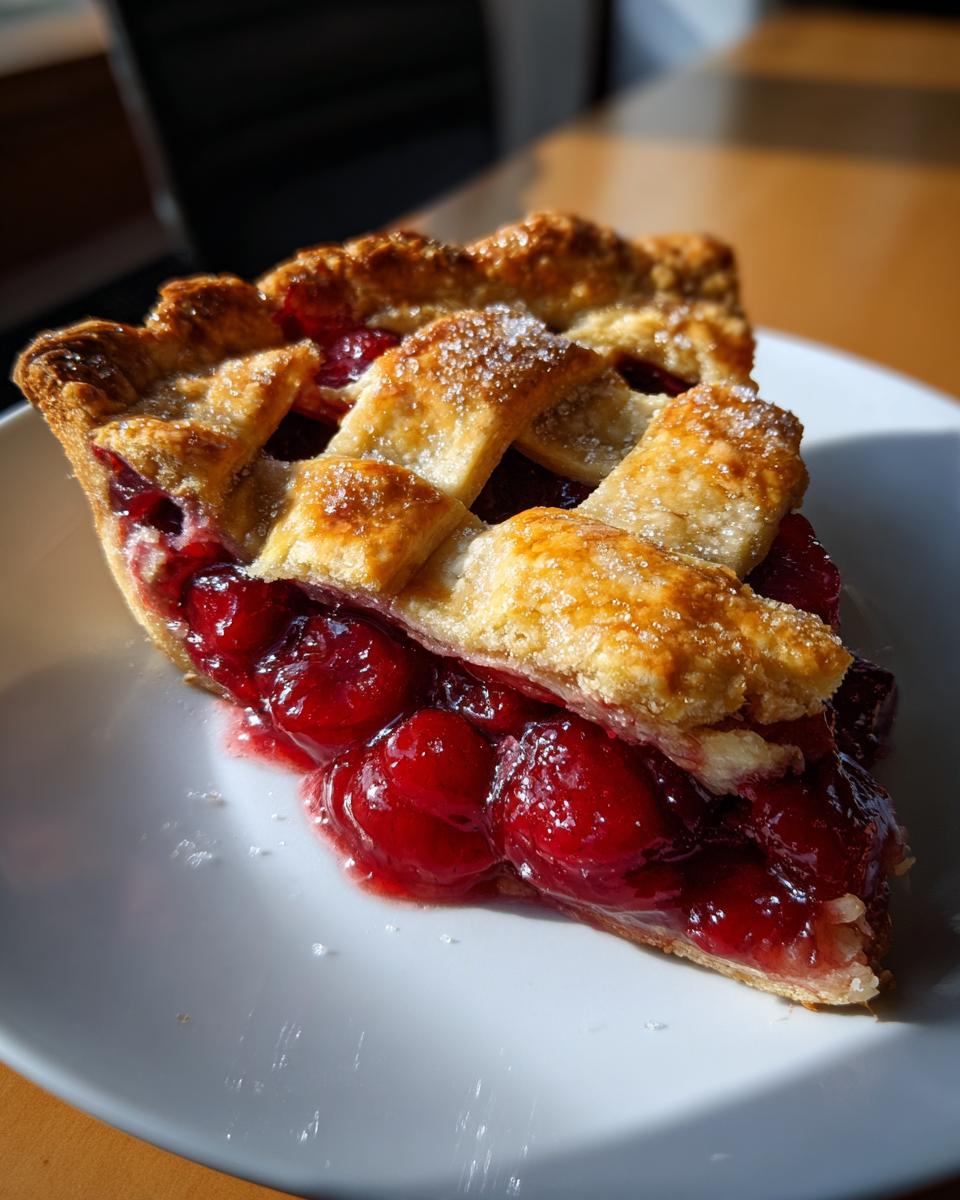
- Sliceable perfection – No runny mess here! The cornstarch-thickened filling holds its shape beautifully, so each wedge comes out clean, just like your favorite café’s display case.
- Buttery lattice crust – Crunchy on the outside, tender underneath, and so flaky you’ll catch yourself eating the trimmings straight off the baking sheet (I won’t judge).
- Bursting with fresh cherries – Because honestly, nothing beats that bright, juicy flavor. (Though I’ll let you in on a canned cherry shortcut later.)
- That almond extract magic – Just a teaspoon deepens the sweetness in a way vanilla can’t. It’s the whisper that makes people ask, “What’s your secret?”
- Holiday hero – Assemble it two days ahead, and it’s still stellar. No last-minute baking stress when guests arrive!
Trust me, this pie isn’t just dessert – it’s the kind of recipe that earns you standing ovations and “please pass the recipe” texts. And really, isn’t that the best compliment?
Cherry Pie Ingredients
Gathering the right ingredients is half the battle for that perfect homemade cherry pie. Here’s what you’ll need – and yes, every single one matters. I learned the hard way that skimping on quality or measurements can turn your pie from “wow” to “meh” real quick.
- For the cherry filling:
- 4 cups fresh sweet cherries, pitted (look for Bing cherries – their deep red color and natural sweetness are unbeatable)
- 1 cup granulated sugar
- 3 tbsp cornstarch (this is our thickening hero, so don’t eyeball it)
- 1 tbsp lemon juice (freshly squeezed brightens everything up)
- 1 tsp almond extract (this is the secret weapon – use pure extract, not imitation)
- 2 tbsp unsalted butter, cut into small cubes (for dotting over the filling – trust me on this)
- For the crust and topping:
- 2 pie crusts (homemade or store-bought – I won’t judge either way. If buying, try Pillsbury’s refrigerated pie crusts – they’re surprisingly good)
- 1 egg, beaten (for that golden egg wash)
- 1 tbsp coarse sugar (for sprinkling – this extra crunch makes all the difference)
Pro tip about the cherries: If you can’t find fresh, frozen cherries work in a pinch – just thaw and drain them well first. And invest in a simple cherry pitter (the OXO one’s my favorite). Trying to pit 4 cups with a knife? Been there, done that, got the stained fingers to prove it.
How to Make Cherry Pie
Alright, let’s turn those gorgeous ingredients into the best homemade cherry pie you’ve ever had. Don’t let the lattice crust intimidate you – I’ll walk you through every step. And remember, even if your first attempt isn’t Pinterest-perfect, it’ll still taste incredible. That’s the beauty of fresh cherry pie – it’s forgiving and downright delicious no matter what!
Preparing the Cherry Filling
First things first – get those cherries prepped. I know pitting 4 cups takes time, but it’s so worth it. (And like I said earlier, a $10 cherry pitter saves you from stained fingers and frustration.) Once they’re pitted, toss them in a big bowl with the sugar, cornstarch, lemon juice, and that magical almond extract. Stir gently but thoroughly – you want every cherry coated in that sweet, slightly tangy mixture. Let it sit for 10 minutes while you work on the crust. You’ll notice juices starting to form – that’s the sugar pulling out the cherry goodness. This waiting time is key for getting that perfect thick cherry filling later.
Assembling the Lattice Crust
Alright, let’s tackle that gorgeous lattice top! Roll out your bottom crust and fit it into a 9-inch pie dish, letting the edges hang over. Pour in the cherry filling and dot with those butter cubes – they’ll melt into little pools of richness. Now for the fun part: roll out your second crust and cut it into 1-inch strips using a pizza cutter or sharp knife. Lay half the strips horizontally across the pie, about 1 inch apart. Fold back every other strip, then lay a vertical strip perpendicular to them. Unfold the horizontal strips, then fold back the alternating ones. Add another vertical strip. Repeat until you’ve got that classic woven look. Trim the edges, crimp them together with the bottom crust, and brush everything with the beaten egg. Sprinkle that coarse sugar over the top – it’ll give you the most beautiful golden crunch!
Baking and Cooling
Pop your lattice cherry pie into a 375°F oven (here’s where an oven thermometer comes in handy – many ovens lie about their temps!). Bake for about 45-50 minutes. You’re looking for three signs it’s done: the crust is deeply golden, the filling is bubbling vigorously in the center (not just at the edges), and the pie has that heavenly cherry-almond scent. Now comes the hardest part – letting it cool completely, at least 3-4 hours. I know, I know… the wait is torture. But patience gets you clean slices that hold their shape instead of a cherry waterfall! Slide a butter knife around the edge after about 30 minutes to prevent sticking as it cools. Trust me – that sliceable, café-worthy texture is worth the wait.
Tips for the Perfect Cherry Pie
After making more cherry pies than I can count (some triumphs, some laughable disasters), I’ve picked up a few tricks that’ll save you time and guarantee that golden, sliceable wonder every time. Here’s what my recipe notes—stained with cherry juice and butter—have taught me:
- Cherry pitter = lifesaver: That $10 tool? Worth its weight in gold. No more knife-slip close calls or half-squished cherries. The OXO one grips the cherry while you punch the pit out—clean, quick, and oddly satisfying.
- Prevent soggy crusts: Sprinkle a thin layer of crushed graham crackers or breadcrumbs on the bottom crust before adding filling. It soaks up extra juices without changing the flavor. Same trick works for pot pies!
- Taste your cherries first: Sweeter than expected? Reduce sugar by 2-3 tbsp. Tart? Add an extra 1-2 tbsp. Baking’s a conversation, not a monologue—adjust as needed.
- Holiday meal planning hack: Bake it 2 days ahead, let it cool completely, then wrap tightly in foil. The flavors meld beautifully, and the crust stays crisp. Just warm slices gently in a 300°F oven for 10 minutes before serving.
- Leftovers? Cover loosely with wax paper (plastic makes the crust sweat). Reheat slices in a skillet—it revives the crunch better than a microwave ever could.
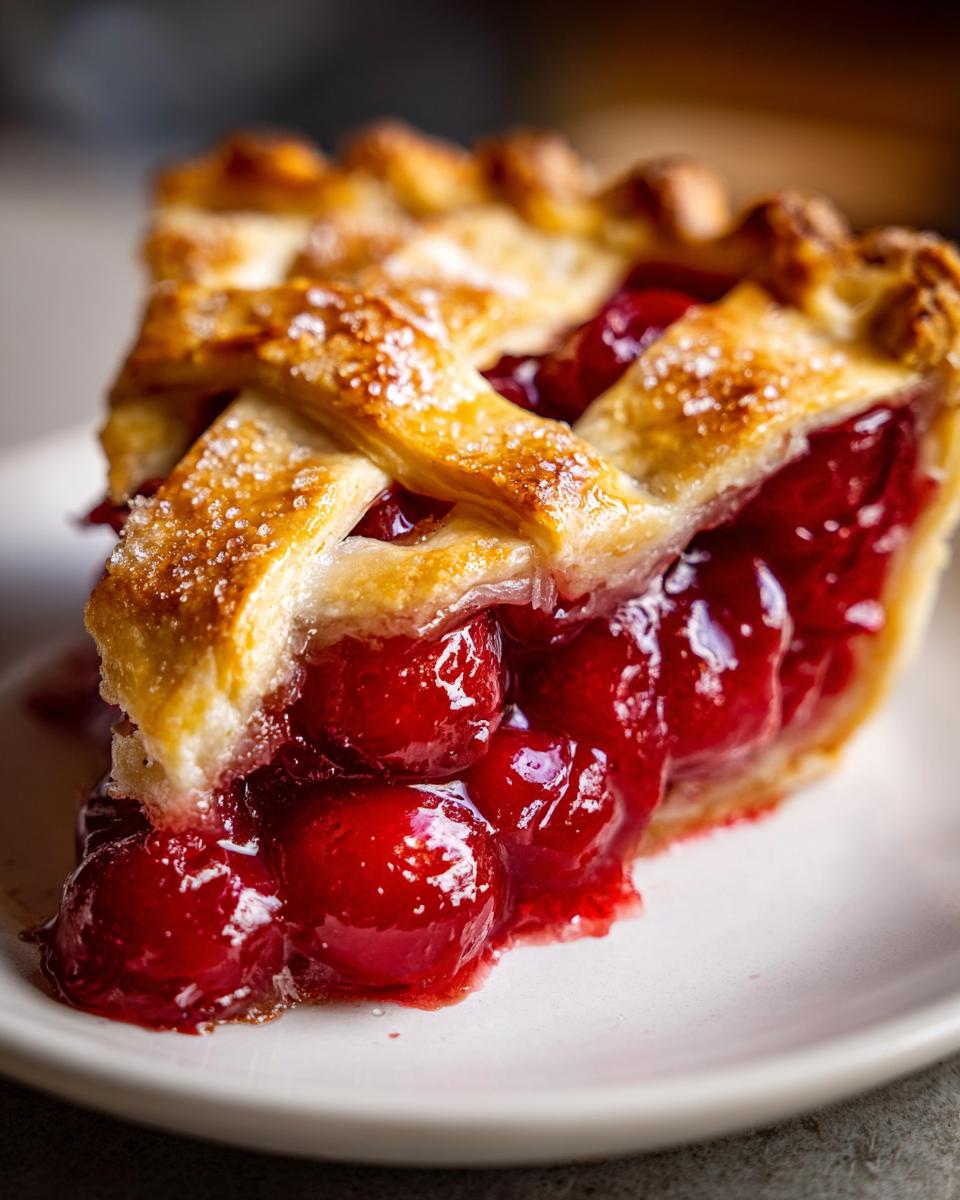
Most importantly? Embrace the imperfections. My first lattice looked like a toddler’s art project, but it still vanished at the dinner table. That’s the joy of homemade cherry pie—it’s delicious even when it’s “rustic.”
Cherry Pie Variations
Look, I’m all for the classic fresh cherry pie, but let’s be real—sometimes you need to switch things up! Here’s how to tweak this recipe for different tastes and occasions:
- Canned cherry shortcut: In a pinch? Use two 14.5-oz cans of tart cherries (drained well). Cut the sugar to 3/4 cup since canned cherries often come packed in syrup.
- Spice it up: Add 1/4 tsp cinnamon or cardamom to the filling for a cozy twist—perfect for holiday meals when you want that extra warmth.
- Gluten-free crust: Swap in your favorite gluten-free pie crust (I like King Arthur’s mix). For a nutty alternative, try an almond flour crust—it pairs amazingly with that almond extract.
- Mini pies: Use a muffin tin and leftover dough to make adorable individual portions—great for meal planning or gluten-free meal delivery to friends.
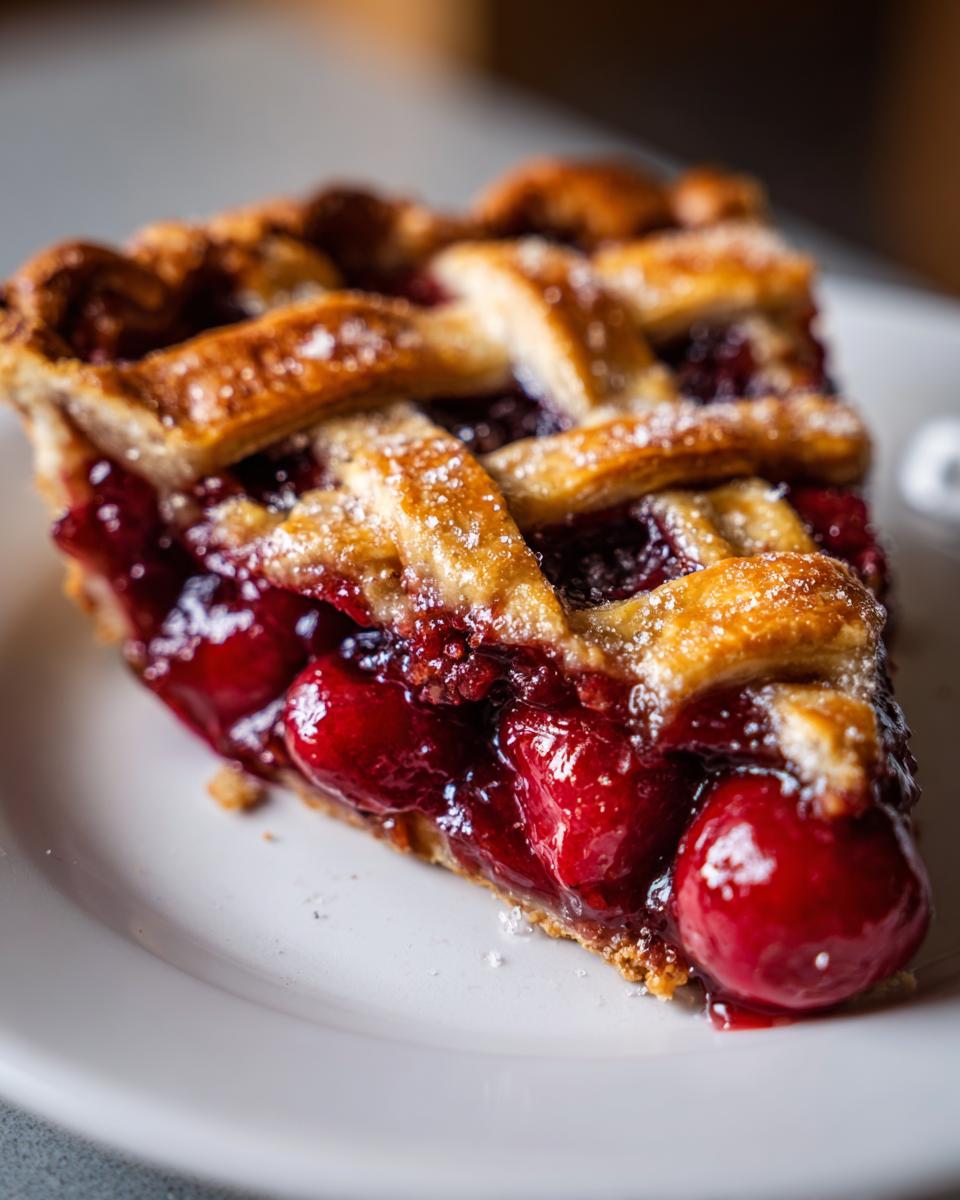
The best part? No matter which version you try, that sweet-tart cherry flavor still shines through. Baking’s all about making it work for you!
Serving and Storing Cherry Pie
Okay, here’s the truth – as tempted as you’ll be to slice that cherry pie the second it leaves the oven, resist! Let it cool completely (yes, I’m serious about those 3-4 hours). That waiting time is what gives you those perfect, café-quality slices that hold their shape rather than oozing everywhere. Serve each wedge slightly warmed with a scoop of vanilla ice cream – the cold creaminess against the warm filling is absolute heaven. Can’t find ice cream? A dollop of fresh whipped cream works just as well.
For storing, here’s my method: First day? Just cover loosely with a clean towel on the counter. Beyond that, pop it in the fridge for up to 5 days – the crust will soften a bit, but a quick 10-minute warm-up in a 300°F oven brings back the crunch. Want to freeze it? Wrap cooled slices individually in parchment, then foil. They’ll keep for 3 months (though good luck resisting that long!). Holiday meal planning pro tip: Bake it 2 days ahead – the flavors actually improve as they mingle. Just hold off on slicing until serving time for the prettiest presentation.
Cherry Pie FAQs
I’ve gotten so many questions about this classic cherry pie recipe over the years – here are the answers that’ll save you from making the same mistakes I did!
Can I use frozen cherries instead of fresh?
Absolutely! Frozen cherries work great in this homemade cherry pie – just thaw them first and drain off any excess liquid. You might need to add an extra tablespoon of cornstarch since frozen cherries release more water as they bake. I always keep a bag in my freezer for spontaneous pie cravings.
Why is my cherry pie filling runny?
Three likely culprits: You didn’t let the filling thicken enough before baking, you cut into the pie too soon (remember that 3-4 hour cooling time is essential!), or you didn’t use enough cornstarch. For extra insurance, you can mix the cornstarch with 1 tbsp of the sugar before adding it to the cherries – this prevents clumping.
Can I make this pie ahead for holidays?
Yes, and it’s a lifesaver for holiday meal planning! Bake it up to 2 days in advance, let it cool completely, then cover loosely with foil at room temp. The flavors actually improve as they mellow together. Just warm slices briefly in a 300°F oven before serving – the crust stays crisp and the filling stays sliceable.
Do I really need almond extract?
Technically no, but oh my goodness, yes! That teaspoon is what takes this fresh cherry pie from “good” to “holy cow what’s in this?” It enhances the cherry flavor without tasting like almonds – just adds incredible depth. If you must substitute, use 1½ tsp vanilla instead.
Nutritional Information
Just a quick note: these numbers are estimates—your exact counts may vary based on ingredient brands and measurements. Per generous slice of this homemade cherry pie, you’re looking at roughly:
- 320 calories
- 28g sugar (cherries and sugar teaming up for that sweet magic)
- 12g fat (thank that butter for the flaky crust)
- 2g fiber (those cherry skins count for something!)
Not exactly health food—but worth every single bite if you ask me. Pie is joy, after all.
PrintClassic Cherry Pie
A sliceable café-style pie with thick, non-runny filling and a buttery lattice crust. Uses fresh cherries and a hint of almond extract.
- Prep Time: 30 min
- Cook Time: 50 min
- Total Time: 80 min
- Yield: 8 servings 1x
- Category: Dessert
- Method: Baking
- Cuisine: American
- Diet: Vegetarian
Ingredients
- 4 cups fresh cherries, pitted
- 1 cup granulated sugar
- 3 tbsp cornstarch
- 1 tbsp lemon juice
- 1 tsp almond extract
- 2 tbsp unsalted butter
- 2 pie crusts (homemade or store-bought)
- 1 egg, beaten (for egg wash)
- 1 tbsp coarse sugar (for topping)
Instructions
- Preheat oven to 375°F (190°C).
- In a bowl, mix cherries, sugar, cornstarch, lemon juice, and almond extract.
- Roll out one pie crust and place it in a 9-inch pie dish.
- Pour the cherry filling into the crust and dot with butter.
- Cut the second pie crust into strips and weave a lattice pattern over the filling.
- Brush the lattice with beaten egg and sprinkle with coarse sugar.
- Bake for 45-50 minutes until the crust is golden and the filling is bubbly.
- Cool completely before slicing.
Notes
- For a make-ahead option, prepare the pie up to 2 days in advance and store it in the fridge.
- Use a cherry pitter for faster prep.
- Serve with vanilla ice cream for extra indulgence.
Nutrition
- Serving Size: 1 slice
- Calories: 320
- Sugar: 28g
- Sodium: 180mg
- Fat: 12g
- Saturated Fat: 5g
- Unsaturated Fat: 6g
- Trans Fat: 0g
- Carbohydrates: 52g
- Fiber: 2g
- Protein: 3g
- Cholesterol: 30mg