
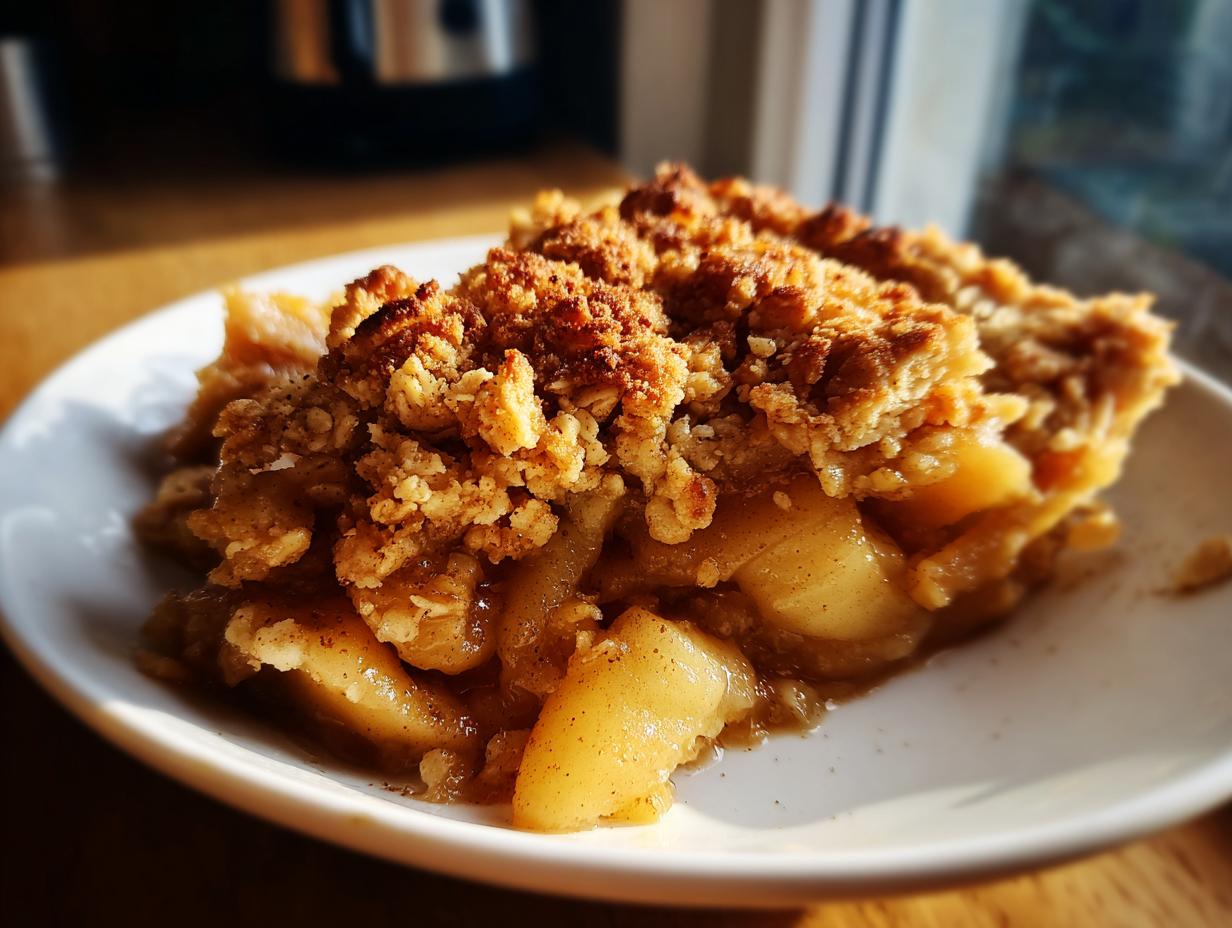

I’ll never forget the first time I had real apple crumble. It was during my culinary journey through the Pacific Northwest, at a tiny farmhouse nestled between apple orchards. They served it straight from the oven – that magical moment when the cinnamon-scented steam rises to meet you and the topping makes that perfect crinkly sound as you dig in. And here’s the thing: this wasn’t some fancy restaurant dessert. It was pure, simple comfort food that came together in minutes.
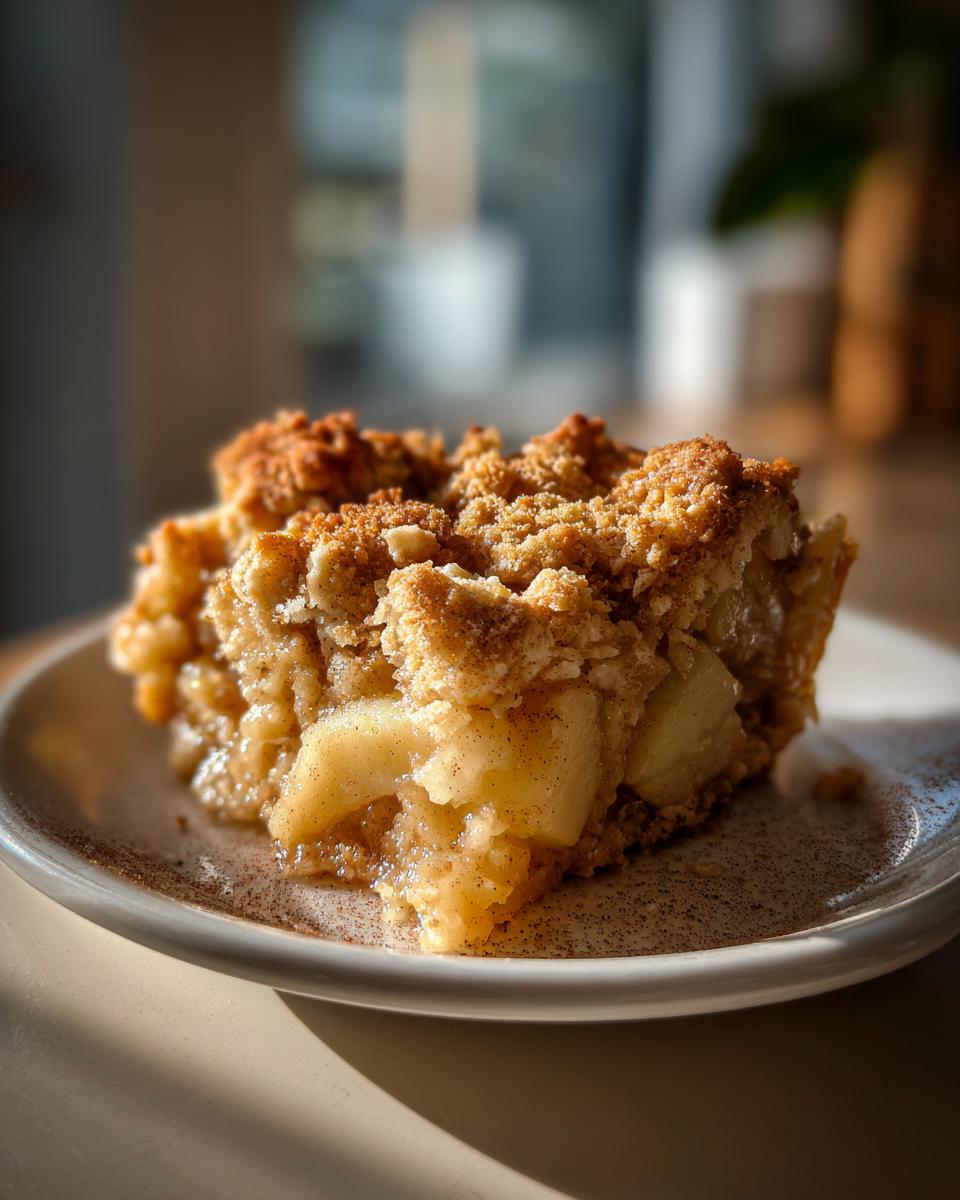
That’s why I love this apple crumble recipe – it’s my go-to when I want that same cozy feeling without spending hours in the kitchen. Whether it’s a Tuesday night after work or Thanksgiving dessert when the oven’s already going, this recipe never fails. The sweet-tart apples, the buttery crumble, and those warm spices create something truly special from the most basic ingredients. And when that vanilla ice cream starts melting into the warm apples? Trust me, you’ll understand why I make this at least once every fall (and okay, maybe all winter too).
Why You’ll Love This Apple Crumble
Let me tell you why this apple crumble has become my desert island dessert – the one I’d choose if I could only make one thing for the rest of my life:
- It’s embarrassingly easy – Seriously, the hardest part is peeling those apples. Even my cooking-phobic cousin nailed this on her first try (and now makes it weekly for meal planning purposes).
- Uses pantry staples – Butter, flour, sugar and apples. That’s basically it! No need for special shopping trips.
- Your way or the highway – Add oats for texture, ditch them if you prefer the classic version. I’ve made this easy apple crumble both ways a dozen times and never been disappointed.
- Better tomorrow – The leftovers?! Oh, the leftovers! Stash some in your fridge for the ultimate quick apple dessert later – the flavors deepen so beautifully.
- Instant holiday vibes – Nothing says “cozy gathering” like that cinnamon smell filling your kitchen in under an hour.
And here’s my favorite part – while it tastes like you spent all day baking, you’ll have enough free time to actually enjoy your evening. Now that’s what I call a win!
Ingredients for the Best Apple Crumble
What I love about this apple crumble is how the simple ingredients combine to create something magical. Here’s everything you’ll need to make it – I bet most of this is already in your pantry:
- 4 cups peeled and sliced apples – Granny Smith give that perfect tartness, but Honeycrisp work beautifully if you like it sweeter (see my note below the list!)
- 1/2 cup granulated sugar – For tossing with the apples – just enough to balance their natural tartness
- 1/2 cup all-purpose flour – The base of our crumble topping
- 1/2 cup rolled oats – Optional but wonderful for texture (if you’re going old fashioned apple crumble style, leave these out)
- 1/2 cup packed brown sugar – Pack it in there! Dark brown sugar adds caramel notes that make this special
- 1/2 teaspoon cinnamon – The spice that makes it smell like childhood
- 1/4 teaspoon nutmeg – Just a pinch for warmth
- 1/4 cup cold butter, cubed – Straight from the fridge – this is key for perfect crumbs
Psst… here’s my baker’s secret: The first time I made this, I used whatever apples I had on hand (even bruised ones work great). But I later discovered that mixing two varieties – say, 2 cups tart Granny Smith and 2 cups sweet Fuji – creates the most balanced flavor. Try it next time!
How to Make Apple Crumble
Alright, let’s get that apple crumble in the oven! This is the part where simple ingredients transform into something magical. Don’t worry – even if you’re new to baking, my step-by-step guide will have you making this like a pro. First things first: preheat your oven to 375°F (190°C). That gives us time to prepare everything while the oven comes up to temperature. And here’s my little secret – I always pop my mixing bowl in the freezer for 5 minutes before making the topping. Cold bowls make for flakier crumbs!
Preparing the Apples
Start with your apples – peeled, cored, and sliced about 1/4-inch thick. Too thin, and they’ll turn to mush; too thick, and they won’t soften properly. I use Granny Smith for tartness, but Honeycrisp are fantastic if you prefer sweeter. Toss them in your baking dish with the granulated sugar – don’t be shy about getting them well coated. The sugar will mingle with the apple juices as they bake, creating that lovely syrupy goodness at the bottom.
Making the Crumble Topping
Now for the fun part – the topping! Whisk together your flour, oats (if using), brown sugar, cinnamon and nutmeg in that chilled bowl. Then take your cold, cubed butter and start “cutting it in” – that’s just a fancy way of saying mix it until the butter is in pea-sized pieces. Use your fingers, a pastry cutter, or even two forks. You want it to look like coarse crumbs with some larger chunks – those will melt into glorious crispiness. Pro tip: If the butter starts getting soft, pop the whole bowl in the fridge for 5 minutes.
Baking and Serving
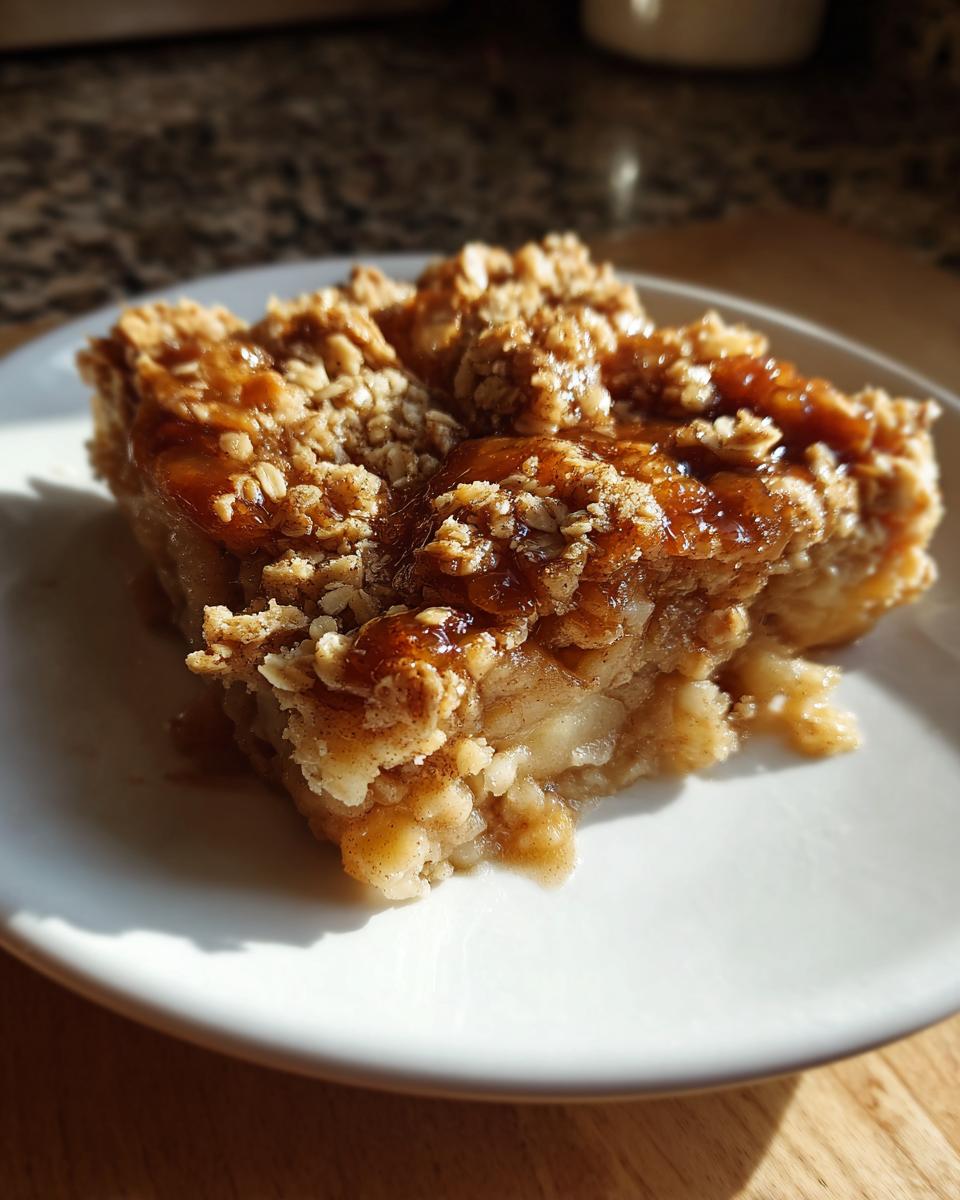
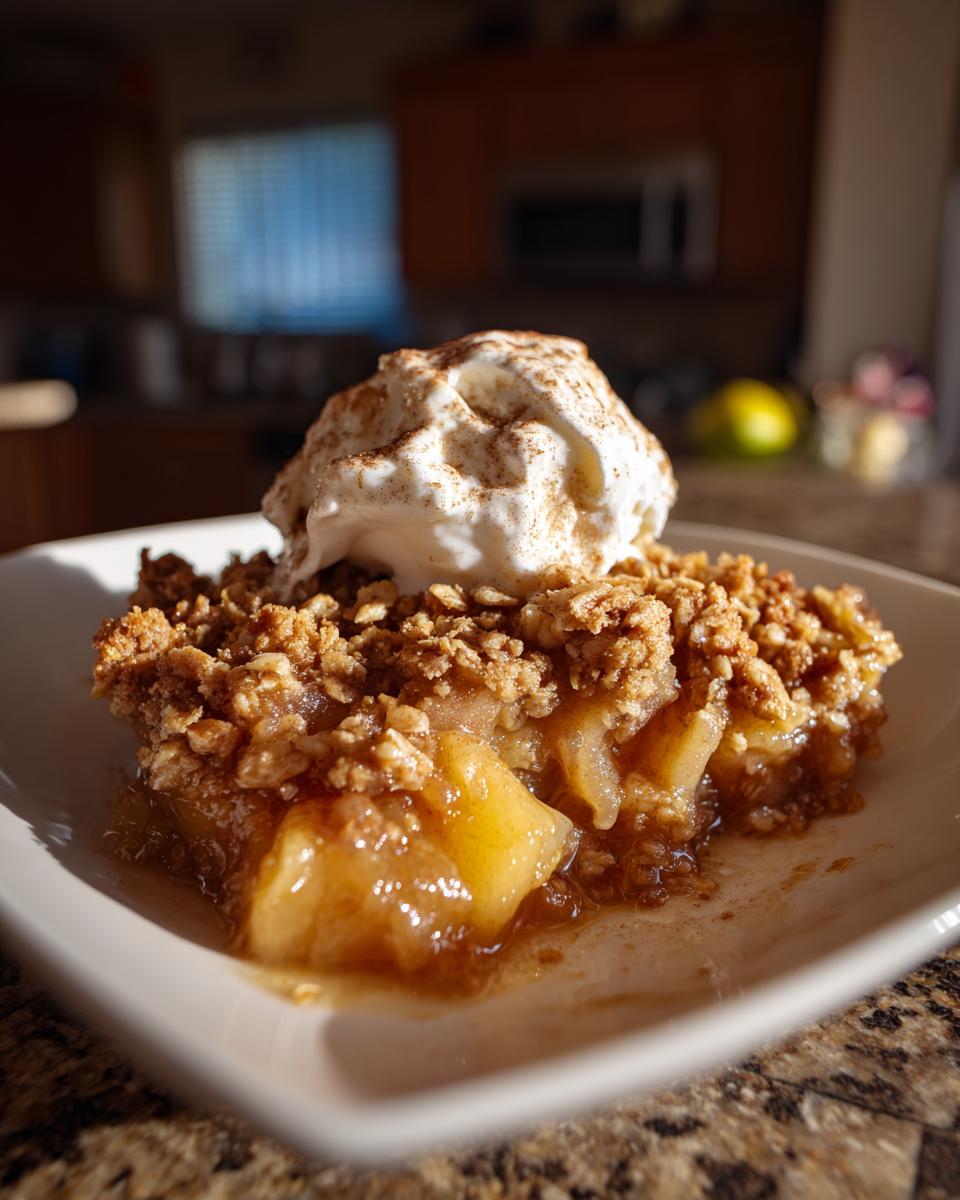
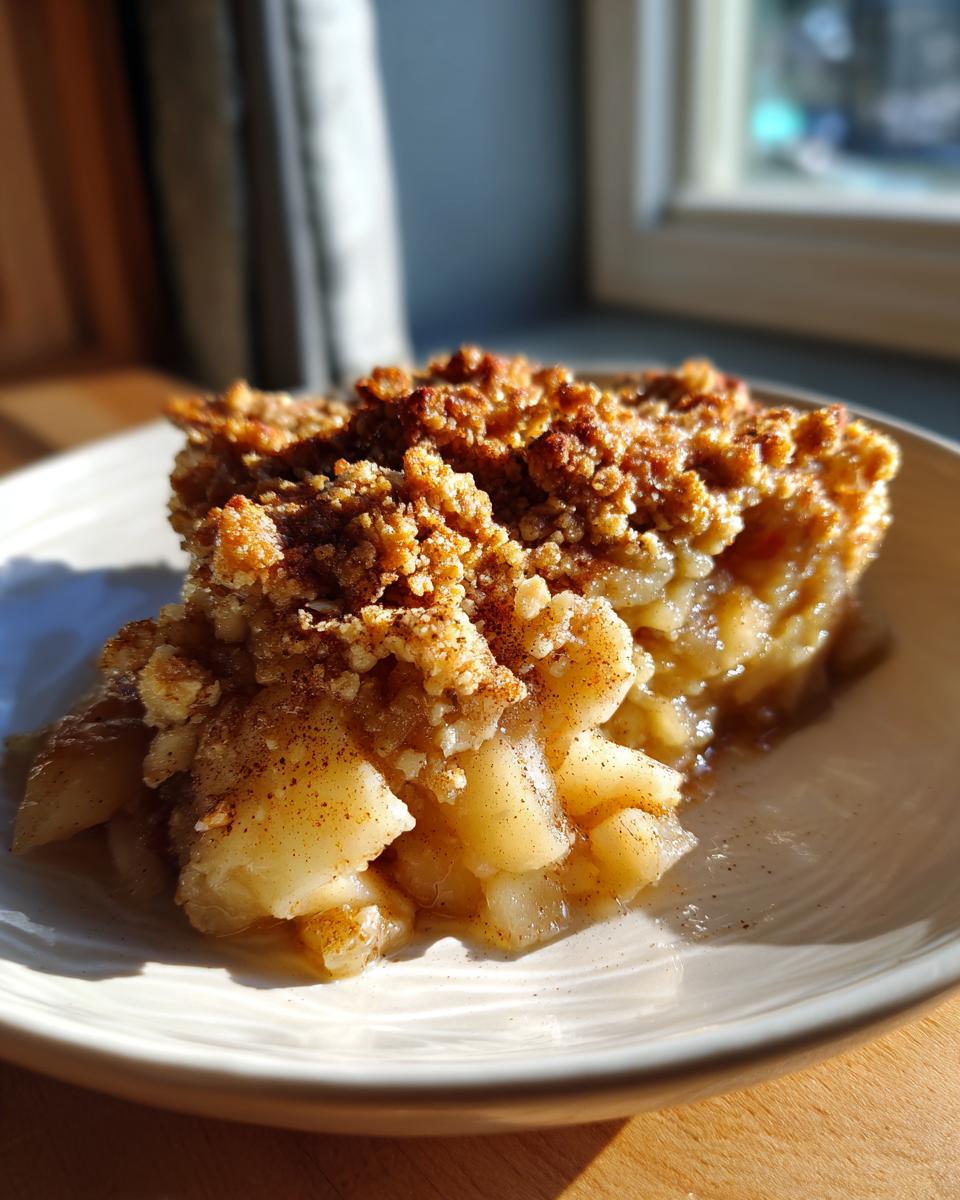
Sprinkle your crumble topping evenly over the apples – I like to press some down lightly so it sticks. Bake for 30-35 minutes until the top is golden brown and you can see bubbly syrup peeking around the edges. Give it 10 minutes to cool slightly (the hardest wait ever, I know!) before serving with a big scoop of vanilla ice cream. That contrast of warm, spiced apples and cold cream is what old fashioned apple crumble dreams are made of!
Tips for the Perfect Apple Crumble
After making this apple crumble dozens of times (okay, maybe hundreds – don’t judge!), I’ve picked up some game-changing tricks that’ll make yours foolproof:
- Butter needs to be COLD – Like, just-out-of-the-fridge cold. Warm butter makes greasy crumbs instead of those perfect crispy bits we love. If your kitchen’s hot, freeze the butter for 10 minutes first!
- Hands off the topping! Once you’ve got those pea-sized butter bits, stop mixing. Overworked dough turns tough – we want tender, shattery crumbs.
- The 10-minute rule – Letting it cool slightly isn’t just safety talk. Those minutes allow the syrupy apple juices to thicken up beautifully instead of running everywhere.
- My secret weapon? A pinch of salt in the topping. It sounds weird, but that tiny bit of saltiness makes all the sweet flavors pop like nothing else!
Remember – the messier your hands get making this, the better it tastes. That’s my official baking philosophy!
Apple Crumble Variations
One of my favorite things about this apple crumble is how easily you can make it your own! Here are some delicious twists I’ve tried over the years that keep this dessert feeling fresh:
- Nutty crunch: Toss 1/4 cup chopped pecans or walnuts into your crumble topping mixture – they toast up beautifully in the oven and add lovely texture. (My Texas friend swears by adding a tablespoon of bourbon with the nuts!)
- Spice it up: Swap out classic cinnamon for apple pie spice, or add a pinch of cardamom for something unexpected. I sometimes throw in a teaspoon of orange zest for brightness.
- Gluten-free hack: Use almond flour or gluten-free all-purpose flour instead of regular flour. The texture will be slightly more delicate, but just as delicious – you’ll barely notice the difference!
- Tropical twist: Layer in 1/2 cup shredded coconut with your apples, or mix coconut flakes into the topping for extra crunch.
The best part? Most of these variations don’t even add prep time to this quick apple dessert. Just toss them in and bake as usual – your taste buds will thank you!
Storing and Reheating Apple Crumble
Listen, I know you’ll want to eat the whole pan, but if you do manage to have leftovers (go you!), here’s how to keep that apple crumble tasting fresh for days:
First, let it cool completely before covering – otherwise, you’ll trap steam and make the topping soggy. Store it in an airtight container in the fridge for up to 3 days, though in my house it never lasts that long! To reheat, skip the microwave (which makes the topping soft) and pop individual portions in a 350°F oven for 8-10 minutes. The secret? Sprinkle a few drops of water over the top before reheating – it revives the apples perfectly.
Meal planning tip: I often make two batches on Sunday – one for dessert that night, and another I reheat midweek when I’m craving comfort food. The flavors actually get better after a day in the fridge! Just freeze any portions you won’t eat within 3 days – wrapped tightly, they’ll keep for a month. Morning meetings always feel better when you’ve got warm apple crumble waiting at home.
Apple Crumble FAQ
I get so many questions about this apple crumble recipe – let’s tackle the big ones that pop up again and again in my kitchen and inbox:
Can I freeze apple crumble?
Absolutely! This is one of my favorite make-ahead desserts for meal planning. Bake it completely, let it cool, then wrap the whole dish tightly in plastic wrap followed by foil. Frozen, it’ll keep for about a month. When you’re ready, reheat it straight from frozen (unwrapped) at 350°F for 30-40 minutes until bubbly. The topping might lose a bit of crispness, but the flavors stay delicious!
What’s the best apple variety for crumble?
Hands down, Granny Smith is my go-to for that perfect sweet-tart balance. They hold their shape beautifully when baked. If you prefer sweeter, Honeycrisp or Fuji are fantastic options. My secret? Mix two types – the flavor complexity will blow your mind!
Can I use frozen apples?
You can, but here’s the trick: thaw them first and drain the excess liquid, or they’ll make your crumble soggy. Toss them with an extra tablespoon of flour to absorb the extra moisture. This small batch apple crumble works great with frozen fruit when you’re in a pinch!
How do I make the topping crispier?
Three words: cold butter, patience, and heat. Make sure your butter is fridge-cold when mixing the topping. Let the baked crumble rest 10 minutes before serving – this lets the topping set. For extra crunch, broil for the last 2 minutes of baking (but watch it like a hawk!).
Nutritional Information
Just a quick heads up – these nutrition estimates are for my basic apple crumble recipe (hold the ice cream, sad but true!). Keep in mind that numbers can vary depending on your apple varieties, sugar choices, or brand differences. I always say – when it comes to comfort food like this, savor every bite first, then we can talk about balance tomorrow!
PrintApple Crumble
A comforting, old-fashioned dessert ready in under an hour, perfect for weeknight or holiday meals.
- Prep Time: 15 min
- Cook Time: 35 min
- Total Time: 50 min
- Yield: 6 servings 1x
- Category: Dessert
- Method: Baking
- Cuisine: American
- Diet: Vegetarian
Ingredients
- 4 cups peeled and sliced apples
- 1/2 cup granulated sugar
- 1/2 cup all-purpose flour
- 1/2 cup rolled oats
- 1/2 cup brown sugar
- 1/2 teaspoon cinnamon
- 1/4 teaspoon nutmeg
- 1/4 cup cold butter, cubed
Instructions
- Preheat your oven to 375°F (190°C).
- Place the sliced apples in a baking dish and sprinkle with granulated sugar.
- In a bowl, mix flour, oats, brown sugar, cinnamon, and nutmeg.
- Cut in the cold butter until the mixture resembles coarse crumbs.
- Sprinkle the crumble topping evenly over the apples.
- Bake for 30-35 minutes until the topping is golden and the apples are tender.
- Let cool slightly before serving.
Notes
- Use Granny Smith or Honeycrisp apples for the best texture.
- Reheat leftovers in the oven at 350°F (175°C) for 10 minutes.
- Serve with vanilla ice cream for extra indulgence.
Nutrition
- Serving Size: 1 serving
- Calories: 250
- Sugar: 25g
- Sodium: 50mg
- Fat: 8g
- Saturated Fat: 5g
- Unsaturated Fat: 2g
- Trans Fat: 0g
- Carbohydrates: 45g
- Fiber: 3g
- Protein: 2g
- Cholesterol: 20mg