
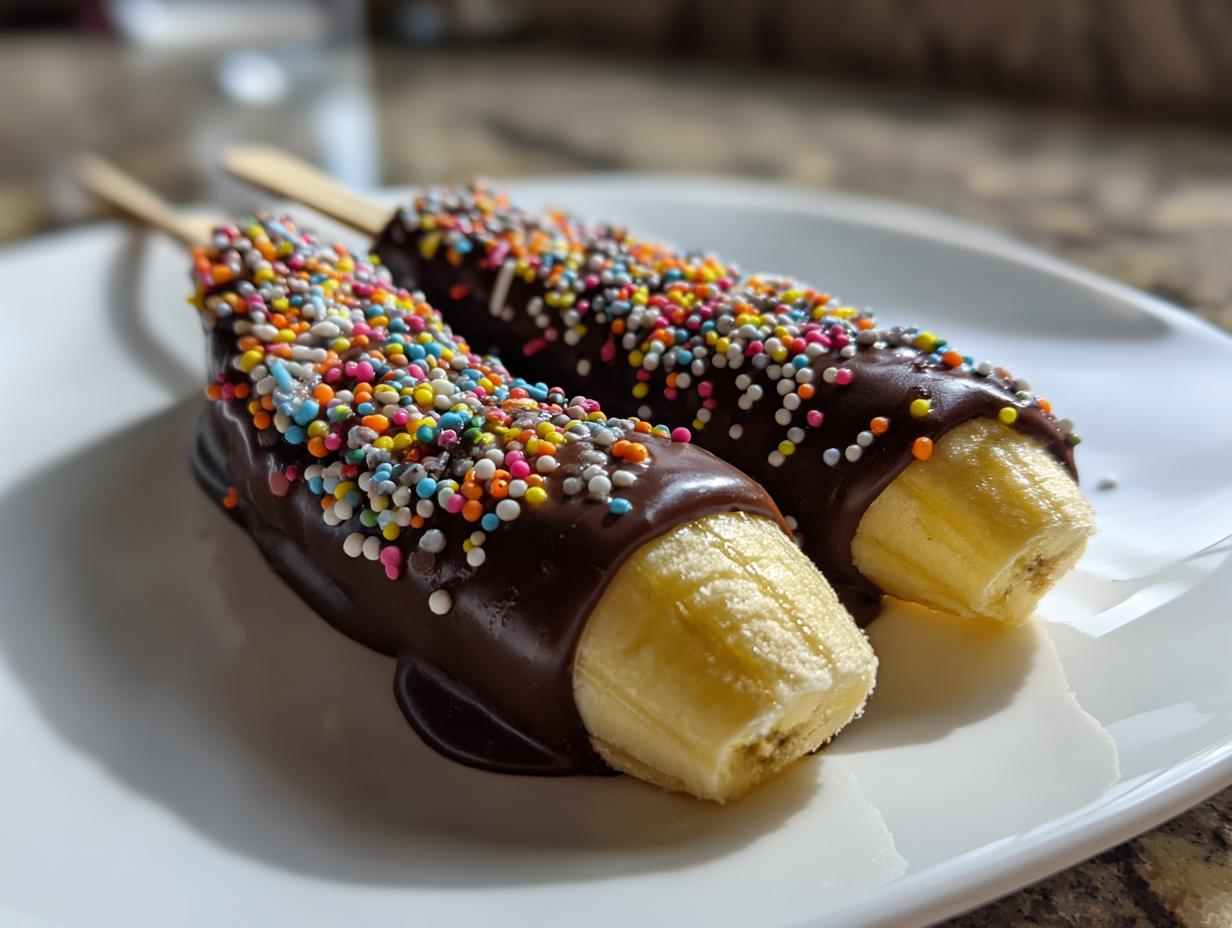

Last summer, I found myself staring at a bunch of overripe bananas and a group of restless kids begging for a sweet treat. That’s when I remembered my mom’s trick—chocolate banana pops! Within minutes, we were laughing, dipping bananas in melted chocolate, and decorating them with sprinkles like it was a mini craft project. These frozen delights became our go-to summer dessert, perfect for those hot afternoons when turning on the oven felt like a crime. What I love most? They’re no-fuss, freezer-friendly, and a hit at every party. Plus, they make meal planning a breeze—just grab one from the freezer when a snack attack strikes!
Why You’ll Love These Chocolate Banana Pops
Trust me, these chocolate banana pops will become your new obsession – and here’s why:
- No oven required: When summer heat hits, these frozen treats save the day without heating up your kitchen
- Kid-approved magic: Little hands love helping with the dipping and decorating (plus sneaking a taste!)
- Cool summer bliss: That icy chocolate crunch is pure refreshment on sweltering afternoons
- Toppings galore: Customize with nuts, coconut, or rainbow sprinkles for endless fun
- Meal planning hero: Make a batch ahead and have instant dessert ready all week long
The best part? You probably have most ingredients sitting in your pantry right now. How’s that for an easy win?
Ingredients for Chocolate Banana Pops
Here’s what you’ll need to make the dreamiest chocolate banana pops – and yes, they’re simple than you think! I always tell my friends: the magic is in using just-right ingredients:
- 4 ripe bananas (yellow with some spots – not too soft, not too green)
- 8 wooden popsicle sticks (or sturdy paper straws for a cute twist)
- 1 cup dark chocolate chips (my secret for rich flavor, but milk chocolate works too)
- 1 tbsp coconut oil (makes the chocolate silky-smooth for dipping)
Now for the fun part – decorating! These are totally optional but oh-so tempting:
- 1/4 cup chopped nuts (pistachios add gorgeous color, peanuts give that classic crunch)
- 1/4 cup sprinkles (rainbow, chocolate, or even gold dust for fancy parties)
Pro tip from my messy experience: measure your toppings before you start dipping – things move fast once that chocolate melts!
How to Make Chocolate Banana Pops
Making these chocolate banana pops is so easy, you’ll wonder why you haven’t been making them all summer! I always say: if you can peel a banana and stir chocolate, you’re halfway there. The key is working in stages – prep, freeze, dip, decorate. And don’t worry, I’ve included all my hard-earned “oops-proof” tips from years of making these with excited little hands in the kitchen. Let’s get started!
Step 1: Prepare the Bananas
First things first – grab those spotty yellow bananas (too green means they won’t be sweet enough!). I peel them completely, then cut each one cleanly in half across the middle – perfect bite-sized pops! Now for the fun part: gently push a popsicle stick into the flat end of each half, about halfway through. Pro tip: if kids are helping, have them hold the banana while you insert the stick – prevents any squishy accidents!
Step 2: Freeze the Bananas
Here’s where the magic happens – lay your banana pops on a parchment-lined tray (trust me, this prevents major sticking drama later) and pop them in the freezer for a solid hour. This chill time is crucial – frozen bananas dip WAY better than room temp ones. The firm texture means your chocolate coating will stick perfectly without sliding off into a melted mess!
Step 3: Melt the Chocolate
When the bananas are almost done freezing, melt your chocolate chips with the coconut oil in a microwave-safe bowl. I zap mine in 30-second bursts – stir well after each one! The coconut oil makes the chocolate gloriously smooth, but watch it doesn’t get too hot (burnt chocolate is the worst). Want to know it’s ready? It should drizzle off a spoon like warm honey when perfectly melted!
Step 4: Dip and Decorate
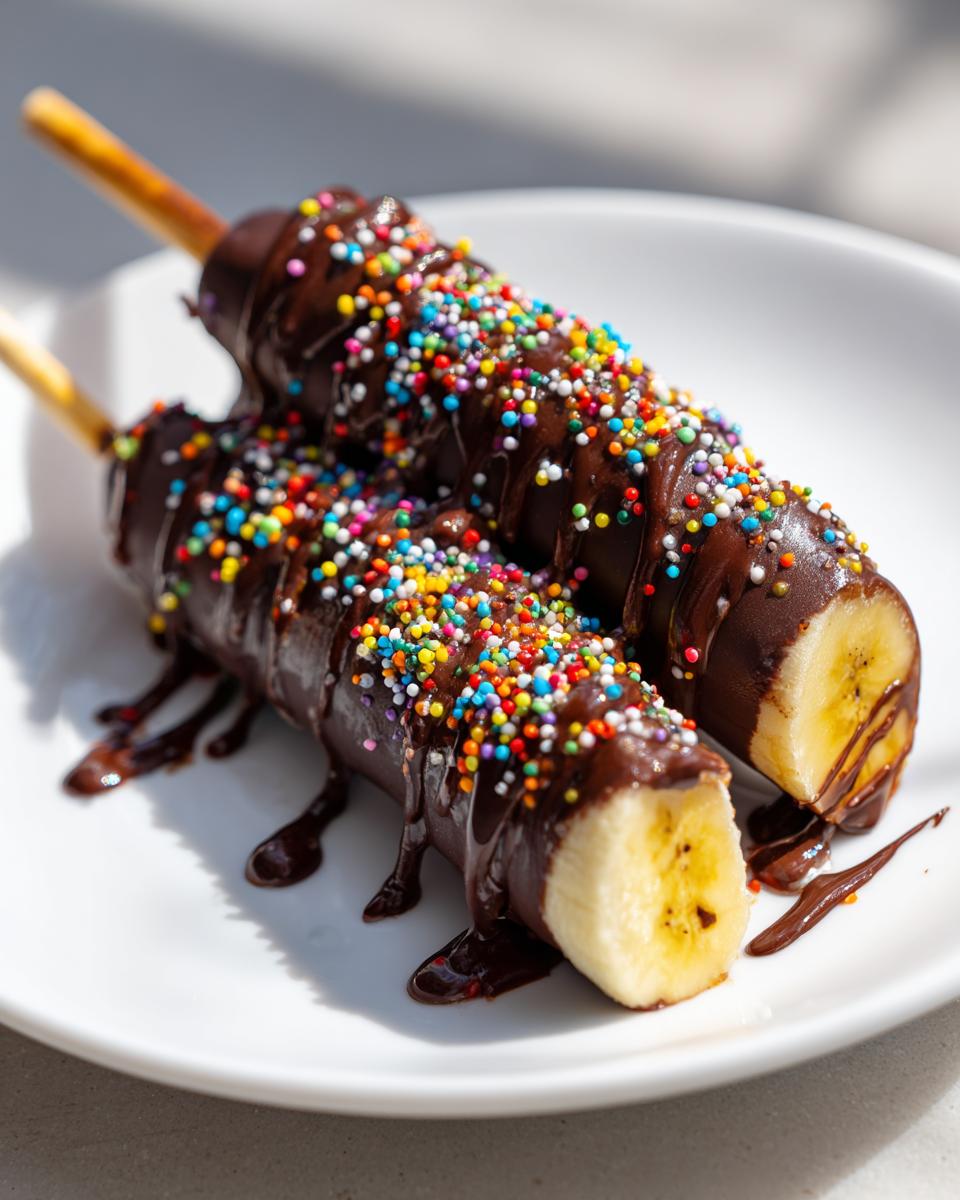
Work quickly here – grab a frozen banana, dunk it fully in the chocolate, then twirl gently to let excess drip off. This is where kids shine – have them ready with toppings to sprinkle immediately before the chocolate sets! Crushed peanuts, colorful sprinkles, shredded coconut – go wild! Return decorated pops to the parchment tray, freeze 30 more minutes, and ta-da! Your masterpiece is ready.
Tips for Perfect Chocolate Banana Pops
After making way more chocolate banana pops than I’d care to admit (some perfect, some… creative), I’ve learned all the tricks to get them right every time! First – those bananas need to be just ripe – yellow with brown speckles like a leopard’s spots. Too green and they’re bland, too mushy and they won’t hold their shape. My golden rule? Work fast with the chocolate! It starts setting the second you take it off the heat.
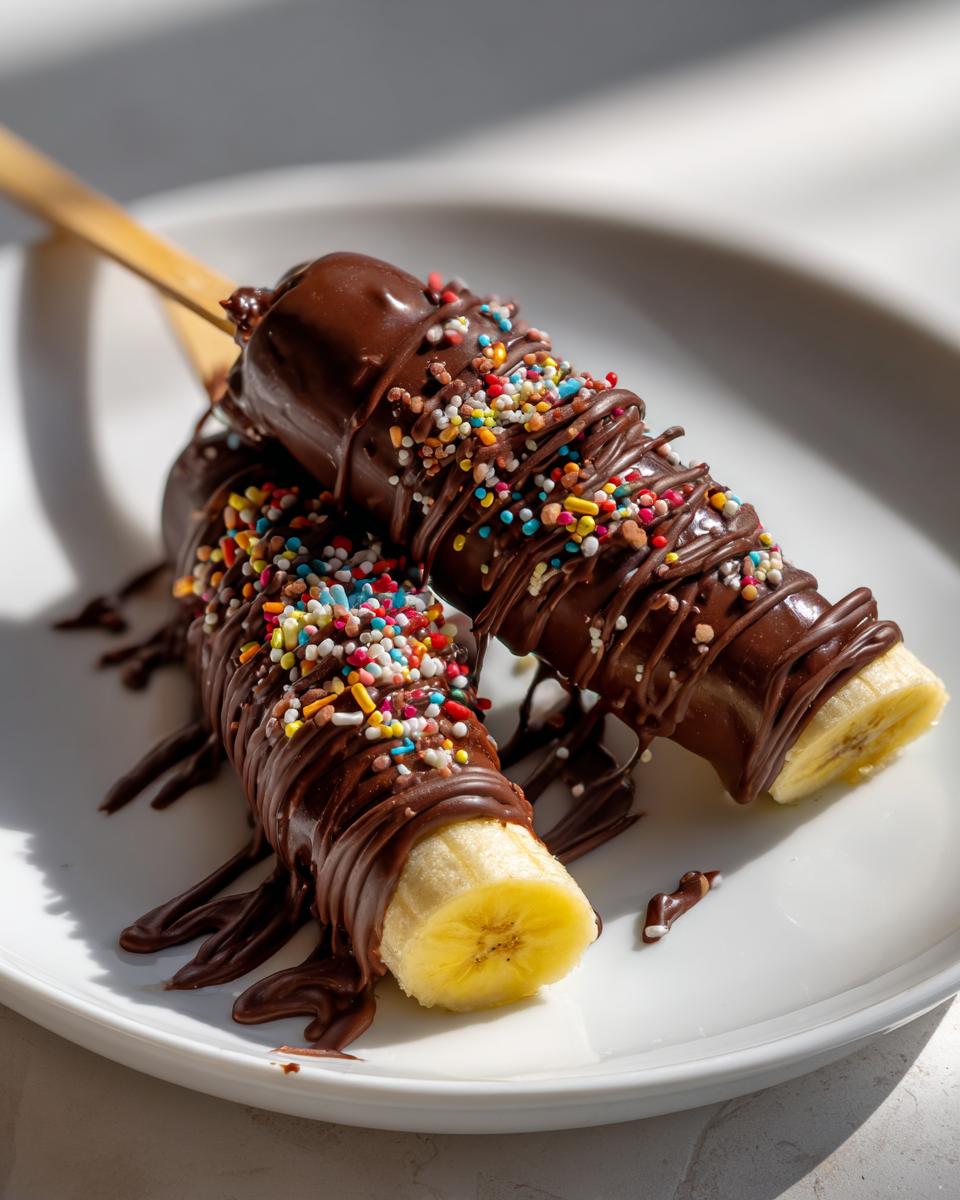
Here’s my favorite kitchen hack: stand your finished pops upright in a tall glass while they freeze final set. No more flat sides stuck to the tray! (Learned this after making “banana pancakes” my first try.) And if your chocolate gets too thick? A tiny splash more coconut oil will bring it back to perfect dipping consistency. Oh, and don’t forget – keep those little fingers busy with pre-measured toppings in small bowls before you start. Makes decorating smoother than melted chocolate!
Make-Ahead and Storage Tips
Here’s the brilliant part about these chocolate banana pops – they’re the ultimate make-ahead dessert that actually gets better in the freezer! Once fully frozen, I transfer them to an airtight container separated by parchment paper (this stops them from becoming banana popsicles stuck together). They’ll keep their perfect texture for up to a week – just grab one whenever those sweet cravings hit. Pro tip: if you’re serious about meal planning for the week, make a double batch on Sunday – you’ll thank yourself later!
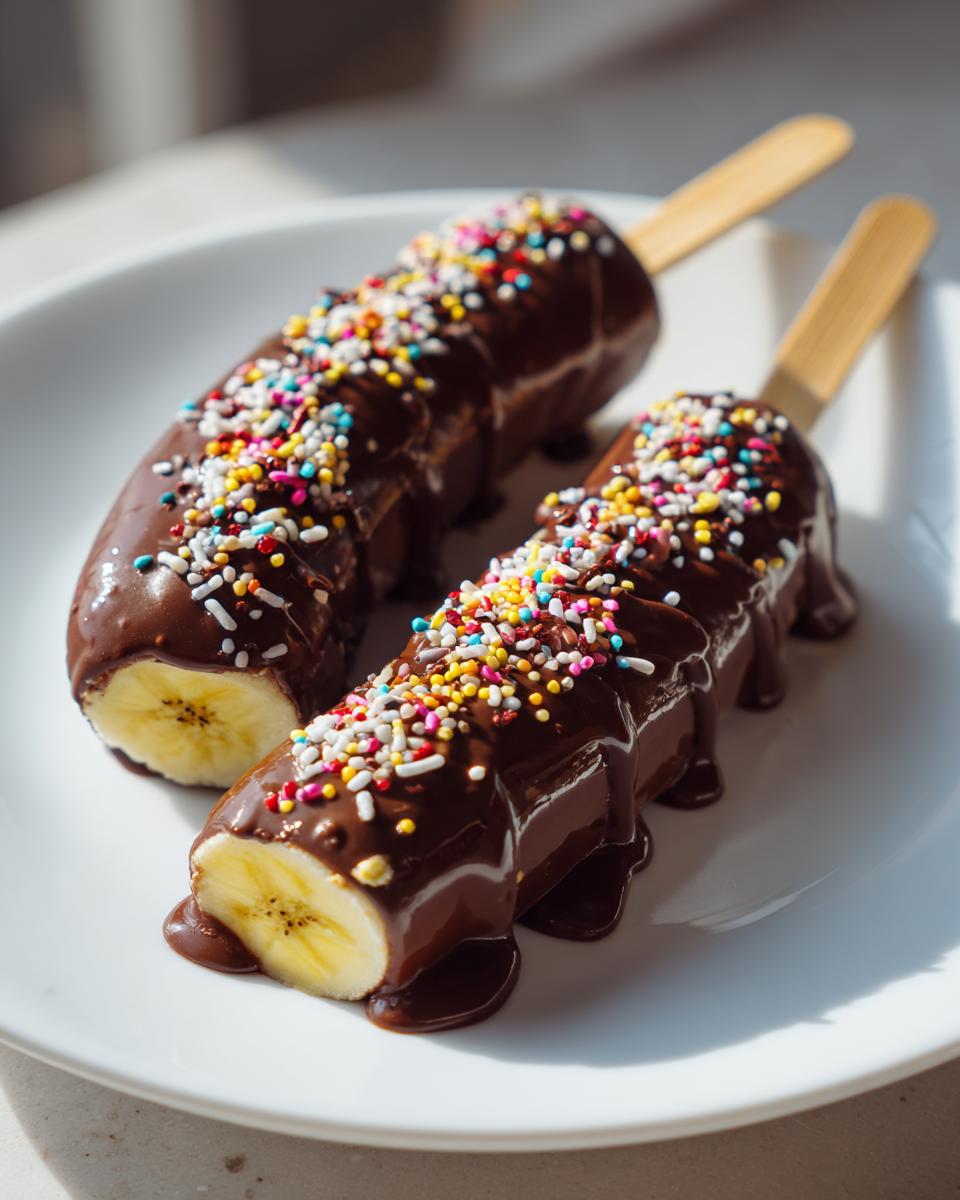
To prevent freezer burn (those weird white spots are no fun), press plastic wrap directly on the surface before sealing the container. I’ve found they taste best when eaten within 5 days, but honestly, they rarely last that long in my house! The chocolate coating stays crisp, the bananas stay creamy, and you’ve got instant summer happiness at your fingertips. Now that’s what I call smart freezer organization!
Serving Suggestions for Chocolate Banana Pops
These chocolate banana pops aren’t just delicious – they’re the life of the party! For summer cookouts, I arrange them upright in a pretty glass filled with colorful sprinkles at the bottom – instant edible centerpiece. At kids’ birthday parties, I stick them in a watermelon “cake stand” for a playful presentation. Want something extra special? Serve them alongside mini ice cream cups for a DIY dessert bar – the combo of creamy ice cream and frosty banana pops is divine.
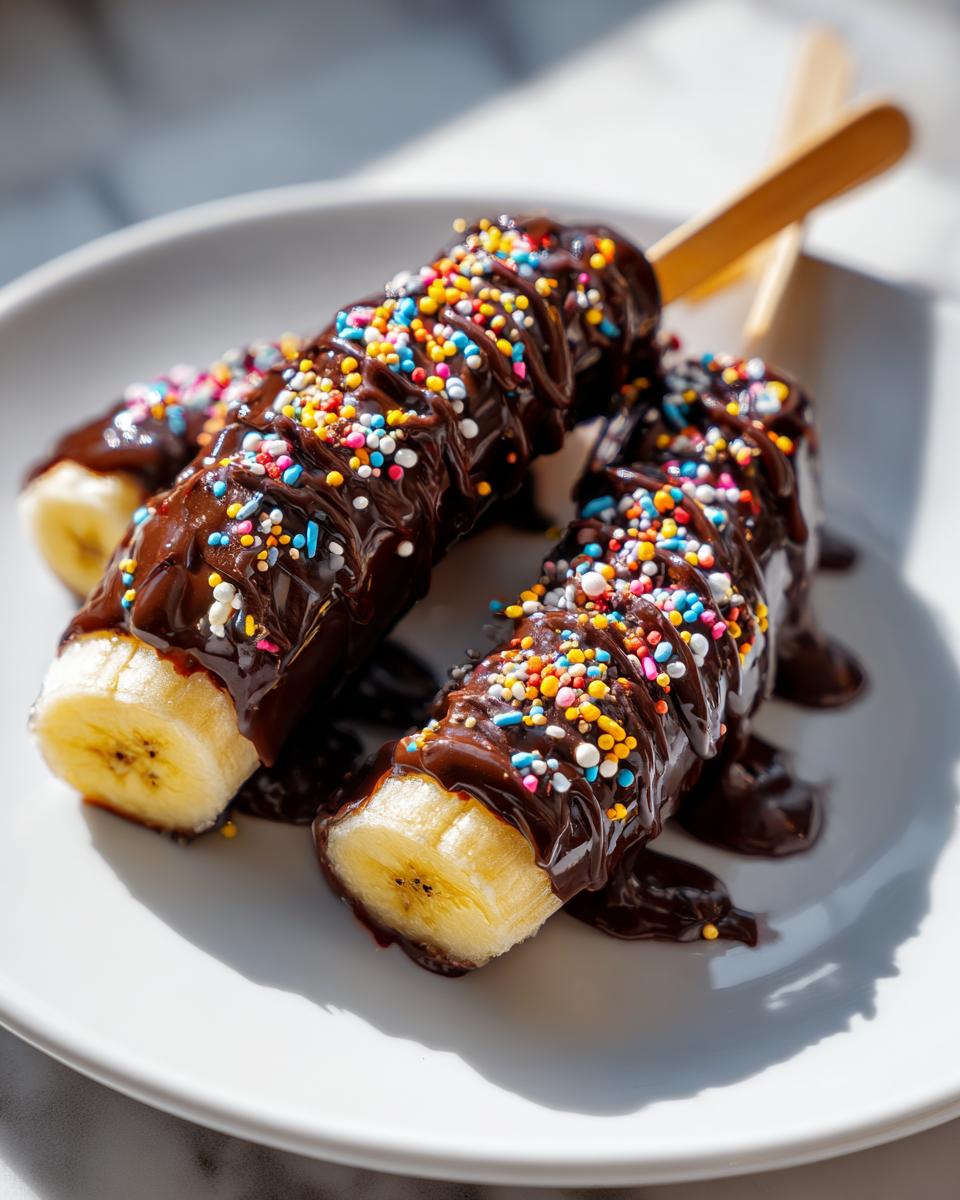
My favorite weeknight trick? Keep a stash in the freezer for those “I need chocolate NOW” moments. They make the perfect portion-controlled treat when you want something sweet without overdoing it. And here’s a secret – drizzle melted peanut butter over them before that final freeze for an Elvis-approved upgrade! Trust me, your guests (and your sweet tooth) will thank you.
Nutritional Information
Just a quick heads up – these numbers are estimates (your exact counts will vary depending on toppings and chocolate type). But here’s the scoop on what one chocolate banana pop typically packs:
- 120 calories – perfect for guilt-free indulgence
- 12g sugar (mostly from the banana and dark chocolate)
- 6g fat (the good kind from quality chocolate and coconut oil)
- 2g fiber – hey, it’s fruit with benefits!
Compared to store-bought ice cream pops, these are a smarter sweet choice. But let’s be real – you’re here for that magical chocolate-banana combo, not math homework!
Frequently Asked Questions
Can I use milk chocolate instead of dark chocolate?
Absolutely! While I adore the rich depth of dark chocolate, milk chocolate works wonderfully too – it’s extra kid-friendly and sweeter. Just watch the melting carefully, as milk chocolate burns easier than dark. My trick? Stir in an extra teaspoon of coconut oil to keep it smooth. White chocolate is fun for special occasions too – try drizzling it over dark chocolate pops for a fancy marble effect!
How do I prevent cracks in the chocolate coating?
Those frustrating cracks usually happen when frozen bananas meet warm chocolate. Here’s my foolproof method: let your melted chocolate cool slightly (about 5 minutes) before dipping. And – this is crucial – make sure the bananas are fully frozen solid (at least 1 hour). If cracks still form, don’t panic! Just do a quick second dip after the first layer sets. I call this the “chocolate bandage” technique – it fixes everything!
Can I make these chocolate banana pops vegan?
You sure can! These are naturally egg-free, and super easy to veganize. Use dairy-free chocolate chips (most dark chocolates are vegan, but check labels). The coconut oil is already plant-based. For toppings, skip the milk-based options and go nuts with coconut flakes, crushed pretzels, or dairy-free sprinkles. Pro tip: some vegans love adding a pinch of sea salt on top – it makes the chocolate flavor pop!
My chocolate keeps sliding off – help!
Ah, the great banana-chocolate separation! This usually means either: 1) Your bananas weren’t frozen long enough (they need that full hour!), or 2) Your chocolate was too thick or cool when dipping. Fix it by rechilling the bananas and warming your chocolate slightly with a touch more coconut oil. And here’s a chef secret: lightly blot frozen bananas with a paper towel to remove any moisture before dipping!
How long do these last in the freezer?
They’ll stay perfect for about a week if stored right (in an airtight container with parchment between layers). After that, they’re still safe to eat but might get frosty or develop tiny ice crystals. For best texture, I recommend enjoying them within 5 days – not that they ever last that long in my house! Bonus tip: Write the date on your container so you remember which batch is which. Works way better than playing “freezer detective” later!
PrintChocolate Banana Pops
Easy frozen banana pops dipped in chocolate with topping ideas, perfect for summer treats and party desserts.
- Prep Time: 10 min
- Cook Time: 5 min
- Total Time: 1 hour 45 min
- Yield: 8 pops 1x
- Category: Dessert
- Method: Freezing
- Cuisine: American
- Diet: Vegetarian
Ingredients
- 4 ripe bananas
- 8 wooden popsicle sticks
- 1 cup dark chocolate chips
- 1 tbsp coconut oil
- 1/4 cup chopped nuts (optional)
- 1/4 cup sprinkles (optional)
Instructions
- Peel bananas and cut them in half.
- Insert a popsicle stick into each banana half.
- Place bananas on a parchment-lined tray and freeze for 1 hour.
- Melt chocolate chips with coconut oil in a microwave-safe bowl, stirring every 30 seconds until smooth.
- Dip each frozen banana into the melted chocolate, coating evenly.
- Immediately sprinkle with nuts or sprinkles if desired.
- Return to the tray and freeze for another 30 minutes before serving.
Notes
- Store leftovers in an airtight container in the freezer for up to 1 week.
- Kids can help with dipping and decorating.
Nutrition
- Serving Size: 1 pop
- Calories: 120
- Sugar: 12
- Sodium: 5
- Fat: 6
- Saturated Fat: 4
- Unsaturated Fat: 2
- Trans Fat: 0
- Carbohydrates: 18
- Fiber: 2
- Protein: 1
- Cholesterol: 0