
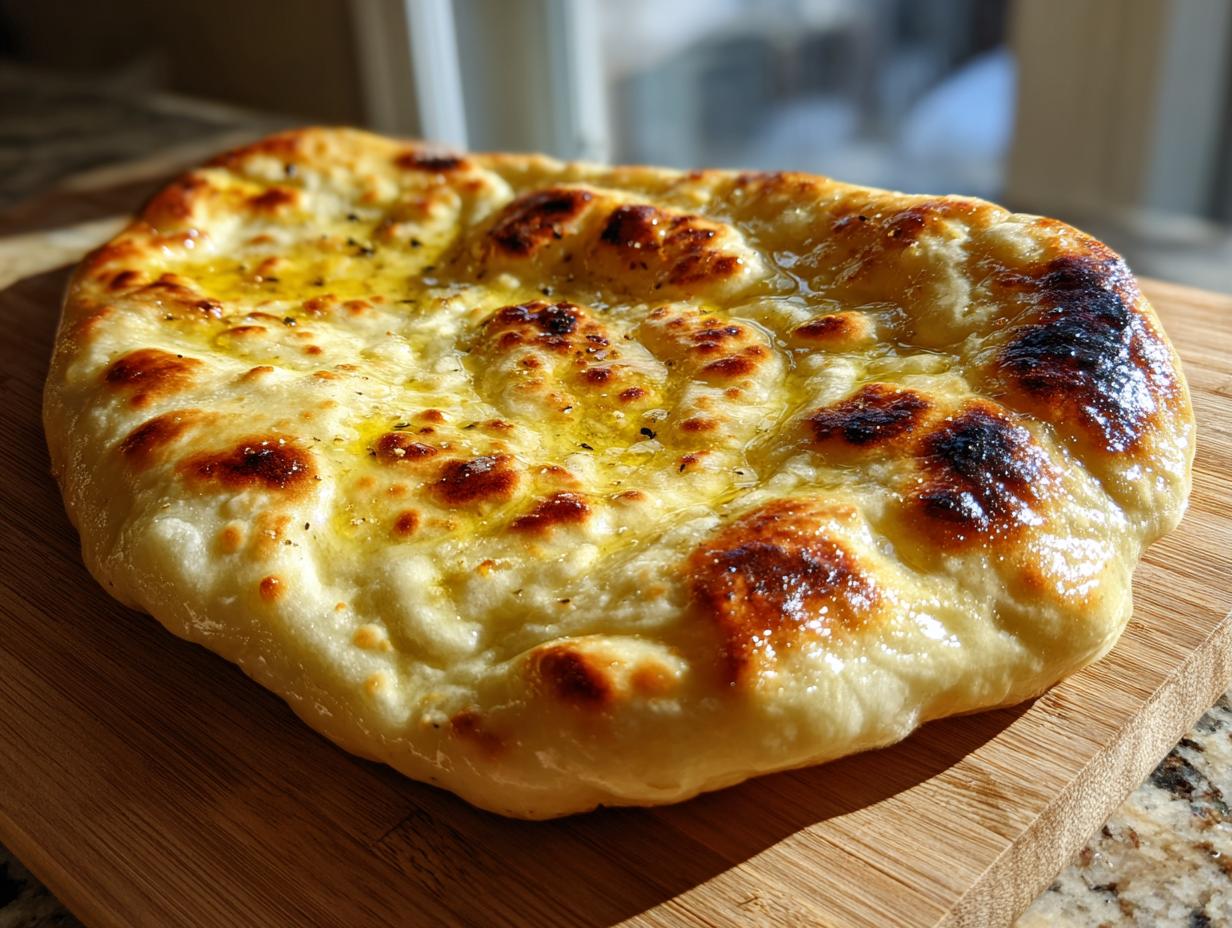

Oh, the smell of freshly baked bread! There’s just something so incredibly comforting and satisfying about it, right? For the longest time, making something like authentic garlic naan bread felt like a serious undertaking, something reserved for Indian restaurants or very determined home cooks with special equipment. But let me tell you, I’ve cracked the code on a truly easy, foolproof way to get that tender, buttery, cloud-like garlic naan bread right in your own kitchen, no fancy tandoor oven required! Seriously, my journey from barely cooking to whipping up this homemade naan started with a bite in New Orleans, and it transformed how I approach food. This simple skillet version is perfect for bringing a taste of India to your dinner table, especially for those nights when curry is on the menu!
- Why You'll Love This Garlic Naan Bread Recipe
- Gather Your Ingredients for Easy Garlic Naan Bread
- Ingredient Notes and Substitutions for Your Garlic Naan Bread
- Step-by-Step Guide to Making Homemade Garlic Naan Bread
- Tips for Perfect Skillet Garlic Naan Bread
- Make-Ahead and Storage for Your Garlic Naan Bread
- Serving Suggestions for Your Homemade Naan Bread
- Frequently Asked Questions about Garlic Naan Bread
- Nutritional Information for Garlic Naan Bread
- Share Your Creations!
Why You’ll Love This Garlic Naan Bread Recipe
Honestly, this garlic naan bread recipe is a game-changer! You’ll love it because:
- It’s incredibly easy – seriously, even beginners can nail it!
- You get that amazing soft, buttery texture without needing a tandoor.
- It’s wonderfully quick to make, perfect for a weeknight curry.
- That irresistible garlicky flavor just makes everything better.
Gather Your Ingredients for Easy Garlic Naan Bread
Alright, time to get our mise en place sorted for this amazing garlic naan bread! It’s pretty straightforward, and you probably have most of this in your pantry already. You’ll need:
- 1 teaspoon active dry yeast
- 1 teaspoon granulated sugar
- 1/4 cup warm water (make sure it’s not too hot, around 105-115°F is perfect so you don’t kill the yeast!)
- 1 cup plain yogurt, make sure it’s at room temperature – it mixes in so much better.
- 1 teaspoon salt
- 2 1/2 cups all-purpose flour, plus a little extra just for dusting when we roll it out.
- 2 tablespoons unsalted butter, melted, plus more for brushing on top later – yum!
- 2 cloves garlic, minced really fine.
- Fresh cilantro, chopped (this is totally optional, but it makes it look so pretty!).
Ingredient Notes and Substitutions for Your Garlic Naan Bread
So, let’s talk about these heroes of our garlic naan bread! That plain yogurt? It’s not just for flavor; it makes the dough super tender and soft. If you happen to be out of yogurt, don’t sweat it! You can totally use an equal amount of milk instead. It might be just a tiny bit less tender, but trust me, it’ll still be delicious. And the flour? All-purpose is perfect, but if you’re feeling adventurous, you could try some whole wheat, though it might make the naan a little denser.
Step-by-Step Guide to Making Homemade Garlic Naan Bread
Alright, ready to make some magic happen? Turning these simple ingredients into fluffy, delicious garlic naan bread is easier than you think. Follow along, and soon you’ll be pulling these beauties right out of the pan! You can always find more culinary adventures on our blog, but let’s focus on these amazing naans for now.
Preparing the Yeast Mixture for Your Naan Bread
First things first, let’s get that yeast active! Grab a small bowl, sprinkle in your yeast and sugar, then pour in that warm water. Give it a little stir and just let it sit for about 5 to 10 minutes. You’ll know it’s ready when it gets all foamy and bubbly on top – that means it’s alive and ready to make our naan rise!
Mixing the Dough for Soft Naan Bread
Now, in a bigger bowl, whisk together your room-temperature yogurt and salt. Pour in that foamy yeast mixture you just made and give it a good stir. Gradually start adding your flour, mixing everything until you get a shaggy dough. Don’t worry if it looks a little messy at this stage, that’s totally normal!
Kneading and First Rise for Your Homemade Naan
Turn that shaggy dough out onto a lightly floured surface. Time to get your hands in there and knead! You want to knead it for about 5 to 7 minutes, pushing and folding until it becomes nice and smooth, like soft putty. Pop that smooth dough into a lightly oiled bowl, cover it up with plastic wrap, and let it hang out in a warm spot for about an hour to an hour and a half. You’re looking for it to get nice and big, basically doubled in size.
Shaping and Cooking the Skillet Naan
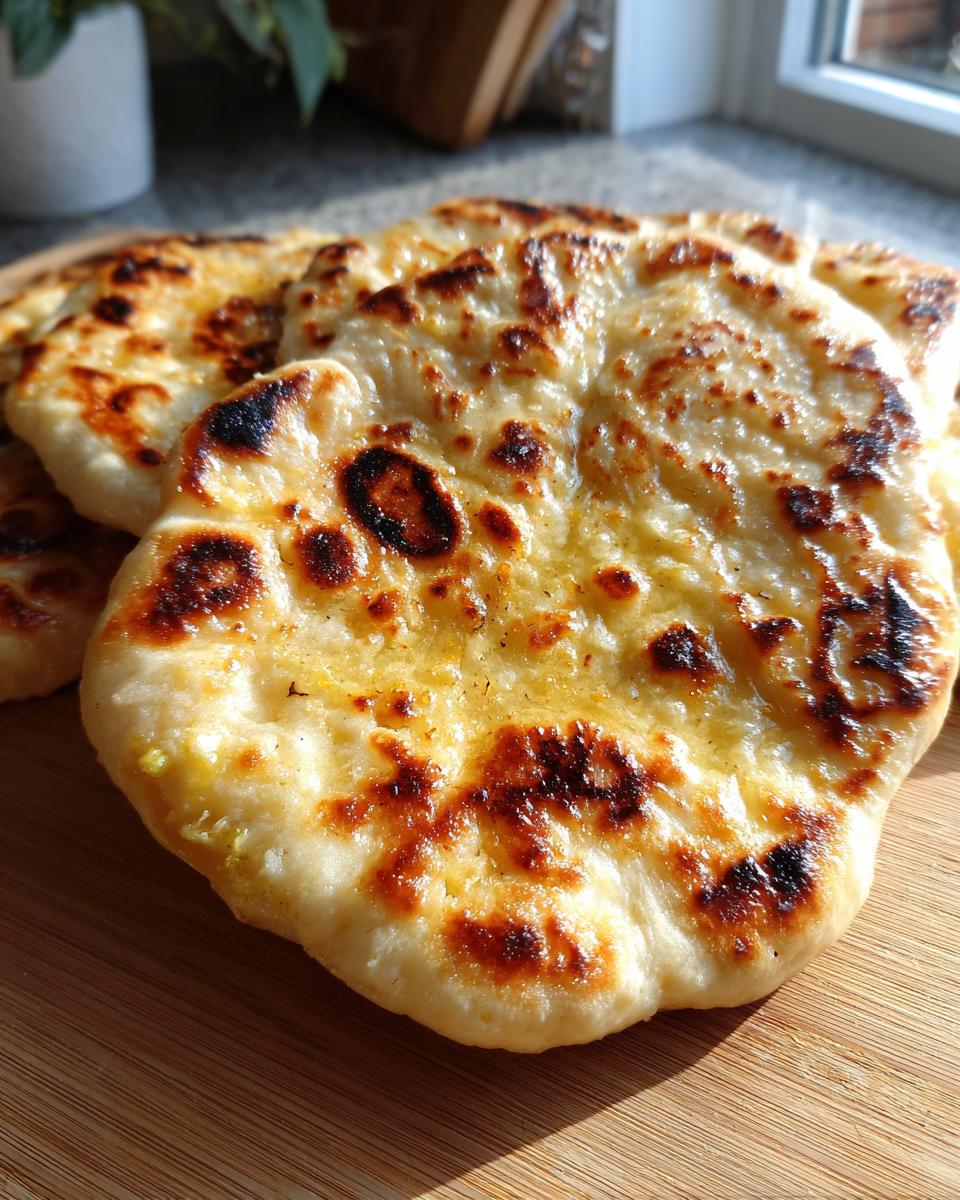
Once your dough has had its beauty sleep and doubled, gently punch it down. Divide it into 6 or 8 equal pieces, rolling each one into a little ball. On your floured surface, roll each ball out into an oval or maybe a teardrop shape, about a quarter-inch thick. Get a cast-iron skillet screaming hot over medium-high heat – no oil needed for this part! Carefully lay your rolled-out naan in the hot skillet. Cook it for about 1 to 2 minutes per side. You’ll start seeing it puff up and get these gorgeous, lightly browned spots, maybe even some charred bits. That’s exactly what we want for that perfect skillet naan!
Finishing Touches: Garlic Butter for Your Naan
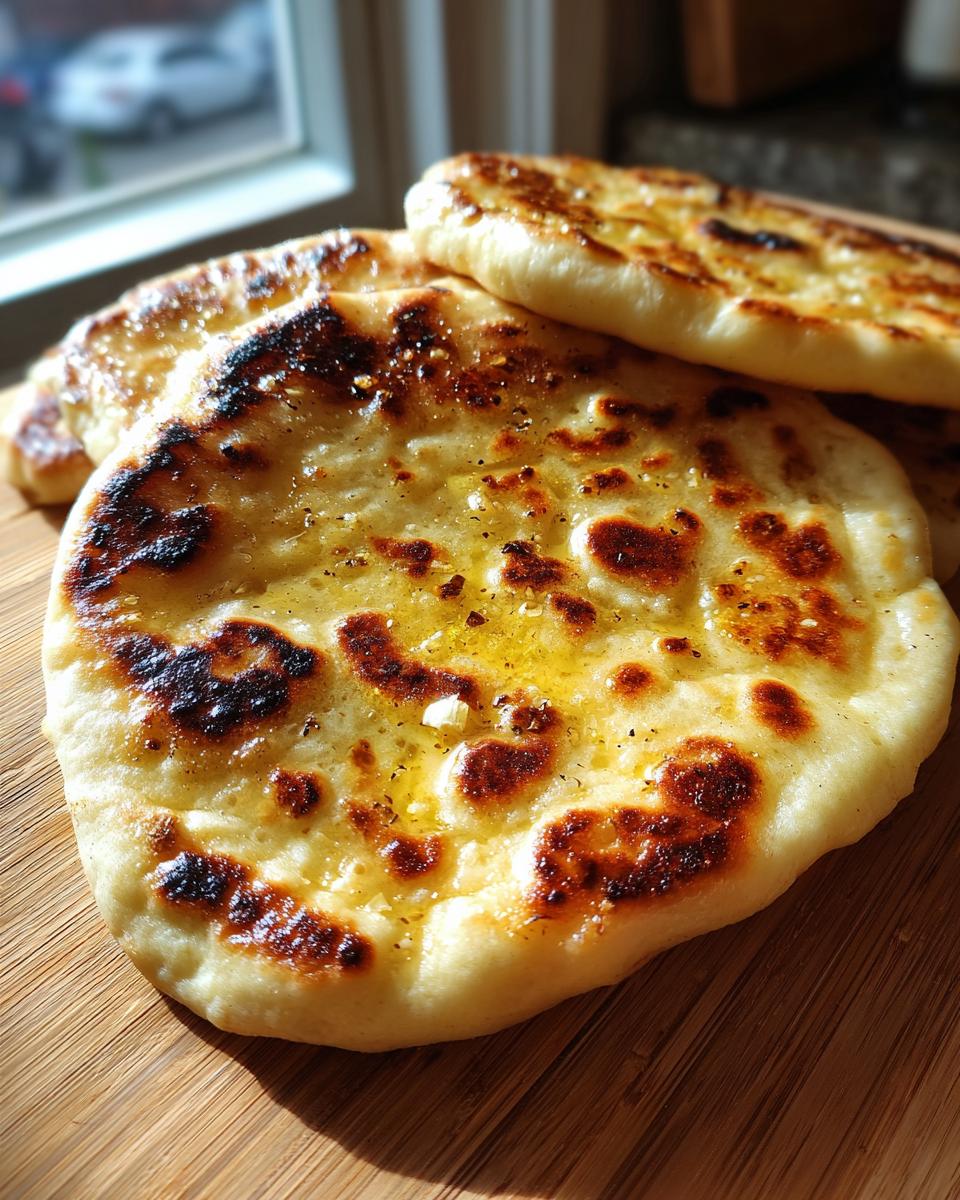
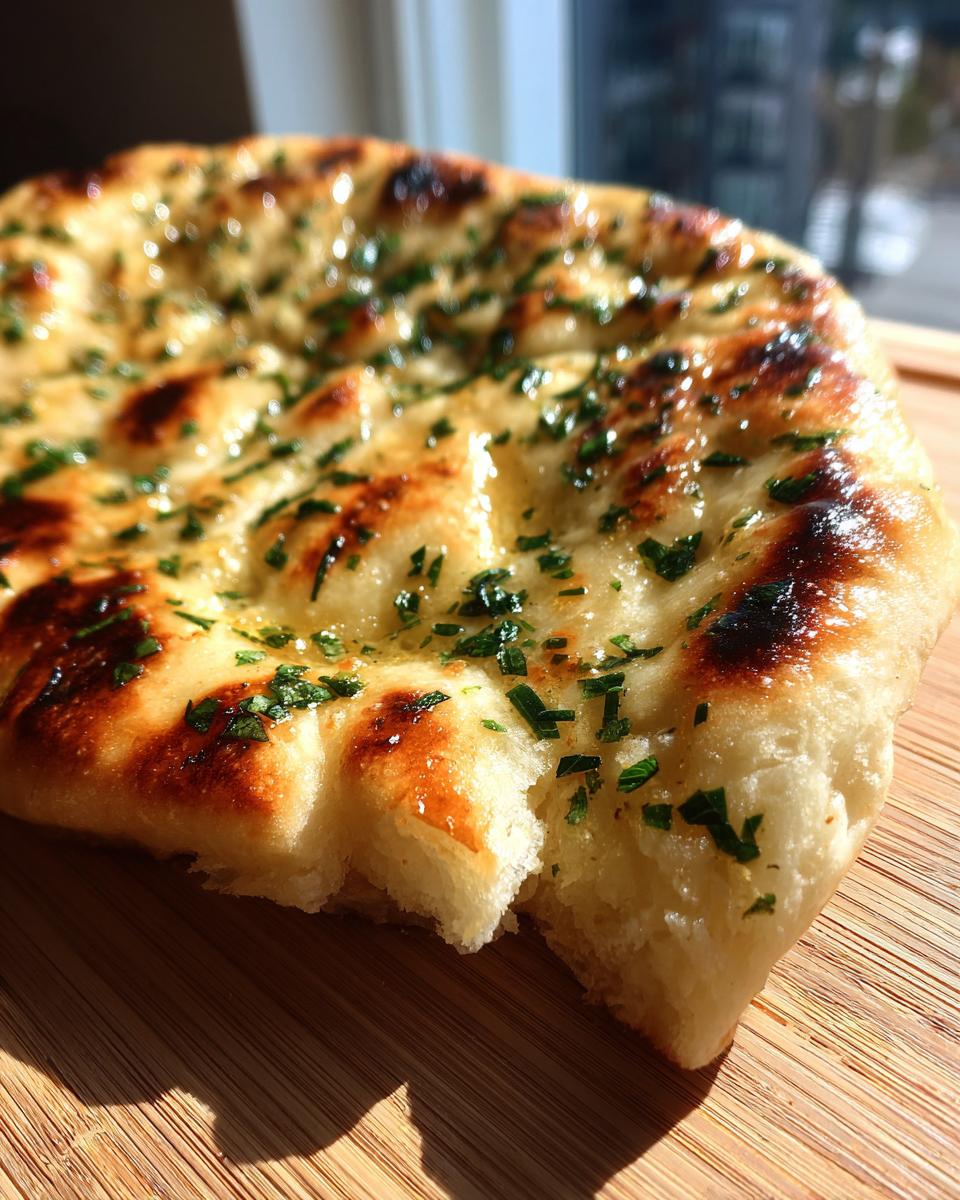
While your naan is on its second side in the pan, melt that butter with your minced garlic. Oh, the smell! As soon as each piece of naan is cooked and puffed beautifully, brush it generously with that fragrant garlic butter. If you’re feeling fancy, sprinkle on some fresh chopped cilantro. Pure perfection!

Tips for Perfect Skillet Garlic Naan Bread
You know, getting that perfectly soft, bubbly garlic naan bread really comes down to a few key things. First off, that skillet temperature is super important! Make sure it’s nice and hot *before* you even think about putting the dough in. If it’s not hot enough, you won’t get those beautiful puffs and char marks. Also, don’t overwork the dough after the first rise; handle it gently when you’re shaping it. Remember, we’re aiming for tender, not tough! For more insights from my kitchen journey, you can check out my story.
Make-Ahead and Storage for Your Garlic Naan Bread
Busy weeknight? I’ve got you covered! You can totally make the dough for this garlic naan bread ahead of time. After that first rise, just pop the covered bowl into the fridge for up to 2 days. When you’re ready to cook, let it sit out on the counter for about 30 minutes to warm up a bit. Once cooked, store leftover naan in an airtight container for a day or two, or freeze them for longer storage. Just pop them in the toaster or a warm skillet for a few seconds to reheat!
Serving Suggestions for Your Homemade Naan Bread
Okay, so now you have this amazing batch of warm, fluffy garlic naan bread! What do you do with it? Oh, the possibilities are endless! It’s absolutely perfect for scooping up all sorts of delicious curries, creamy dals, or even just a good gob of chutney. Honestly, anything saucy or rich really sings when you use this naan to grab it. Planning your meals around it is super easy too. Think of it as your new best friend for any Indian-inspired dinner, or even alongside some grilled kebabs! You can find tons of great dinner ideas that pair perfectly here on Gourmet Gaze, and really streamline your week with simple meal planning!
Frequently Asked Questions about Garlic Naan Bread
Got questions about whipping up this fantastic garlic naan bread? I’ve got you covered! Let’s clear up some common queries so you can make the best homemade naan possible.
Can I make this without active dry yeast?
You know, the yeast is what gives our yogurt naan that lovely lift and slightly chewy texture. While you could theoretically try a version with baking powder for a quicker bread, it wouldn’t be quite the same as this classic garlic naan bread. Sticking with yeast really gives you that authentic flavor and texture we’re going for!
How do I get my naan to puff up like that?
Ah, the puff! That’s the best part, isn’t it? The key to achieving those glorious bubbles in your skillet naan is a nice, hot skillet. Make sure it’s fully heated over medium-high heat before you put the dough in. Also, don’t overcrowd the pan; cook them one or two at a time. And handle the dough gently when you roll it out – you don’t want to break all those little air pockets we worked so hard to create!
What kind of flour works best if I don’t have all-purpose?
All-purpose flour is fantastic for this recipe because it’s got a good balance of protein for that nice, elastic dough. If you’re looking for an alternative, you could try a bread flour, which might make it a little chewier. You can also experiment with a blend of all-purpose and whole wheat flour, but start with just a small amount of whole wheat, or it might make your soft naan bread a bit dense.
My naan is a little tough, what did I do wrong?
Oops! Don’t worry, it happens. Usually, a tough naan means the dough was either overworked during kneading, or it was rolled out too thin. Try to knead just until it’s smooth and elastic, and be gentle when you’re rolling it out – aim for about 1/4 inch thickness. Also, make sure your skillet is nice and hot so it cooks quickly and stays tender!
Nutritional Information for Garlic Naan Bread
Just a heads-up, the nutritional info here is an estimate for one piece of our amazing garlic naan bread. It can totally change depending on your ingredients and how big you roll them, but this gives you a good idea!
Share Your Creations!
Seriously, I can’t wait to hear how your garlic naan bread turned out! Did it puff up perfectly? Drop a comment below, rate the recipe, or share your amazing pics on social media. You can even reach out through my contact page so I can see your incredible handiwork!
PrintEasy Skillet Garlic Naan Bread

Learn to make soft, buttery garlic naan bread on your stovetop. This simple recipe uses yeast and yogurt for a tender crumb and features puffed bubbles, perfect for your next curry night.
- Prep Time: 20 min
- Cook Time: 15 min
- Total Time: 1 hour 35 min
- Yield: 6-8 servings 1x
- Category: Bread
- Method: Skillet
- Cuisine: Indian
- Diet: Vegetarian
Ingredients
- 1 teaspoon active dry yeast
- 1 teaspoon granulated sugar
- 1/4 cup warm water (105-115°F)
- 1 cup plain yogurt, room temperature
- 1 teaspoon salt
- 2 1/2 cups all-purpose flour, plus more for dusting
- 2 tablespoons unsalted butter, melted, plus more for brushing
- 2 cloves garlic, minced
- Fresh cilantro, chopped (optional, for garnish)
Instructions
- In a small bowl, combine the yeast, sugar, and warm water. Let stand for 5-10 minutes until foamy.
- In a large bowl, whisk together the yogurt and salt. Add the yeast mixture and stir to combine.
- Gradually add the flour, mixing until a shaggy dough forms.
- Turn the dough out onto a lightly floured surface and knead for 5-7 minutes until smooth and elastic.
- Place the dough in a lightly oiled bowl, cover with plastic wrap, and let rise in a warm place for 1-1.5 hours, or until doubled in size.
- Punch down the dough and divide it into 6-8 equal pieces. Roll each piece into a ball.
- On a lightly floured surface, roll out each ball into an oval or teardrop shape, about 1/4 inch thick.
- Heat a dry cast-iron skillet or griddle over medium-high heat.
- Cook each naan for 1-2 minutes per side, until puffed and lightly browned with some charred spots. You may see bubbles form.
- While the naan is cooking, melt the butter with the minced garlic.
- Brush the cooked naan with the garlic butter and sprinkle with cilantro, if desired.
- Serve immediately.
Notes
- For make-ahead naan, you can refrigerate the dough after the first rise for up to 2 days. Let it come to room temperature before shaping and cooking.
- If you don’t have yogurt, you can substitute an equal amount of milk, but the naan may be slightly less tender.
- Ensure your skillet is hot enough to get a good puff and char on the naan.
Nutrition
- Serving Size: 1 naan
- Calories: 180
- Sugar: 2g
- Sodium: 300mg
- Fat: 5g
- Saturated Fat: 3g
- Unsaturated Fat: 2g
- Trans Fat: 0g
- Carbohydrates: 30g
- Fiber: 1g
- Protein: 5g
- Cholesterol: 10mg