
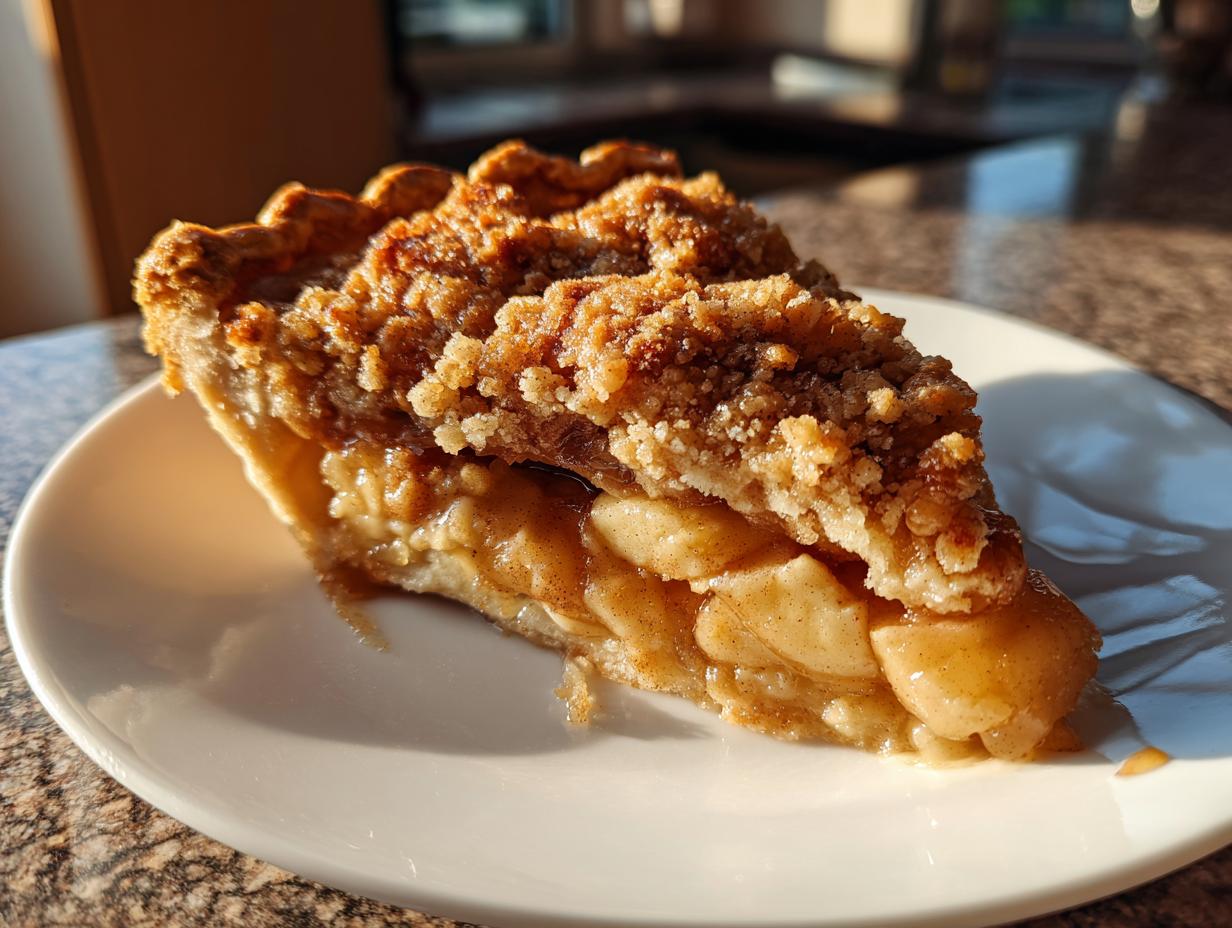

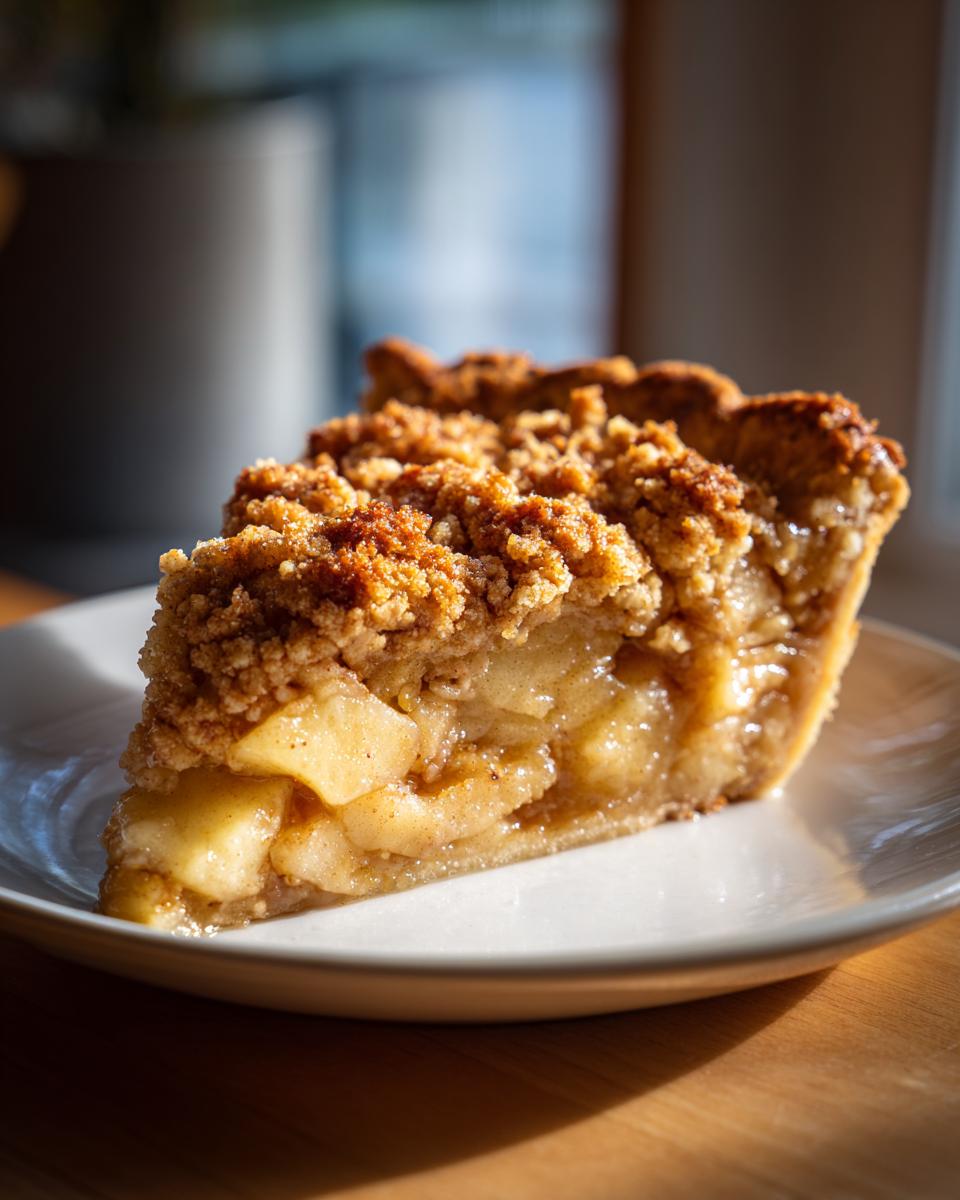
There’s just something about a warm slice of Dutch apple pie, especially when the air gets crisp and fall colors start to pop! It’s like a cozy hug from the inside out, and honestly, it makes any gathering feel instantly more special, especially during Thanksgiving. For me, baking this classic treat is a reminder of how I discovered the true joy of home cooking; it’s a journey from barely using my kitchen to finding absolute delight in things like this recipe. This isn’t just any apple pie – it’s got that perfect, cinnamon-spiced apple filling nestled under tons of buttery, crumbly streusel that just melts in your mouth. I’ve tinkered and tested, and I’m so excited to share this version with you because it’s reliable, super satisfying, and honestly, just plain delicious. Learning to appreciate food like this, as detailed on my About page, has been a game-changer, and this pie is at the heart of it.
- Why You'll Love This Classic Dutch Apple Pie
- Ingredients for the Perfect Dutch Apple Pie
- Crafting Your Dutch Apple Pie: Step-by-Step
- Tips for a Perfect Streusel Apple Pie
- Make Ahead and Storage for Your Dutch Apple Pie
- Frequently Asked Questions about Dutch Apple Pie
- Serving Suggestions for Your Thanksgiving Dessert
- Nutritional Information
- Share Your Dutch Apple Pie Creations!
Why You’ll Love This Classic Dutch Apple Pie
This Dutch apple pie is a real winner, and I think you’ll adore it too! Here’s why:
- It’s SO Easy (Seriously!): Even if you’re new to pies, this one is super forgiving. That streusel topping is practically foolproof!
- That Crumbly Topping is Everything: We’re talking heaps of buttery, cinnamon-spiked crumbs that stay perfectly crisp. No soggy bottoms here!
- Flavor Explosion: The apples are bursting with cinnamon and have just the right amount of sweetness. It’s pure comfort in every bite.
- Perfect for Any Occasion: Whether it’s a casual Tuesday, a big Thanksgiving feast, or just a cozy fall night, this apple crumb pie fits right in.
Ingredients for the Perfect Dutch Apple Pie
Alright, let’s talk about what goes into this glorious Dutch apple pie! Getting the right ingredients is half the battle, and trust me, these simple things make all the difference. You’ll want to gather these up before you dive in:
For the Pie Filling:
- 1 recipe of your favorite homemade pie crust (or a good quality store-bought one if you’re in a pinch!)
- 6 medium apples (about 3 pounds total) – I really love using a mix! Granny Smith apples give that perfect sweet-tart bite, but Honeycrisp or even a Gala are lovely too for a bit more sweetness. Just peel, core, and slice ’em about 1/4-inch thick.
- 1/2 cup granulated sugar – for a general sweetness.
- 1/4 cup packed light brown sugar – this gives it that deeper, caramelly flavor.
- 1 tablespoon all-purpose flour – just a little something to help thicken things up.
- 1 teaspoon ground cinnamon – no Dutch apple pie is complete without it!
- 1/4 teaspoon ground nutmeg – it just plays so nicely with the cinnamon.
- 1 tablespoon of fresh lemon juice – this brightens up the flavors and helps keep the apples from browning too fast.
- 1/4 cup butter, melted – to give the apples a little extra richness.
For the Buttery Streusel Topping:
- 1 cup all-purpose flour – the base of our yummy crumble.
- 1/2 cup packed light brown sugar – for that sweet, irresistible crunch.
- 1/2 teaspoon ground cinnamon – because more cinnamon is always better, right?
- 1/4 teaspoon salt – it really makes the sweet flavors pop!
- 1/2 cup (that’s one stick) cold unsalted butter, cut into little cubes – make sure it’s COLD for the best crumbly texture!
Gather these up, and we’re ready to make some magic!
Crafting Your Dutch Apple Pie: Step-by-Step
Okay, now for the fun part – actually making this amazing Dutch apple pie! Don’t feel intimidated, it’s really straightforward, and I’ll walk you through every little step. It’s all about getting that perfect balance of tender apples and that crunchy, buttery topping. First things first, let’s get that oven preheated to about 375°F (190°C). Then, slide your pie plate into the center rack while you get everything else ready. This helps ensure your bottom crust gets nice and golden, which is super important!
Preparing the Pie Crust and Filling
First things first, make sure your pie crust is all prepped and nestled into your 9-inch pie plate. I like to pop it in the fridge while I mix up the filling – it just helps it hold its shape. For the apples, make sure they’re peeled, cored, and sliced about 1/4-inch thick. Pop those lovely slices into a big bowl. Now, toss them with the granulated sugar, that yummy light brown sugar, a tablespoon of flour, our cinnamon and nutmeg, the lemon juice, and that 1/4 cup of melted butter. Give it all a really good stir so every single apple slice is coated in that gorgeous spice mixture. It smells amazing already, doesn’t it?
Creating the Buttery Streusel Topping
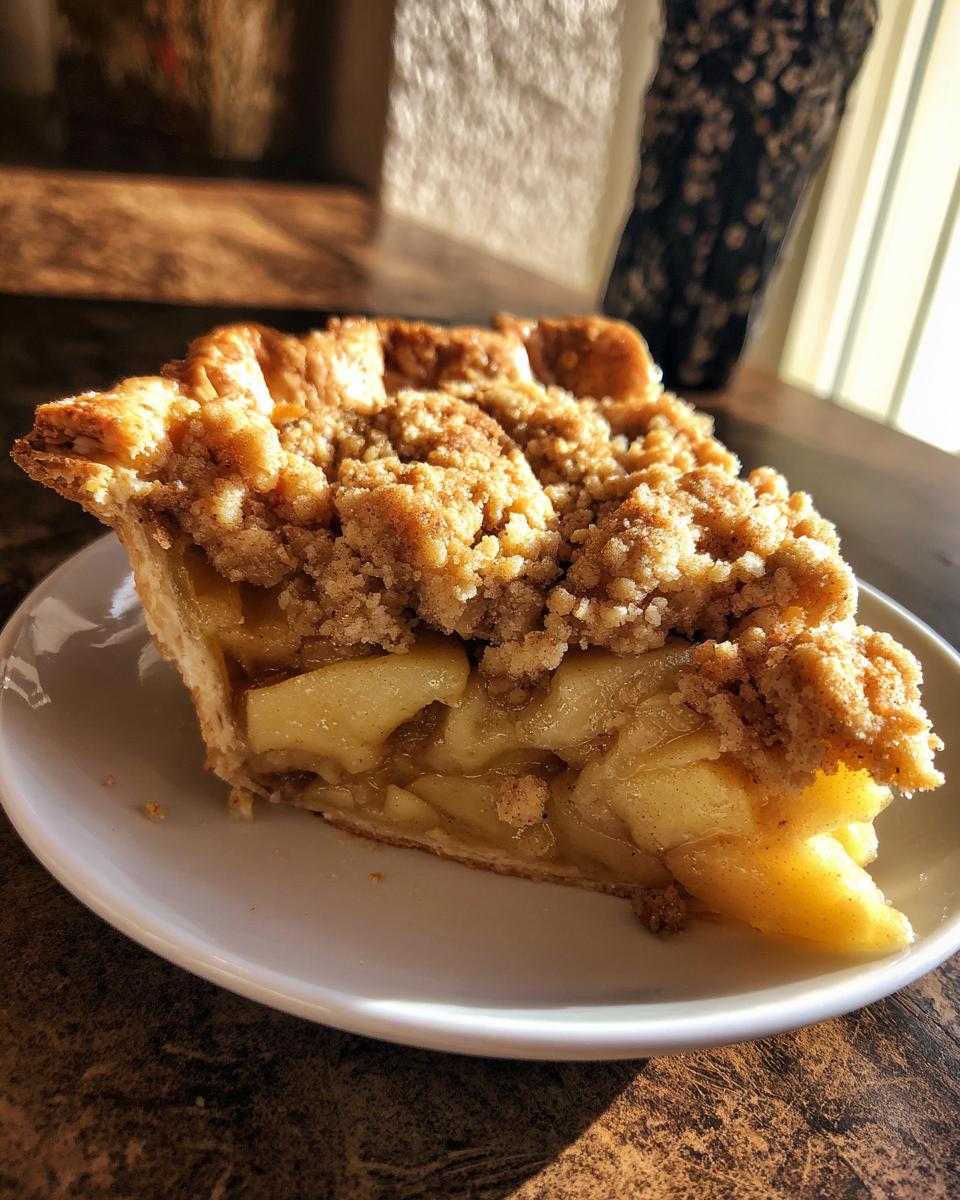
This is where the magic happens for that incredible crumble topping! Grab a medium bowl and whisk together the flour, the other 1/2 cup of packed light brown sugar, more cinnamon (yes!), and that pinch of salt. Now, here’s the key: you need that cold butter, cut into small cubes. Add it to the dry ingredients. You can use a pastry blender, or honestly, your fingertips work just fine! Keep working it in until the whole mess looks like coarse crumbs. You don’t want it to be a paste; we’re going for a sandy, crumbly texture here. This is what gives us that perfect crunchy layer on top!
Assembling and Baking Your Dutch Apple Pie
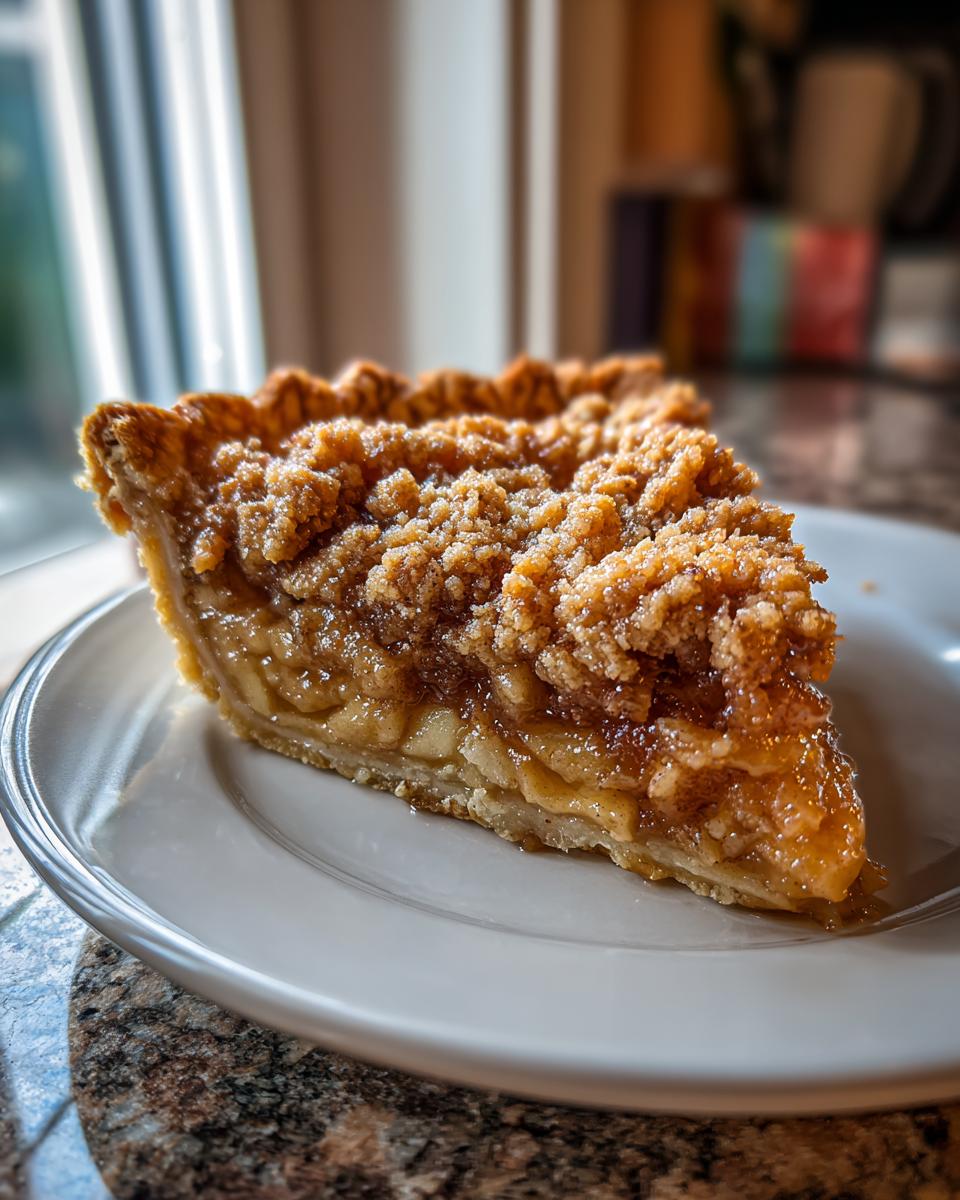
Time to put it all together! Carefully pour that apple mixture into your chilled pie crust, spreading it out evenly. Then, take your streusel topping and sprinkle it generously all over the apples. Make sure you get it right to the edges! To catch any bubbly apple goodness that might escape while it’s baking, place your pie on a baking sheet. Now, pop that into your preheated oven. Bake it for about 45 to 55 minutes. You’ll know it’s ready when the crust is a beautiful golden brown and you can see the filling bubbling up around the edges. If the crust edges start looking a little *too* golden before the pie is done, just loosely cover them with strips of foil. Once it’s out of the oven, let it cool on a wire rack for at least 2-3 hours. I know, it’s tough to wait, but this step is super important to let the filling set up properly. Trust me!
Tips for a Perfect Streusel Apple Pie
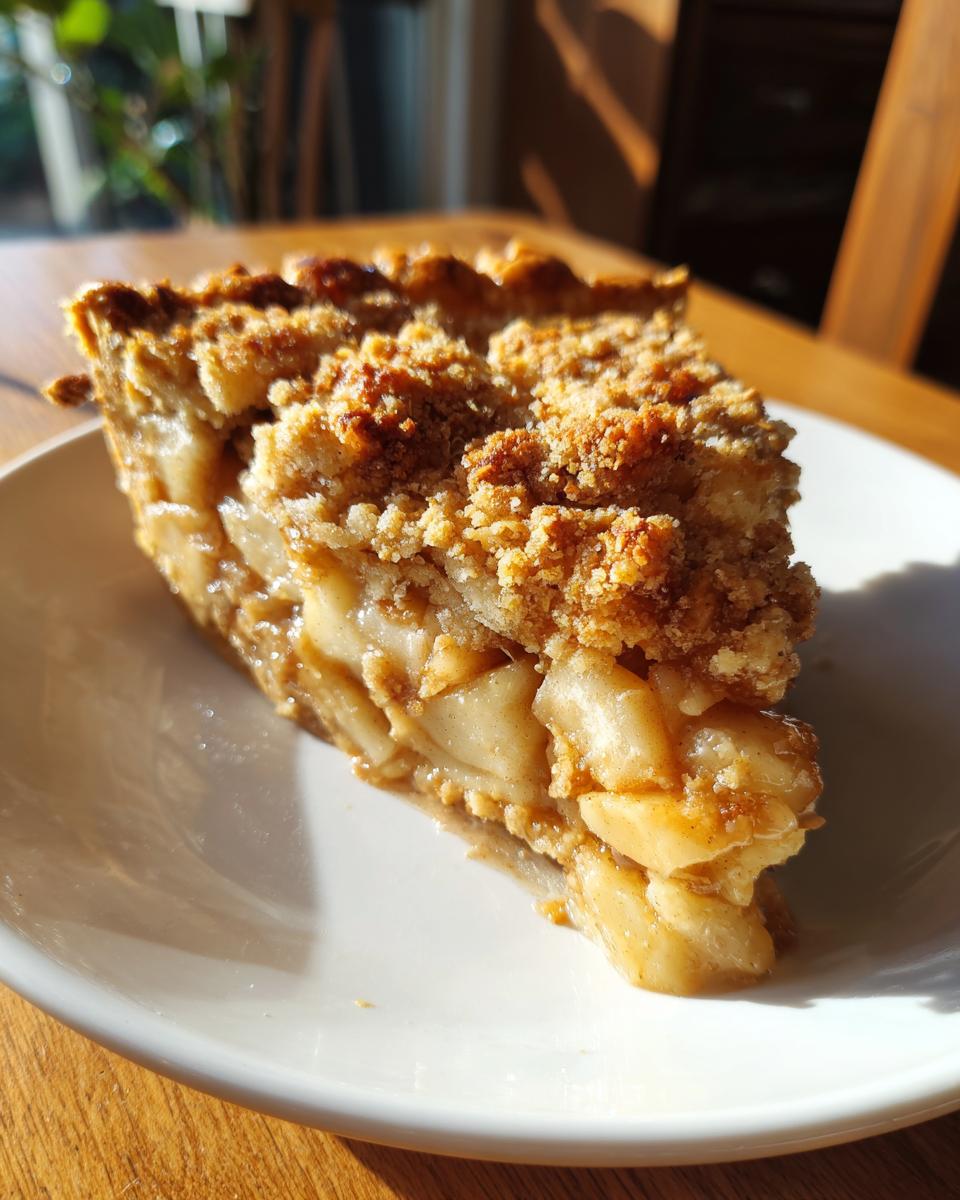
Okay, so we’ve all been there – dreaming of that perfect apple pie, only to end up with a soggy surprise at the bottom or a streusel that’s more paste than perfection. Don’t worry, I’ve learned a trick or two over the years, and I’m happy to share them so your Dutch apple pie is utterly amazing! These little tips make a world of difference, kind of like the tips I share for my easy apple crumble or even my super simple apple pie dump cake.
Preventing a Soggy Bottom for Your Dutch Apple Pie
The dreaded soggy bottom! The best way to fight this is twofold. First, always, always bake your pie on a baking sheet. It catches all those bubbly drips and also helps circulate heat around the bottom crust. Second, and this is a game-changer: blind bake your crust for about 10-15 minutes before you add the filling. Just prick the bottom with a fork, line it with parchment paper or foil, and fill it with pie weights or dried beans. It helps set the crust before all those juicy apples get in there.
Achieving the Ideal Crumb Topping Texture
For that glorious streusel, the secret is cold, cold, cold butter! Make sure your butter is nice and firm when you cut it into the flour and sugar mixture. I usually use my fingertips to rub it in until it looks like coarse, pea-sized crumbs. You don’t want it too fine, or it’ll just get hard. And don’t overmix! A few bigger chunks of butter are actually a good thing – they melt and create those lovely pockets of crispness. If you want some extra crunch, you could even pop the streusel in the fridge for 15 minutes before sprinkling it on top!
Make Ahead and Storage for Your Dutch Apple Pie
You know, one of the best things about this Dutch apple pie is just how easy it is to get ahead of the game with it, especially if you’ve got a busy holiday schedule. I often prep the streusel topping a day or two in advance – just pop it into an airtight container in the fridge. You can even assemble the whole pie, crust and filling, the day before you plan to bake it, but hold off on adding that glorious streusel until just before it goes into the oven. That way, it stays nice and crisp! If you happen to have any leftovers (which is rare in my house!), just cover the pie tightly with plastic wrap or foil and it’ll keep nicely on the counter for a day, or in the fridge for up to three days. It’s almost as good reheated, maybe even better! It’s a great make-ahead option, kind of like how I handle my easy chicken pot pie casserole when I want something comforting during the week.
Frequently Asked Questions about Dutch Apple Pie
Got questions about whipping up the perfect Dutch apple pie? I totally get it! So many little things can make a pie extra special, and I’m happy to clear a few things up. It’s all about enjoying that classic apple pie goodness!
What are the best apples for Dutch apple pie?
Oh, the apples! This is so important for getting that lovely flavor and texture. My absolute favorite for a classic Dutch apple pie is a mix! Granny Smith apples are fantastic because they’re nice and tart, which balances out the sweetness from the streusel and sugar. But, I also love adding something like Honeycrisp or Fuji apples to the mix. They’re a little sweeter and have a wonderful crispness that holds up beautifully even after baking. Just make sure you peel, core, and slice them about 1/4-inch thick – that’s the sweet spot for getting them tender without turning to mush.
How do I get that perfect, crispy streusel topping?
Getting that glorious, buttery streusel topping just right is all about a few simple tricks! The biggest one? Use really cold butter! Seriously, cut your cold butter into small pieces and rub it into your flour, sugar, and cinnamon mixture using your fingertips or a pastry blender. You want to stop when it looks like coarse crumbs, with some slightly larger, pea-sized bits of butter still visible. These bits will melt in the oven and create those irresistible pockets of crunchiness. Don’t overmix it into a paste! Also, if you’re really serious about crispiness, you can pop the assembled streusel-topped pie in the fridge for about 15-20 minutes before baking. It helps everything hold its shape and get extra toasty.
Can I make Dutch apple pie ahead of time?
Yes, you absolutely can! That’s one of the best things about this apple crumb pie. You can make the streusel topping a day or two ahead and keep it stored in an airtight container in the fridge. Or, even better, you can assemble the whole pie – crust and filling – the day before you plan to bake it. Just keep it covered in the refrigerator. The only thing I recommend is adding that beautiful buttery streusel topping right before it goes into the oven. This way, it stays nice and crisp and doesn’t get soggy from the apple filling overnight. It’s a lifesaver for holiday baking!
What’s the secret to preventing a soggy bottom crust?
Ugh, the soggy bottom! Nobody wants that in their delicious Dutch apple pie. The best defense is to make sure your crust is well-baked and to minimize moisture sitting directly on it for too long. A couple of things help: First, always bake your pie on a baking sheet. This not only catches any drips but also helps heat circulate around the bottom of the pie. Second, consider blind-baking your pie crust for about 10-15 minutes before you add the filling. You can do this by prickling the bottom with a fork, lining it with parchment paper and pie weights (or dried beans!), and giving it a head start. This helps set the crust and makes it more resistant to those juicy apples.
Serving Suggestions for Your Thanksgiving Dessert
Okay, so you’ve baked this gorgeous Dutch apple pie, and now it’s time for the best part – enjoying it! For Thanksgiving dessert or any holiday gathering, this classic apple pie is just perfection on its own, but a few extras really take it over the top.
My favorite way to serve it is warm, with a generous scoop of good quality vanilla bean ice cream melting right into the spiced apples and streusel. Seriously, it’s heavenly! A dollop of freshly whipped cream, maybe with a tiny pinch of cinnamon stirred in, is also divine. It adds such a lovely touch. You can find more delicious ideas over on my Desserts page, or even check out these fun chocolate banana pops if you want something a little different for your spread!
Nutritional Information
While this Dutch apple pie is all about comfort and deliciousness, it’s good to have a general idea of what’s in each slice. Keep in mind that these numbers are just estimates, as they can really change depending on the exact ingredients you use, especially the type of apples and pie crust. Generally, you’re looking at about 450 calories per serving, with around 22g of fat (mostly from that amazing buttery streusel and crust!), and about 65g of carbohydrates. It’s a sweet treat perfect for those special fall and holiday gatherings!
Share Your Dutch Apple Pie Creations!
I just love seeing what you all create in your kitchens! Did you make this Dutch apple pie for your Thanksgiving table or just a cozy fall evening? I’d be absolutely thrilled if you left a comment down below telling me how it turned out, or maybe shared your own favorite apple pie memories! And if you snapped some photos, tag us on social media – I’d love to see your gorgeous pies! You can also reach out through my contact page if you have any questions or just want to share your baking triumphs!
PrintClassic Dutch Apple Pie
A classic Dutch apple pie recipe featuring a cinnamon-spiced apple filling and a buttery streusel topping, perfect for holidays and fall gatherings. Learn tips for the best crumble texture and how to make it ahead.
- Prep Time: 30 min
- Cook Time: 55 min
- Total Time: 85 min
- Yield: 8 servings 1x
- Category: Dessert
- Method: Baking
- Cuisine: American
- Diet: Vegetarian
Ingredients
- 1 recipe for homemade pie crust
- 6 medium apples (about 3 pounds), such as Granny Smith, Honeycrisp, or a mix
- 1/2 cup granulated sugar
- 1/4 cup packed light brown sugar
- 1 tablespoon all-purpose flour
- 1 teaspoon ground cinnamon
- 1/4 teaspoon ground nutmeg
- 1 tablespoon lemon juice
- 1/4 cup butter, melted
- For the Streusel Topping:
- 1 cup all-purpose flour
- 1/2 cup packed light brown sugar
- 1/2 teaspoon ground cinnamon
- 1/4 teaspoon salt
- 1/2 cup (1 stick) cold unsalted butter, cut into small pieces
Instructions
- Prepare your pie crust and line a 9-inch pie plate. Chill while you prepare the filling.
- Preheat your oven to 375°F (190°C).
- Peel, core, and slice the apples about 1/4-inch thick.
- In a large bowl, toss the apple slices with granulated sugar, brown sugar, flour, cinnamon, nutmeg, lemon juice, and melted butter. Ensure the apples are evenly coated.
- Pour the apple mixture into the prepared pie crust.
- To make the streusel topping, combine flour, brown sugar, cinnamon, and salt in a medium bowl.
- Cut in the cold butter using a pastry blender or your fingertips until the mixture resembles coarse crumbs.
- Sprinkle the streusel topping evenly over the apples.
- Place the pie on a baking sheet to catch any drips.
- Bake for 45-55 minutes, or until the crust is golden brown and the filling is bubbly. If the crust edges start to brown too quickly, cover them with foil.
- Let the pie cool on a wire rack for at least 2-3 hours before slicing and serving. This allows the filling to set.
Notes
- For a crispier bottom crust, bake the pie on the lowest oven rack.
- To prevent a soggy bottom, you can blind bake the pie crust for 10-15 minutes before adding the filling.
- You can make the streusel topping and store it in the refrigerator for up to 2 days.
- This pie can be assembled up to 1 day in advance and refrigerated. Add the streusel topping just before baking.
Nutrition
- Serving Size: 1 slice
- Calories: 450
- Sugar: 35g
- Sodium: 200mg
- Fat: 22g
- Saturated Fat: 13g
- Unsaturated Fat: 9g
- Trans Fat: 0g
- Carbohydrates: 65g
- Fiber: 4g
- Protein: 4g
- Cholesterol: 55mg