
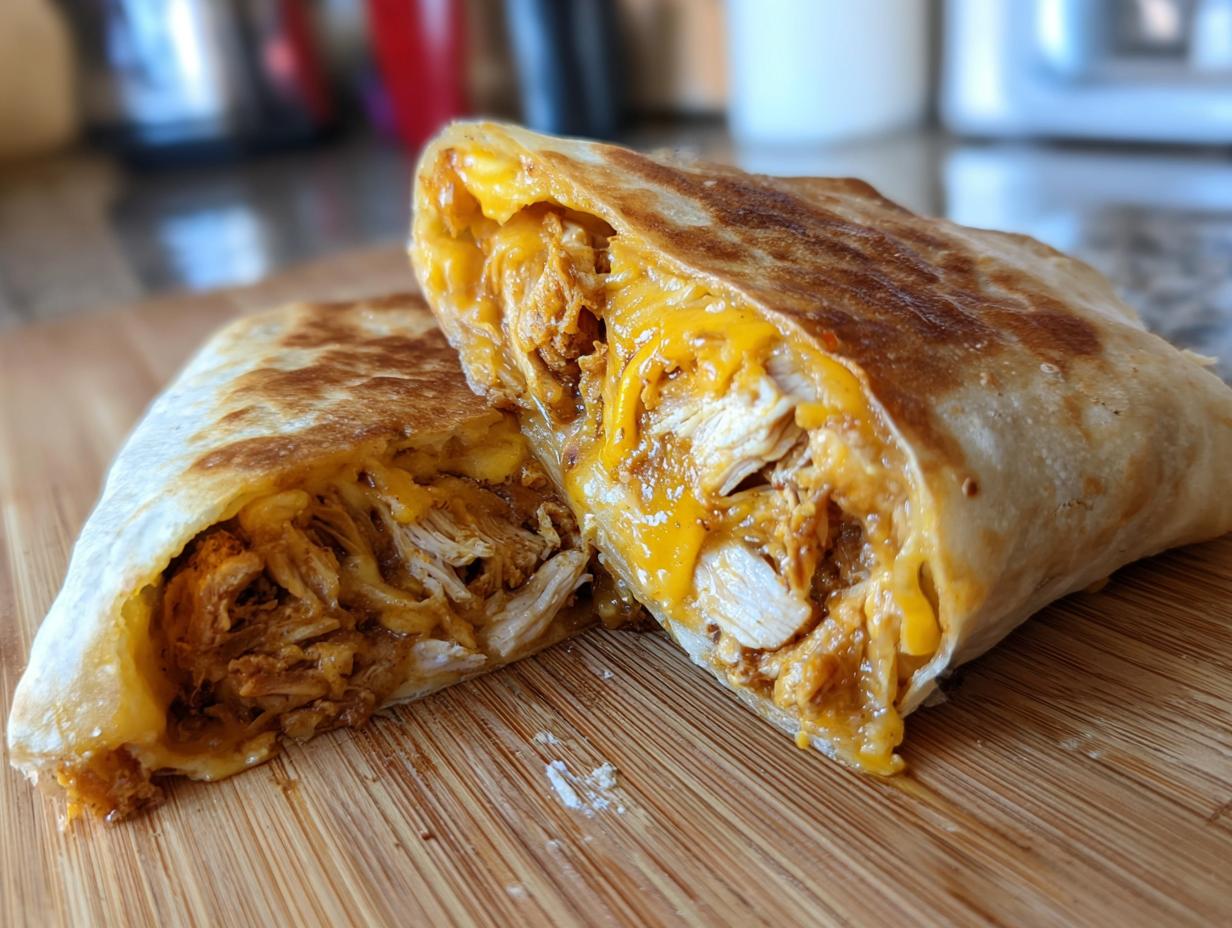

There are certain nights when only savory, crunchy Tex-Mex comfort food will do, right? You crave that golden, flaky crunch but dread the sizzling oil bath that comes with traditional preparation. Well, I’ve figured out my foolproof method for you! Tonight, we are making my signature **Crispy Baked Chicken and Cheese Chimichangas**, and trust me, they are ready in under 30 minutes. When I left my corporate marketing life behind, I promised myself I’d only develop recipes that were both beautiful and deeply satisfying, without demanding hours in the kitchen. These homemade **Chimichangas** deliver every time—they’re unbelievably reliable and absolutely delicious. If you want to know more about my journey to the kitchen, you can check out my story on the About Page.
- Why You Will Love These Quick TexMex Dinners: Crispy Baked Chicken and Cheese Chimichangas
- Gathering Ingredients for Your Homemade Chimichangas
- Step-by-Step Instructions for Easy Chimichangas
- Tips for Perfect Baked Chimichanga Recipe Results
- Variations: Making Beef Chimichangas or Air Fryer Chimichangas
- Serving Suggestions for Your Cheesy Chimichangas
- Storage and Freezer Meal Chimichangas Instructions
- Frequently Asked Questions About Chimichanga Recipes
- Estimated Nutritional Data for Crispy Baked Chimichangas
- Estimated Nutritional Data for Crispy Baked Chimichangas
Why You Will Love These Quick TexMex Dinners: Crispy Baked Chicken and Cheese Chimichangas
You need a meal that works hard for you, especially on a busy weeknight. I designed this recipe specifically so you get that incredible Tex-Mex flavor without any serious fuss or heavy frying. These **Chimichangas** bring all the joy with none of the guilt!
- Ready in 30 Minutes Flat: Seriously, we’re looking at about 10 minutes of prep and 20 minutes in the oven. It’s perfect for those “I need dinner now” moments.
- Crispy Perfection, Baked Not Fried: Forget the deep fryer! We use a simple brushing technique to get that satisfying, golden crunch that makes a chimichanga what it is, saving you mess and excess oil.
- The Ultimate Cheesy Filling: Who doesn’t love melted cheese? We combine juicy shredded chicken with two types of cheese for that perfect, savory pull in every single bite.
- Simple Assembly: Once the filling is mixed, rolling these up is straightforward. Even if you have zero tortilla-rolling experience, you’ll master these fast.
- Great for Make-Ahead Meals: You can assemble these ahead of time, which means future weeknights just got easier. Check out my guide for making Air Fryer Crab Cakes for more quick-prep ideas!
Gathering Ingredients for Your Homemade Chimichangas
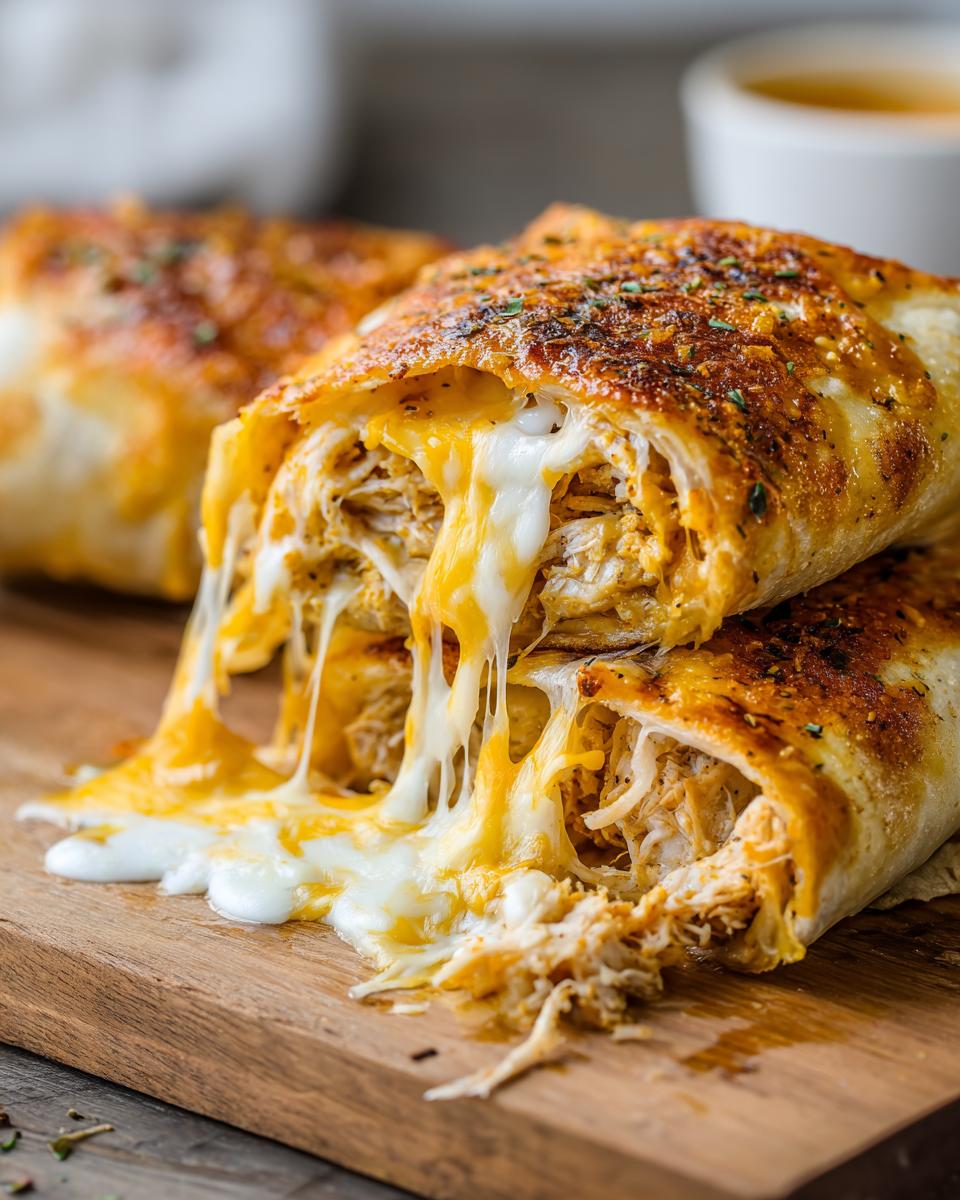
To get these **Chimichangas** assembled and baking in under 30 minutes, make sure you have everything ready to go! I like to lay out all my ingredients before I even turn the oven on—organization is half the battle when you’re cooking this fast. Remember, the quality of your filling makes all the difference here, especially with such simple flavor profiles.
Here is exactly what you’ll need for a batch of eight tasty dinner servings:
- 8 medium flour tortillas (They need to be soft enough to fold, more on that later!)
- 2 cups cooked, shredded chicken (Rotisserie chicken works great if you’re really pressed for time.)
- 1 cup shredded Monterey Jack cheese (For that stretchy melt!)
- 1 cup shredded Cheddar cheese (The sharp flavor balances the spices.)
- 1/2 cup green enchilada sauce (This becomes the base of our flavorful brush-on glaze.)
- 1/4 cup water (To thin out the sauce slightly for easy brushing.)
- 1 tablespoon olive oil (Mixed in with the sauce for extra crispness.)
- 1 teaspoon chili powder
- 1/2 teaspoon cumin
- 1/4 teaspoon garlic powder
- Cooking spray (Don’t skip this; it’s crucial for that baked finish.)
If you’re looking for other cheesy dinner ideas that are just as satisfying, you might want to check out my Chicken Cheese Steak Sandwiches Recipe. But for now, let’s focus on getting these tortillas rolled into perfect little pockets!
Step-by-Step Instructions for Easy Chimichangas
Alright, we have our ingredients shining and ready to go. This whole process, from start to finish, should clock in right around 30 minutes total time—10 minutes of prep and 20 minutes baking. That’s why this is one of my go-to **Quick TexMex Dinners**! Pay close attention to the rolling; that’s the secret to keeping everything tucked in tight while things crisp up beautifully in the oven.
- First things first, fire up that oven! You want to preheat it to 400°F (200°C). Grab your baking sheet now and give it a light spray with cooking spray. We want everything ready to go so we don’t lose momentum once we start assembly.
- In a medium bowl, combine your seasoned chicken mixture—the shredded chicken along with the chili powder, cumin, and garlic powder. Mix this up really well until every piece of chicken is coated in those lovely spices.
- Next, grab your tortillas. If you try to roll them straight out of the package, they often crack, and nobody wants an exploded **Chimichanga** in the oven! Warm them slightly in the microwave for about 15 seconds until they are soft and totally pliable.
- For the assembly, lay out one warmed tortilla. Spoon about 1/4 cup of your seasoned chicken mixture right down the center. Then, sprinkle a good pinch of that mixed Monterey Jack and Cheddar cheese right over the top of the filling.
- Now for the folding technique! This keeps things tidy. First, fold the sides of the tortilla inward, just covering the filling. Then, you’re going to tightly roll the tortilla up almost like a sleeping bag, making sure to tuck in those ends as you move along the roll. Place this seam-side down right onto your prepared baking sheet. Repeat this solid folding process until all eight of your delicious **Chimichangas** are lined up ready for their glaze.
- In a small bowl, whisk together your green enchilada sauce, the water, and the tablespoon of olive oil until it’s totally combined. This creates a flavorful liquid bath for the outside.
- Take a pastry brush and generously brush tops and sides of those rolled-up tortillas with your sauce mixture. This is what gives them that beautiful color and helps them get their crunch!
- Pop that sheet pan into the 400°F oven and bake for 15 to 20 minutes. You must flip them over halfway through the cooking time to ensure both sides get beautifully golden brown and perfectly crispy when they come out.
- Once they are done, pull them out and serve them immediately! Think sour cream, salsa, or my homemade guacamole. It’s the best way to enjoy these **Easy Chimichangas**.
Preparing the Filling and Tortillas
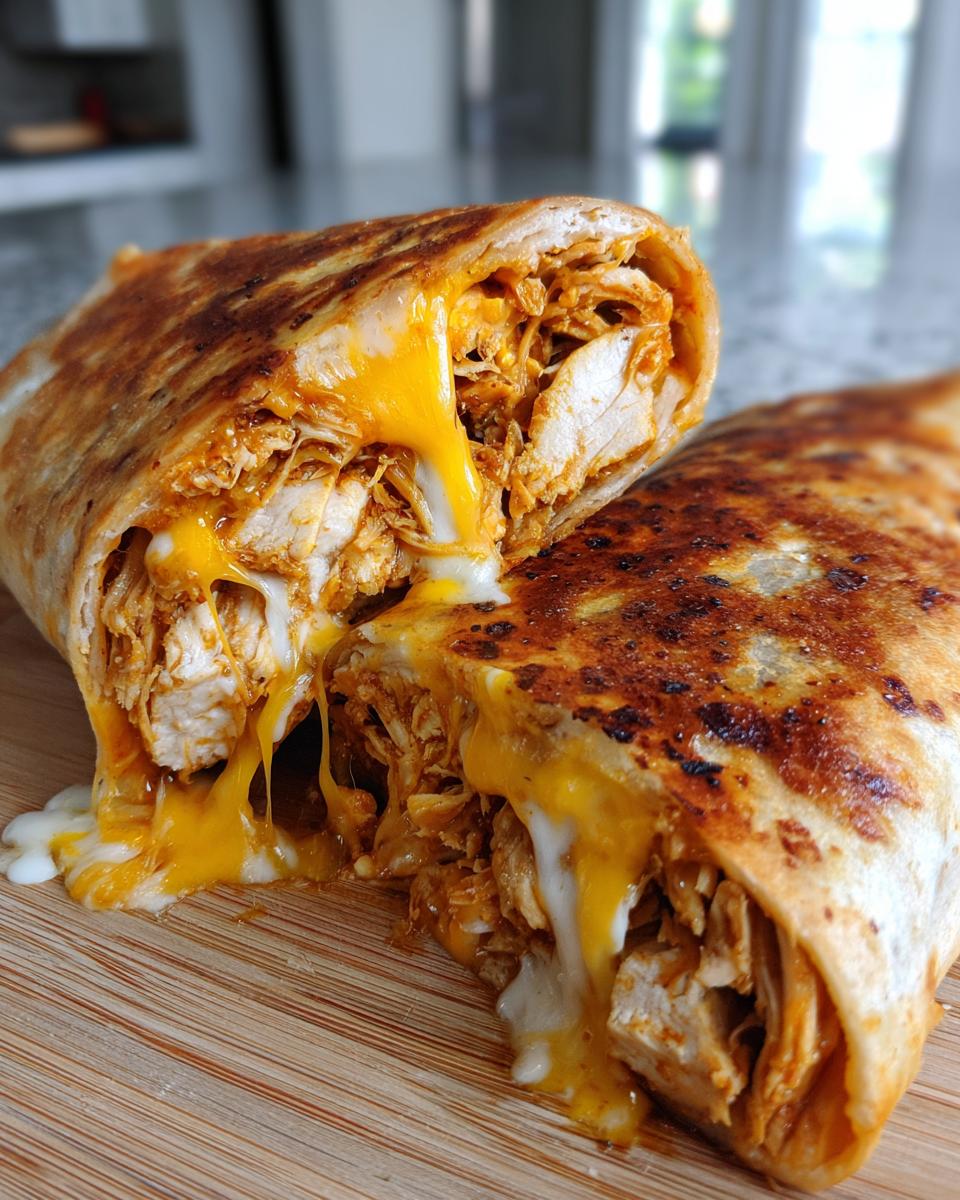
This is where we infuse the flavor! Since we are using pre-cooked, shredded chicken (because we value speed here!), you just need to give it a quick pep talk with those dry spices—chili powder, cumin, and garlic powder. Make sure that chicken is evenly coated; you don’t want any plain bites! And please, warm those tortillas. A quick 15 seconds in the microwave is all it takes to make them flexible so they cooperate when you start rolling. If they snap, you’ll lose that tight seal and end up with a messy situation later.
Rolling and Brushing Your Crispy Chimichangas
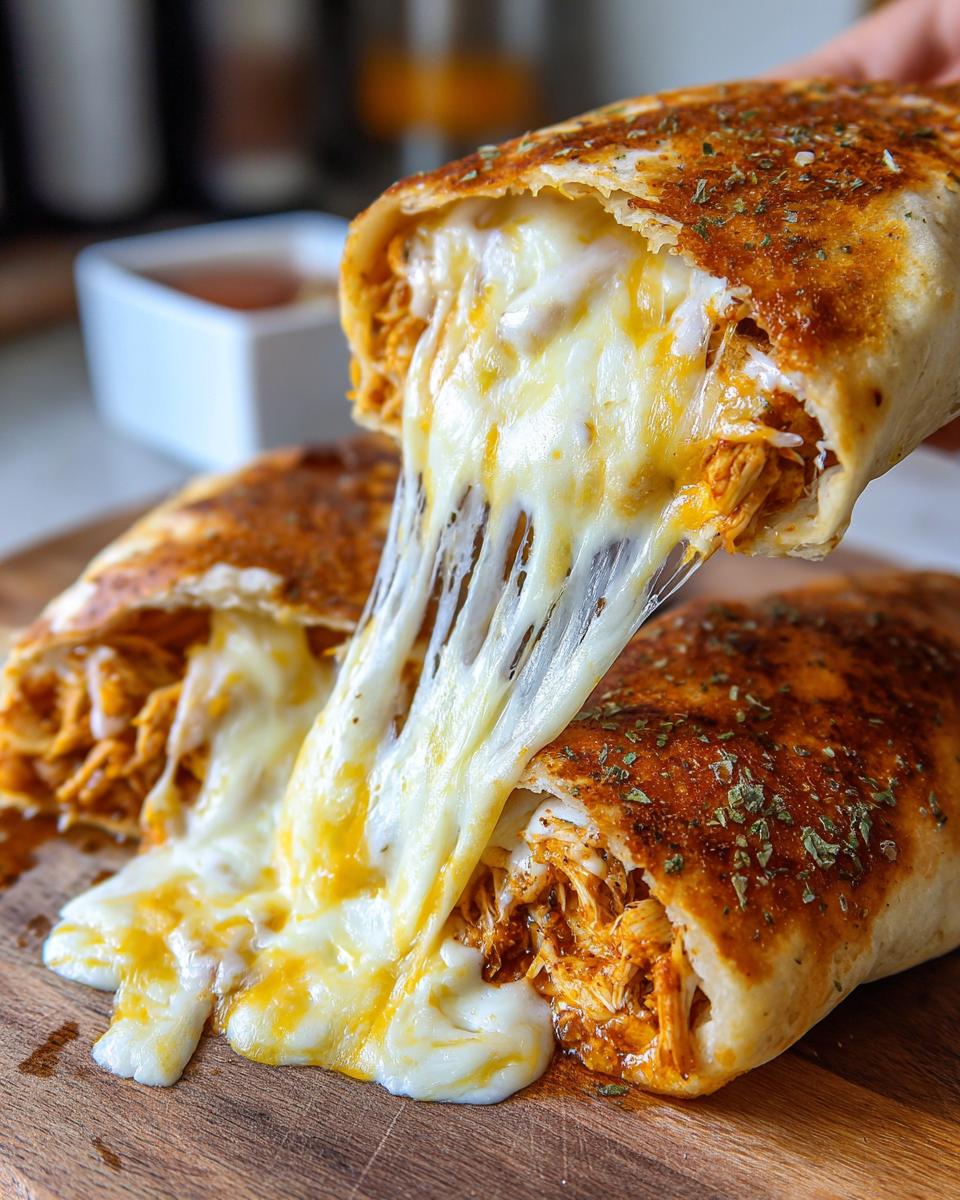
Tucking them in securely is essential for achieving those famous **Crispy Chimichangas**. Think of it like wrapping a tight little gift. Fold the short sides in first—this prevents filling leakage from the ends. Once those are secured, roll it up tightly from the bottom toward the top edge. The final, crucial step is that glaze brush! That mix of enchilada sauce, water, and olive oil isn’t just for color; it helps sear the outside and guarantees a fantastic crust. Don’t be shy with the brushing!
If you want more inspiration for 30-minute cooking magic, you should definitely look over my Sheet Pan Fajitas recipe—it’s another winner for fast, fresh flavor!
Tips for Perfect Baked Chimichanga Recipe Results
We’ve nailed the assembly, but now we need to talk technique. Baking instead of frying is a great choice for a healthier version of these **Chimichangas**, but you still want that glorious golden crunch, right? I’ve learned a few tricks over the years of testing to ensure these turn out perfectly flaky every time, not soggy or pale.
The sauce you brush on is doing most of the heavy lifting here, acting like a light layer of oil. But if you want to really achieve that deep color and maximum crispiness, here’s my suggestion that often gets missed:
The Double Spray Secret: Midway through baking—maybe around the 10-minute mark when you flip them—give the tops another quick, light spritz with cooking spray. It sounds small, but that second blast of fat hitting the hot surface really encourages that final sear and crisping up. It helps mimic that deep-fried texture without actually dunking them!
I also want to touch on substitutions, because I know everyone’s fridge looks a little different. If you’re trying to make **Baked Chimichanga Recipe** variations, keep these points in mind:
- If You Use Ground Beef: If you decide to swap out the chicken for ground beef (making them closer to the popular Beef Chimichangas!), make sure the beef is fully cooked and drained well before you season and mix it. You don’t want any excess grease pooling in the wrapper.
- Freezing is Future You’s Best Friend: Seriously, make a double batch! Assemble them completely as directed, but don’t bake them. Wrap each one tightly in plastic wrap, pop them into a freezer bag, and you’ve got future **Weeknight Mexican Dinners** ready to go. When you bake from frozen, just add about 10 or 15 minutes to the cook time—usually around 30 to 35 minutes at 375°F (190°C) is perfect for them to heat through completely.
For more ways to get that beautiful, crisp exterior without deep frying, you have to try my recipe for Crispy Baked Parmesan Zucchini. It uses a similar concept to create maximum crunch!
Variations: Making Beef Chimichangas or Air Fryer Chimichangas
One of the things I love most about these core **Chimichangas** recipes is how flexible they are. Once you master the rolling and the bake technique, you can swap out the protein based on what you have in the fridge or what you’re craving! These aren’t just stuck in the chicken category, though that’s tonight’s star.
If you’ve been searching for **Beef Chimichangas**, you are in luck! Making the swap is incredibly easy. Instead of using the 2 cups of cooked, shredded chicken, you’ll want to use about 1 pound of ground beef cooked through first. Brown that beef completely, drain off every bit of grease you possibly can—we are trying to keep these lighter, remember? Then, toss that cooked ground beef with the exact same seasoning blend we used for the chicken: chili powder, cumin, and garlic powder. Mix that hot beef with your cheeses, and roll them up just the same way. It creates that incredibly savory, satisfying flavor people expect from classic **Homemade Chimichangas**!
Now, what if you have an air fryer sitting on your counter and you want the absolute fastest, crispiest result possible? While this recipe is built for the oven, you can absolutely adapt it for **Air Fryer Chimichangas**. I have a whole roundup of air fryer goodness, including my Air Fryer Crab Cakes Recipe, but for these, the method is slightly different than baking.
If you go the air fryer route, do the exact same assembly and brushing technique. But instead of baking at 400°F, you’ll want to cook them around 375°F (190°C). They cook way faster in the basket! Start with about 10 minutes. Flip them halfway through, and they should be golden and crunchy in about 12 to 14 minutes total. Keep a close eye on them, as air fryers can brown things quickly!
Serving Suggestions for Your Cheesy Chimichangas
Okay, the **Cheesy Chimichangas** are hot, crispy, and just begging to be dipped! Since these are pure **Mexican Comfort Food Recipes**, we have to go all in on the toppings. You can’t serve these precious things naked, right? The key upgrades are the classics: a dollop of cool sour cream to cut through the richness of the cheese and spicy chicken, and definitely some zesty salsa.
But honestly, you *need* fresh guacamole alongside them. The combination of warm tortilla, melted sharp cheddar, and cool avocado is just magic. If you want to take your topping game up a notch and add some great crunch and tang, you should absolutely check out my guide on making Quick and Easy Pickled Red Onions. They toss perfectly over the top of any loaded **Chimichanga**!
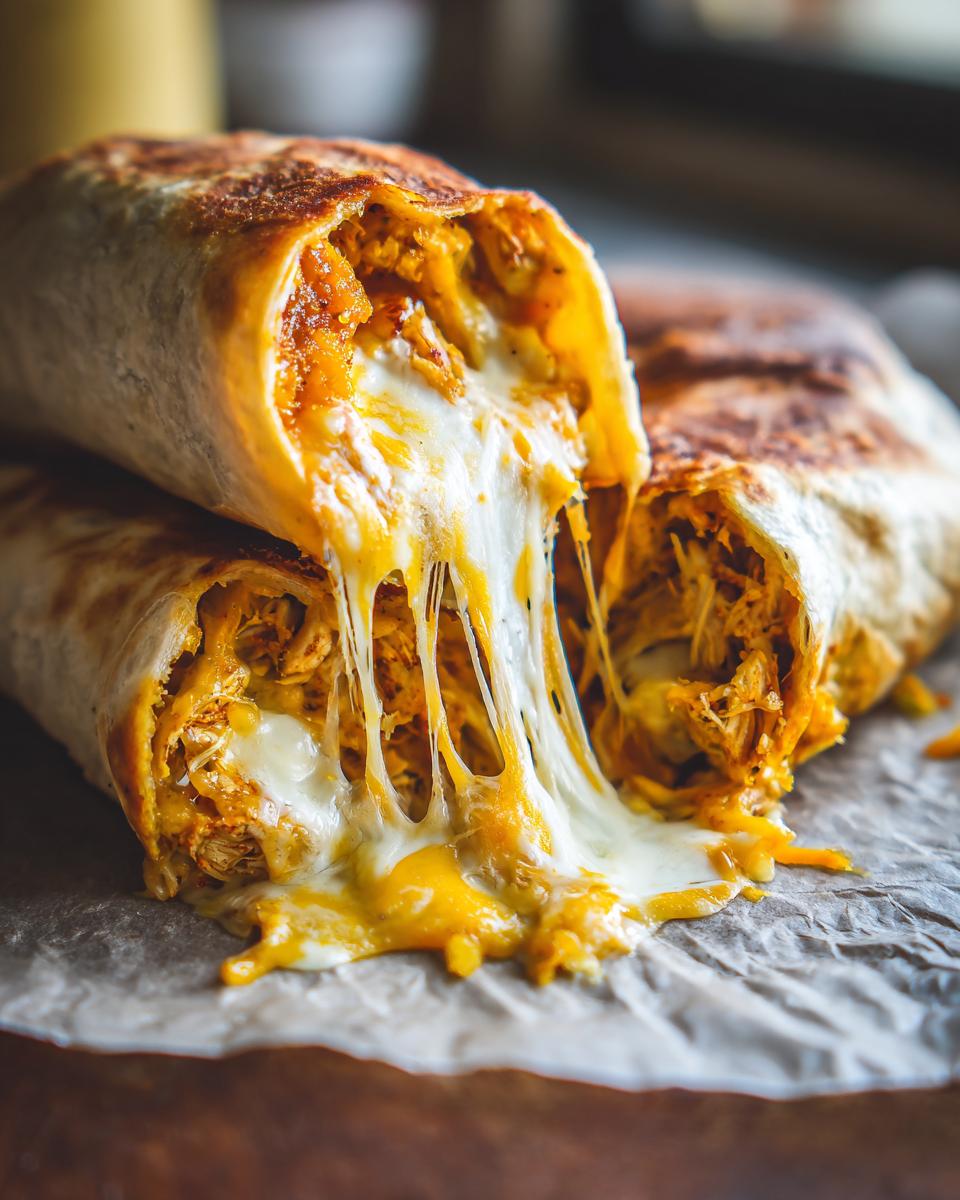
Storage and Freezer Meal Chimichangas Instructions
One of the best features of **Homemade Chimichangas** is that they are amazing as leftovers! If you happen to have any baked ones left over from your amazing dinner (which, honestly, rarely happens at my house once people try them), storing them is super easy. Just let them cool down completely after baking. Pop them into an airtight container or wrap them individually tightly in tin foil or plastic wrap, and they’ll keep happily in the fridge for about three to four days. When you reheat them, I highly recommend using your air fryer or oven again set to about 350°F for 8–10 minutes. That brings that crispy texture right back, which you just won’t get from the microwave.
But let’s talk about the real secret weapon for future meals: making these ahead of time. This is how you secure those quick **Weeknight Mexican Dinners**!
You can assemble these **Chimichangas** completely—filling them, rolling them tight, tucking those ends—but *stop right before* you brush them with the sauce. Once they are rolled, wrap each individual chimichanga tightly in plastic wrap. Then, place them all into a sturdy, freezer-safe bag or container. They freeze beautifully this way for up to three months.
When a craving hits, you don’t even need to fully thaw them! Just pop them straight from the freezer onto your baking sheet. Bake them at a slightly lower temperature, say 375°F (190°C), for about 30 to 35 minutes total. Because they start frozen, they need that extra time to heat right through the middle. This trick means you always have the *Best Chimichanga Filling* ready to go. If you love planning ahead, you should look at my strategy for making an amazing easy 1-Pound Meatloaf for two!
Frequently Asked Questions About Chimichanga Recipes
I know when you try a new recipe, especially when you’re swapping out tradition—like baking instead of frying—you’re going to have questions. That’s totally normal! I’ve gathered the most common queries I get about these **Chimichanga Recipes** so you can feel totally confident making them for dinner tonight.
Can I deep fry these baked chimichangas instead of baking them?
You absolutely can! That’s the fun part about this recipe: it gives you options. If you prefer that super puffy, ultra-traditional texture, you can definitely deep fry them instead of baking. If you deep fry, you’ll skip the sauce brushing step entirely. Just heat about an inch of neutral oil (like canola or vegetable) in a heavy skillet to about 350°F (175°C). Fry them for about 2 to 3 minutes per side until they are deeply golden brown and crispy all over. Remember to drain them well on a paper towel lined plate afterward! This takes them out of the “Healthy Chimichanga Ideas” category, but wow, are they delicious.
What is the actual difference between a Chimichanga and a Burrito?
This is a fantastic question that trips up a lot of people! Technically, the difference is purely in the preparation, not the ingredients inside. A burrito is simply a tightly rolled flour tortilla filled with meat, beans, rice, cheese, etc., and served as is. A **Chimichanga** is structurally the same—it’s a rolled burrito—but once it’s rolled, it is then deep-fried or, in our case, baked or air-fried until it is golden brown and wonderfully crispy. Think of it as the crispy, crunchy cousin of the soft burrito!
Can I use refried beans in my Easy Chimichangas?
Yes, absolutely! While my current recipe focuses on chicken and cheese for speed, refried beans are a staple in many **Homemade Chimichangas**. If you decide to add them, try to use a slightly thicker refried bean, perhaps warmed slightly first. You might want to reduce the amount of cheese slightly, or if you are keeping the chicken, you can use half chicken and half beans—it adds incredible richness. Just be careful not to overstuff the tortilla, because beans can make them a little more prone to bursting during baking.
My tortillas keep tearing when I roll them. What’s wrong?
Don’t worry, this happens even to experienced cooks! The main issue is usually tortillas that are too cold or too dry. They lose their elasticity. The key step I emphasized is warming them up—even 15 seconds in the microwave makes a huge difference. If you are making **Beef Chimichangas** or chicken ones and the tortillas are still giving you trouble, use a slightly smaller filling amount, and make sure every single piece of tortilla edges are folded in tightly before you begin the main roll. This creates necessary structure.
For more general tips on keeping your recipes organized and finding inspiration for your next kitchen adventure, you can always browse my main Blog Page!
Estimated Nutritional Data for Crispy Baked Chimichangas
As I mentioned throughout, baking these instead of frying makes a significant nutritional upgrade, turning this heavy Tex-Mex classic into a much more manageable dish for any night of the week. This data is based on the recipe yielding 8 servings, using the specified ingredients, and using the baking method. Remember, if you switch to **Air Fryer Chimichangas** or use beef instead of chicken, these numbers will shift a little!
Here’s the general breakdown for one baked chimichanga:
- Serving Size: 1 chimichanga
- Calories: 320
- Fat: 14g
- Saturated Fat: 7g
- Trans Fat: 0.5g
- Cholesterol: 55mg
- Sodium: 450mg
- Carbohydrates: 33g
- Fiber: 2g
- Sugar: 2g
- Protein: 18g
Please note: These values are estimates calculated based on standard ingredient averages. The actual nutritional content can vary based on the specific brands of tortillas, cheese, and chicken you choose to use in your preparation.
Estimated Nutritional Data for Crispy Baked Chimichangas
As I mentioned throughout, baking these instead of frying makes a significant nutritional upgrade, turning this heavy Tex-Mex classic into a much more manageable dish for any night of the week. This data is based on the recipe yielding 8 servings, using the specified ingredients, and using the baking method. Remember, if you switch to **Air Fryer Chimichangas** or use beef instead of chicken, these numbers will shift a little! If you ever need to get in touch about a recipe question or anything else, my contact page is always open.
Here’s the general breakdown for one baked chimichanga:
- Serving Size: 1 chimichanga
- Calories: 320
- Fat: 14g
- Saturated Fat: 7g
- Trans Fat: 0.5g
- Cholesterol: 55mg
- Sodium: 450mg
- Carbohydrates: 33g
- Fiber: 2g
- Sugar: 2g
- Protein: 18g
Please note: These values are estimates calculated based on standard ingredient averages. The actual nutritional content can vary based on the specific brands of tortillas, cheese, and chicken you choose to use in your preparation.
PrintCrispy Baked Chicken and Cheese Chimichangas Ready in 30 Minutes
Make satisfying, crispy chimichangas at home without deep frying. This easy recipe uses seasoned chicken and melted cheese, baked until golden brown, making it a perfect quick Tex-Mex dinner.
- Prep Time: 10 min
- Cook Time: 20 min
- Total Time: 30 min
- Yield: 8 servings 1x
- Category: Dinner
- Method: Baking
- Cuisine: Tex-Mex
- Diet: Vegetarian
Ingredients
- 8 medium flour tortillas
- 2 cups cooked, shredded chicken
- 1 cup shredded Monterey Jack cheese
- 1 cup shredded Cheddar cheese
- 1/2 cup green enchilada sauce
- 1/4 cup water
- 1 tablespoon olive oil
- 1 teaspoon chili powder
- 1/2 teaspoon cumin
- 1/4 teaspoon garlic powder
- Cooking spray
Instructions
- Preheat your oven to 400°F (200°C). Lightly spray a baking sheet with cooking spray.
- In a medium bowl, combine the shredded chicken, chili powder, cumin, and garlic powder. Mix well to coat the chicken evenly.
- Warm the tortillas slightly in the microwave for about 15 seconds to make them pliable.
- Place about 1/4 cup of the seasoned chicken mixture and a sprinkle of the mixed cheeses down the center of each tortilla.
- Fold the sides of the tortilla inward over the filling. Then, tightly roll the tortilla up like a burrito, tucking in the ends as you roll. Place the seam-side down on the prepared baking sheet. Repeat with the remaining tortillas.
- In a small bowl, whisk together the enchilada sauce, water, and olive oil. Brush the tops and sides of the rolled chimichangas generously with this mixture.
- Bake for 15 to 20 minutes, flipping halfway through, until the chimichangas are golden brown and crispy.
- Serve immediately with your preferred toppings like sour cream, salsa, or guacamole for a delicious weeknight Mexican dinner.
Notes
- For extra crispiness, you can lightly spray the chimichangas again with cooking spray halfway through the baking time.
- You can substitute ground beef for the chicken to make Beef Chimichangas.
- These chimichangas freeze well; assemble them completely, wrap tightly in plastic wrap, and freeze. Bake from frozen at 375°F (190°C) for about 30-35 minutes, adding a few extra minutes to the cook time.
Nutrition
- Serving Size: 1 chimichanga
- Calories: 320
- Sugar: 2
- Sodium: 450
- Fat: 14
- Saturated Fat: 7
- Unsaturated Fat: 7
- Trans Fat: 0.5
- Carbohydrates: 33
- Fiber: 2
- Protein: 18
- Cholesterol: 55