
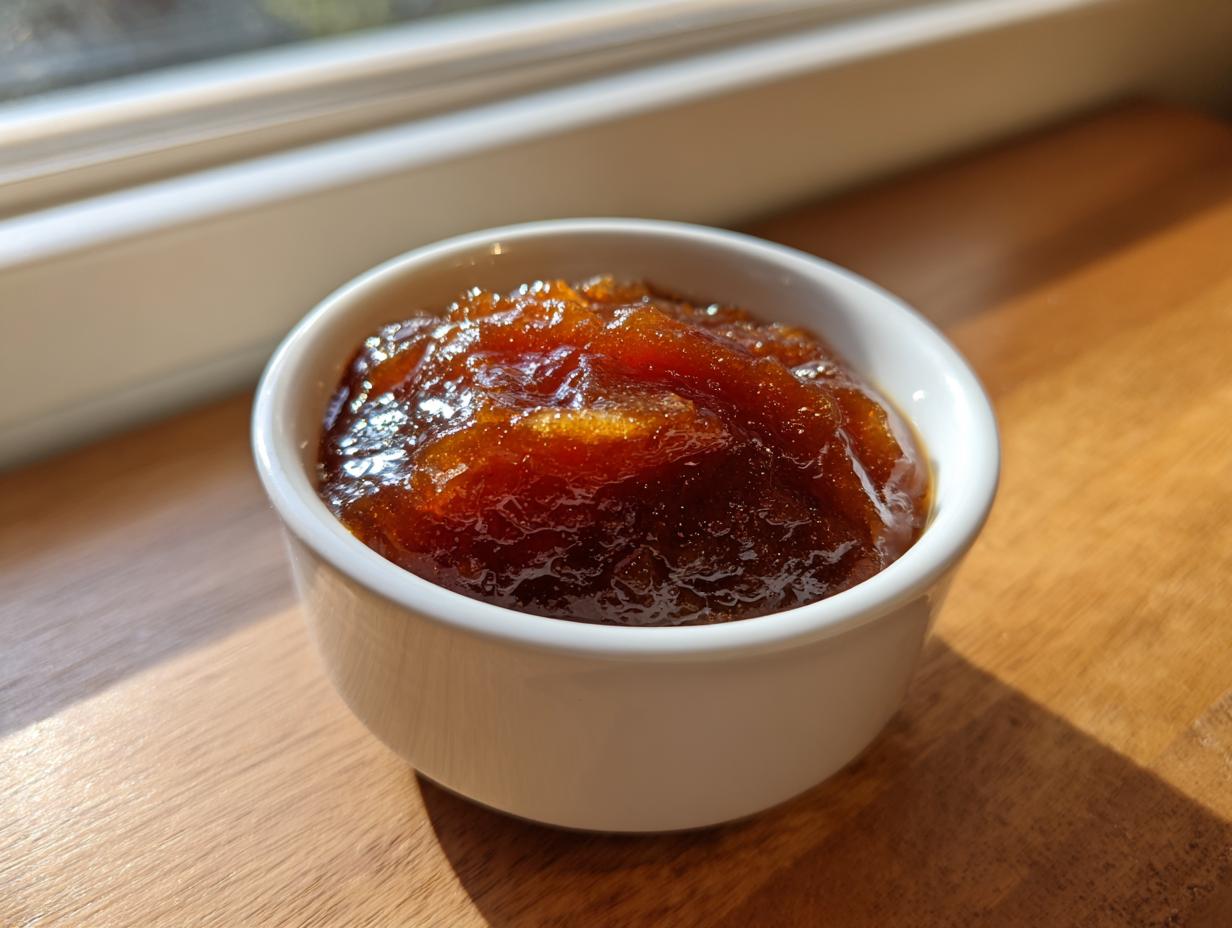

When those first crisp breezes carry that unmistakable scent of woodsmoke and turning leaves, my kitchen immediately shifts gears. Gone are the light summer salads; now, it has to smell like pure autumn comfort. That, my friends, is where this Ultimate Homemade Apple Butter comes into play. Back when I was chained to my desk navigating spreadsheets, coming home to a slow-simmering pot of spices and fruit felt like a dream—a dream I wasn’t sure I could achieve. But oh, how wrong I was! This recipe proves that even a former corporate escapee like me can master a deeply flavorful, thick, and beautiful apple butter. I learned all the secrets to making food that tells a story, like the ones they shared over at my About page.
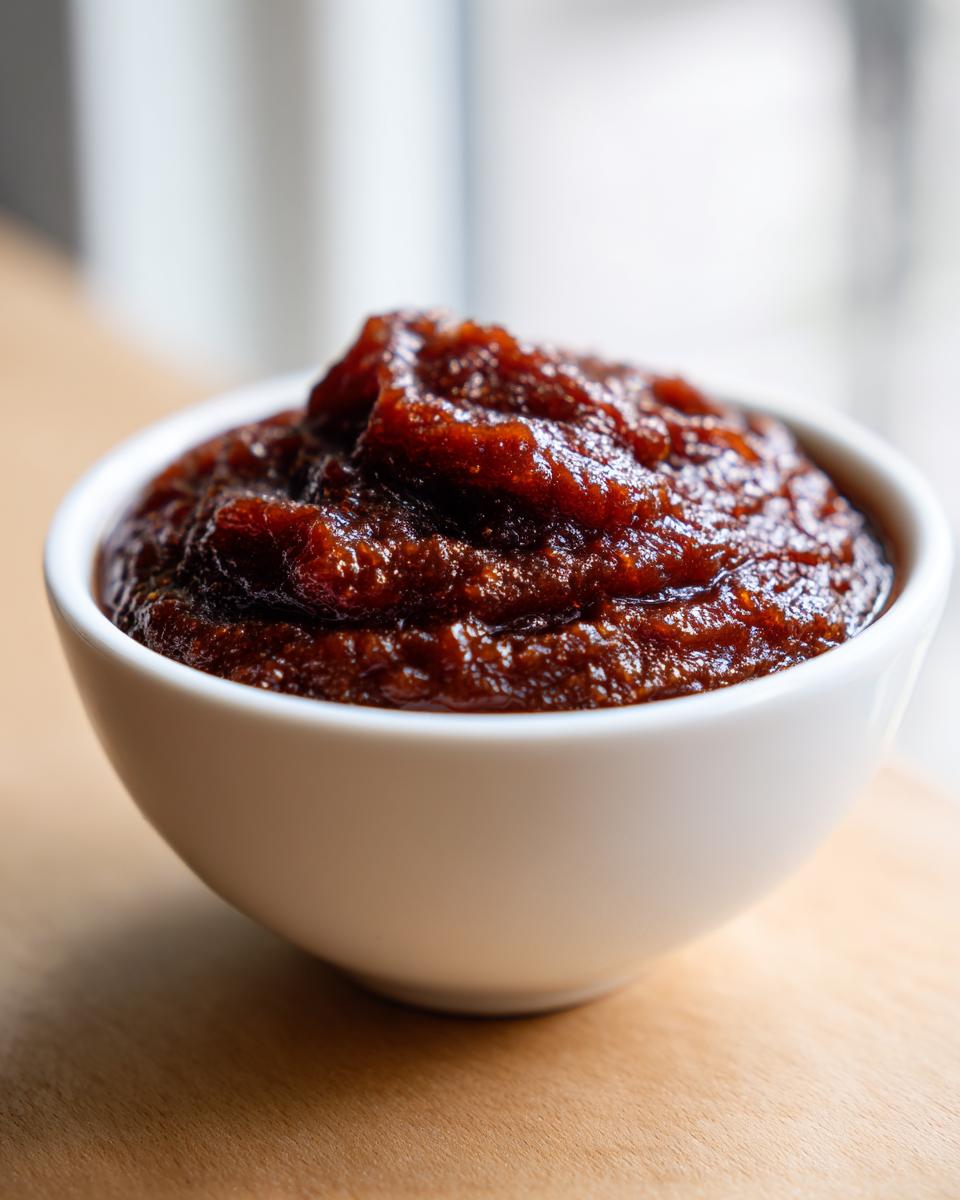
What makes this guide truly special is that you get two tried-and-true paths to the same incredible result: the patient, rustic coaxing of the stovetop method or the hands-off magic of the slow cooker. We’ve worked through the timings to ensure you get that rich, caramelized sweetness we all crave in a perfect fall spread.
- Why This Homemade Apple Butter Recipe Stands Out
- Gathering Ingredients for Perfect Spiced Apple Butter
- How to Make Apple Butter: Step-by-Step Instructions
- Tips for Perfect Old Fashioned Apple Butter Success
- Preserving Your Homemade Apple Butter: Canning Guide
- Creative Apple Butter Uses Beyond Toast
- Storage and Reheating Instructions for Apple Butter
- Frequently Asked Questions About Making Apple Butter
- Nutritional Estimates for Your Apple Butter
- Share Your Homemade Apple Butter Creations
Why This Homemade Apple Butter Recipe Stands Out
I know you’ve seen dozens of recipes for this kind of thing, especially when the leaves start turning shade, but this one? This one hits different. When I first started playing around with these cozy, comforting spreads, consistency was my biggest hurdle. This recipe solves all that. It’s designed to be utterly reliable, which means you can step away, breathe, and still end up with the best easy apple butter you’ve ever tasted.
Here’s why this formula belongs on your counter this season:
- Two Paths to Perfection: Whether you have an hour to keep an eye on the stovetop or eight hours to let the Crockpot do the heavy lifting, we’ve got the exact timing for you.
- Thickness Every Time: We aren’t aiming for applesauce here. This recipe is calibrated to blend down into that thick, spreadable consistency that doesn’t run off your spoon.
- Rich, Deep Spices: It’s the perfect balance of brown sugar and those warm autumn spices—nutmeg and allspice—that make it taste old-fashioned and deeply satisfying.
- Preservation Ready: Once you nail this, you’re set for the year. It’s fantastic for canning when you want to stock your pantry, which I highly recommend!
The Best Apples for Rich Apple Butter Flavor
Choosing the right fruit is half the battle, believe me. You want a blend here. If you just use Granny Smiths, it can be too tart and tough, and if you only use super sweet apples, it gets one-dimensional fast. I swear by mixing a firm, slightly sweet apple like Fuji or Honeycrisp with something that holds its shape well, like Gala. This mix ensures you get deep flavor from the sugars caramelizing while still having enough structure initially to break down nicely during that long simmer. Don’t be afraid to mix and match what you find at the market!
Gathering Ingredients for Perfect Spiced Apple Butter
This is where the magic starts, but it’s also where you need to pay attention to the details, just like following the instructions on a precise marketing brief! Getting the components right means the difference between a spread that tastes fine and one that sings. We’re using a good chunk of apples here—six pounds is the sweet spot for a batch big enough to really make a difference in your pantry. Remember, we want this to be a deeply comforting, intensely flavored apple butter, not just watery applesauce, so quantities matter.
Make sure you have everything ready to go before you turn on the heat. Here’s the official list for this glorious, spiced creation:
- 6 pounds apples (Fuji, Honeycrisp, or a mix), peeled, cored, and chopped
- 1 cup granulated sugar
- 1 cup packed brown sugar (Don’t skimp or substitute this—the molasses flavor in packed brown sugar is non-negotiable!)
- 2 tablespoons ground cinnamon
- 1 teaspoon ground nutmeg
- 1/2 teaspoon ground allspice
- 1/4 cup water (for stovetop method only)
Ingredient Notes and Substitutions for Apple Butter
Okay, let’s talk specifics, because I know you might be missing something. If you’re using the stovetop method, that tiny splash of water is just to get things going and keep the bottom from scorching before the apples release their own liquid. Skip it if you go the slow cooker route! Also, if you want to lean into that natural sweetness, feel free to swap out about half the white sugar for pure maple syrup. It deepens the fall vibe perfectly, and it works wonderfully if you happen to be whipping up a batch of my pumpkin bread later this week! Allspice is key here—it gives that authentic, old-fashioned depth.
How to Make Apple Butter: Step-by-Step Instructions
Alright, time to get cooking! This is where all that ingredient prep pays off. Whether you are dedicating an afternoon to the stove or setting your Crockpot and walking away, the beautiful fragrance this process creates is intoxicating. Seriously, your house will smell like the coziest autumn morning possible. We are moving past just cooked apples; we are aiming for velvety smooth, intensely flavored results. This is the heart of making truly incredible apple butter.
Preparing the Apples and Combining Ingredients
First things first for Steps 1 and 2: Get those 6 pounds of peeled, cored, and chopped fruit into your chosen vessel—that means a large pot or the slow cooker insert. Dump in both sugars, cinnamon, nutmeg, and allspice. Just let it all mingle for a moment before we apply the heat.
Cooking Method 1: Stovetop Apple Butter Simmering
If you opted for the stovetop method, you must add that small quarter-cup of water we talked about—that’s your insurance policy against sticking early on. Bring it up to a rolling boil over medium-high heat. Once it’s bubbling, drop that heat way down to low, cover it up, and let it work for about an hour and a half to two hours. Crucially, once the apples are mushy, pull the lid off! You need to let that extra steam escape during the last 30 minutes or so. That’s how we force evaporation and get that signature, thick stovetop apple butter texture.
Cooking Method 2: Easy Slow Cooker Apple Butter
This is my preferred method when I have a busy day of recipe testing ahead. It’s just so effortless! Combine everything in the insert, put the lid on, and forget it. You can cook this on LOW for a full 8 to 10 hours, or if you’re in a slight hurry, HI for 4 to 5 hours. You just need to give it a stir every hour or two. This hands-off time allows those spices to marry the apples perfectly, leading to wonderfully easy slow cooker apple butter.
Achieving Silky Smooth Apple Butter Texture
Once the apples have completely collapsed and mash easily with a fork, you need to blend. If you have an immersion blender, fantastic—you can blend right in the pot or cooker. If you’re using a standard blender, you must transfer it in batches, and please, be careful because steam builds up pressure! Pulse until it’s completely velvety; this is the moment we turn mush into luxurious apple butter spread. If, after blending, it feels thinner than you want—especially if you used really juicy apples—put it back on low heat, uncovered, and stir frequently until it thickens up just right. That final simmer is key for that rich, spoon-coating result.
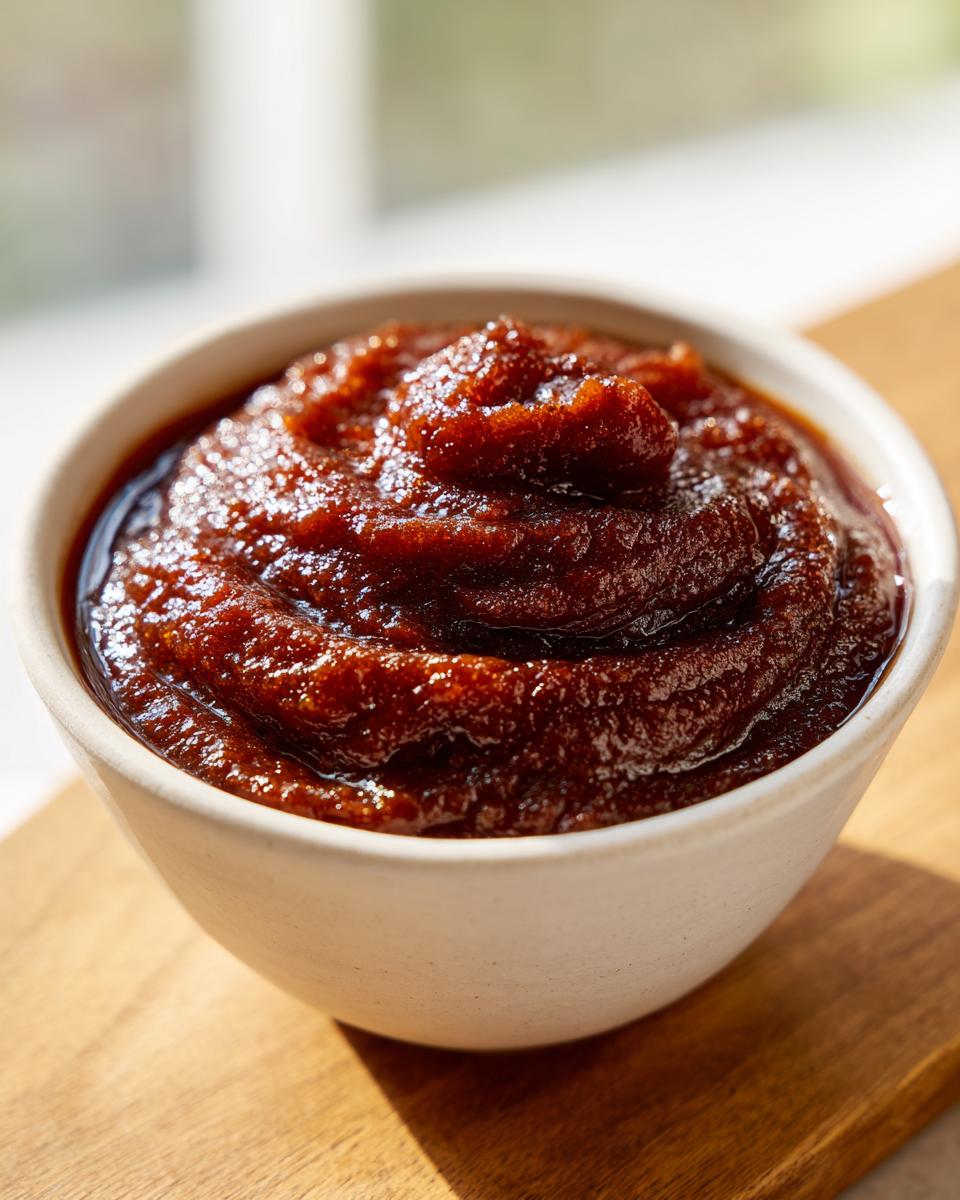
If you want to check out an amazing recipe where texture is everything—like my Easy Apple Crumble—you’ll see texture matters just as much as flavor!
Tips for Perfect Old Fashioned Apple Butter Success
Here are a few things I learned the hard way so you don’t have to! To get that true, deeply concentrated flavor that defines an old fashioned apple butter, you really need to let it cook down properly. If you are impatient like I used to be in my corporate life, you’ll end up with something closer to applesauce, and we can’t have that. Always aim for that thick, slow-simmered texture.
Now, about the skins! I know peeling 6 pounds of apples sounds like a nightmare. If you are short on time, you *can* skip peeling them entirely. Just cook the apples a little longer in the beginning to make sure those skins break down totally during the simmer. When you blend it, they just disappear, leaving you with a fantastic, naturally set spread.
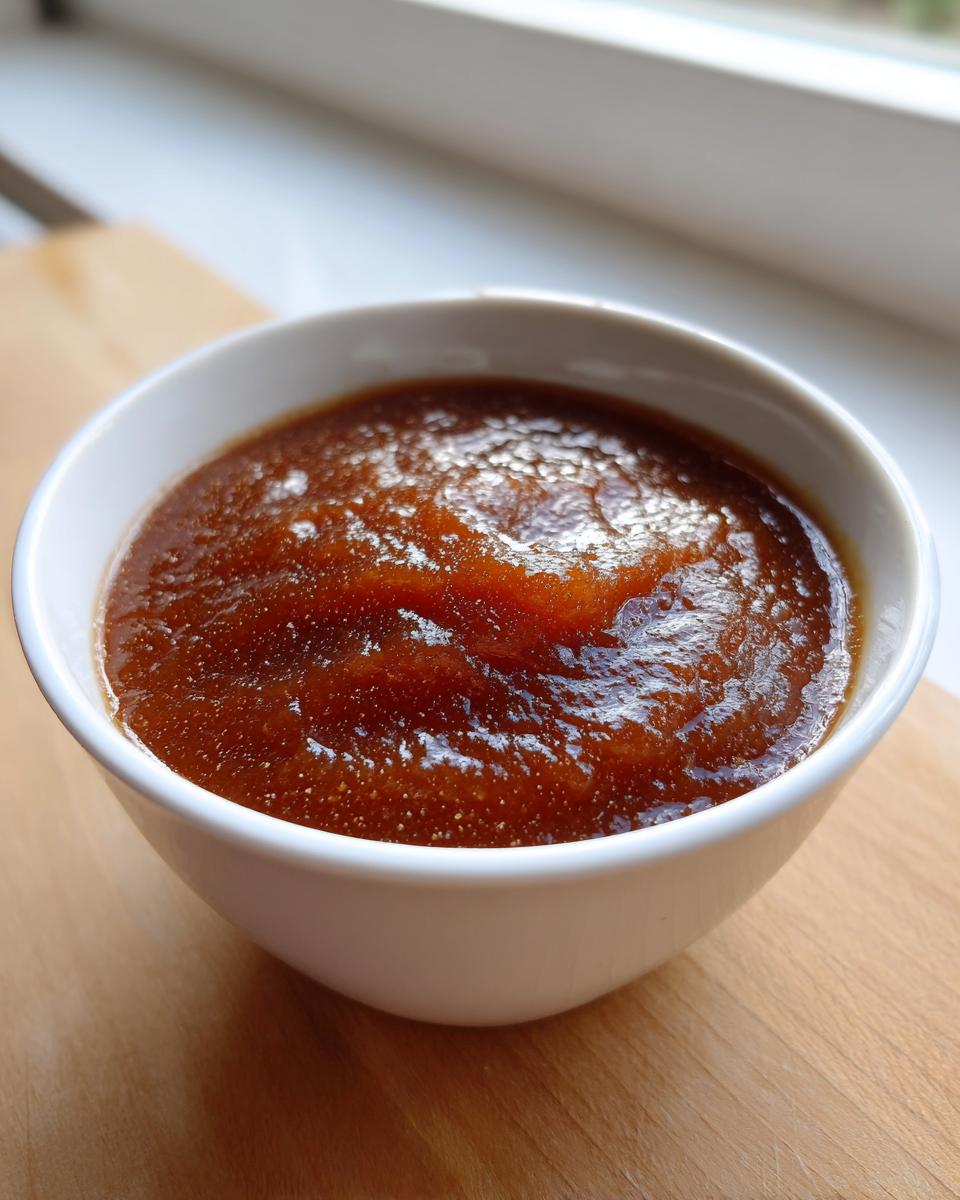
My final tip for richness, which works whether you are stovetop cooking or using the Crockpot, is to let it go a little longer uncovered at the end, especially after blending, if you think it’s too thin. A few extra minutes of gentle cooking concentrates the flavor and creates that beautiful, glossy lacquer. It’s the secret to making something that tastes like it simmered for days, not hours. This intensity pairs so well with my favorite fall baked goods!
Preserving Your Homemade Apple Butter: Canning Guide
Now that you’ve achieved that perfect, thick texture, you deserve to enjoy this incredible apple butter all year long—not just until the next weekend! We want to talk about preservation, because nothing is better than pulling a jar of homemade spread off the shelf in February.
It’s surprisingly easy to get this ready for long-term storage. Following correct apple butter canning procedures means you get shelf-stable jars ready for gifting or eating whenever the craving strikes. Once the butter has cooled slightly after blending, transfer it into clean jars, leaving about a quarter-inch of headspace at the top.
To seal those jars, you’ll use a simple boiling water bath method. Get a large pot of water boiling, carefully place the filled jars inside (make sure the water covers the tops by at least an inch or two!), and process them for precisely 10 minutes. Pull them out, let them cool undisturbed, and listen for that wonderful ‘pop’ that tells you the seal took. That’s how you lock in all that cozy fall flavor!
Creative Apple Butter Uses Beyond Toast
It’s almost criminal to just use this luxurious batch of homemade apple butter spread on morning toast, although I certainly won’t stop you! This rich, spiced condiment opens up a whole world of possibilities in the kitchen, far beyond just breakfast fare. Think about how much better your baking could be with that deep, natural apple flavor mixed right in.
When I developed this recipe, I was thinking about all the ways we use spreads, and honestly, the apple butter uses are endless. Try swirling a few spoonfuls into muffin batter—it adds moisture and spice that store-bought applesauce just can’t match. Or, use it as a glaze on pork tenderloin or ham right before it finishes cooking; the sugar caramelizes beautifully!
My personal favorite is using it as a layer in desserts. It adds that wonderful autumnal note that screams comfort. If you want a really fun application, try folding a quarter cup into the batter for my S’mores Brownies; it adds a surprising depth that elevates the whole treat. Don’t let those jars sit around unused!
Storage and Reheating Instructions for Apple Butter
Once your gorgeous batch of homemade apple butter has completely cooled down—and I mean totally cool, otherwise you risk breaking the seal on your jars—it’s ready for storage. If you canned it properly, those jars are good for months in a cool, dark pantry. For jars you’re keeping handy in the fridge, it stays fantastic for about three weeks.
If you ended up with a huge yield and don’t want to can it all, freezing is easy! Transfer the thick butter into heavy-duty freezer bags, squeeze out all the air, and lay them flat. It stays perfectly flavorful for up to six months, ready for future cozy mornings.
Frequently Asked Questions About Making Apple Butter
I get so many questions when people first try making this recipe—it’s exciting when you get people enthusiastic about making their own apple butter! It’s totally normal to wonder about maximizing flavor or using what you have on hand. Think of this section as quick answers to those little hiccups so you can spend more time enjoying your cozy kitchen and less time searching the internet. I’ve pulled together the most common queries I receive about these sweet, spiced preserves. I want you to feel confident tackling this recipe, whether you’re using the blog for reference or just following the steps below.
How long does homemade apple butter last?
That depends entirely on how you store it! If you properly processed your jars using the boiling water bath method discussed earlier—a crucial step for apple butter canning—they should be shelf-stable for up to a year when stored in a cool, dark pantry. Once you open a jar, or if you just store it in a standard container in the fridge, you have about three weeks to enjoy that delicious apple butter spread experience. Remember that the sugar content acts as a natural preservative, but fresh is always best!
Can I make this apple butter recipe without peeling the apples?
Yes, absolutely! This is my favorite shortcut for making the recipe feel extra hands-off and leaning into that old fashioned apple butter vibe where waste was minimized. If you skip the peeling step, you just need to cook the apples down longer—maybe an extra hour on the stovetop or two hours on the slow cooker—to ensure those skins are completely tender. When you blend it afterwards, the skins break down beautifully, leaving you with a slightly darker but still wonderfully rich and silky smooth product. It won’t be quite as perfectly uniform as the peeled version, but the flavor is still 100% there!
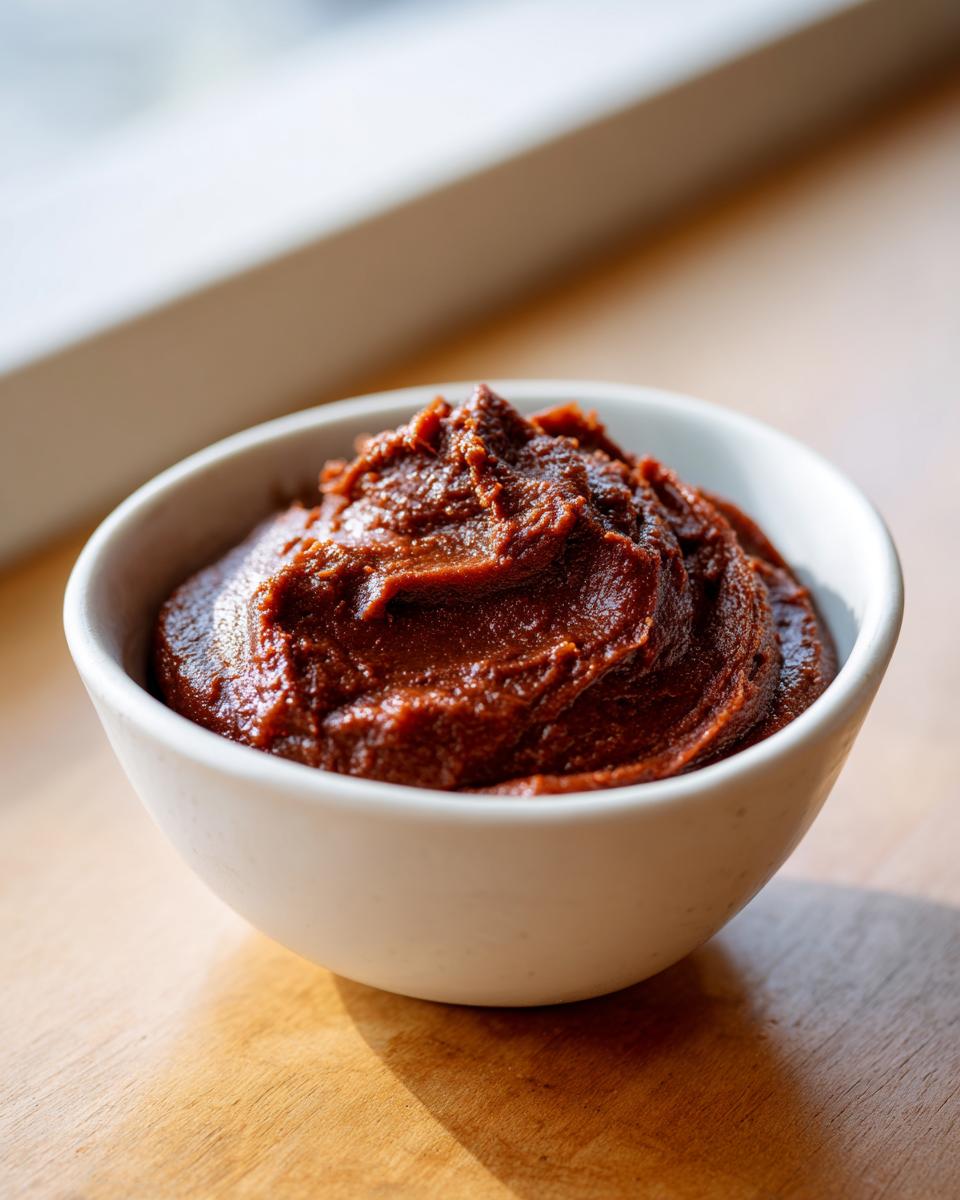
Nutritional Estimates for Your Apple Butter
Now, I’m going to be totally upfront with you: when I’m making something this comforting and delicious, I’m not usually pulling out the fine-tooth comb for the nutrition label. I’m focused on the fall spices, that gorgeous dark color, and how perfectly it spreads on a warm biscuit! However, because I want this to be a complete resource for you—whether you’re focused on flavor or just curious—I have calculated some general estimates.
Please keep in mind these figures are an approximation based on the total yield of this recipe (about 5 cups) and they assume you used the amounts of sugar listed. If you used less sugar or swapped in maple syrup, your exact counts will shift. I look at this more as general guidance than a strict diet plan!
Here is the general breakdown per serving (1/4 cup):
- Serving Size: 1/4 cup
- Calories: Approximately 185
- Sugar: Around 45g (Yes, that’s where most of the calories come from, naturally!)
- Fat: Less than 0.1g (It’s practically fat-free!)
- Protein: Very low, around 0.2g
- Carbohydrates: About 48g
- Fiber: Around 2g
- Cholesterol: 0mg
The main thing to note here is that this apple butter is primarily a source of natural fruit sugars and concentrated flavor. It’s all about enjoying that rich taste responsibly, knowing that you’ve made it yourself with whole fruit!
Share Your Homemade Apple Butter Creations
Making something this deeply flavorful, whether it came from a patient simmer on the stovetop or a long, easy day in the slow cooker, is a real accomplishment! I truly poured my heart into perfecting this recipe after leaving my corporate grind, and nothing makes me happier than knowing you’ve brought these fall aromas into your own kitchen.
Now that you have jars bubbling away or cooling on the counter, I absolutely want to hear about it! Did you sneak a taste right away before canning? Which method did you choose, and how did it fit into your weekend? Drop a comment below and don’t forget to give the recipe a star rating so other cooks know what to expect from this classic apple butter.
If you have any follow-up questions about substitutions or storage that weren’t covered above, feel free to send them my way! You can always reach out through the Contact page if you need anything at all. Happy spreading!
PrintUltimate Homemade Apple Butter: Stovetop vs. Slow Cooker Guide (Rich & Spiced)
Make rich, spiced homemade apple butter from scratch using either the stovetop or slow cooker method. This easy recipe yields a thick, spreadable condiment perfect for toast, biscuits, or fall baking preservation.
- Prep Time: 25 min
- Cook Time: 480 min
- Total Time: 505 min
- Yield: About 5 cups 1x
- Category: Preserves and Jams
- Method: Slow Cooking / Stovetop Simmering
- Cuisine: American
- Diet: Vegetarian
Ingredients
- 6 pounds apples (Fuji, Honeycrisp, or a mix), peeled, cored, and chopped
- 1 cup granulated sugar
- 1 cup packed brown sugar
- 2 tablespoons ground cinnamon
- 1 teaspoon ground nutmeg
- 1/2 teaspoon ground allspice
- 1/4 cup water (for stovetop method only)
Instructions
- Prepare the apples: Peel, core, and chop the apples into roughly equal pieces.
- Combine ingredients: Place the chopped apples, granulated sugar, brown sugar, cinnamon, nutmeg, and allspice into a large pot (for stovetop) or a slow cooker insert.
- Stovetop Method: Add 1/4 cup of water to the pot. Bring the mixture to a boil over medium-high heat, then reduce heat to low, cover, and simmer for 1.5 to 2 hours, stirring occasionally until the apples are very soft. Uncover for the last 30 minutes to allow excess liquid to evaporate and the mixture to thicken.
- Slow Cooker Method: Cook on low for 8 to 10 hours or on high for 4 to 5 hours, until the apples are completely soft and easily mashable. Stir every few hours.
- Achieve smooth texture: Remove the mixture from the heat. Use an immersion blender or carefully transfer the mixture in batches to a standard blender. Blend until the apple butter is completely smooth and velvety. If you prefer a slightly chunkier texture, pulse briefly.
- Final thickening (if needed): If the butter seems too thin after blending, return it to the pot or slow cooker (uncovered) and cook on low heat, stirring frequently, until it reaches a thick, spreadable consistency suitable for canning or immediate use.
- Cool and store: Allow the apple butter to cool completely before transferring it to clean jars for storage in the refrigerator or processing for long-term canning.
Notes
- For a no-peel apple butter tip, simply cook the apples longer until the skins break down completely during blending.
- This recipe works well for canning; process filled, hot jars in a boiling water bath for 10 minutes for shelf stability.
- You can substitute some of the sugar with maple syrup for a different flavor profile.
Nutrition
- Serving Size: 1/4 cup
- Calories: 185
- Sugar: 45g
- Sodium: 2mg
- Fat: 0.1g
- Saturated Fat: 0g
- Unsaturated Fat: 0g
- Trans Fat: 0g
- Carbohydrates: 48g
- Fiber: 2g
- Protein: 0.2g
- Cholesterol: 0mg