
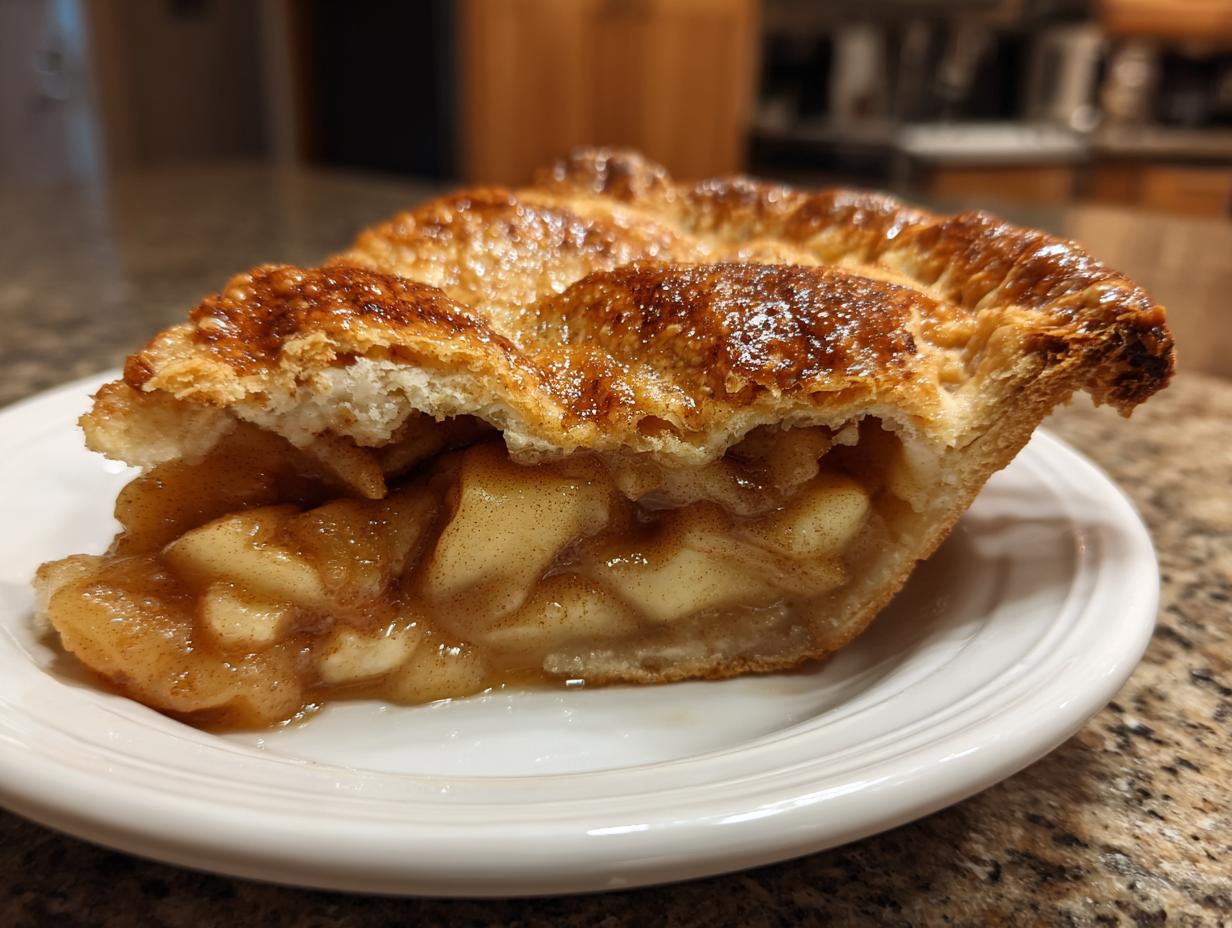

There is nothing that signals true comfort quite like the smell of cinnamon and baked apples wafting through the kitchen. It’s warm, nostalgic, and instantly calming. When I finally left my life chained to spreadsheets in Chicago, this was the first truly satisfying project I tackled. I learned that achieving true culinary perfection isn’t about complexity; it’s about honoring the fundamentals. That’s why I’m thrilled to share my greatest triumph in American comfort food baking: The ultimate **homemade apple pie**. This recipe, built from scratch with my own hands after years of rigorous testing in my kitchen, promises that flaky crust and perfectly spiced filling you’ve always dreamed of. It really is the highest level of baking I’ve achieved since starting Gourmet Gaze. You can read more about my journey right here on our About page.
- Why This is Your Ultimate Homemade Apple Pie Recipe (American Comfort Food Baking)
- Ingredients for Your Classic Apple Pie Recipe
- The Flaky Double Crust Apple Pie Dough Preparation
- How to Make Apple Pie Filling with Cinnamon Spice Dessert Flavor
- Assembling Your Homemade Apple Pie From Scratch
- Baking Instructions for the Ultimate Apple Pie
- Tips for Success with Your Easy Apple Pie Recipe
- Serving Suggestions and Storage for Your Homemade Apple Pie
- Frequently Asked Questions About Homemade Apple Pie
Why This is Your Ultimate Homemade Apple Pie Recipe (American Comfort Food Baking)
Listen, there are plenty of quick dessert ideas out there, but if you want that real taste of Americana—the stuff that brings grandparents to the table—you need tradition. This **classic apple pie recipe** stands above the rest because I refuse to compromise on two key elements: the crust and the spice blend. Forget pre-made mixes; we’re making this **homemade apple pie from scratch**! To see the dedication that goes into all my baking, check out my favorites, like these old-fashioned tea cakes.
Here is what sets this iteration apart from every other **traditional dessert recipe** you’ve seen:
- The filling is never watery; the cornstarch ratio is spot-on.
- The spices offer warmth without overpowering the sweetness of the fruit.
- We stick to an all-butter crust, period. That’s the non-negotiable proof of excellent **American comfort food baking**.
Achieving the Perfect Flaky Pie Crust Tutorial
The secret to the flakiness, which I learned the hard way after making one too many tough crusts, involves temperature control. You must treat your butter like it’s highly sensitive. If your butter melts even slightly before it hits that hot oven, you lose those beautiful layers of steam that create the shatteringly crisp texture. Always, always use ice water and make sure that butter is absolutely rock hard when you start cutting it in. That level of precision is what guarantees success here.
Ingredients for Your Classic Apple Pie Recipe
Alright, let’s look at what you need to gather. Remember, when you’re baking **homemade apple pie from scratch**, the quality of your inputs truly dictates the output. I want you to pull out everything and have it ready—mise en place, as the fancy chefs say! This keeps the process smooth and prevents panic stirring while the clock is ticking. If you love baking with warm spices, you’ll see some familiar friends in this filling list. For more simple flavor profiles, check out my recipe for amazing cinnamon roll pancakes.
We have two main components here. Treat the crust ingredients with reverence, and the filling ingredients with respect for balance:
For the Flaky All-Butter Crust (Makes two disks):
- 2 1/2 cups all-purpose flour
- 1 teaspoon salt
- 1 cup (2 sticks) cold, unsalted butter, cut into small cubes
- 1/2 cup ice water, plus more if needed
For the Perfectly Spiced Apple Filling:
- 6 large apples (a mix of Granny Smith and Honeycrisp recommended)
- 3/4 cup granulated sugar
- 1/4 cup packed light brown sugar
- 1 teaspoon ground cinnamon
- 1/4 teaspoon ground nutmeg
- 1/8 teaspoon ground allspice
- 1 tablespoon lemon juice
- 2 tablespoons cornstarch
- 1 large egg, beaten (for egg wash)
- 1 tablespoon coarse sugar (for topping)
Selecting the Best Apples for Apple Pie
This is where many bakers lose the plot! Don’t just grab the first bag of apples you see. For the **best apple pie filling**, you absolutely need a blend of textures and tastes. Granny Smith apples bring that necessary sharp tang to cut through the sugar, while Honeycrisp offers sweetness and holds its shape beautifully. I once tried making a pie using only Red Delicious because it was all I had—it completely dissolved into mush! It was sweet, yes, but it had zero structural integrity. Aim for about two-thirds tart apples and one-third sweet ones. Trust me, this blend is the key to that perfect, chunky, yet tender bite in your **homemade apple pie**.
The Flaky Double Crust Apple Pie Dough Preparation
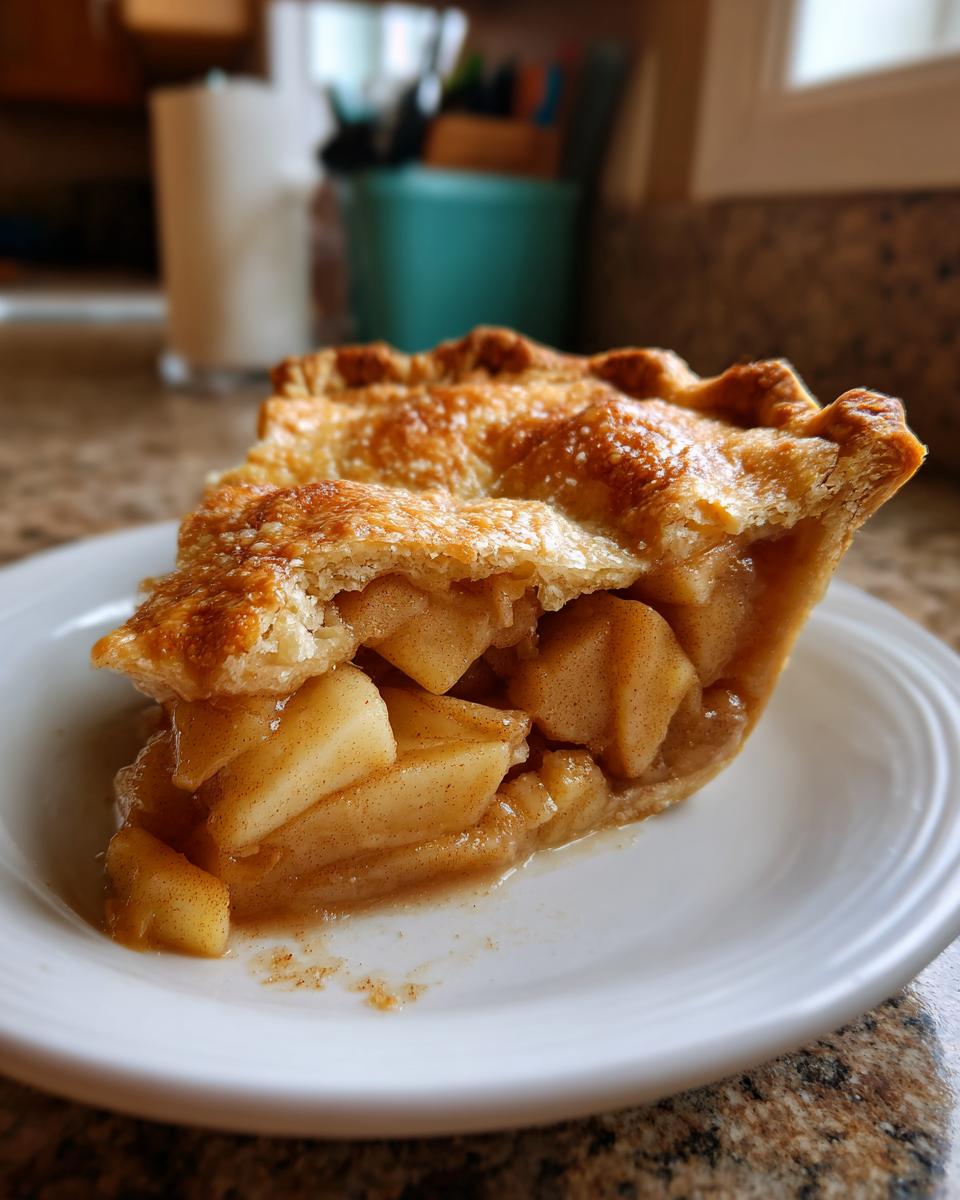
This is where we earn our title as masters of **homemade apple pie from scratch**. Forget those sad, pre-made rounds; making this **double crust apple pie** dough is the difference between a good dessert and what I call a culinary showstopper. The absolute, non-negotiable rule here is COLD. Cold butter, ice water—it almost feels like you’re fighting the ingredients, but that brief struggle creates separation in the oven, leading to those gorgeous, flaky layers we obsess over.
Once you’ve cut the butter into those coarse crumbs (you want bits the size of almonds or maybe large peas!), you bring it together with barely any manipulation. Add the ice water slowly. I mean *slowly*. Just enough so that when you press a bit of dough, it holds its shape without being sticky. If it’s wet, you’re already on the road to tough pastry, and we can’t have that here at Gourmet Gaze!
Divide that magic mixture into two disks, wrap them tighter than I wrap my sourdough starter during a Chicago winter, and send them straight to the fridge. If you want the full deep dive into the science of perfect pastry, make sure you read my complete baking from scratch guide.
Buttery Crust Secrets: Chilling and Handling
I cannot stress this enough: you must chill that dough for at least an hour. Preferably longer. This allows those gluten strands you just developed to relax. When you come back to it, it roll out smoothly without snapping back at you. When you handle the dough, use minimal pressure. Think of it like petting a shy cat—gentle, quick strokes. Overworking it warms the butter pockets, and those pockets are the literal foundation of our coveted **buttery crust secrets**. Every second of that chill time is worth it when you see that pie coming out of the oven golden and shattering!
How to Make Apple Pie Filling with Cinnamon Spice Dessert Flavor
Now that our crust is happily chilling—don’t rush that step!—we get to the most flavorful part: the apples. This is **how to make apple pie** filling that tastes like the best memories of fall. You’ve got those beautifully sliced apples tossed with your sugars, but the next few items are crucial for structure and warmth.
First, let’s talk cornstarch. This ingredient is your insurance policy against a watery pie. Make sure you mix the cornstarch into the sugar mixture *before* you toss it with the fruit, or you risk getting little undissolved white lumps in your finished slice. We want thick, luscious juice clinging to every apple piece, not soup pooling at the bottom!
Once everything is coated—the apples, the sugars, the spices—let that mixture sit for about fifteen minutes while your hands are busy with the dough. That resting period lets the sugars start drawing moisture out of the fruit, which then gets thickened by the starch. That rich **cinnamon spice dessert** aroma filling your house right now? That’s the sign of an excellent **homemade apple pie** in the making. For a lighter twist on apple flavor, sometimes I experiment by using this mix in my apple pie chia pudding.
Assembling Your Homemade Apple Pie From Scratch
Okay, the dough is rested, the filling is mingling its beautiful aromas, and it’s time for the grand assembly. This is where Gourmet Gaze really shines because we are delivering that classic **homemade apple pie from scratch** experience. Take one disk of that cold pastry and get it onto a well-floured surface. I find a pastry mat helps immensely, but honestly, just use a clean counter you trust!
Roll it out—we need about a 12-inch circle, plenty big enough for your 9-inch dish. Remember, butter pieces should stay intact, so roll gently and don’t fret if a tiny one cracks; that’s flavor waiting to happen! Carefully tuck that rolled-out bottom crust into your pie dish. Don’t stretch it! Just ease it in and trim the overhang to about an inch.
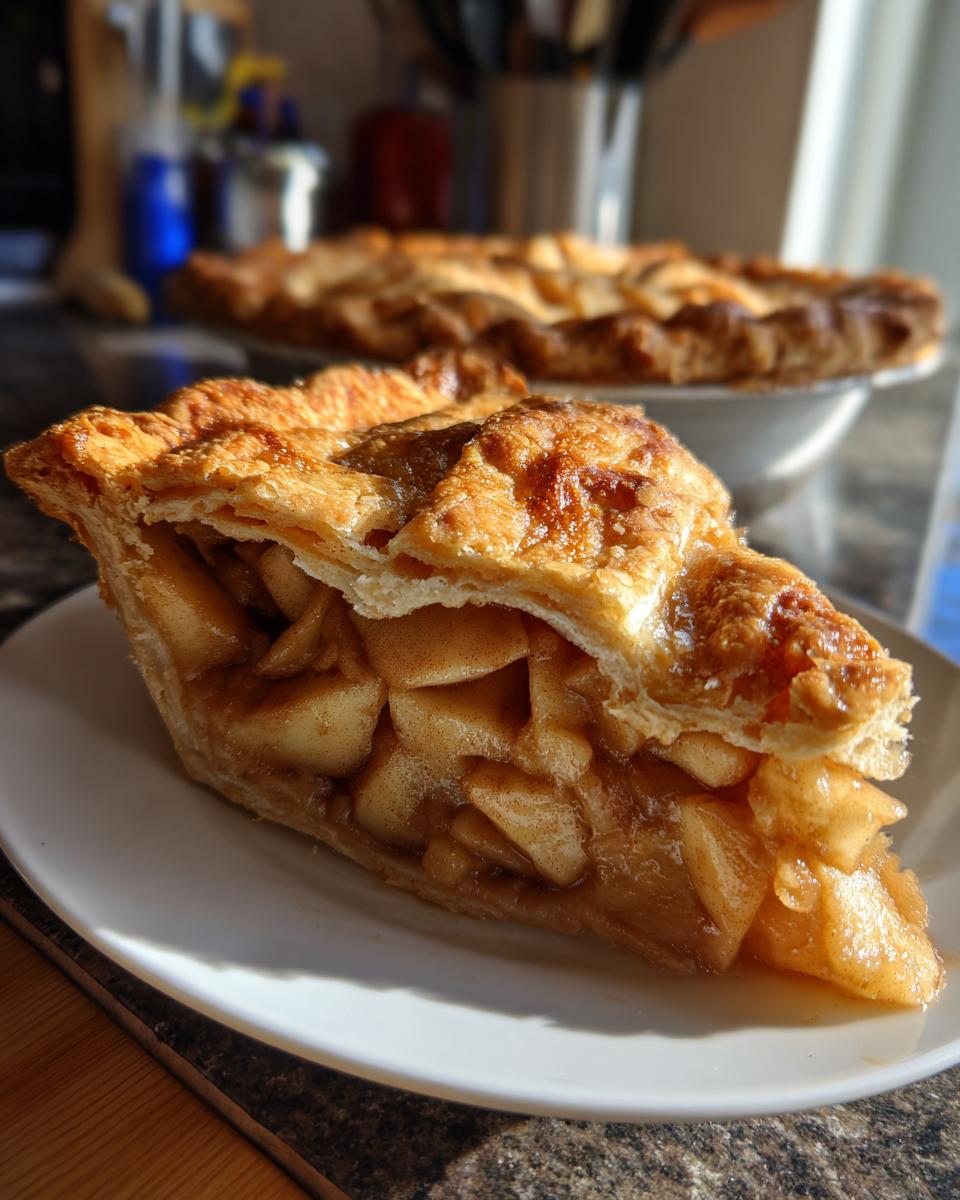
Next, scoop every last bit of those spiced apples right into the shell. You absolutely must mound them up high in the center. They look ridiculously tall, I know, but trust me, they cook down significantly. Once they’re piled up, we top it off with that second, equally gorgeous disk. You can cut a few simple slits for steam vents—or, if you’re feeling artistic, weave a lattice. Seal those edges tight, crimp them with a fork or your fingers for that beautiful traditional look, and don’t forget the egg wash for shine! Want to see another simple, beautiful baked good? Try my easy vanilla cake recipe.
Baking Instructions for the Ultimate Apple Pie
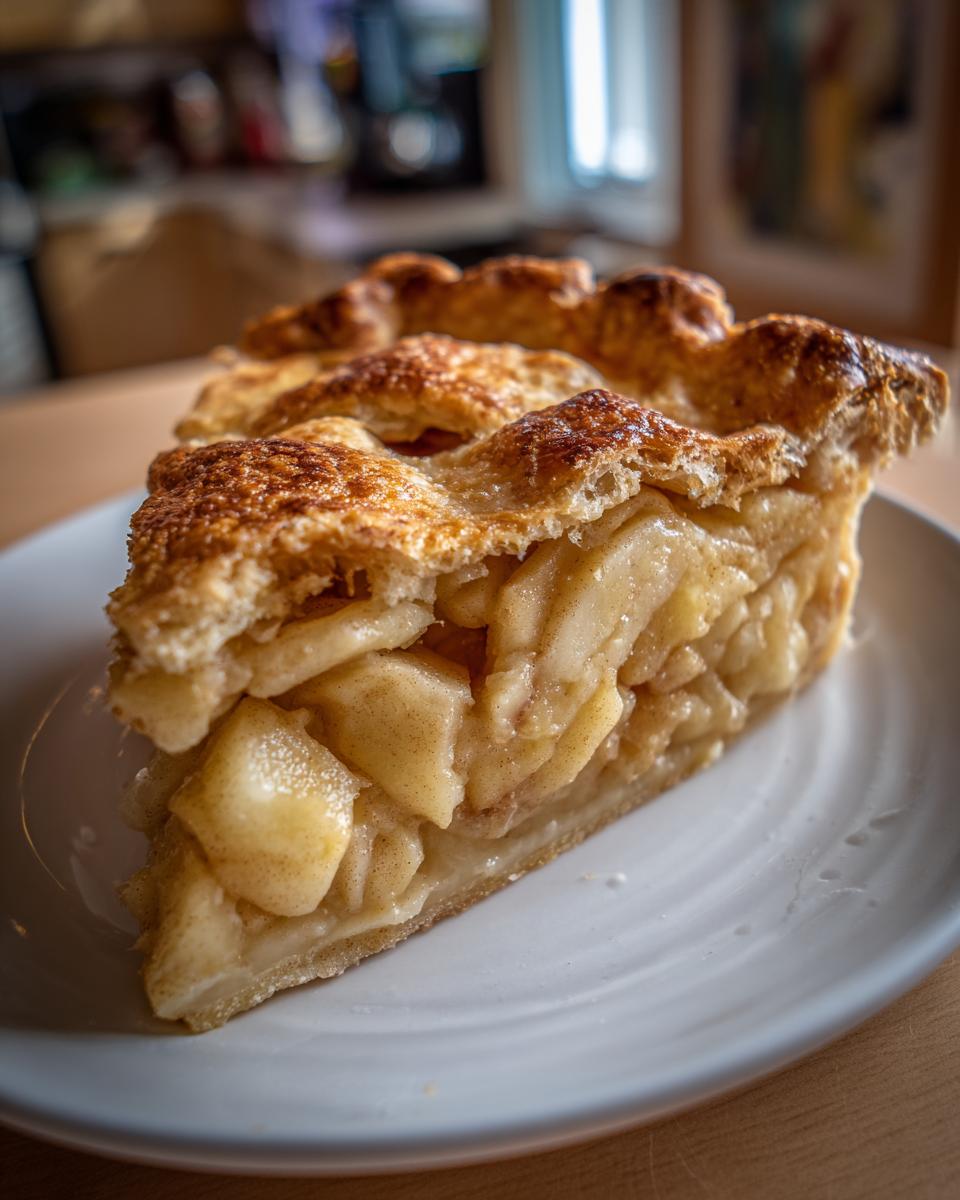
Now the real magic happens! We’re sending this beauty into the oven using a two-temperature strategy that guarantees a cooked-through filling and a perfectly golden crust. First, preheat that oven to a ripping hot 425 degrees F (220 degrees C). Placing the pie on a baking sheet first is smart—it catches drips and helps conduct heat evenly to the bottom crust. Bake it hard for the first 15 minutes. This shock to the system sets that crust fast, which is a big part of achieving that **ultimate apple pie** flakiness.
After those initial 15 minutes, pull the door down and quickly drop the temperature to 375 degrees F (190 degrees C). This slower bake finishes the apples without burning the sugar. Here’s the crucial troubleshooting tip: watch those edges! If the crimped edges start looking too dark before the filling is bubbling thickly—which usually takes another 40 to 50 minutes—whip up some foil and loosely tent just the perimeter. I love seeing people use techniques from other bakes, like the crumble top on my easy apple crumble recipe, but for this classic, foil is your friend! You can find extra support in achieving this style by checking out this easy apple pie guide.
Tips for Success with Your Easy Apple Pie Recipe
Even with an **easy apple pie recipe**, sometimes things don’t go exactly to plan, right? That’s why I always have a few backup tips to ensure you still get a perfect slice of this American classic. My biggest, boldest advice? You must let this pie cool. I know, I know—the smell is intoxicating, and you want to eat it warm with vanilla ice cream immediately. But if you slice it too soon, that beautifully spiced filling will just run out like water because the cornstarch hasn’t fully set up yet. Give it three, preferably four, hours on the rack.
If you’re reheating leftovers later, never microwave the entire thing; it ruins the flaky texture of the crust. A quick 15 minutes in a 350-degree oven brings it right back to life! Also, don’t skip the egg wash; that’s how you get that glorious shine that makes this dish look like it belongs on the cover of a magazine. If you’re looking for other straightforward bakes, my chicken piccata recipe is surprisingly quick for weeknights!
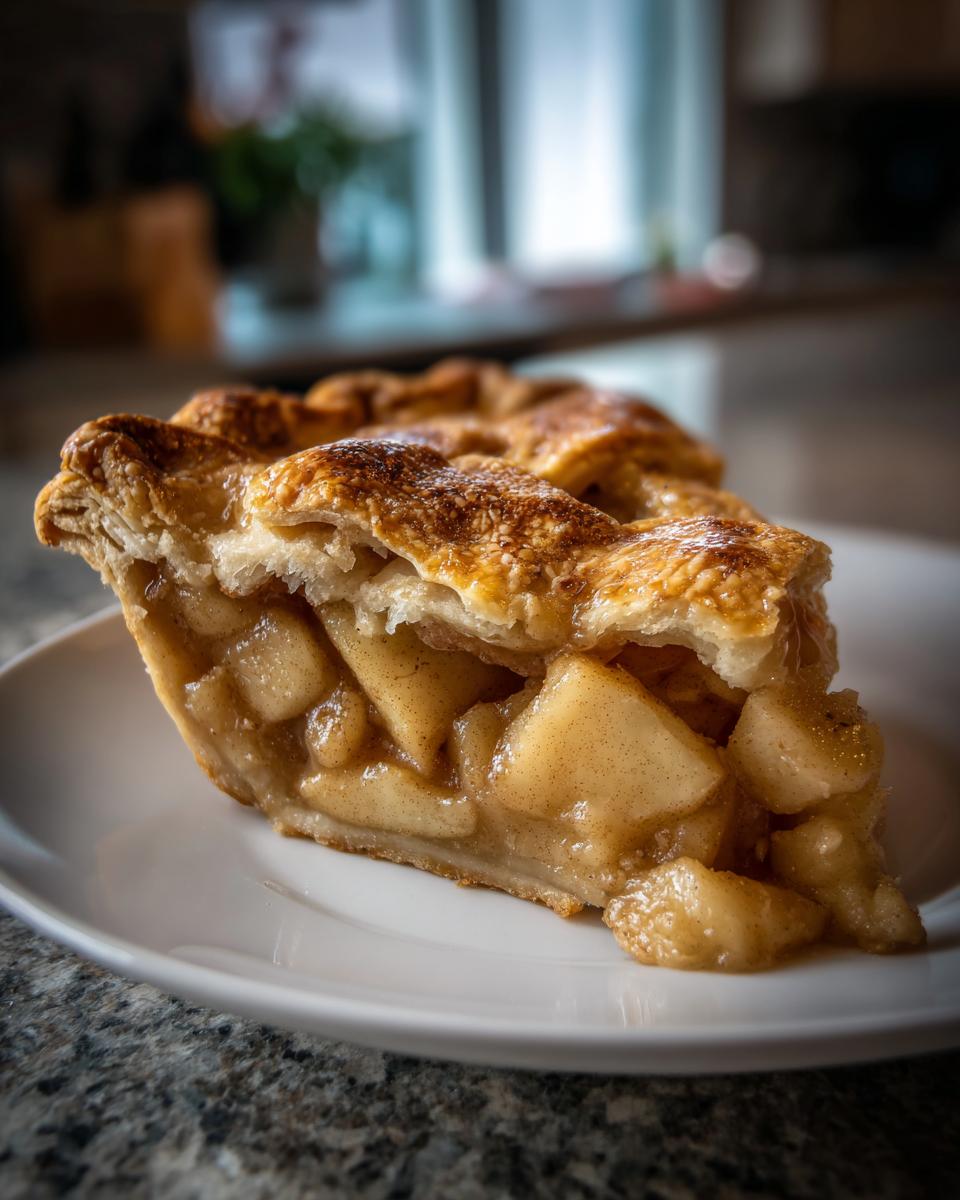
Serving Suggestions and Storage for Your Homemade Apple Pie
Once your incredible **homemade apple pie** has finally decided to cool down—which is honestly the hardest part—it’s time to serve it up! The *only* way to present this masterpiece is slightly warm, topped with a generous scoop of good vanilla bean ice cream. If you’re feeling particularly traditional, my family insists on a thin slice of sharp cheddar cheese on the side. Don’t knock it until you try it; that salty tang cuts through the spice perfectly.
When you inevitably have leftovers (though I doubt you will!), store it loosely covered at room temperature for up to two days. Skip the fridge unless it’s humid; the cold can dry out the crust. For reheating, that 15-minute blast in a 350-degree oven works wonders to revive that flaky texture. You can see how much I love simple, decadent finishes when I make these chocolate banana pops, but this pie definitely wins for major gatherings! For more inspiration on classic bakes, you might enjoy this other incredible apple pie resource.
Frequently Asked Questions About Homemade Apple Pie
I know you might have a few lingering questions after reading about all the steps for this ultimate baking project. That’s perfectly normal! When you aim for the absolute best **homemade apple pie**, details really matter. I’ve gathered up the ones I get asked most often here at Gourmet Gaze. If you need to reach out about anything else after trying this recipe, my contact information is available on the contact page.
Can I use store-bought pie crust for this classic apple pie recipe?
Oh, the convenience question! Look, I’m all about making things manageable, but if you want the flaky, buttery results this recipe promises, you really should make the dough from scratch. Store-bought crusts often rely on shortening or oils that don’t produce those distinct steam pockets that create true flakiness. If time is a huge constraint, *yes*, you can use a store-bought crust for a decent **classic apple pie recipe**, but be prepared that it won’t have that shattering texture that makes this recipe so special.
What is the best way to prevent a soggy bottom crust in my traditional dessert recipes?
A soggy bottom is the mortal enemy of any great **traditional dessert recipes** involving fruit! The best defense is a combination of keeping things cold and strategic baking. First, make absolutely sure your bottom crust is very well chilled before you fill it. Second, when you bake, place the pie dish directly on the lowest rack of your oven, or better yet, place it on a preheated pizza stone or heavy baking sheet. That direct, intense heat hitting the bottom crust prevents the juice from steaming it through before it has a chance to bake firm.
How far in advance can I prepare the homemade spiced apples filling?
You can definitely get a head start on your **homemade spiced apples** filling, and I often do this when I’m planning a big holiday meal! You can mix all your apples, sugars, spices, and cornstarch together, just like the instructions note. I’d say you can comfortably prepare the filling and keep it covered in the fridge for up to 24 hours. Just give it one good stir right before you pour it into the chilled bottom crust. This just ensures the cornstarch hasn’t settled at the very bottom of the bowl. It saves you crucial time on baking day!
PrintThe Best Classic Homemade Apple Pie with Flaky All-Butter Double Crust
You will make the ultimate comfort dessert with this classic homemade apple pie recipe. It features a perfectly flaky, buttery double crust and a sweet, cinnamon-spiced apple filling made from scratch. This recipe delivers reliable results for any gathering.
- Prep Time: 45 min
- Cook Time: 65 min
- Total Time: 110 min
- Yield: 8 servings 1x
- Category: Dessert
- Method: Baking
- Cuisine: American
- Diet: Vegetarian
Ingredients
- 2 1/2 cups all-purpose flour
- 1 teaspoon salt
- 1 cup (2 sticks) cold, unsalted butter, cut into small cubes
- 1/2 cup ice water, plus more if needed
- 6 large apples (a mix of Granny Smith and Honeycrisp recommended)
- 3/4 cup granulated sugar
- 1/4 cup packed light brown sugar
- 1 teaspoon ground cinnamon
- 1/4 teaspoon ground nutmeg
- 1/8 teaspoon ground allspice
- 1 tablespoon lemon juice
- 2 tablespoons cornstarch
- 1 large egg, beaten (for egg wash)
- 1 tablespoon coarse sugar (for topping)
Instructions
- Prepare the Pie Dough: In a large bowl, whisk together the flour and salt. Cut in the cold butter using a pastry blender or your fingers until the mixture resembles coarse crumbs with some pea-sized pieces of butter remaining. Gradually add the ice water, one tablespoon at a time, mixing until the dough just comes together. Do not overmix.
- Divide the dough in half, form each half into a disk, wrap tightly in plastic wrap, and chill in the refrigerator for at least 1 hour.
- Prepare the Apple Filling: Peel, core, and slice the apples about 1/4 inch thick. In a large bowl, toss the apple slices with the granulated sugar, brown sugar, cinnamon, nutmeg, allspice, lemon juice, and cornstarch until the apples are evenly coated. Set aside.
- Assemble the Pie: Remove one dough disk from the refrigerator. On a lightly floured surface, roll the dough into a 12-inch circle. Carefully transfer the dough to a 9-inch pie dish. Trim the edges, leaving a 1-inch overhang.
- Pour the apple filling into the bottom crust, mounding the apples slightly in the center.
- Roll out the second dough disk into an 11-inch circle. Place this top crust over the filling. You can cut vents or create a lattice top.
- Crimp the edges of the top and bottom crusts together to seal. Trim excess dough.
- Brush the top crust lightly with the beaten egg wash and sprinkle with coarse sugar.
- Bake the Pie: Preheat your oven to 425 degrees F (220 degrees C). Place the pie on a baking sheet to catch any drips.
- Bake for 15 minutes at 425 degrees F. Then, reduce the oven temperature to 375 degrees F (190 degrees C) and continue baking for 40 to 50 minutes, or until the crust is golden brown and the filling is bubbling thickly. If the edges brown too quickly, cover them loosely with foil.
- Cool Completely: Let the homemade apple pie cool on a wire rack for at least 3 to 4 hours before slicing. This allows the filling to set properly.
Notes
- For the flakiest pie crust, keep all your ingredients, especially the butter and water, very cold.
- If you prefer a lattice top, cut the top dough into even strips and weave them over the filling.
- Use a mix of tart and sweet apples for the best flavor balance in your apple pie filling.
Nutrition
- Serving Size: 1 slice
- Calories: 450
- Sugar: 35g
- Sodium: 250mg
- Fat: 24g
- Saturated Fat: 15g
- Unsaturated Fat: 9g
- Trans Fat: 0g
- Carbohydrates: 60g
- Fiber: 3g
- Protein: 5g
- Cholesterol: 60mg