
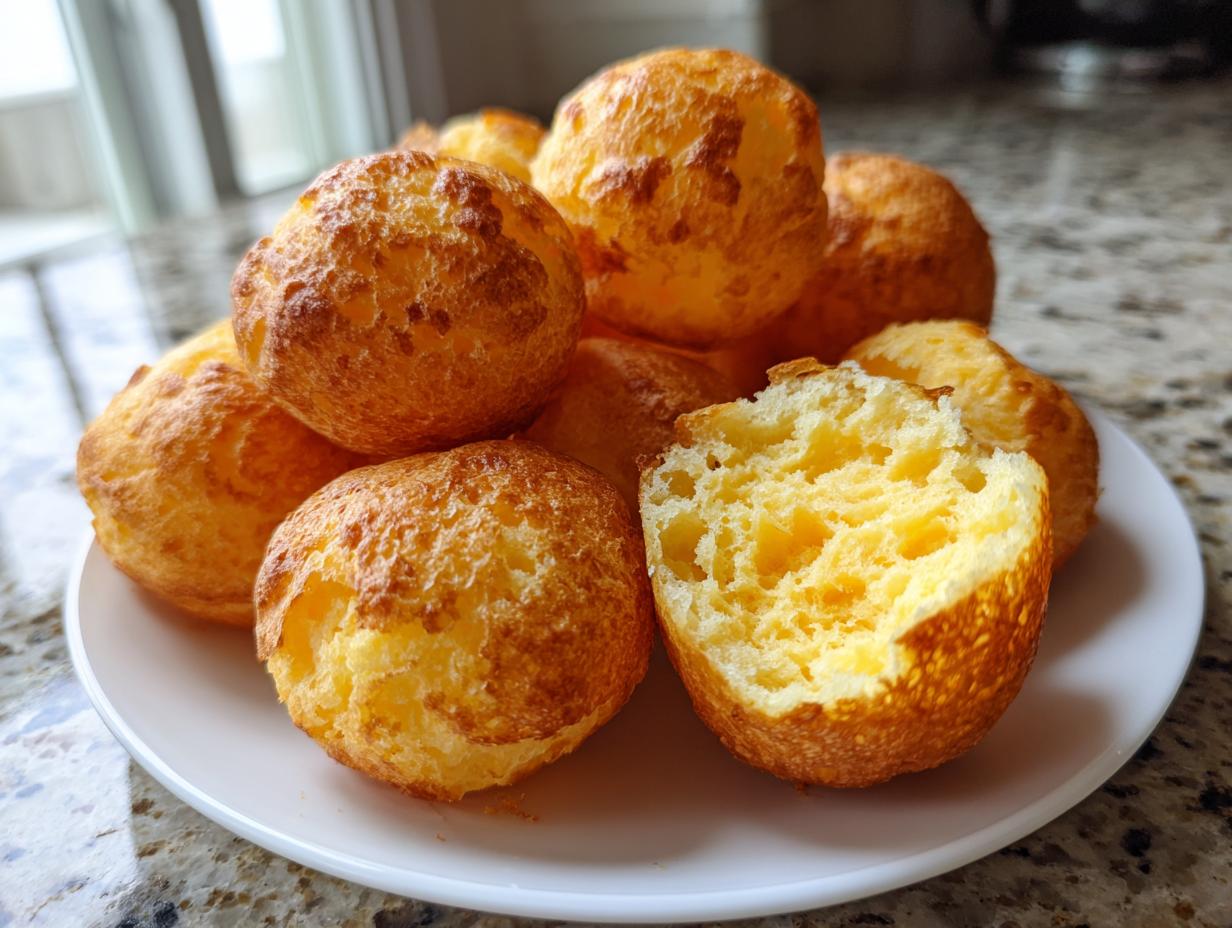

If you are tired of the same old dips and crackers for your next gathering, I have found the perfect game-changer: the Authentic Gluten-Free Pão de Queijo, or classic brazilian cheese bread. When I was finally getting serious about cooking, I realized that true comfort food relies entirely on texture—that perfect balance of shatteringly crisp exterior giving way to something delightfully elastic and cheesy inside. After searching high and low, the real deal finally clicked into place right here in my kitchen. These little bites are naturally gluten-free, intensely flavorful, and they disappear faster than anything else on the table. You absolutely need to try making these amazing appetizers and snacks!
- Why This Authentic Brazilian Cheese Bread Recipe Works (Texture Guaranteed)
- Gathering Ingredients for Your Brazilian Cheese Bread
- How to Make Pão de Queijo: Easy Pão de Queijo Instructions
- Tips for Success with Gluten Free Cheese Bread
- Serving Suggestions for Brazilian Snack Recipe
- Frequently Asked Questions About Brazilian Cheese Bread
- Storage and Reheating Instructions for Cheesy Baked Snacks
- Nutritional Estimates for Pão de Queijo
- Share Your Homemade Brazilian Cheese Bread Creations
Why This Authentic Brazilian Cheese Bread Recipe Works (Texture Guaranteed)
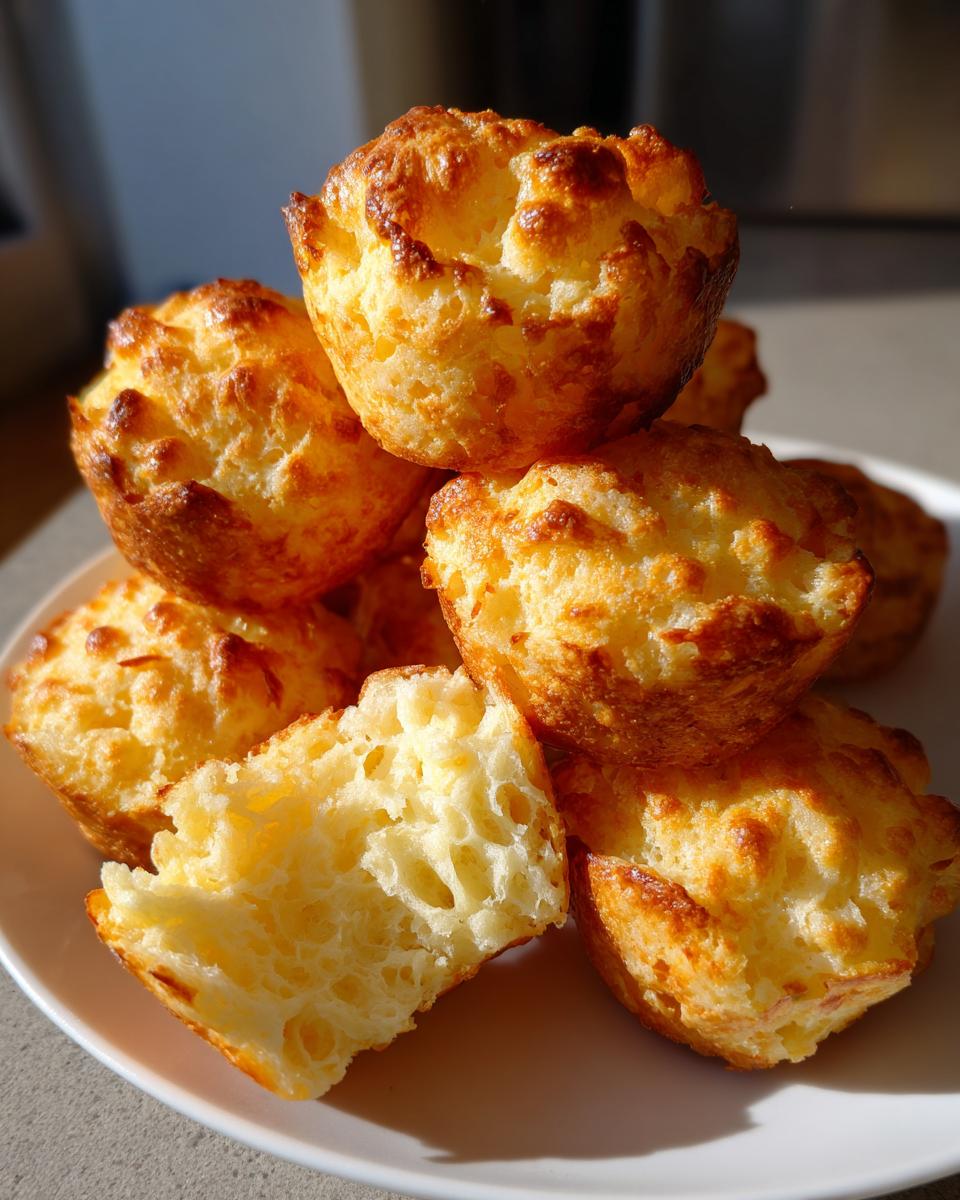
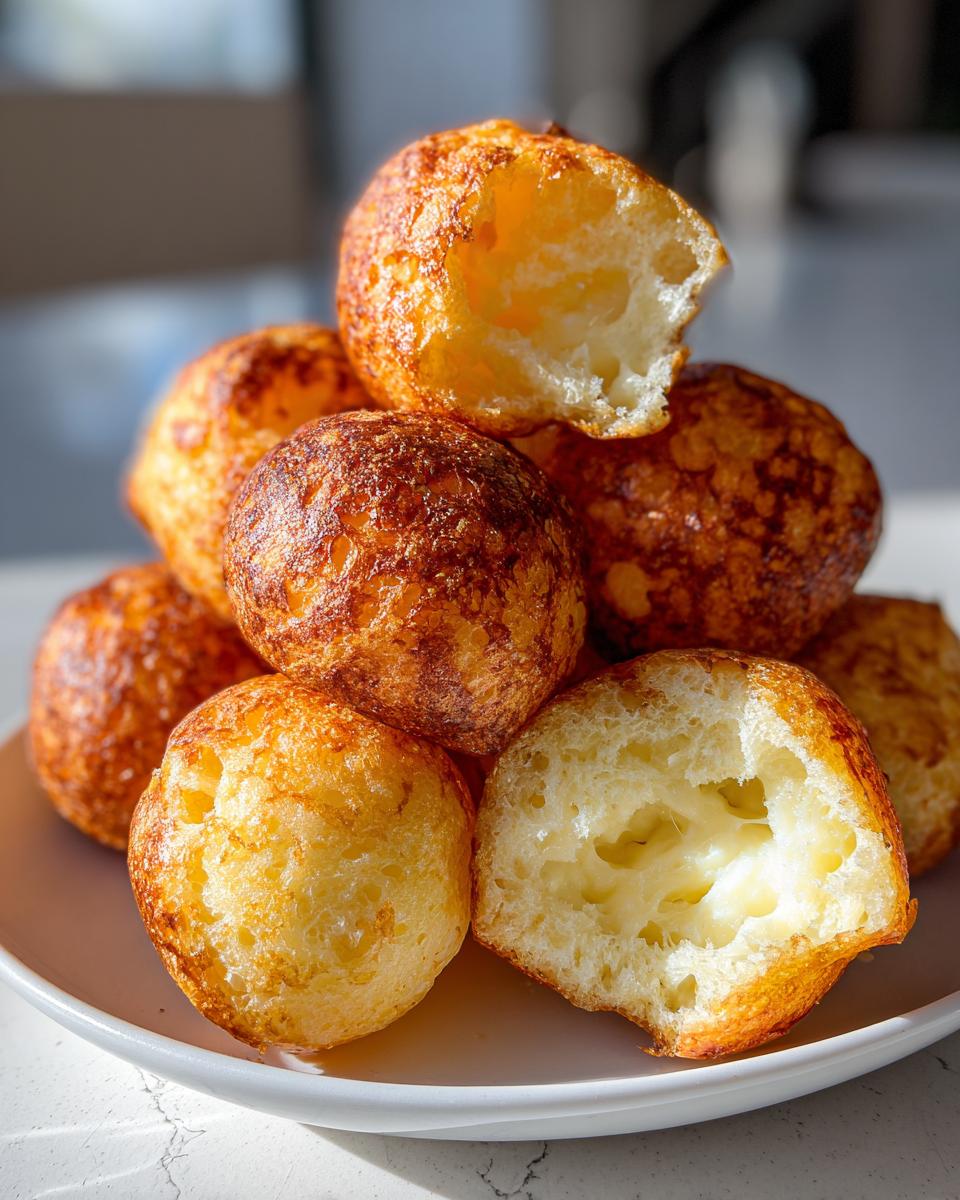
I won’t waste your time with recipes that claim to be authentic but end up tasting like an over-baked dinner roll. The magic of true Authentic Brazilian cheese bread lies entirely in its structure. It must be crispy, almost brittle, on the outside, while the inside stretches like warm, perfect taffy. I’m happy to report that this recipe nails that textural contrast every single time. Because we rely on starch rather than wheat, these amazing rolls are naturally gluten free, which is fantastic for everyone! Trust me, this is the Pão de Queijo you’ve been dreaming about.
The Secret to Chewy Cheese Bread: Tapioca Flour
If you try to make this with standard wheat flour, you’re just making a cheese puff, not Pão de Queijo. The non-negotiable ingredient here is tapioca flour, which comes from the cassava root. This starch is what allows the dough to gelatinize when heated properly. It traps the steam and oil inside the roll, creating that signature elastic, delightfully chewy interior that stretches when you pull the warm bread apart. You really can’t cheat this step!
Gathering Ingredients for Your Brazilian Cheese Bread
Okay, let’s talk about what you need to grab. This recipe is incredibly simple because it doesn’t require a long list of crazy items, just the right ones! We are using a classic blend of whole milk, oil, and just a touch of salt because the cheese brings most of the savory punch. The star, of course, is the two cups of tapioca flour bread starch—make sure you have enough on hand because you’ll need it! Don’t worry about having weird measurements; these components are straightforward, and having them ready means your prep time flies by.
Cheese Selection for the Best Brazilian Cheese Bread
Cheese is where we get to play a little bit, but I stick closely to the traditional approach for the best results. I insist on using one cup of finely shredded Parmesan for that sharp, salty depth that cuts through the richness. Then, we follow that up with half a cup of mozzarella. Mozzarella is crucial because it melts beautifully and gives us that classic stretchy pull when it’s hot. If you are specifically chasing that famous melt you find at restaurants, try swapping the mozzarella for Monterey Jack—that gives you that almost identical Copycat Texas de Brazil cheese bread texture!
How to Make Pão de Queijo: Easy Pão de Queijo Instructions
I know you want to get these cheesy bites into the oven right away, and honestly, you can! This is truly an easy pão de queijo recipe, even with the one slightly unusual step. We start by heating the liquids—milk, oil, and salt—until they are just simmering, right on the edge of boiling. Then, we move to the fun part. You mix the tapioca flour right in your bowl, and then, carefully, you pour that hot liquid right over the top. When preparing these wonderful Pão de Queijo for breakfast, speed is key for the right structure! We’re making brazilian cheese bread here, and efficiency matters.
The Scalding Technique for Perfect Brazilian Cheese Bread
This, my friends, is the moment you can’t rush. When you pour that hot mixture over the cold tapioca flour, you are essentially pre-cooking the starch—we call this scalding. It’s non-negotiable for getting that signature gooey, elastic center! I like to use a sturdy wooden spoon for this initial mix rather than an electric mixer. You want to stir vigorously until you have a thick, almost pasty dough ball that pulls away from the sides of the bowl. Once it’s cool enough to touch—give it about ten minutes—then you can bring in the eggs and the cheese.
Shaping and Baking Your Puffy Cheese Bread
After everything is mixed—and that dough will look quite sticky, don’t panic!—you wet your hands slightly and scoop out small portions, rolling them into little balls about an inch to an inch-and-a-half wide. Remember, these are going to puff up quite a bit when they bake, so give them space on your parchment-lined sheet. Pop them into a preheated 375°F oven. You are looking for that beautiful transformation: about 20 to 25 minutes until they are golden brown and look perfectly puffy cheese bread on the outside. Seriously, peek through the oven door; they swell up wonderfully!

Tips for Success with Gluten Free Cheese Bread
Look, even the best recipes can go sideways if you skip a small rule, right? As I perfected this recipe, I started making notes on my little recipe card—underlining the things I absolutely could not skip for proper brazilian cheese bread results. My primary goal here is making sure you get that crispy shell and chewy center. So, think of these tips as hard-earned wisdom straight from my kitchen to yours. If you follow these, you are halfway to making the best homemade rolls you’ve ever tasted. For more thoughts on elevating your baking game, check out my latest insights over at the Gourmet Gaze blog!
Freezing and Storing Your Brazilian Cheese Bread
One of the best parts about this recipe is that you don’t have to bake them all at once. If you have a ton of unbaked dough balls left over, just place those little homemade cheese rolls on a parchment-lined baking sheet and pop them straight into the freezer. Once they are solid as rocks, you can toss them into a heavy-duty freezer bag. The best part? You bake them directly from frozen—no thawing needed! You’ll just need to add about five to ten extra minutes on the baking time, but waking up to the smell of fresh Pão de Queijo is totally worth that small adjustment.

For the baked ones, keep them in an airtight container at room temperature. They are definitely best eaten the day they are made, but they hold up surprisingly well for a couple of days.
Serving Suggestions for Brazilian Snack Recipe
What do you do with these incredible little golden puffs once they are out of the oven? Well, in Brazil, they are often served alongside that deeply flavored coffee in the morning or as a simple afternoon treat. They are truly the ultimate Brazilian snack recipe. But please, don’t limit yourself! Their savory, cheesy kick makes them absolutely essential for any party table. I love serving them slightly warm as one of my go-to Brazilian appetizers; they pair perfectly with a light white wine or just about any rich dip you might have on hand. For other meal ideas that fill the soul, you can always check out my lunch recipes!
Frequently Asked Questions About Brazilian Cheese Bread
Can I substitute the tapioca flour in this Pao de Queijo recipe?
This is the most frequent question I get, and my answer has to be a firm but friendly, “No, you really can’t!” If you swap out the tapioca flour for all-purpose flour, you end up with a completely different result—a dense, heavy roll. Tapioca flour is the backbone of this entire recipe; it’s what allows the starch to gelatinize during the scalding process, which gives you that magical, chewy cheese bread texture that separates Pão de Queijo from every other cheese puff out there. Stick to the starch for success!
How do I get the elastic center in my brazilian cheese bread?
Achieving that signature stretch comes down to two moments of precision. First is that initial step: making sure your milk and oil mixture is properly hot when you pour it over the starch to create the scald. That heat activation is crucial! Second, make sure your eggs are incorporated well—they need to mix thoroughly into that sticky dough before you add the cheese. The quality of your cheese matters too; fresh Parmesan and mozzarella melt into that beautiful, stringy center we’re aiming for when making this fantastic savory cheese puffs recipe.
Is this recipe similar to Copycat Texas de Brazil cheese bread?
Yes, they are incredibly close cousins! The Texas de Brazil version is famous for having an almost impossibly elastic center, and we emulate that here through our cheese choice. If you want to lean fully into that restaurant copycat experience, make sure you’re using high-quality Parmesan along with a mild white cheese that melts super smoothly, like Monterey Jack, instead of the mozzarella I listed for the base recipe. Both versions fall under the umbrella of delicious gluten free cheese bread, so no matter which cheese duo you pick, you’re in for a treat!
Storage and Reheating Instructions for Cheesy Baked Snacks
I know finding leftovers of these wonderful cheesy baked snacks is rare, but it happens! If you do end up with them the next day, simply store the cooled rolls in an airtight container on the counter. Please don’t put them in the fridge—that humidity will ruin that beautiful crispy shell we worked so hard for! For reheating, the microwave is your enemy; it turns them rubbery fast. Instead, pop them back into a 350°F oven for about 5 to 7 minutes. This brings back that satisfying crisp exterior that makes Pão de Queijo so addictive.
Nutritional Estimates for Pão de Queijo
Now, knowing that these are pure comfort food and full of glorious cheese, I always tell people not to look too closely if they are counting every single calorie! But, for those of you who like to have a complete picture of what you are serving up, here is a rough estimate for one roll of this brazilian cheese bread. Remember, this nutritional breakdown is just an estimate based on the ingredients listed in the recipe—since cheese quality and oil amounts can vary slightly in your kitchen, the final numbers will, too. But this gives you a good baseline for what you’re enjoying!
- Serving Size: 1 roll
- Calories: Approx. 110
- Fat: Approx. 7g
- Carbohydrates: Approx. 9g
- Protein: Approx. 4g
- Cholesterol: Approx. 25mg
See? Not bad for a homemade, naturally gluten-free roll packed with flavor. It’s a wonderful, savory little bite you can feel good about sharing!
Share Your Homemade Brazilian Cheese Bread Creations
I truly hope you experienced that incredible moment when you broke one of these open—that crispy shell giving way to the warm, chewy center. That’s why I cook, folks; to create those little moments of pure joy! Now that you’ve baked your batch of this fantastic brazilian cheese bread, I desperately want to know how they turned out for you. Did you get that perfect stretch? Did they become the hit of your party?
Please, leave a rating below—a five-star review helps other cooks find this perfect recipe, which is huge for us here at Gourmet Gaze! Drop a comment detailing your texture results. Even better, tag me in your photos on social media! Seeing your beautiful, puffy homemade cheese rolls is the best reward after all that recipe development. If you run into any questions about tweaking the cheese or the baking, use the contact form here, and let’s troubleshoot together. Let’s keep building this amazing community focused on joyful, soulful cooking!
PrintAuthentic Gluten-Free Pão de Queijo (Brazilian Cheese Bread) – Crispy Outside, Chewy Inside

Make this authentic Pão de Queijo, the famous Brazilian cheese bread, that is naturally gluten-free. You achieve a perfect texture: crispy on the outside and deliciously chewy and cheesy on the inside. These quick bread bites are ideal for breakfast, snacks, or as Brazilian appetizers.
- Prep Time: 15 min
- Cook Time: 25 min
- Total Time: 40 min
- Yield: 18 servings 1x
- Category: Snack
- Method: Baking
- Cuisine: Brazilian
- Diet: Gluten Free
Ingredients
- 1 cup whole milk
- 1/2 cup vegetable oil
- 1 teaspoon salt
- 2 cups tapioca flour (sour or sweet)
- 2 large eggs
- 1 cup shredded Parmesan cheese
- 1/2 cup shredded mozzarella cheese
Instructions
- Preheat your oven to 375°F (190°C). Lightly grease a standard 12-cup muffin tin or line baking sheets with parchment paper.
- Combine the milk, oil, and salt in a small saucepan. Heat over medium heat until the mixture just begins to boil. Remove from heat immediately.
- In a large bowl, place the tapioca flour. Pour the hot milk mixture over the flour and mix quickly with a wooden spoon until a thick, sticky dough forms. This step scalds the starch.
- Let the dough cool for about 10 minutes until it is warm enough to handle.
- Add the eggs to the dough one at a time, mixing well after each addition until fully incorporated. The dough will look sticky.
- Stir in the Parmesan cheese and mozzarella cheese until the dough is uniform.
- Scoop the dough into small balls, about 1 to 1.5 inches in diameter, and place them onto your prepared baking surface, leaving space between them.
- Bake for 20 to 25 minutes, or until the cheese bread puffs up and the exterior is golden brown and slightly crisp.
- Serve these cheesy baked snacks warm for the best chewy center.
Notes
- For the best texture, use high-quality tapioca flour. This ingredient is key to the elastic center.
- If you prefer a copycat Texas de Brazil cheese bread texture, use a blend of Parmesan and a mild white cheese like Monterey Jack instead of mozzarella.
- You can freeze the unbaked dough balls. Place them on a tray in the freezer until solid, then transfer them to a freezer bag. Bake directly from frozen, adding 5 to 10 minutes to the baking time.
Nutrition
- Serving Size: 1 roll
- Calories: 110
- Sugar: 0.5
- Sodium: 150
- Fat: 7
- Saturated Fat: 4
- Unsaturated Fat: 3
- Trans Fat: 0
- Carbohydrates: 9
- Fiber: 0
- Protein: 4
- Cholesterol: 25