
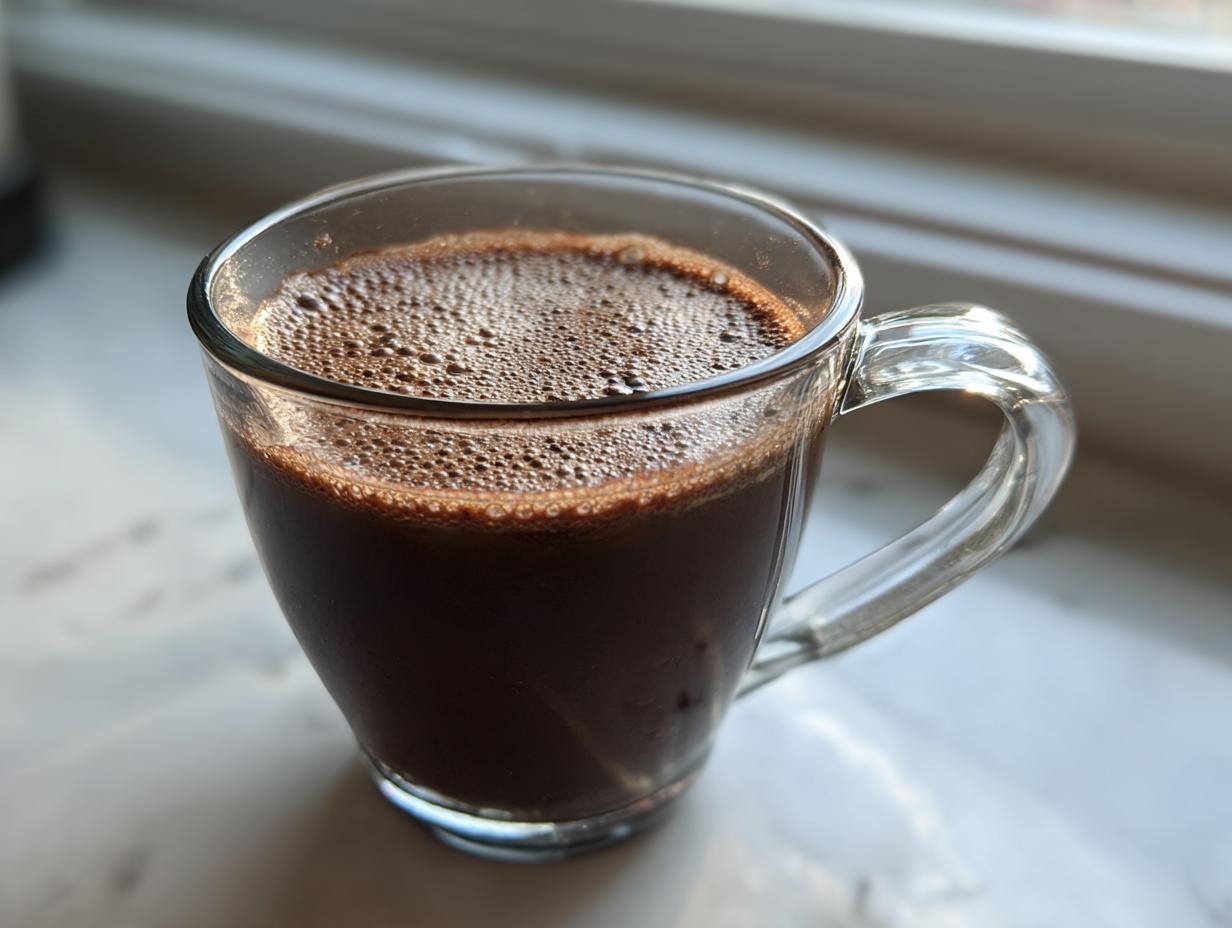

When the air turns crisp and the fireplace starts calling your name, nothing quite hits the spot like a truly spectacular mug of hot chocolate. Forget those dusty packets that taste mostly like sugar and cardboard—we are elevating our winter rituals here at Gourmet Gaze! I spent years surviving on sad, lukewarm coffee during my corporate days, and frankly, my soul deserved better. When I finally quit that desk job and started chasing real flavor, I realized the simplest pleasures, like a perfectly balanced, rich and creamy homemade hot cocoa mix, offered the most satisfaction. You can read more about my journey over on the About page, which explains why quality ingredients matter so much to me.
This big batch recipe is your secret weapon for the entire season. It uses basic pantry staple hot cocoa ingredients, takes practically no time, and is leagues above anything you can buy off the shelf. Plus, this blend is so wonderful, you’ll want to double the batch just to make beautiful jars for holiday food gifts. Today, we’re trading in the convenience of the store-bought version for something deeply satisfying that connects me back to that moment in New Orleans when I finally learned how to *taste* food again. Trust me, once you try this, you won’t look back.
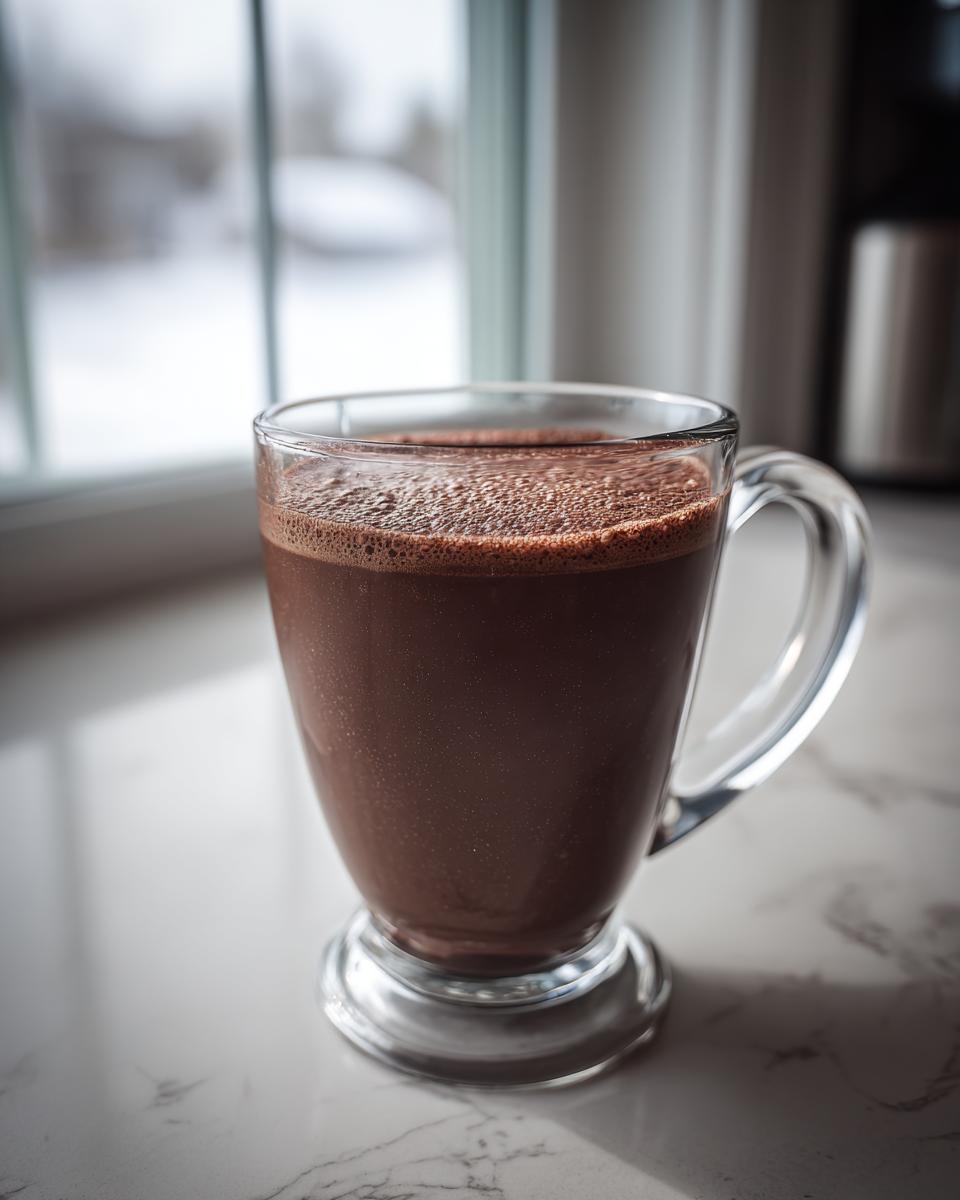
- Why You Will Love This Rich and Creamy hot cocoa mix
- Ingredients for Your Big Batch hot cocoa mix Recipe
- How to Make hot cocoa mix: Step-by-Step Instructions
- Preparing Your Cozy Beverage with our hot cocoa mix
- easy cocoa mix storage and Make Ahead hot cocoa Tips
- Creative Ways to Gift Your hot cocoa mix in a Jar
- Variations for Your DIY hot chocolate mix
- Frequently Asked Questions About hot cocoa mix
- Nutritional Estimates for This hot cocoa mix
Why You Will Love This Rich and Creamy hot cocoa mix
I know you’re busy, so I keep things functional and absolutely delicious around here. This homemade hot cocoa mix recipe is the definition of high-reward, low-effort cooking. You get incredible flavor without the hassle.
- Unbeatable flavor: It’s intensely chocolatey and noticeably richer than the boxed stuff.
- Cost effective: Making a big batch cocoa mix saves you money all winter long.
- Total ease: It’s just mixing dry ingredients. That’s it!
Quick Prep Time for Your hot cocoa mix
Seriously, this takes less than five minutes total. Five minutes! That’s faster than driving to the store for a single packet, and you end up with enough mix to keep your cozy beverage game strong for weeks. It’s my favorite kind of quick hot chocolate recipe.
Perfect for Holiday Food Gifts
This is my go-to when I need a thoughtful present fast. Fill a pretty mason jar with this dry mix, tie a little bow around it, and you have an instant, consumable gift. Readers often call this the ultimate hot chocolate mix in a jar idea for teachers or neighbors.
Ingredients for Your Big Batch hot cocoa mix Recipe
When gathering ingredients for this big batch cocoa mix, remember we are aiming for maximum chocolate flavor and serious creaminess. You’re building a foundation here, so grab your measuring cups! We only use dry staples for this recipe, which is why it keeps so well. Don’t skimp on the quality of the cocoa powder—it’s the star of the show here.
- 2 cups powdered sugar (make sure it’s finely sifted!)
- 1 cup unsweetened cocoa powder (natural or Dutch-process)
- 1 teaspoon salt (this is key to balancing the sweetness!)
- 1 cup powdered milk (optional, this is what gives us that amazing rich and creamy cocoa mix texture)
- 1 teaspoon cornstarch (also optional, but a great trick if you skip the milk!)
Ingredient Notes and Substitutions for hot cocoa mix
Okay, let’s talk quality because that’s what makes this an old fashioned hot cocoa recipe flavor bomb. If you can find Dutch-process cocoa powder, please use it. It has a deeper, darker chocolate profile that really sings when mixed with hot milk. If you are specifically looking for a no powdered milk hot cocoa version, you can absolutely leave that cup out, but make sure you include the cornstarch. That little bit of starch helps mimic the silkiness powdered milk adds, preventing your drink from tasting thin.
How to Make hot cocoa mix: Step-by-Step Instructions
This process is genuinely as simple as it gets—it’s mixing! But when we mix, we mix with intention. My goal for you is a smooth, velvety drink every single time, not a collection of gritty cocoa clumps settling at the bottom of your mug. That means we have to put a little elbow grease into the whisking phase. Don’t just stir it lazily; really toss those ingredients together until everything is uniform. You can check out some of my other quick tips over on the main blog page.
- First things first: line up your five ingredients. We are combining everything dry straight into one big bowl.
- Pour in the powdered sugar, cocoa powder, salt, and those optional creaminess boosters (milk and cornstarch).
- Grab a reliable whisk, and this is where you need to commit!
The Secret to a Rich and Creamy hot cocoa mix Texture
This step is non-negotiable if you want that perfect rich and creamy cocoa mix. Whisk everything together rigorously for a solid two minutes. I mean it—set a timer! The friction and movement are what break down the cocoa powder clumps that always seem to hide down there. If you skip this extended whisking time, you’ll end up with dusty sips. Keep going until the color is perfectly even, a deep, consistent brown. Once it’s whisked perfectly, funnel it into your airtight jar, and your DIY hot chocolate mix is ready for action!
Preparing Your Cozy Beverage with our hot cocoa mix
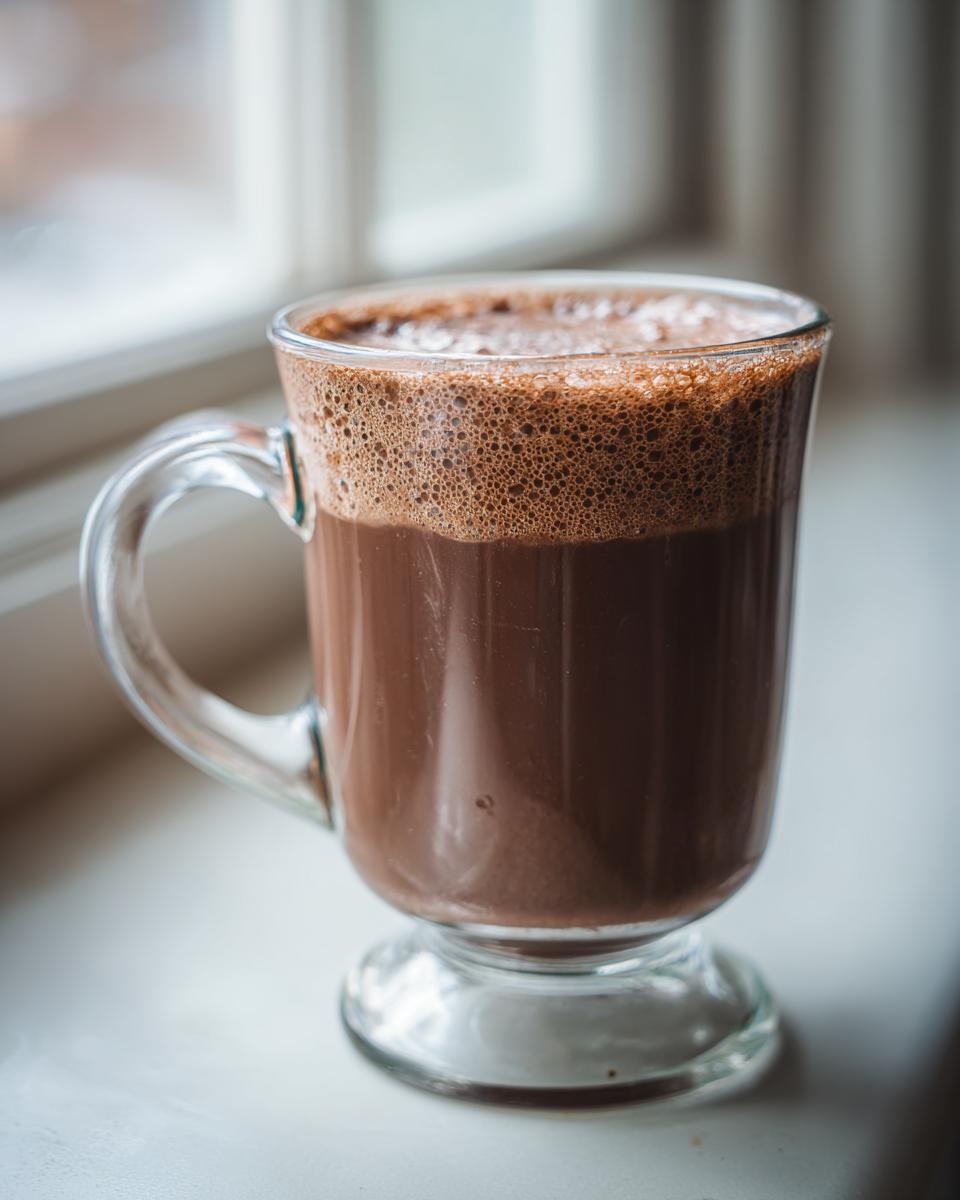
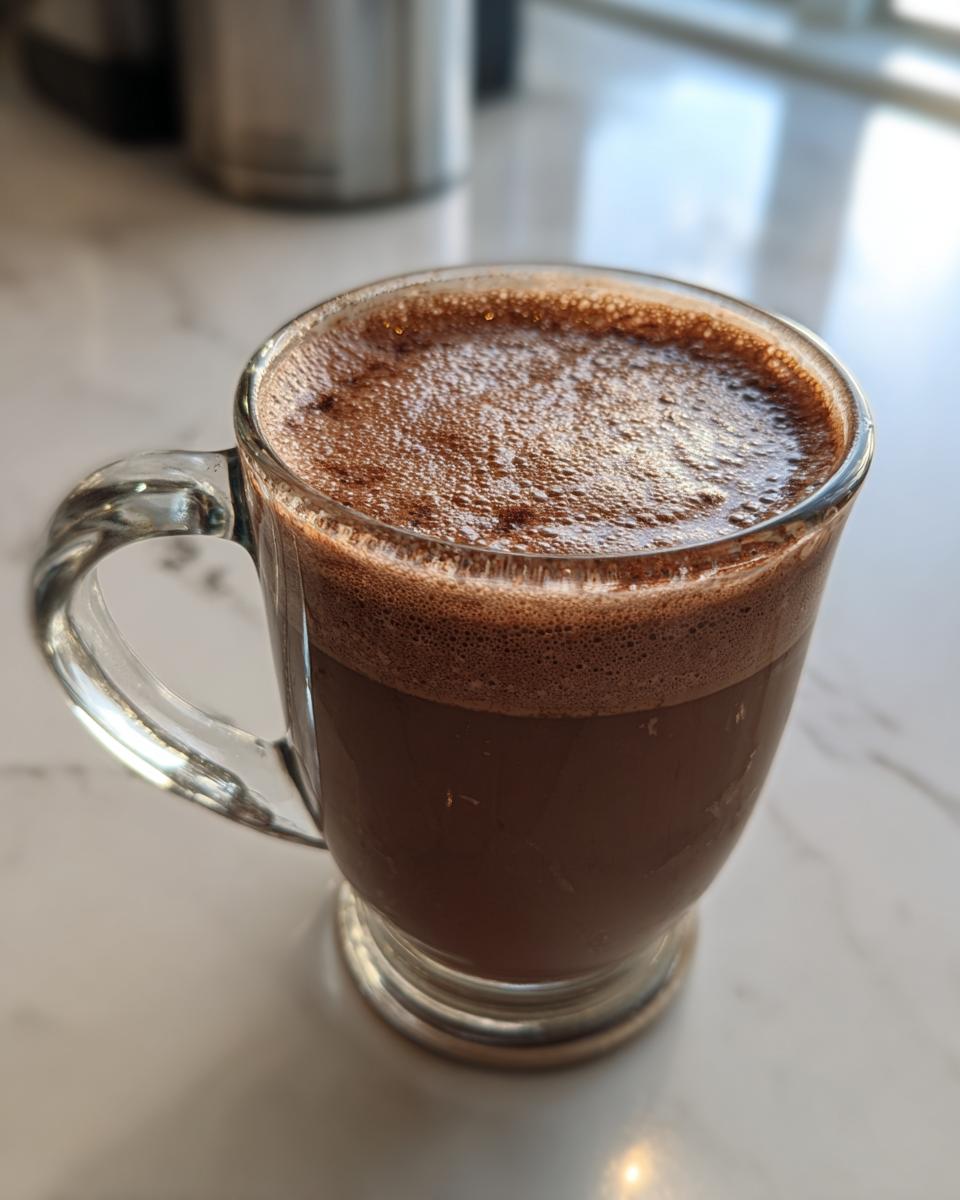
Now that you’ve got this incredible hot cocoa mix stored—it’s time for the payoff! To make a single serving that truly warms you from the inside out, grab 3 to 4 tablespoons of the dry mix. You can adjust this based on how intensely chocolatey you like it, but that’s a great starting point.
The next decision is crucial: hot water or milk? While my base recipe is designed to work with just hot water for speed and convenience, I wholeheartedly encourage you to use milk. Seriously, use whole milk if you have it. It turns this into the ultimate cozy beverage recipe. Heat your liquid until it’s steaming hot, whisk in the dry mix until it dissolves completely, and that’s it! For more comforting options, check out my other cozy beverage recipes.
easy cocoa mix storage and Make Ahead hot cocoa Tips
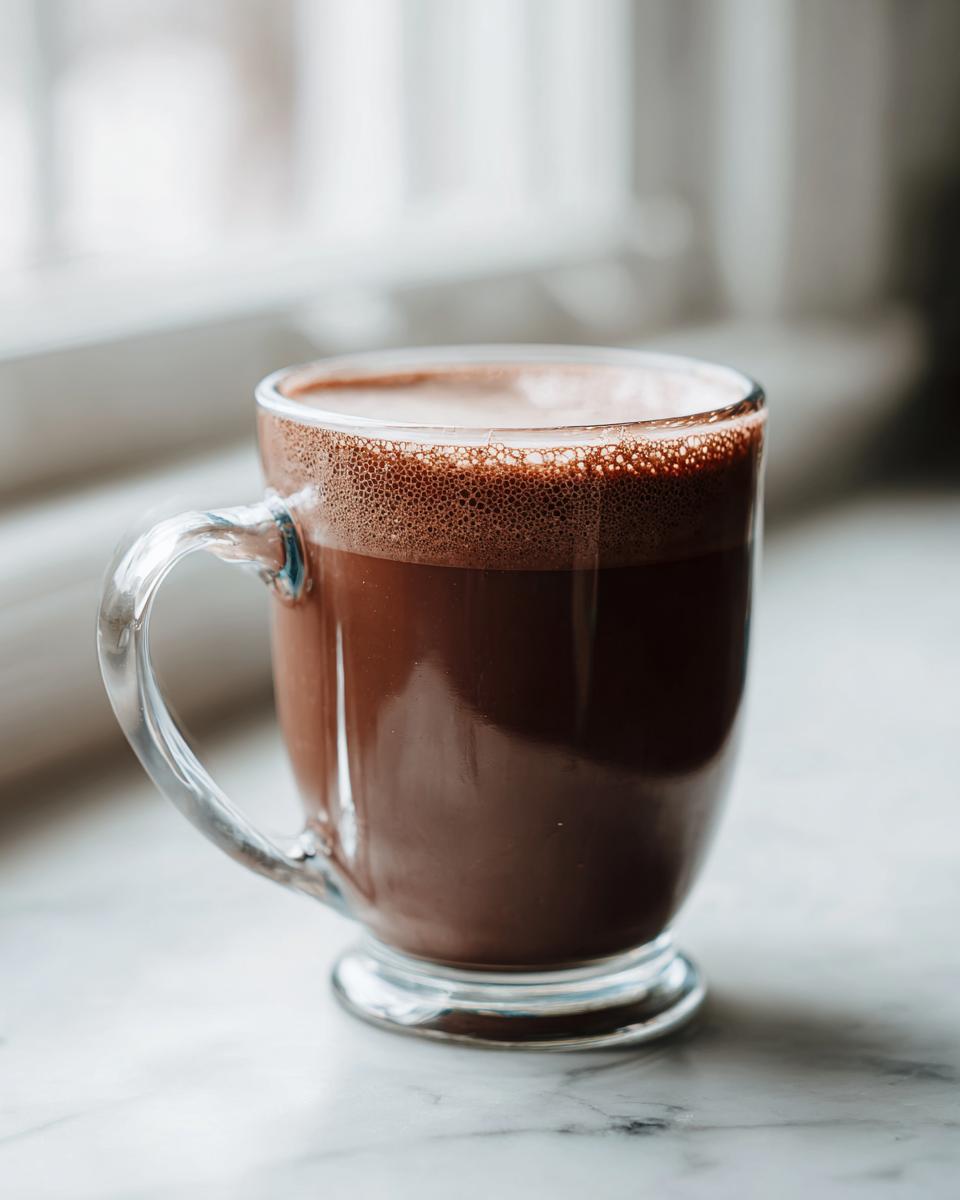
Because this is just an amalgamation of dry ingredients, the easy cocoa mix storage is wonderfully simple—which is exactly why I love making a big batch cocoa mix. You don’t have to worry about refrigeration, which means it’s ready anytime I need a hot drink without any prep time.
Once you’ve finished that important two-minute whisking session, transfer the entire quantity immediately into a clean, incredibly airtight container. Think mason jars, large Tupperware, or even sealed cookie tins. Make sure this container lives in a cool, dark pantry or cupboard, far from the stove or window where heat and humidity can sneak in.
If you keep it dry, this mix holds up beautifully for up to a full year! That’s right, a year! Knowing I have this ready means I can pull out an emergency make ahead hot cocoa fix in the middle of a snowstorm, or even when a friend drops by unexpectedly. It truly simplifies the entire winter beverage game.
Creative Ways to Gift Your hot cocoa mix in a Jar
You absolutely cannot make this incredible hot cocoa mix and not share it! When I started focusing on food that nourishes the soul, I found that giving food is just as rewarding as making it. This mix is perfect for my dessert baking swaps during the holidays because it looks so professional but takes almost zero effort.
To turn this into a stunning hot chocolate mix in a jar gift, simplicity is key. Take a clean, wide-mouth mason jar and layer the dry mix right in. If you want to go above and beyond for your holiday food gifts, try layering! Put a small layer of the dry cocoa mix in first, then drop in a layer of miniature marshmallows, then top it off with another layer of the mix. Don’t mix them completely; you want that visual pop.
Seal that lid tightly! Then, use twine or a beautiful ribbon to attach a small tag. On that tag, you must include the quick instructions (3-4 tablespoons per cup of hot milk). Honestly, a little tag explaining that they are getting a deeply flavorful, pantry staple hot cocoa upgrade is all the convincing anyone needs!
Variations for Your DIY hot chocolate mix
Even though this base DIY hot chocolate mix is already incredible—rich, chocolaty, and ready in seconds—I always encourage readers to play a little in the kitchen. That’s where the real joy of cooking comes from, right? You have a perfect foundation here, so feel free to add a little personality for whichever cozy mug you’re tackling.
For a deeply fragrant twist, whisk in about half a teaspoon of ground cinnamon per batch. If you like a little kick—and I mean just a tiny one!—add a scant pinch of cayenne pepper. It doesn’t make it spicy, it just wakes up all that chocolate flavor! If you’re making this around Christmas time, skip the spices and stir in about a teaspoon of pure vanilla extract *after* you’ve mixed the dry ingredients, then let the mixture air dry slightly before sealing it up. That gives you a wonderful, comforting scent that screams “relax.”
Frequently Asked Questions About hot cocoa mix
When I first started messing around with these staples, I had a million questions myself—and I’m sure you do too! We all want that perfect mug. If you have a question that I missed, feel free to reach out to me via the Contact page. But here are the big ones that always pop up when someone is trying this hot cocoa mix for the first time.
Can I make this hot cocoa mix without powdered milk?
Yes, absolutely! This is a frequently asked question, especially for those who want a pure chocolate flavor or have dairy restrictions. If you skip the powdered milk, you are going for a simple, strong chocolate profile. To keep that comforting, silky mouthfeel, just be sure to include that optional teaspoon of cornstarch in your dry mix. It thickens the liquid slightly and really holds onto that “rich and creamy” texture we’re seeking, even in this no powdered milk hot cocoa version.
What is the best cocoa powder for homemade hot cocoa mix?
For the ultimate flavor experience—the kind that makes people ask, “Wow, where did you buy this?”—I always recommend Dutch-process cocoa powder. Why? It’s been treated to reduce acidity, which results in a darker color and a much smoother, more mellow chocolate taste. Natural cocoa powder works fine, but it does create a slightly sharper, almost tangier flavor profile. If you use natural cocoa, you might even want to slightly increase the powdered sugar by a tablespoon or two, just to balance it out.
What if I don’t have powdered sugar? Can I use regular granulated sugar?
I strongly advise against it, honestly. Granulated sugar simply won’t dissolve properly in hot liquid, especially if you aren’t using milk, leaving you with a gritty, slightly crunchy drink. Powdered sugar dissolves instantly, ensuring your entire batch of DIY hot chocolate mix is smooth from the first sip to the very last drop.
How do I make sure my mix doesn’t clump during storage?
Clumping usually happens because of humidity, not the recipe itself. The key is to whisk everything thoroughly (remember that two-minute rule!) and store it immediately in a completely airtight container. If you live somewhere humid, you might need to give the jar a quick shake every few weeks just to break up any settled powder.
Nutritional Estimates for This hot cocoa mix
Now, I’m not a nutritionist—I’m just a guy who loves beautiful food! Everything we make here is about flavor first, but I know some of you like to keep track. Please know that these figures are purely estimates based on using the dry mix quantities listed in the recipe. How you prepare your final cup changes everything!
These numbers reflect a single serving size of 4 tablespoons of the dry mix. If you use milk instead of water, or if you skip the powdered milk in favor of extra sugar, the actual count will shift. Think of this as a guidepost, not a rigid rule for your winter drink recipes enjoyment!
- Serving Size: 4 Tbsp dry mix
- Calories: 150
- Sugar: 28g
- Sodium: 100mg
- Fat: 2g
- Saturated Fat: 1g
- Trans Fat: 0g
- Carbohydrates: 32g
- Fiber: 2g
- Protein: 2g
- Cholesterol: 0mg
Rich and Creamy Homemade Hot Cocoa Mix (Big Batch)

Make your own rich and creamy homemade hot cocoa mix using simple pantry staples. This big batch recipe is easy to store and perfect for quick, comforting drinks or thoughtful holiday gifts.
- Prep Time: 5 min
- Cook Time: 0 min
- Total Time: 5 min
- Yield: About 16 servings 1x
- Category: Beverage
- Method: Mixing
- Cuisine: American
- Diet: Vegetarian
Ingredients
- 2 cups powdered sugar
- 1 cup unsweetened cocoa powder (natural or Dutch-process)
- 1 teaspoon salt
- 1 cup powdered milk (optional, for extra creaminess)
- 1 teaspoon cornstarch (optional, for thickness)
Instructions
- Gather all your dry ingredients: powdered sugar, cocoa powder, salt, powdered milk (if using), and cornstarch (if using).
- Place all ingredients into a large bowl.
- Whisk the mixture thoroughly for at least two minutes. You must break up all the clumps from the cocoa powder and powdered sugar to ensure a smooth final drink.
- Transfer the finished hot cocoa mix to an airtight container for storage. This recipe makes a big batch.
- To prepare one serving, mix 3 to 4 tablespoons of the dry mix with 1 cup of hot milk or hot water. Whisk until fully dissolved and enjoy your cozy beverage.
Notes
- For a richer flavor, use Dutch-process cocoa powder.
- If you skip the powdered milk, you can still achieve a creamy texture by adding 1 teaspoon of cornstarch to the dry mix.
- Store the mix in a cool, dry place. It keeps well for up to one year.
- Package the mix in decorative jars with a ribbon for an easy holiday food gift. Include a tag with the preparation instructions (3-4 tablespoons per cup of hot liquid).
Nutrition
- Serving Size: 4 Tbsp dry mix
- Calories: 150
- Sugar: 28g
- Sodium: 100mg
- Fat: 2g
- Saturated Fat: 1g
- Unsaturated Fat: 1g
- Trans Fat: 0g
- Carbohydrates: 32g
- Fiber: 2g
- Protein: 2g
- Cholesterol: 0mg