
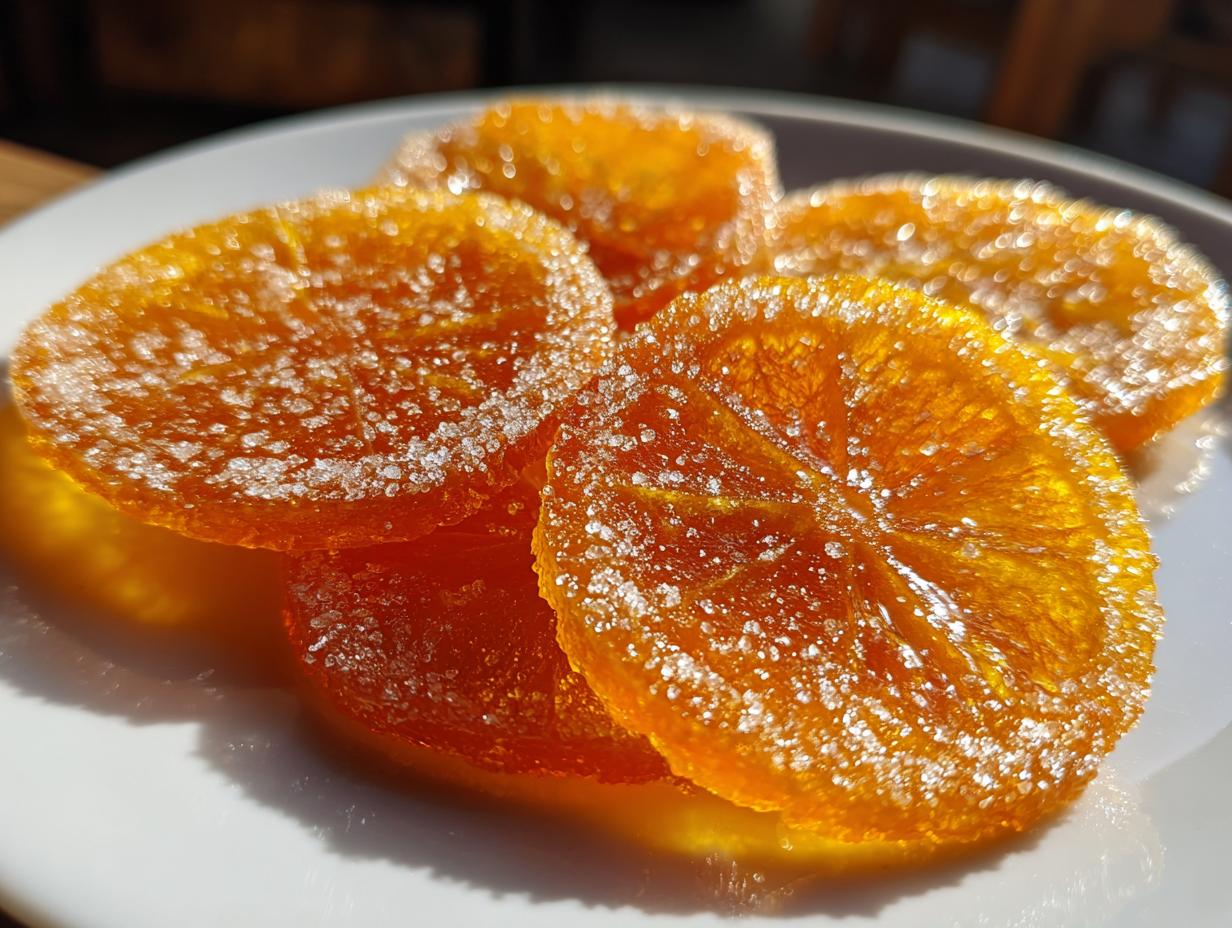

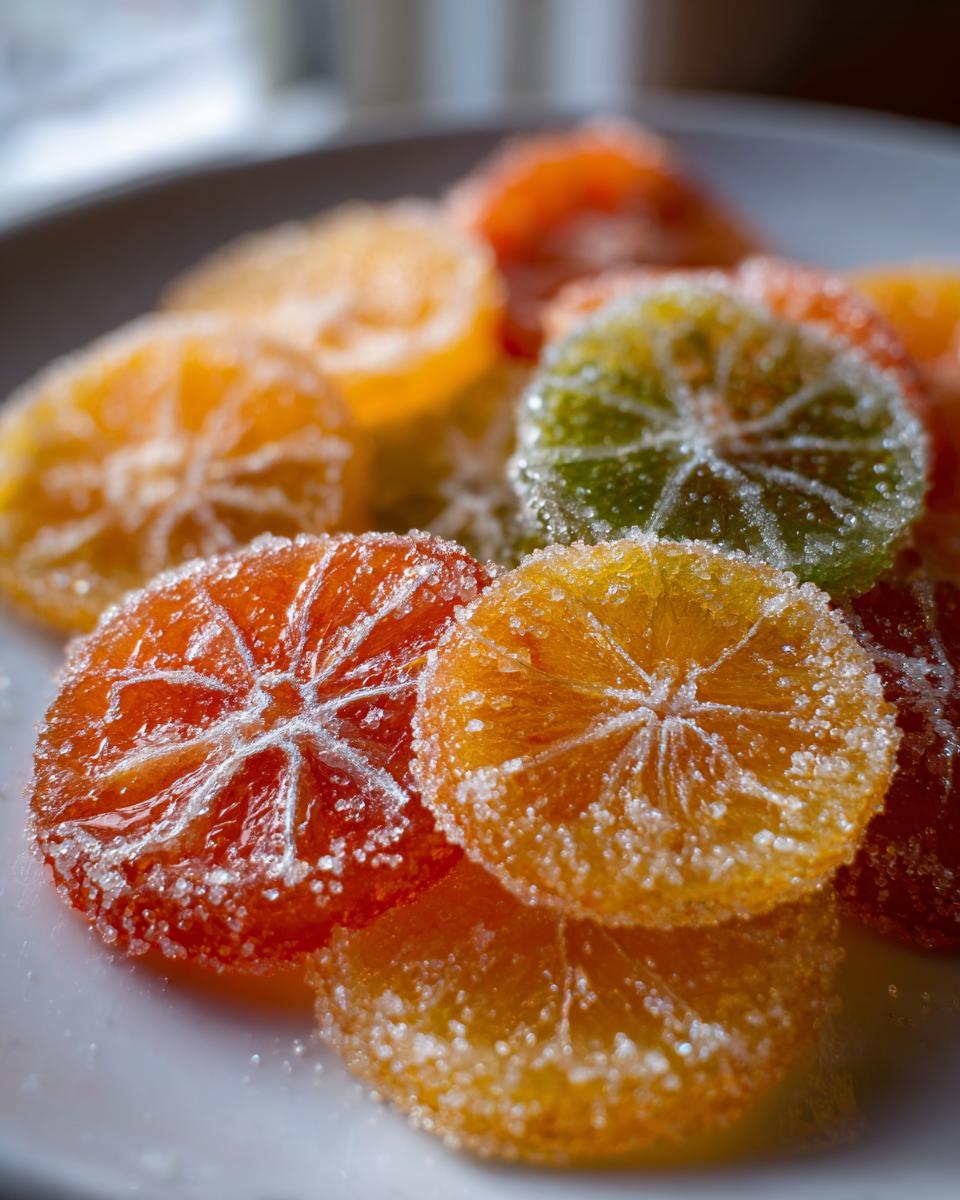
When I left the world of spreadsheets behind to focus entirely on food—a massive shift from my fast-paced marketing director days—I realized the true potential hidden in humble, everyday ingredients. There is nothing quite like taking something as simple as a fresh orange and magically transforming it into elegant, jewel-toned candied orange slices. Wow, these treats feel luxurious, but trust me, making them is shockingly straightforward. This method turns that bright citrus into a glossy, chewy confection that you’ll want to use everywhere, from decorating the fanciest cake to just snacking on one straight from the jar. It’s this attention to detail, turning the ordinary into the spectacular, that I live for now. I share more about my journey toward finding joy in the kitchen, far from the boardroom, on my About page, but for now, let’s get these oranges candied!
- Why You Will Love This Easy Candied Orange Recipe
- Selecting the Best Oranges for Candied Orange Slices
- Gathering Ingredients for Perfect Candied Orange Slices
- Step-by-Step: How to Make Candied Orange Slices
- Tips for Success Making Candied Orange Slices
- Variations: Elevating Your Candied Orange Slices
- Serving Suggestions for Your Sweet and Tangy Orange Treats
- Storage and Keeping Your Candied Fruit for Gifts
- Frequently Asked Questions About Candied Orange Slices
- Estimated Nutritional Information for Candied Orange Slices
- Share Your Homemade Citrus Candy Creations
- Estimated Nutritional Information for Candied Orange Slices
- Share Your Homemade Citrus Candy Creations
Why You Will Love This Easy Candied Orange Recipe
I get it; sometimes a recipe looks like it requires a pastry chef’s diploma, but this one is built for real home cooks—even if you’re just starting out. If you’ve been searching for an easy candied orange recipe that delivers stunning results, this is it. Forget stiff, difficult candies; these deliver on every promise!
- Incredible Texture: They come out perfectly chewy, not brittle, with a stunning, glossy finish that looks like stained glass.
- Perfect Flavor Balance: You get that bright citrus punch, which is wonderfully balanced—sweet, but with a satisfying, zesty tang.
- Total Versatility: Use them immediately as an edible orange garnish on holiday desserts, or keep them on hand for an elegant snack anytime.
This simple process ensures you get professional-looking results with minimal fuss. You’re going to be amazed at how satisfying these are to make!
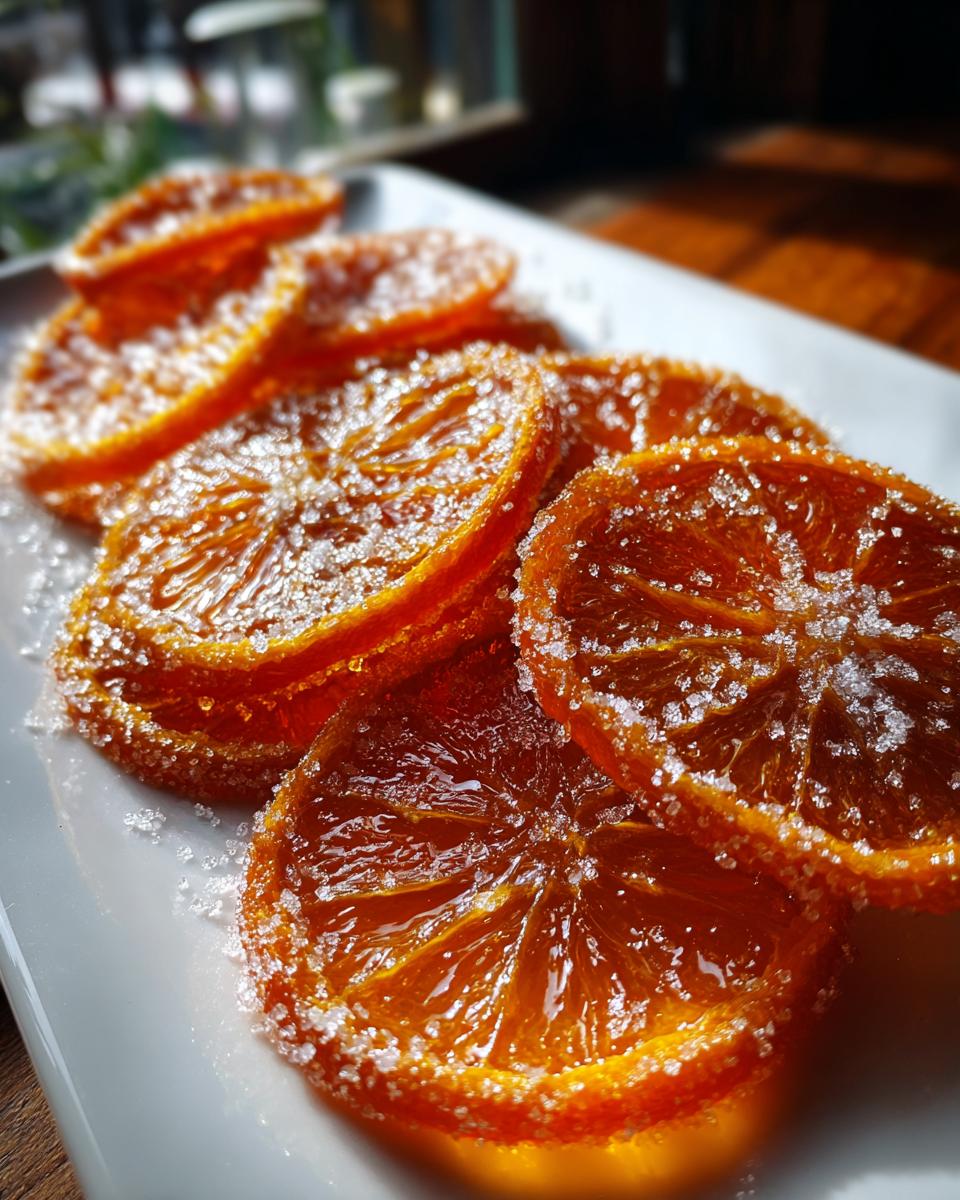
Selecting the Best Oranges for Candied Orange Slices
Since we are transforming the whole fruit, the quality of the orange really dictates the final product. This is where our commitment to sourcing shines through—you want something that looks as good as it tastes. When hunting for the best oranges for candying, look for fruit that is firm to the touch and has skin that looks taut and brightly colored. Avoid any that feel soft or have dull, bruised spots.
My absolute favorites are Navel oranges because they have a thicker rind and hold up beautifully to the long simmer time without disintegrating. However, if you want that show-stopping deep red hue, try Cara Cara or Blood Oranges. They impart a slightly different, beautiful complexity to the syrup. Remember, the sturdier the rind, the better it handles the sugar transformation, giving you that desirable chewiness instead of mushiness.
Gathering Ingredients for Perfect Candied Orange Slices
Before we dive into the simmering stages, let’s talk about what you’ll need. You’ll notice this is mostly fruit and sugar, which is why ingredient quality matters so much! We need four large, firm navel oranges—or feel free to experiment with other colorful varieties. You’ll also need a good amount of sugar and water to create that essential syrup. Don’t forget the final mandatory component: a half-cup of extra granulated sugar dedicated just for that lovely, slightly gritty sugar coating that gives the slices their final sparkle.
Step-by-Step: How to Make Candied Orange Slices
Alright, it’s time to get your hands sticky! This is the heart of the recipe, where we take those firm slices and slowly coax them into glossy treasures. If you follow these steps closely, you’ll master exactly how to make orange slices candy that impresses everyone. Don’t rush this part; the slow cook is what makes the magic happen. I documented my entire process, including some troubleshooting tips, over on my latest blog entry, but here’s the essential guide.
Preparing and Blanching the Orange Rounds
First things first: wash those oranges really well; we’re using the peel! Trim off the very ends. Then, using your sharpest knife, slice the fruit crosswise into perfectly uniform rounds, aim for about 1/8-inch thickness. Uniformity is key for even candying! Now, this next part is non-negotiable: bitterness removal. Place the slices in a pot, cover them with water, bring it to a boil, and let them simmer for 10 minutes. Drain them completely. That first boil guts the unwanted pithy bitterness, leaving you with just pure, clean orange flavor.
Simmering in Simple Syrup Orange Slices
Return those blanched slices to the pot. Now we build the candy structure! Add four cups of fresh water and four cups of sugar. Gently bring this mixture just up to a boil, stirring only until the sugar dissolves. Once it’s clear, drop that heat way down—we’re talking a very gentle bubble here. You need to let these simple syrup orange slices simmer, uncovered, for at least 60 minutes, maybe up to 90. You’ll see them start turning translucent and jewel-like. Warning: Rapid boiling can make the slices tear apart, so keep it low and slow!
Drying for Chewy Orange Peel Sweets
This is the second most crucial step after the simmer. Don’t just dump them out! Use a slotted spatula to gently lift the slices from the syrup, letting the extra liquid drip off. Place them in a single layer on a wire rack set over a baking sheet. They need time—usually 12 to 24 hours at room temperature—to dry out until they feel tacky but aren’t wet anymore. This slow air-dry is what guarantees those fantastic chewy orange peel sweets instead of soft, sticky messes. Patience wins here!
Tips for Success Making Candied Orange Slices
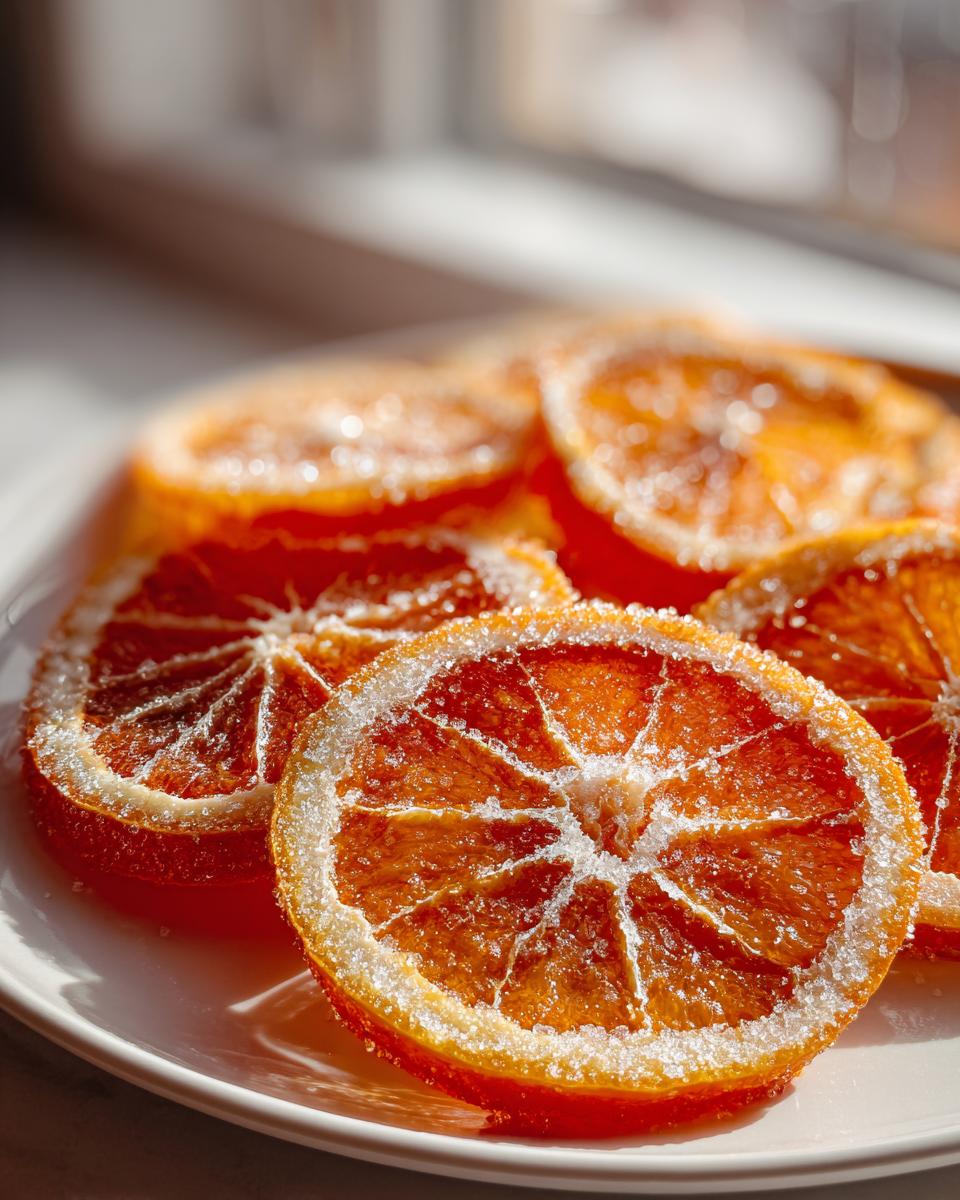
We’ve done the hard work simmering the oranges until they are perfectly tender, but the finishing steps are just as important to avoid a sticky mess. My biggest tip for preventing the syrup from crystallizing, or your slices from breaking, is handling them with extreme care during the removal process. Use a thin, slotted spatula, not tongs, and let them drain completely before laying them out. If the slices are still dripping heavily when you place them on the rack, the sugar coating won’t adhere properly later.
Now, about drying time. Twenty-four hours might seem like forever, but air-drying at room temperature is truly the best way to reach that perfect, pliable chewiness. However, if you have a special event looming and you need them faster, you can use the oven trick mentioned in the notes. Set your oven *very* low—think 200°F (93°C)—and pop the slices in for about two to three hours, flipping them halfway through. This low heat gently evaporates the moisture without cooking them further. Just be careful not to let them crisp up too much! They should still feel slightly soft when pressed.
Variations: Elevating Your Candied Orange Slices
Once you’ve nailed the basic recipe—those glossy, chewy rounds are already a triumph—it’s time to play around! The greatest joy in cooking, for me, is taking a perfect base and adding one little touch that kicks it up to gourmet status. And when it comes to presentation, nothing beats dipping these beauties in smooth chocolate.
If you are considering making chocolate dipped candied oranges, you’re choosing a winning combination. The bitter tang of the candied fruit contrasts perfectly with rich, sweet chocolate. First, you absolutely must ensure your orange slices are completely cool and dry; moisture is the enemy of melted chocolate!
I suggest using a high-quality dark chocolate, something around 60 to 70 percent cacao. Melt it slowly, maybe following my guide for a perfectly smooth stovetop fudge frosting, which works beautifully for dipping. Dip about half of each slice, letting the excess drip off gently. For that final, incredibly elegant finish that truly signals something special, immediately sprinkle the wet chocolate with flaky sea salt. That little crunch and saltiness elevate these from a snack to something seriously special. They look incredible arranged on a platter or perched on top of a rich chocolate bundt cake!
Serving Suggestions for Your Sweet and Tangy Orange Treats
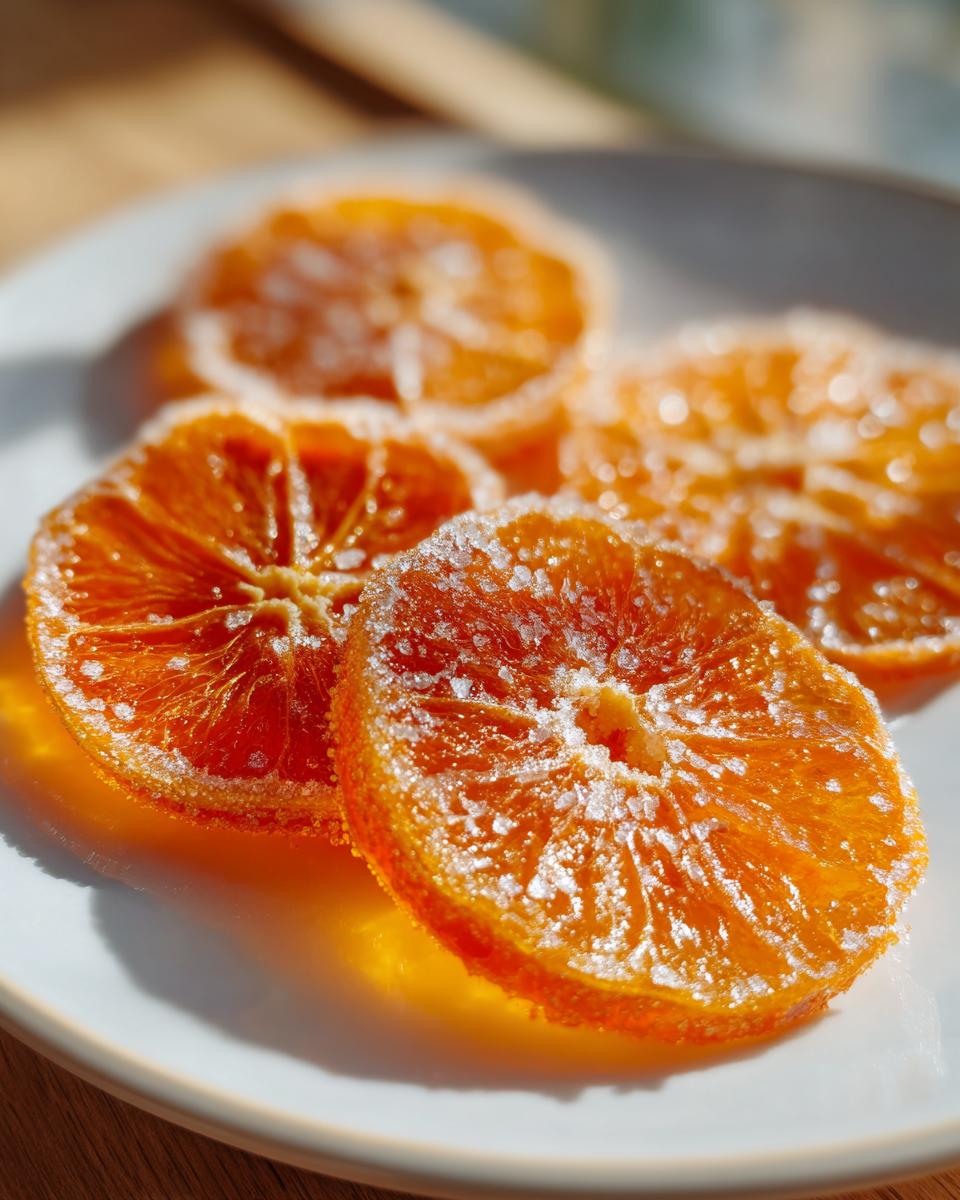
Now you have these gorgeous, glossy rounds—what do you do with them all? These sweet and tangy orange treats deserve to be shown off! While I love grabbing a few for an afternoon pick-me-up, their true calling is adding that gourmet touch to other dishes. If you’re putting together a show-stopping cheese board, scatter a few slices around the brie and goat cheese; the acid cuts through the richness perfectly.
They are fantastic for gifting, but they also shine as elegant dessert decorations. Think about setting one right on top of a slice of cheesecake, or even using them like edible confetti sprinkled over chocolate mousse. Honestly, they make the best little garnish for an old-fashioned cocktail or an Aperol spritz—a little something extra that shouts, “I made this with care.” You can find plenty of inspiration for spreading the love, from appetizers to simple snacks, over on my dedicated Appetizers and Snacks page!
Storage and Keeping Your Candied Fruit for Gifts
You’ve gone through all that simmering and drying, and now you have these gorgeous, jewel-toned slices! We need to keep them perfect until you’re ready to serve them or gift them away. The key to maintaining that perfect chewy texture is keeping moisture out. Don’t keep these in the fridge! The environment in the refrigerator is too humid, and it will make the sugar attract moisture, leading to stickiness.
For the best results, store your finished candied orange slices in a single layer in an airtight container at cool room temperature. If you stack them, they might stick together, especially if they weren’t 100% dry when you started the sugar coating. I always let them sit out for a full 24 hours after the final sugar toss just to be absolutely sure they’ve set up firm.
These last incredibly well, often staying wonderfully chewy for three to four weeks when stored correctly. Because they look so sophisticated and take a bit of devoted time to create, they make absolutely fantastic candied fruit for gifts. Wrap them up in small cellophane bags, tie them with a nice piece of twine, and maybe attach a little tag describing your careful process. Honestly, edible gifts made with this level of care always feel extra special, and these citrus treats are no exception!
Frequently Asked Questions About Candied Orange Slices
When you’re deep into a new recipe, questions always pop up! I’ve gathered the ones I hear most often from folks just starting out transforming their citrus. Getting these small details right is what separates a good batch from a great one, and it’s all about that attention to detail I learned when I switched from spreadsheets to sauté pans. If you have more questions after reading these, please don’t hesitate to reach out to me on my Contact page!
How do I stop my candied orange slices from being bitter?
This is the most common concern, and thankfully, the fix is built right into the process! Bitterness comes from the white pith, and we knock that out entirely in the very first step: blanching. You must always place your raw orange rounds in a pot, cover them with water, bring it to a full boil, and then immediately drain it all off. Discard that first batch of water—that’s where the bitterness goes! One good blanching is usually enough for Navel oranges, but if you use a very thick-skinned orange, boiling them twice will ensure absolute perfection.
Can I use this recipe for other citrus fruits?
Absolutely, yes! The beauty of this method is its flexibility. You can use lemons, grapefruits, limes, or even tangerines. The only thing you might need to adjust is the simmering time in the sugar syrup. Thicker rinds, like those on a grapefruit, will take longer—sometimes another 30 to 45 minutes—to become fully translucent, while thin-skinned mandarins might cook faster. Just watch them carefully until they look clear and tender before moving on to the drying stage.
What is the best way to use candied orange slices as an edible orange garnish?
Oh, the aesthetics! Since these look absolutely stunning, you should definitely show them off. They are spectacular used as an edible orange garnish right on top of a dark dessert, like a rich flourless chocolate cake or a glossy cheesecake. They also look incredibly elegant floating on top of sparkling cocktails—a prosecco or a Negroni just screams sophistication with one of these resting on the rim. For holiday platters, I love laying them across a sharp cheddar or pairing them with nuts and prosciutto for a sweet and savory bite!
Estimated Nutritional Information for Candied Orange Slices
Because these are made primarily from fruit and sugar, the calorie and sugar content is concentrated, which is something to keep in mind if you are watching your intake! Please remember these figures are calculated estimates based on the recipe provided, and your final count might vary a little depending on the exact size of your oranges and how much sugar you use for the final toss.
- Serving Size: 1 slice
- Calories: 110
- Sugar: 28g
- Sodium: 2mg
- Fat: 0.1g
- Protein: 0.3g
As you can see, the majority of the calories here come directly from the concentrated natural fruit sugars and the added granulated sugar. They aren’t exactly low-carb, but they are certainly an impressive, homemade alternative to processed candies!
Share Your Homemade Citrus Candy Creations
I truly hope you found the process of making these homemade citrus candy a joyful journey. For me, transforming simple fruit into something this elegant is the whole point of cooking. Once you’ve finished drying your slices and giving them that final sugary toss, I want to see them!
Please take a picture of your glossy beauties—whether they are destined for a platter, dipped in chocolate, or just sitting in a jar waiting to be snacked on—and tag me on social media! If you loved this tutorial, leaving a star rating and a quick note in the comments section below helps other home cooks feel confident trying this recipe out. Happy candying, and I can’t wait to see your gorgeous results!
Estimated Nutritional Information for Candied Orange Slices
Because these are made primarily from fruit and sugar, the calorie and sugar content is concentrated, which is something to keep in mind if you are watching your intake! Please remember these figures are calculated estimates based on the recipe provided, and your final count might vary a little depending on the exact size of your oranges and how much sugar you use for the final toss.
- Serving Size: 1 slice
- Calories: 110
- Sugar: 28g
- Sodium: 2mg
- Fat: 0.1g
- Protein: 0.3g
As you can see, the majority of the calories here come directly from the concentrated natural fruit sugars and the added granulated sugar. They aren’t exactly low-carb, but they are certainly an impressive, homemade alternative to processed candies!
Share Your Homemade Citrus Candy Creations
I truly hope you found the process of making these homemade citrus candy a joyful journey. For me, transforming simple fruit into something this elegant is the whole point of cooking. Once you’ve finished drying your slices and giving them that final sugary toss, I want to see them!
Please take a picture of your glossy beauties—whether they are destined for a platter, dipped in chocolate, or just sitting in a jar waiting to be snacked on—and tag me on social media! If you loved this tutorial, leaving a star rating and a quick note in the comments section below helps other home cooks feel confident trying this recipe out. Happy candying, and I can’t wait to see your gorgeous results!
PrintSweet and Tangy Candied Orange Slices: An Elegant Edible Garnish

Learn how to make glossy, chewy candied orange slices at home. This easy recipe transforms fresh oranges into a delightful homemade candy, perfect for garnishing desserts or enjoying as a sweet and tangy snack.
- Prep Time: 20 min
- Cook Time: 90 min
- Total Time: 130 min
- Yield: About 3 dozen slices 1x
- Category: Dessert
- Method: Simmering and Drying
- Cuisine: American
- Diet: Vegetarian
Ingredients
- 4 large navel oranges (or blood oranges for color variation)
- 4 cups water
- 4 cups granulated sugar
- 1/2 cup granulated sugar for coating
Instructions
- Wash the oranges thoroughly. Slice the oranges crosswise into uniform 1/8-inch thick rounds. Discard the end pieces.
- Place the orange slices in a large saucepan and cover them completely with water. Bring the water to a boil over high heat, then immediately reduce the heat and simmer for 10 minutes. Drain the water completely. This step removes bitterness.
- Return the blanched orange slices to the saucepan. Add 4 cups of fresh water and 4 cups of granulated sugar. Stir gently to combine.
- Bring the mixture to a boil over medium-high heat, stirring until the sugar dissolves. Reduce the heat to low and simmer gently, uncovered, for 60 to 90 minutes. The slices should become translucent and tender. Do not let the syrup boil rapidly.
- Carefully remove the slices from the syrup using a slotted spatula, allowing excess syrup to drip off. Place the slices in a single layer on a wire rack set over a baking sheet.
- Allow the slices to dry at room temperature for 12 to 24 hours, turning them occasionally until they feel tacky but not wet.
- For a final coating, spread 1/2 cup of granulated sugar on a plate. Gently press each slice into the sugar to coat both sides.
- Place the coated slices back on the wire rack to dry completely for several hours until the sugar sets and the slices are firm. Store in an airtight container.
Notes
- For chocolate dipped candied oranges, melt high-quality dark chocolate and dip half of each cooled, dried slice. Sprinkle with flaky sea salt before the chocolate sets.
- Use firm, brightly colored oranges, such as Navel or Cara Cara, for the best visual appeal and flavor.
- If you prefer a quicker drying method, you can bake the slices at 200°F (93°C) for 2 to 3 hours, flipping halfway through, until they are dry but still pliable.
Nutrition
- Serving Size: 1 slice
- Calories: 110
- Sugar: 28g
- Sodium: 2mg
- Fat: 0.1g
- Saturated Fat: 0g
- Unsaturated Fat: 0g
- Trans Fat: 0g
- Carbohydrates: 28g
- Fiber: 0.5g
- Protein: 0.3g
- Cholesterol: 0mg