
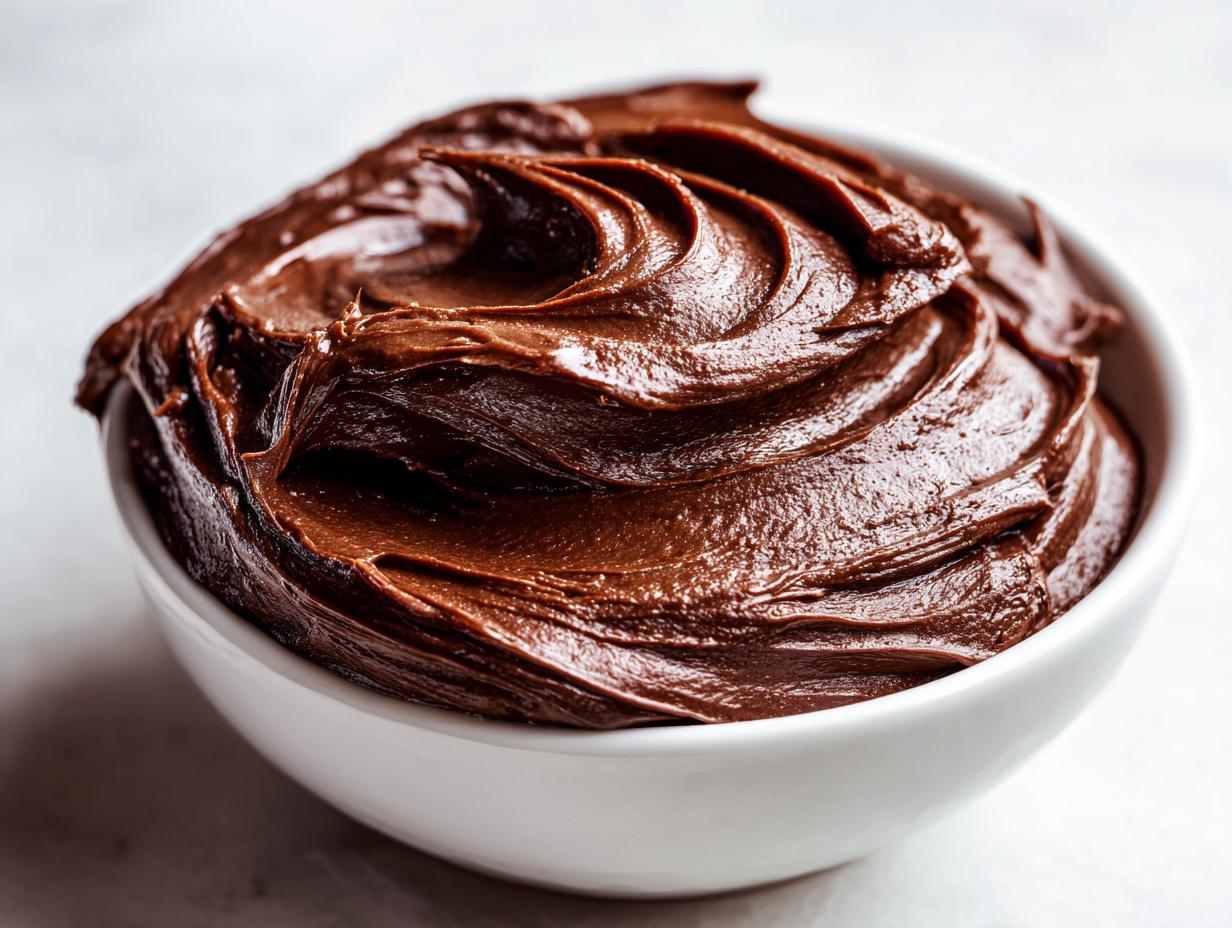

There’s just something about really good chocolate frosting, isn’t there? That moment when it just melts in your mouth, coating everything with rich, decadent flavor. For years, I thought making a truly amazing chocolate fudge frosting meant spending ages in the kitchen, babysitting candy thermometers or slogging through complicated steps. But then I discovered this incredibly simple stovetop method. It delivers this gorgeous, glossy finish that’s just perfect for spooning over brownies or slathering on a birthday cake without any fuss. It’s funny, I used to think cooking was this big, intimidating thing, but finding recipes like this—quick, impressive, and totally doable—really changed everything for me. It’s all about finding those little wins that make you feel like a kitchen superstar!
- Why You'll Love This Quick Chocolate Fudge Frosting
- Gather Your Ingredients for Chocolate Fudge Frosting
- How to Make Stovetop Chocolate Frosting: Step-by-Step
- Tips for Perfect Chocolate Fudge Frosting
- Ingredient Notes and Substitutions for Easy Fudge Icing
- Serving Suggestions for Glossy Chocolate Frosting
- Storage and Reheating Instructions
- Frequently Asked Questions about Stovetop Chocolate Frosting
- Nutritional Information
- Share Your Creations!
Why You’ll Love This Quick Chocolate Fudge Frosting
Seriously, this frosting is a game-changer! Here’s why you’ll be making it again and again:
- Super Speedy: You can whip this up in about 15 minutes, start to finish. Perfect for when a chocolate craving hits hard.
- Incredibly Easy: No fancy equipment, no complicated steps, just a saucepan and good old-fashioned stirring.
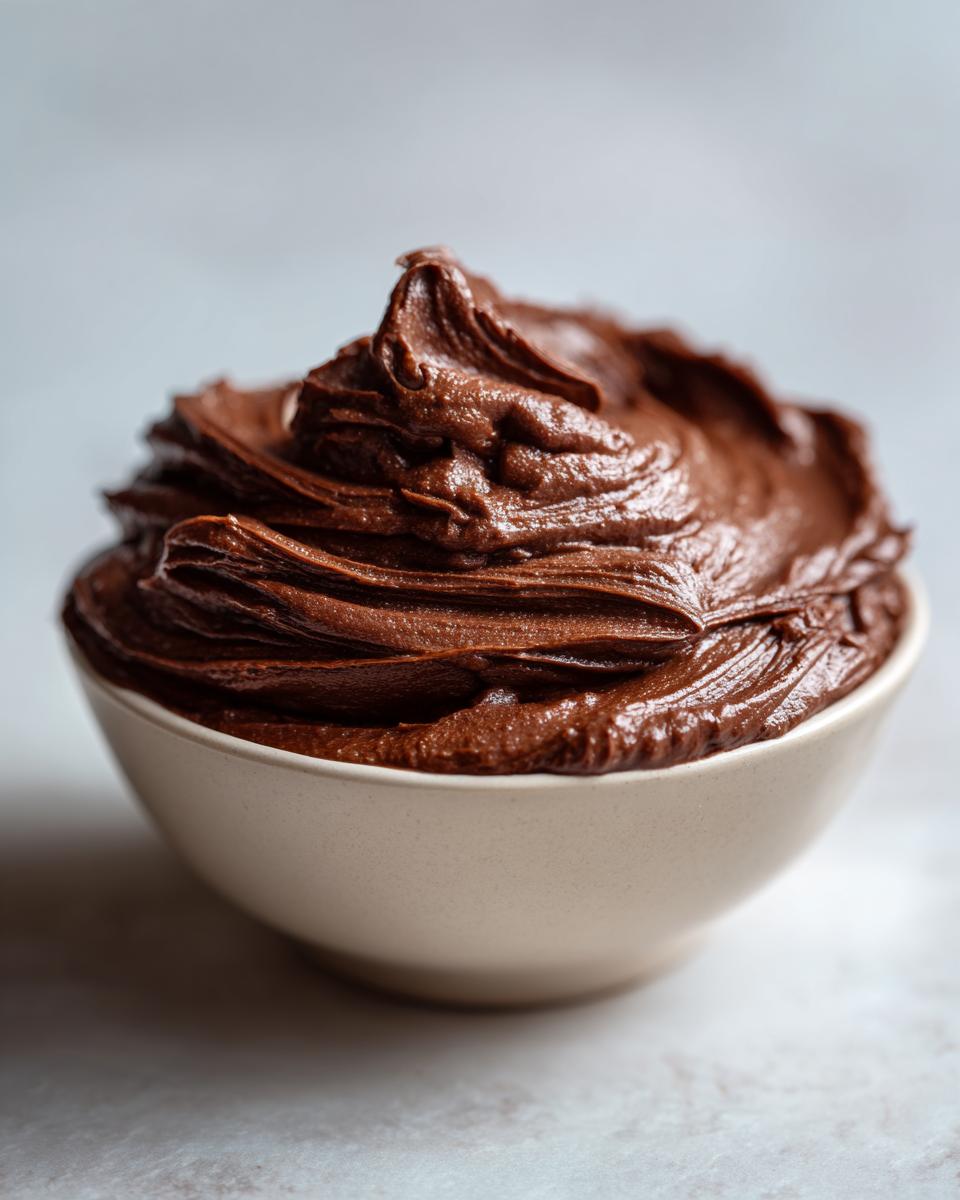
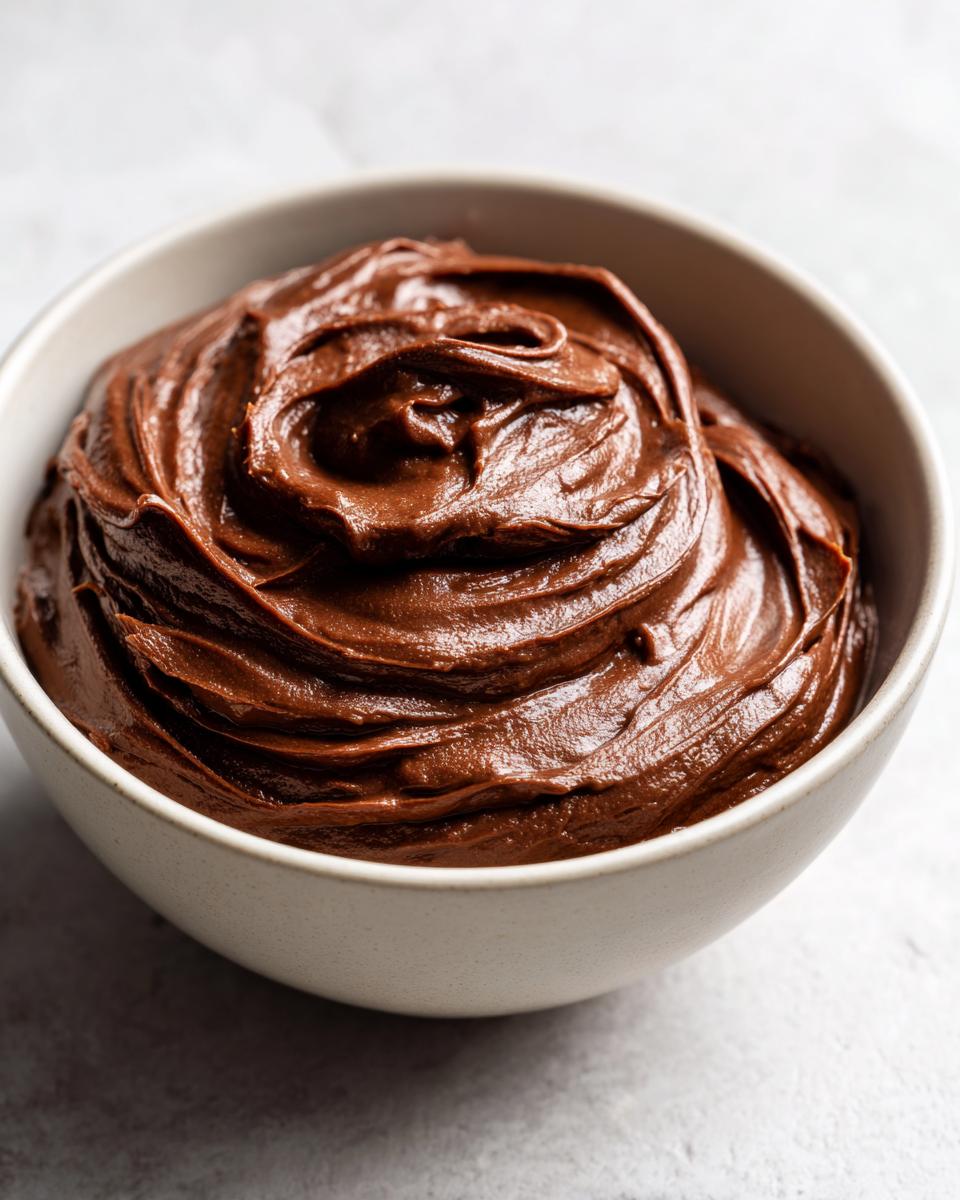
- Gorgeous Texture: It’s got this beautiful glossy sheen and that perfect, smooth fudge consistency that just glides onto your baked goods.
- Rich Chocolate Flavor: It tastes just like the real deal – decadent and satisfying without being overly sweet.
- So Versatile: Slather it on cakes, pour it over brownies, or even use it as a dip for cookies. It’s a total crowd-pleaser!
Gather Your Ingredients for Chocolate Fudge Frosting
Alright, let’s get our ducks in a row for this amazing **chocolate fudge frosting**! You only need a handful of pantry staples, which is part of why I love it so much. It’s amazing what you can create with simple things. You’ll need:
- 1 cup granulated sugar
- 1/2 cup unsalted butter
- 1/3 cup unsweetened cocoa powder
- 1/3 cup evaporated milk
- 1 teaspoon vanilla extract
- 1/4 teaspoon salt
Trust me on this, using good quality ingredients really makes a difference here. Especially the cocoa powder – go for one that tastes good on its own, and you’ll get that deep chocolate flavor we’re after. It’s these little things that take a simple recipe from good to *wow*!
How to Make Stovetop Chocolate Frosting: Step-by-Step
Okay, here’s where the magic happens! Making this stovetop chocolate frosting is actually super straightforward. Once you see how easy it is, you’ll be making it all the time. Just grab your trusty saucepan and let’s get this gooey goodness going.
- First things first, get all your players into the saucepan: the sugar, that lovely unsalted butter, that rich cocoa powder, the evaporated milk, and just a pinch of salt. Don’t be shy about measuring – accuracy is key early on!
- Now, pop that saucepan over medium heat. You want to stir this mixture constantly. Like, really constantly. Keep stirring until everything is combined and it starts to come up to a big, rolling boil. You’ll see those bubbles getting lively!
- This is the crucial part, so pay attention! Once it hits that rolling boil, set your timer for exactly one minute. Keep stirring the whole time. It feels intense, but this is what sets up that perfect fudge texture and glossy finish we’re aiming for. Don’t let it boil any longer or shorter!
- After that minute is up, pull the saucepan right off the heat. Immediately stir in the vanilla extract. Ahh, that smell! It adds that perfect warm finish to our chocolatey creation.
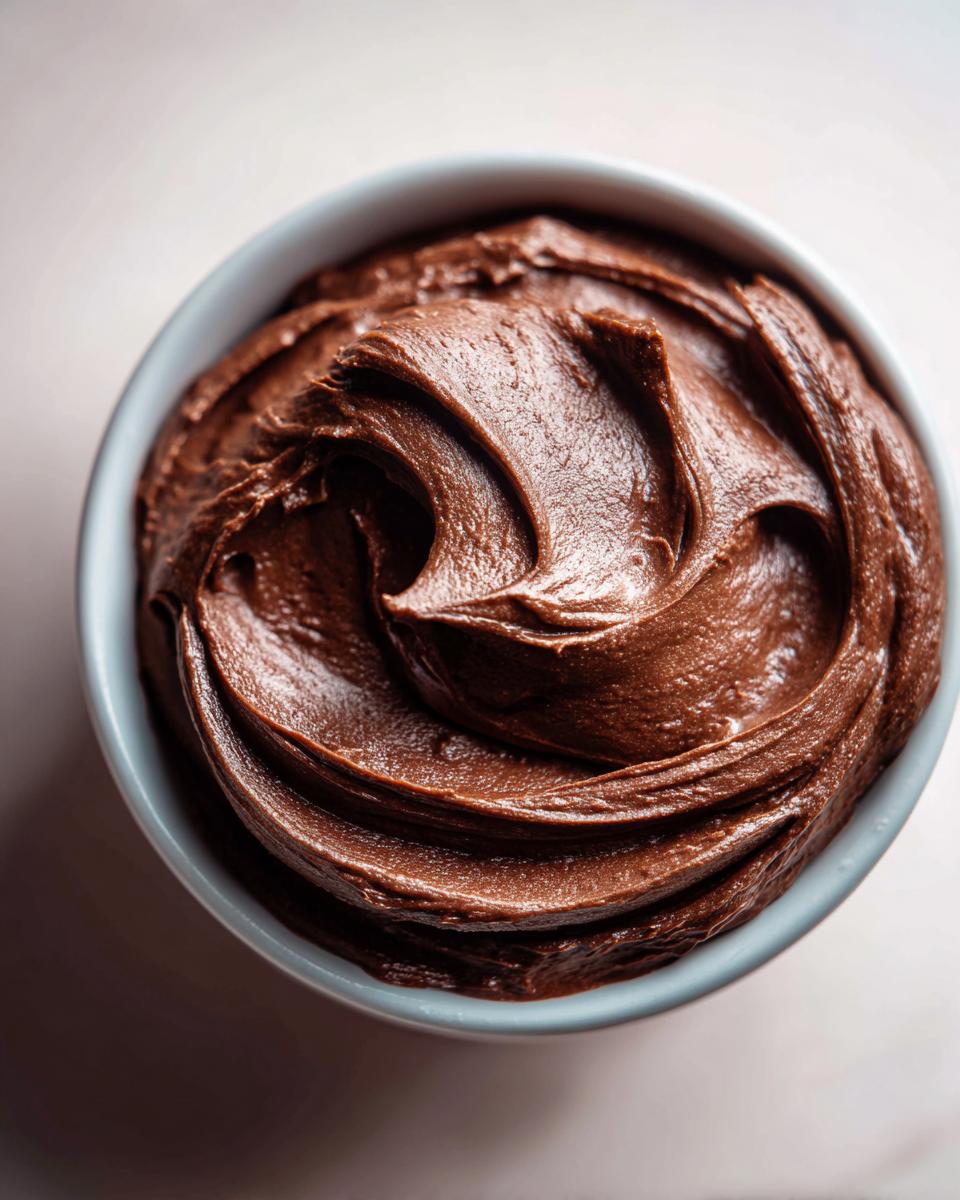
- Now, let it sit for about 5 to 10 minutes. You’ll need to stir it occasionally as it cools. This is where you’ll see it start to thicken up to that perfect spreadable, drool-worthy consistency. Give it a good stir now and then to keep the sheen nice and even.
- Once it’s cooled just enough to be spreadable – not too hot, not too firm – it’s ready for action! Pour or spread it right over your favorite baked goods. It’s amazing on brownies, perfect for cakes, and honestly, I’ve even just dipped strawberries in it. If you’re making brownies, check out my S’mores Brownies – this frosting takes them over the top!
Tips for Perfect Chocolate Fudge Frosting
You know, getting this chocolate fudge frosting just right is all about a few little tricks. Don’t worry if your first try isn’t absolutely perfect, we’ve all been there! Constant stirring is really your best friend here, especially when it’s on the stove. That’s what gives it that beautiful, glossy look instead of a dull finish.
That one-minute boil? It’s not just a suggestion, give it exactly 60 seconds of rolling boil while you keep stirring. Too short and it might be too runny, too long and it can seize up. As it cools, give it a stir every few minutes to prevent that sugary crust from forming on top. And if it *does* get too thick while you’re waiting for it to cool a bit? Just stir in a tiny splash of milk or even a bit more evaporated milk – it’ll loosen right up. It’s all about watching and feeling it!
Ingredient Notes and Substitutions for Easy Fudge Icing
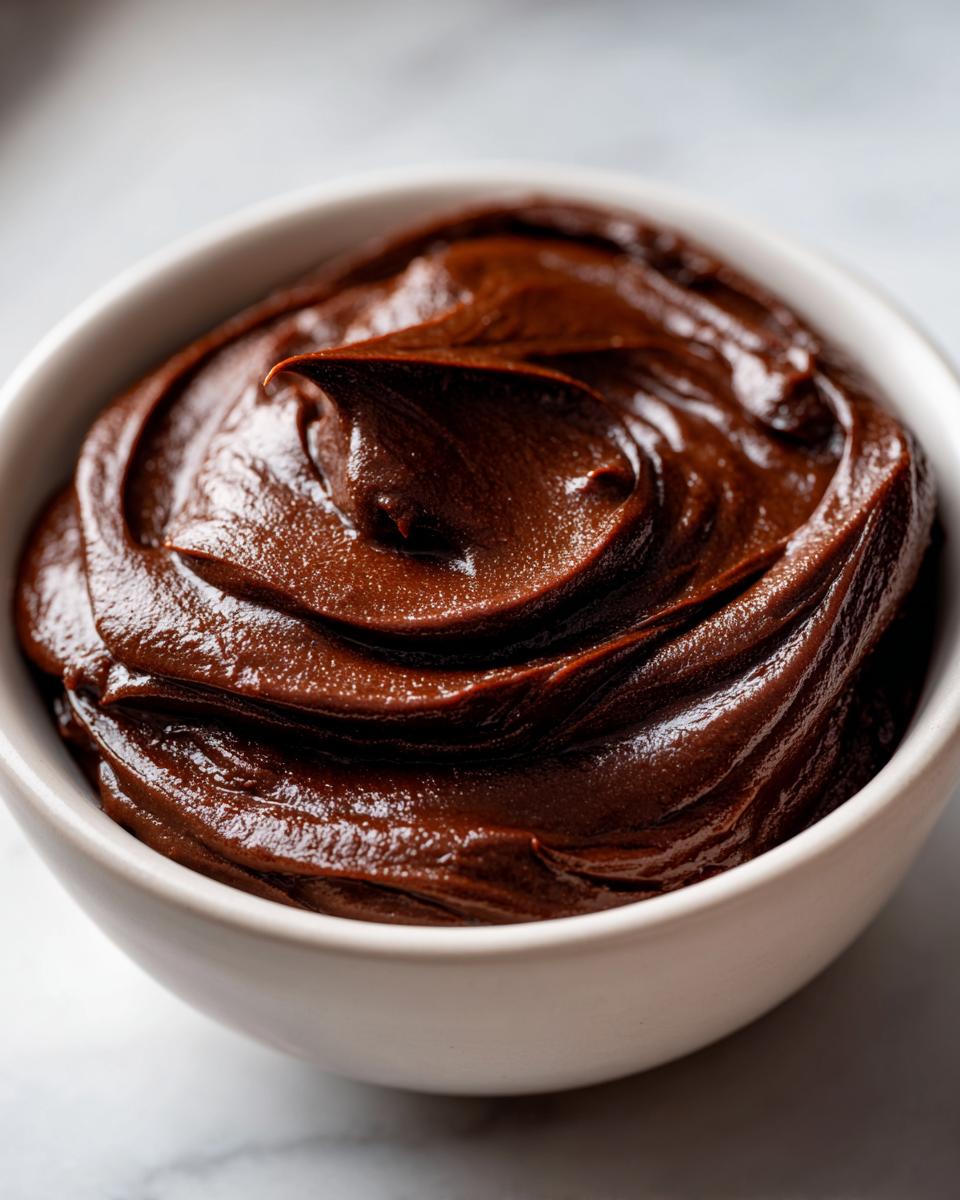
So, let’s chat about what makes this easy fudge icing so darn good! The evaporated milk is a bit of a superstar here. It gives the frosting that super rich, creamy texture that you just can’t get with regular milk, plus it adds a nice depth of flavor. If you absolutely can’t find evaporated milk, you could try using whole milk or even heavy cream, but you might need to adjust the boiling time a tiny bit because the fat content is different. Just be careful, you don’t want it to get too thick too fast!
And that unsweetened cocoa powder? It really is the star for that deep chocolate flavor. While you *could* use sweetened cocoa powder, you’d have to cut back on the sugar, and honestly, it’s just easier to grab the unsweetened stuff and control the sweetness yourself. Make sure your butter is unsalted, too. That way, you control exactly how much salt goes in, which is just a pinch to make all those chocolatey flavors pop!
Serving Suggestions for Glossy Chocolate Frosting
This amazing glossy chocolate frosting is so versatile, it’s almost criminal! Of course, it’s absolutely divine poured over a freshly baked pan of brownies – especially my S’mores Brownies, talk about a flavor explosion! It’s also fantastic on any cake, whether it’s a simple vanilla or a rich chocolate. Don’t be afraid to use it on cupcakes, cookies, or even as a dip for fresh fruit like strawberries or my Chocolate Banana Pops. The smooth, fudgy texture and rich chocolate taste just makes everything taste better!
Storage and Reheating Instructions
Got leftover chocolate fudge frosting? Lucky you! It keeps beautifully, but you gotta store it right. My favorite way is to just pop it into an airtight container or cover the bowl tightly with plastic wrap. Make sure that wrap touches the surface of the frosting as much as possible to keep it from getting that crusty top. It’ll stay nice and creamy in the fridge for about 3 to 4 days. If it gets a little too firm when it’s cold, just let it sit on the counter on the side for about 20 minutes – it’ll soften right up. Honestly, though, it’s so good, there are rarely leftovers!
Frequently Asked Questions about Stovetop Chocolate Frosting
Got questions about this dreamy chocolate fudge frosting? I get it! It’s so simple, but sometimes little things pop up. Let’s see if I can help clear things up for you.
Can I make this frosting ahead of time?
You sure can! This is a great frosting to make ahead because it sets up nicely. Just store it in an airtight container in the fridge. When you’re ready to use it, let it sit out on the counter for about 20 minutes or so to soften up, and give it a good stir. It really is a lifesaver when you need a quick topping!
What if my frosting is too thin or too thick?
Oops, happens to the best of us! If your stovetop chocolate frosting is too thin after cooling, don’t panic. You can usually thicken it by letting it cool a little longer, stirring occasionally. If it’s still too thin, you might have boiled it slightly less than a minute – no worries, just put it back on low heat for another 30 seconds *maximum* and stir like crazy. If it gets too thick, which is more common if it cools too long, just stir in a teaspoon of milk or evaporated milk at a time until it reaches that perfect, pourable consistency.
How long does this frosting last?
This easy fudge icing is pretty stable. Stored in an airtight container in the refrigerator, it should keep well for about 3 to 4 days. The high sugar and butter content acts as a preservative. Just remember to let it come back to room temperature a bit before you spread it on your cakes or brownies!
Nutritional Information
Just a heads-up, the nutritional info for this delightful chocolate fudge frosting is an estimate, like most homemade goodness! It really depends on the specific brands you use and how generous you are with that pour. But generally, a 2-tablespoon serving clocks in at around 150 calories, with about 8g of fat, 18g of carbs, and 1g of protein. It’s a sweet treat, but oh-so-worth-it!
Share Your Creations!
Okay, now that you’ve hopefully whipped up a batch of this gorgeous chocolate fudge frosting, I *really* want to hear all about it! Did you make it for a birthday cake? Pile it on some brownies? Please, pretty please, leave a comment below and tell me how it turned out. If you’re feeling fancy, snap a pic and tag us on social media – I absolutely love seeing your creations! It makes my day to know you’re finding joy in the kitchen with these recipes. You can also reach out via my contact page if you have any questions!
PrintQuick Chocolate Fudge Frosting
A glossy, spreadable, and rich chocolate fudge frosting made on the stovetop. Perfect for cakes and brownies.
- Prep Time: 5 min
- Cook Time: 10 min
- Total Time: 15 min
- Yield: About 1.5 cups 1x
- Category: Dessert Topping
- Method: Stovetop
- Cuisine: American
- Diet: Vegetarian
Ingredients
- 1 cup granulated sugar
- 1/2 cup unsalted butter
- 1/3 cup unsweetened cocoa powder
- 1/3 cup evaporated milk
- 1 teaspoon vanilla extract
- 1/4 teaspoon salt
Instructions
- Combine sugar, butter, cocoa powder, evaporated milk, and salt in a medium saucepan.
- Cook over medium heat, stirring constantly, until the mixture comes to a rolling boil.
- Boil for exactly 1 minute, stirring constantly.
- Remove from heat and stir in the vanilla extract.
- Let the frosting cool for about 5-10 minutes, stirring occasionally, until it reaches your desired spreadable consistency.
- Pour or spread over your cake or brownies.
Notes
- For a glossier finish, stir the frosting vigorously after removing it from the heat.
- If the frosting becomes too thick, you can stir in a teaspoon of milk or cream at a time until it reaches the desired consistency.
- This frosting sets up quickly, so have your baked goods ready.
Nutrition
- Serving Size: 2 tablespoons
- Calories: 150
- Sugar: 20g
- Sodium: 50mg
- Fat: 8g
- Saturated Fat: 5g
- Unsaturated Fat: 3g
- Trans Fat: 0g
- Carbohydrates: 18g
- Fiber: 1g
- Protein: 1g
- Cholesterol: 20mg