
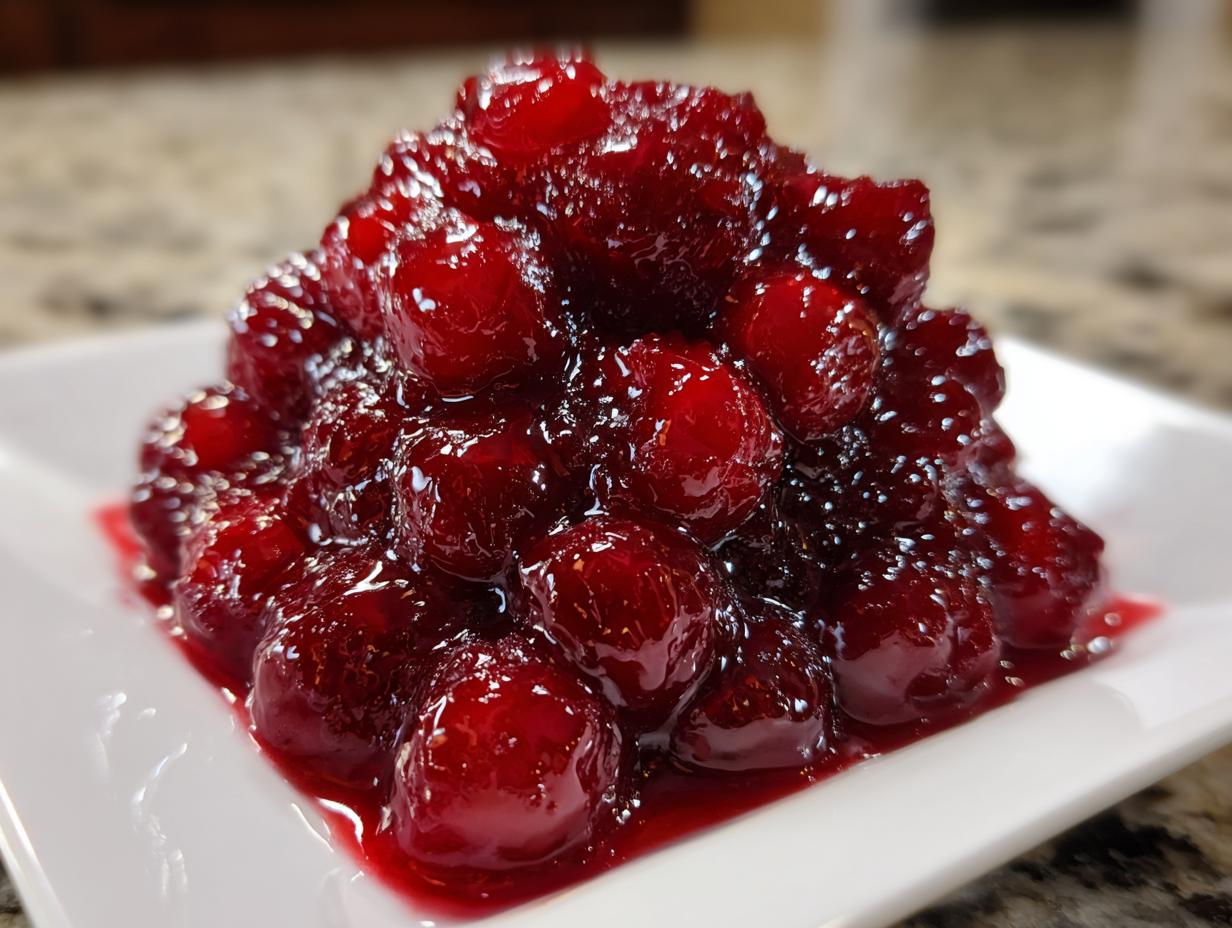

You know that moment? You pull your gorgeous cherry pie out of the oven, you let it cool like the perfect recipe told you to, and when you finally slice into that flaky crust, BAM—it runs everywhere. It’s the absolute worst when your beautiful creation turns into a soupy, weeping mess. Trust me, I’ve been there so many times testing these classics. But I’ve finally cracked the code for you! We are putting an end to runny desserts today. I spent weeks in my kitchen, dedicated to perfecting the exact ratio that gives you the Ultimate Thick & Juicy Homemade Cherry Pie Filling. This isn’t just a recipe; it’s a formula designed to deliver that rich, sliceable, bakery-style result every single time. I promise, once you see how easy this is, you’ll never look at a can again. If you want to know more about my journey from spreadsheets to perfect pies, you can check out my story on the About Me page.
- Why This Homemade Cherry Pie Filling Recipe is Superior
- Ingredients for the Best Cherry Pie Filling From Scratch
- How to Make Cherry Pie Filling: Step-by-Step Instructions
- Essential Juicy Cherry Pie Filling Tips for Perfect Results
- Versatile Uses for Your Cherry Filling for Pies and Tarts
- Storage and Reheating Instructions for Homemade Cherry Pie Filling
- Frequently Asked Questions About Cherry Pie Filling
- Estimated Nutritional Data for Cherry Pie Filling
- Share Your Homemade Cherry Pie Filling Creations
Why This Homemade Cherry Pie Filling Recipe is Superior
Listen, I get it. Grabbing a can of filling is fast, but there’s absolutely no comparison when it comes to flavor. Canned versions are often unnaturally bright and usually leave you with that dreaded, watery puddle in the bottom of your pie shell. My entire mission here is to give you a best canned cherry pie filling substitute that tastes like it came straight from a professional bakery. This recipe for cherry pie filling gives you that control.
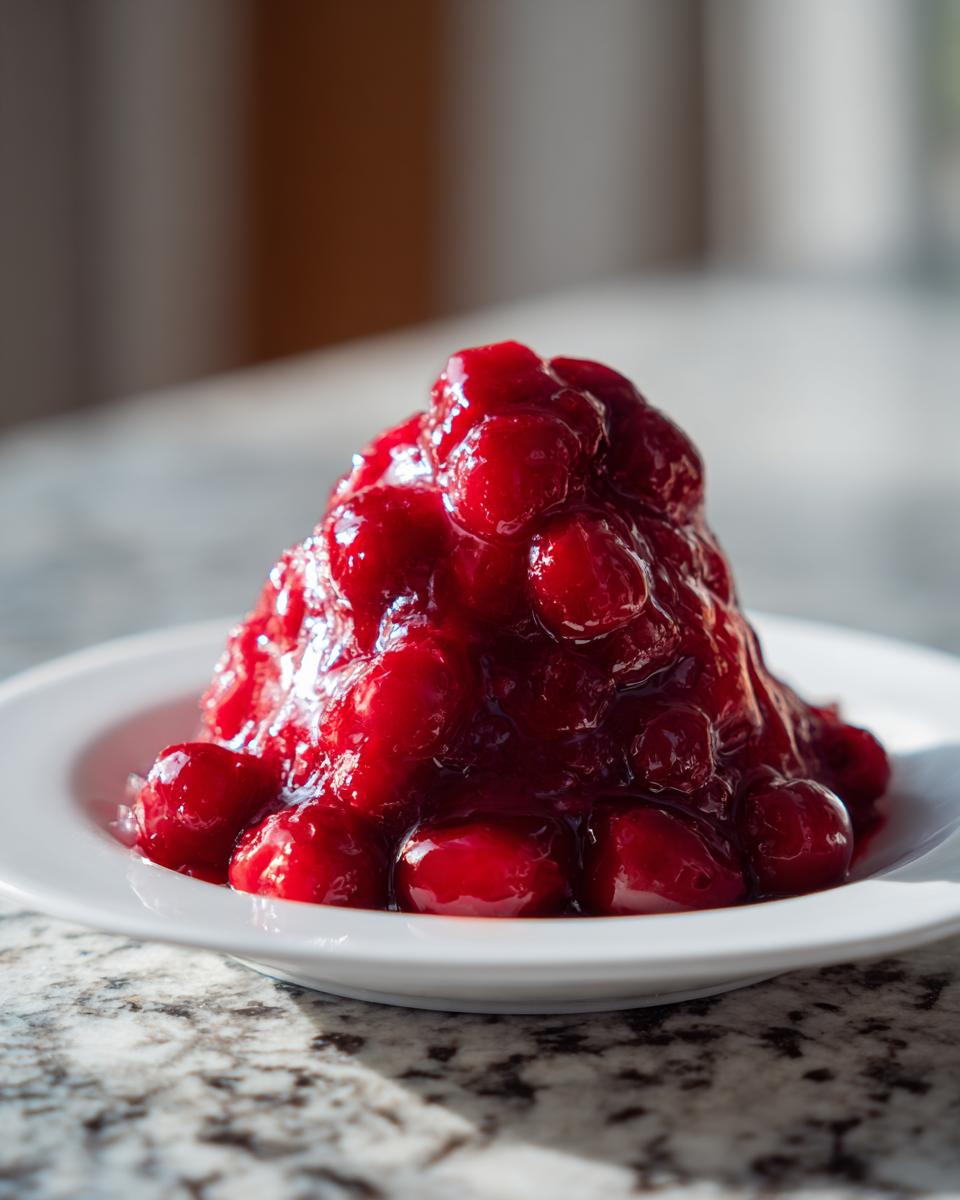
When you see how incredible this turns out, I hope you’ll spend some time exploring the other recipes I’ve perfected on the Gourmet Gaze blog!
Achieving Bakery-Style Thick Cherry Pie Filling
The secret to getting that perfect, spoonable set lies right there in the formula. We use a precise amount of cornstarch relative to the fruit volume, ensuring we hit that exact moment where it thickens perfectly. This isn’t guesswork; this is science applied to deliciousness! Following this thick cherry pie filling recipe means you won’t spend half your time blotting up runny juice.
Sweet and Tart Cherry Filling Balance
You want that deep, rich cherry flavor, right? Too much sugar and it’s cloying; too tart and it’s unpleasant. The beauty of making it yourself is the balance. We use a touch of lemon juice—it’s my little trick! It doesn’t make the filling taste like lemon; it just sharpens the cherry flavor and creates the perfect sweet and tart cherry filling profile you usually only find in high-end desserts.
Ingredients for the Best Cherry Pie Filling From Scratch
Alright, moving onto the fun part—gathering our arsenal! Because we are ditching the store-bought stuff, we need quality components to make sure this cherry pie filling sets up beautifully. Don’t substitute on the cornstarch, though; that’s our thickening anchor. You’ll need about 5 cups once we are done, which is perfect for a standard double-crust 9-inch pie!
Here’s the simple lineup of what you need to pull together:
- 4 cups fresh or frozen sweet cherries, pitted
- 1 cup granulated sugar
- 1/2 cup water
- 1/4 cup cornstarch
- 1/4 cup cold water
- 1 teaspoon lemon juice
- 1/2 teaspoon almond extract
Ingredient Notes and Substitutions for Cherry Pie Filling
I need to stress one thing right now: if you’re using frozen cherries—which is a lifesaver during the off-season—do not thaw them! Just toss them in straight from the freezer. They release their liquid slower, giving the cornstarch time to work its magic, which helps immensely with getting that cherry pie filling with frozen cherries to set right. If you happen to have sour cherries, go for it, but you absolutely must increase your sugar slightly to balance that tartness. And that almond extract? It’s optional, but trust me, it gives the from scratch fruit filling a tiny hint of that complex, bakery flavor we are aiming for!
How to Make Cherry Pie Filling: Step-by-Step Instructions
Okay, this is where we transform simple fruit and sugar into magic! It’s fast—way faster than dealing with that store-bought stuff, I promise. We’re going to treat this carefully to ensure we get that perfect, non-runny texture. Remember, we are aiming for the ultimate cherry pie filling here, so pay attention to the heat and timing. Since this is so quick, I sometimes make a double batch just so I have some left over to drizzle on ice cream later! For more of my speedy, spectacular dessert ideas, take a peek at my Desserts category.
Preparing the Cornstarch Slurry for Thick Cherry Pie Filling Recipe
Before anything hits the stove, we make our thickening agent. Take that 1/4 cup of cornstarch and whisk it into the 1/4 cup of cold water. You have to whisk this until it is absolutely, undeniably smooth. Don’t leave little dry clumps hiding in the bottom of the bowl, or you’ll end up with lumps, and that defeats the whole “foolproof” promise, right?
Cooking and Thickening Your Easy Cherry Filling From Scratch
First, combine your cherries, sugar, 1/2 cup water, and lemon juice in your saucepan and bring it to a simmer over medium heat. Once it starts bubbling gently, this is your cue! Slowly, and I mean slowly, pour that cornstarch slurry in while stirring constantly. Keep stirring! You only need about two to four minutes after adding the slurry for the whole thing to transform. You are looking for it to bubble thickly—that’s the sign it’s done and ready to set up beautifully for your easy cherry filling from scratch.
Essential Juicy Cherry Pie Filling Tips for Perfect Results
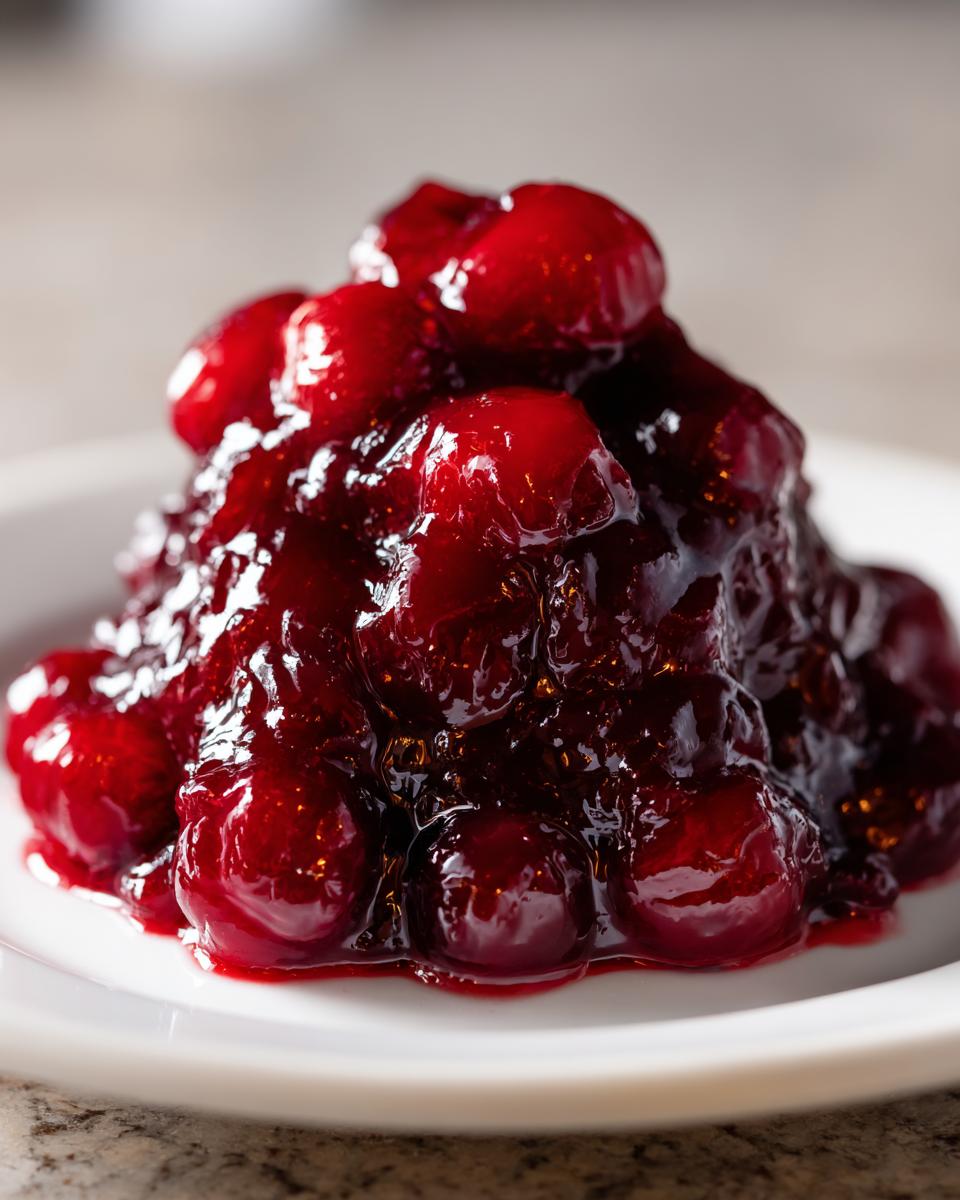
I want you to have the best baking experience possible, and with this filling, the work isn’t quite done once it comes off the heat! If you’re serious about getting those gorgeous, stable slices people compliment you on for weeks, you absolutely have to respect the cooling process. These final steps are part of what makes this recipe special and help deliver those amazing juicy cherry pie filling tips that separate the amateurs from the bakers. Honestly, patience right here is rewarded ten-fold later!
If you’re ready to see this filling nestled inside my absolute favorite pastry, check out the instructions for my perfect cherry pie recipe!
Cooling the Cherry Pie Filling Correctly
The second you take the saucepan off the heat, transfer your gorgeous, thick filling into a separate bowl. Now, here’s the critical move: you must press plastic wrap directly onto the surface of the filling. If you don’t, a skin forms, and that skin creates weird textures when you mix it into your pie layer. After it cools on the counter for a bit, cover it up and chill it in the fridge for a minimum of two hours. That resting time lets the cornstarch fully hydrate and settle into its perfect, sliceable state!
Versatile Uses for Your Cherry Filling for Pies and Tarts
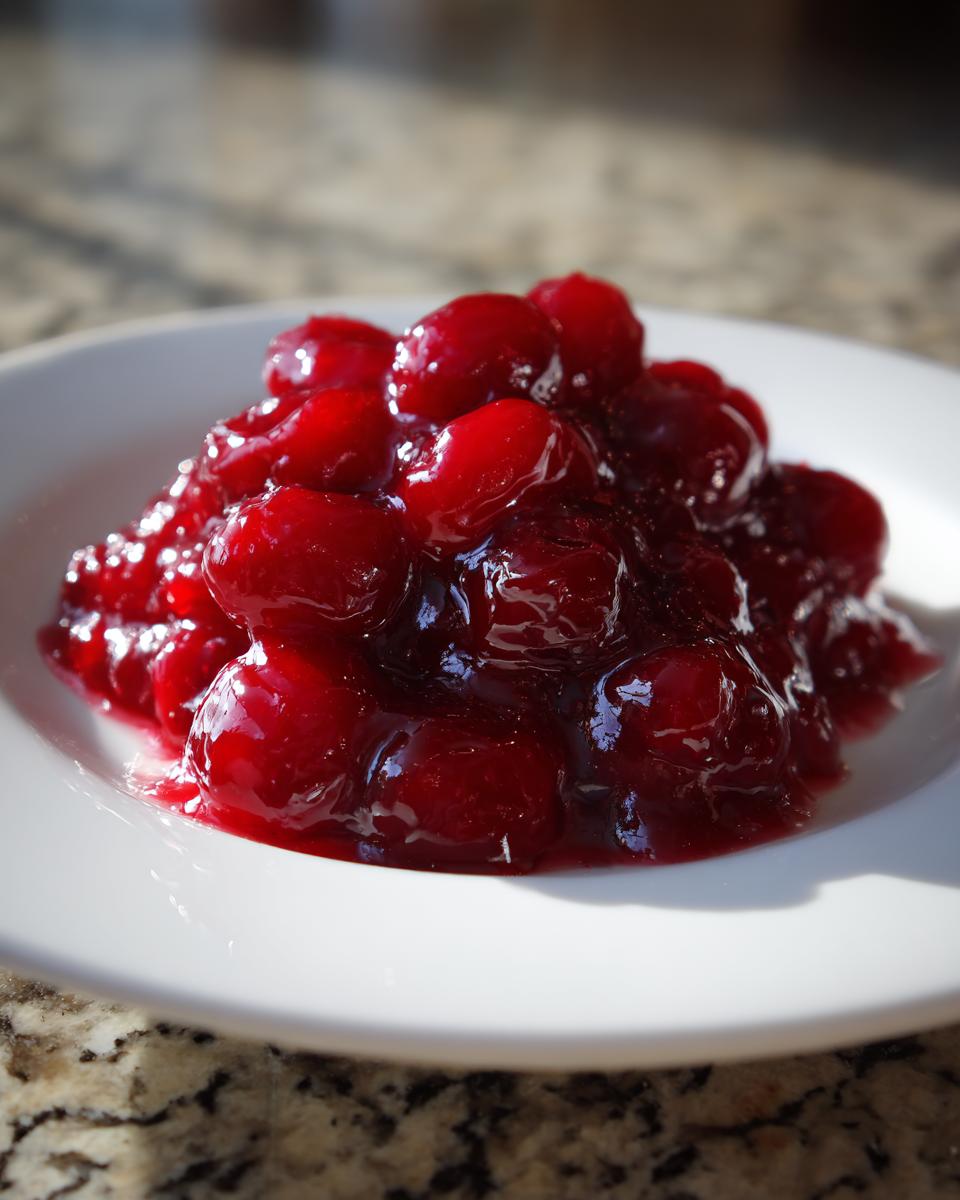
It feels almost criminal to only use this incredible cherry pie filling for, well, pies! Once you’ve got this thick, vibrant batch made, you’ll realize it’s the perfect base for so many things. I remember the first time I spooned a generous dollop over a slice of cheesecake—it was revolutionary! Suddenly, I wasn’t just making dessert components; I was building little edible works of art. It’s fantastic dolloped warm over waffles or pancakes, too. You’ve created a bakery-quality topping here, so don’t limit it to dough!
If you want to see how I use fruit toppings on something creamy, check out my Cheesecake Fruit Salad recipe!
Making a Simple Cherry Cake Filling Recipe
If you’re using this as a layer between cakes, you might want it just a touch looser than you would for a pie structure. To thin it slightly for a wonderful cherry cake filling recipe, just stir in an extra tablespoon or two of water or cherry juice after the filling has chilled. It keeps that incredible flavor but allows it to spread more easily between those soft cake layers. It really elevates any simple vanilla layer cake!
Storage and Reheating Instructions for Homemade Cherry Pie Filling
The best part about making a big batch of this incredible cherry pie filling is knowing you have dessert security for the next few weeks! You need to store it airtight, always. In the refrigerator, it will keep beautifully for about a week in a sealed container. If you want to stash it away for the long haul—say, for holiday baking—pop it right into the freezer. Freeze it in smaller, serving-sized portions if you can; that makes thawing so much easier later on.
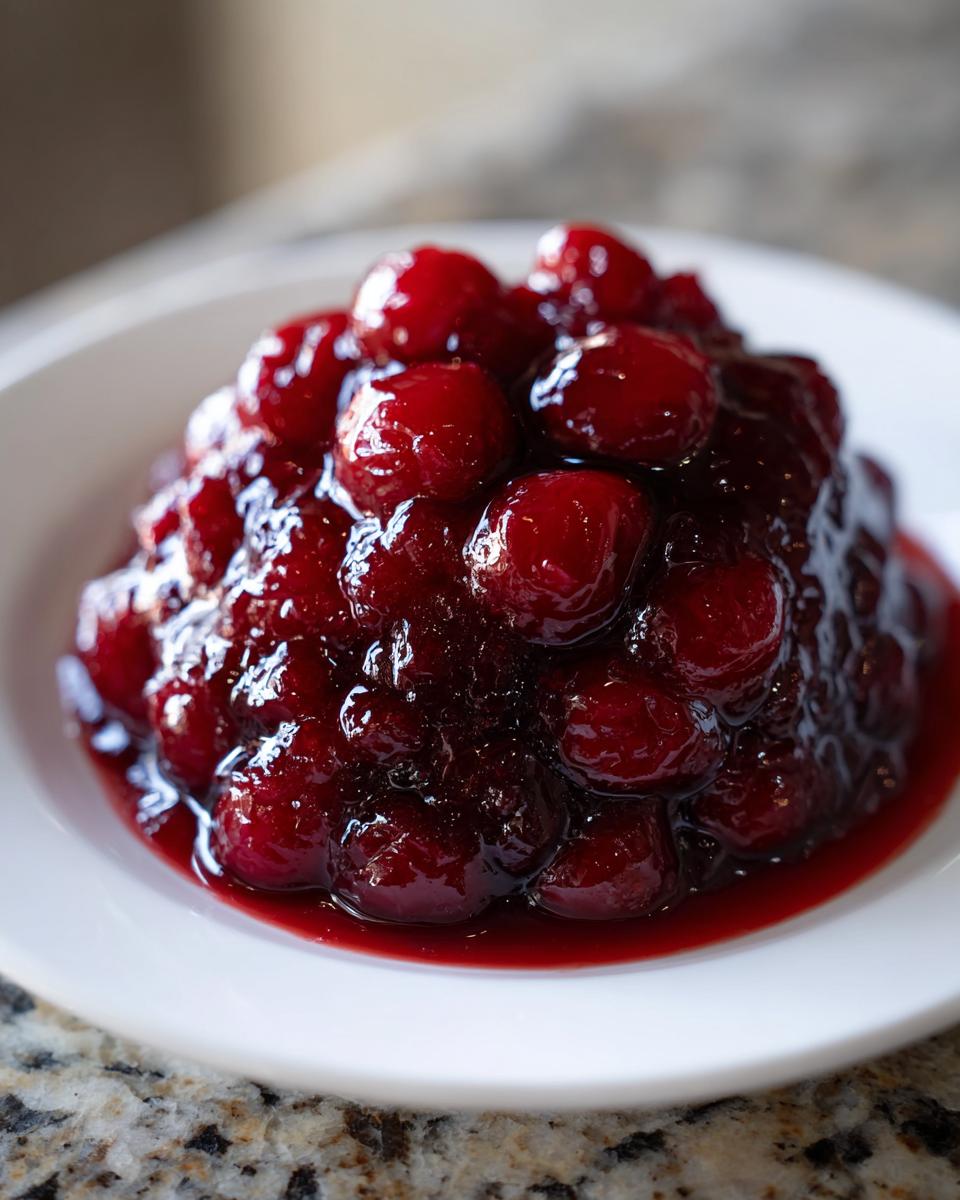
When you pull it out of the fridge, use it straight away—it should be perfect. If you’re reheating frozen filling, let it thaw first, and then give it a quick whisk over low heat. Sometimes freezing changes the texture slightly, so a little gentle warming will get it back to that amazing, thick consistency we worked so hard to achieve!
Frequently Asked Questions About Cherry Pie Filling
I know you’ve got questions bubbling up—that’s what happens when you move from the convenience of the can to making something truly spectacular from scratch! I’ve gathered the common ones I get asked all the time because I want you to feel totally confident when you start cooking this up. We are aiming for perfection here!
Can I make this cherry pie filling without cornstarch?
You absolutely can play around with thickeners, but for this specific texture we are chasing—that perfect, sliceable, bakery-style set—cornstarch is truly the best player on the field. Arrowroot powder works in a pinch, but it can sometimes turn gelatinous if you overcook it. Tapioca starch is another good option, but it often gives a slightly glossier finish. For the most reliable, foolproof thickening needed for this cherry pie filling, stick with good old cornstarch. Trust me, it’s worth having on hand!
How does this compare to the best canned cherry pie filling?
Oh, this is where we really shine! The primary difference is flavor saturation and texture control. Canned fillings are often loaded with preservatives and high-fructose syrup, making them taste artificial and strangely vibrant. This homemade version offers a deep, natural sweet and tart flavor profile because you control the sugar, and most importantly, you control the thickness. If you want the best canned cherry pie filling substitute, this is it—you get real fruit texture, not that jelly-like goo.
Can I use this recipe for sour cherry pie filling?
Yes, you certainly can, and I highly recommend trying it once you master the sweet version! Sour cherries (like Montmorency) have a wonderful intensity, but they are, well, sour! If you swap in sour cherries for the sweet ones, you must increase the sugar we use in the recipe. I usually add an extra 1/4 to 1/3 cup of granulated sugar to start. Taste as you go once it simmers, but that extra sweetness is critical to balance out that intense tartness!
Estimated Nutritional Data for Cherry Pie Filling
Now, I’m Leo, and while I focus on flavor and technique first and foremost—because a beautiful dish must deliver on its promise—I totally understand that many of you like to keep track of what goes into your creations. Since this is a component recipe, not a final plated meal, these figures are an estimate based on the entire batch yielding about 5 cups, which we break down into 10 generous half-cup servings.
Keep in mind, this is just a general guideline for the cherry pie filling itself, not including the crust, cream cheese topping, or anything else you might pair it with! Here is what the numbers look like for that perfect, thick filling:
- Serving Size: 1/2 cup
- Calories: 185
- Sugar: 30g
- Sodium: 2mg
- Fat: 0.2g
- Saturated Fat: 0g
- Carbohydrates: 47g
- Fiber: 2g
- Protein: 0.5g
- Cholesterol: 0mg
It’s pretty amazing how much flavor you get for relatively low fat content, isn’t it? That’s the power of fruit and smart thickening! When you use this fantastic filling in your next sliceable pie, you’ll know exactly what you’re enjoying.
Share Your Homemade Cherry Pie Filling Creations
Seriously, I cannot wait to see what you make with this ultimate cherry pie filling! Did it set perfectly? Are you using it on a cheesecake or finally baking that pie? Please, drop a rating below and let me know how thick and juicy yours turned out. I love hearing about your successes, and if you snap a picture, tag us! We’re trying to build a community here where we celebrate those kitchen victories. Find me and share your gorgeous bakes through my Contact Page—I’m always looking for inspiration!
PrintThe Ultimate Thick & Juicy Homemade Cherry Pie Filling
Make the best bakery-style cherry pie filling from scratch. This recipe creates a thick, non-runny filling perfect for pies, tarts, or as a dessert topping, working well with fresh or frozen cherries.
- Prep Time: 15 min
- Cook Time: 10 min
- Total Time: 25 min
- Yield: About 5 cups filling 1x
- Category: Dessert Component
- Method: Stovetop Cooking
- Cuisine: American
- Diet: Vegetarian
Ingredients
- 4 cups fresh or frozen sweet cherries, pitted
- 1 cup granulated sugar
- 1/2 cup water
- 1/4 cup cornstarch
- 1/4 cup cold water
- 1 teaspoon lemon juice
- 1/2 teaspoon almond extract
Instructions
- Combine the cherries, sugar, 1/2 cup water, and lemon juice in a medium saucepan. Heat over medium heat, stirring occasionally until the mixture begins to simmer.
- In a small bowl, whisk together the cornstarch and 1/4 cup cold water until smooth to create a slurry.
- Slowly pour the cornstarch slurry into the simmering cherry mixture while stirring constantly.
- Continue to cook, stirring, until the filling thickens significantly, about 2 to 4 minutes. It should bubble thickly.
- Remove the saucepan from the heat. Stir in the almond extract.
- Transfer the cherry pie filling to a heatproof bowl. Press plastic wrap directly onto the surface of the filling to prevent a skin from forming.
- Cool the filling completely at room temperature, then chill in the refrigerator for at least 2 hours before using in your pie crust or dessert.
Notes
- If using frozen cherries, do not thaw them before cooking; use them directly from the freezer.
- For a tart filling, substitute half of the sweet cherries with sour cherries.
- This filling works well as a cherry cake filling or a topping for cheesecake.
Nutrition
- Serving Size: 1/2 cup
- Calories: 185
- Sugar: 30
- Sodium: 2
- Fat: 0.2
- Saturated Fat: 0
- Unsaturated Fat: 0.2
- Trans Fat: 0
- Carbohydrates: 47
- Fiber: 2
- Protein: 0.5
- Cholesterol: 0