
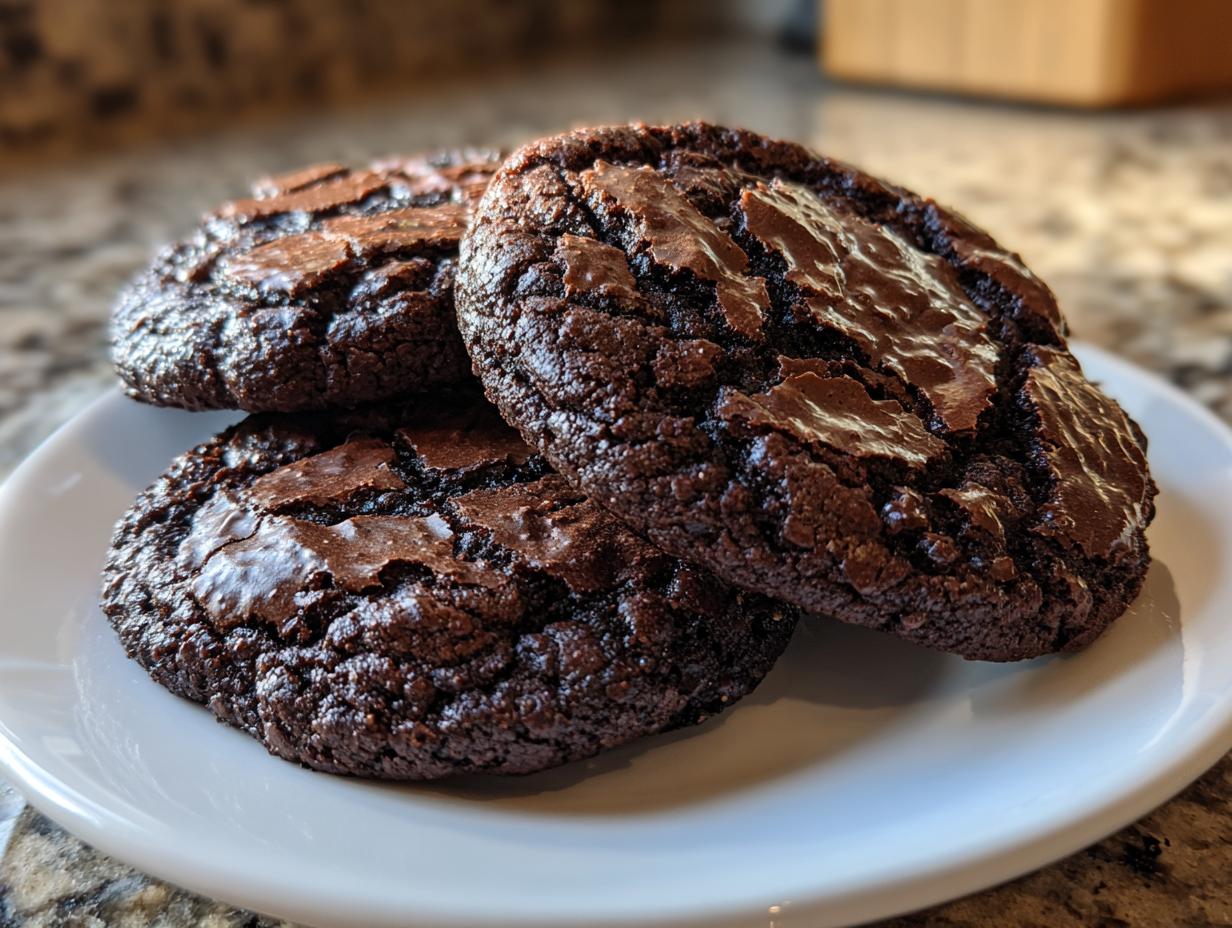

Forget having to choose between a soft, fudgy brownie and a chewy, satisfying cookie. Why pick one when you can have the best of both worlds in under 30 minutes? I’m talking about the incredible chocolate brownie cookies. When I left my marketing director life behind to chase that moment of culinary bliss I found in New Orleans, perfecting a truly decadent, yet fast, chocolate treat was high on my list. As you can read more about on my About Page, these browkies are the answer! They deliver that deep, unmistakable brownie intensity, but with the perfect, slightly crisp cookie edge and that amazing, shatteringly crackly top cookie shell you dream about.
- Why You Need These Chocolate Brownie Cookies Today
- Ingredients for the Best Homemade Brownie Cookies
- Expert Tips for Perfect Chocolate Brownie Cookies
- Step-by-Step Instructions for Brownie Cookies Recipe
- Making Gourmet Browkies: Ingredient Substitutions
- Storage and Reheating for Your Chocolate Brownie Cookies
- Serving Suggestions for This Decadent Chocolate Dessert
- Frequently Asked Questions About Chocolate Brownie Cookies
- Nutritional Data for Your Chocolate Brownie Cookies
- Share Your Chocolate Brownie Cookies Creations
Why You Need These Chocolate Brownie Cookies Today
Honestly, if you’re looking for an incredible chocolate lover treat that doesn’t require hours of your evening, stop scrolling. This recipe is your new best friend. These aren’t just any cookies; they are pure, concentrated indulgence.
- Ultimate Fudge Factor: They are intensely fudgy, almost gooey right out of the oven, just like the center of a perfectly baked brownie.
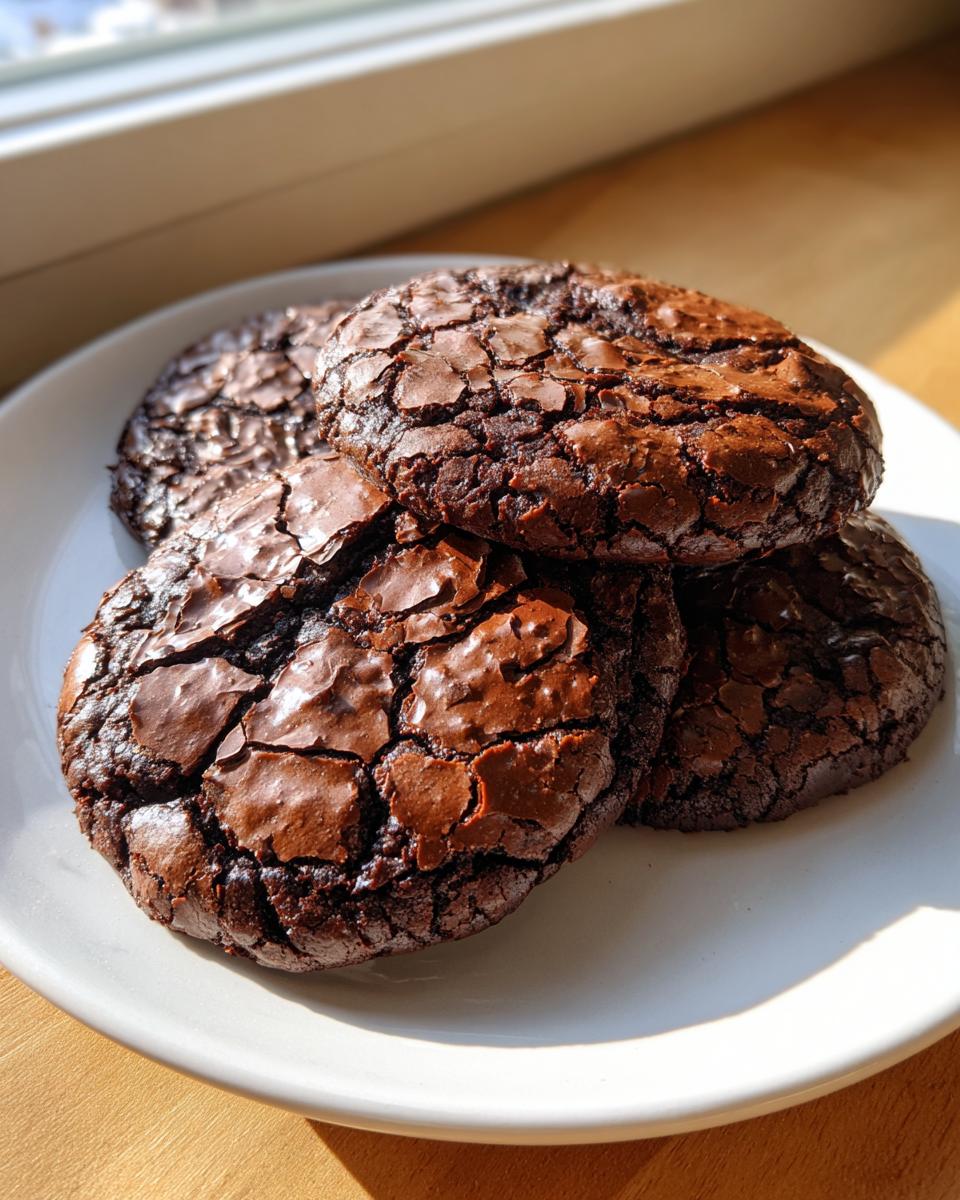
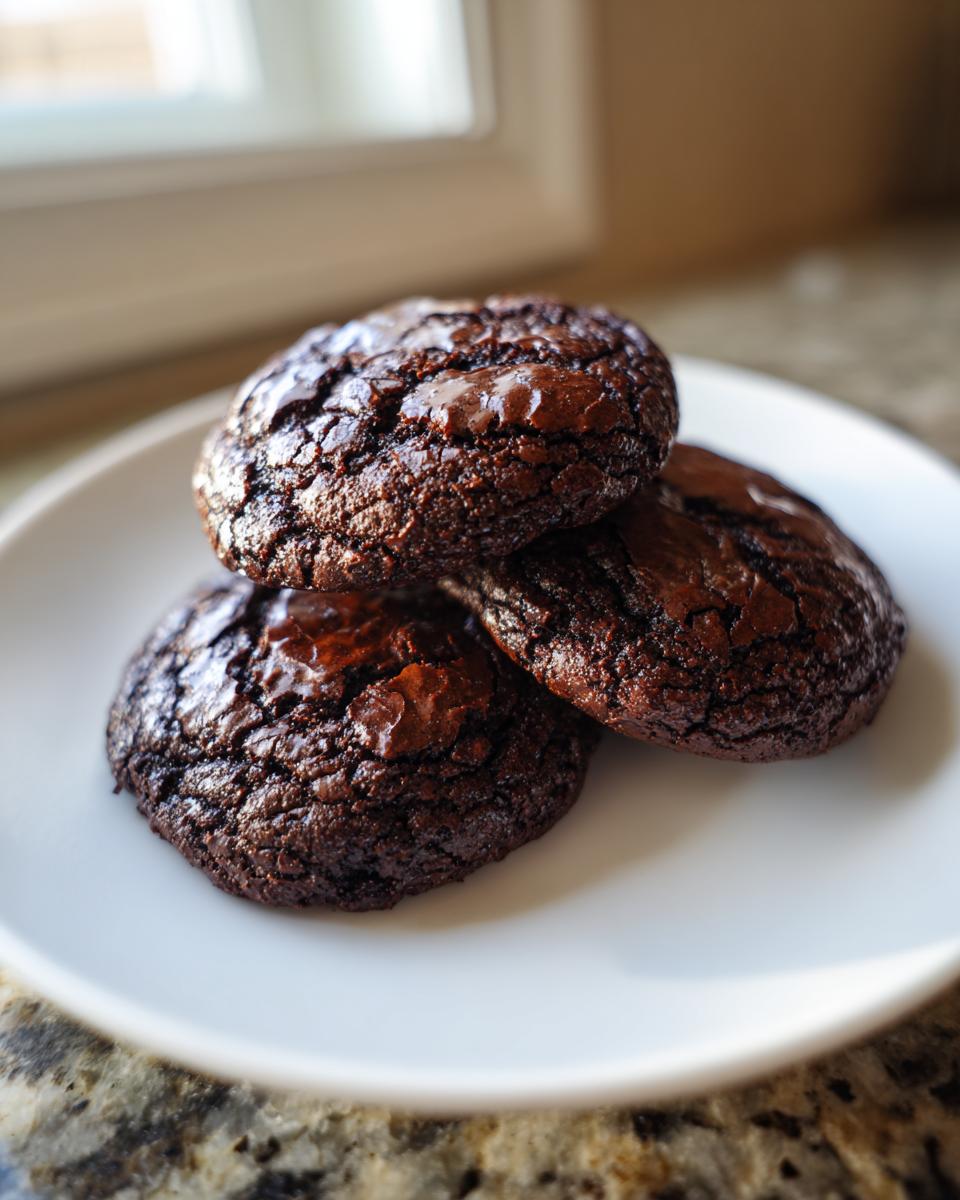
- That Crackly Look: We nail that shiny, delicate, brittle crust—you know, the one everyone fights over!
- Speedy Satisfaction: Seriously, you can have these cooling in under 30 minutes. This is my go-to 30 minute dessert for unexpected company or late-night cravings.
- Chewy Perfection: They maintain a wonderful chewiness that keeps you coming back for one more of these chewy chocolate cookies.
Ingredients for the Best Homemade Brownie Cookies
Okay, sourcing the right components is where we start building that deep flavor. Since these **best homemade brownie cookies** are so chocolate-forward, quality matters! Don’t stress about complicated setups; we’re keeping this straightforward, but precision matters for that fudgy outcome. Remember, if you ever want to add a shiny layer on top later, I have a great guide on quick stovetop glossy fudge frosting, but let’s focus on the cookies first!
Here’s the lineup. Make sure your butter is melted, and your eggs are at room temperature—trust me, it affects the final texture of your **rich chocolate baked goods** for the better!
- 1 cup (2 sticks) unsalted butter, melted
- 1 3/4 cups granulated sugar
- 3/4 cup packed light brown sugar (this adds that molasses depth!)
- 2 large eggs, room temperature
- 1 tablespoon vanilla extract
- 3/4 cup unsweetened cocoa powder (natural or Dutch-process—use the best one you have for intense flavor!)
- 1 teaspoon baking powder
- 1/2 teaspoon salt
- 1 cup all-purpose flour
- 1 cup semi-sweet chocolate chips (this is your secret weapon for extra gooey centers, totally optional but highly recommended!)
Expert Tips for Perfect Chocolate Brownie Cookies
Listen, making a cookie meets brownie recipe—or a ‘browkie’—is about controlling the texture. If you mess up the temperature or the baking time even slightly, you end up with a stiff hockey puck instead of those dreamy, gooey brownie cookies we are aiming for. I learned this the hard way early on. My first batch? I walked away to answer a call, and when I came back, I left them in for five extra minutes. They cooled into hard little rounds. Never again! That’s why these tips are non-negotiable for that signature chocolate brownie cookie payoff.
Temperature Matters for Fudgy Chocolate Brownie Cookies
We start with melted butter, which already gives us a density boost over creamed butter, leading straight to that brownie texture. But those eggs absolutely must be at room temperature. Colder eggs shock the melted butter mixture when added, causing it to seize up a little. You lose that glossy, cohesive batter structure you need for that perfect chew in your chocolate brownie cookies.
The Secret to Achieving Crackly Top Cookies
This is my favorite part, and it’s pure theater! Once the cookies are out of the oven—and I mean *immediately*—you need to handle the baking sheets. They look doughy, which is exactly right, trust me! Take the hot sheets and firmly, but carefully, tap them down hard onto the counter two or three times. It sounds aggressive, but that sudden jolt forces the cooling sugar on the surface to collapse and crack! That is the simplest trick for magnificent crackly top cookies.
Step-by-Step Instructions for Brownie Cookies Recipe
Following these steps exactly is how we move from basic pantry staples to those incredible chocolate brownie cookies. Remember, the goal here is fudgy, not cakey, and that comes down to discipline in the mixing stage. I want you to treat this dough gently, almost like you’re folding cake batter, even though it’s thick!
- First things first, we need heat! Preheat your oven to 350°F (175°C) right away. While that warms up, line two good baking sheets with parchment paper. If you skip the parchment, clean-up will be rough, and we want to keep this a 30 minute dessert experience, not a 45-minute scrubbing session!
- In a large bowl, grab your melted butter and whisk it vigorously with both the granulated sugar and the packed light brown sugar until you have a smooth, glossy pool of sweetness.
- Now, incorporate the eggs one by one. Beat well after each addition—make sure it emulsifies nicely—then stir in that vanilla extract.
- In a separate, smaller bowl, quickly whisk together all your dry elements: the cocoa powder, baking powder, and salt. This prevents clumps later on.
- This is a crucial step for those chewy chocolate cookies: Gradually add the dry mix into your wet ingredients. Use a paddle attachment or a wooden spoon on the lowest speed, or just gently fold. Stop mixing the second you see no more streaks of flour. Overmixing develops gluten, which turns fudgy into cakey, and we absolutely forbid cakey cookies here!
- If you opted for those delicious chocolate chips, fold those in last. The dough should look thick, dense, and utterly decadent—just like uncooked brownie batter should look.
- Scoop tablespoon-sized mounds onto your lined sheets, spacing them about 2 inches apart. They won’t spread wildly, but they need room to breathe.
- Bake for 10 to 13 minutes. This is another moment where you need discipline. Don’t wait for them to look fully baked! The edges should look set, but the centers *must* look soft and a little underbaked.
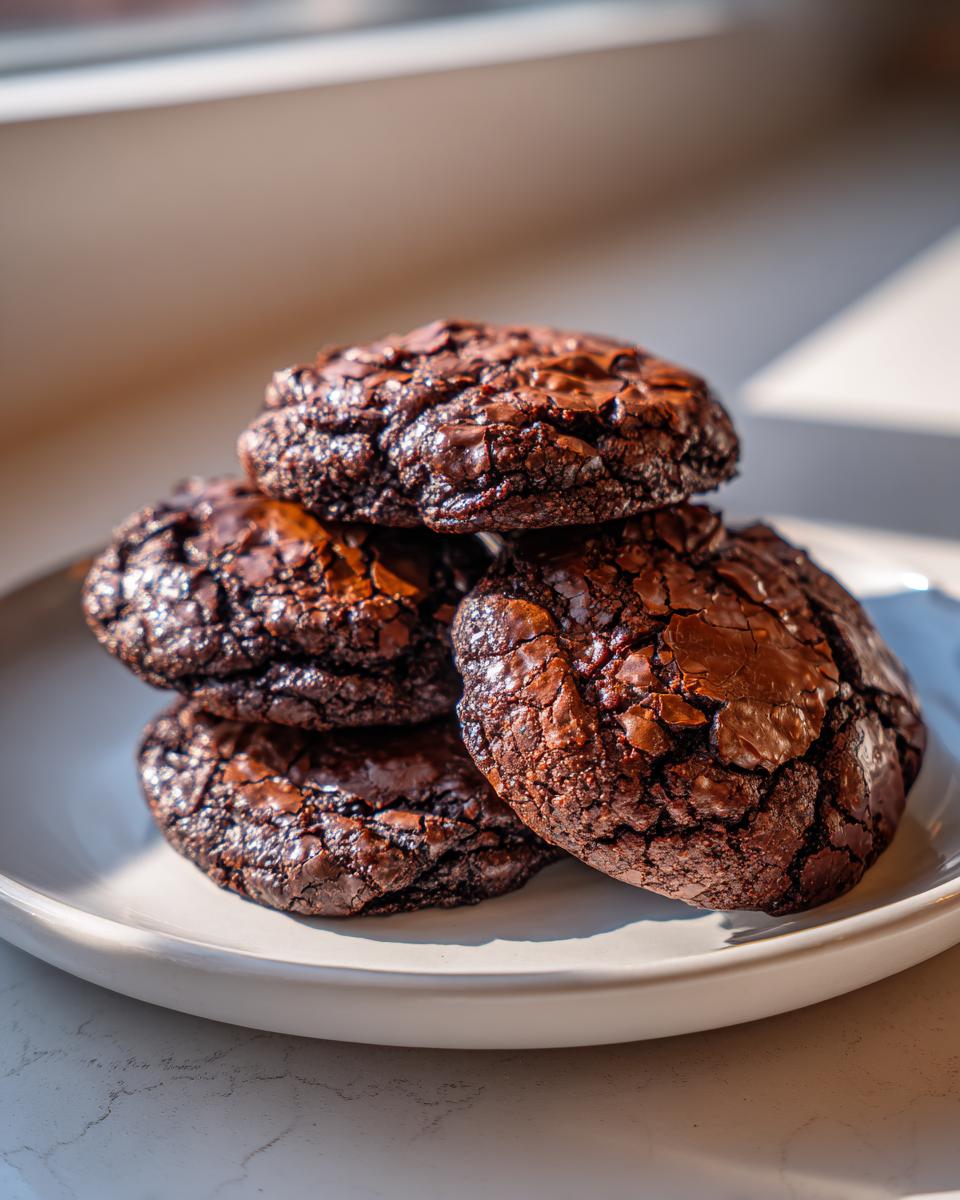
- Once they hit the oven, pull the racks out and immediately, firmly tap the baking sheets against your counter two or three times. Watch the tops shatter into those beautiful little cracks! Don’t skip this if you want famous crackly top cookies.
- Let them sit on that hot pan for a solid 5 minutes—they are still cooking! Then, carefully move them onto a wire rack to cool completely before trying to grab a bite.
If you want more insights on timing and technique for my favorite home bakes, check out my latest posts on the Gourmet Gaze Blog!
Making Gourmet Browkies: Ingredient Substitutions
Part of the charm of the cookie meets brownie recipe is that you can nudge it toward your perfect flavor profile without ruining the structural integrity. When I was first experimenting in the kitchen, I drove my poor neighbors crazy testing batches until I figured out which components made the biggest difference. Here are the swaps I always recommend for your gourmet browkies.
The biggest question I get revolves around chocolate—and rightly so! We want maximum depth here.
- Cocoa Powder: Natural vs. Dutch-Process: This difference can be huge. If you use natural cocoa powder (the more common kind), it tends to be a bit more acidic. This reacts beautifully with the leavening agent we use (baking powder) to give lift and a slightly more traditional chocolate flavor. However, if you use Dutch-process cocoa, which is alkalized, you get a darker, smoother, and often richer chocolate tone—think Oreo cookie flavor. Both are fantastic for these rich chocolate baked goods, but Dutch-process often pushes the result closer to that intense bakery flavor.
- The Chocolate Chips: We call for semi-sweet, but feel free to mix it up! Using dark chocolate chips (60% cacao or higher) will give you a less sweet cookie with a more profound bittersweet note. If you prefer a sweeter, almost nostalgic flavor, use milk chocolate chips, but I’d caution against using too many, as they melt faster and can make the center a little too soft before setting.
- Swap Out the Chips? While chocolate chips are traditional, feel free to fold in finely chopped baking chocolate or even mini peanut butter chips if you’re feeling adventurous. Just make sure whatever you add is roughly the same size as a chip so it doesn’t throw off the batter balance too much.
Remember, since this recipe relies on melted butter and sugar for its structure, avoid making large substitutions to the fat or sugar ratios. That’s where the magic for that chewy center truly lives!
Storage and Reheating for Your Chocolate Brownie Cookies
So, you’ve made a massive batch of these addictive chocolate brownie cookies, and you just can’t eat them all today—which is a fantastic problem to have! The good news is that these are pretty stable, but because they are purposefully underbaked in the center to keep them gooey, we need to be smart about how we store them to prevent them from drying out or getting sticky.
My rule of thumb for any rich chocolate baked good is simple: airtight is the only way to go. If you leave them exposed, that delicious crackly top will soften almost immediately, and we certainly can’t have that!
- Countertop Storage: Keep your cooled cookies in a truly airtight container at room temperature. They will stay perfectly fudgy and chewy for about three to four days. If you stack them, place a small piece of parchment paper between each cookie. This prevents any moisture migration between the cookies, keeping that bottom one just as good as the top one.
- Freezing for Later: These freeze like a dream! These are excellent to keep on hand for when you need a quick, decadent treat. Once they are completely cool, wrap individual cookies tightly in plastic wrap first, then place them inside a heavy-duty freezer bag. They last beautifully for up to three months.
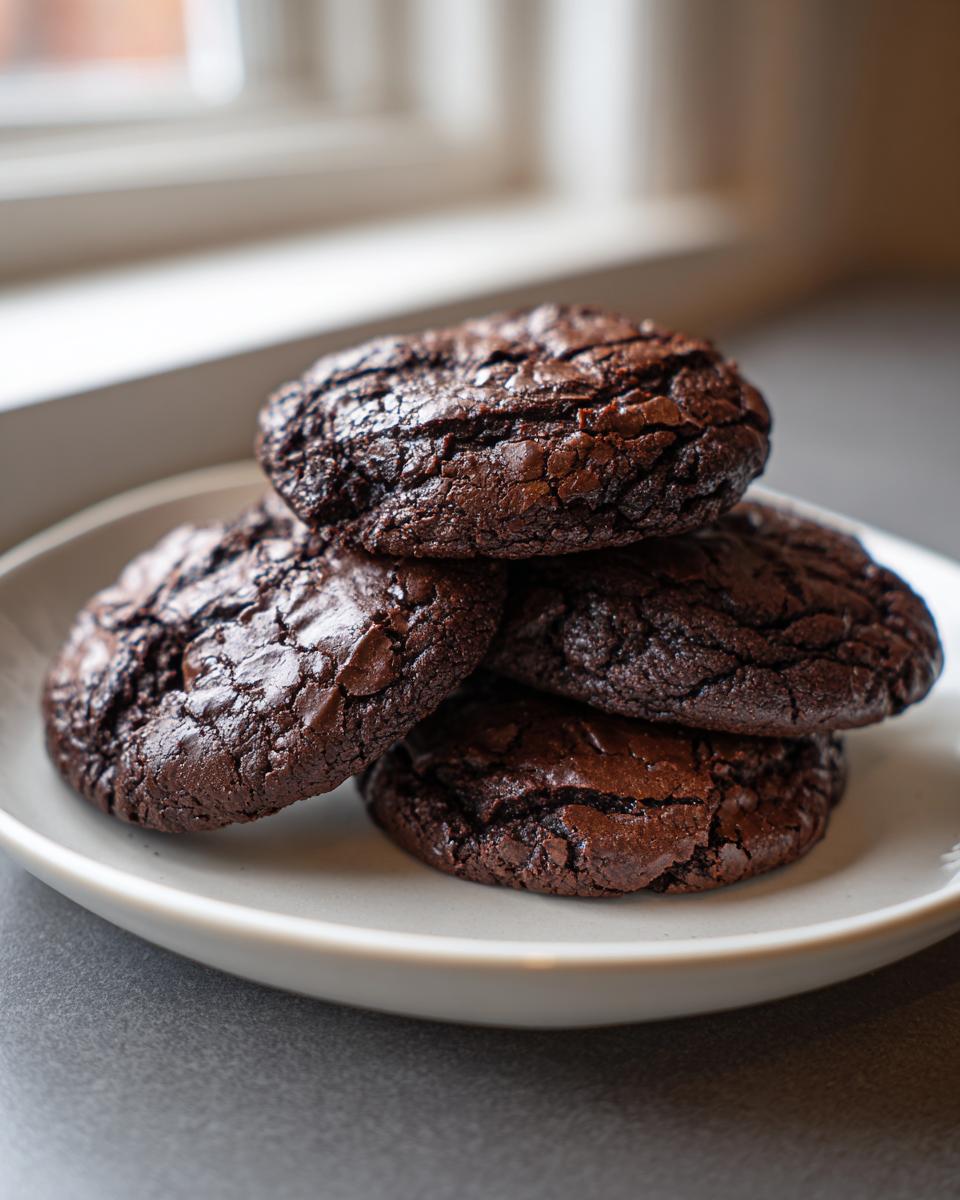
Now, if you pull them straight from the freezer or fridge, they might seem a little firm—that’s normal! For the best experience, especially if you want those centers to return to that amazing gooey brownie cookie state, you need a quick reheat. I just pop one on a microwave-safe plate for about 8 to 10 seconds. That quick warm-up melts the residual chocolate chips inside slightly and softens the whole cookie back to that fresh-from-the-oven fudginess. You deserve that warm chocolate experience!
Serving Suggestions for This Decadent Chocolate Dessert
You’ve done the work, you’ve mastered the tap for that perfect crust, and now you have a tray of the most intense, fudgy cookies imaginable. How do you honor this decadent chocolate dessert? Well, sometimes just grabbing one right away is the only option, and I fully support that decision! But if you want to turn these amazing treats into a real showstopper, you need the right accompaniments.
When I first started experimenting, I realized that the sheer richness of these browkies demands a foil—something to cut through that deep chocolate flavor just a little bit. Milk is the classic partner for a reason, but we can get a little more creative!
- The Essential Glass of Milk: Never underestimate the pure, simple joy of pairing one of these cookies with cold milk. Whether it’s whole milk or a creamy oat beverage, the coolness balances the richness perfectly. It’s comfort food, elevated.
- Coffee on the Side: If you’re eating these later in the day or need an afternoon boost, a strong cup of black coffee cuts through the sweetness beautifully. If coffee isn’t your thing, try an espresso shot! The bitterness is the ideal counterpart to the dense chocolate. Trust me, this combination makes for a fantastic late-day treat!
- Ice Cream Dream Team: Scoop vanilla bean ice cream—the real stuff, not the cheap watery kind—and serve one of these warm cookies right on top. Let the ice cream melt just slightly into the fudgy center. It’s pure heaven. For a double-chocolate hit, salted caramel ice cream works wonders too.
- For a Brighter Note: If you want to try something a little different, a scoop of tart raspberry sorbet offers a wonderful, acidic contrast to the heavy chocolate. It cleanses the palate between bites. Speaking of bright, if you’re looking for another delicious frozen chocolate hit on the site, check out my easy chocolate banana pops recipe!
However you choose to serve them, just make sure you have napkins ready. When something this gooey is involved, messiness is just part of the fun!
Frequently Asked Questions About Chocolate Brownie Cookies
Why are my chocolate brownie cookies coming out flat instead of thick?
This usually comes down to two things: melted butter temperature or overmixing. If your melted butter was piping hot when you added the sugar and eggs, the mixture might have been too liquid, causing the dough to spread too much before it set. Also, if you mixed too long after adding the flour, that develops gluten, and gluten makes for flatter, chewy chocolate cookies rather than thick ones. Next time, mix the dry stuff in just until it disappears and trust the process!
Can I use a stand mixer for these brownie cookies recipe?
You absolutely can! While I love whisking by hand because it gives me a better feel for the batter’s texture—especially when aiming for those gooey brownie cookies—a mixer works fine, provided you use the paddle attachment, not the whisk attachment. The key is speed control. Always start slow, and absolutely—I mean *absolutely*—stop mixing the second the flour is incorporated. We want those cookie meets brownie centers to stay dense; we are not whipping air into a cake batter!
What’s the single most important step to ensure they are fudgy?
It’s the baking time! Resist the urge to bake them until a toothpick comes out clean. For these to be truly amazing fudgy brownie cookies, you need to pull them out when the center looks slightly soft and maybe even a tiny bit wet. They need to look underdone because they continue to cook on the hot pan for those crucial 5 minutes after they leave the oven. If they look done in the oven, they look dry on the rack. That slight underbaking preserves the decadent texture.
Are these considered a quick dessert?
Yes! That’s why I love them so much. From preheating to pulling them out of the oven, they take about 25 minutes total, making them a fantastic 30 minute dessert option. They are so fast, yet they deliver on the promise of a seriously rich chocolate baked goods experience. If you want to try an equally fast but fruity treat, check out my recipe for easy lime sorbet!
Nutritional Data for Your Chocolate Brownie Cookies
Now, look, I’m a cook who values flavor far more than counting every single macro, but I know some of you are curious about what you’re indulging in when you devour these chocolate brownie cookies. When I was in the corporate world, I needed to know these things just to manage my workday energy, ha! So, I’ve pulled together the estimated breakdown based on the standard recipe yield of 18 cookies. Remember, these are just estimates we derive from standard baking databases, and your actual numbers might vary slightly based on the specific butter, sugar, or chips you use, but it gives you a great baseline for this ultimate chocolate indulgence.
These cookies are wonderfully rich, so expect them to pack a flavorful punch!
- Serving Size: 1 cookie
- Calories: Approximately 230
- Fat: 13g (Note: A good portion of this is from the butter and chocolate, which creates that essential fudgy texture!)
- Carbohydrates: 29g
- Sugar: 22g (That’s where all the flavor lives!)
- Protein: 3g
- Sodium: 95mg
I always advise enjoying these magnificent fudgy brownie cookies as a treat, paired with a strong cup of coffee or a glass of cold milk. Don’t stress too much over the numbers; just savor the fact that you made something this decadent yourself in under thirty minutes!
Share Your Chocolate Brownie Cookies Creations
You’ve made the recipe, you’ve experienced the fudgy magic, and now I want to see what you’ve created! Part of the joy of cooking for me now—after years of working in solitary offices—is building this community where we can share our triumphs. If you followed my guidance and tapped those sheets just right, I bet you have some incredible crackly top cookies staring back at you!
Please, don’t be shy! Rate this recipe right here on the site. Your feedback helps others who are deciding whether this is the ultimate chocolate indulgence they should try next. Knowing what worked for you—whether you used Dutch-process cocoa or tried a salted caramel variation—is invaluable to this community.
I absolutely *love* seeing your photos! Tag me on social media when you post your glorious chocolate brownie cookies. I often feature reader creations on my stories, and nothing makes me happier than seeing my testing lead to delicious moments in your homes. It’s food that nourishes the soul, right?
If you have any lingering questions that I didn’t cover in the FAQ, or if you have an idea for a variation you’re dying to try, please drop a comment below or reach out directly via my Contact Page. Let’s keep creating delicious, satisfying food together!
PrintFudgy Chocolate Brownie Cookies with Crackly Tops
Make these rich, fudgy chocolate brownie cookies that combine the best qualities of a dense brownie and a chewy cookie. They develop a desirable crackly top, offering an ultimate chocolate indulgence in just 30 minutes.
- Prep Time: 15 min
- Cook Time: 12 min
- Total Time: 27 min
- Yield: 18 cookies 1x
- Category: Dessert
- Method: Baking
- Cuisine: American
- Diet: Vegetarian
Ingredients
- 1 cup (2 sticks) unsalted butter, melted
- 1 3/4 cups granulated sugar
- 3/4 cup packed light brown sugar
- 2 large eggs, room temperature
- 1 tablespoon vanilla extract
- 3/4 cup unsweetened cocoa powder (natural or Dutch-process)
- 1 teaspoon baking powder
- 1/2 teaspoon salt
- 1 cup all-purpose flour
- 1 cup semi-sweet chocolate chips (optional, for extra gooey centers)
Instructions
- Preheat your oven to 350°F (175°C). Line two baking sheets with parchment paper.
- In a large bowl, whisk together the melted butter, granulated sugar, and brown sugar until fully combined.
- Beat in the eggs one at a time, mixing well after each addition until the mixture is smooth and glossy. Stir in the vanilla extract.
- In a separate medium bowl, whisk together the cocoa powder, baking powder, and salt.
- Gradually add the dry ingredients to the wet ingredients, mixing on low speed until just combined. Do not overmix.
- Fold in the chocolate chips, if using. The dough will be thick, like brownie batter.
- Scoop rounded tablespoons of dough onto the prepared baking sheets, leaving about 2 inches between each mound.
- Bake for 10 to 13 minutes. The edges should look set, but the centers will still look slightly soft and underbaked—this is key for fudgy results.
- Remove the sheets from the oven. Immediately tap the baking sheets firmly on the counter two or three times to help the tops crackle.
- Let the cookies cool on the baking sheet for 5 minutes before transferring them to a wire rack to cool completely.
Notes
- For the best crackly tops, make sure your eggs and butter are at room temperature before starting.
- Do not overbake these cookies; they firm up significantly as they cool.
- For a gourmet finish, sprinkle a tiny pinch of flaky sea salt on top of the dough balls right before baking.
Nutrition
- Serving Size: 1 cookie
- Calories: 230
- Sugar: 22g
- Sodium: 95mg
- Fat: 13g
- Saturated Fat: 8g
- Unsaturated Fat: 5g
- Trans Fat: 0.2g
- Carbohydrates: 29g
- Fiber: 2g
- Protein: 3g
- Cholesterol: 45mg