
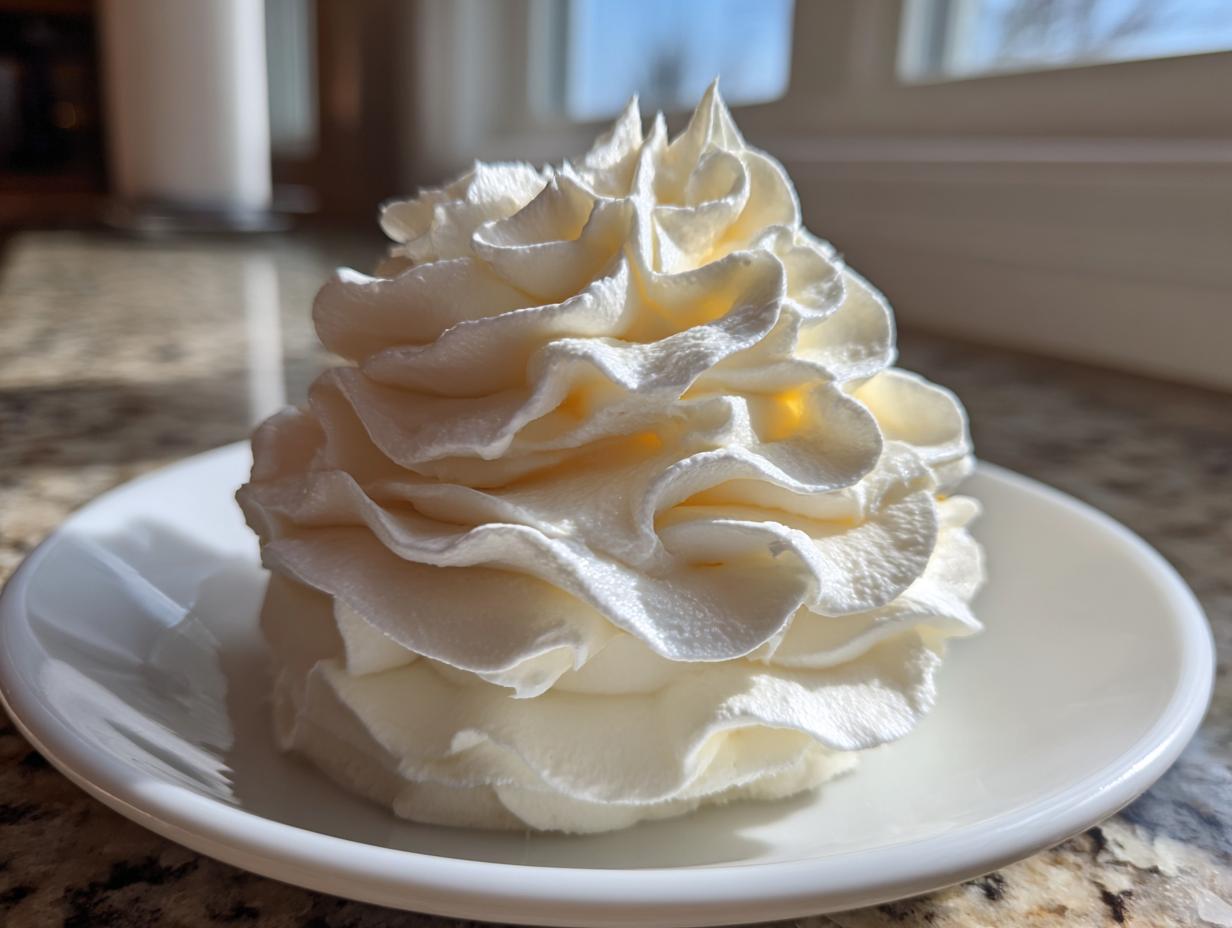

If there is one thing that separates a good cake from an unforgettable one, it’s the topping. Forget those thin, overly sweet icings that slide right off your Red Velvet. I’m talking about the ultimate indulgence: the **best homemade cream cheese frosting** you will ever meet. When I was stuck in the world of spreadsheets, the idea of making something this decadent felt impossible. But after discovering the magic of culinary balance on my travels, mastering essentials like this creamy, tangy, and gloriously stable frosting became my mission. This recipe is a cornerstone of my entire desserts collection. Trust me, this recipe delivers bakery-style results in just a few minutes.
- Why This Homemade Cream Cheese Frosting Recipe Works Every Time
- Ingredients for Perfect Cream Cheese Frosting
- How to Prepare Cream Cheese Frosting Under 10 Minutes
- Tips for Bakery Style Cream Cheese Frosting Success
- Flavor Variations for Your Cream Cheese Frosting
- Storage and Make Ahead Cream Cheese Frosting Instructions
- Serving Suggestions for This Cream Cheese Frosting
- Frequently Asked Questions About Cream Cheese Frosting
- Nutritional Estimates for Your Cream Cheese Frosting
- Share Your Fluffy Cream Cheese Topping Creations
Why This Homemade Cream Cheese Frosting Recipe Works Every Time
There are so many recipes out there calling themselves an easy cream cheese icing, but honestly, most of them end up either too soupy or so sweet they make your teeth ache! When I was perfecting this recipe after leaving the office, I focused relentlessly on three things: supreme smoothness, that perfect hit of tang, and stability. This isn’t just some generic recipe; I tested ratios dozens of times to ensure you get the absolute **best tangy frosting recipe** that doesn’t weep off your cakes. If you ever want a comparison for structure, check out my post on chocolate fudge frosting—this one takes similar stability cues!
Achieving a Pipeable Cream Cheese Frosting That Holds Shape
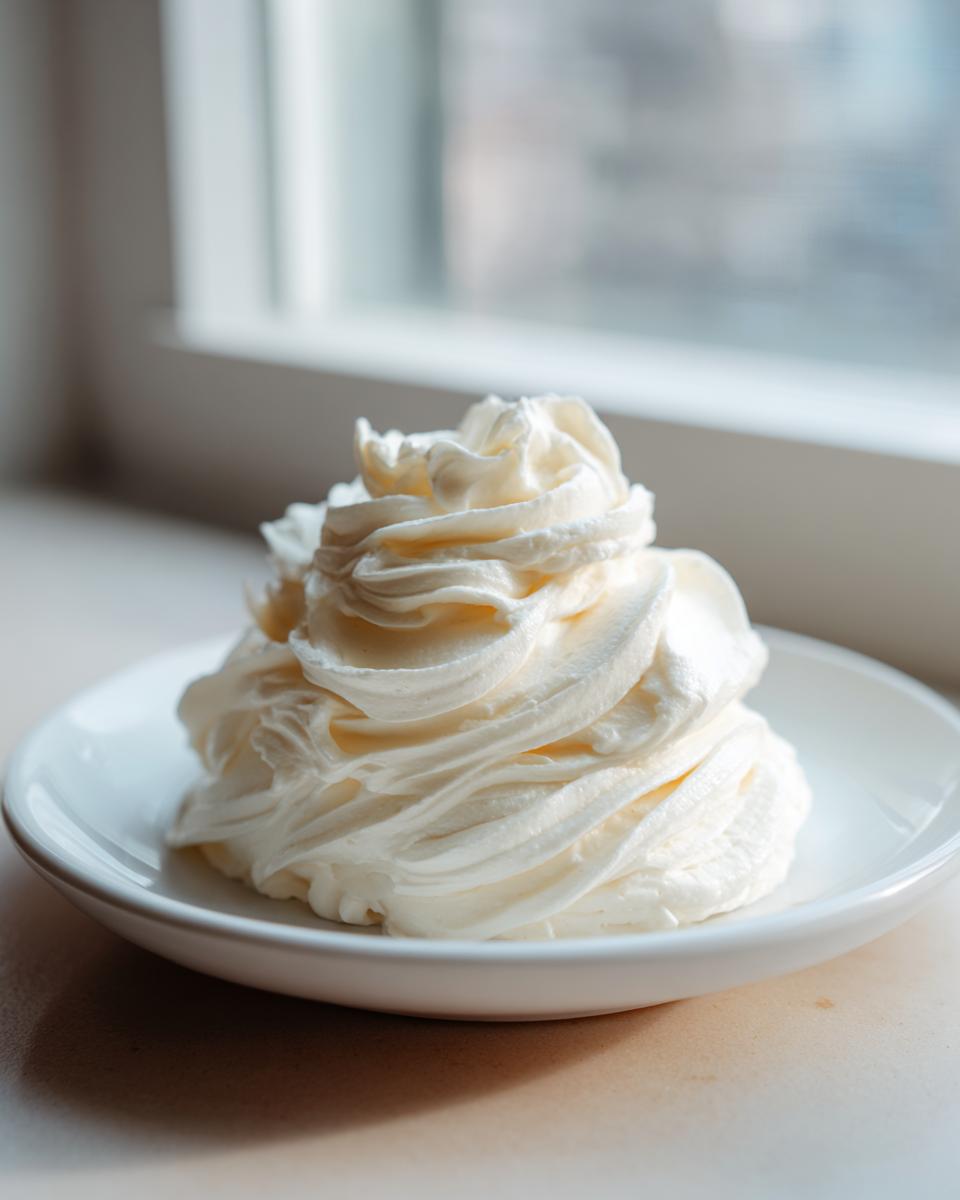
The secret to success here really boils down to the fat content and the temperature. By mixing equal parts butter and cream cheese right at room temperature, we create a rich base that is inherently smoother. This specific ratio allows the frosting to set up beautifully—it’s thick enough that your intricate piping work won’t collapse, giving you that gorgeous definition. That’s why this is known as **Cream Cheese Frosting That Holds Its Shape**; it’s built for decorating!
Ingredients for Perfect Cream Cheese Frosting
When you’re making something this foundational, precision matters. I learned early in my culinary experiments that cutting corners with ingredients—or not prepping them right—leads straight to lumps and tears in your finished product. For this batch of what I call my **Classic Cream Cheese Icing**, we are keeping it streamlined, focusing on high-quality staples. Pay close attention to the instructions below regarding temperature and preparation; that’s how you guarantee a velvety result every single time, yielding about 3 cups, which is perfect for a two-layer cake!
- 8 ounces cream cheese, softened to room temperature
- 1/2 cup (1 stick) unsalted butter, softened to room temperature
- 4 cups powdered sugar, sifted
- 1 teaspoon pure vanilla extract
- 1/4 teaspoon salt
How to Prepare Cream Cheese Frosting Under 10 Minutes
Honestly, watching this magical, **Quick Frosting Recipe Under 10 Minutes** come together is half the fun! Even when I was stressed in my marketing job, I could sneak this together before hopping on a late call. The key is efficiency, but never speed over quality, especially when we beat the fats. We’ll use your stand mixer—it really does the hard labor for us here. Just follow these steps precisely, and you’ll have a gorgeous topping ready before your kettle even whistles. If you’re looking for more tips on kitchen workflow, I put a few things I learned while getting my blog off the ground in my resource section!
- First things first, get that cream cheese and butter—both softened!—into your mixer bowl with the paddle attachment ready. Run it on medium speed for about two full minutes until it looks completely, utterly smooth. Stop and scrape down the sides during this time; we want zero chunks hiding out!
- Now, turn the speed way down to low. We’re adding the powdered sugar slowly, one cup at a time. Don’t try to rush this part; just mix until you see the sugar disappear into the fat mixture. Again, scrape down the sides.
- Finally, welcome the vanilla and the salt. Now you hit the ‘go’ button and turn that mixer up to medium-high. Beat it hard for a full two to three minutes. This is where the magic happens—it gets light, fluffy, and lump-free. It’s the crucial step for that great volume!
- If you’re piping right away, check the stiffness. If it seems too soft for those intricate borders, pop the whole bowl into the fridge for about fifteen minutes. If it went a little stiff in the chill, just add a single teaspoon of milk or heavy cream and beat it for ten seconds to loosen it up.
- Use it immediately on your favorite bakes, whether it’s a spicy carrot cake or some fluffy cinnamon rolls!
Temperature Control: The Secret to Smooth Cream Cheese Frosting
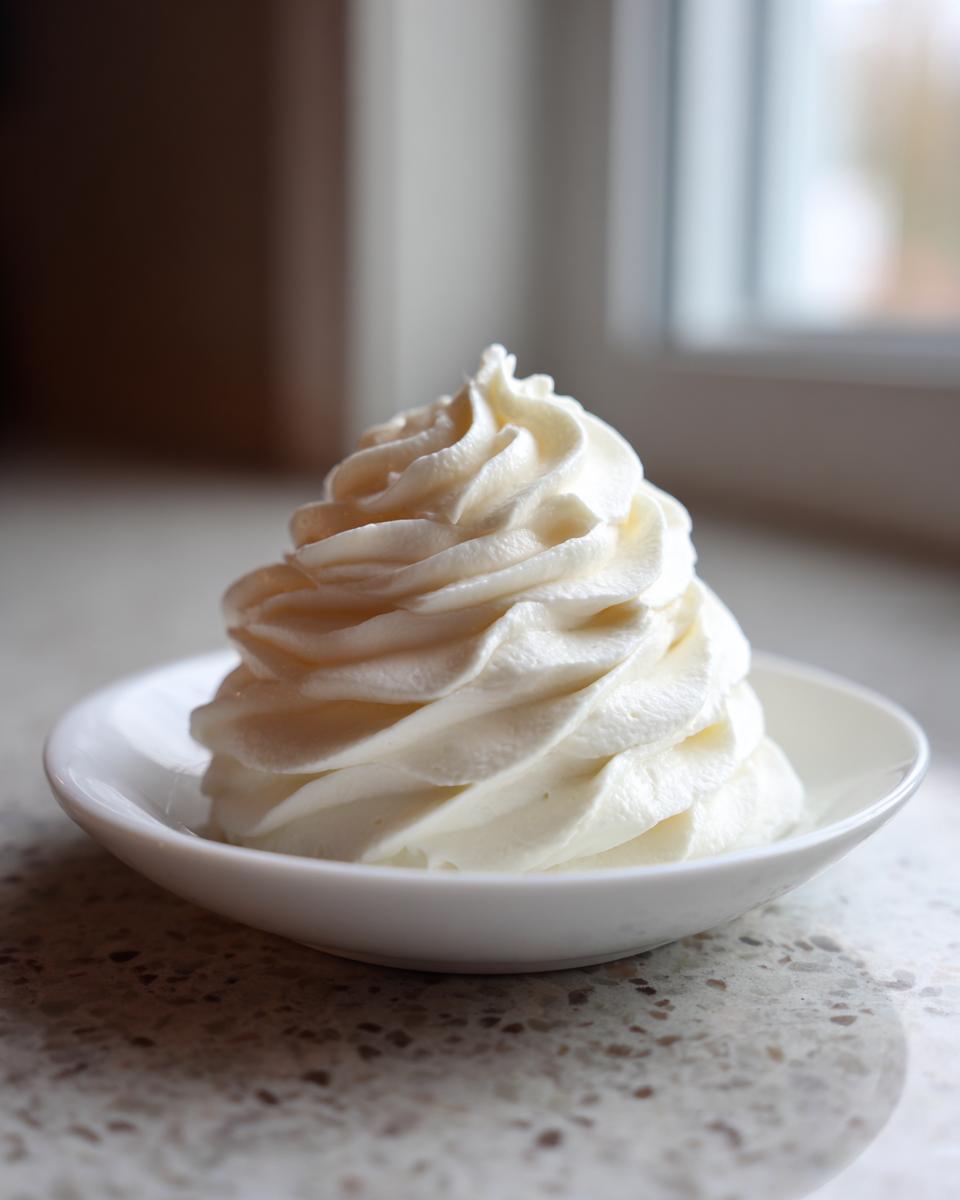
When I first started, I pulled my cream cheese straight from the fridge. Guess what? Lumpy frosting city! If your butter or cream cheese is too cold, the mixer can’t properly incorporate the air, and those clumps never leave, even with sifting. Conversely, if they’re melty or greasy, your **Homemade Cream Cheese Frosting Recipe** turns into soup. For this recipe to work its best magic, they need to be soft enough to lightly indent with your finger but still holding their shape—that perfect room temperature feel. It’s the first, and most important, non-negotiable step Leo learned!
Tips for Bakery Style Cream Cheese Frosting Success
Getting that silky, professional look on your frosting—the kind you see in those gorgeous bakery display cases—takes just a couple of small victories in technique. Achieving that true **Bakery Style Cream Cheese Frosting** isn’t about fancy equipment; it’s about controlling the tiny details. Remember how I stressed the room temperature earlier? That’s rule number one for smoothness. But the other big hitter, the one that trips up so many home bakers (myself included, back in the day!), is the powdered sugar.
I remember my very first attempt at a proper cake topping. I tried to skip sifting the powdered sugar because I was rushing to frost a cake for a friend’s birthday. Big mistake! I ended up with tiny, hard little pebbles of concentrated sugar throughout what should have been a smooth topping. It looked chunky and tasted gritty, making the whole effort feel deflated. Never again! Sifting is non-negotiable; it breaks up those clumps before they ever hit the mixer and ensures you get that light, airy texture that contrasts perfectly with the tang from the cream cheese. If you’re practicing on a simple base, try using this frosting on my easy vanilla cake!
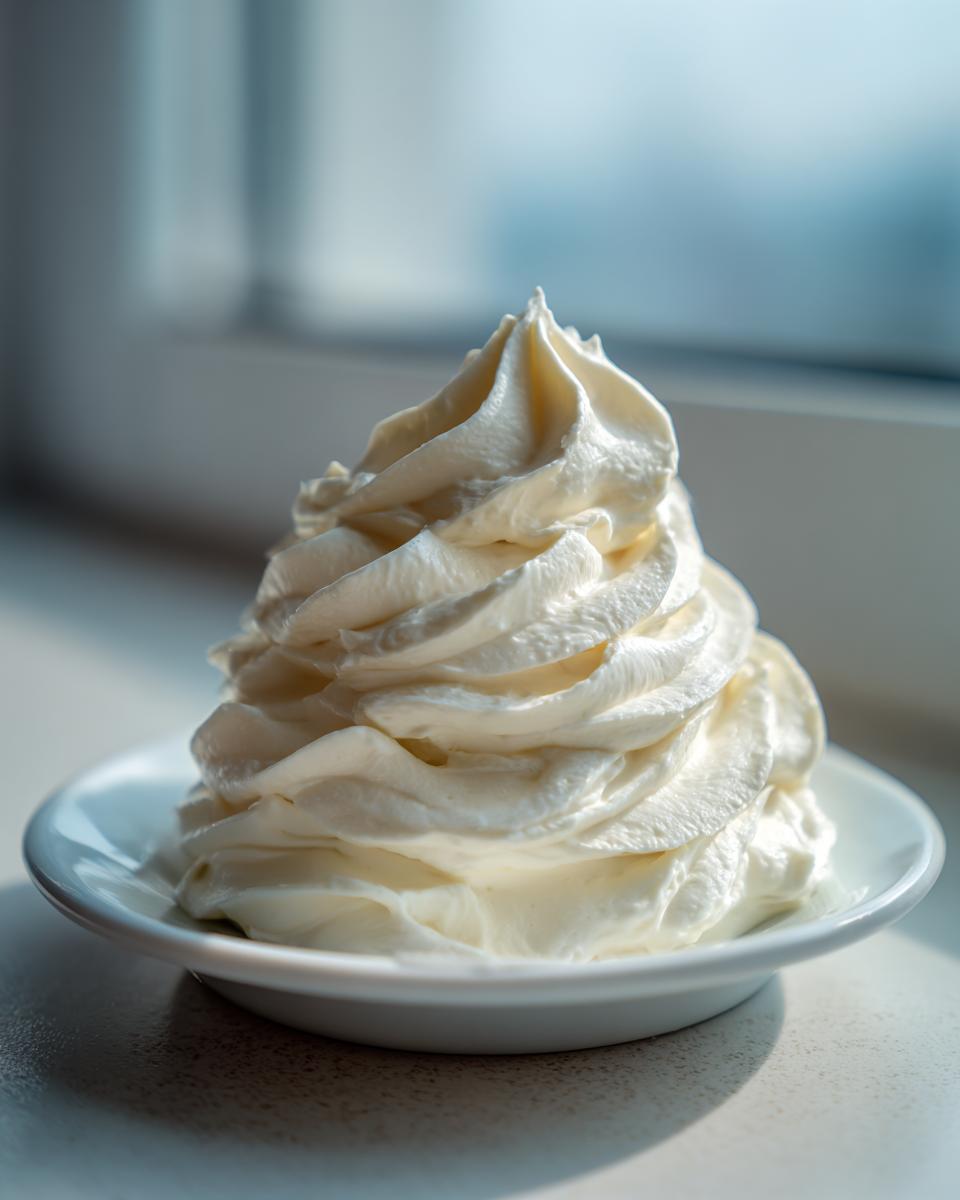
We want that luxurious mouthfeel, which means ensuring all the moisture is perfectly suspended. Make sure you’re using the paddle attachment, not the whisk. The paddle gently folds everything together after the initial creaming, which is what keeps the texture rich without over-whipping it into something that resembles shaving cream.
Flavor Variations for Your Cream Cheese Frosting
As much as I adore the classic tang, sometimes a dessert begs for a little something extra, right? This base recipe is surprisingly adaptable once you nail the fundamentals. For example, if you’re spreading this gorgeous topping over my famous cinnamon rolls—a true showstopper, by the way, kind of like these cinnamon roll pancakes—you might want a slightly sweeter profile. Try swapping the vanilla extract for a teaspoon of pure maple extract!
If you want something brighter, especially wonderful on a carrot cake in the spring, go for citrus! The recipe notes mention a fantastic trick: add one teaspoon of fresh lemon zest right along with your vanilla. That little bit of oil from the zest just bursts with flavor and cuts through the richness. It elevates the whole experience, turning a simple spread into something restaurant-quality. It’s so easy, you’ll never look back!
Storage and Make Ahead Cream Cheese Frosting Instructions
This is one of the biggest time-savers when it comes to entertaining—knowing you can handle the frosting ahead of time! This **Make Ahead Frosting Recipe** is incredibly durable, which is why I love it so much. You don’t have to stress on the morning you need to frost that cake; you can get it done the day before.
When you are finished mixing that beautiful, fluffy confection, the absolute best way to store it is in a sturdy, airtight container. Pop it into the refrigerator, where it should keep perfectly well for up to five days. I’ve often made a double batch just to have on hand for unexpected cupcake cravings!
Now, here’s the crucial part about ‘making it ahead’ that people often miss: it can’t go straight from the fridge onto a warm loaf cake. When cold, the butter and cream cheese firm up significantly. After you take it out, let it sit on the counter for about 30 to 45 minutes until it softens just enough to be workable. Then, you *must* throw it back into your stand mixer and beat it for about 30 seconds. This quick “revival beat” reincorporates the air we lost while chilling, bringing back that velvety, perfectly spreadable texture. You want that smooth finish when you are working on recipes like those beautiful tiered cakes mentioned over on Sweetly Cakes.
Serving Suggestions for This Cream Cheese Frosting
Once you’ve mastered this amazing **Homemade Cream Cheese Frosting Recipe**, the real fun begins: deciding what glorious baked good deserves this topping! Honestly, since this frosting is so sturdy and perfectly tangy, it works practically everywhere. You won’t believe how a simple glaze can transform something utterly basic.
For layer cakes, this is where you truly see the benefit of its stability. If you’re stacking up something rich, like a towering vanilla layer cake or the classic, deeply spiced Red Velvet, you need a topping that won’t squish under the weight. This recipe offers the **Thick Cream Cheese Frosting for Cakes** that you need for clean sides and beautiful layers. It pipes like a dream, so don’t be shy about decorating!
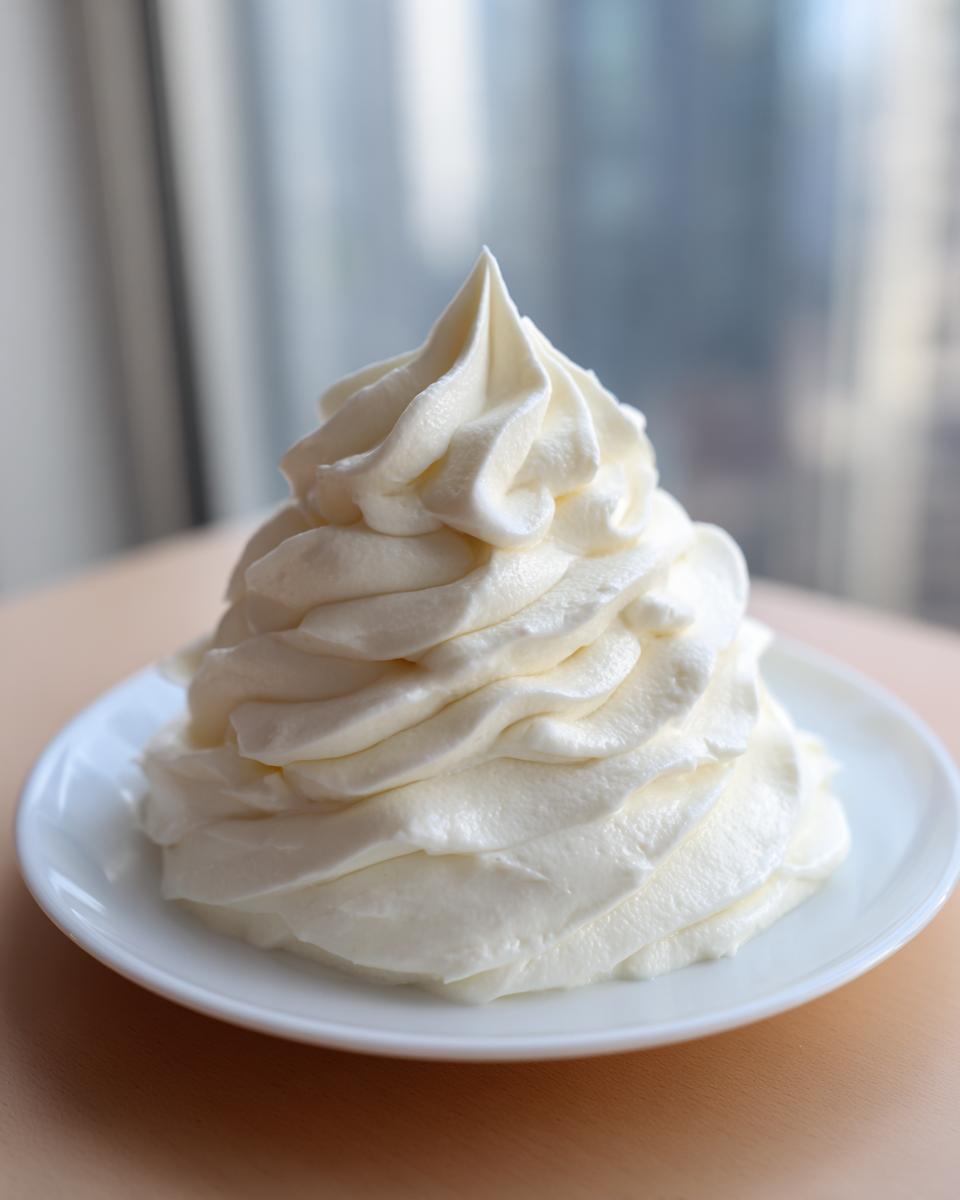
But let’s talk about Red Velvet. There’s just no substitute for a proper topping on that vivid red crumb. This tangy profile is the absolute perfect counterpoint. If you’re looking for the quintessential topping, this is your **Cream Cheese Frosting for Red Velvet Cake**—it cuts through the richness beautifully and sets up just right.
And please, don’t forget the humble cinnamon roll! Ditch the thin icing you usually scrape on; use this rich, flavorful spread instead. Generously slather it over warm rolls, perhaps alongside some of my recipes for cinnamon roll pancakes, and you’ll create something truly special. It’s also phenomenal dolloped onto simple treats, like my recipe for old-fashioned tea cakes or even used as the filling for your next fruit tart. Truly, once you know how to make it, you’ll find an excuse to use it on everything—whether you are decorating a grand cake or just making a quick snack!
Frequently Asked Questions About Cream Cheese Frosting
I always get questions after posting this recipe because people want to make sure their **cream cheese frosting** is perfect the very first time. Don’t hesitate to reach out if you need more help—you can always send me a note through the contact page!
How do I fix cream cheese frosting that is too runny?
This usually happens if your butter got a little too warm, or maybe you added a splash too much vanilla. If your frosting is too soft for piping, stop the mixer immediately! First, pop the whole bowl into the fridge for about 15 minutes to help solidify the fats. If it’s still too loose after the chill time, beat in an additional half-cup of *sifted* powdered sugar, just a little at a time, until it firms up. Don’t panic; we can always fix a slightly loose frosting!
Can I use salted butter in this easy cream cheese icing?
My recipe calls specifically for unsalted butter because it lets me control the exact amount of salt going into the final product, which is necessary for balancing that tang. If you only have salted butter available, you absolutely can use it, but you must cut back on the added salt significantly. For this recipe, if you use salted butter, leave out the 1/4 teaspoon of added salt entirely! Taste it first after beating everything together to see if it even needs a tiny pinch.
What is the best way to store leftover cream cheese frosting?
This **Classic Cream Cheese Frosting** stores beautifully! Just like I mentioned in the tips above, make sure you seal it tight. Place it in a completely airtight container—a sturdy plastic one with a tight lid works great, or even securely wrap the mixing bowl with plastic wrap pressed directly onto the surface of the frosting—and keep it in the refrigerator. It stays good in there for up to five days. Remember, always bring it back to room temperature and give it a quick, vigorous beat when you take it out before you try to frost anything!
Nutritional Estimates for Your Cream Cheese Frosting
I always feel a little guilty when I post something this delicious! Since we are using full-fat cream cheese and butter to get that incredible structure, this is definitely an indulgence, which is why we only use exactly what we need to frost that cake!
Keep in mind that these numbers are based on the recipe as written, yielding about 3 cups of frosting total. Because we are using standard commercial ingredients, these figures are a reliable estimate for what you’ll find in a 1/4 cup serving size. I always check these kinds of figures when deciding what to serve for parties, but honestly, the joy this frosting brings far outweighs the nutrition label!
- Serving Size: 1/4 cup
- Calories: 350
- Sugar: 45g
- Fat: 18g
- Saturated Fat: 11g
- Carbohydrates: 48g
- Protein: 2g
- Sodium: 120mg
This data reflects the richness needed to deliver that smooth, fluffy texture we worked so hard to achieve. Use this as a general guide for your planning, but remember, a dessert made with love is always good for the soul!
Share Your Fluffy Cream Cheese Topping Creations
Now that you have this incredible, foolproof recipe for the **Best Ever Homemade Cream Cheese Frosting**, I absolutely want to see what you’ve created! Whether you topped a classic carrot cake, spread a thick layer over fresh cinnamon rolls, or finally tackled that three-layer masterpiece, your success story matters.
Take a screenshot of your beautifully piped edges or snap a quick picture of the glorious mess you made while enjoying a slice. Head over to my feedback section and let me know how it worked for you. Did you stick to the classic vanilla? Did you try the lemon zest variation?
Rating the recipe helps other home cooks who are still nervous about tackling staples like this find confidence in the kitchen. Every review helps me keep creating reliable, soul-nourishing recipes like this one. I can’t wait to see your beautiful, fluffy creations!
PrintBest Ever Homemade Cream Cheese Frosting | Smooth, Tangy & Holds Its Shape
This recipe delivers the best homemade cream cheese frosting. It is luxuriously smooth, perfectly tangy, and stable enough for piping and decorating cakes and cinnamon rolls. You can make this reliable frosting in under 10 minutes.
- Prep Time: 10 min
- Cook Time: 0 min
- Total Time: 10 min
- Yield: About 3 cups 1x
- Category: Dessert Topping
- Method: Mixing
- Cuisine: American
- Diet: Vegetarian
Ingredients
- 8 ounces cream cheese, softened to room temperature
- 1/2 cup (1 stick) unsalted butter, softened to room temperature
- 4 cups powdered sugar, sifted
- 1 teaspoon pure vanilla extract
- 1/4 teaspoon salt
Instructions
- Place the softened cream cheese and softened butter into the bowl of a stand mixer fitted with the paddle attachment. Beat on medium speed until the mixture is completely smooth and creamy, about 2 minutes. Scrape down the sides of the bowl.
- Reduce the mixer speed to low. Gradually add the sifted powdered sugar, one cup at a time, mixing until just combined after each addition.
- Add the vanilla extract and salt. Increase the mixer speed to medium-high and beat for 2 to 3 minutes until the frosting is light, fluffy, and lump-free. Scrape the bowl again as needed.
- If the frosting seems too soft for piping, chill it in the refrigerator for 10 to 15 minutes before using. If it is too stiff, add 1 teaspoon of milk or heavy cream and beat briefly to soften.
- Use immediately to frost layer cakes, cupcakes, or cinnamon rolls.
Notes
- For bakery-style results and stability, ensure your cream cheese and butter are at the correct room temperature—soft but not greasy or melted.
- Sifting the powdered sugar prevents lumps in your final frosting.
- To make this frosting ahead, store it in an airtight container in the refrigerator for up to 5 days. Bring to room temperature and beat briefly before using.
- For a lemon flavor, add 1 teaspoon of fresh lemon zest with the vanilla extract.
Nutrition
- Serving Size: 1/4 cup
- Calories: 350
- Sugar: 45g
- Sodium: 120mg
- Fat: 18g
- Saturated Fat: 11g
- Unsaturated Fat: 7g
- Trans Fat: 0.5g
- Carbohydrates: 48g
- Fiber: 0g
- Protein: 2g
- Cholesterol: 55mg