
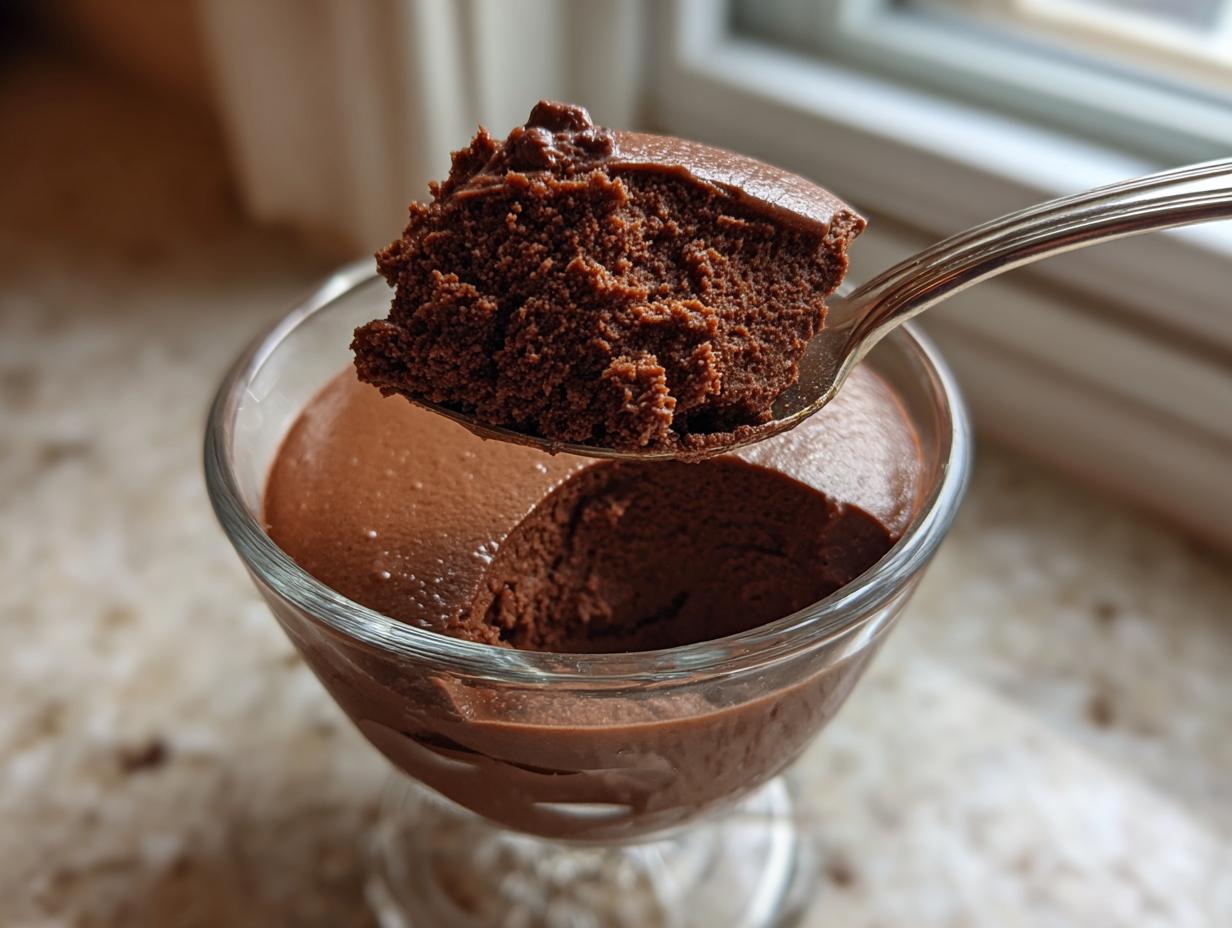

If you think making a truly elegant, deeply satisfying dessert means spending all afternoon chained to the oven, I’m here to tell you that you couldn’t be more wrong. Welcome to Gourmet Gaze, where we turn the complicated into the craveable! Before I found my way from spreadsheets and lukewarm coffee to the heat of the kitchen, I thought desserts like this were reserved for fancy restaurants. Cooking used to feel like just another deadline. If you want to know more about my journey finding joy in the kitchen, check out my About page!
But after discovering how simple, soulful food can genuinely nourish you, I dedicated myself to finding recipes that deliver maximum impact with minimum fuss. That’s why I’m so excited to share this specific **chocolate mousse** recipe with you. It requires absolutely no baking—zero! It whips up into a texture so incredibly rich and smooth, it blows most baked desserts out of the water. Trust me, this is the foolproof, **silky smooth mousse** I use when I need a showstopper that actually lets me relax and enjoy my guests.
- Why This Easy Chocolate Mousse Recipe Delivers Decadence
- Ingredients for the Best Chocolate Mousse
- Step-by-Step Instructions for Perfect Homemade Chocolate Mousse
- Tips for Success with Your Easy Chocolate Mousse
- Serving Suggestions for This Elegant Dinner Party Dessert
- Storage and Reheating Instructions for Homemade Chocolate Mousse
- Frequently Asked Questions About Chocolate Mousse
- Nutritional Estimates for This Rich Chocolate Pudding Style Treat
- Share Your Silky Smooth Mousse Creation
Why This Easy Chocolate Mousse Recipe Delivers Decadence
When you are looking for **quick dessert ideas**, you don’t want a recipe that requires a double boiler or hours of tempering. This recipe is designed to be your secret weapon for an **elegant dinner party dessert**. Seriously, you get gourmet results with beginner effort!
- It’s completely no-bake—just melting, whipping, and folding!
- It creates a deeply satisfying, **creamy chocolate dessert**.
- The texture is light enough that you can go back for seconds.
Achieving That Silky Smooth Mousse Texture
The magic lies in how we build the base. Heating just a portion of the cream and pouring it over the chopped chocolate creates a beautiful, glossy ganache. As that cools slightly, we carefully fold in the air we created with the egg whites and whipped cream. This gentle method prevents the chocolate from seizing up, which is what causes graininess. It’s pure technique ensuring you nail that **silky smooth mousse** every single time.
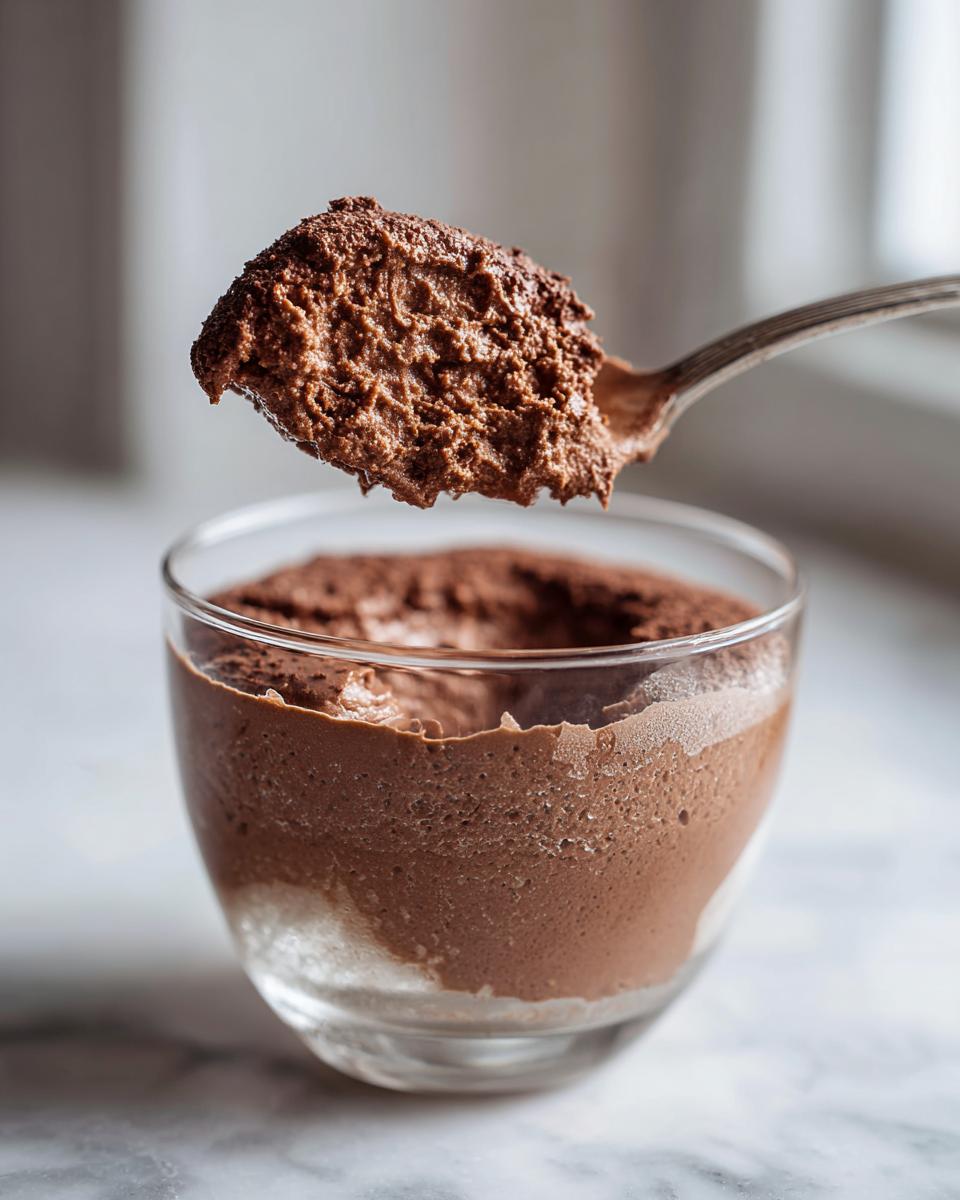
Ingredients for the Best Chocolate Mousse
You only need a few simple items to achieve peak dessert satisfaction here, but please, pay attention to the details! When seeking the **best chocolate mousse**, the quality of the chocolate is what really shines through. Don’t cheat on this part, okay? We are aiming for a truly **decadent chocolate treat**, not just a sweet topping.
- 8 ounces bittersweet chocolate, chopped small
- 1 cup heavy whipping cream, and yes, you need to divide this!
- 2 large eggs, separated very carefully
- 1/4 cup granulated sugar (no substituting here, please)
- 1 teaspoon vanilla extract
- A tiny pinch of salt (don’t skip the salt; it deepens the chocolate flavor)
Ingredient Notes and Substitutions for Your Chocolate Mousse
Because this is a **no bake dessert**, the ingredients have to carry all the flavor weight. I insist on bittersweet chocolate, around 60% to 70% cacao. If you use milk chocolate, the resulting mousse will be far too sweet and won’t set up as nicely. Also, make sure that 3/4 cup of your heavy whipping cream is straight out of the fridge! Cold cream whips up faster and holds those lovely air pockets way better than cream that’s been sitting on the counter.
Step-by-Step Instructions for Perfect Homemade Chocolate Mousse
Okay, this is where the magic happens! Don’t let the separate bowls scare you—this whole process is actually very fast if you work efficiently. If you want to get ahead, you can check out my post on meal prepping desserts, but if you’re making this fresh, keep your focus. We are building layers of texture here, and every gentle stir counts toward that perfect **chocolate mousse**.
Melting the Chocolate Base for Silky Smooth Mousse
First things first: we need a smooth, luxurious chocolate foundation. Take your chopped bittersweet chocolate and put it in a nice glass bowl. Heat up just 1/4 cup of that heavy cream on the stove until it just starts to simmer around the edges—watch it closely, or you’ll boil it, and we can’t have that! Pour that hot cream right over the chopped chocolate. Let it sit for exactly two minutes, no peeking! Then, gently stir it until it’s one smooth, gorgeous pool of chocolate. Turn off the heat, set the bowl aside, and let that mixture cool down a bit while you get the air elements ready. You don’t want it piping hot when everything else goes in!
Whipping Air into Your Chocolate Mousse Recipe
While the chocolate chills slightly, we build volume. Grab a very clean bowl—any grease will stop your egg whites from cooperating! Beat those two egg whites with just a pinch of salt until they start looking foamy. Now, slowly rain in that granulated sugar while you keep beating constantly. You’re done when you pull the whisk out and the peaks stand up stiff and look glossy—we call those stiff peaks. Next, grab another bowl and whip your remaining 3/4 cup of cream with the vanilla until you get medium peaks. These two components are what turn our rich ganache into a **light and airy dessert**!
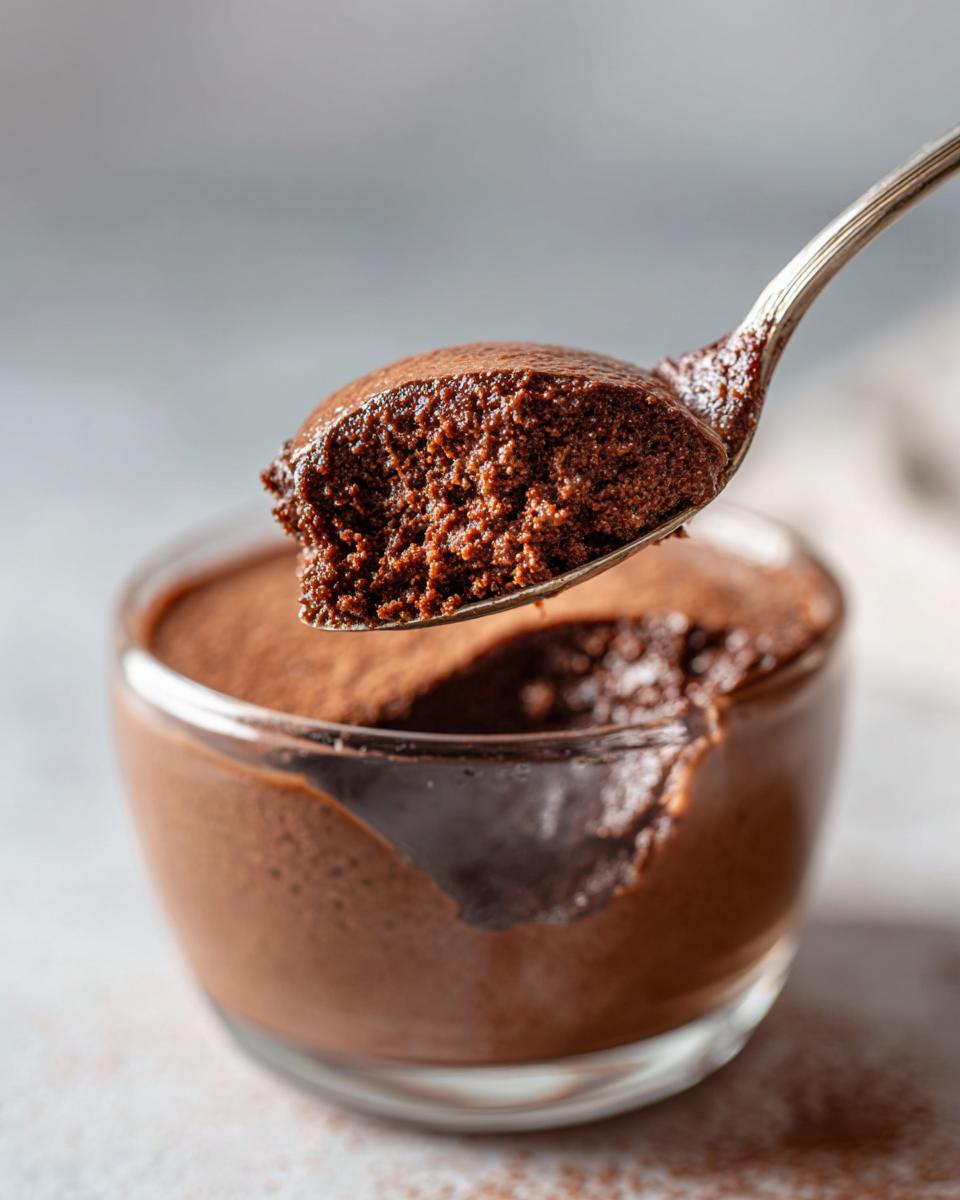
Folding Techniques for a Creamy Chocolate Dessert
This requires patience, Leo Maxwell’s style! Take about a third of your whipped cream and fold it roughly into the slightly cooled chocolate base. This step is called ‘sacrificing’ the cream; it lightens the heavy chocolate, making it easier to incorporate the rest without knocking all the air out. Now, gently fold in the *rest* of that whipped cream. Once that’s just combined, it’s time for the egg whites. Add them in two batches, folding with a light, scooping motion from the bottom up. Stop folding the *second* you don’t see white streaks anymore. Overmixing is the villain here! This careful choreography is what guarantees that **creamy chocolate dessert** finish.
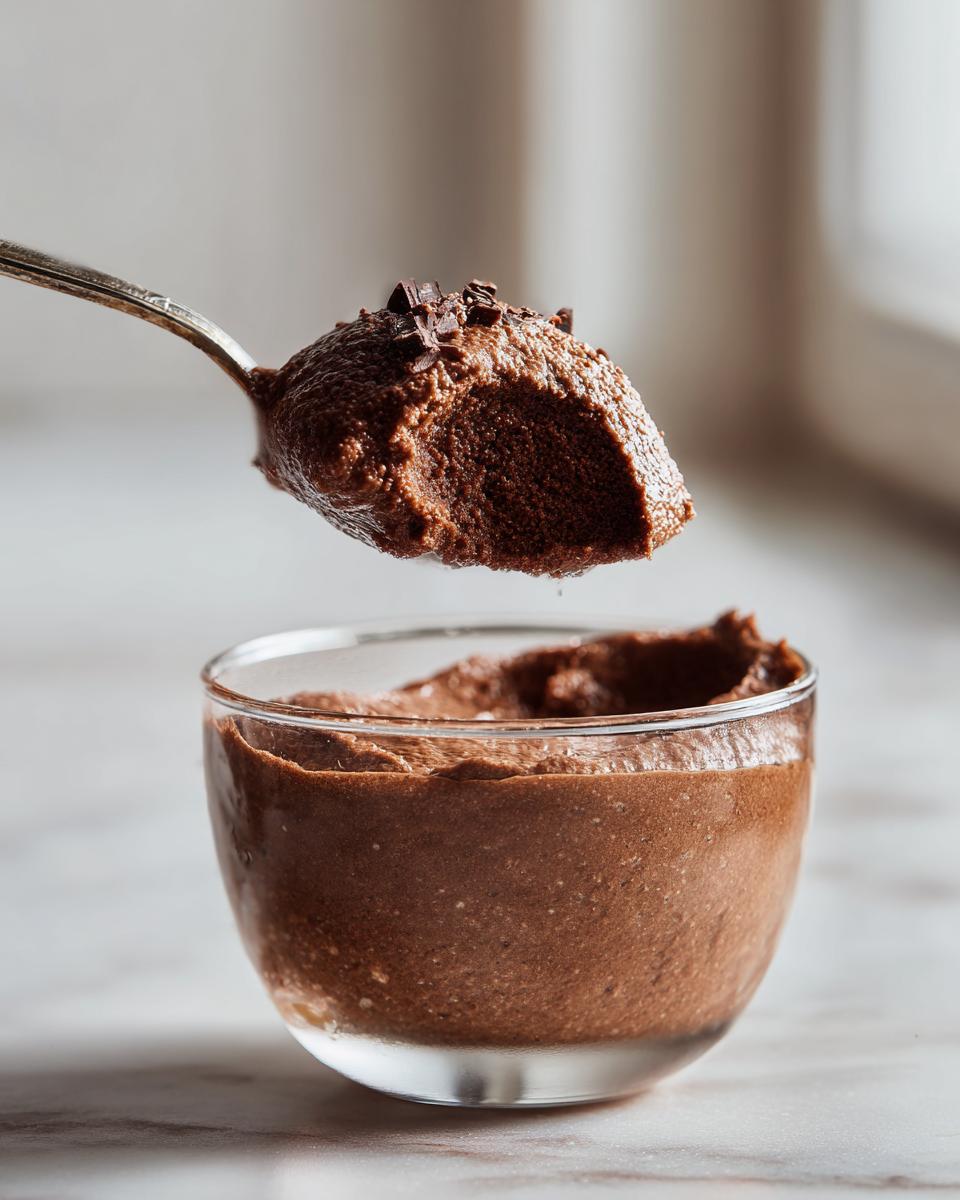
Tips for Success with Your Easy Chocolate Mousse
When you’re tackling **beginner dessert recipes**, the biggest fear is usually deflation, right? It’s tough to keep all that beautiful air in the mousse! My biggest piece of advice is temperature control. Make sure your melted chocolate base has cooled down significantly before you fold in the whipped cream and the egg whites. If it’s warm, it melts the fat in the cream, and poof—your air disappears.
Also, invest in a good silicone spatula. Seriously, it’s a game-changer for folding. You need that gentle under-and-over motion to combine everything without smashing the volume you just worked so hard to create. Don’t be tempted to rush the chilling time either; that’s when the **homemade chocolate mousse** sets into that perfect form. You want it firm, not soupy!
If you’re interested in other simple but impressive sweets that rely on technique rather than the oven, maybe give my easy lime sorbet a look next time you need something light!
Serving Suggestions for This Elegant Dinner Party Dessert
This **chocolate mousse** looks totally stunning when served simply, which is exactly what we need after all that careful folding! Forget big slices of cake; this dessert shines when presented in individual dishes. I love using clear glass ramekins or small stemless wine glasses. Seeing those layers of dark, airy mousse just elevates the whole experience.
For garnishes, keep it chic and simple since the flavor is already so intense. A light dusting of high-quality Dutch-processed cocoa powder before serving brings a nice visual contrast. You can also sprinkle on some finely grated bittersweet chocolate—it adds a little sophisticated texture crunch.
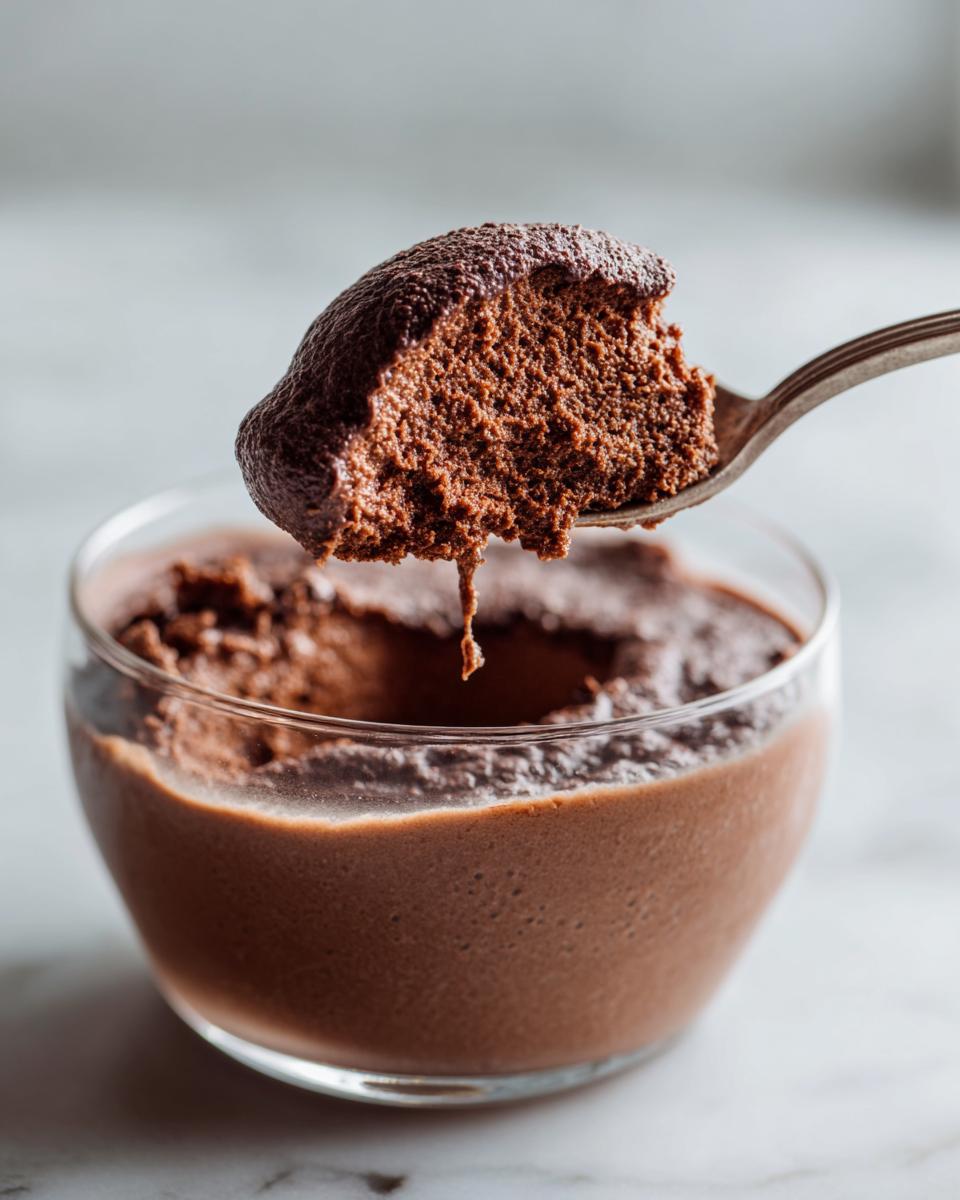
If you’re feeling extra fancy or if you want to dress it up for a special evening, a single perfect raspberry or maybe a very light drizzle of raspberry sauce can look gorgeous next to the chocolate. You can see some inspiration for beautiful plating styles on sites like Enjoy Foodie. Remember, for an **elegant dinner party dessert**, presentation is half the fun!
Storage and Reheating Instructions for Homemade Chocolate Mousse
The hardest part about this recipe is waiting for it to chill, I won’t lie! Step eight in the instructions says you need to chill the **homemade chocolate mousse** for at least four hours, and I really, *really* mean that. It needs that time in the fridge—the cold helps the mixture set firmly, giving you that luxurious texture you worked so hard to achieve.
If you’re making this ahead of time for a party—which is highly recommended for a stress-free host experience—you’re in luck! My notes mention that this **no bake dessert** actually gets better after a day. It stays perfectly fresh in the refrigerator for up to three days. Just cover the individual serving dishes tightly with plastic wrap, making sure the wrap doesn’t touch the surface of the mousse if possible, to prevent any condensation weirdness.
Now, let’s talk about reheating, because that’s a silly question for a chilled mousse! Since there’s no oven involved, reheating this won’t work; it will just melt into a very fancy, very rich chocolate sauce, which is delicious in its own right, but not the airy texture we are aiming for. If you want it slightly softer than rock-hard right out of the fridge, just take the glasses out onto the counter about 15 to 20 minutes before you plan to serve them. That little bit of ambient warmth softens the texture just enough to melt beautifully on the tongue.
Frequently Asked Questions About Chocolate Mousse
It’s totally normal to have questions when you step outside your comfort zone, especially with a classic like mousse! I get asked the same things over and over again when I share this recipe with friends. Don’t hesitate to reach out on my contact page if yours isn’t listed here, but here are a few common quandaries I hear about making this rich treat.
Can I make this Easy Chocolate Mousse without raw eggs?
That’s a safety question I completely understand! Since this is a **beginner dessert recipe** for many, people worry about using raw egg whites. You absolutely have options! If you want that classic lift from the whites, look for pasteurized eggs at the store; they’ve been treated to eliminate bacteria and are safe to use raw. Or, if you are nervous about the egg whites altogether, you can create a simpler, denser **no bake dessert** by skipping the egg whites entirely. You would then rely just on the chocolate ganache base and your whipped cream. It won’t be quite as light and airy, but it will still be wonderfully **creamy chocolate dessert**!
What is the secret to a truly Quick Dessert Ideas version?
If you’re looking for lightning speed, my recipe is already pretty fantastic—the prep time is only 20 minutes! But if you truly need something in under 30 minutes total, you’ll have to simplify further. For a genuinely rushed scenario, skip the egg whites completely (as mentioned above) and substitute the melted chocolate with a high-quality, thick, store-bought **rich chocolate pudding**. You then just whip your heavy cream and gently fold it into the pudding. It makes a fantastic, thick dessert, though it moves away from the traditional airy French Mousse texture and leans more toward a quick pot de crème.
How do I get it super airy like the professionals?
The airiness comes down to two factors working together perfectly: stiff, glossy egg whites and careful folding. First, make sure your egg white bowl and whisk attachments are completely grease-free; even a drop of yolk or fat will stop them from reaching those stiff peaks. Second, be mindful of the temperature of your chocolate base—if it’s too hot, it melts the air out of the whites when you fold them in. When folding, use a spatula to scrape down the side of the bowl and scoop *under* the batter, gently bringing it over the top. It’s about moving the mixture without compressing it. Do this just until no streaks remain, and you’ll have the fluffiest **chocolate mousse** around!
Nutritional Estimates for This Rich Chocolate Pudding Style Treat
When you are indulging in a **decadent chocolate treat** like this, you probably aren’t thinking about macros, but I believe in transparency here at Gourmet Gaze! Since this is made from scratch, the estimates below are just that—estimates based on the ingredients listed above. They are provided just so you know what a beautiful indulgence this truly is. Remember to enjoy every spoonful of this rich dessert!
- Serving Size: 1 serving
- Calories: 410
- Sugar: 28g
- Fat: 30g
- Protein: 7g
Share Your Silky Smooth Mousse Creation
Now that you’ve mastered this **chocolate mousse**, I really, truly want to see what you made! Here at Gourmet Gaze, connecting with fellow home cooks is my favorite part of sharing these recipes. Did you serve them in little espresso cups? Did you top them with fresh berries? Don’t be shy!
Go ahead and leave a star rating right down below—it helps other home cooks who are nervous about trying a new recipe know that this one is reliable. I read every single comment, and I love hearing how my recipes turn into feasts for your own souls.
If you snap a picture of your finished **silky smooth mousse**, tag me on Instagram! It inspires me daily to keep testing and creating new ways to bring that culinary joy into your kitchen. Happy cooking, and don’t forget to browse my other favorite treats when you’re ready for your next indulgence in the Desserts category!
PrintEasy Homemade Chocolate Mousse Recipe: Rich, Creamy & No-Bake Dessert
Welcome to Gourmet Gaze. I developed this **easy chocolate mousse recipe** to be rich, creamy, and completely no-bake. It delivers a silky smooth texture perfect for impressing guests or enjoying as a quick, decadent treat after dinner. This is a reliable, approachable dessert that nourishes your soul.
- Prep Time: 20 min
- Cook Time: 0 min
- Total Time: 4 hr 20 min
- Yield: 4 servings 1x
- Category: Dessert
- Method: No-Bake
- Cuisine: American
- Diet: Vegetarian
Ingredients
- 8 ounces bittersweet chocolate, chopped
- 1 cup heavy whipping cream, divided
- 2 large eggs, separated
- 1/4 cup granulated sugar
- 1 teaspoon vanilla extract
- Pinch of salt
Instructions
- Place the chopped chocolate in a heatproof bowl. Heat 1/4 cup of the heavy whipping cream in a small saucepan until it just simmers. Pour the hot cream over the chocolate and let it sit for two minutes, then stir until completely smooth. Set aside to cool slightly.
- In a separate clean bowl, beat the egg whites with a pinch of salt until soft peaks form. Gradually add the granulated sugar, beating until stiff, glossy peaks form. This creates the airy structure for your **light and airy dessert**.
- In another bowl, beat the remaining 3/4 cup of heavy whipping cream and vanilla extract until medium peaks form.
- Gently fold about one-third of the whipped cream into the cooled chocolate mixture to lighten it.
- Fold in the remaining whipped cream until just combined. Be careful not to deflate the mixture.
- Gently fold the egg whites into the chocolate mixture in two additions, working carefully to maintain the volume. This step is key for a **silky smooth mousse**.
- Spoon the mousse into individual serving dishes or small glasses.
- Chill the **homemade chocolate mousse** for at least four hours, or until firm. Garnish with chocolate shavings before serving this **elegant dinner party dessert**.
Notes
- For an even richer flavor, use high-quality dark chocolate. This recipe works well for a **decadent chocolate treat**.
- If you prefer a slightly lighter texture, you can skip the egg yolks and use only the whites, though the richness will decrease slightly.
- This **no bake dessert** stays fresh in the refrigerator for up to three days.
Nutrition
- Serving Size: 1 serving
- Calories: 410
- Sugar: 28g
- Sodium: 45mg
- Fat: 30g
- Saturated Fat: 18g
- Unsaturated Fat: 12g
- Trans Fat: 0.5g
- Carbohydrates: 32g
- Fiber: 3g
- Protein: 7g
- Cholesterol: 110mg