
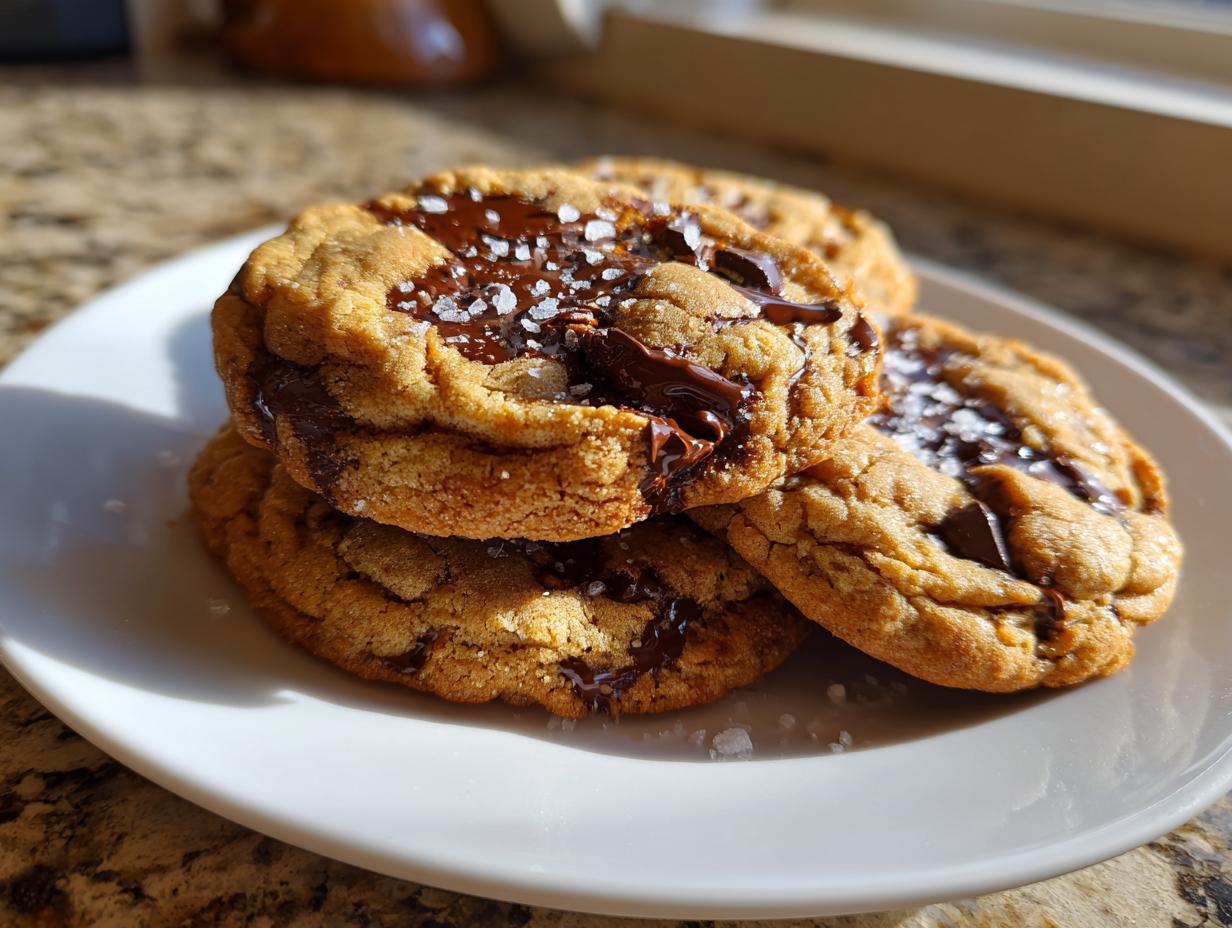

If you’ve ever scrolled through your feed dreaming of a chocolate chip cookie that transcends the ordinary—one that has that almost unbelievable, deep caramelized flavor—then you are in the right place. Cooking for me used to mean quickly microwaving something to eat while staring at a spreadsheet. I was good at the corporate hustle, but my home cooking was seriously lacking. That all changed when I committed to mastering the foundational techniques that turn simple ingredients into something truly special. My biggest personal breakthrough came when I learned to properly create brown butter chocolate chip cookies. Trust me, taking that extra few minutes to brown the butter isn’t just a step; it’s the flavor secret that elevates this American classic into a truly gourmet experience. I spent months tweaking everything from the chilling time to the specific chocolate chunks used to make this recipe the best, most reliable batch you’ll ever pull from your oven. You can see more about my journey right here!
- Why These Are The Best Brown Butter Chocolate Chip Cookies
- Gathering Ingredients for Gourmet Chocolate Chip Cookies
- How to Make Brown Butter for Cookies (The Essential Step)
- Mixing and Chilling the Ultimate Brown Butter Chocolate Chip Cookies Dough
- Baking Instructions for Perfect Brown Butter Chocolate Chip Cookies
- Tips for Success with Browned Butter Chocolate Chip Cookies Recipe
- Storage and Reheating Your Nutty Chocolate Chip Cookies
- Frequently Asked Questions About Brown Butter Chocolate Chip Cookies
- Share Your Irresistible Cookies Creations
Why These Are The Best Brown Butter Chocolate Chip Cookies
Look, I know everyone promises the “best” cookies, but when you bring brown butter into the equation, you’re not just making a cookie; you’re creating something magnificent. These treats deliver on every single promise you want from a high-end bakery, but you made them right at home. It’s the depth of flavor that gets people every time.
- Deep, Nutty Flavor: That toasted, caramelized foundation you get from browning the butter changes everything.
- Perfect Edges: You get beautifully crisp, golden edges that offer that satisfying crunch.
- Gooey Middle: The centers stay wonderfully soft, resisting that dry, cakey texture.
Achieving Ultimate Flavor with Brown Butter Chocolate Chip Cookies
That little bit of extra time spent melting the butter gently turns simple milk solids into pure treasure. The result is complex, toasty, and deeply satisfying. It’s what elevates these from standard drop cookies into what I call nutty chocolate chip cookies. You won’t want to go back to plain butter, I promise you that!
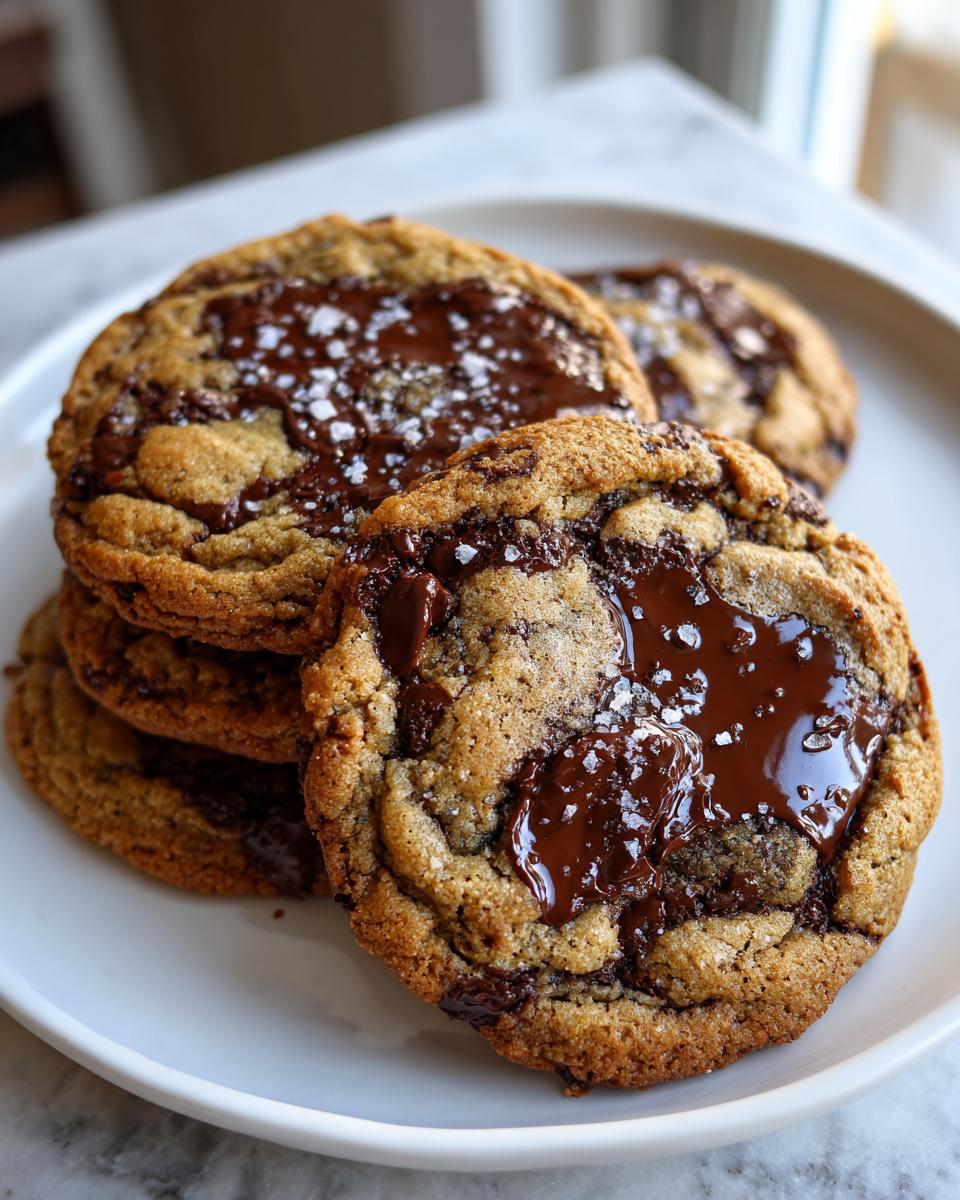
Texture Goals: Chewy Chocolate Chip Cookies Every Time
The secret to the ideal texture isn’t just the ingredients; it’s the patience afterward. We use just the right ratio of sugars and, crucially, we chill the dough. Chilling hydrates the flour so the cookies don’t spread thin in the oven. That’s what locks in those signature chewy chocolate chip cookies centers while keeping the edges defined and crisp.
Gathering Ingredients for Gourmet Chocolate Chip Cookies
You can’t rush perfection, and that starts with treating your ingredients right. Don’t reach for substitutions here if you want that true, deep flavor. Everything we use is designed to complement the richness of the brown butter. We use a very specific set of items to guarantee those bakery-style results. You’ll need one full cup of unsalted butter, which we’ll be browning, along with both light brown and granulated sugars to get the perfect balance between chewiness and a slight crispness. If you ever want to compare this process to higher-protein baking, check out my guide on high-protein cookie dough recipes.
You can see the full list, but let’s talk specifics, because that’s where the magic hides in these gourmet chocolate chip cookies.
Ingredient Notes and Substitutions for Brown Butter Cookies
Pay close attention to the sugars and the chocolate. For the brown sugar, don’t just scoop it; you need to pack it firmly into your measuring cup. That dense packing ensures you get the molasses flavor we need for that rich color and chewy texture. For the chocolate, I strongly recommend using high-quality chunks or even roughly chopping a bar instead of just semi-sweet chips. Chunks create those glorious, irresistible pools of melted chocolate.
Also, notice we’re using one whole egg plus an extra egg yolk. That second yolk is essential! It’s the key to making sure those centers stay wonderfully soft and create those coveted gooey center cookies when they cool down.
How to Make Brown Butter for Cookies (The Essential Step)
Okay, this is the make-or-break moment for these brown butter chocolate chip cookies, so don’t walk away from the stove! You have to use a light-colored pan here so you can actually see the milk solids change color—that’s non-negotiable for accurate timing. Melt the butter over medium heat. It’s going to look foamy at first. Just let it cook, swirling the pan occasionally. After a few minutes, the foam quiets down, and you’ll start seeing tiny brown bits form at the bottom.
The aroma is going to shift from creamy to deeply nutty and toasted—that’s your cue! As soon as you smell that nutty goodness, pull it right off the heat. Those little brown specks are the flavor gold! Here’s your warning: if those specks turn black, you’ve burned it, and you have to toss it and start over. It happens to the best of us, so don’t panic if your first attempt isn’t perfect!
Cooling the Caramelized Butter Cookies Base
Once you pull that beautiful browned butter off the heat, immediately pour it into a large heatproof bowl. You must stop the cooking process, or it will keep going and burn! Let that bowl sit for about fifteen minutes. I know you’re excited to mix everything, but if you add sugar and eggs to hot butter, you end up with sweet scrambled eggs instead of batter. We want caramelized butter, not cooked eggs. Once it’s cool enough that it won’t burn your finger if you accidentally touch it, you’re ready for the next step.
Mixing and Chilling the Ultimate Brown Butter Chocolate Chip Cookies Dough
Now that our butter base is perfectly cooled and nutty, we move into the main event—combining the ingredients. Remember how I talked about needing patience during the creaming step for that pound cake recipe? Well, here we are again, but the technique is slightly different because we’re using already melted (and cooled) butter.
Take that cooled, brown butter in its bowl and whisk it vigorously with the packed brown sugar and the granulated sugar until everything looks glossy and sticks together nicely. This is where we build the foundation for those chewy chocolate chip cookies.
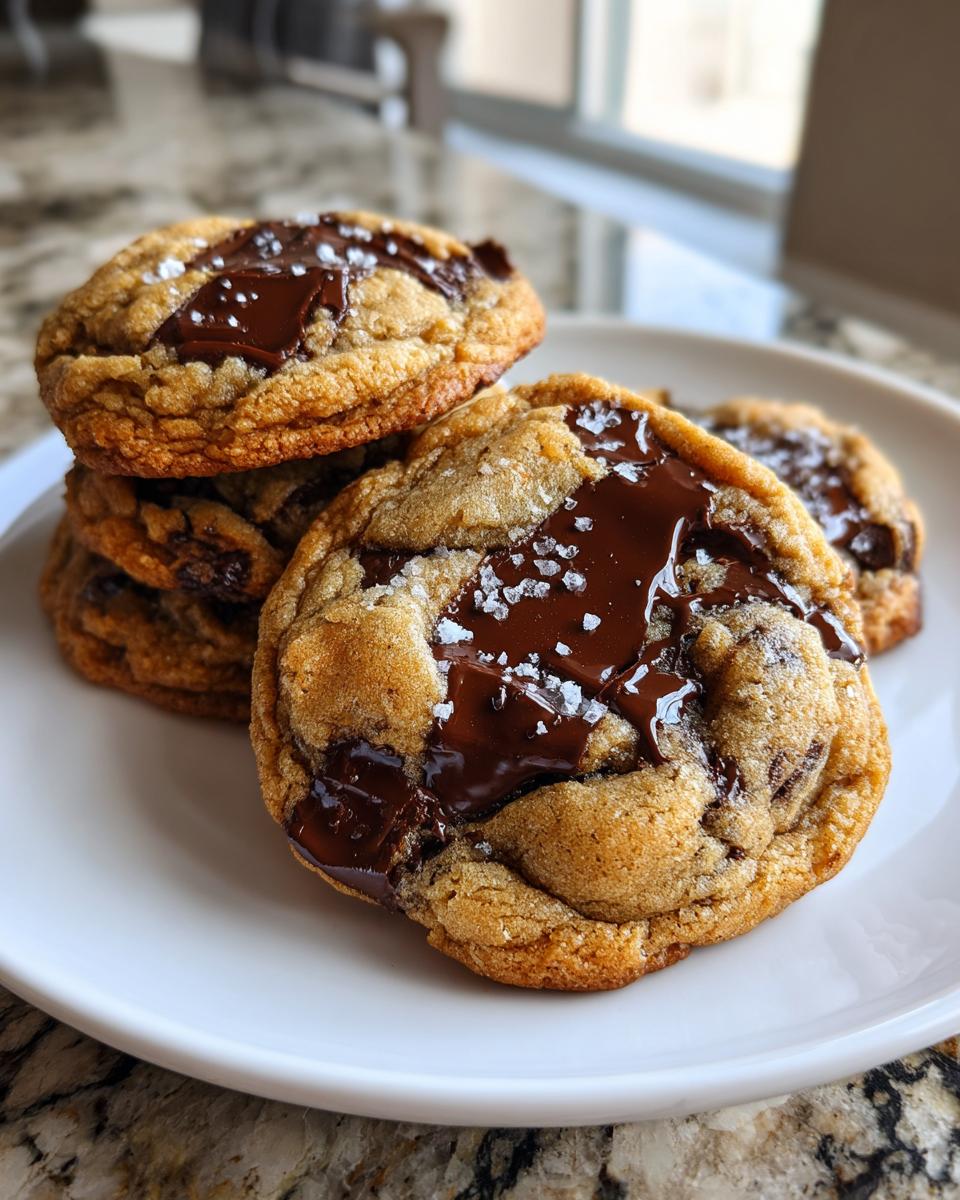
Next, it’s time for the wet ingredients: whisk in your whole egg, that extra egg yolk, and the vanilla extract until the mixture looks smooth and emulsified. Don’t rush this part; we want it glossy!
Once your dry ingredients—the flour, baking soda, and kosher salt—are whisked separately, start adding them to the wet mixture. And here is the absolute cardinal rule for achieving that perfect, thick texture: Do Not Overmix! Mix on low speed or fold gently by hand until you just barely see the last streaks of flour disappear. Seriously, stop mixing when you still see a few flour specks. If you develop the gluten too much here, even with the right amount of fat, you risk making tough, cakey cookies instead of the soft, gooey center cookies we planned for.
Fold in your beautiful chocolate chips or chunks last. At this point, it looks like cookie dough, but it’s not ready for the oven yet! This is my favorite part of the process for building maximum flavor: chilling.
Cover that bowl tightly and slide it into the refrigerator. You absolutely must chill this dough for a minimum of two hours, but honestly, if you can let it hang out overnight—do it! Chilling does two critical things: first, it firms up the fat, which prevents the cookies from spreading too much, resulting in those gorgeous, thick cookies. Second, it allows the flour to fully hydrate and the brown butter flavor to really marry with the sugars. It deepens that nutty, caramelized taste exponentially. If you need my tips on other dough chilling techniques, feel free to check out my post on soft and chewy ube cookies.
Baking Instructions for Perfect Brown Butter Chocolate Chip Cookies
Alright, the dough is rested, it’s perfectly chilled, and the oven is preheated to 375°F (190°C). I always line my baking sheets with parchment paper—it’s a lifesaver, trust me, especially when you want those perfect, non-stick results for your gourmet chocolate chip cookies. Don’t skip this, even if you think your pan is non-stick!
Use a dedicated cookie scoop or a tablespoon to portion out your dough into balls, about 2 tablespoons each. Make sure they are uniform in size, which helps them bake evenly. Place them about 2 inches apart on your prepared sheets. Remember, these cookies are meant to be thick, but they will spread just a bit as that beautiful brown butter melts.
Slide them into your preheated oven. The baking time is critical here because we are aiming for that perfect contrast: crisp edges and a gooey center. Bake them for between 10 to 13 minutes. Keep a close eye on them around the 10-minute mark!
You know they are ready when the edges look beautifully golden brown, but the very centers still look slightly pale and maybe a tiny bit underbaked. That slight under-baking is your insurance policy for gooey center cookies later on. If you bake them until the center looks done, they will be dry once they cool down.
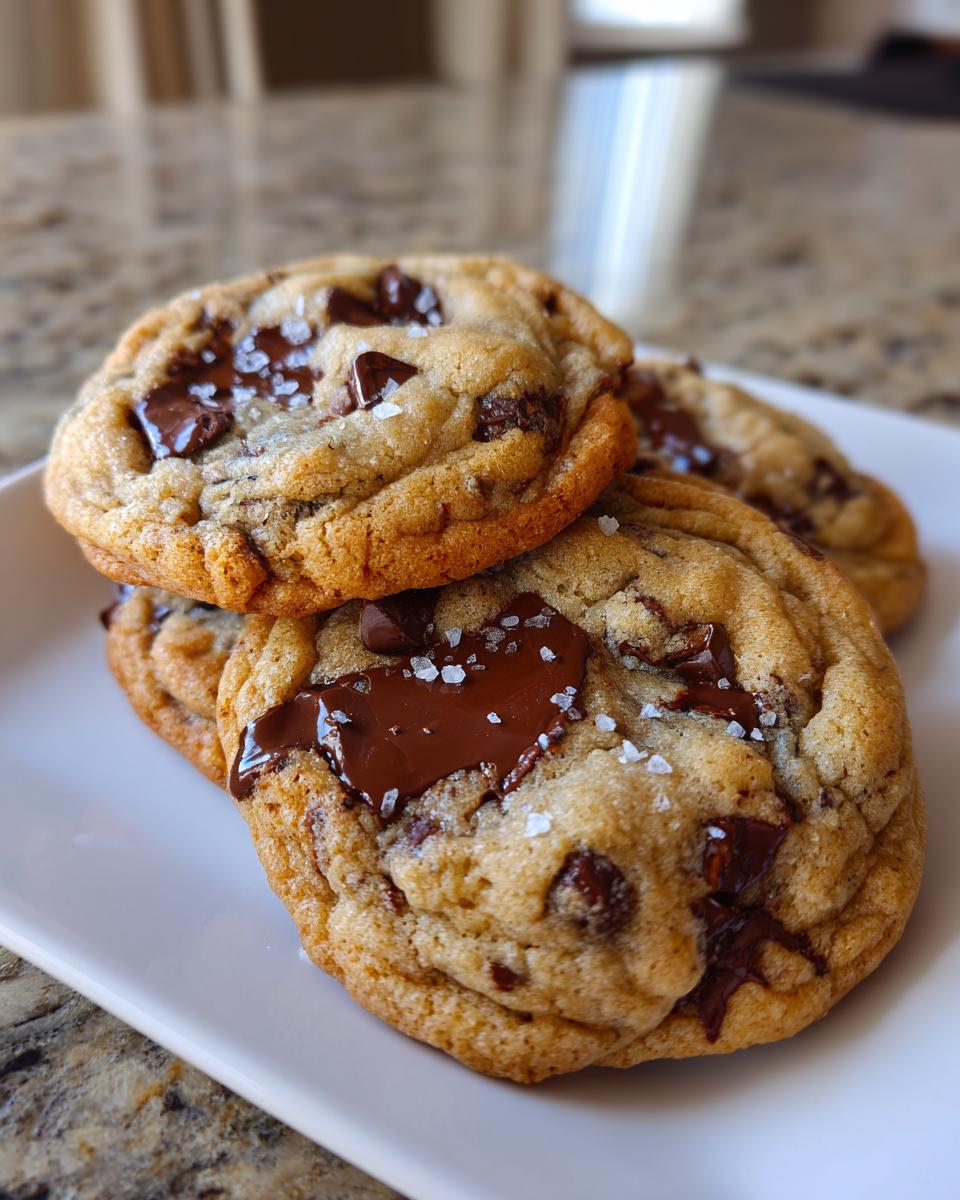
The moment you pull them out—and I mean immediately—take your flaky sea salt and give each cookie a little sprinkle right on top. This is how we guarantee those crispy edge cookies while also creating a stunning visual appeal. The salt melts ever so slightly into the warm chocolate. Seriously, this step is optional but makes these homemade chocolate chip cookies restaurant-worthy!
Resist the urge to touch them immediately! Let them hang out on that warm baking sheet for about 5 minutes. This crucial resting period allows the centers to set up just enough so they don’t fall apart when you move them. After 5 minutes, carefully transfer them to a wire rack to cool completely. If you want to see more of my sweet inspirations, check out my main desserts page!
Tips for Success with Browned Butter Chocolate Chip Cookies Recipe
Okay, now that you’ve mastered the browning (I hope!), let’s talk about the final touches that keep these from being just “good” cookies and push them into that irresistible category. When I was first perfecting this, I realized a few subtle choices made the difference between an amazing cookie and an award-worthy one. Those visual cues I’m always talking about really matter here!
My biggest pro-tip involves the pan you use to brown your butter—always use a light-colored one so you can actually see those little milk solids turn amber brown without burning! And please, please don’t skip the chilling. It’s not just about preventing ultra-flat cookies; it’s essential for concentrating that nutty flavor profile. You can always find my latest techniques and ramblings over on the Gourmet Gaze blog.
Making Thick and Chewy Cookies Variations
If you want to tweak the texture to your personal obsession—maybe you love the look of those extremely thick ones talked about over at Savory Pro—you have a couple of easy switches to make. For thicker, cakier cookies, try adding just one extra tablespoon of all-purpose flour to the dry mix. This adds a bit more structure.
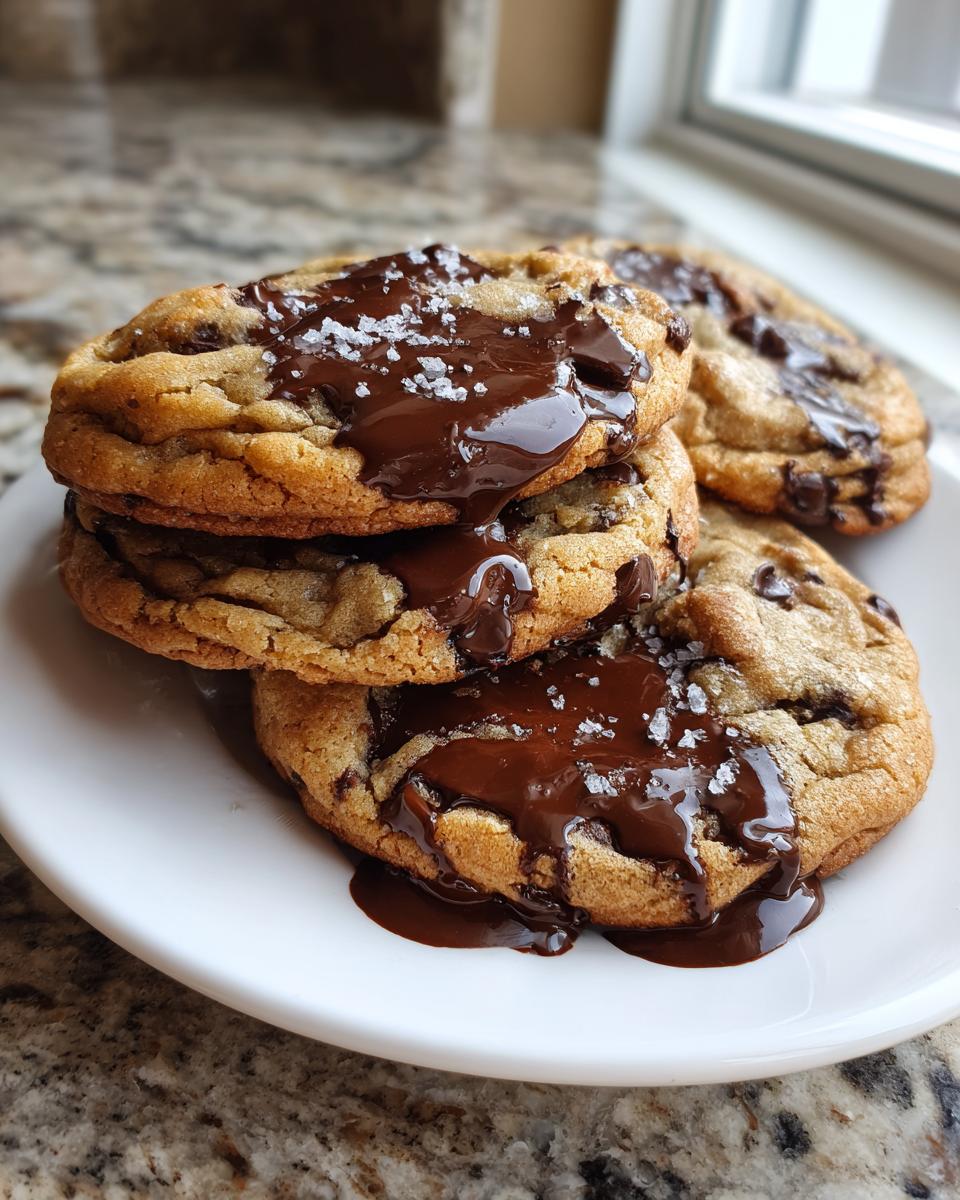
However, if chewiness is your main goal (and it should be, because of the brown butter!), rely more heavily on the brown sugar. It has more moisture than white sugar, encouraging a softer center. Also, definitely go heavy on those chocolate chunks over chips for homemade chocolate chip cookies; they melt differently and create those big, beautiful puddles that scream decadence!
Storage and Reheating Your Nutty Chocolate Chip Cookies
Making these incredible brown butter chocolate chip cookies is only half the battle, right? The other half is making sure you get to enjoy that fresh-baked perfection days later! Thankfully, these cookies are far more resilient than your average store-bought wafer, thanks again to that wonderful brown butter melting in there.
When they are completely cool—and I mean totally cool, otherwise you end up with condensation in the container—transfer them to an airtight container. You want zero air circulation to hit them. Stored properly on the counter, they should stay wonderfully fresh for about four to five days. I find that by day five, they are still delicious, but they might start losing that edge-crispness we worked so hard to achieve for those crispy edge cookies.
But here is the absolute secret to bringing them back to life? The microwave trick. Don’t feel guilty about reheating them! If you have one that’s maybe gotten a little firm, just pop one on a plate for about 8 to 10 seconds. That little burst of heat re-melts those chocolate treasures and softens the crumb right back up, giving you that fresh-from-the-oven experience where the center is practically liquid. It’s the best way to enjoy these nutty chocolate chip cookies all over again without turning them into flat puddles.
Frequently Asked Questions About Brown Butter Chocolate Chip Cookies
I know that when you dive into a recipe that uses a technique like browning butter, you end up with more questions than answers sometimes! That’s totally fine. I learned through trial and error, and now I want to save you the mishaps. Here are the things I’m most often asked about achieving these gourmet chocolate chip cookies.
Can I use oil instead of browning butter for easy brown butter baking?
Oh, I hear you wanting to skip that step! When you’re looking for easy brown butter baking, it’s tempting to think you can substitute. But here’s the honest truth: if you skip browning the butter, you are skipping the entire point of this recipe! You lose that deep, essential nutty, caramelized flavor. If you use melted oil or even just regular melted butter, you end up with a completely different—though still tasty—cookie. The browning process takes maybe eight minutes total and it transforms the flavor profile. Please trust me; it’s worth the extra effort for these specific ultimate flavor cookies.
How long must the dough chill for the **ultimate flavor cookies**?
I always like to give people two options based on their timeline, but always emphasize the long chill. You absolutely must chill this dough for a minimum of two hours. This time allows the flour to fully absorb the fat and moisture, which keeps the cookies from spreading too much and helps them stay wonderfully thick. That two-hour mark is my minimum threshold for decent thick and chewy cookies.
However, if you truly want the ultimate flavor cookies, if you want that deep, complex taste that makes people ask for the recipe, you need to age that dough in the fridge overnight, or at least for 18 hours. The flavors really marry and intensify during that extended rest. It makes these irresistible cookies even better!
If you need to reach out with a specific question that I didn’t cover here, please don’t hesitate to visit my contact page and send me a note!
Share Your Irresistible Cookies Creations
Now that you’ve mastered the art of brown butter and pulled those perfectly gorgeous, chewy, nutty cookies from your oven, I need to see them! Honestly, the best part of sharing these recipes—after tasting them, of course—is seeing how they turn out in your kitchens. I put my heart and soul into making sure these recipes are reliable, but the fun comes when you personalize them a little.
Did you sprinkle them with fancy smoked salt? Did you fold in some white chocolate chips along with the semi-sweet? Tell me everything in the comments below! Knowing that I helped bring something truly delicious and elevated to your table is what this whole “Gourmet Gaze” thing is about.
If you snap a picture of your batch—especially if you got a beautiful cross-section to show off that gooey center—please tag me on social media! I love scrolling through and seeing everyone enjoying these incredible brown butter chocolate chip cookies. Your success fuels the next recipe I perfect right here in my own kitchen.
Don’t forget, if you have any thoughts on privacy or how we handle data on the site, you can review our policy anytime for peace of mind over at the Privacy Policy section. Now go enjoy those treats!
PrintThe Ultimate Chewy Brown Butter Chocolate Chip Cookies
You will make the best chocolate chip cookies of your life using this recipe. Browning the butter adds a deep, nutty, caramelized flavor that transforms this classic treat into a gourmet experience with chewy centers and crisp edges.
- Prep Time: 20 min
- Cook Time: 13 min
- Total Time: 2 hours 33 min
- Yield: 18 cookies 1x
- Category: Dessert
- Method: Baking
- Cuisine: American
- Diet: Vegetarian
Ingredients
- 1 cup (226g) unsalted butter
- 1 cup (200g) packed light brown sugar
- 1/2 cup (100g) granulated sugar
- 1 large egg
- 1 large egg yolk
- 1 tablespoon pure vanilla extract
- 1 3/4 cups (220g) all-purpose flour
- 3/4 teaspoon baking soda
- 3/4 teaspoon kosher salt
- 1 1/2 cups (255g) semi-sweet chocolate chips or chopped chocolate chunks
- Flaky sea salt, for sprinkling (optional)
Instructions
- Place the butter in a light-colored saucepan over medium heat. Melt the butter completely, then continue cooking, swirling the pan frequently. The butter will foam, then subside. Watch closely as brown bits form at the bottom and the aroma becomes nutty. This takes about 5 to 8 minutes.
- Immediately pour the browned butter into a heatproof bowl. Let it cool for 15 minutes until it is still liquid but no longer hot.
- In a large bowl, whisk the cooled brown butter with the brown sugar and granulated sugar until well combined.
- Whisk in the egg, egg yolk, and vanilla extract until the mixture is smooth and glossy.
- In a separate medium bowl, whisk together the flour, baking soda, and kosher salt.
- Gradually add the dry ingredients to the wet ingredients, mixing on low speed or by hand until just combined. Do not overmix.
- Fold in the chocolate chips or chunks.
- Cover the dough and chill in the refrigerator for at least 2 hours, or preferably overnight, to develop the deep, nutty flavor.
- Preheat your oven to 375°F (190°C). Line baking sheets with parchment paper.
- Scoop the dough into balls, about 2 tablespoons each, and place them 2 inches apart on the prepared sheets.
- Bake for 10 to 13 minutes, or until the edges are golden brown and the centers look slightly underbaked.
- Remove from the oven. Immediately sprinkle the tops with flaky sea salt, if using.
- Let the cookies cool on the baking sheet for 5 minutes before transferring them to a wire rack to cool completely.
Notes
- Browning the butter correctly is key to achieving that rich, caramelized flavor. If you see black specks, you have gone too far; discard and start again.
- Chilling the dough is essential for thick and chewy cookies; it hydrates the flour and concentrates the flavor.
- For bakery style cookies, press the dough balls down slightly before baking to encourage spreading.
Nutrition
- Serving Size: 1 cookie
- Calories: 240
- Sugar: 18g
- Sodium: 150mg
- Fat: 14g
- Saturated Fat: 9g
- Unsaturated Fat: 5g
- Trans Fat: 0g
- Carbohydrates: 28g
- Fiber: 1g
- Protein: 3g
- Cholesterol: 45mg