
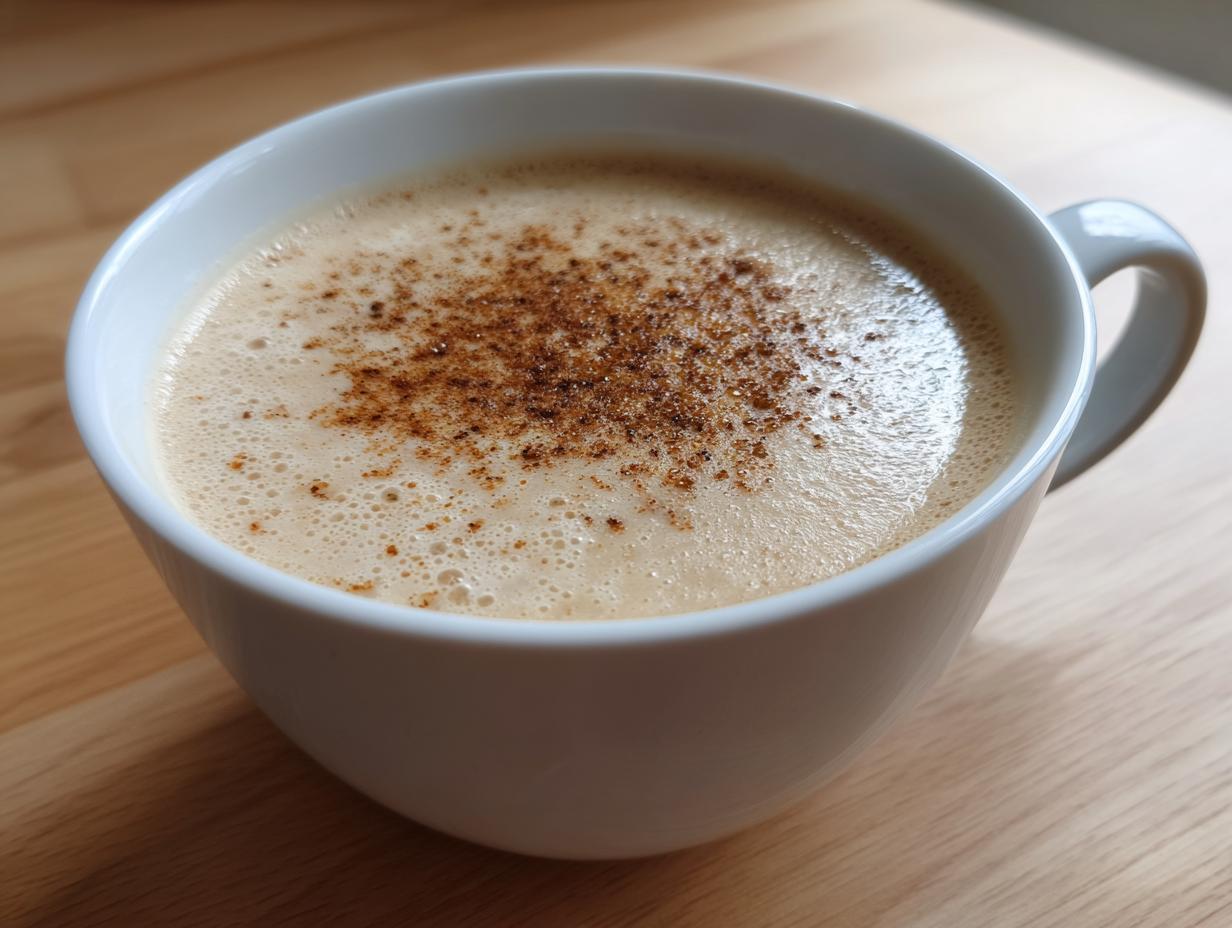

When the weather turns cool and you crave something truly satisfying, nothing beats a bowl of pure, creamy comfort. For years, my dinner routine was dictated by spreadsheets and deadlines—quick, easy, nothing memorable. But after discovering the magic hidden in simple vegetables, I realized food should tell a story, and this recipe tells a beautiful one about flavor development. By taking the time to roast everything first, we unlock deep, nutty, caramelized notes that you simply can’t get from boiling. Trust me, once you taste this sensation, you’ll agree this is the absolute best roasted cauliflower soup out there. It’s the kind of soul-nourishing dish I create now to contrast that old life; you can read more about my journey over on the About page. I can’t wait for you to make this comforting bowl your own.
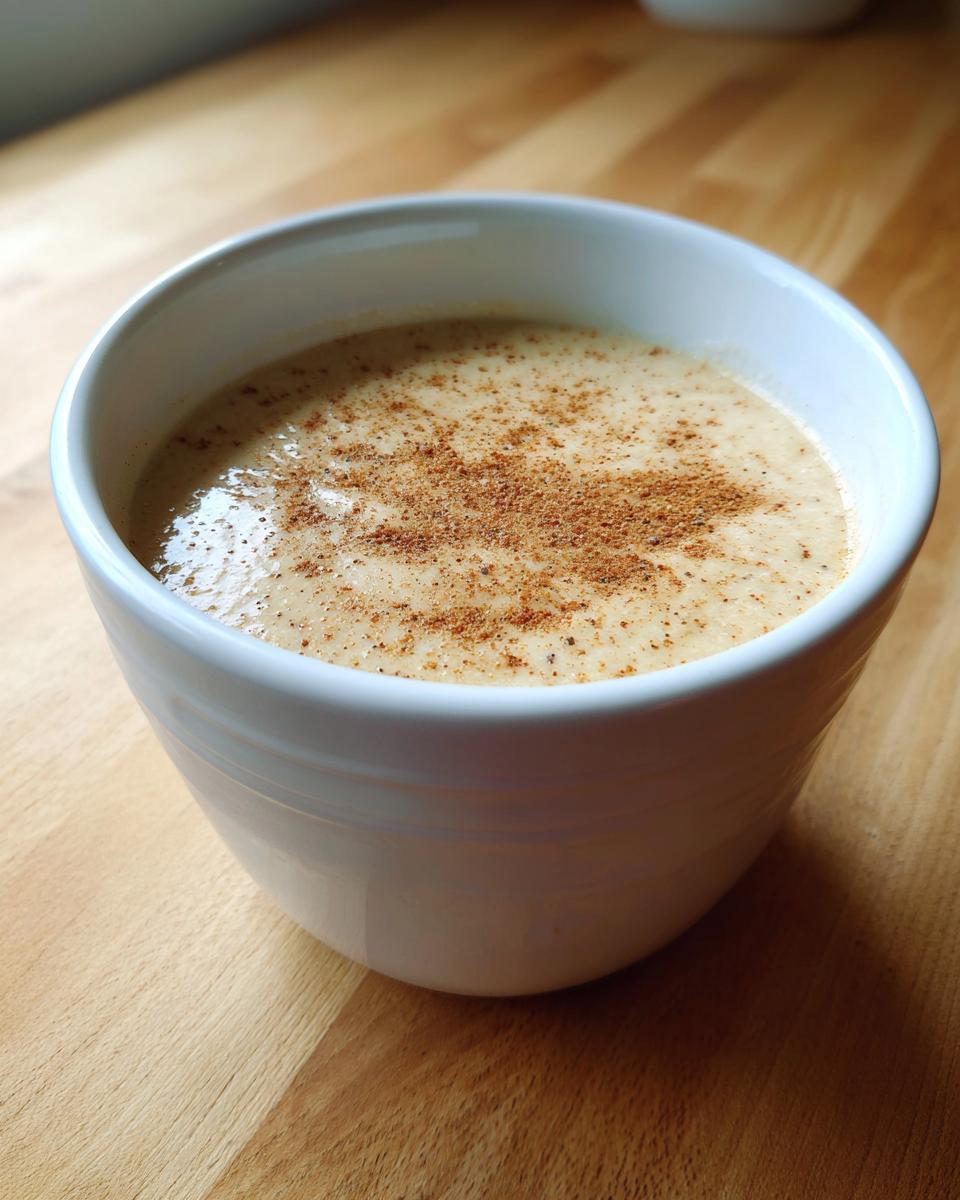
- Why This Creamy Roasted Cauliflower Soup is Your New Favorite Comfort Food Soup
- Essential Ingredients for Perfect Roasted Cauliflower Soup
- Step-by-Step Guide to Making Velvety Roasted Cauliflower Soup
- Expert Tips for the Best Cozy Soup Experience
- Serving Suggestions for Your Vegetarian Roasted Soup
- Storage and Make Ahead Soup Recipe Tips
- Troubleshooting Common Roasted Cauliflower Soup Issues
- Frequently Asked Questions About This Roasted Cauliflower Soup
- Share Your Gourmet Gaze Roasted Cauliflower Soup Creations
Why This Creamy Roasted Cauliflower Soup is Your New Favorite Comfort Food Soup
I designed this recipe specifically to hit that perfect sweet spot: deep, satisfying flavor without demanding your entire evening. It’s the ultimate comfort food soup because, honestly, nothing tastes better when you’re tired than something silky smooth that tastes like you worked all day on it. Forget everything you thought you knew about bland vegetable purees; this delivers true richness.
Achieving Velvety Cauliflower Recipe Texture
That gorgeous, smooth texture isn’t accidental! It comes from two key steps: roasting the cauliflower until it’s fork-tender, which breaks down the structure beautifully, followed by aggressive blending until you have that unmistakable velvety cauliflower recipe finish. It’s pure silk in a bowl, I promise.
Quick Weeknight Soup Ready in Under an Hour
I know the drill—you get home late and need dinner fast. That’s why I love this easy weeknight soup; the total time clocks in right around 55 minutes! The oven does most of the heavy lifting while the aromatics simmer away. You get incredible results much faster than you’d expect for such a flavorful result. If you need more inspiration for fast meals, check out the archives on the Gourmet Gaze Blog.
Essential Ingredients for Perfect Roasted Cauliflower Soup
When we talk about depth of flavor in this roasted cauliflower soup, it starts right here, with the ingredients we choose and how we prep them. I’ve kept this list tight—no unnecessary fillers! Everything here plays a crucial role in moving this from just vegetable soup to that deeply satisfying, complex profile you’re looking for. Seriously, don’t skip the nutmeg; it makes things sing!
- One large head of cauliflower, broken down into even florets (the bigger the pieces, the better they can handle the roasting).
- A whole head of garlic—yes, the whole thing! Just slice the very top 1/4 inch off so the cloves are exposed.
- Three tablespoons of good olive oil, divided for hitting all the right spots.
- One teaspoon of salt and half a teaspoon of black pepper, split between roasting and simmering.
- One medium yellow onion, chopped—this builds the aromatic foundation.
- Four cups of vegetable broth. If you want deeper flavor, try using homemade or a high-quality, low-sodium brand.
- Half a teaspoon of ground cumin, for that earthy warmth.
- A quarter teaspoon of ground nutmeg—don’t use too much, we want warmth, not Christmas cake!
- Half a cup of heavy cream. This is the secret to the luxurious texture, but don’t worry, we have an alternative!
- One tablespoon of fresh lemon juice at the end to brighten everything up.
If you want to see how I handle rich, comforting side dishes—like my creamy colcannon potatoes—you know where to find me!
Ingredient Notes and Substitutions for your Roasted Cauliflower Soup
Here’s where we get down to the real kitchen tweaks. The quality of your roasting ingredients makes or breaks this soup, so pay attention!
For the richness, the recipe calls for heavy cream, which gives us that ultimate smooth finish. However, if you are looking for a Vegan Cauliflower Soup Option, use full-fat canned coconut milk instead. Make sure you use the thick cream portion from the top of the can; it gives you that necessary fat content without any coconut flavor overpowering the cauliflower.
Also, remember that Parmesan cheese note in the recipe details? If you are feeling indulgent—and it’s not a strictly vegetarian meal—stirring in about a quarter cup of grated Parmesan cheese right at the end instead of the cream adds a salty, sharp complexity that makes this incredibly savory. That touch of cheese paired with the roasting is just fantastic.
Step-by-Step Guide to Making Velvety Roasted Cauliflower Soup
This is where the transformation happens! We’re not just cooking vegetables here; we are building layers of incredibly deep, nutty flavor through high-heat caramelization. That process is what elevates this from a simple broth-based soup to a truly rich roasted cauliflower soup experience. Stick close to these steps, especially during the roasting phase, and you’ll have a masterpiece ready in about 40 minutes of active cooking time.
Roasting the Cauliflower and Garlic for Deep Flavor
First thing’s first: preheat that oven to 400°F (200°C). You need that heat! Toss your cauliflower florets and that whole head of garlic (I wrap mine loosely in foil—it keeps the garlic soft) with just two tablespoons of olive oil, salt, and pepper. Spread the cauliflower out on your baking sheet. And here’s my pro tip from my own trial-and-error days: make sure every single floret has space to breathe. If they are piled up, they steam instead of roast, and we want crispy, golden edges for that signature caramelized flavor. Roast this picture-perfect arrangement for about 25 to 30 minutes until they are tender and beautiful.
Blending for the Ultimate Creamy Cauliflower Soup
Once the veggies are nicely done, we move to the blending stage—this is critical for achieving that amazing texture. After simmering everything together briefly, you’ll carefully transfer the solids and broth to your blender. I always use my high-powered blender for this because I want utter perfection, not a chunky texture. Blend, blend, blend until it is genuinely, completely smooth and has that satisfying, creamy cauliflower soup quality. A major word of caution here: when blending hot liquids, never fill the blender past the halfway mark, and always leave the lid vent open, covered securely with a folded kitchen towel. Hot steam needs an escape route! If you’re looking for other ways to get incredible richness from aromatics, check out my recipe for easy homemade garlic butter.

Expert Tips for the Best Cozy Soup Experience
Now that you have the baseline recipe perfected, I want to share a few little secrets I picked up—the kind of tips that separate a good soup from a truly unforgettable one. Mastering any recipe takes a little intuition, and that’s the part of cooking that truly nourishes the soul, right? This is where we put in that little bit of extra effort that shows up huge in the final flavor profile.
Flavor Boosts for Your Roasted Cauliflower Soup
Our base recipe uses cumin and nutmeg, which are lovely and warm, but sometimes, especially when you’re making a big batch, you need a little extra *oomph*. If you want your roasted cauliflower soup to sing a little louder, try this trick: When you sauté the onions in Step 3, add about half a cup of dry white wine right before you add the broth. Let that wine bubble away and reduce down until almost evaporated—that process concentrates the acidity and sweetness beautifully, providing a gorgeous backbone to the final soup. You can see how treating acidity right makes a dish pop in my chicken piccata recipe, too!
If you want to lean into the herbal side, fresh thyme is your best friend here. Toss a few sprigs right onto the baking sheet with the cauliflower during the roasting phase. The heat wakes up the essential oils, and those fragrant little leaves transfer their essence right into the vegetable. And for those of you who like a little background heat? A tiny pinch of cayenne pepper stirred in right before you add the cream gives you a subtle warmth that hits just as you swallow. It’s luxurious without feeling spicy.
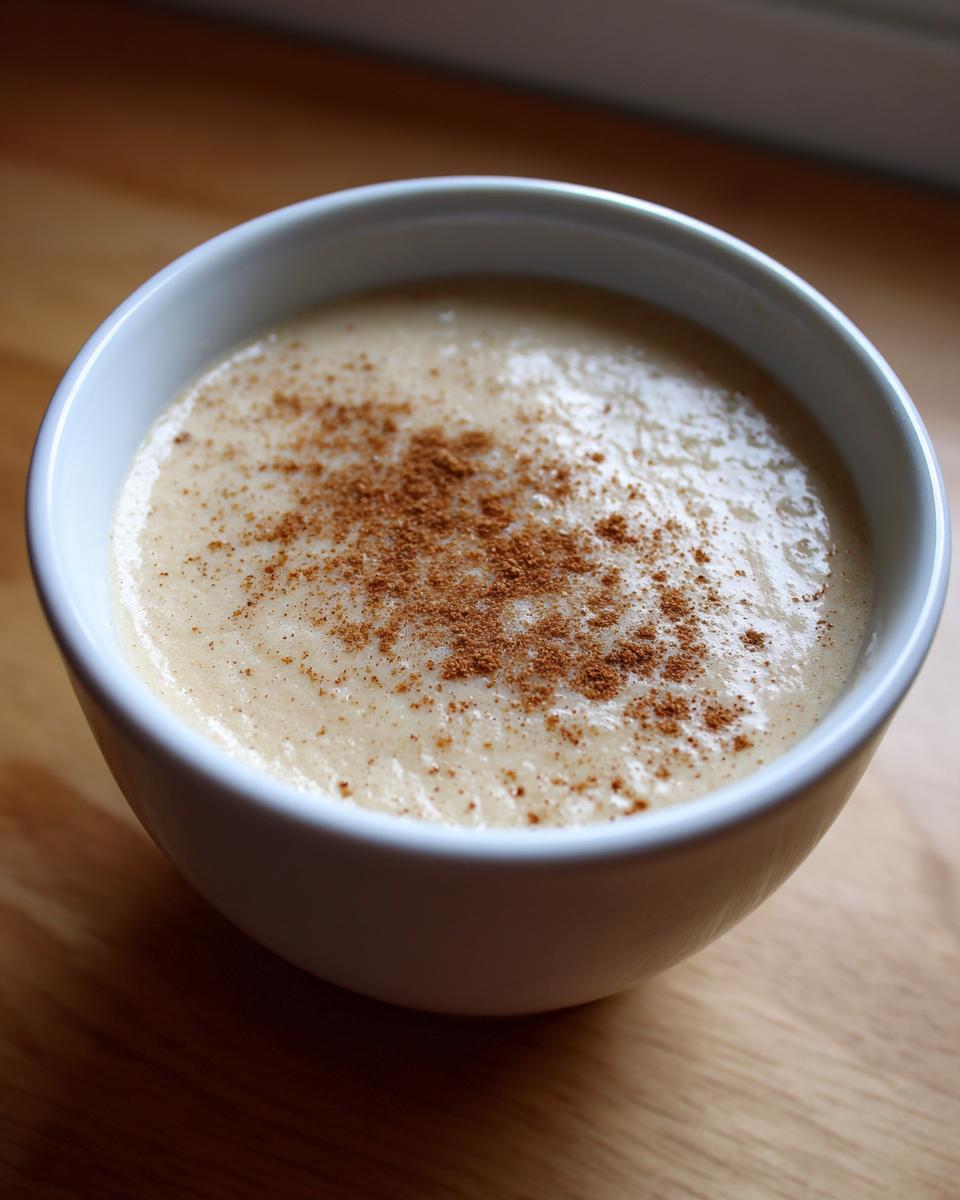
Serving Suggestions for Your Vegetarian Roasted Soup
Now that you have this incredibly rich, velvety soup, how do we present it? Since this is a fantastic Vegetarian Roasted Soup, we want accompaniments that scoop up every last drop. Forget flimsy crackers! You need something substantial for dipping.
My absolute favorite way to serve this is with thick, rustic slices of crusty sourdough bread. Toast it lightly, rub it with a clove of raw garlic, and use it to mop up every bit of that luxurious base. It’s simple elegance! If you want to take the bread experience up a notch, you could even try making your own easy homemade bread bowls for serving.
For a lighter pairing, a simple green salad dressed with a sharp vinaigrette cuts through the richness of the cream perfectly. Enjoy this cozy bowl!
Storage and Make Ahead Soup Recipe Tips
One of the best things about leaning into dishes like this roasted cauliflower soup is that they actually taste *better* the next day. Seriously, everything settles in, and those spices—the cumin and nutmeg—get to know the roasted cauliflower even better overnight. This makes it such a winner for busy weeks!
If you’re planning ahead, cool the soup completely first. I usually just let it sit on the counter for an hour or so, stirring occasionally, before moving it to the fridge. You can store this soup successfully in an airtight container in the refrigerator for up to four days. When you reheat it, use low heat on the stove; don’t crank it up high, or you risk scorching the bottom since it’s so thick.
Now, if you need to stash it away for a really rainy day—say, later this winter—this recipe freezes like a dream! Make sure it’s totally cooled down, then transfer it to freezer-safe bags or sturdy containers. It holds up beautifully in the freezer for about three months. When you’re ready to eat, just thaw it overnight in the fridge and reheat gently. It’s the perfect make ahead soup recipe for when you need a comforting meal fast.
For more delicious make-ahead ideas, you should certainly check out my recipe for Lemony Greek Chickpea Soup; that one is amazing reheated, too!
Troubleshooting Common Roasted Cauliflower Soup Issues
Even when we nail the roasting and the spice blend, sometimes soup needs a little nudge back into perfection. Don’t panic if your first spoonful isn’t absolutely flawless; cooking is all about tasting and adjusting! These little hiccups are totally normal, especially when you are moving from a simple vegetable forward into something as deep and satisfying as this roasted cauliflower soup.
My Soup Isn’t Smooth Enough—It’s Still Grainy!
This is usually a blender issue, pure and simple. Remember, we are aiming for that high-end, restaurant-quality velvety texture, which demands a powerful blend. If you are using an immersion blender directly in the pot, you might need to work it in sections or give it more time than you think. Immersion blenders are great for general work, but they often leave tiny flecks behind.
If you have a high-powered machine—like a Vitamix or a Blendtec—use it! Transfer the soup in batches (remember that hot liquid safety tip!) and let it run on high for a full 60 to 90 seconds. It might feel excessive, but that sustained speed is what truly pulverizes those cauliflower solids into silk. If you’re still seeing a bit of texture, that means you need more liquid *or* more time, not more solid ingredients.
The Flavor Feels Flat—It Needs More Punch
If your soup tastes savory but lacks that excitement—that brightness that cuts through the richness? That almost always points back to salt or acid. The roasting process mellows everything out, so we have to bring the flavor back up towards the end.
First, taste it for salt. Add kosher salt a half-teaspoon at a time, stirring well after each addition. Don’t just dump salt in! Second, and this is usually the real culprit, is acidity. That tablespoon of fresh lemon juice in the recipe is non-negotiable for balance, but sometimes, roasted vegetables need more lift. If it still tastes dull after salting, add another small squeeze of lemon juice, maybe a quarter teaspoon at a time. That bright acid wakes up the fat and the sweetness instantly. It’s amazing how often a bland soup just needs a touch of sour!
Frequently Asked Questions About This Roasted Cauliflower Soup
It’s natural to have questions when trying a new recipe, especially one relying on that crucial roasting step! I’m happy to walk you through anything that might give you pause before you dive in. We want every bowl of this soup to be a success story, nourishing your soul from the first spoonful to the last.
Is this a Low Carb Cauliflower Soup?
That’s a great question, especially since cauliflower is such a favorite among those watching their carb intake! Based on the nutrition information, each serving contains 22 grams of total carbohydrates, but a significant 7 grams of that comes from beneficial fiber. So, while it’s not zero-carb, for most popular low carb lifestyles, this definitely fits wonderfully into your plan. It’s a far healthier alternative to potato-thickened soups, making it a great choice for you!
Can I make this a Vegan Cauliflower Soup Option?
Absolutely, no problem at all! I briefly mentioned this substitution in the ingredients notes, but let me stress it here: You can easily make this completely vegan. Instead of using the half-cup of heavy cream in Step 7, swap it out 1:1 with the thick, rich cream layer skimmed from the top of a can of full-fat coconut milk. It provides the needed fat content to maintain that luxurious mouthfeel without introducing any dairy. Just make sure you chill the can thoroughly before opening it!
How to Achieve Maximum Soup with Caramelized Flavor?
If you take only one thing away from this entire recipe, let it be this: Roasting is everything! We are aiming for deep, nutty, almost sweet flavor, and that requires high, dry heat. The absolute key to the best roasted cauliflower soup flavor is making sure you spread those florets in a single, even layer—do not overcrowd the baking sheet! If they are touching too much, they steam, and steaming yields flat flavor. We need space so the edges can turn deep golden brown and achieve that fantastic caramelized flavor. I actually use two baking sheets sometimes rather than cramming everything onto one pan; it’s worth the extra dish to wash later, trust me!

What if I don’t have a high-powered blender for the silky texture?
If you’re worried about reaching that true velvety texture without a heavy-duty machine, don’t stress! You will just need to be more patient. When blending your soup in batches, let the mixture run for much longer—aim for a full two minutes per batch, checking halfway through to scrape down the sides. If you still feel it’s not quite smooth enough after that, you can strain the entire blended soup through a fine-mesh sieve before adding it back to the pot. It’s a quick extra step, but it guarantees that restaurant-quality finish. Let me know how it turns out; you can easily send me a message through the contact page!
Share Your Gourmet Gaze Roasted Cauliflower Soup Creations
Now that you’ve made your own batch of this deeply flavorful, creamy roasted cauliflower soup, I really want to hear about it! Seeing how you bring these recipes to life in your own kitchens is genuinely the reason I shifted my whole life to focus on food. Did you go with the Parmesan addition? Did you manage to roast that cauliflower until it was perfectly caramelized? Don’t be shy!
Please take a moment to leave your rating and review below. Five stars means the world, but any thoughtful feedback helps others who are nervous about roasting cauliflower for the first time. And if you snap a picture of your beautiful, velvety bowl, tag us! We absolutely love sharing reader creations on our site; it’s proof that anyone can create a feast for the eyes and the soul. Feel free to check out our approach to data sharing and privacy on the Privacy Policy page.
PrintCreamy Roasted Cauliflower Soup with Roasted Garlic and Nutmeg
This recipe delivers a velvety, deeply flavored roasted cauliflower soup perfect for a cozy weeknight dinner. Roasting the cauliflower and garlic creates a rich, caramelized base for this satisfying vegetarian meal.
- Prep Time: 15 min
- Cook Time: 40 min
- Total Time: 55 min
- Yield: 4 servings 1x
- Category: Dinner
- Method: Roasting and Simmering
- Cuisine: American
- Diet: Vegetarian
Ingredients
- 1 large head cauliflower, cut into florets
- 1 whole head garlic, top sliced off
- 3 tablespoons olive oil, divided
- 1 teaspoon salt, divided
- 1/2 teaspoon black pepper, divided
- 1 medium yellow onion, chopped
- 4 cups vegetable broth
- 1/2 teaspoon ground cumin
- 1/4 teaspoon ground nutmeg
- 1/2 cup heavy cream (or full-fat coconut milk for vegan option)
- 1 tablespoon fresh lemon juice
Instructions
- Preheat your oven to 400°F (200°C). Toss the cauliflower florets and the whole garlic head (wrapped in foil) with 2 tablespoons of olive oil, 1/2 teaspoon salt, and 1/4 teaspoon pepper.
- Spread the cauliflower on a baking sheet. Roast for 25 to 30 minutes, or until tender and lightly browned at the edges. Squeeze the softened roasted garlic from its skin once cool enough to handle.
- Heat the remaining 1 tablespoon of olive oil in a large pot or Dutch oven over medium heat. Add the chopped onion and cook until soft, about 5 minutes.
- Add the roasted cauliflower, roasted garlic, vegetable broth, cumin, nutmeg, and remaining 1/2 teaspoon salt and 1/4 teaspoon pepper to the pot. Bring the mixture to a simmer.
- Cook for 10 minutes to allow flavors to meld. Remove the pot from the heat.
- Carefully transfer the soup mixture to a blender (or use an immersion blender directly in the pot). Blend until completely smooth and velvety.
- Return the soup to the pot over low heat. Stir in the heavy cream (or coconut milk) and lemon juice. Heat through gently, but do not boil.
- Taste and adjust seasoning if needed. Serve this comforting soup immediately.
Notes
- For a richer flavor, substitute 1/2 cup of the vegetable broth with dry white wine and let it reduce slightly before adding the remaining broth.
- If you want a sharper taste, stir in 1/4 cup of grated Parmesan cheese at the end instead of using cream.
- This recipe works well as a make-ahead soup; cool completely, then store in an airtight container in the refrigerator for up to 4 days.
Nutrition
- Serving Size: 1.5 cups
- Calories: 245
- Sugar: 8
- Sodium: 450
- Fat: 16
- Saturated Fat: 7
- Unsaturated Fat: 9
- Trans Fat: 0
- Carbohydrates: 22
- Fiber: 7
- Protein: 9
- Cholesterol: 25