
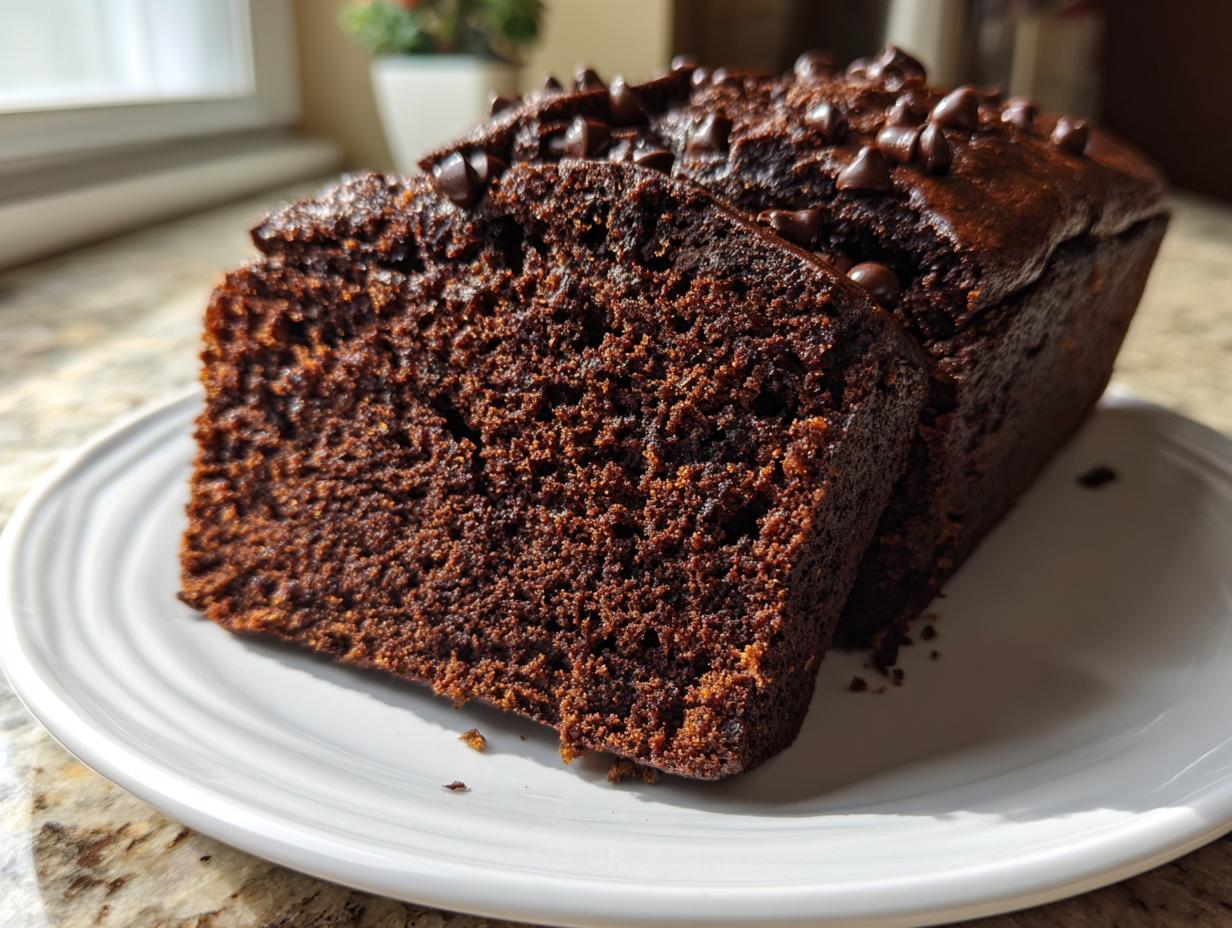

Are you tired of weeknight desserts that feel like cheating or weekend bakes that require an entire afternoon commitment? I get it. When I left my corporate life behind to pursue creating feasts worth sharing here at Gourmet Gaze, I knew I needed recipes that delivered big flavor without the fuss. That’s why I spent months perfecting this recipe for the Ultra-Moist One-Bowl Chocolate Bread with Chocolate Chips. Forget dry crumbs and complicated mixing; this simple loaf proves that the best chocolate bread is both incredibly rich and astonishingly easy. Seriously, this is the decadent slice you’ve been dreaming about.
- Why This Ultra-Moist Chocolate Bread Recipe Works (Experience & Trust)
- Gather Your Ingredients for Decadent Chocolate Bread
- Step-by-Step Instructions to Make Perfect Chocolate Bread
- Tips for the Best Chocolate Bread Every Time
- Serving Suggestions for Your Quick Chocolate Bread
- Storage and Reheating Instructions for Chocolate Bread
- Variations on This Chocolate Loaf Cake Recipe
- Frequently Asked Questions About Making Chocolate Bread
- Nutritional Estimates for This Easy Chocolate Bread
Why This Ultra-Moist Chocolate Bread Recipe Works (Experience & Trust)
When I was first developing this recipe—moving from spreadsheets to my home kitchen—I realized what people really want in a chocolate quick bread isn’t complexity; it’s assurance. They want moisture that lasts and a process that doesn’t require a stand mixer or kneading. This chocolate bread recipe gives you that confidence, which is exactly what I aim to share more about over on the Gourmet Gaze blog!
- The secret to a truly great loaf is balancing those wet and dry ingredients perfectly.
The Secret to Velvety Chocolate Bread Texture
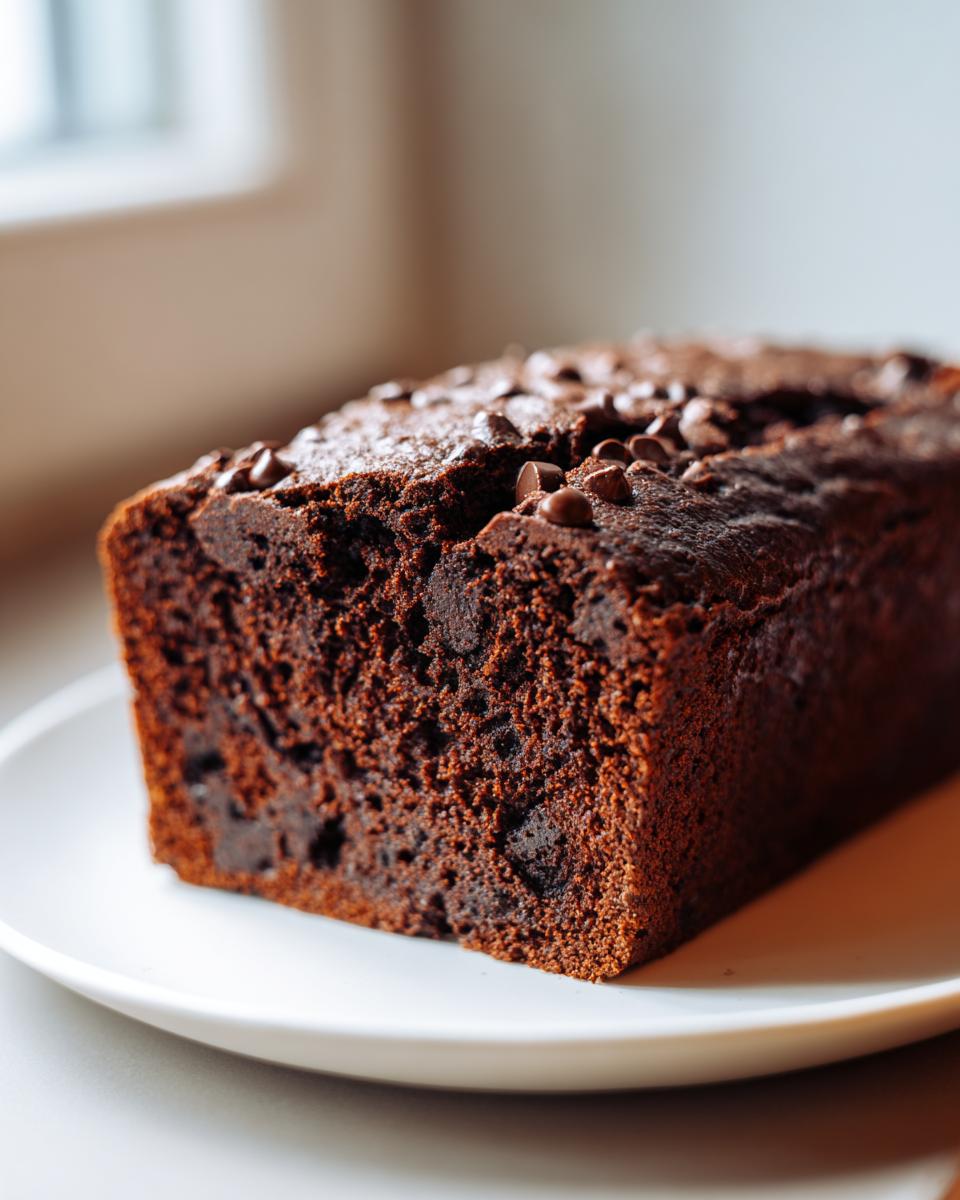
It all comes down to the liquids here. Using buttermilk introduces a slight acidity that reacts beautifully with the baking soda, giving you lift without sacrificing density. Then, we flood the batter with hot liquid—water or coffee—which blooms the cocoa powder, deepening that rich color and guaranteeing that velvety chocolate bread texture you see in the photos. Trust me, it melts!
One-Bowl Simplicity: The Easiest Chocolate Loaf
My background is in streamlining, remember? So, I hate unnecessary cleanup—that’s just bad design. This is truly a one bowl chocolate bread method. You mix the dry stuff, mix the wet stuff, combine them, add the hot water, and you are *done*. It’s fast enough for a weekday bake, yet it’s clearly decadent enough for company. No knead required, just that perfect, gooey result.
Gather Your Ingredients for Decadent Chocolate Bread
Before we dive into the baking process, let’s assemble our players. Baking relies on precision, and since I’ve obsessed over every gram and milliliter so you don’t have to, make sure you have these items ready to go. Getting everything measured out first is what moves you from aspiration to fantastic reality in the kitchen!
- 1 3/4 cups all-purpose flour
- 3/4 cup unsweetened cocoa powder
- 1 1/2 teaspoons baking soda
- 1 teaspoon baking powder
- 1 teaspoon salt
- 1 3/4 cups granulated sugar
- 2 large eggs
- 1 cup buttermilk
- 1/2 cup vegetable oil
- 2 teaspoons vanilla extract
- 1 cup hot water or hot brewed coffee
- 1 cup semi-sweet chocolate chips
Ingredient Notes and Substitutions for Your Chocolate Bread
Now, listen close, because this is where we turn a good loaf into a truly rich chocolate dessert bread. If you only change one thing, make it this: please, use hot coffee instead of hot water! The coffee doesn’t make the bread taste like a latte, I promise. It just wakes up the cocoa powder, making the chocolate flavor darker and deeper. It’s an easy step that elevates this entire loaf. Also, ensure your buttermilk is room temperature if you can; it mixes in much smoother that way!
Step-by-Step Instructions to Make Perfect Chocolate Bread
Alright, now that we have our ingredients lined up like a very serious team of flavor experts, let’s get this chocolate bread mixed! This is the part where patience really pays off, especially when it comes to mixing. Because we are using the quick bread method here—no yeast, no kneading—the golden rule is simple: mix until *just* combined. Overmixing is the enemy of moistness! If you’re looking for more after-dinner inspiration, check out my other ideas over at Gourmet Gaze desserts!
Mixing the Batter for the Best Chocolate Bread Recipe
First things first, get that oven hot—we’re aiming for 350°F (175°C) and have your 9×5 loaf pan greased and floured. In your big bowl, whisk all your dry stuff together: flour, cocoa, salt, and those lovely leaveners. Then, in a separate bowl—yes, one extra bowl, but only one!—whisk your eggs, oil, buttermilk, and vanilla. Pour the wet into the dry and stir until you see no more streaks of flour. Seriously, stop stirring! Now for the magic: gently whisk in that hot water or coffee. Don’t panic; the batter will be thin, like a very thick soup. That thinness is exactly what you want for that rich texture! Last, fold in your chips.
Baking and Cooling Your Homemade Chocolate Bread
Pour that beautiful, thin batter into your prepared pan. It bakes at 350°F (175°C) for about 50 to 60 minutes. You’re looking for moist crumbs clinging to your wooden skewer—not wet batter, but not bone-dry either. This indicator ensures you don’t dry out your lovely homemade chocolate bread. Once it looks done, let it rest in that pan for a solid 15 minutes. This resting time lets the structure set up before you try to wrestle it out onto a wire rack to cool down completely. Trust me, slicing it hot is just asking for trouble!
Tips for the Best Chocolate Bread Every Time
Even though this is designed to be foolproof, a few little tricks I picked up converting this from a messy test batch in my tiny city apartment kitchen to a reliable recipe for you really make that difference between good and unforgettable. I want your loaf to shine! These little nuances are what separate a basic printout from something truly special—take a look at some of the pro-level tweaks I use when baking over at the Gourmet Gaze blog.
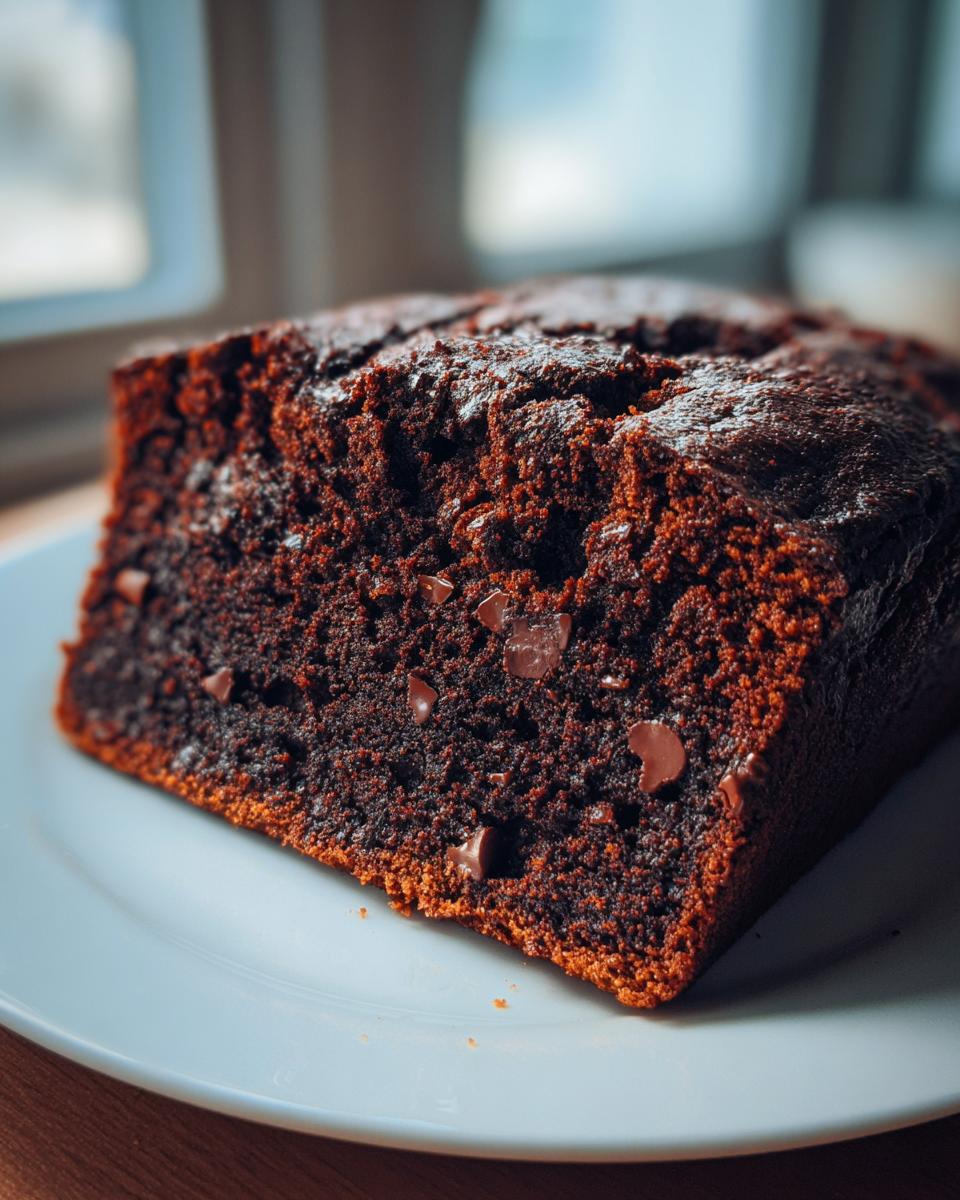
My absolute favorite move, which I listed in the notes, is creating that internal swirl. If you want to instantly upgrade this loaf into something that tastes like a dense fudgy brownie bread, you have to try this. Take about a quarter cup of your main batter—the thin stuff—and stir in two tablespoons of melted semi-sweet chocolate. It should look like thick mud, right? Gently dollop this super-chocolatey mixture right on top of the batter once it’s already in the loaf pan. Then, use a knife to swirl it through gently. It sinks a bit and creates these gorgeous, extra-rich veins of fudge throughout the slice.
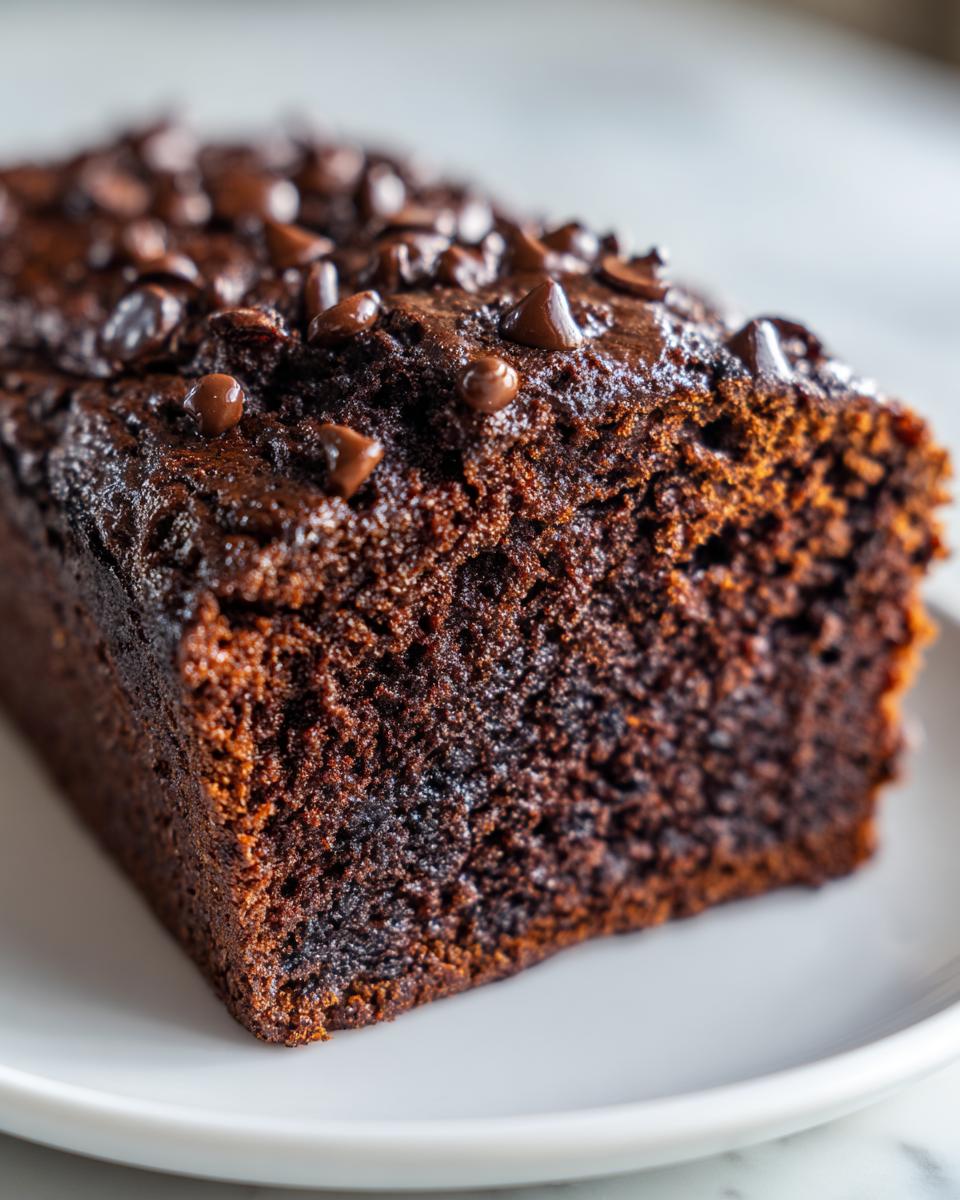
Another tip that often gets overlooked is the chocolate chips themselves. If you are using milk chocolate chips, try tossing them lightly in a teaspoon of flour before folding them in. This small step stops them from sinking straight to the very bottom of your loaf pan during the bake. We want them distributed evenly, nestled throughout that moist crumb, not just sitting in a dense cluster at the base!
Finally, when you pull this out of the oven, don’t rush the cooling process one bit. That 15 minutes in the pan is crucial for structure—otherwise, the tender, ultra-moist crumb structure just collapses when you try to unmold it. Patience is truly the final ingredient for success here!
Serving Suggestions for Your Quick Chocolate Bread
This is what I love most about an excellent chocolate bread: it’s so versatile! It’s not just a dessert; it’s truly a make-ahead staple. Because this loaf is so incredibly moist, it stands up beautifully to all sorts of toppings and pairings, whether you’re enjoying it first thing in the morning or as a late-night treat. If you are looking for more ways to integrate baking into your morning routine, swing by the Gourmet Gaze breakfast and brunch section for inspiration.
If you’re serving this quick bread chocolate as a dessert, I like to keep things simple but luxurious. A very light dusting of powdered sugar is elegant, but if you want to go all-in, try serving a slightly warmed slice with high-quality vanilla bean ice cream. The contrast between the warm, fudgy bread and the cold creaminess? Divine. It truly transforms into a rich chocolate dessert!
For breakfast or an afternoon snack, it’s fantastic sliced relatively thinly and toasted lightly under the broiler—just until the edges warm up enough to slightly melt those chocolate chips. A generous smear of softened, salted butter melting into that warm crumb is heaven. Honestly, sometimes I just eat slices plain, straight from the pan after it’s cooled down enough to slice without crumbling. Don’t judge; we all have those moments when we just want the pure, unadulterated chocolate experience!
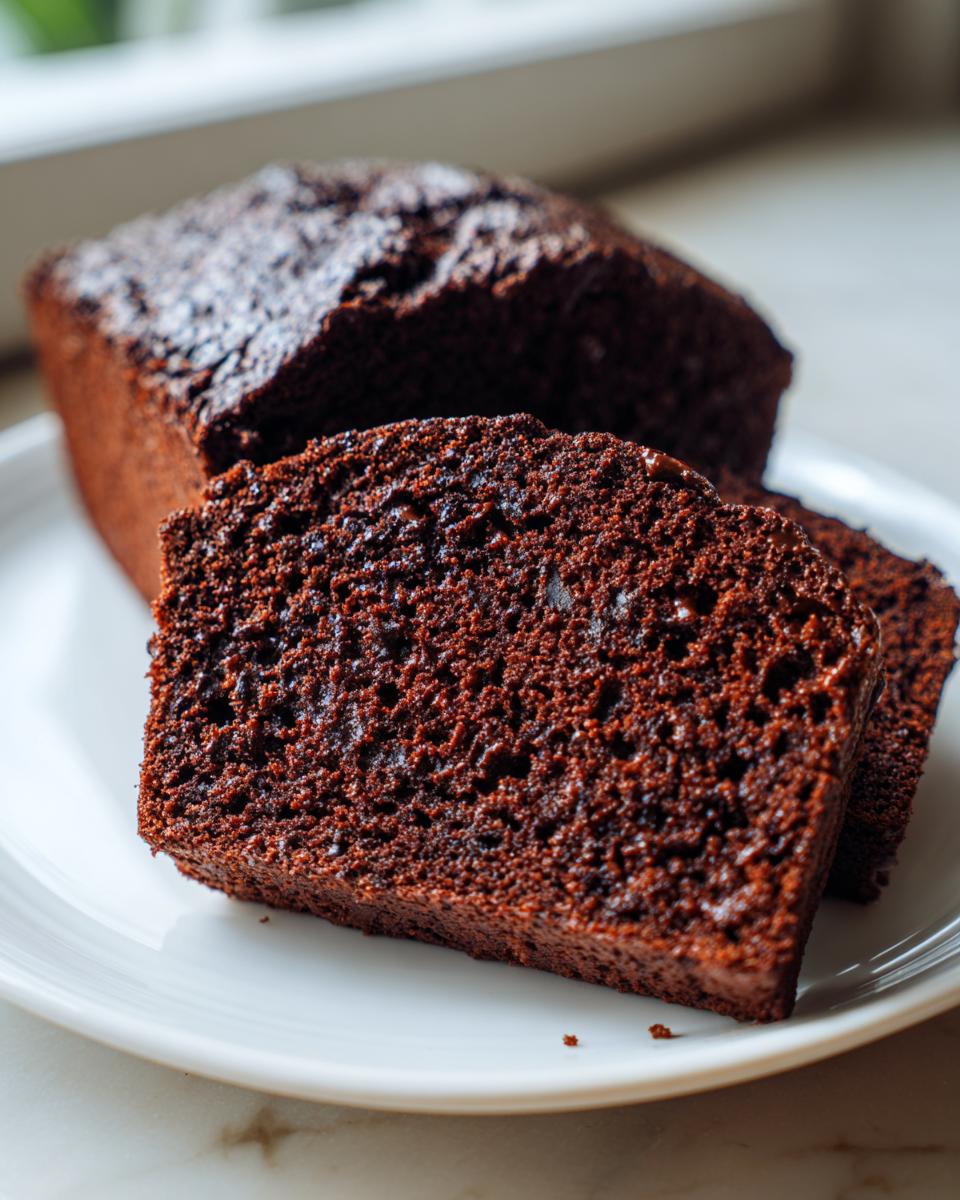
Storage and Reheating Instructions for Chocolate Bread
We worked hard to make this moist chocolate bread, so we need to keep it that way! Once your loaf is completely cool—and I mean *completely*—wrap it tightly in plastic wrap, then slide that into an airtight container or a sealable bag. Stored this way on the counter, it should stay beautifully fresh for three to four days because of the oil content keeping things tender.
If you have extra, and I mean *extra*, it freezes like a dream. Slice it first, then freeze the slices between sheets of parchment paper in a freezer-safe bag. When you need a quick fix, just pop a slice in the microwave for about 15 to 20 seconds. That little hit of warmth brings back that fresh-from-the-oven gooey texture. You could also warm it in a low oven if you prefer a slightly crisper edge.
Variations on This Chocolate Loaf Cake Recipe
Part of the joy of mastering a base recipe like this, whether you call it bread or an easy dessert, is knowing you can tweak it endlessly. My journey from corporate burnout showed me that creativity in the kitchen is about flexibility, not rigidity! So, once you nail the base technique for this ultra-moist chocolate loaf, you have permission to play around. We’ve already talked about swirling extra fudge in, but there are other delicious directions you can take this recipe if you’re looking for something slightly different!
If you’re finding yourself wishing for something that nails that perfectly comforting breakfast slot, try introducing some fruit. You can absolutely turn this into a beautiful banana chocolate bread! Just mash up one very ripe banana—and I mean *very* spotty and soft—and simply add it right in with the wet ingredients before combining them with the dry. The banana adds even more natural sweetness and moisture, making the final crumb incredibly tender. You might want to pull it out of the oven about 5 minutes sooner than the base recipe calls for, just to keep that banana-chocolate blend soft!
For those who prefer to bake something that feels slightly more like a coffee cake than a quick bread, think about what you’re topping it with. Instead of folding all the chocolate chips into the batter, hold back a half-cup. Pour your thin batter into the prepared pan, then sprinkle those remaining chips liberally over the top. Then, I like to make a quick streusel topping—flour, brown sugar, a tiny bit of cold butter rubbed in—and scatter that over the chips. This transforms your loaf into something nearly indistinguishable from a rich, bakery-style offering. It’s a stellar way to use this basic chocolate loaf cake recipe!
If you’re feeling adventurous and want to explore fruit pairings further, you might be interested in my recipe for Chocolate Banana Pops—it uses similar foundational flavors but presents them in a fun, handheld format, which is great for testing out different inclusions!
Frequently Asked Questions About Making Chocolate Bread
I know that baking something new can sometimes bring up a few sticky questions right before you start. That’s perfectly normal! When I was first perfecting this mix, I had dozens of questions myself about how to get that perfect texture in a chocolate bread loaf. Here are a few things I always get asked about this particular recipe. I hope these tips ease any worries you might have before you get started!
Can I skip the hot water/coffee in this chocolate bread recipe?
I strongly advise against skipping it! That step is mandatory for the deep, rich flavor and the ultra-moist texture you want. That hot liquid is doing something called “blooming” the cocoa powder. It dissolves the cocoa solids perfectly, which releases its full depth of chocolate flavor. If you skip it, your bread will still taste okay, but it will likely be duller in color and noticeably drier and more crumbly, losing that signature velvety feel we are aiming for.
How do I achieve a bakery style chocolate loaf look?
Achieving that professional finish is so easy with this loaf! To get that gorgeous, uniform color on top, you can actually skip the powdered sugar dusting I suggested for the simplest version. Instead, after the bread has cooled for about 10 minutes but is still warm, brush the top lightly with a mixture of melted butter and a tablespoon of powdered sugar. If you want that classic look of a bakery style chocolate loaf, try adding a thin, simple chocolate glaze right before serving. Just whisk together a half cup of powdered sugar with a tablespoon of milk and a teaspoon of vanilla; drizzle it back and forth over the top!
What size pan should I use for the baking time given?
The specified baking time of 50 to 60 minutes is exactly right for a standard 9×5 inch loaf pan, which is what I used in my testing. If you decide to split this batter equally between two smaller loaf pans, you’ll need to check them earlier, maybe around the 35-minute mark—the heat reaches the center faster. Conversely, if you pack it all into a very deep Bundt pan, you might need another 10 to 15 minutes; always rely on that toothpick test!
Nutritional Estimates for This Easy Chocolate Bread
I always hesitate a little when talking about nutrition because, let’s be honest, this is a rich, decadent chocolate bread! We bake this for comfort and flavor, not for a salad dressing contest. But, because I want you to have all the information you need, here are the approximate estimates for one slice of this magnificent loaf. Remember that I’m a cook, not a certified nutritionist, so these values are based on the standard ingredients listed on the package. If you swap in darker chocolate or use a different type of oil, things will shift!
For sharing purposes, I based these figures on slicing the loaf into 10 generous servings—perfect for pairing with coffee, as seen on sites like Rich and Delish. Enjoy it responsibly, or don’t—life is too short to skip out on great chocolate bread!
- Serving Size: 1 slice
- Calories: 320
- Sugar: 35g
- Fat: 16g (Saturated Fat: 4g)
- Carbohydrates: 45g
- Protein: 4g
You’ll notice the sugar is high, but that’s what gives us that fantastic, fudgy texture! Because this bread uses oil rather than solid butter, we get some lovely unsaturated fats in there too. If you’re ever wondering how to lighten up a recipe, sometimes switching fats is the easiest place to start, but I stand by the oil for making this the best version possible.
PrintUltra-Moist One-Bowl Chocolate Bread with Chocolate Chips
This recipe delivers an ultra-moist, rich chocolate bread with a velvety texture, perfect for breakfast or dessert. It is a simple, one-bowl method that requires no kneading.
- Prep Time: 15 min
- Cook Time: 60 min
- Total Time: 75 min
- Yield: 1 loaf (about 10 servings) 1x
- Category: Dessert
- Method: Baking
- Cuisine: American
- Diet: Vegetarian
Ingredients
- 1 3/4 cups all-purpose flour
- 3/4 cup unsweetened cocoa powder
- 1 1/2 teaspoons baking soda
- 1 teaspoon baking powder
- 1 teaspoon salt
- 1 3/4 cups granulated sugar
- 2 large eggs
- 1 cup buttermilk
- 1/2 cup vegetable oil
- 2 teaspoons vanilla extract
- 1 cup hot water or hot brewed coffee
- 1 cup semi-sweet chocolate chips
Instructions
- Preheat your oven to 350°F (175°C). Grease and flour a 9×5 inch loaf pan.
- In a large bowl, whisk together the flour, cocoa powder, baking soda, baking powder, and salt.
- Add the sugar to the dry ingredients and whisk to combine thoroughly.
- In a separate bowl, whisk together the eggs, buttermilk, vegetable oil, and vanilla extract.
- Pour the wet ingredients into the dry ingredients. Mix with a whisk or spatula until just combined. Do not overmix.
- Carefully pour the hot water or hot coffee into the batter. Mix gently until the batter is smooth. The batter will be thin.
- Fold in the chocolate chips.
- Pour the batter into the prepared loaf pan.
- Bake for 50 to 60 minutes, or until a wooden skewer inserted into the center comes out with moist crumbs attached.
- Let the bread cool in the pan for 15 minutes before turning it out onto a wire rack to cool completely.
Notes
- Using hot coffee instead of hot water deepens the chocolate flavor, creating a more decadent chocolate bread experience.
- For an extra fudgy swirl, reserve 1/4 cup of the batter and mix it with 2 tablespoons of melted chocolate before swirling it into the main batter in the pan.
- This bread slices best once it has cooled completely.
Nutrition
- Serving Size: 1 slice
- Calories: 320
- Sugar: 35
- Sodium: 280
- Fat: 16
- Saturated Fat: 4
- Unsaturated Fat: 12
- Trans Fat: 0
- Carbohydrates: 45
- Fiber: 2
- Protein: 4
- Cholesterol: 45