
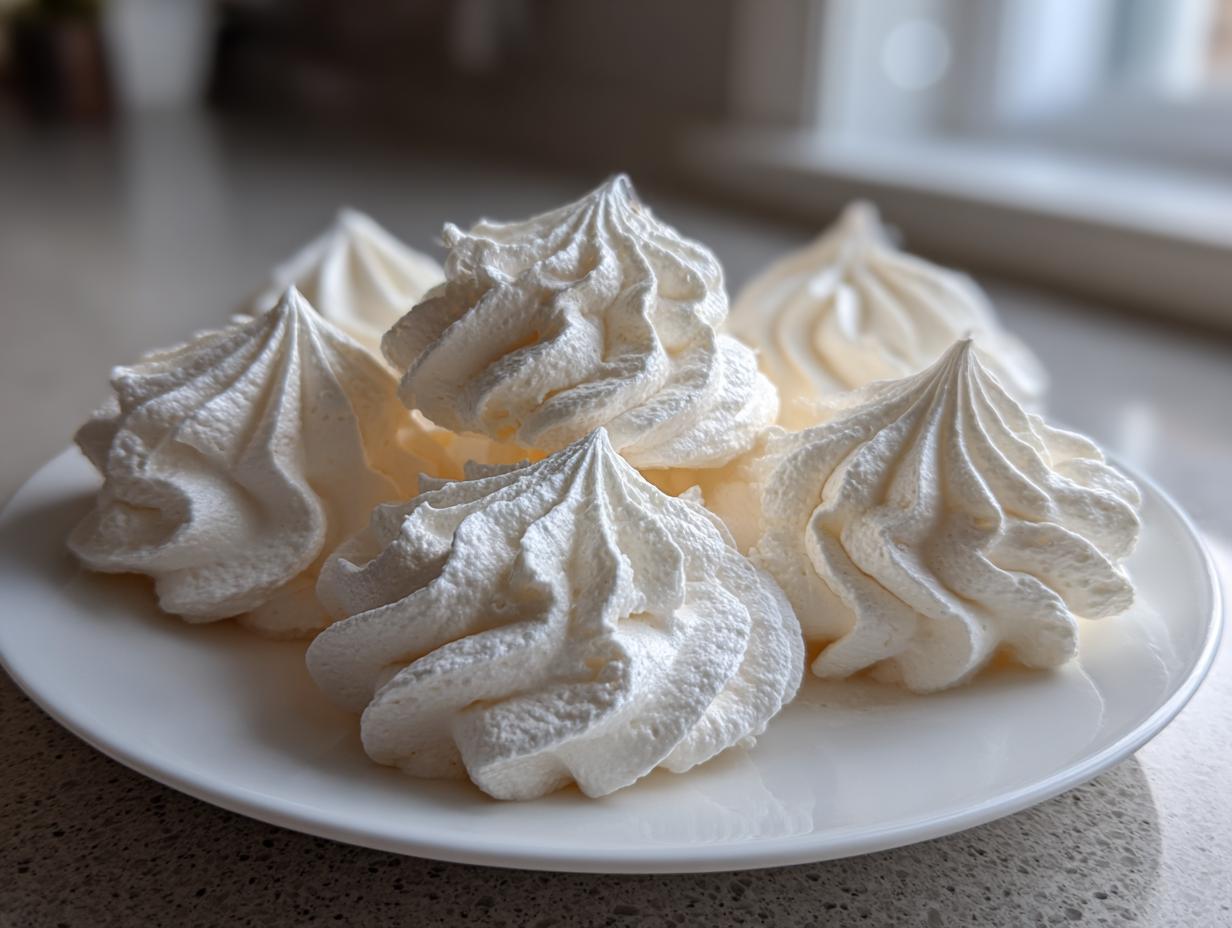

When I first started my culinary pilgrimage, I thought delicate sweets like meringue cookies were purely the domain of pastry chefs. They seemed so fragile, so intimidating! But I spent countless weekends in this very kitchen chasing that ideal—that perfect, cloud-like structure that snaps satisfyingly before dissolving on your tongue. Forget those chewy or sticky failures; I’ve brought you the ultimate easy and foolproof recipe for **crispy meringue cookies** that truly achieve that elusive melt-in-your-mouth texture. After rigorous testing, I promise these delicate sweet treats are now perfectly reliable for every home baker. If you’re looking for stunning holiday meringue desserts or an elegant centerpiece for your next platter, you’ve found your new favorite recipe. You can explore more of my favorite desserts here: my favorite baked goods.
- Why This is the Best Meringue Cookie Recipe for Beginners
- Ingredients for Foolproof Meringue Cookies
- How to Make Perfect Meringue Using the French Method
- Baking and Cooling for Crispy Meringue Cookies
- Tips for Success with Meringue Recipe for Beginners
- Storage and Keeping Your Meringue Cookies Fresh
- Variations on Classic Meringue Cookies
- Frequently Asked Questions About Meringue Cookies
- Share Your Perfect Meringue Cookies Creations
Why This is the Best Meringue Cookie Recipe for Beginners
I get it—egg whites can be terrifying when you’re trying to master them! When I first started, my whites would collapse if someone walked too heavily across the room. It felt like impossible magic. But that’s why I’m so excited to share this **No Fail Meringue Recipe**. We are using the French meringue method here, which is the most approachable and incredibly reliable for making **Easy Meringue Cookies**. The magic relies on two things we cover in detail: whipping the whites to those sturdy, glossy peaks, and then using that essential low-and-slow bake. This technique ensures you don’t end up with a cracked, sticky mess; you get beautiful, delicate sweet treats instead. If you’re sticking to the basics, this one is foolproof. You can always find more of my tested guides over on my blog archives.
Achieving Light and Airy Dessert Perfection
The goal here is that truly beautiful, **light and airy dessert** texture you see in bakeries. The ratio of sugar to the egg white volume is what locks that air in. Think of the sugar as the scaffolding holding up the structure created by the whipped proteins. Add it slowly, and you build a strong framework that results in wonderfully **crispy meringue cookies** that are never grainy. It’s this stable foundation that lets the heat gently dry the meringue out, locking in that airy cookie recipe goodness.
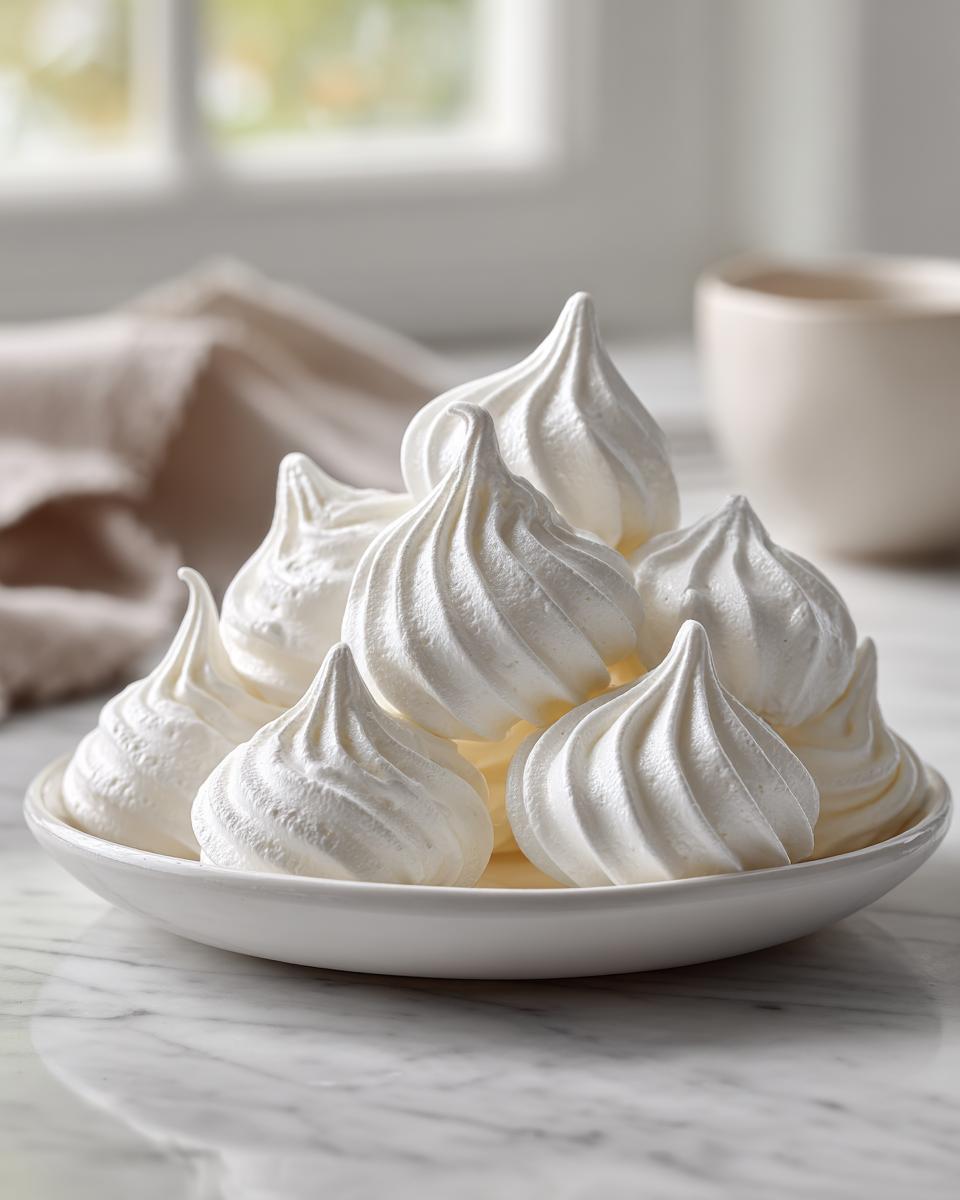
Ingredients for Foolproof Meringue Cookies
When you’re dealing with something as temperamental as egg whites, you need to respect the ingredients. Don’t worry about finding obscure things; this recipe relies on pantry staples transformed by technique. Because we aren’t using any flour, these turn out wonderfully pure. Following this list exactly will yield about three dozen of these beautiful, melt in your mouth cookies. Write this down, because preparation here matters as much as the mixing!
- 4 large egg whites, must be room temperature
- 1 cup granulated sugar
- 1 teaspoon pure vanilla extract
- 1/4 teaspoon cream of tartar
- Pinch of salt
Ingredient Notes and Essential Substitutions
Let’s talk about those crucial details while everything is measured out. First, those egg whites absolutely must be room temperature. Cold whites just won’t whip up to the volume you need for that light and airy cookie recipe. When you whip, you create volume, and cold proteins resist that expansion. Also, the cream of tartar and that tiny pinch of salt? Those aren’t optional; they are your secret weapons! They act as stabilizers, meaning they help those fluffy air bubbles stay put and give you those firm peaks we are aiming for. Since this recipe uses zero flour, I love pointing out that these are naturally gluten free cookies, which is fantastic for guests with sensitivities. If you accidentally forget the cream of tartar, a teaspoon of white vinegar can step in, but honestly, stick to the tartar for maximum success on your first try.
How to Make Perfect Meringue Using the French Method
Alright, this is where we get down to business—the actual magic of learning How to Make Perfect Meringue. This section is the heart of earning those beautiful, crisp results. We are going technique-heavy here because, honestly, that’s the only way to get these baked meringues tutorial results to shine. Follow these steps methodically, and you’ll see why this French method is the best for beginners seeking delicious, airy cookie recipes.
Prepping for Crisp Meringue Cookies
Before you even think about turning on the mixer, you must prep your environment! First thing: set that oven. We want it as low as humanly possible, usually 200°F to 225°F. These cookies aren’t meant to bake; they are meant to dry out slowly. Next, and this is non-negotiable for your meringue cookies, wipe down your mixing bowl and whisk attachment with a little white vinegar or lemon juice. Seriously! Any microscopic trace of grease will prevent your egg whites from ever hitting those stiff, glossy peaks. A clean bowl equals success.
Piping and Shaping Your Sweet Meringue Kisses
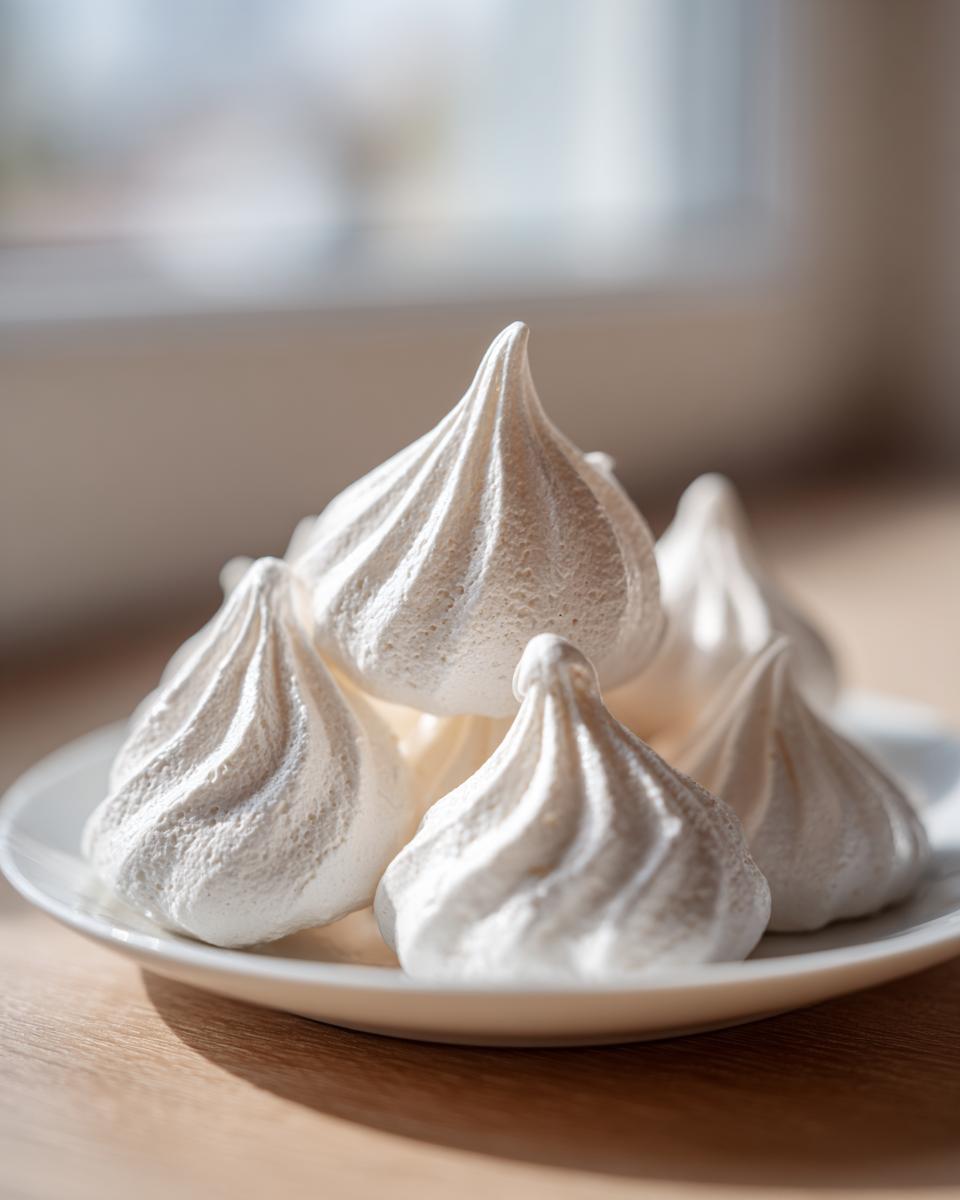
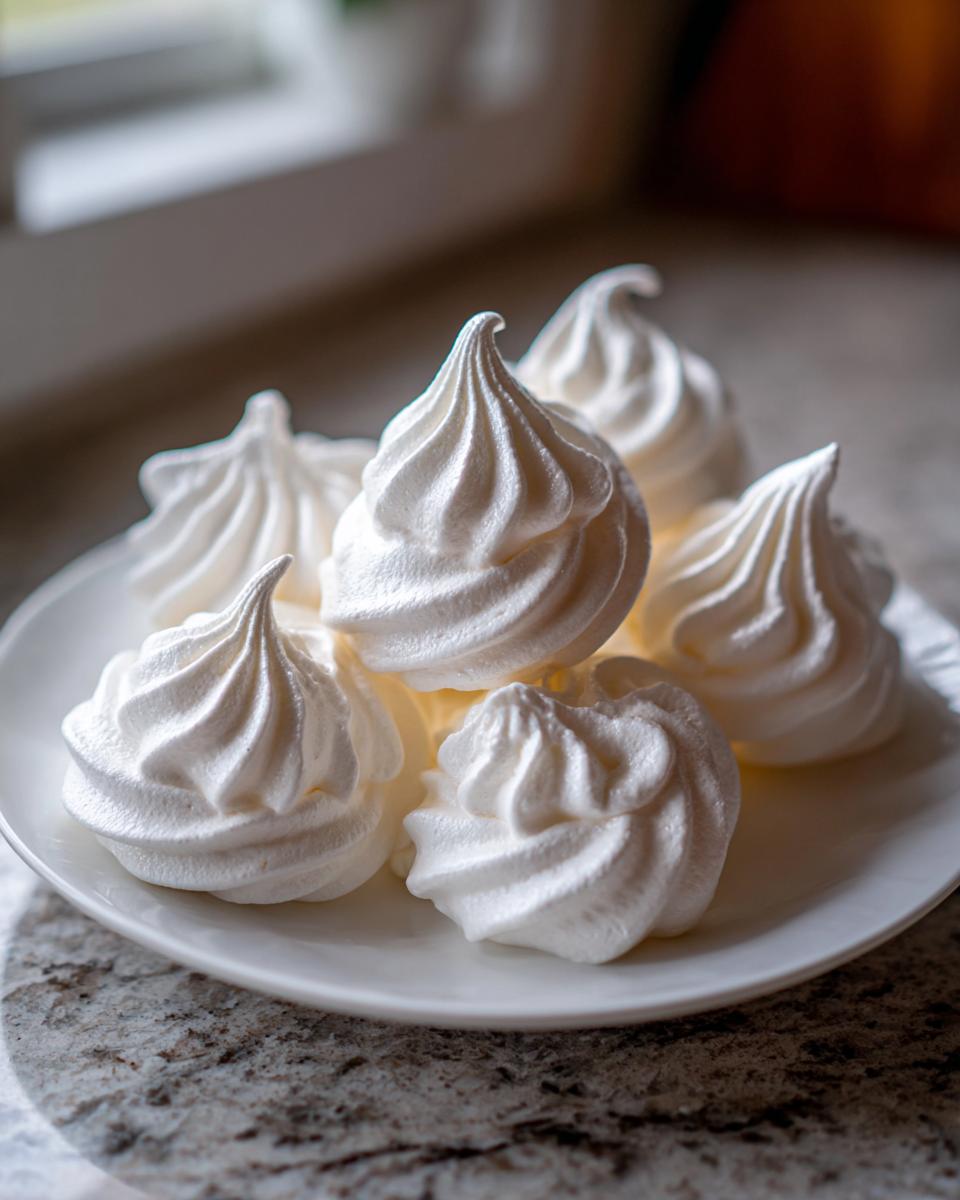
Once you hit those stiff peaks—we’ll get there in a moment—it’s time to shape. You have options! If you want those showstopping, elegant swirls perfect for special occasions, load that glorious meringue into a piping bag fitted with a roomy star tip, like a Wilton 1M. Pipe little dollops high enough so they hold their shape, remembering to leave about an inch between each one on your parchment-lined sheets. If piping stresses you out, don’t fret! You can use two regular tablespoons to drop rustic, charming dollops. Either way, aim for consistency so everything bakes evenly. This process makes about three dozen of these lovely sweet meringue kisses.
Don’t forget you can check out my recipe for easy lime sorbet if you need another light dessert inspiration!
Baking and Cooling for Crispy Meringue Cookies
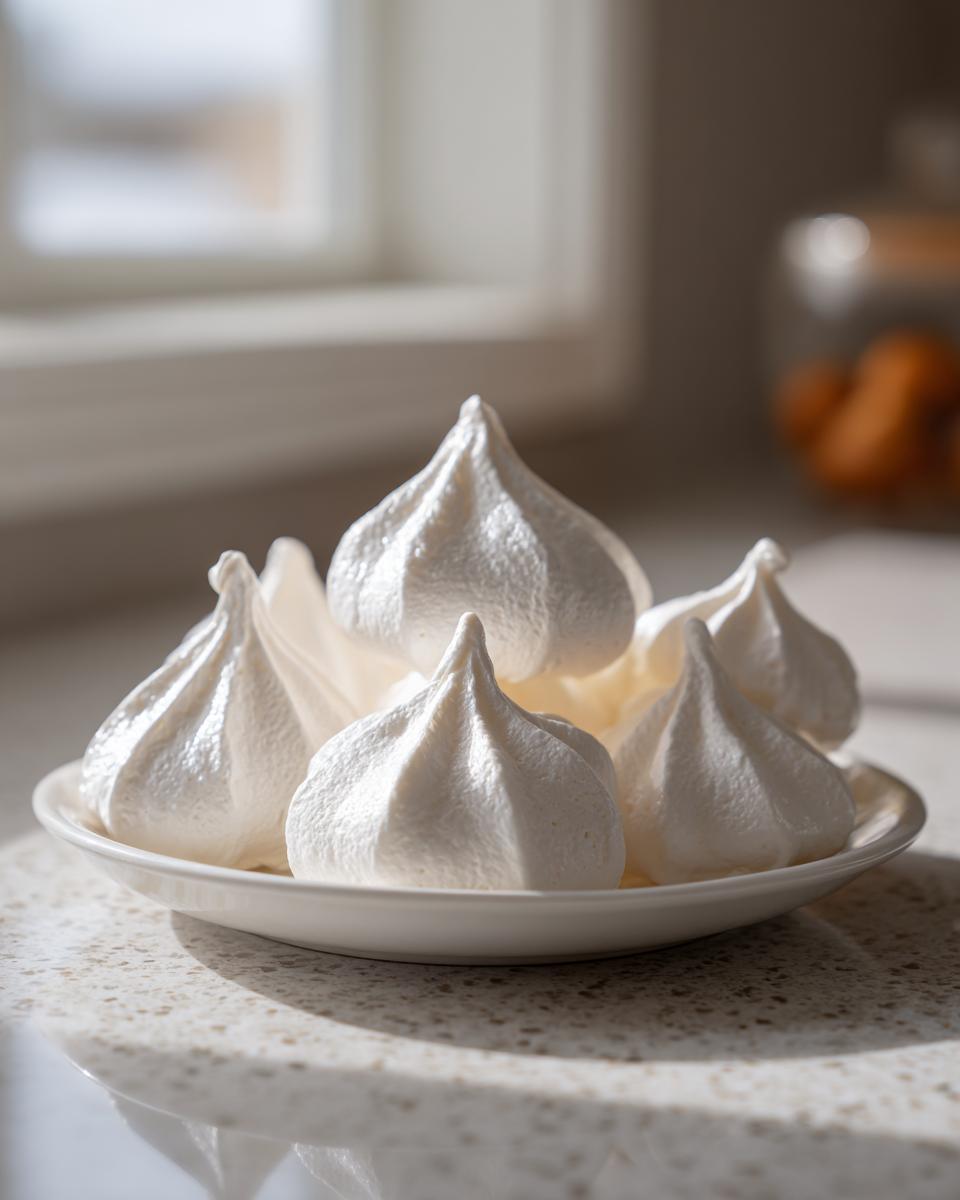
Now we move to the oven, and here is where most people panic! They crank the temperature up, thinking fast heat equals done baking. Wrong! For these meringue cookies, we are essentially dehydrating them gently. We want them pale, like little sweet clouds, not golden brown centers. Set that heat low—somewhere between 200°F and 225°F is what my tests show works best. They might take 60 to 90 minutes, depending on just how big you made those dollops. You’re looking for them to lift easily off the parchment paper without sticking.
But the real secret to achieving that perfect, shatteringly crisp shell that melts in your mouth? It happens after you turn the oven off! Trust me on this one; never pull them straight out into the cooler air, or they’ll collapse or crack instantly. When the time is up, turn the oven completely off. Then, take a wooden spoon—any wooden spoon will do!—and wedge it into the oven door so it stays open just a crack. Leave the crispy meringue cookies inside that warming-but-cooling chamber for at least an hour, but ideally, you let them sit there overnight. This slow temperature decline removes every last bit of moisture without shocking the delicate structure. When you finally pull them out in the morning, they will be perfectly dry, incredibly crisp, and ready to impress. It’s worth the wait, I swear! If you want another simple baked treat to master, you should look at my easy apple crumble recipe.
Tips for Success with Meringue Recipe for Beginners
Even with the best blueprint, baking can throw curveballs, especially when working with simple chemistry like this **meringue recipe for beginners**. I’ve made every mistake in the book so you don’t have to! If you follow the low oven temperature, you should avoid major cracking, but sometimes things still go a little sideways. Pay attention to these few spots, and you’ll nail that perfect, airy cookie recipe every single time.
First, let’s talk about weeping. If you pull those gorgeous meringues out and see little beads of sticky moisture forming on the surface—that’s weeping! It almost always means one thing: the sugar didn’t completely dissolve into those egg whites before you started beating them hard. When you add the sugar one spoonful at a time, rub a tiny bit between your fingers. You want it to feel perfectly smooth before you move to the next spoon. If you feel grit, keep mixing!
Second, humidity is your enemy when making **crispy meringue cookies**. Meringue is hygroscopic, meaning it loves sucking up moisture from the air. If it’s raining, or a fog has rolled in, your cookies might come out soft no matter how long you bake them. If you notice the air is heavy, try to bake this on a drier day, or plan to increase that final oven-cooling time drastically. Don’t be tempted to rush them!
Finally, if your meringue seemed fine coming out of the oven but they feel slightly soft the next day, that’s usually a storage issue. These are not like chewy chocolate chip cookies; they need dry air! Do not put them in the refrigerator; that humidity will instantly ruin the melt-in-your-mouth texture. Once completely cool, store them in an airtight container at room temperature away from any heat sources. They are so delicate, but when stored right, they last for ages.
Storage and Keeping Your Meringue Cookies Fresh
You’ve done all the hard work, waited patiently for them to dry out, and now you have these gorgeous, light, and airy dessert treats! The last thing we want is for all that effort to result in soft, sticky puddles a day later. The storage phase is almost as critical as the whipping phase when dealing with meringue cookies. Remember, the goal is to keep them perfectly crisp so they deliver that wonderful snap followed by that dreamy, melt in your mouth quality.
My golden rule here? No refrigeration. Ever! I know it seems counterintuitive, like putting leftovers in the fridge keeps them fresh, but the cold air traps moisture inside the container once you bring them back out, and moisture is the mortal enemy of a perfectly baked meringue. You just cannot let them absorb that dampness.
Instead, you need a truly airtight container. Glass jars with clamp lids are my absolute favorite for this, but any high-quality plastic container that seals tightly works too. Keep these containers in a cool, dry spot in your pantry or on your counter, away from the stove or any direct sunlight that might warm them up. If you store them well, these meringue cookies can last for quite a long time, which is brilliant for making ahead for holiday cookie swaps or large dessert platters. Speaking of making ahead, if you love classic, simple baking, you have to check out my recipe for old-fashioned tea cakes; they store just as beautifully!
Variations on Classic Meringue Cookies
Part of the joy of mastering a base recipe, like our fantastic meringue cookies, is knowing you can play with the flavors once you nail the technique. You’ve gotten your ratios right, you’ve achieved those stiff, glossy peaks, and the oven temperature is locked in. Now you can start thinking about how to dress these little clouds up! The key, though—and I can’t stress this enough—is that you only introduce these flavors *after* the sugar is fully incorporated and you have that stiff, stable meringue structure. Adding extras too early will deflate all the air we worked so hard to create!
For simple flavor twists, you can introduce extracts right there at the end with the vanilla. Almond extract adds a beautiful, almost marzipan-like note that goes wonderfully with the crisp texture. Peppermint extract makes these perfect little holiday meringue desserts, just in time for Christmas cookie season! You just need about half a teaspoon alongside your vanilla, whisking gently until combined. Then pipe them out immediately and get them into that low oven.
If you want texture, think about mix-ins. But be careful here! You can gently, gently fold in things like finely ground, toasted nuts—think pecans or almonds—or even finely sifted cocoa powder for a chocolate version. If you’re using cocoa, you might need just a touch more egg white or a bit longer beating time to stabilize things again, so watch those peaks closely. Some people love swirling in crushed freeze-dried fruit powder for color and tang, which is a smart way to get flavor without adding unwelcome moisture. If you want to see another one of my favorite flavor combinations that really sings, check out my strawberry chicken salad recipe—it proves that bright fruit flavors work wonders!
For other amazing, slightly more advanced ideas on playing with the base, I always recommend checking out this great guide for extra inspiration. Seeing what others do really sparks creativity!
Frequently Asked Questions About Meringue Cookies
Because these **meringue cookies** rely so heavily on technique and environment, it’s completely natural to have questions pop up before or after baking. I’ve compiled the ones I get asked the most often here in the Gourmet Gaze kitchen. Don’t hesitate to reach out via my contact form if yours isn’t answered below!
Can I make meringue cookies without a stand mixer?
Yes, you absolutely can, but prepare for a workout! The stand mixer makes this process effortless because it maintains high speed consistently, which is necessary for building stable volume. If you are using a good-quality hand mixer, you can certainly achieve success, but you will need to beat those egg whites much longer—maybe 10 to 15 minutes just to reach soft peaks, and then another 10 minutes while adding the sugar. If you’re feeling very ambitious and determined to create this **Airy Cookie Recipe**, you could even do it by hand with a balloon whisk, but honestly, it takes dedication and very strong arms! My advice? If you plan on making this often, invest in a mixer; it’s worth it for the peace of mind.
Why did my meringue cookies turn sticky or weep?
This is the classic complaint, and it usually boils down to one of two culprits, whether on the surface or throughout the cookie. First, and most common: undissolved sugar. As I mentioned in the main instructions, you need to ensure that your mixture feels utterly smooth between your fingertips before you move on to high speed. If there’s any grit, that sugar will leach moisture out of the egg whites while baking or cooling, causing stickiness. Second, humidity. If you live in a very damp climate, or if it’s rainy outside, the air itself is trying to steal moisture from your perfectly dry cookies. While our low-and-slow baking process helps, extreme humidity can sometimes win. Remember, these lovely treats are naturally gluten free cookies, which means they are mostly air and sugar, so they are susceptible to environmental moisture.
Share Your Perfect Meringue Cookies Creations
Wow, we made it! You’ve successfully navigated the delicate dance of whipping egg whites, managing the low oven heat, and patiently waiting for the cooling process. I truly hope you are holding a tray of these beautiful, crisp, and utterly delicious **meringue cookies** right now. If you followed along, you should have achieved that breathtaking, light and airy dessert quality that makes everyone ask for the recipe.
Now, here’s where I need your help because I love seeing the results of my readers’ efforts! I pour my heart into testing these recipes—like these **Easy Meringue Cookies**—to ensure they work reliably, and seeing your photos is the absolute best reward. Did you try piping them into elegant kisses, or did you go for the rustic dollops? Did you manage to get them perfectly crisp, or did you have a little weeping moment you had to troubleshoot?
Please, leave a star rating down below if this recipe delivered that melt-in-your-mouth magic you were looking for. Better yet, snap a picture of your finished tray and tag Gourmet Gaze on social media! Your success stories are what truly make this culinary journey worthwhile. It keeps me inspired to test the next batch of delicate sweet treats for all of us. I’m always curious to see how everyone decorates their masterpieces. I can’t wait to hear about your triumphs—or even learn from your challenges!
If you’re looking for more inspiration for your baking adventures or want to learn more about how Gourmet Gaze started, feel free to read all about my story here!
PrintUltimate Easy & Foolproof Classic Meringue Cookies Recipe
Master the art of making perfect, light, and airy meringue cookies that are crisp outside and melt in your mouth. This simple French meringue recipe is reliable for beginners and naturally gluten free.
- Prep Time: 15 min
- Cook Time: 90 min
- Total Time: 105 min
- Yield: About 3 dozen 1x
- Category: Dessert
- Method: Baking
- Cuisine: American
- Diet: Gluten Free
Ingredients
- 4 large egg whites, room temperature
- 1 cup granulated sugar
- 1 teaspoon pure vanilla extract
- 1/4 teaspoon cream of tartar
- Pinch of salt
Instructions
- Preheat your oven to the lowest setting, typically between 200°F and 225°F (95°C to 107°C). Line two baking sheets with parchment paper.
- Wipe your mixing bowl and whisk attachment with a little vinegar or lemon juice to remove any trace of grease. This helps achieve stiff peaks.
- Place the room-temperature egg whites and salt into the clean bowl of a stand mixer fitted with the whisk attachment. Beat on medium speed until soft peaks form.
- Add the cream of tartar and continue beating. Slowly begin adding the granulated sugar, one tablespoon at a time, allowing about 30 seconds between additions. This slow addition is key for stable meringue.
- Once all the sugar is incorporated, increase the speed to high. Beat until the meringue is stiff, glossy, and holds firm peaks when the whisk is lifted. Rub a small amount between your fingers; it should feel smooth, not gritty.
- Beat in the vanilla extract until just combined.
- Transfer the meringue to a piping bag fitted with a large star tip (like Wilton 1M) or simply use two spoons for rustic dollops.
- Pipe or spoon small kisses onto the prepared baking sheets, leaving a little space between each one.
- Bake for 60 to 90 minutes, depending on the size of your cookies and your oven’s temperature. The goal is to dry them out, not brown them.
- Turn off the oven, prop the door open slightly with a wooden spoon, and let the meringue cookies cool completely inside the oven for at least one hour, or preferably overnight. This prevents cracking and ensures a crisp texture.
- Store the crispy meringue cookies in an airtight container at room temperature.
Notes
- Ensure your egg whites are at room temperature for the best volume when whipping.
- Humidity affects meringues; try to bake on a dry day for the best melt-in-your-mouth results.
- If you see weeping or beads of moisture on the cookies after cooling, your sugar was not fully dissolved before baking.
Nutrition
- Serving Size: 1 cookie
- Calories: 45
- Sugar: 11g
- Sodium: 2mg
- Fat: 0g
- Saturated Fat: 0g
- Unsaturated Fat: 0g
- Trans Fat: 0g
- Carbohydrates: 11g
- Fiber: 0g
- Protein: 0.5g
- Cholesterol: 0mg