
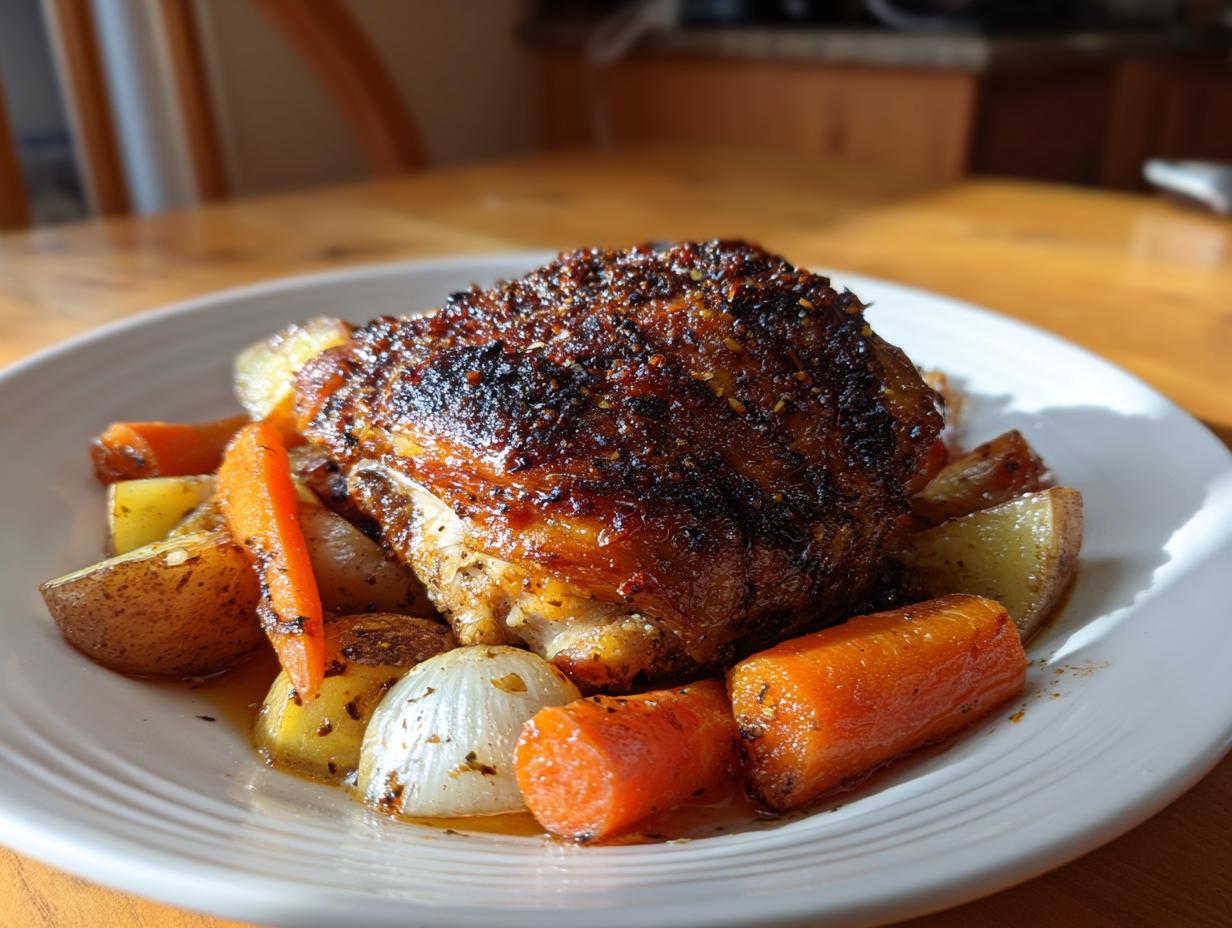

There are some meals that just wrap you up like a warm blanket, right? For me, that’s always been a hearty, slow-cooked dinner. When I first left the corporate grind, I realized that the most satisfying cooking wasn’t fussy; it was about building deep, honest flavor in one vessel. That’s exactly what guided me when I perfected this recipe for the Ultimate Crispy Skin Dutch Oven Braised Chicken Thighs with Root Vegetables. Yes, you heard that right—we get that deeply satisfying, fall-apart tenderness from braising, but we keep the skin unbelievably crisp! This isn’t just another recipe; it’s my answer to those hectic nights when you need a true comfort food chicken dinner that feels incredibly gourmet but actually saves you time. If you want to know more about my journey from spreadsheets to skillets, you can check out my story over on the About Page. Trust me, mastering braised chicken thighs this perfectly will change your weeknights forever.
- Why You Will Love These Ultimate Braised Chicken Thighs
- Essential Ingredients for Perfect Braised Chicken Thighs
- The Secret to Crispy Skin on Your Braised Chicken Thighs
- Step-by-Step Instructions for Dutch Oven Braised Chicken Thighs
- Tips for Success with Your Easy Braised Chicken Thighs Recipe
- Serving Suggestions for Comfort Food Chicken Dinner
- Storage and Reheating Instructions for Leftover Braised Chicken Thighs
- Frequently Asked Questions About Braised Chicken Thighs
- Nutritional Estimates for This Chicken Dinner
Why You Will Love These Ultimate Braised Chicken Thighs
You know, when I was stuck in my old corporate life, efficiency was everything. And this recipe is the peak of efficient flavor! It brings together everything you want in a cozy dinner without making you dirty half your kitchen. Seriously, this is why braised chicken thighs are my go-to comfort food now. Here’s the quick pitch on why you absolutely need to make this.
- The Texture Double-Win: We manage to keep the skin super crispy from that initial sear, while the meat underneath becomes totally fall-off-the-bone tender. It’s truly the best of both worlds!
- Total One-Pot Solution: Everything cooks right in your trusty Dutch oven—the chicken, the aromatics, and all those hearty root vegetables. Clean up is honestly a breeze after a meal this satisfying.
- Hands-Off Cooking Time: After about 15 minutes of active searing and building that flavor base, the oven takes over. Pop the lid on, and you’ve got an amazing side dish cooking while you relax.
- Deep, Rich Flavor Boost: That initial sear creates what chefs call ‘fond’—those browned bits on the bottom of the pot. Scrape that up, and you’ve basically injected hours of complex flavor into the braising liquid instantly.
- Picture Perfect Presentation: Because we cook this whole beautiful thing in the Dutch oven, serving feels rustic and abundant. It truly makes a simple weeknight feel like a special occasion supper gathered around the table.
- Perfect for Next Day Eating: These juicy chicken thighs actually taste even better the next day, making them fantastic for packing up satisfying lunches.
Essential Ingredients for Perfect Braised Chicken Thighs
Okay, let’s talk about what goes into this marvelous pot. When I transitioned from marketing deadlines to kitchen reality, I learned quickly that quality ingredients are non-negotiable for true comfort food. For the ultimate result in these dutch oven chicken thighs, you need to pay attention to a few specifics.
- 8 bone-in, skin-on chicken thighs (Please, stick to skin-on! That fat is flavor gold.)
- 2 tablespoons olive oil
- 1 teaspoon salt and 1/2 teaspoon black pepper
- 1 teaspoon paprika (I use sweet, not smoked, for this one!)
- 1 large yellow onion, chopped
- 3 cloves garlic, minced
- 2 cups good quality chicken broth
- 1/2 cup dry white wine or extra broth (Your call on this one!)
- 1 tablespoon fresh thyme leaves
- 1 pound carrots, peeled and cut into 1-inch pieces
- 1 pound small potatoes (Yukon Golds are my favorite)
Ingredient Notes and Substitutions for Your Simple Chicken Braise
Now for the crucial details that turn good into gourmet. The reason we use bone-in, skin-on thighs is simple: the bone adds structure and flavor from the inside out, and the skin, well, that’s how we get that amazing crispy top layer later on. If you absolutely must skip the wine, use an extra half-cup of broth, but just know the wine adds a beautiful acidic brightness that cuts through the richness.
See that optional tablespoon of flour? That’s purely for thickening the sauce later if you want a serious gravy coating your vegetables. If you prefer a lighter sauce where the liquid reduces naturally, just skip it! It’s your kitchen, your call, but if you’re looking for truly luxurious weeknight chicken recipe ideas, try the flour;
The Secret to Crispy Skin on Your Braised Chicken Thighs
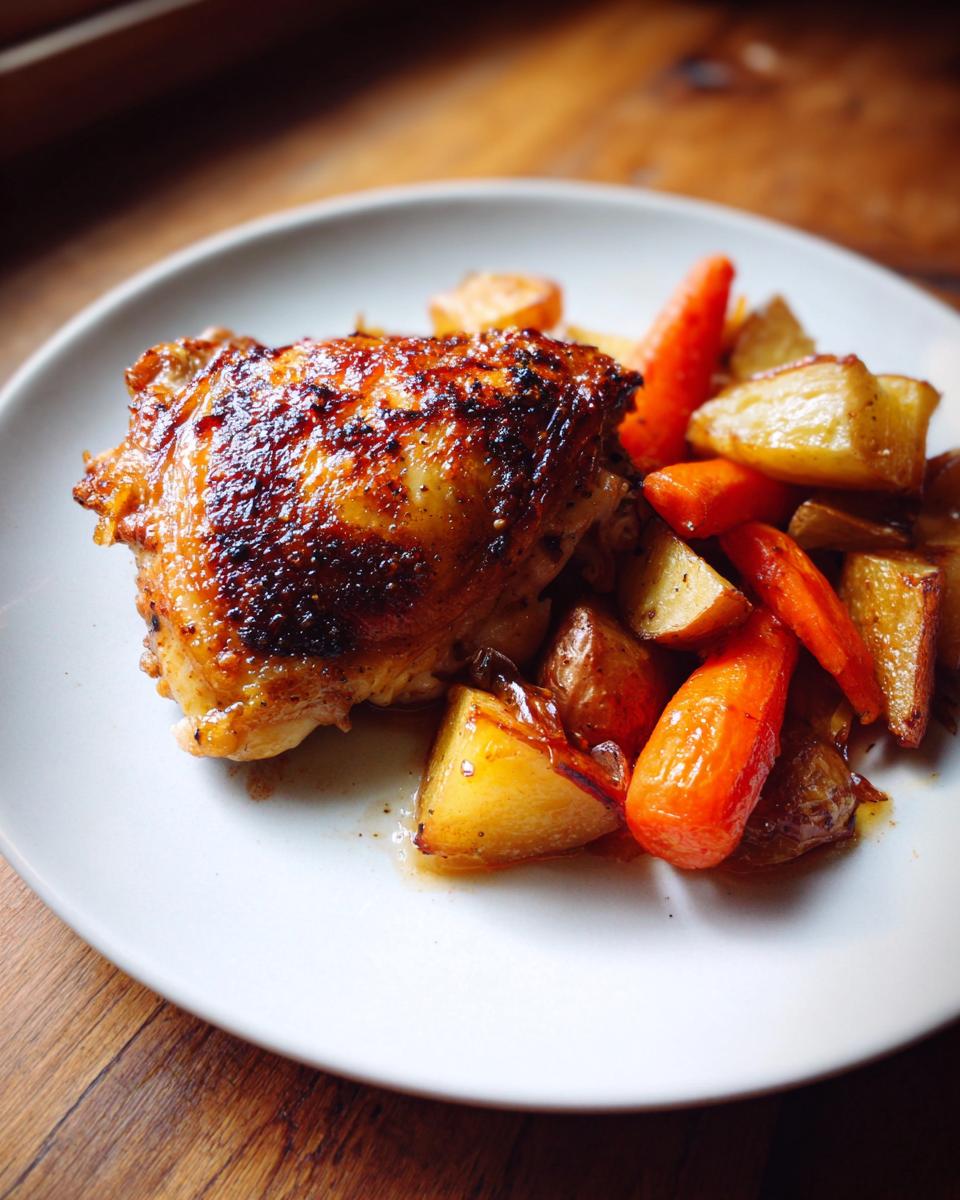
Okay, here’s where we deviate from the old-school way of doing things, because traditional braising usually means soggy skin, right? Not today! If you want the absolute best braised chicken thighs—meat so tender it melts, but with that satisfying crackle on top—you have to nail the first 15 minutes. This technique is crucial for achieving that crispy skin element that most one-pot meals miss.
First, and don’t skip this, you need to pat those thighs bone-dry. I mean seriously dry, using paper towels until you swear there’s no moisture left. Moisture is the enemy of crispiness. Then, season them beautifully with salt, pepper, and paprika.
Next, get your Dutch oven ripping hot over medium-high heat. The oil needs to shimmer a little before you gently lay the chicken in, skin-side down. You need that surface contact! Let those thighs sit there, undisturbed, for a full 6 to 8 minutes. Don’t poke them! That heavy, steady heat renders the fat out slowly, turning the skin into golden armor. Once it’s deeply browned, *then* you can flip them. That rendered fat you leave behind? That’s the starter flavor for your sauce, so don’t dump it all out!
Step-by-Step Instructions for Dutch Oven Braised Chicken Thighs
Alright, now that we have that gorgeous crispy skin established, it’s time to turn this into a full-blown, flavor-packed, one-pot chicken dinner. You’ll be amazed how quickly these braised chicken thighs come together, even with the oven doing most of the heavy lifting. When I was deep in my corporate crunch, knowing I could rely on a recipe like this—which is inspired by classics like the one on Meateating Military Man—was a lifesaver! This recipe is the perfect marriage of searing skill and slow cooking comfort. If you’re tracking along, this follows right after searing your beautiful chicken!
Searing and Building the Flavor Base for Juicy Chicken Thighs Dinner
Remember those thighs you seared? Take them out, set them aside, and look at that beautiful layer of fat left in your Dutch oven. That’s pure flavor gold! Turn the heat down to medium—we don’t want things to burn now. Toss in your chopped onion and sweat those down until they are soft and translucent, maybe five minutes. Then, introduce the minced garlic. Be careful here; garlic burns fast! Cook it only until you can really smell it, which is usually just 60 seconds. This step is essential for a truly juicy chicken thighs dinner.
The Braising Process: Achieving Fall Off the Bone Chicken
Now, deglaze! Pour in that white wine or extra broth and use a wooden spoon to scrape up every single browned bit stuck to the bottom of the pot. That is flavor concentrate! Stir in your broth and thyme. Once that liquid is simmering gently, nestle the chicken thighs right back in. This is key: place them skin-side UP so the skin stays above the liquid line and doesn’t steam. Arrange your potatoes and carrots around them, pop the lid on tight, and slide the whole thing into your 350°F oven. Set a timer for 45 minutes. After that, check it—if the meat is easily pulling away from the bone, you’ve got that perfect fall off the bone chicken!
Finishing the Sauce for Your One Pot Chicken Meals
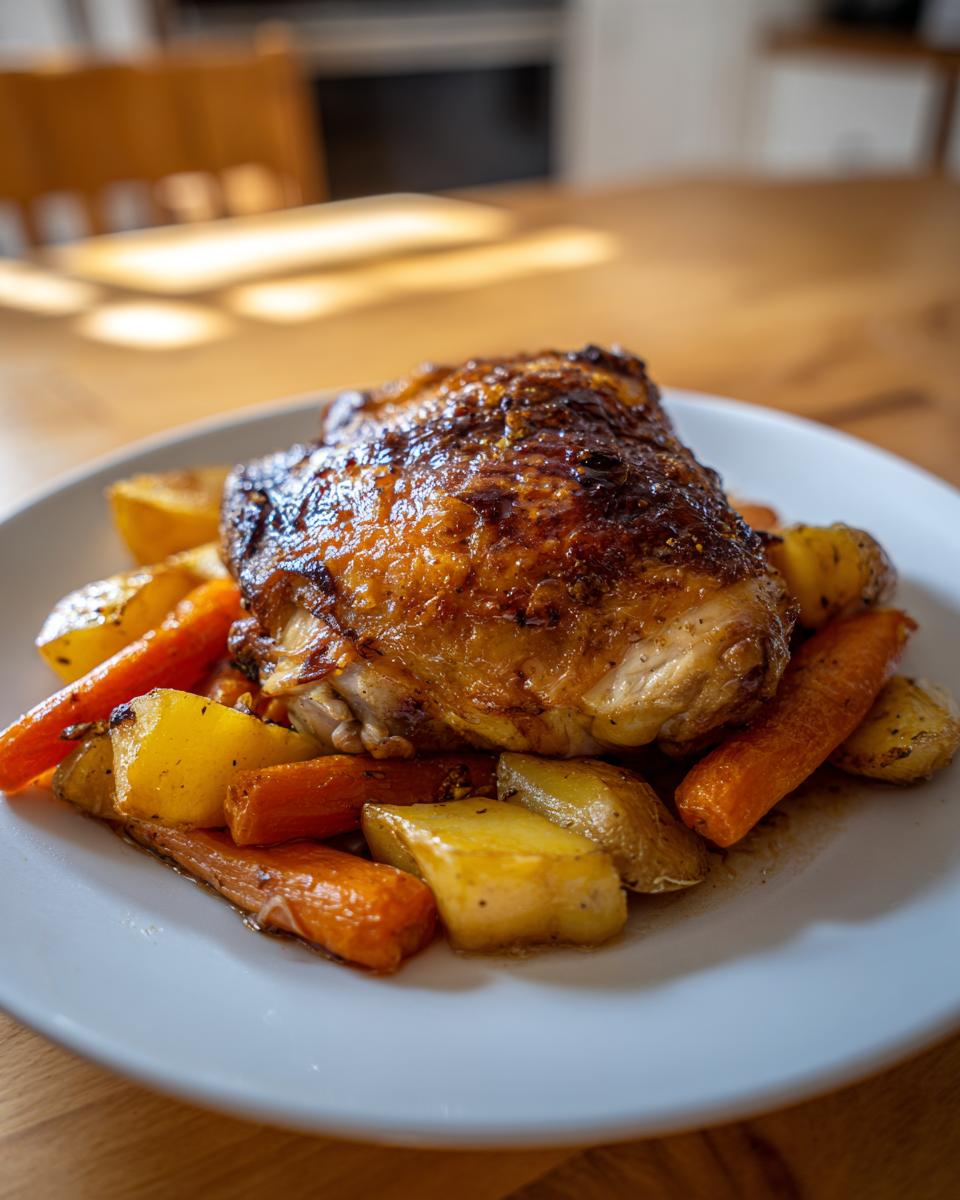
Once the chicken is perfectly tender, carefully lift out the thighs and veggies and keep them warm while you deal with the liquid. If you love a thicker sauce for your one pot chicken meals, this is the moment. Whisk that small amount of optional flour with cold water to make a smooth slurry, then whisk it right into the simmering liquid on the stove. Let it bubble for a couple of minutes until it coats the back of a spoon. If you skip this, you’ll just have a thinner, but still wonderfully seasoned, pan sauce. Return the chicken and veggies to the pot, ladle that sauce over everything, and get ready to eat!
Tips for Success with Your Easy Braised Chicken Thighs Recipe
You’re almost there! But even with a straightforward recipe like this, a few pro tips can take your braised chicken thighs from great to absolutely unforgettable. When I was struggling with making chicken tender without sacrificing that beautiful crispy skin, I learned that paying attention to every stage—especially the heat—makes all the difference in these easy braised chicken thighs recipes.
First, let’s talk heat management. When you’re searing, you need hot oil to get that initial crisp, but once you add the onions and garlic, you must bring the temperature down immediately. Burnt garlic tastes bitter, and that bitterness hangs around in your entire braising liquid later on. So, medium-high for the sear, then medium for the aromatics. Simple, but so important.
The liquid level is my next obsessive check. When you nestle those thighs back in for the oven part, the skin needs to be exposed to dry air, not steam. If your liquid is coming up past the middle of the thigh, you need to pull back on the broth or wine, or use slightly less liquid overall. If you’re afraid of that, just know that the skin won’t get quite as crispy, but you’ll still end up with incredibly juicy results, just like the folks making braised chicken over at Nakisha’s Recipes.
Remember, this is a Dutch oven recipe, so use that heavy lid! It locks in humidity, which is what tenderizes the meat and softens those robust root vegetables. If your lid isn’t tight, the moisture escapes, and your chicken ends up dry rather than that gorgeous fall off the bone chicken texture we are aiming for.
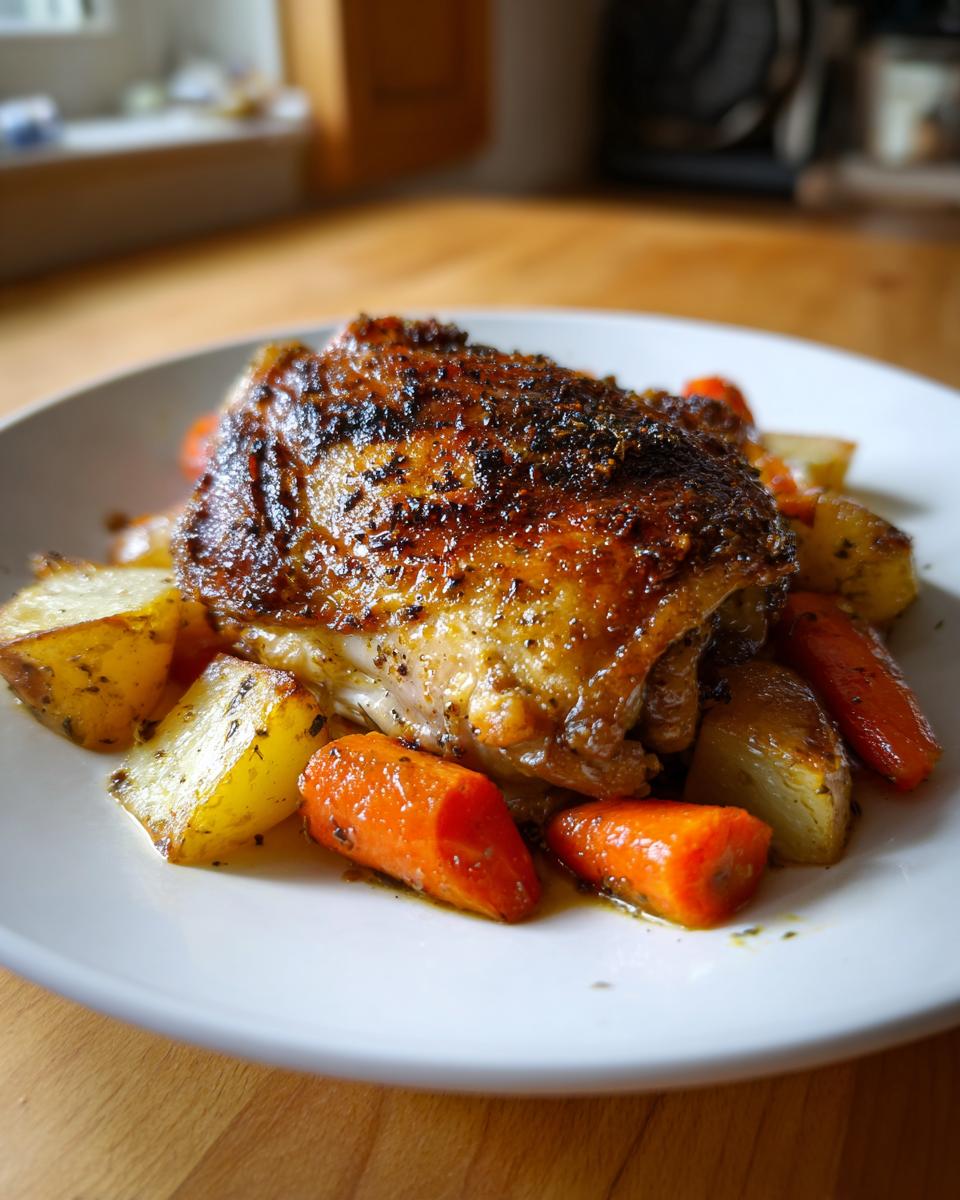
Finally, trust your vegetables. I gave you timing for the carrots and potatoes, but if you chop your potatoes bigger, they might need an extra 10 minutes. The chicken is done when it’s tender, but the vegetables should be melt-in-your-mouth soft. If you want more inspiration for your cooking journey, feel free to browse my latest posts!
Serving Suggestions for Comfort Food Chicken Dinner
You’ve got this incredibly rich, savory sauce simmering in your Dutch oven—we can’t let any of that go to waste! Since we’ve already got wonderful root vegetables with the carrots and potatoes loaded in there, this dish really just needs a simple base to soak up all that deliciousness. If you’re looking for stellar creamy colcannon potatoes, that’s an amazing choice to serve alongside this, as the sauce mixes beautifully with the creaminess.
For something lighter but still hearty, you can’t beat a mound of fluffy white rice or some crusty sourdough bread for dipping. Honestly, I often serve this with nothing more than a side of quick sautéed greens, like spinach or Swiss chard, just to bring a little freshness against all that rich braised chicken thigh flavor. It’s the ultimate cozy, satisfying bowl!
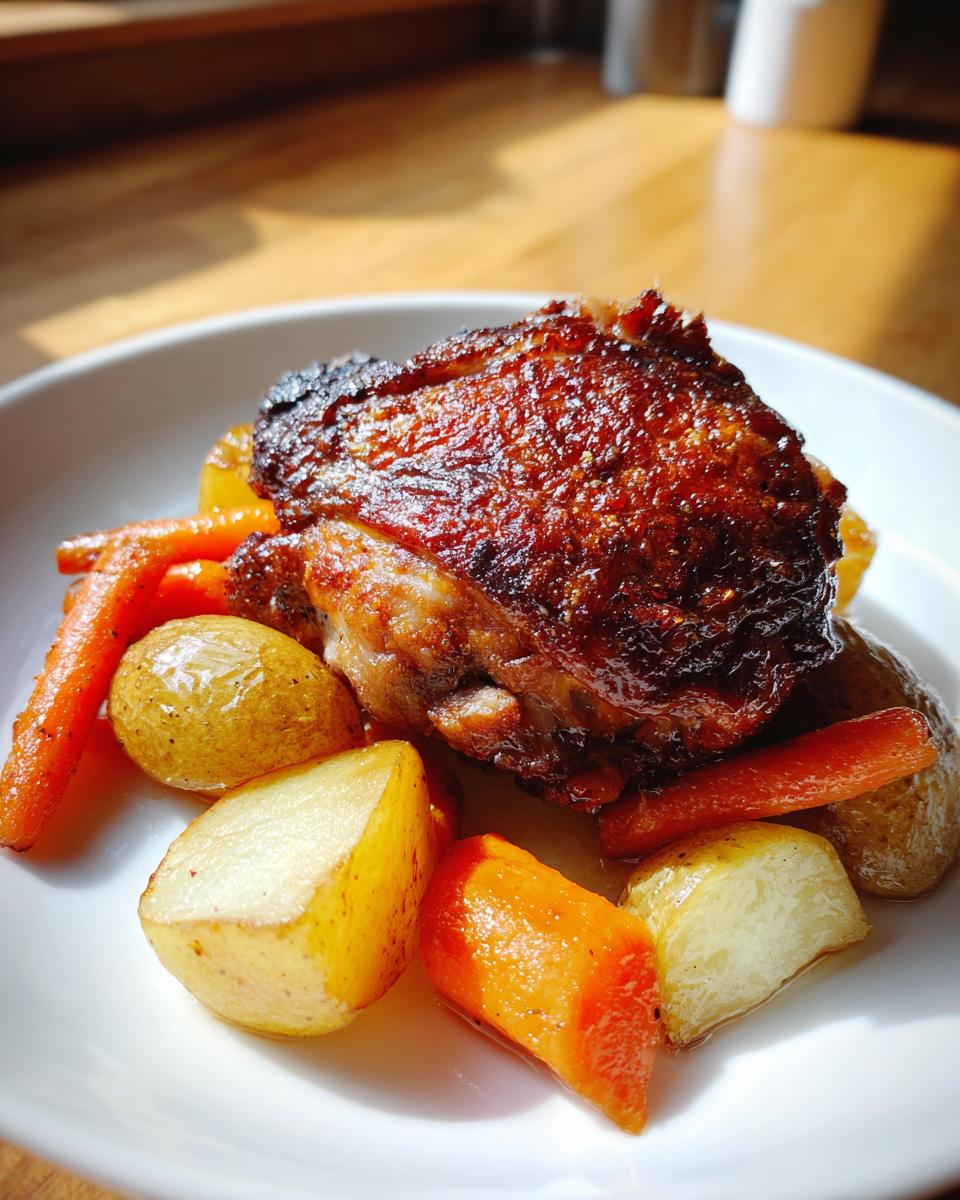
Storage and Reheating Instructions for Leftover Braised Chicken Thighs
I know what you’re thinking: how could there possibly be leftovers of these amazing braised chicken thighs? But trust me, if you manage to save any—especially if you want an even easier weeknight chicken recipe ideas later in the week—knowing how to store them properly is essential.
For refrigeration, the key is keeping the meat submerged in that glorious sauce. Store the chicken and vegetables together in an airtight container. You can safely enjoy these leftovers within three days. If you need to keep them longer, freezing is your best friend! Properly cooled and stored in a freezer-safe container (again, cover them with that sauce!), these braised chicken thighs hold up beautifully for about three months. They freeze remarkably well because of the moisture from the braising liquid.
Now, reheating—this is where we redeem the crispy skin! If you just toss them in the microwave, you end up with completely soggy skin, and frankly, that feels like a crime after all the effort we put in!
The best method for keeping that meat juicy and tender is gentle heat. Transfer the chicken and a spoonful of the sauce into a skillet, cover it, and warm it over low heat on the stovetop until heated through. Or, if you’re heating a larger batch, use a low oven (around 300°F) covered with foil.
If you are dying for that crispy skin effect back again—and I usually am—here’s my little trick. Once the chicken is heated through gently using the skillet method, transfer the thigh, skin-side up, onto a small baking sheet. Kick your oven up to the broiler for just 60 to 90 seconds. Watch it like a hawk! The broiler gives you that immediate, intense heat needed to crisp the fat again without drying out the inside. That quick flash brings them right back to life!
Frequently Asked Questions About Braised Chicken Thighs
I get so many questions whenever I post these braised chicken thighs on social media because everyone wants that crispy skin/tender meat combo! It’s totally understandable. Here are a few things I hear most often from folks trying to nail that easy braised chicken thighs recipe at home. If you have more questions, please don’t hesitate to reach out via my Contact Page!
Can I use skinless chicken thighs for this braised chicken thighs recipe?
You certainly can, yes! If you’re watching fat intake, skinless thighs work fine for a juicy chicken thighs dinner. However, I have to be honest: you’re missing out on two things. First, you miss that initial high-heat sear where the fat renders out, which is the entire foundation of flavor for your sauce and vegetables. Second, you lose the chance to get that crispy armor we worked so hard for! If you do use skinless, just sear them on both sides for 3 minutes each to get some color, but don’t worry about getting it deep brown.
How long does it take to get fall off the bone chicken?
That tenderness—that true fall off the bone chicken—is achieved in the oven. Once the Dutch oven is covered and inside the 350°F oven, it usually takes between 45 and 60 minutes. The best way to tell isn’t by the clock, though; it’s by testing! Poke the thickest part of the thigh with a fork, or wiggle the bone. If the meat starts pulling away from the bone easily, you are done! If it feels resistant, give it another 10 minutes. That slow, moist heat is magic for texture.
Can this be made entirely on the stovetop?
Since this is one of my favorite one pot chicken meals, I understand wanting to use just the stovetop! You can absolutely do this entirely on the stove, but you have to keep the heat very low once you add the liquid for the braise. After searing the chicken and sautéing your aromatics, add the liquid and vegetables, bring it to a quick simmer, then drop the heat to the absolute lowest setting your burner can manage, cover it tightly, and let it gently bubble for about 1 hour and 15 minutes. You might need to check it halfway through to make sure the liquid isn’t evaporating too fast.
Nutritional Estimates for This Chicken Dinner
I know, I know—when you’re diving into a rich, savory, fall-off-the-bone dish like this, the last thing you might be thinking about is the numbers. But since I spent years analyzing spreadsheets in my past life, I still like to give a transparent look at what’s what when we’re talking about a hearty comfort food chicken dinner like our Dutch oven thighs.
I ran these numbers based on the exact recipe breakdown above—that means 8 thighs total, divided by 4 servings, incorporating the oil used for searing and the root vegetables listed. Just remember, these are estimates! Exact values can shift based on the size of your thighs, whether you use wine or broth, and the specific starch of your potatoes.
- Serving Size: 1 thigh with vegetables
- Calories: 550
- Fat: 32g (broken down into 9g saturated and 23g unsaturated)
- Protein: 40g
- Carbohydrates: 25g
- Fiber: 5g
- Sugar: 5g
- Sodium: 580mg
It’s a pretty balanced plate, especially when you consider how much pure comfort and satisfaction you get from this meal. That protein content is fantastic, and the vegetables make sure you get some good fiber in there too. Enjoy every bite!
PrintUltimate Crispy Skin Dutch Oven Braised Chicken Thighs with Root Vegetables
This recipe delivers fall-off-the-bone tender chicken thighs with a secret to achieving crispy skin, all cooked in one Dutch oven with hearty root vegetables for a satisfying comfort food dinner.
- Prep Time: 20 min
- Cook Time: 60 min
- Total Time: 80 min
- Yield: 4 servings 1x
- Category: Dinner
- Method: Baking/Stovetop
- Cuisine: American
- Diet: Low Fat
Ingredients
- 8 bone-in, skin-on chicken thighs
- 2 tablespoons olive oil
- 1 teaspoon salt
- 1/2 teaspoon black pepper
- 1 teaspoon paprika
- 1 large yellow onion, chopped
- 3 cloves garlic, minced
- 2 cups chicken broth
- 1/2 cup dry white wine or extra broth
- 1 tablespoon fresh thyme leaves
- 1 pound carrots, peeled and cut into 1-inch pieces
- 1 pound small potatoes (like Yukon Gold), quartered
- 1 tablespoon all-purpose flour (optional, for thickening)
Instructions
- Pat the chicken thighs completely dry with paper towels. This step is key for crispy skin. Season the chicken all over with salt, pepper, and paprika.
- Heat the olive oil in a large Dutch oven over medium-high heat. Place the chicken thighs skin-side down in the hot oil, working in batches if necessary to avoid crowding the pot. Sear for 6 to 8 minutes until the skin is deep golden brown and crisp. Remove the chicken and set aside, leaving about 1 tablespoon of rendered fat in the pot.
- Reduce the heat to medium. Add the chopped onion to the pot and cook, stirring occasionally, until softened, about 5 minutes. Add the minced garlic and cook for 1 minute until fragrant.
- Pour in the white wine (or extra broth) and scrape up any browned bits stuck to the bottom of the pot. Let it simmer for 2 minutes.
- Stir in the chicken broth and fresh thyme leaves. Bring the liquid to a gentle simmer.
- Nestle the seared chicken thighs back into the Dutch oven, skin-side up, ensuring the skin remains above the liquid as much as possible. Arrange the carrots and potatoes around the chicken.
- Cover the Dutch oven tightly with the lid and transfer it to a preheated oven at 350 degrees Fahrenheit (175 degrees Celsius). Braise for 45 to 60 minutes, or until the chicken is fall-off-the-bone tender and the vegetables are soft.
- Carefully remove the chicken and vegetables from the pot and set them aside, keeping them warm.
- If you desire a thicker sauce, place the Dutch oven back on the stovetop over medium heat. In a small bowl, whisk the flour with 2 tablespoons of cold water to create a slurry. Whisk the slurry into the simmering liquid and cook for 2 to 3 minutes until the sauce thickens slightly.
- Return the chicken and vegetables to the pot, spooning the sauce over them. Serve immediately for a juicy chicken thighs dinner.
Notes
- For the crispiest skin, avoid submerging the skin in the braising liquid once you return the chicken to the pot.
- If you do not have a Dutch oven, you can use a heavy-bottomed oven-safe pot with a tight-fitting lid.
- This recipe works well as a one pot chicken meal, requiring minimal cleanup.
Nutrition
- Serving Size: 1 thigh with vegetables
- Calories: 550
- Sugar: 5
- Sodium: 580
- Fat: 32
- Saturated Fat: 9
- Unsaturated Fat: 23
- Trans Fat: 0
- Carbohydrates: 25
- Fiber: 5
- Protein: 40
- Cholesterol: 160