


Let’s face it, some weeknight dinners just feel… blah. You want something that screams “special occasion” but only takes the time you have on a Tuesday after work. That’s exactly why I dedicated weeks to perfecting this **Chicken Cordon Bleu** when I first left the corporate world. I wanted a classic French dish that gave me that gorgeous, crispy exterior without the stress of a traditional pan-fry, and most importantly, I absolutely needed the cheese to stay exactly where I put it!
You see, running marketing campaigns taught me about delivering a promise visually, and that’s the core of Gourmet Gaze—food has to look incredible. But after my eye-opening trip, I learned that looks aren’t everything; the substance has to deliver. After testing batter styles and pounding techniques until my arms ached, I found the foolproof method for this **chicken cordon bleu recipe** that ensures a stunning presentation and a savory, cheesy payoff every single time.
If you’re curious about how I traded spreadsheets for spatulas, you can read a bit more about my journey over on the About Page. But for now, trust me: this baked version delivers that restaurant-quality feel right in your own kitchen.
- Why This Baked Chicken Cordon Bleu Recipe Stands Apart
- Essential Ingredients for Classic Chicken Cordon Bleu
- How to Make Chicken Cordon Bleu: Step-by-Step Baking Instructions
- Expert Tips for the Best Chicken Cordon Bleu Results
- Serving Suggestions for Your Impressive Dinner Recipes
- Storage and Reheating Instructions for Leftover Chicken Cordon Bleu
- Variations on the Classic French Chicken Dish
- Frequently Asked Questions About Chicken Cordon Bleu Recipe
- Share Your Crispy Chicken Cordon Bleu Creations
Why This Baked Chicken Cordon Bleu Recipe Stands Apart
When I first started testing this dish, I had the same problems everyone else does: soggy bottoms or, worse, melted cheese oozing out all over the baking sheet like a lava flow. Yuck! This isn’t just another recipe; it’s the culmination of figuring out how to get that satisfying crunch of a fried dish while still keeping it simple enough for a busy weeknight. It truly shines when you need an impressive dinner without any fuss.
This particular method for **Chicken Cordon Bleu** solves those classic complaints:
- It delivers that beautiful, golden-brown exterior that makes it look like it came straight from a high-end restaurant kitchen.
- It’s genuinely manageable, making it one of my favorite go-to **Easy Chicken Cordon Bleu** options when company drops by unexpectedly.
- We’ve cracked the code on containment—your filling stays exactly where it belongs! For more easy weeknight inspiration, check out my Chicken Piccata inspiration.
Achieving the Perfect Crispy Chicken Cordon Bleu Crust
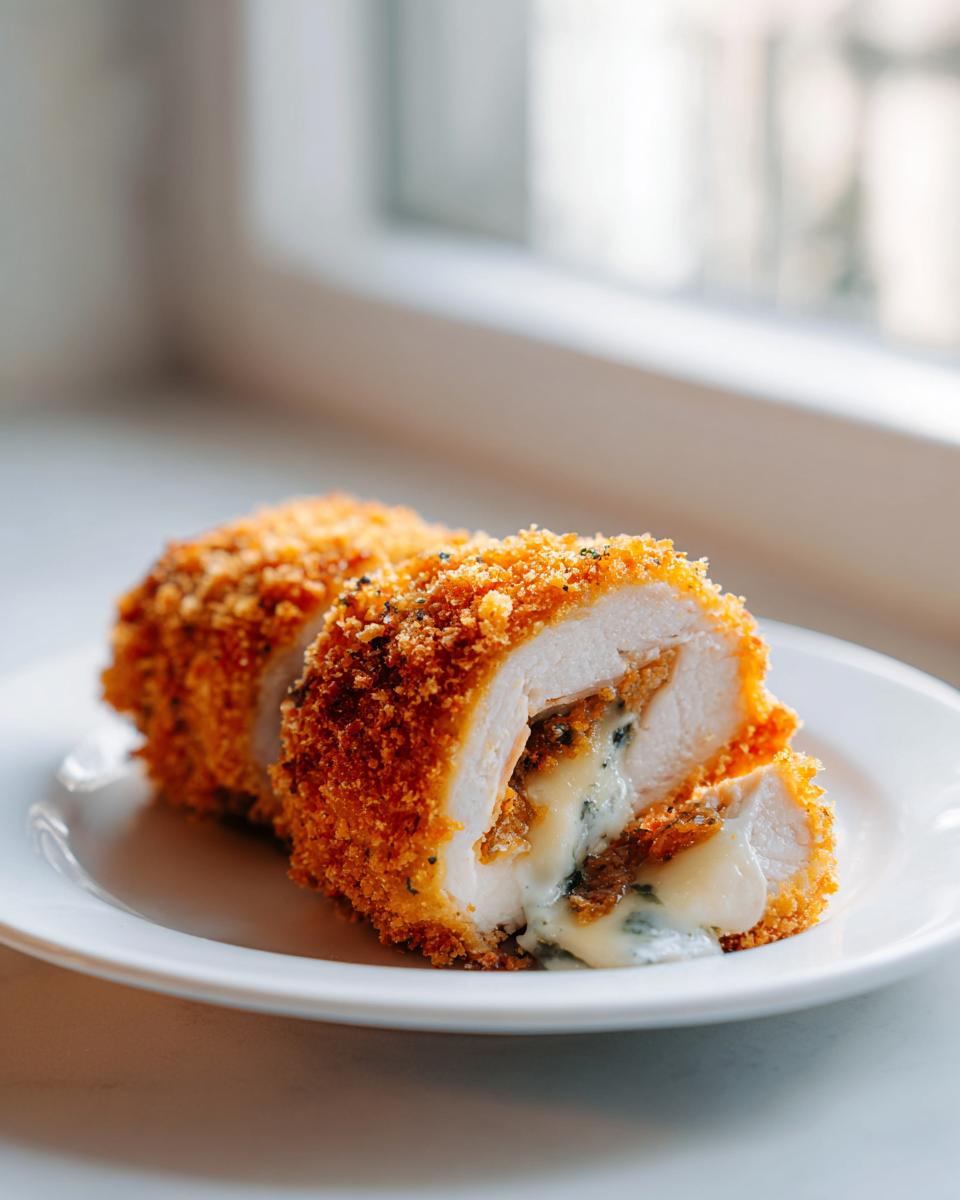
Forget soggy breading! The secret to that incredible crunch in our **Crispy Chicken Cordon Bleu** is twofold. First, we use Panko breadcrumbs. They are lighter and flakier than regular crumbs, so they toast up instead of steaming. Second, that final drizzle of olive oil is non-negotiable. It helps conduct that beautiful oven heat right onto the coating, giving you that perfect, audible crunch when you cut into the rolls.
Tips for Keeping the Cheese Inside Your Tender Chicken Rolls
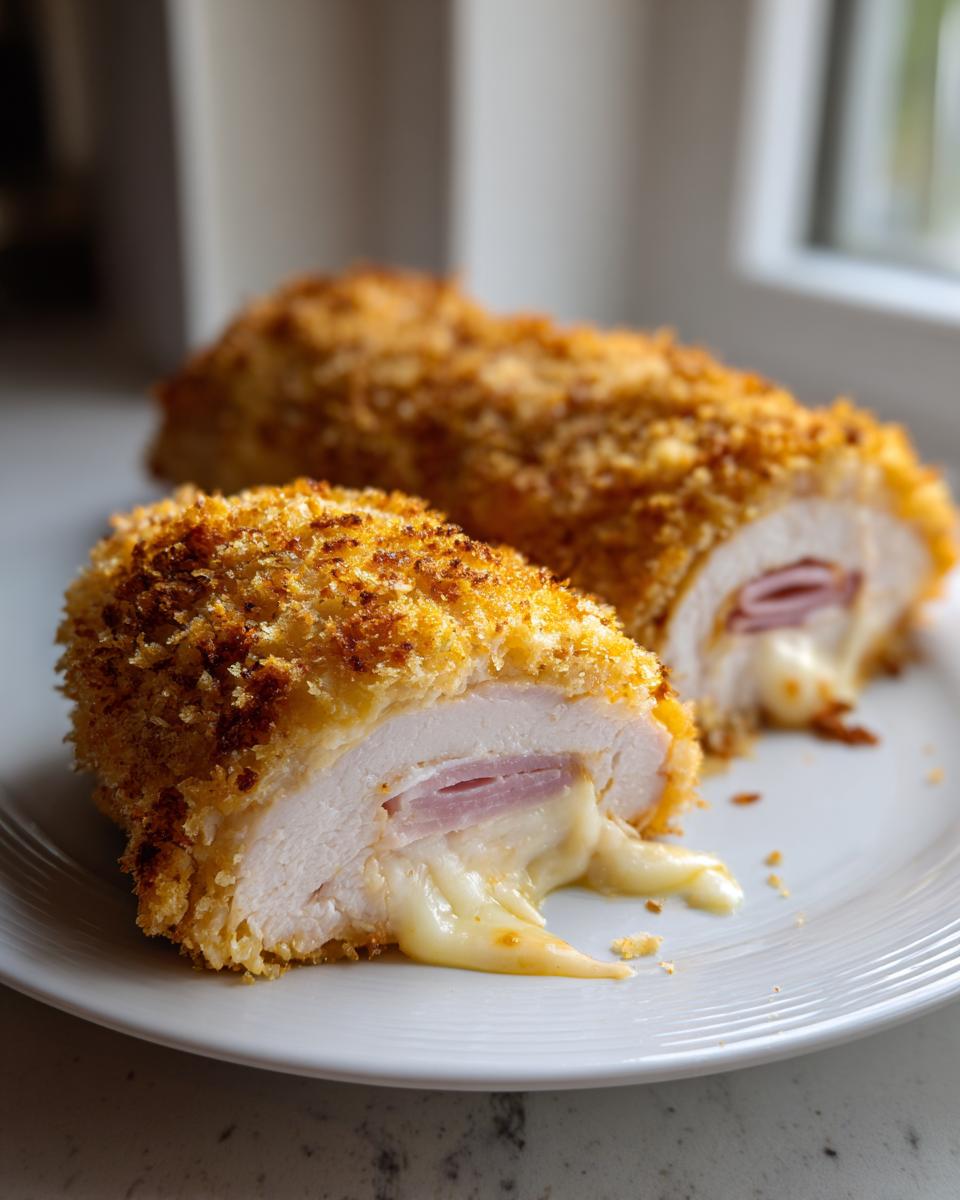
Listen, nobody wants to see their Swiss cheese running for freedom halfway through baking. The key to successful **chicken cordon bleu** roll-ups starts way before breading. You need to pound those breasts thin and even—think about the thickness of a nice playing card. Also, when you roll it, start tight and make sure your overlapping seam is smack-dab on the bottom where the baking sheet holds it in place. A couple of toothpicks give that roll the security it needs to hold its shape perfectly under pressure.
Essential Ingredients for Classic Chicken Cordon Bleu
When you’re aiming for that restaurant-quality texture, you just can’t skimp or substitute wildly—especially when it comes to the core components of this **Chicken Cordon Bleu recipe**. I’ve listed everything you need below. Remember, precision matters here, especially as we are aiming for that secure roll that promises a truly satisfying experience. Don’t skip the specific texture notes on the chicken and the Panko!
If you are looking for side dishes to go with this, I highly recommend my recipe for Parmesan Roasted Broccoli; it really balances the richness of the ham and cheese beautifully.
For the Ham and Swiss Stuffed Chicken Rolls
These are the stars of the show. We need four portions, perfectly bundled.
- 4 boneless, skinless chicken breasts (and listen to me here: aim for about 7 ounces each—this size pounds out perfectly!).
- 4 thin slices deli ham (make sure it’s pliable).
- 4 slices Swiss cheese (you want enough surface area to cover the ham when flattened).
For the Crispy Panko Coating
This is where the magic texture happens. Don’t be tempted to use regular breadcrumbs; Panko gives you the airy crunch we are looking for in a **Crispy Chicken Cordon Bleu**.
- 1/2 cup all-purpose flour (standard shaker flour works fine).
- 2 large eggs, lightly beaten (make sure they are fully whisked so there are no thick streaks left).
- 1 cup Panko breadcrumbs (the big flakes, please!).
- 1/4 cup grated Parmesan cheese (freshly grated is always better, but pre-grated is okay here to mix right into the breading).
- 1/2 teaspoon salt and 1/4 teaspoon black pepper (seasoning the crust is important!).
- 2 tablespoons olive oil (this is strictly for drizzling right before baking—it toasts the crust!).
How to Make Chicken Cordon Bleu: Step-by-Step Baking Instructions
Alright, let’s get down to business. This is where we stop talking about perfection and actually *create* it. Making **Chicken Cordon Bleu** might sound fussy, but following these steps sequentially will give you a **restaurant quality chicken breast** experience without needing to book a reservation. Getting the prep right is key to success, so let’s dive into the rolling and coating process. For more insights on getting a great bake on your poultry, check out my Oven Roasted Chicken Recipe.
Preparing the Chicken Breast for Stuffing
First things first, we need thin cutlets. Take one chicken breast and place it between two sheets of plastic wrap—I use heavy-duty wrap because I often get aggressive with the mallet! Use the flat side of your meat mallet (or even a heavy rolling pin) and gently—but firmly—pound the thickest parts until the entire breast is an even 1/4-inch thickness. This is crucial! If you have thick spots, they either won’t cook through, or the thinner parts will dry out. Consistency is everything for uniform cooking.
Assembling and Securing the Chicken Cordon Bleu
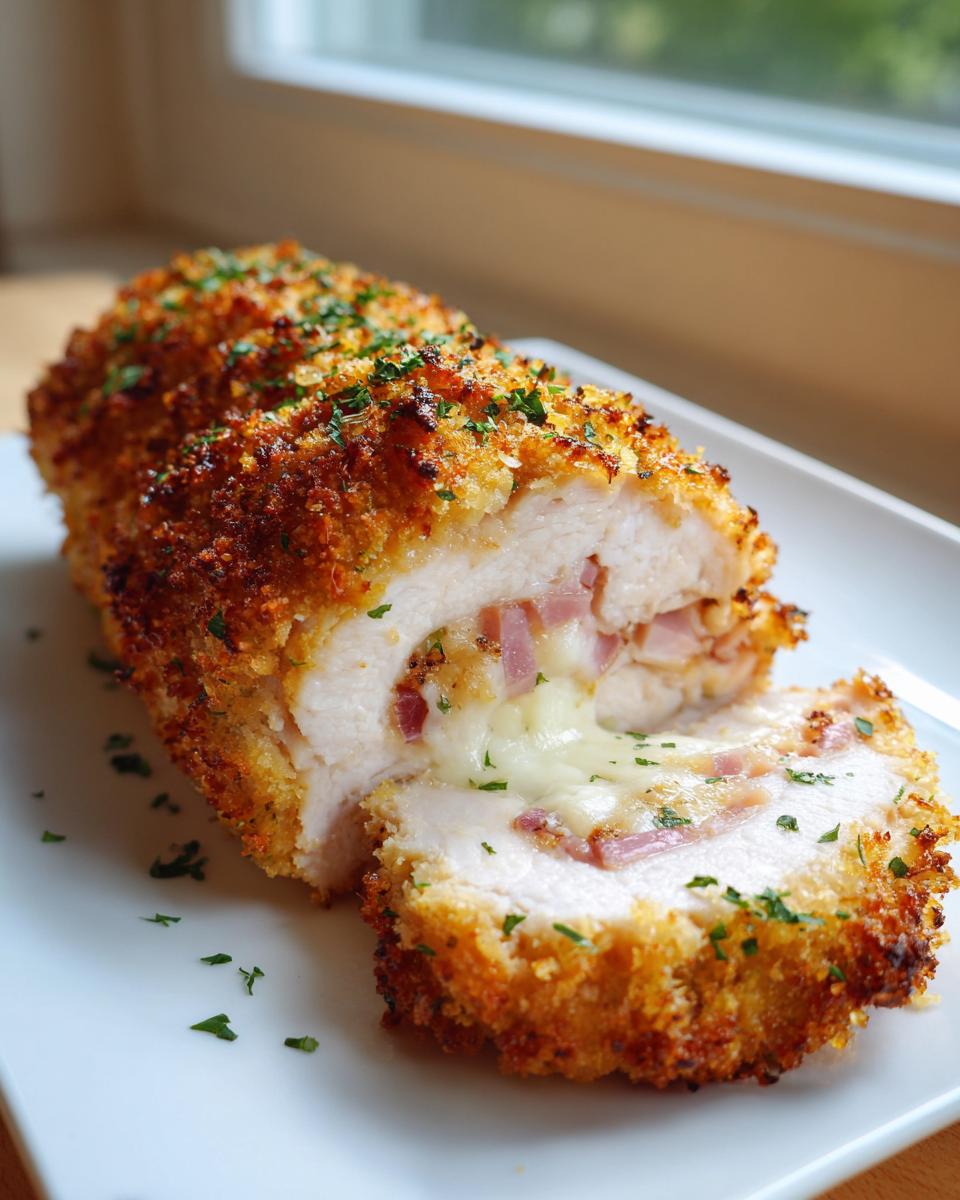
Once you have your flattened chicken canvas, lay one slice of ham down flat onto the meat, followed by one slice of Swiss cheese sitting neatly on top of the ham. Now, roll it up! Start at one of the short edges and wrap it as tightly as you can, making sure the filling stays snug. If you see the edges trying to slip open, stabilize the seam with one or two toothpicks. This little step prevents all that dreaded cheese leakage later on. We want beautifully contained **tender chicken rolls**!
The Three-Step Breading Process for Crispy Chicken Cordon Bleu
Set up your dredging station in three shallow dishes. Dish one gets your flour. Dish two gets your beaten eggs. Dish three is where the real crunch lives: mix your Panko breadcrumbs and grated Parmesan cheese, along with the salt and pepper. Dredge each roll first in the flour, shaking off the excess. Next, dip it completely into the egg bath. Finally, press it *firmly* into that Panko mix. Really press it! You want every gap filled so you get that amazing **Crispy Chicken Cordon Bleu** crust.
Baking for a Golden, Restaurant Quality Chicken Breast Finish
Preheat your oven to a hot 400°F (200°C) and get your baking sheet ready. Place the coated rolls seam-side down—that helps keep things sealed up. Now, take those 2 tablespoons of olive oil and drizzle them lightly over the tops and sides of the breading. This will help it toast! Bake them for about 20 to 25 minutes. I rely on my instant-read thermometer; you are looking for an internal temperature of 165°F (74°C). That’s how you guarantee a juicy center and a perfect finish. Remember to pull those toothpicks out before serving!
Expert Tips for the Best Chicken Cordon Bleu Results
Here’s the thing: even a great recipe can fall flat if you rush the timing or skip a little insurance policy. Since I am all about making sure you succeed—whether you’re making this for a busy home night or a major celebration—I wanted to share a few of my favorite ‘Leo Maxwell’ tweaks from the testing phase. Consider these the final touches that elevate this from “good” to genuinely spectacular. This is how we make sure this recipe is truly fool-proof, even if you’re short on time.
When I was first developing this, I realized that sometimes we need that extra *oomph* of crispiness, or maybe we need dinner prepped before the chaos of the evening hits. These tips cover both scenarios, ensuring you nail that **Chicken Cordon Bleu** every time.
For more tricks and kitchen insights, feel free to browse my main blog section!
Optional: Achieving Extra Crispy Chicken Cordon Bleu Texture
If you are using a standard oven and you want that texture that rivals a deep-fried version without actually submerging your chicken in oil, you have to try this little trick. After you’ve fully coated your rolls in the Panko mixture, heat about one tablespoon of neutral oil in a heavy-bottomed skillet over medium-high heat. Briefly pan-fry those **Ham and Swiss Stuffed Chicken** rolls for just 1 to 2 minutes per side. You aren’t trying to cook them through; you are just searing the crust to set it beautifully. Then, immediately transfer them to your baking sheet. That hit of high, direct heat locks in the crispness before they finish baking in the oven.
Make Ahead Chicken Cordon Bleu Strategy
I totally get it—sometimes you just need dinner completely ready before 5 PM. The good news is that this **Baked Chicken Cordon Bleu** is fantastic for planning ahead. Once you have completely stuffed and breaded your chicken rolls (before the final olive oil drizzle!), arrange them on a parchment-lined baking sheet. Cover them tightly with plastic wrap and pop them straight into the refrigerator. You can easily keep them prepped this way for up to 4 hours! This makes them a fantastic option when you are hosting because you can focus on appetizers until it’s time to drizzle with oil and put them in the oven.
Serving Suggestions for Your Impressive Dinner Recipes
You’ve plated up this stunning **chicken cordon bleu**—and now you need sides that live up to the main event! Since this dish rolls cheesy, savory, and decadent flavors into one package, I always pair it with sides that offer contrast or pure, creamy comfort. It’s all about balance, right? This is meant to be an impressive dinner, so nothing too complicated, just classics done well.
For a truly luxurious feel, you absolutely need starch to soak up any little bit of flavor that might escape the roll. My Creamy Colcannon Potatoes are heaven right alongside this. If you’re leaning toward something lighter and greener to cut through the richness of the ham and Swiss, you can’t go wrong with some vibrant veggies. I highly recommend tossing some tender greens in garlic and roasting them until they just start to char—my Parmesan Roasted Broccoli is a total winner here. Keep it elegant, keep it delicious!
Storage and Reheating Instructions for Leftover Chicken Cordon Bleu
Even though this **Chicken Cordon Bleu** is usually gobbled up the moment it comes out of the oven—because, seriously, who can resist hot, melting Swiss cheese?—sometimes life happens, and you end up with leftovers. And we absolutely refuse to let cheesy leftovers go to waste! Storing these properly is important, especially if you’re planning them as part of your weekly meal prep for **Family Friendly Chicken Meals**. The goal here is simple: we want that beautiful Panko crust to survive the night!
When it comes to reheating, we need to use dry heat. The microwave is the enemy because it steams the breading, turning your incredible **Crispy Chicken Cordon Bleu** into a sad, soggy situation. Trust me, I learned this the hard way during my first few weeks eating solely leftovers after starting Gourmet Gaze.
How to Store Cooked Chicken Rolls
Let the cooked chicken rolls cool down completely on a wire rack first. This prevents condensation, which equals sogginess. Once they are totally cool, place them in an airtight container. If you have a lot, placing a paper towel between the layers can help absorb any lingering moisture. They’ll keep nicely in the fridge for about three to four days. You can even freeze them for longer storage if you wrap them individually in plastic wrap first before placing them in a freezer-safe bag.
The Best Way to Reheat for Maximum Crispness
For the best results, you want to bring back that beautiful golden crust. The oven or an air fryer is your best friend here. Set your oven to about 350°F (175°C). Place the cold or frozen rolls on a wire rack set inside a baking sheet—this allows air to circulate underneath so the bottom doesn’t steam. Heat them for about 10–15 minutes until heated through (check that internal temperature again, aiming for 160°F to be safe). If you happen to own an air fryer, that works in a pinch! I use mine all the time for quick crisping, similar to how I revitalize air fryer crab cakes. Just use 350°F for about 6 to 8 minutes until beautifully warm.
Variations on the Classic French Chicken Dish
Part of the joy of cooking, especially when you’ve nailed the foundational **Chicken Cordon Bleu recipe**, is getting creative! We love the classic experience—ham and Swiss wrapped tight—but sometimes you want to push it just a little further, especially if you are looking for great **Cheesy Chicken Dinner Ideas** that feel a little different next time around. The core technique of pounding, stuffing, and breading is so solid, so we can play around with the filling.
Don’t feel locked into just ham and Swiss, though I highly recommend trying those pairings first! Swiss is wonderfully melty, but Gruyère is an amazing substitute if you want a deeper, nuttier flavor profile. You could also swap the ham for thinly sliced prosciutto for a saltier kick. If you want to sneak some freshness in, try adding a tiny teaspoon of finely minced chives or a pinch of dried thyme right onto the cheese before you roll it up. It adds such an unexpected layer to this **Ham and Swiss Stuffed Chicken**.
For more creative flavor profiles that still feel polished and perfect for company, take a peek at my Strawberry Chicken Salad, which shows how versatile chicken can be!
Making a Creamy Chicken Cordon Bleu with Sauce
If you want to take this show-stopping baked dish and turn it into something truly decadent—the kind of meal you serve when you really want to impress—you absolutely have to add a sauce. This creamy Dijon sauce is so simple, but it changes the entire experience from crispy entree to elegant comfort food. It instantly transforms your dinner into what feels like a true **Creamy Chicken Cordon Bleu** experience.
To make this luxurious topping, you’ll want to start this while your chicken is baking, or just before serving. In a small saucepan over medium-low heat, combine 1/2 cup of heavy cream with 1 heaping tablespoon of quality Dijon mustard. Whisk that together until it’s beautifully smooth. Let it gently simmer—we don’t want a rolling boil, just a nice, slow bubble—for about 3 to 5 minutes until it thickens slightly enough to coat the back of a spoon. Whisk in just a small pinch of salt and pepper to taste. Once your **Baked Chicken Cordon Bleu** is done and resting, drizzle this luscious sauce right over the top just before you serve. If you want another creamy take, check out this fantastic option over at Quick Cozy Recipes for a different inspiration point for making things extra rich: Creamy Chicken Cordon Bleu Recipe!
Frequently Asked Questions About Chicken Cordon Bleu Recipe
I know that sometimes the biggest hurdle to making a fantastic meal isn’t the cooking itself, but having a few lingering questions before you start. That’s totally fine! I spent so much time in my own kitchen perfecting this **Chicken Cordon Bleu recipe** that I’m happy to share the answers to the questions that stumped me most often. We want you to feel completely confident before that bird hits the pan!
If you think of something I haven’t covered here, please don’t hesitate to reach out through the Contact Page—I love hearing from fellow home cooks!
Can I use chicken thighs instead of breasts for this chicken cordon bleu?
While I adore chicken thighs for their flavor, for this specific presentation, I have to advise sticking with boneless, skinless breasts. The success of a beautiful **chicken cordon bleu** roll relies heavily on uniform thickness, which is much easier to achieve when pounding chicken breast flat. Thigh meat is just so much more irregularly shaped and softer; it becomes very difficult to pound thin enough to roll tightly without tearing. Trying to roll thighs often leads to the dreaded cheese leak, which we are dedicated to avoiding!
What kind of ham works best for Ham and Swiss Stuffed Chicken?
For the best results in our **Ham and Swiss Stuffed Chicken**, you want something thin and relatively mild so it doesn’t overpower the chicken, but still adds that necessary saltiness. Thin-sliced deli ham is perfect because it drapes nicely over the cheese and molds when you roll it. If you want to step it up for a special occasion, try using prosciutto instead! Prosciutto is a bit richer and saltier, and it crisps up wonderfully against the Panko crust. Either way, make sure it’s sliced thin enough to easily fold or roll without creating too many bulky layers inside your **Tender Chicken Rolls**.
How long does it take to make this Baked Chicken Cordon Bleu?
This is one of the things I love most about this particular method—it’s fast enough that it truly qualifies as a **Weeknight Chicken Dinner** option! If you look back at the time breakdown, the active prep time is only about 20 minutes for pounding and stuffing. The baking time is just 20 to 25 minutes. All told, you can have this stunning **Baked Chicken Cordon Bleu** from fridge to plate in under 45 minutes total. That’s hard to beat when you’re craving something that tastes this good!
Share Your Crispy Chicken Cordon Bleu Creations
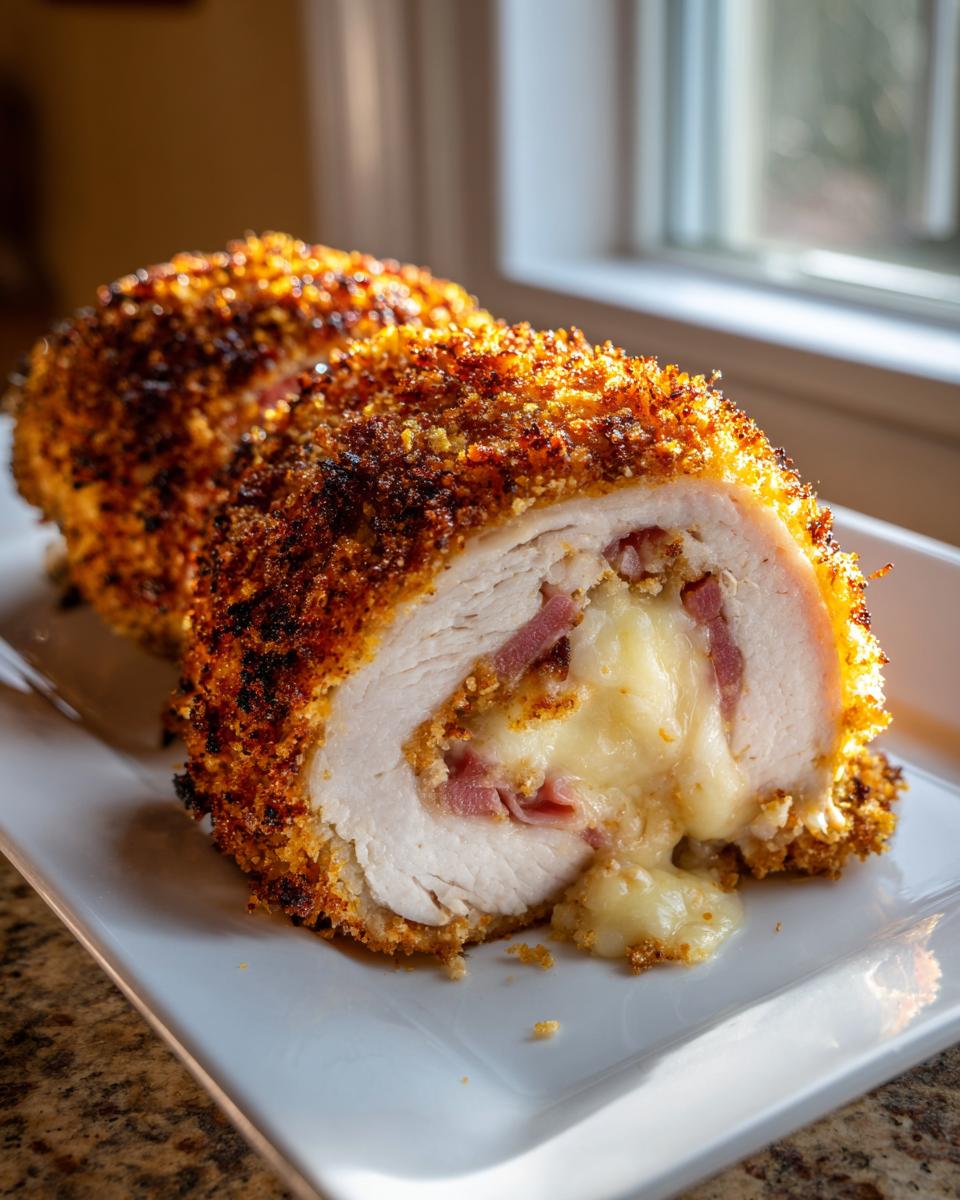
Now that you’ve mastered the pounding, the rolling, and achieved that incredible, golden **Crispy Chicken Cordon Bleu** crust, I absolutely want to see what you’ve created! Honestly, seeing your photos is what fuels me every single day here at Gourmet Gaze. Knowing that this recipe successfully made it onto your table as a stunning, impressive dinner is all the feedback I need.
Don’t be shy! Did the Swiss cheese stay put without a single drip? How did your olive oil drizzle fare in achieving that perfect toast? Tell me what you served alongside these flavorful **Ham and Swiss Stuffed Chicken** rolls.
Click the comments section below and let me know how your journey went. If you managed to snap a picture of your masterpiece, please tag me on social media—I promise I’ll be checking! If you loved this recipe, please take a moment to give it a star rating, too. It helps other home cooks find reliable recipes like this one. And just so you know the rules of the road when you’re cooking with me, you can always peek at our Terms of Use. Now go enjoy that **chicken cordon bleu**!
PrintClassic Baked Chicken Cordon Bleu with Crispy Panko Crust

This recipe shows you how to make restaurant-quality Chicken Cordon Bleu at home. You will stuff tender chicken breasts with ham and Swiss cheese, coat them in a crispy panko crust, and bake them until golden brown. This method prevents the cheese from leaking out.
- Prep Time: 20 min
- Cook Time: 25 min
- Total Time: 45 min
- Yield: 4 servings 1x
- Category: Dinner
- Method: Baking
- Cuisine: French Inspired
- Diet: Low Fat
Ingredients
- 4 boneless, skinless chicken breasts (about 7 ounces each)
- 4 thin slices deli ham
- 4 slices Swiss cheese
- 1/2 cup all-purpose flour
- 2 large eggs, lightly beaten
- 1 cup Panko breadcrumbs
- 1/4 cup grated Parmesan cheese
- 1/2 teaspoon salt
- 1/4 teaspoon black pepper
- 2 tablespoons olive oil (for drizzling)
Instructions
- Preheat your oven to 400°F (200°C). Lightly grease a baking sheet or line it with parchment paper.
- Place one chicken breast between two sheets of plastic wrap. Use a meat mallet to pound the chicken evenly to about 1/4-inch thickness. Repeat with the remaining breasts.
- Lay one pounded chicken breast flat. Place one slice of ham and one slice of Swiss cheese on top, leaving a small border around the edges.
- Tightly roll the chicken breast around the filling, starting from one short end. Secure the seam with toothpicks if necessary to keep the filling inside. Repeat for all breasts.
- Set up a standard breading station: Place flour in one shallow dish, beaten eggs in a second dish, and a mixture of Panko breadcrumbs, Parmesan cheese, salt, and pepper in a third dish.
- Dredge each rolled chicken breast first in the flour, shaking off any excess. Then dip it completely in the egg mixture. Finally, press it firmly into the Panko mixture until fully coated.
- Place the coated chicken rolls seam-side down on the prepared baking sheet. Drizzle the tops lightly with olive oil to help achieve a crispy texture.
- Bake for 20 to 25 minutes, or until the internal temperature reaches 165°F (74°C) and the crust is golden brown and crisp.
- Remove the toothpicks before serving. Serve immediately for an impressive dinner.
Notes
- For an extra crispy crust, you can briefly pan-fry the coated chicken rolls in a tablespoon of oil for 1-2 minutes per side before baking.
- If you want a creamy Dijon sauce, whisk together 1/2 cup heavy cream, 1 tablespoon Dijon mustard, and a pinch of salt and pepper, then simmer gently on the stovetop until slightly thickened. Pour over the baked chicken when serving.
- You can prepare the stuffed and breaded chicken rolls up to 4 hours ahead of time. Keep them refrigerated until ready to bake.
Nutrition
- Serving Size: 1 roll
- Calories: 450
- Sugar: 2
- Sodium: 650
- Fat: 20
- Saturated Fat: 9
- Unsaturated Fat: 11
- Trans Fat: 0
- Carbohydrates: 18
- Fiber: 1
- Protein: 48
- Cholesterol: 140