
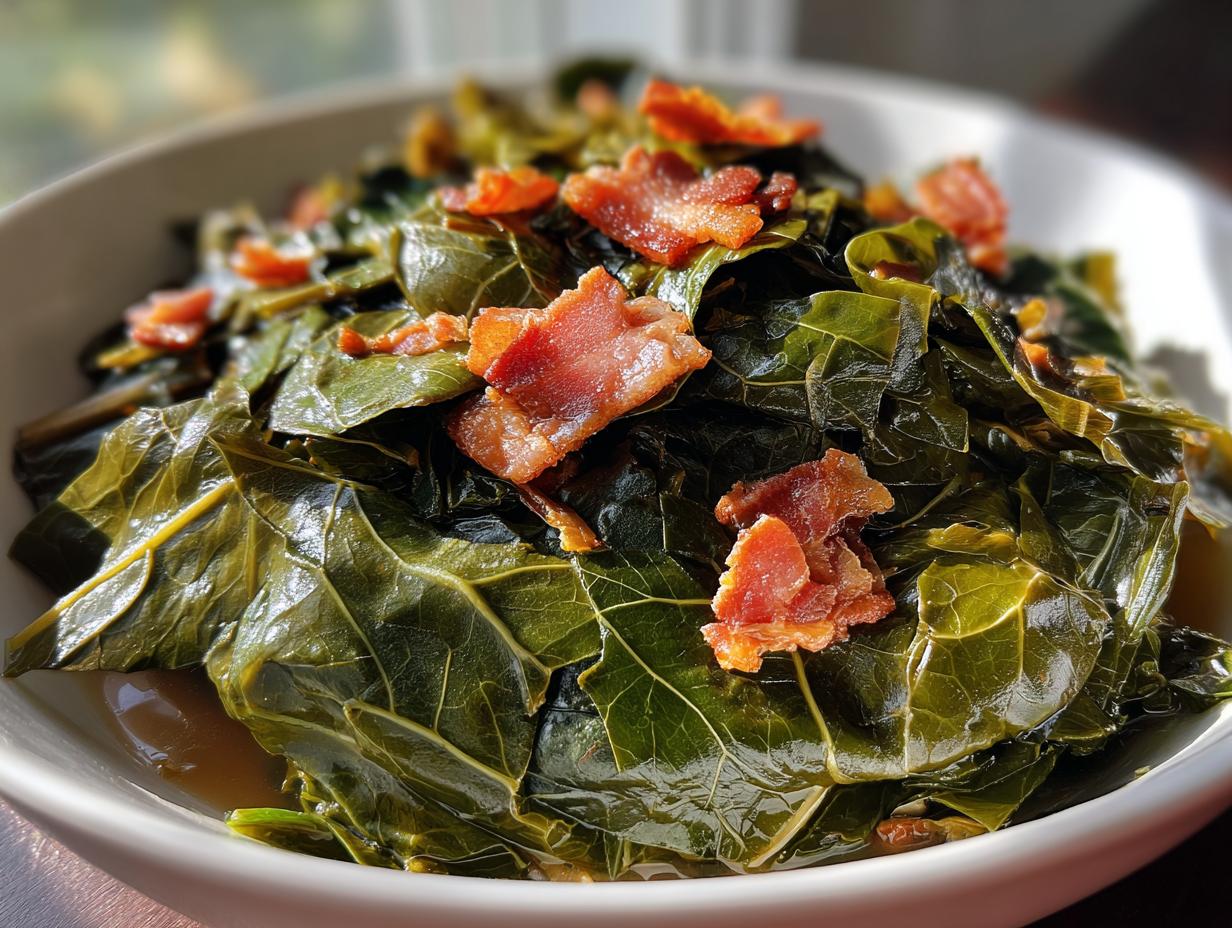

There’s something deeply soulful about authentic Southern cooking, right? It whisks me straight back to the smoky air of those roadside stands where the greens are simmered until they practically melt. For years, I thought achieving that melt-in-your-mouth tenderness meant tying up my week waiting by the stove. But after endless testing during my culinary pilgrimage—from Texas smokehouses to humble Southern pantries—I finally cracked the code for amazing collard greens.
I’m thrilled to share my definitive recipe for Slow-Simmered Southern Collard Greens with Bacon. Forget the all-day commitment; my method captures that profound, savory depth, making it perfect for busy weeknights or when you need a show-stopping comfort food side dish fast. This isn’t just a recipe; it’s the culmination of what I learned about coaxing big flavor out of simple ingredients. Trust me, this version hits every single mark.
We’re going to braise them until they’re silky smooth. When you’re ready to make the perfect, rich accompaniment, you’ll want to have some crispy cornbread ready to soak up all that incredible broth, like the batch you can make over here: fried cornbread southern crispy hoecakes.
- Why This Is The Best Collard Greens Recipe You Will Make
- Essential Ingredients for Authentic Collard Greens
- How to Cook Collard Greens: Stovetop Simmering Instructions
- Tips for Perfect Slow Cooker Collard Greens and Other Methods
- Ingredient Notes and Substitutions for Collard Greens
- Serving Suggestions for Traditional Soul Food Sides
- Storage and Reheating Instructions for Leftover Collard Greens
- Frequently Asked Questions About Cooking Greens
- Share Your Favorite Southern Food Recipes
Why This Is The Best Collard Greens Recipe You Will Make
Look, I’ve tasted greens cooked every way imaginable since I started this journey, and honestly, this specific recipe rises above the rest. It’s the perfect intersection of authenticity and practicality. My goal here at Gourmet Gaze is always to deliver deep flavor without demanding your entire day, and these collard greens totally meet that promise.
- They deliver true Southern depth from the slow rendering of bacon fat.
- The balance of apple cider vinegar and brown sugar creates that signature complex, slightly sweet “pot liquor” broth.
- You get authentic texture without needing to babysit the pot for six hours straight.
If you’re looking for something truly exceptional, check out my other favorite ways to prepare side dishes: Best Collard Greens Recipe.
Achieving Tender Braised Greens Flavor
The secret to making truly wonderful tender braised greens isn’t speed, it’s patience with the heat. By keeping the pot barely simmering—what the old-timers call ‘low and slow’—we break down those tough cellulose walls in the leaves gently. This lengthy, low-temperature bath allows the vinegar and the smoky meat flavors to truly penetrate every single leaf, which results in greens that are unbelievably silken by the end. That’s why we cook them for nearly two hours!
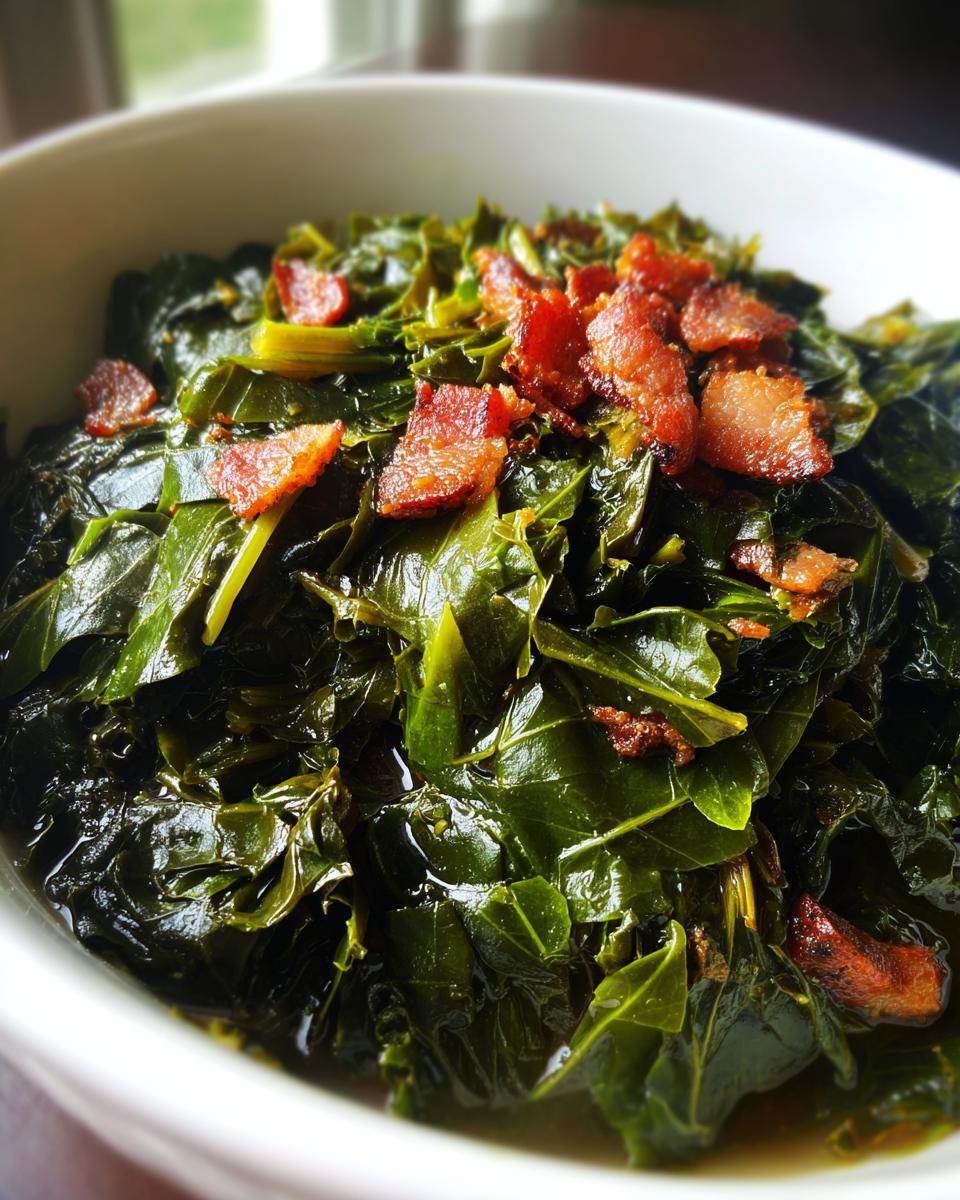
Quick Prep for Classic Southern Collard Greens
Here’s the best part: the hands-on time is minimal! Seriously, my prep time is usually under fifteen minutes. I’m chopping the onions, mincing the garlic, and getting the bacon sizzling while the pot heats up. This fast start is what makes achieving those massive, traditional slow-cooked flavors achievable even if you’re aiming for easy weeknight greens. You put in the work upfront, and these collard greens reward you beautifully.
Essential Ingredients for Authentic Collard Greens
If you want that deep, almost nostalgic flavor that defines true Southern cooking, you absolutely cannot skimp on the ingredients here. Precision matters when you’re building flavor from the ground up. I’ve listed exactly what you need below. Pay close attention to the prep details for the greens and the bacon—it makes a difference!
- 2 pounds fresh collard greens, tough stems removed and chopped
- 6 slices thick-cut bacon, cut into 1-inch pieces
- 1 large yellow onion, chopped
- 4 cloves garlic, minced
- 4 cups chicken broth (or water)
- 1/2 cup apple cider vinegar
- 1 tablespoon brown sugar
- 1 teaspoon salt, or to taste
- 1/2 teaspoon black pepper, or to taste
- 1/4 teaspoon red pepper flakes (optional)
See? It’s really just common pantry staples coming together to create magic. But it’s the quality and the way we handle these items that turns them into the best collard greens you’ve ever had.
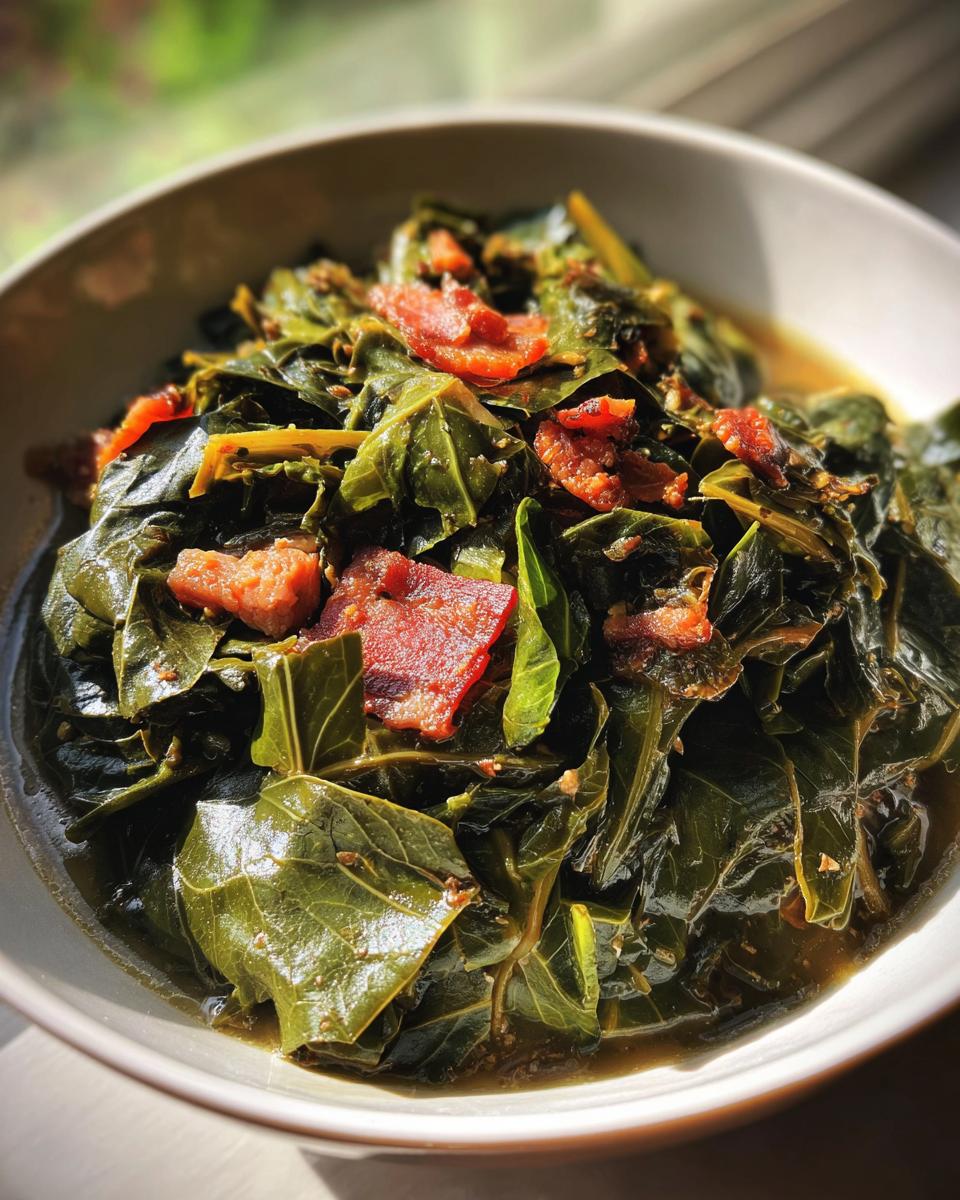
The Role of Smoked Meat in Your Collard Greens
For this particular stove-top recipe, bacon is my go-to. Those little slices render down perfectly, giving us that immediate, salty, smoky foundation fat to start cooking our aromatics in. That bacon fat is liquid gold, trust me!
Now, if you’re using my notes for the longer, slower cook—say, if you decide to tackle a big batch using a ham hock recipe instead—you’ll get an even deeper mineral richness. Ham hocks require more time to really break down, but the payoff in flavor is huge. Similarly, using smoked turkey wings works brilliantly if you need a slightly leaner smoke flavor. But for weeknights, the bacon gets us there fast and full of flavor!
How to Cook Collard Greens: Stovetop Simmering Instructions
Alright, let’s get down to business. This technique is straightforward, but the timing is everything to get those perfect collard greens. The goal here is to build layers of savory depth right from the beginning before we tuck them in for their long, gentle simmer. I’ve broken down the process so you can’t miss a step.
If you want the deep dive on technique, this guide on how to cook collard greens will give you all the foundations!
Prepping and Cleaning Your Collard Greens
First things first: you have to clean them. I learned the hard way early on—you *think* they are clean, but then you take a bite and find dirt! Start by taking those big leaves and submerging them in a large basin or your clean sink filled with cold water. Agitate them around really well. Lift them out, dump the dirty water, and repeat until the water stays mostly clear. Once they’re rinsed, it’s time to chop. Remove those really tough center stems; they won’t soften enough. Then, rough chop the greens into nice, manageable bite-sized pieces.
Building Flavor Base for Southern Collard Greens
Now we start cooking! Get your Dutch oven nice and warm over medium heat. Add your bacon pieces (Step 2) and let them render out until they’re beautifully crisp. Scoop those little jewels out, but leave that gorgeous, smoky fat behind. Next, toss in your chopped onion (Step 3) and let it sweat down for about five minutes until it’s translucent. Then comes the garlic (Step 4)—just a quick minute until it smells fragrant, don’t let it brown!
Once the aromatics are ready, we add all those greens (Step 5). They’ll seem overwhelming at first, but stir them down constantly as they wilt. After that, it’s all about the liquid: broth, vinegar, sugar, and seasoning go right in. You bring the whole pot roaring to a boil (Step 6), and this is critical: immediately reduce that heat way down until it’s just breathing steam—a very gentle bubble. Let your collard greens simmer covered for at least 1.5 to 2 hours (Step 7). This slow cooking time is non-negotiable for that Southern texture!
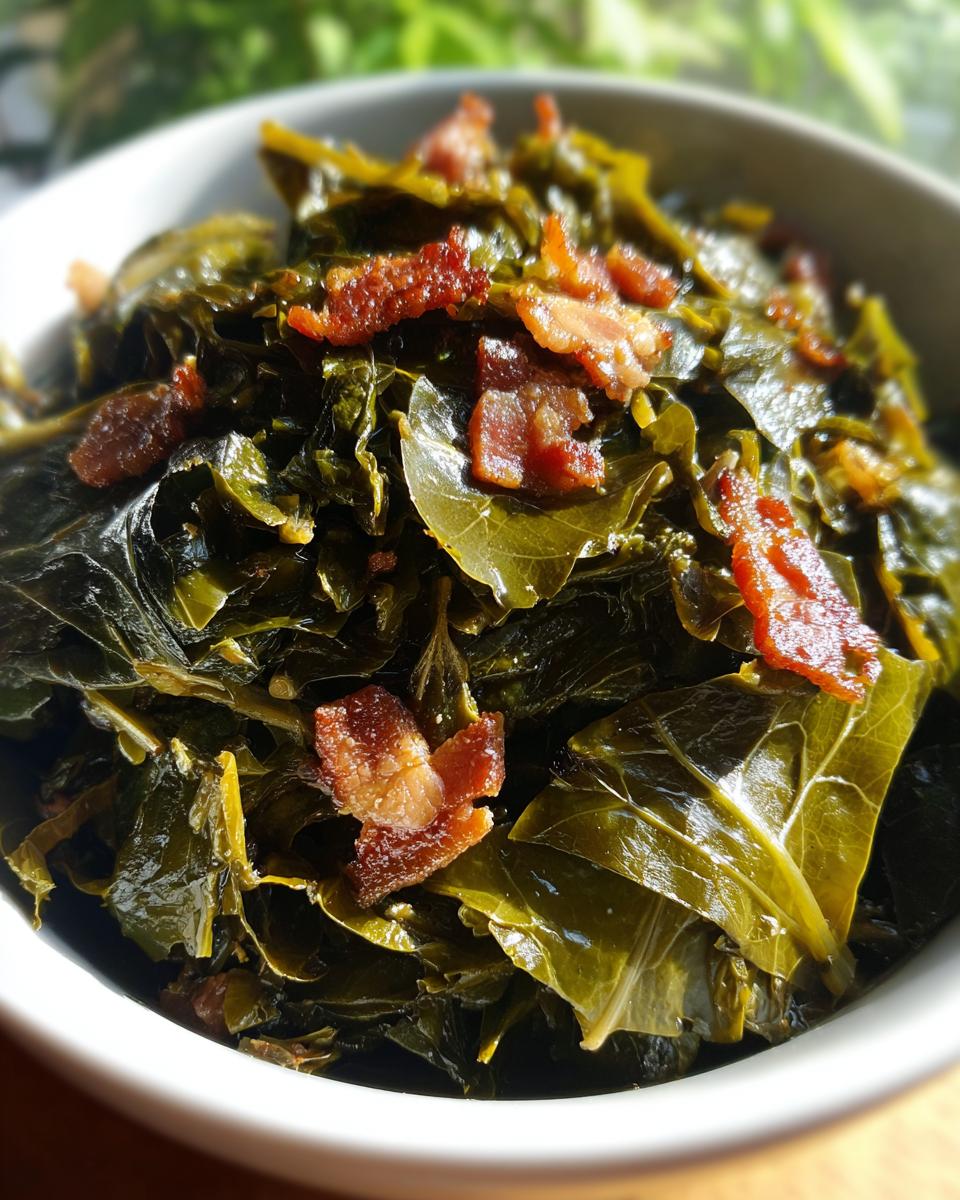
Tips for Perfect Slow Cooker Collard Greens and Other Methods
I know a two-hour simmer isn’t always an option when life throws you a curveball, so I wanted to make sure this recipe felt welcoming even when you’re aiming for easy weeknight greens. While my heart belongs to the Dutch oven, we can absolutely harness the power of modern appliances to get those hearty vegetable recipes done in a snap. Using a slow cooker or an Instant Pot are fantastic ways to still achieve that signature Southern flavor profile without the constant attention.
If you’re making a big batch that you want to just set and forget, I highly recommend checking out my go-to resource for appliances like this: slow cooker vegetable sides. It really opens up your options for comfort food side dishes!
Instant Pot Greens Recipe Quick Guide
When time is truly short, the pressure cooker is your best friend for braised dishes. It forces that tenderness deep into your collard greens much faster than tradition allows. For this exact recipe, once you’ve rendered the bacon and softened your onions and garlic, go ahead and load everything else into the pot—greens, broth, vinegar, sugar, everything.
Lock that lid down, set your valve to sealing, and cook on high pressure for just 20 minutes. And this is important: don’t rush the finish! Once the 20 minutes are up, let it naturally release for at least 10 minutes before manually releasing any remaining pressure. That natural release time is what helps the greens settle and finish cooking evenly without getting too watery. They come out tender and deeply flavored, almost like they cooked all day!
Ingredient Notes and Substitutions for Collard Greens
Okay, let’s talk about making smart choices when assembling your next pot of collard greens. While I stand by the bacon in this recipe—it’s fast and delivers immediate payoff—I want you to feel empowered to customize based on what you have or who you’re cooking for. The broth, the acid, and the meat make the difference between okay greens and unforgettable greens.
If you want that deep, true Southern feel, you might want to swap that bacon out for a smoked ham hock, as I mentioned in the notes earlier. A ham hock needs a longer cook time, maybe three or four hours total, but it leaches so much savory goodness into the liquid that you’ll be amazed. Don’t forget you can also adjust the sweetness! If your greens are naturally sweeter, go easy on the brown sugar, or conversely, if you like a real tang, add an extra splash of apple cider vinegar right at the end.
Maximizing Pot Liquor Flavor
You absolutely *must* save the cooking liquid when you’re done! That beautiful, flavorful broth left at the bottom of the pot is what Southerners call “pot liquor,” and honestly, it’s the best part. It’s rich with pork flavor, the seasonings, the slight acidity from the vinegar, and all the goodness the greens released while they tenderized. It’s pure, concentrated comfort.
Please don’t pour it down the drain! Trust me on this one—spoon it generously over a slice of cornbread. It’s phenomenal poured over plain white rice, too. When I freeze leftovers, I make sure that liquid is sealed tightly because that broth is liquid gold for making future batches of greens even better!
Serving Suggestions for Traditional Soul Food Sides
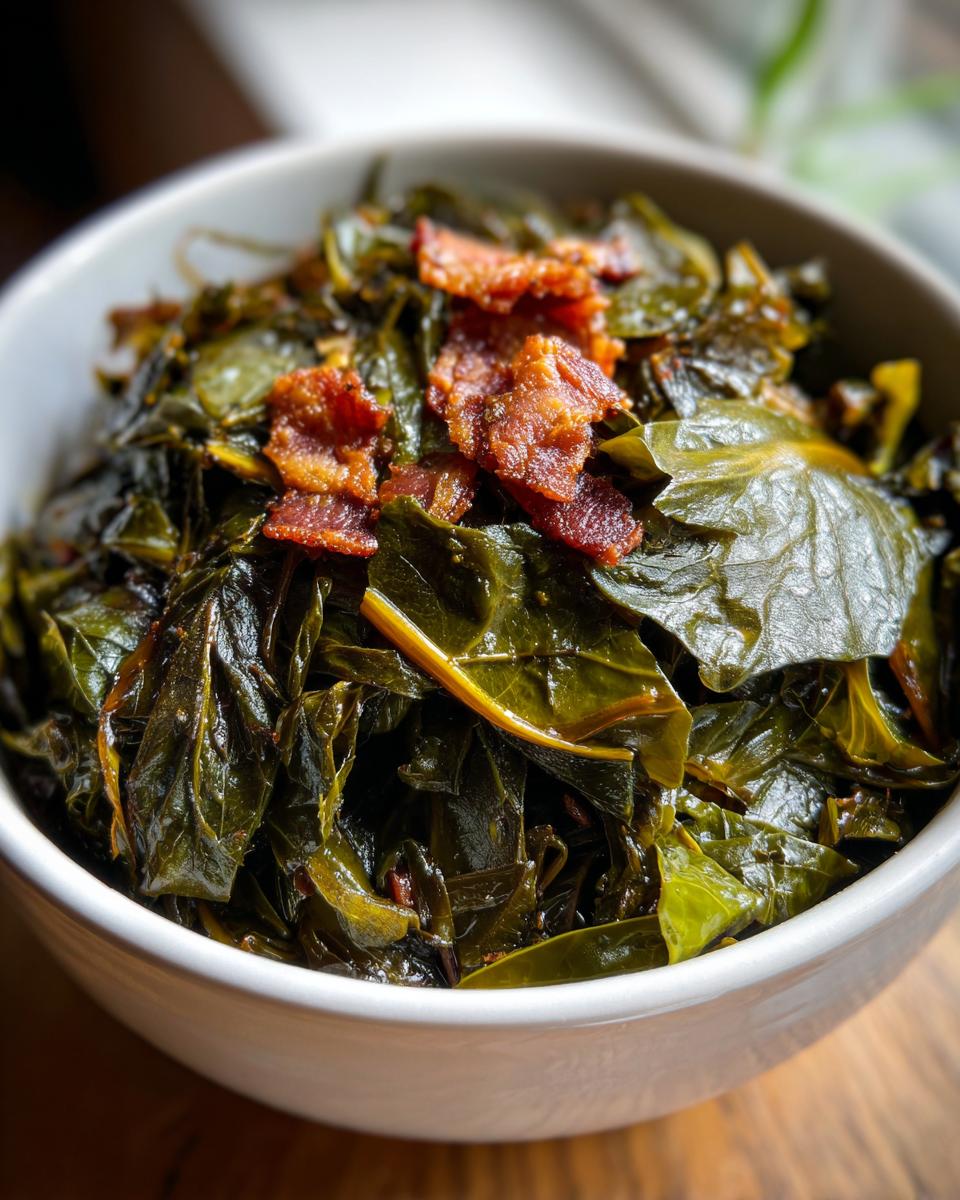
Now that you have mastered the technique for these phenomenal smoked meat collard greens, the real fun begins: planning the rest of the plate! These aren’t just any vegetable side dish; they are the anchor to some of the best meals America has to offer. When I serve these, I feel like I’m celebrating something special, even if it’s just Tuesday night.
The rich, slightly acidic broth—that amazing pot liquor—begs for something starchy and absorbent. You absolutely need my recipe for traditional soul food sides, but specifically, you cannot go wrong with a thick slice of homemade cornbread. Whether you like yours sweet or savory, it’s the perfect vehicle for spooning up that seasoned cooking liquid.
Pairing-wise, these greens are mandatory for any holiday feast, sitting right alongside savory turkey or baked ham. But honestly? My favorite way to eat them is simply piled high next to a piece of crisp, perfectly fried chicken. If you made these with smoked turkey wings or ham hocks, they have enough backbone to carry a whole meal, acting as a hearty accompaniment to virtually any comfort food. These collard greens just make everything taste better!
Storage and Reheating Instructions for Leftover Collard Greens
One of the greatest joys of making a big pot of these smoky, flavorful collard greens is knowing you’ve got leftovers for days! And honestly, they often taste even better the second day once the flavors have really had time to mingle and deepen overnight. Don’t be shy about making a double batch, because they store like a dream.
For refrigeration, you want to make sure you store the greens *with* their delicious cooking liquid. Transfer them into an airtight container. They’ll hold up beautifully in the fridge for a solid four to five days. I’ve kept mine longer, but I always try to eat them within that window to keep that fresh, vibrant taste.
The Best Way to Reheat Your Greens
While you *can* microwave them, I highly recommend reheating your leftover collard greens on the stovetop. Why? Because the gentle, moist heat of the stove helps revive that silky texture we worked so hard to achieve in the first place, preventing them from drying out.
Use a pot over medium-low heat. Pour in the greens and their liquid. You just need to bring them up to a gentle simmer—no hard rolling boil, please! Let them warm through slowly, stirring occasionally. If you feel they look a little dry after reheating, don’t panic! Just splash in a tiny bit of extra chicken broth or even water to loosen up that wonderful pot liquor again. They’ll be just as soulful as they were the first time!
Frequently Asked Questions About Cooking Greens
I know sometimes even with the best recipe, questions pop up once you get in the kitchen. Cooking greens has a few nuances, especially if you’re dealing with a big batch for a holiday gathering. Don’t worry, I’ve answered the most common troubleshooting points here to make sure your final dish is perfect. Finding the right Southern food recipes that cater to your schedule is key, and these answers should help!
Why are my collard greens still tough after simmering?
This almost always comes down to two things: time or liquid. If you pulled them off the heat before that 90-minute to two-hour mark, they probably need more time simmering gently. Those thick leaves take a while to surrender! If the time was right, check your liquid level. If the broth evaporated too much and the greens started cooking dry, they’ll seize up instead of softening. Next time, make sure you have at least an inch of liquid covering the greens when you reduce the heat. They need that moisture bath to get beautifully tender!
Can I make these collard greens vegetarian?
Absolutely, yes! You can easily transform this into a fantastic meatless side dish. Skip the bacon completely, and instead, start by sweating your onion and garlic in about three tablespoons of good quality olive oil instead of the rendered fat. To replace that smoky element—which is crucial for deep flavor—I recommend adding about a teaspoon of smoked paprika along with your other spices, or even a teaspoon of liquid smoke if you have it on hand. Make sure you use vegetable broth instead of chicken broth, and you’ve got yourself an amazing side that still delivers on that rich, savory profile.
What is the best way to clean a large batch of collard greens?
When you buy greens in a big bunch, you really need to commit to the cleaning process, or you’re going to end up with grit in your final dish. My method for tackling a large amount is the “swimming pool” technique. Get your largest stockpot or a clean utility sink basin. Fill it with cold water—lots of water! Submerge the greens entirely and gently swish them around for a minute or two. Let them sit for about five minutes so any heavy dirt settles to the bottom. Lift the greens out gently (don’t just pour the water out, or you’ll pour the dirt right back over them!). Dump the dirty water, refill, and repeat this process at least two or three times until the water looks perfectly clear. It takes a few minutes, but it makes all the difference for your final meal!
If you want to see some of my other must-try vegetable dishes, feel free to browse my main kitchen archives here: main kitchen archives.
Share Your Favorite Southern Food Recipes
And there you have it! My absolute favorite, tried-and-true method for achieving that deep, comforting flavor of truly authentic collard greens. I’ve given you the process, the tips, and the secrets I gathered along my journey, but now the kitchen is all yours!
I genuinely want to know what you think. Did the bacon give you the right amount of smoke? Did you manage to save every last drop of that incredible pot liquor? Please leave me a rating—are these the best collard greens you’ve ever made?
More importantly, tell me what you served them with! Are you team sweet potato cornbread, or do you have another traditional pairing that must accompany these savory greens? Hearing your culinary adventures keeps the inspiration flowing here at Gourmet Gaze.
If you want to explore more of those soulful dishes that anchor the American table, you need to check out my collection of Southern food recipes—I guarantee they’ll bring the same level of satisfaction to your table. Happy cooking, friends!
PrintSlow-Simmered Southern Collard Greens with Bacon
Make authentic Southern Collard Greens that taste like they simmered all day. This recipe uses bacon for a smoky, rich flavor and results in tender greens perfect for any comfort food meal.
- Prep Time: 15 min
- Cook Time: 2 hours
- Total Time: 2 hours 15 min
- Yield: 6 servings 1x
- Category: Side Dish
- Method: Stovetop Simmering
- Cuisine: Southern
- Diet: Vegetarian
Ingredients
- 2 pounds fresh collard greens, tough stems removed and chopped
- 6 slices thick-cut bacon, cut into 1-inch pieces
- 1 large yellow onion, chopped
- 4 cloves garlic, minced
- 4 cups chicken broth (or water)
- 1/2 cup apple cider vinegar
- 1 tablespoon brown sugar
- 1 teaspoon salt, or to taste
- 1/2 teaspoon black pepper, or to taste
- 1/4 teaspoon red pepper flakes (optional)
Instructions
- Clean the collard greens thoroughly under cold running water. Chop the greens into bite-sized pieces.
- Place a large Dutch oven or heavy-bottomed pot over medium heat. Add the bacon pieces and cook until crisp. Remove the bacon pieces with a slotted spoon and set them aside, leaving the rendered fat in the pot.
- Add the chopped onion to the pot and cook in the bacon fat until softened, about 5 minutes.
- Add the minced garlic and cook for 1 minute until fragrant.
- Add the chopped collard greens to the pot. They will fill the pot initially. Stir them down as they wilt.
- Pour in the chicken broth and apple cider vinegar. Stir in the brown sugar, salt, black pepper, and red pepper flakes, if using.
- Bring the liquid to a boil, then reduce the heat to low. Cover the pot and let the greens simmer slowly for 1.5 to 2 hours, or until the greens are very tender. Stir occasionally.
- Taste the broth and adjust salt and pepper as needed. Stir in the reserved crispy bacon just before serving.
Notes
- For an even deeper flavor, substitute bacon with a smoked ham hock and simmer for 3 to 4 hours until the meat is falling apart. Remove the meat, shred it, and return it to the pot before serving.
- Save the cooking liquid, often called ‘pot liquor,’ to serve over cornbread or rice.
- If you need an easy weeknight greens recipe, use smoked turkey wings instead of bacon and cook in an Instant Pot for 20 minutes on high pressure, followed by a natural release.
Nutrition
- Serving Size: 1 cup cooked
- Calories: 110
- Sugar: 3
- Sodium: 350
- Fat: 7
- Saturated Fat: 2
- Unsaturated Fat: 5
- Trans Fat: 0
- Carbohydrates: 10
- Fiber: 4
- Protein: 5
- Cholesterol: 10