
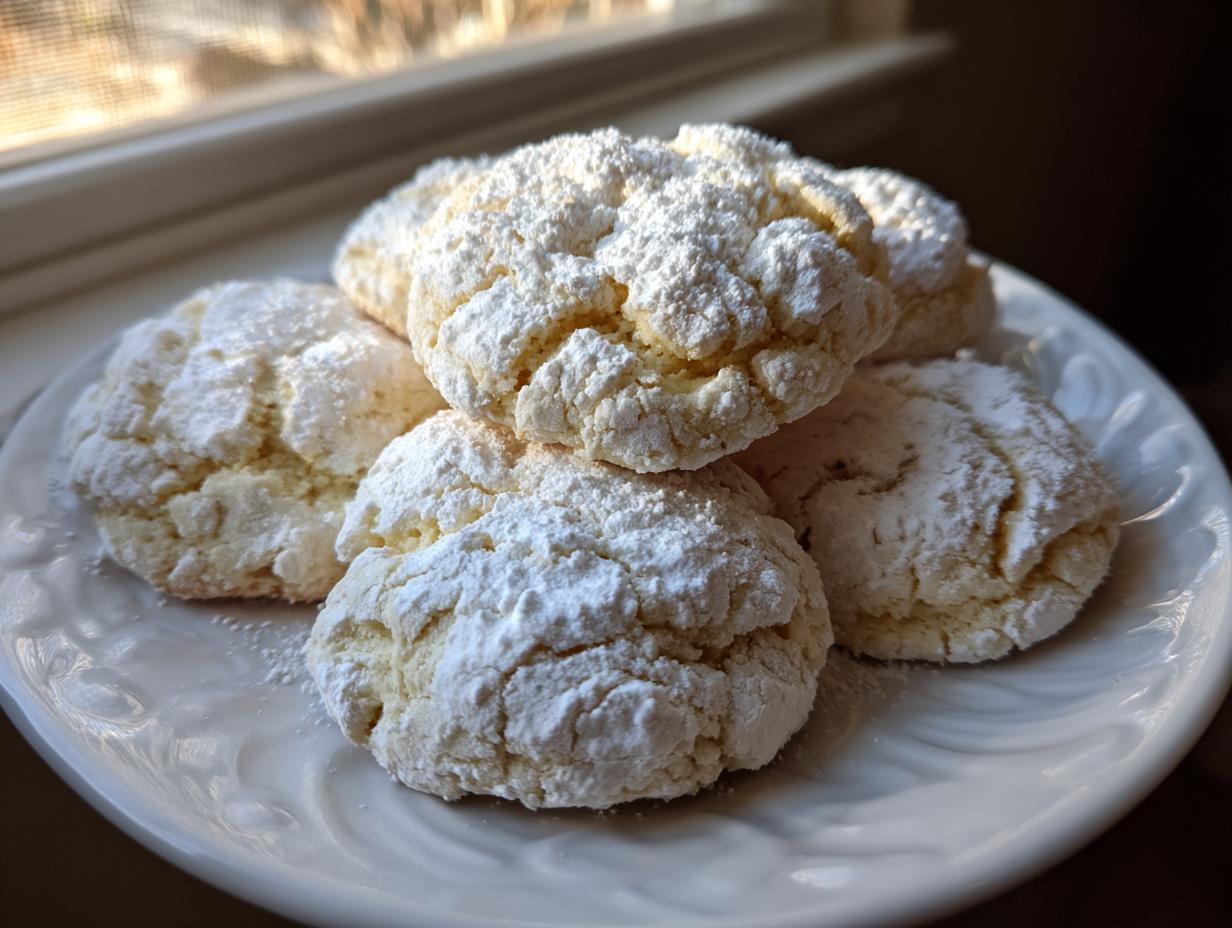

If you’ve ever stared down a long to-do list and thought, “I need a show-stopping dessert, but I only have fifteen minutes,” then I need you to stop everything and look right here. When I made the switch from the corporate grind to baking full-time, I realized what people truly crave isn’t complicated technique; it’s foolproof joy. And trust me, nothing delivers that faster than these incredible **Cool Whip Cookies**.
These aren’t just some random, thrown-together cookie. Wow, these are magnificent! We’re talking about the easiest, fluffiest, melt-in-your-mouth treats you’ll ever bake, often requiring only three ingredients. Yes, THREE! It’s simple baking that feels gourmet, and that’s the essence of what I want to bring to your kitchen through Gourmet Gaze. If you’re looking for reliable, quick, and utterly delicious results, these are the answer. You can see some of my other favorite sweet creations over in my Desserts section, but this one might just take the top spot for speed.
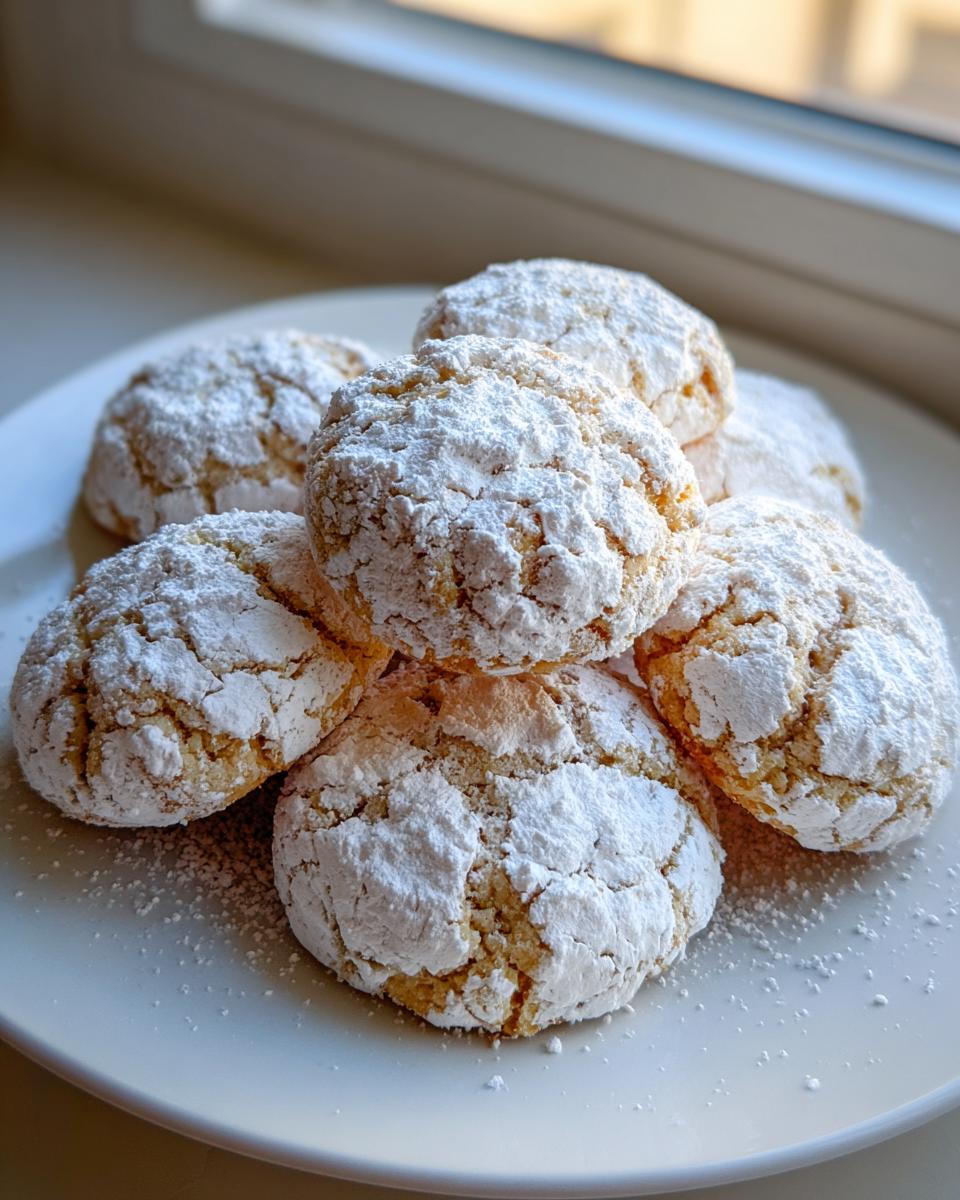
- Why You'll Love These 3 Ingredient Cool Whip Cookies
- Gathering Your Pantry Staple Desserts Ingredients for Cool Whip Cookies
- Ingredient Notes and Substitutions for Your Cool Whip Cookies
- Simple Baking: Step-by-Step Instructions for Perfect Cool Whip Cookies
- Tips for Success with Your Soft Baked Treats
- Variations on Classic Cool Whip Cookies
- Storage & Reheating Instructions for Melt in your mouth Cookies
- Frequently Asked Questions About Cool Whip Cookies
- Share Your Gourmet Gaze Creations
Why You’ll Love These 3 Ingredient Cool Whip Cookies
When I was stuck in marketing meetings, baking was the last thing on my mind. But now that I’m here, focusing on joyful, soulful food, I realize that simple recipes don’t have to mean sacrificing quality. These cookies are my proof!
- They are incredibly fast—we’re talking minimal prep time because we’re skipping the creaming of butter and sugar entirely.
- The texture is exactly what everyone asks for: airy, soft, and truly melt-in-your-mouth.
- You probably have all the main components in your pantry right now. It’s truly one of the best versions of easy cookie recipes out there.
Perfect for Last Minute Desserts and Holiday Baking Ideas
Listen, life happens! If you get a sudden call that friends are coming over, or if you realize your holiday cookie platter looks a little sparse, these are your heroes. You only need about ten minutes of active work before they hit the oven. They bake up quickly, making these perfect as last minute desserts. I always keep a box of cake mix on hand just for these moments!
Achieving Fluffy Cookies with Minimal Effort
The secret to that incredibly light texture is that container of frozen whipped topping. Since traditional recipes rely on butter and eggs to create air pockets, the Cool Whip already brings that airy structure right into the dough! It keeps the cookies super soft and puffy, which is why they earn their reputation as genuine fluffy cookies. They are the epitome of quick dessert ideas without any fuss.
Gathering Your Pantry Staple Desserts Ingredients for Cool Whip Cookies
When I first started relying on these recipes to get a decent dessert on the table after work, I was shocked by how simple the ingredient list was. Seriously, it felt like cheating! This list is short enough that you can probably pull everything out of your cupboards right now. The goal here is total simplicity, and that’s what makes this recipe shine.
Essential Components for These Easy Cookie Recipes
Since we are aiming for maximum ease, we rely on pre-packaged goodness. This is definitely one of the quickest Cake Mix Cookies you’ll ever encounter. Here is exactly what you need to have ready before you even think about preheating that oven:
- One standard box (about 15.25 ounces) of your favorite Cake Mix. I’ll talk about flavors in a minute, but any flavor works!
- One 8-ounce container of frozen whipped topping—and this is crucial—it must be fully thawed, but not watery. We need that slight firmness the soft baked treats rely on.
- One large egg. Just one!
- A generous amount of Powdered Sugar for rolling. This creates that beautiful, crackly finish synonymous with the best easy cookie recipes.
That’s it! No butter, no oil, no vanilla extract needed! That’s why these double down on being fantastic pantry staple desserts.
Ingredient Notes and Substitutions for Your Cool Whip Cookies
This is where we get into the details that separate a good batch of these cookies from an absolutely spectacular batch. When I was testing simple baking ideas, I found that ingredient management is still key, even when the list is tiny! Getting the texture and flavor just right means paying attention to the state of your Cool Whip and what box of cake mix you grab.
It’s so freeing to make cookies that are naturally no butter cookies, right? That whipped topping is doing all the heavy lifting for moisture and structure. But you do need to respect the Cool Whip. If it’s too warm, you’ll have soup instead of cookie dough. If it’s frozen, you’ll have ice chunks! You want it thawed until it’s spoonable, like thick yogurt, but still holding its structure.
Cake Mix Flavor Variations
The greatest joy of this recipe is that you can essentially make 24 entirely different cookies just by changing the box! I always recommend trying a vanilla or basic white cake mix first because it lets the sweetness shine through, especially when you roll them in powdered sugar. They turn out as the most delightful soft baked treats this way.
However, for something a little richer, grab a chocolate cake mix. Chocolate Cool Whip Cookies? Yes, please! They have a wonderful, fudgy center. If you are aiming for something bright and zingy, lemon cake mix is incredible, especially if you add a tiny bit of lemon zest when you mix the dough. Think about making a colorful batch for Christmas where you use strawberry mix for pink ones and plain vanilla for the white ones. It’s endless fun for what is essentially a quick dessert idea!
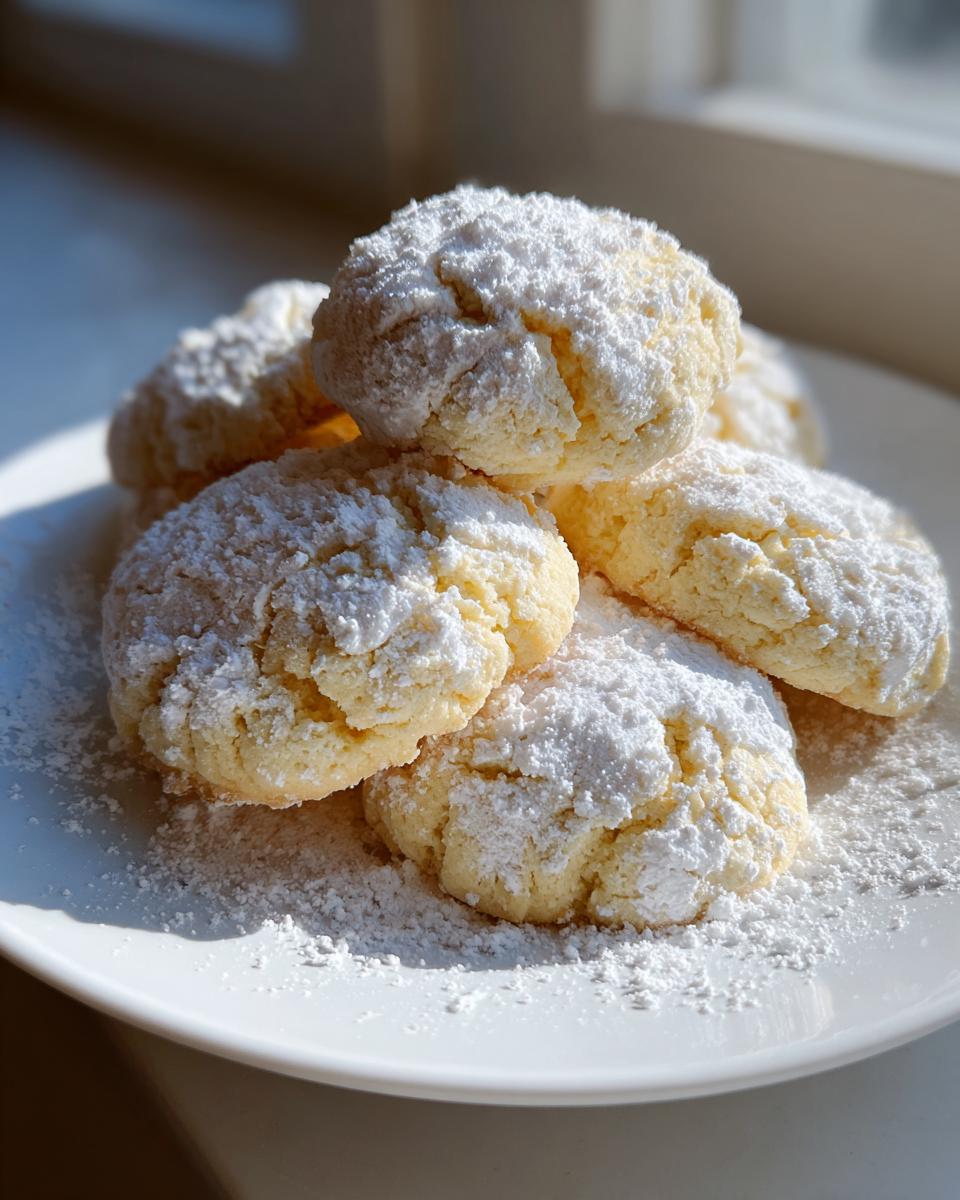
Simple Baking: Step-by-Step Instructions for Perfect Cool Whip Cookies
This is the part I love the most—watching simple ingredients transform into something amazing without relying on loud equipment. Honestly, you don’t even need your electric mixer for this! Since we are using cake mix, the mixing is incredibly straightforward, which is why these are my go-to for anyone just starting out with baking. These are fantastic beginner baking projects.
We are aiming for soft, airy baked goods, and the technique here is vital to keep that fluffiness intact, especially since we aren’t using the creaming method we might use on traditional cookies.
Mixing the Dough for Airy Baked Goods
First things first: your oven needs to be ready to go. Preheat that beauty to 350°F (175°C) right away. Get your baking sheets lined with parchment paper; it makes cleanup a dream, which is important when you’re aiming for quick desserts!
Grab a medium bowl. We start wet, then dry, which is the key to keeping things smooth. Gently combine the thawed whipped topping and the single egg. Mix these two together until they’re just united—don’t whip it into oblivion. Now, dump in that entire box of dry cake mix. Mix this on the lowest speed your hand mixer offers, or just use a sturdy spoon or spatula. Stop mixing the absolute second you no longer see streaks of dry powder. If you mix too much, you’ll develop the gluten, and those beautiful, light **Cool Whip Cookies** will turn tough!
Coating and Preparing for the Oven
This next step is what gives us those gorgeous fissures—the “crinkle” look that signals a really amazing cookie. Pour a good amount of powdered sugar into a shallow dish. It needs to be deep enough to coat the entire outside surface of the dough ball.
Scoop out little balls of dough, about one tablespoon each—a small cookie scoop works perfectly for consistency. Then, roll that entire ball in the powdered sugar until it is absolutely blanketed. Don’t be shy! A heavy coat ensures that wonderful crackly exterior that defines the crinkle cookies recipe look.
Place the sugar-coated balls onto your prepared sheets, making sure to leave about two inches of space between them since they will spread just a little bit. They are ready for their quick trip to the oven!
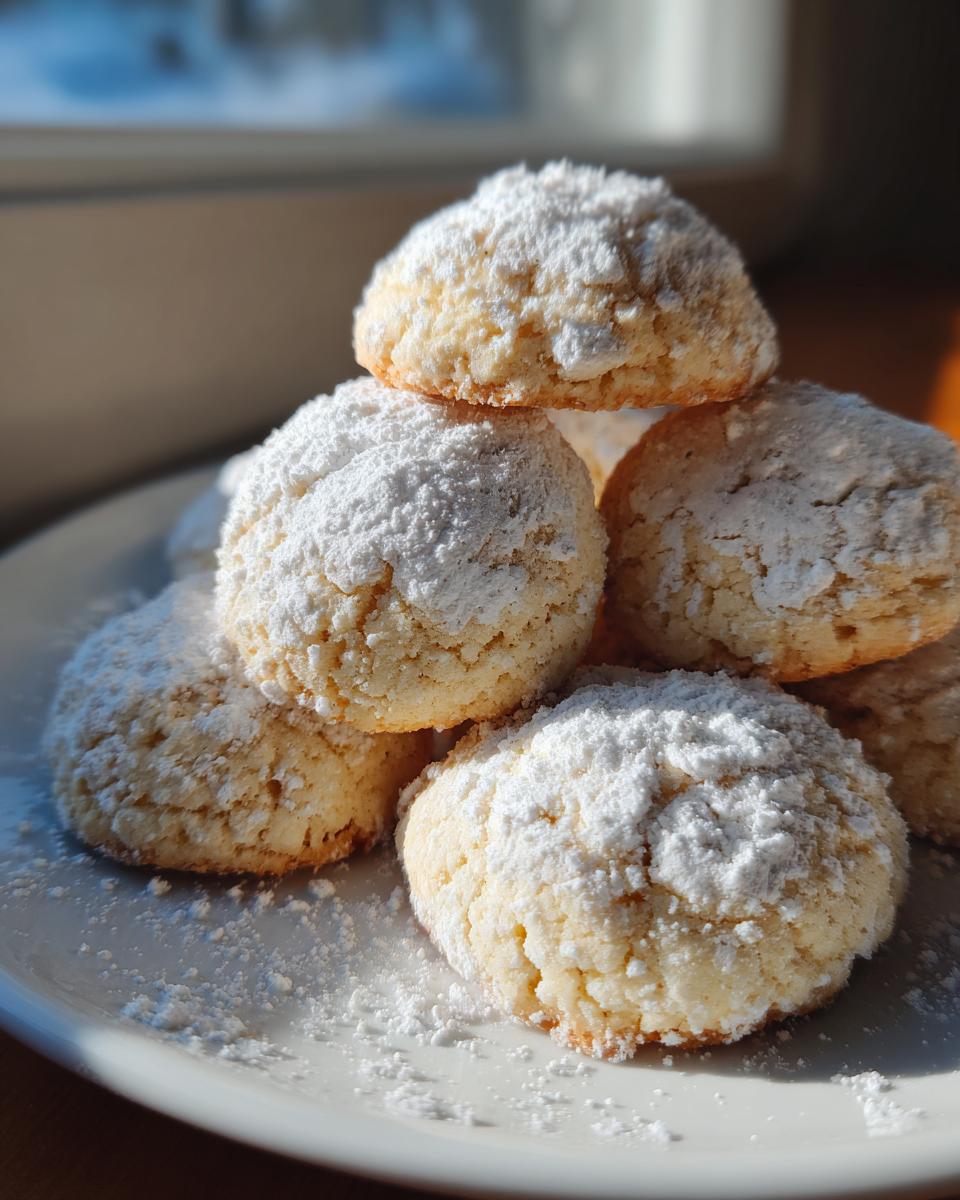
Tips for Success with Your Soft Baked Treats
We’re almost done, but this is where we lock in that perfect, pillowy texture. Because these cookies rely on Cool Whip rather than melted butter for structure, how you handle them right out of the oven makes a huge difference in achieving those delightful soft baked treats we’re after. Don’t panic when you peek through the oven door; they won’t look like your grandma’s chewy oatmeal cookies!
The biggest piece of advice I can give you, especially if you’re new to this style of baking, is to trust the timing and ignore visual expectations. They bake for a very short time—only about 10 to 12 minutes at 350°F. When they come out, they will look soft, maybe even slightly underdone in the center. This is exactly what you want!
Resist the urge to leave them in longer because you think they need to brown; if you do that, you’ll bake out all that wonderful airiness the Cool Whip contributed. They need that residual heat on the baking sheet to fully set up. Let them rest there for a solid five minutes. If you try to move them sooner, you risk breakage, and nobody wants a crumbled cookie! After that five minutes, they are sturdy enough to transfer gently to a wire rack for cooling completely. This short resting period is what guarantees those beginner baking projects yield consistent, amazing results every single time.
Variations on Classic Cool Whip Cookies
The beauty of using cake mix as our base is that we’ve already unlocked the door to endless customizations. Since this recipe is so lean on ingredients, it welcomes flavorful add-ins beautifully. It’s so adaptable, making it one of my favorite templates for quick gifting or seasonal fun. Forget getting stressed about complex doughs; these **Cool Whip Cookies** adapt easily!
You can instantly elevate these from an everyday treat to something truly special—perfect for those packed holiday schedules. If you’re looking for ways to fill out your seasonal spread, consider these swaps. They are fantastic additions to any list of Christmas Cookie Recipes because they require zero extra chilling time.
Here are a few ways I like to spin the recipe to keep things interesting:
- Extract Power: A half teaspoon of pure vanilla extract added with the egg and Cool Whip always deepens the flavor, even if you’re using a standard white cake mix. For a richer, darker cookie, try almond extract—it pairs shockingly well with chocolate cake mix!
- The Sprinkle Effect: If you are making these year-round, roll the dough balls in coarse decorating sugar instead of just powdered sugar. This gives the cookies a wonderful crunch and a bit of sparkle. For a true holiday theme, mix red and green sprinkles directly into the powdered sugar coating before rolling.
- Spice It Up: If you use a yellow or vanilla cake mix, consider swapping that half teaspoon of vanilla for a half teaspoon of ground cinnamon or a pinch of nutmeg. This instantly gives the cookie an almost snickerdoodle vibe, though it remains a true no mixer cookie recipe!
- A Drizzle Finish: After the cookies have completely cooled, you can drizzle them with melted chocolate chips or a simple icing made from powdered sugar and a splash of milk. This makes them look bakery-worthy, even though they are one of the easiest quick dessert ideas available.
Remember, since these are built around the cake mix, you have a built-in foundation of flavor. Just remember if you add anything wet, like extra liquid flavoring, you might need to dust them with a little extra powdered sugar before baking to maintain that gorgeous crinkle!
Storage & Reheating Instructions for Melt in your mouth Cookies
Now, you’ve baked the perfect batch of these **Cool Whip Cookies**, and you want them to stay exactly as they are—soft, fluffy, and ready to melt on your tongue. Since they don’t have that high-fat butter base that helps traditional cookies stay firm, we have to be a little more careful with storage. I’ve learned this the hard way when I tried to leave a cooling rack uncovered overnight!
The absolute best way to keep these **melt in your mouth cookies** absolutely perfect is by making sure they are completely cool before storing them. And I mean completely cool; if you seal them up warm, condensation builds, and that leads to sogginess, which is the opposite of the powdery, light texture we worked so hard to achieve.
Here is my go-to for keeping them fresh. You need an airtight container, no question. I prefer a cookie tin or a good plastic container with a tight seal. Layer them if you must, but use a sheet of parchment paper between the layers. Don’t stack them too tightly, though; we don’t want to crush that beautiful dome shape.
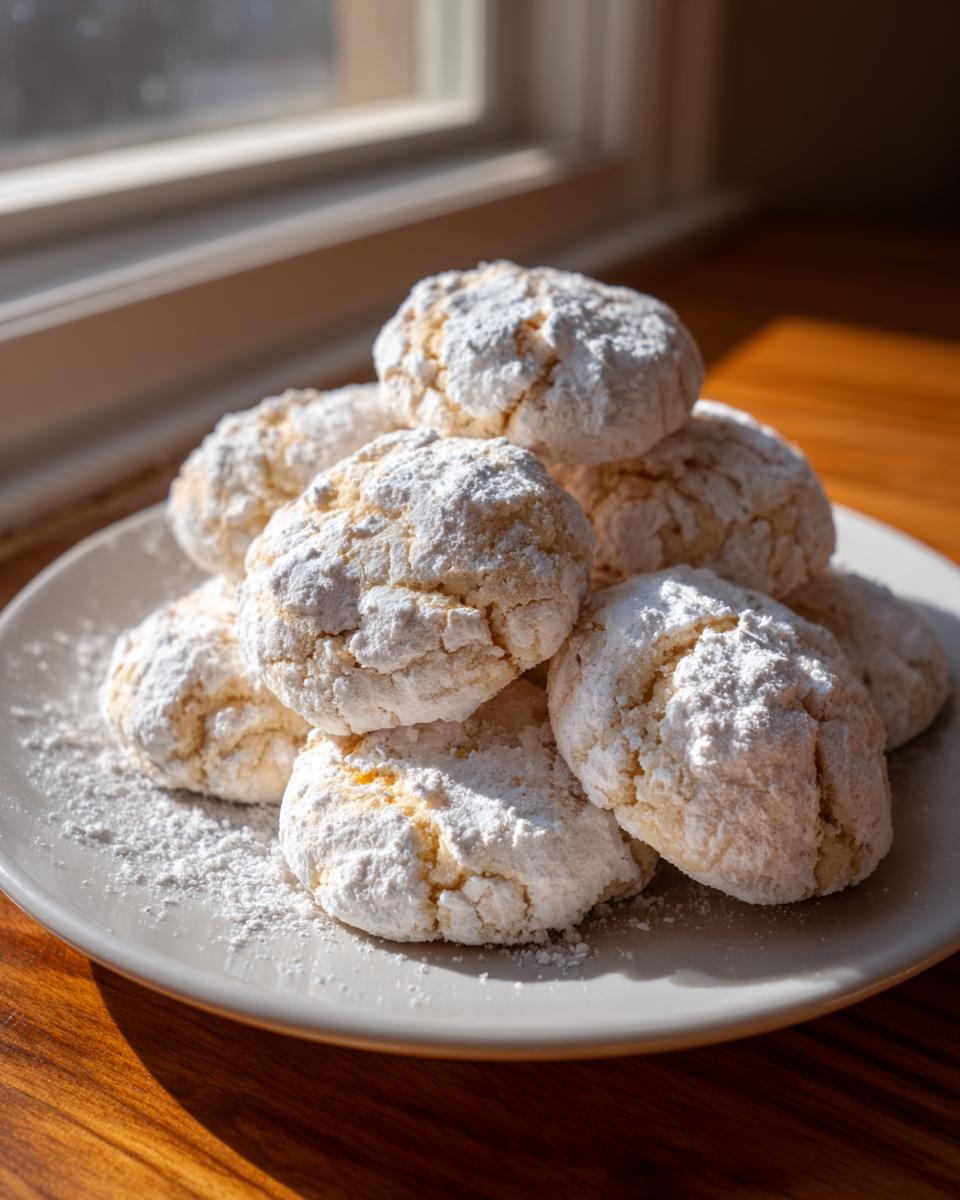
You’ll get about three days of peak softness this way. After day three, they start to firm up slightly, turning into a wonderfully chewy treat, but they certainly won’t have that fresh, airy quality we aim for with these quick dessert ideas. If you find they’ve stiffened up a bit on day four or five, I have a little trick for you.
For reheating, don’t microwave them for too long, or they’ll get tough! Pop just one or two cookies on a microwave-safe plate and hit the button for about 5 to 7 seconds on 50% power. This just gently warms them through, bringing back a moment of that fresh-from-the-oven softness. Honestly though, I find they taste best simply sitting on the counter, ready when you need a quick, delightful treat!
Frequently Asked Questions About Cool Whip Cookies
Whenever I share a recipe that seems almost too simple, the questions always start rolling in! That’s completely understandable. When you promise people a flavor feast with minimal effort, you have to back it up with clear answers. These **Cool Whip Cookies** are incredibly reliable, but here are the few things home cooks often ask me about, especially when they are whipping up a new batch of Quick Dessert Ideas.
Can I make these 3 Ingredient Desserts without cake mix?
Technically, you could try to replicate the components, but honestly, I wouldn’t recommend it if you are aiming for this specific fluffy texture. The box of cake mix is the backbone of this recipe! It already contains the specific leavening agents, stabilizers, and flavor profile needed to interact perfectly with the whipped topping. If you try swapping it for plain flour, sugar, and baking powder, you’re essentially turning this into a completely different, much more traditional cookie recipe that requires creaming butter. Stick to the box for these magic 3 ingredient desserts!
Why are my Cool Whip Cookies flat?
This is the number one issue I hear about, and it usually comes down to one of two things. First, did you overmix the dough once you added the dry cake mix? If you mix it past the point of just combining, you develop gluten, and instead of a soft, airy cookie, you get a dense, flat disc. Second, check your Cool Whip temperature. If it was too warm—maybe it sat on the counter for an hour while you prepped other things—it’s lost that essential stabilization. The whipped topping needs to be thawed but still able to hold a soft peak when mixed with the egg. If it looks watery, you’ll end up with sad, flat **Cool Whip Cookies**.
If you’ve got any other questions—maybe you want to know the best way to store leftovers or if you can use store-brand whipped topping—please don’t hesitate to reach out through my contact page! Happy baking!
Share Your Gourmet Gaze Creations
We’ve made it to the finish line, and I truly hope you get as much joy from these **Cool Whip Cookies** as I do. When I finally broke free from the corporate world and started creating food that felt like soul nourishment, this simple recipe was one of the first that truly clicked with me. It proved that spectacular flavor doesn’t need complicated ingredients or hours of effort.
Now that you’ve got a plate full of light, pillowy, melt-in-your-mouth happiness, I want to know what you think! Did you use chocolate cake mix? Did you brave the lemon? Please, take a moment to leave a rating and some comments below. Your feedback helps others gain confidence in making these easy cookie recipes, and it lets me know what kind of simple, reliable baking magic you need next!
And if you snapped a photo of your gorgeous, powdered-sugar-crusted treats—maybe you used sprinkles, maybe you stuck to the pure vanilla base—please share it on social media! Tagging Gourmet Gaze lets me see your beautiful creations. It inspires me every day to keep bringing you recipes that are truly a feast for the eyes and the soul. I love seeing how you make this recipe your own. Thank you for joining me at this table. Head over to my About Page if you want to read more about my journey from spreadsheets to sprinkles!
Print3-Ingredient Cool Whip Cookies: Light and Fluffy Treats

Make these incredibly easy Cool Whip Cookies using just three pantry staples. They bake up light, fluffy, and melt in your mouth, perfect for last-minute desserts or holiday baking.
- Prep Time: 10 min
- Cook Time: 12 min
- Total Time: 22 min
- Yield: 24 cookies 1x
- Category: Dessert
- Method: Baking
- Cuisine: American
- Diet: Vegetarian
Ingredients
- 1 box (15.25 oz) Cake Mix (any flavor)
- 1 container (8 oz) frozen whipped topping (Cool Whip), thawed
- 1 large egg
- Powdered sugar, for rolling
Instructions
- Preheat your oven to 350°F (175°C). Line baking sheets with parchment paper.
- In a medium bowl, combine the thawed whipped topping and the egg. Mix until just combined.
- Add the dry cake mix to the bowl. Mix on low speed or by hand until a soft dough forms. Do not overmix.
- Place a small amount of powdered sugar in a shallow dish.
- Scoop the dough into balls, about 1 tablespoon each. Roll each ball completely in the powdered sugar until fully coated.
- Place the coated dough balls onto the prepared baking sheets, leaving about 2 inches between them.
- Bake for 10 to 12 minutes. The cookies will look soft when you remove them but will set as they cool.
- Let the cookies cool on the baking sheet for 5 minutes before moving them to a wire rack to cool completely.
Notes
- For crinkle cookies, roll the dough balls generously in powdered sugar before baking.
- You can use any flavor of cake mix, such as chocolate, strawberry, or lemon, for variety.
- These cookies are best eaten within 3 days for the softest texture.
Nutrition
- Serving Size: 1 cookie
- Calories: 140
- Sugar: 18g
- Sodium: 110mg
- Fat: 6g
- Saturated Fat: 3g
- Unsaturated Fat: 3g
- Trans Fat: 0g
- Carbohydrates: 21g
- Fiber: 0g
- Protein: 2g
- Cholesterol: 10mg