
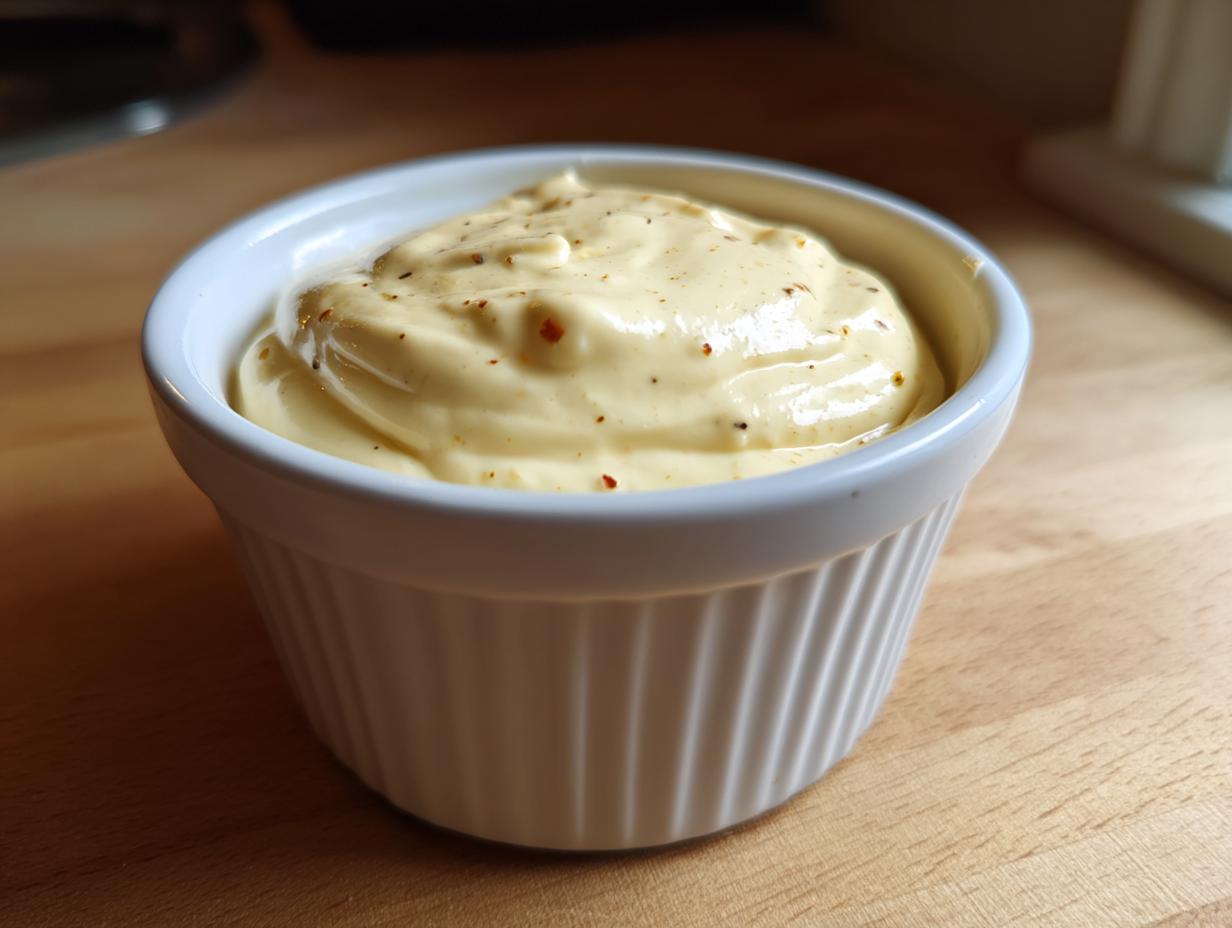

When I look back at my time escaping burnout, that tiny New Orleans diner served me something truly transformative—a simple, deeply flavorful dipping sauce that made even plain fries feel like an event. That feeling, the one where a homemade condiment elevates the entire plate? That’s what I want you to experience with this recipe. Forget standing in line for mediocre tubs of sauce; we are making restaurant-style, creamy garlic aioli right here on your counter in about ten minutes. This isn’t just cooking; it’s about taking humble, honest ingredients and consciously transforming them into an experience. This fresh garlic sauce is our ticket to gourmet home cooking, fast.
- Why This Homemade Garlic Aioli Recipe Delivers Creamy Results
- Ingredients for the Best Garlic Aioli For Fries
- How To Make Aioli From Scratch: The Restaurant Style Aioli Tutorial
- Quick Condiment Recipes: Variations on Classic garlic aioli
- Serving Suggestions: How to Use Your Fresh Garlic Sauce
- Storage and Reheating Instructions for Homemade garlic aioli
- Frequently Asked Questions About Making garlic aioli
- Recipe Timing and Yield Details
- Nutritional Estimates for Your Creamy garlic aioli
Why This Homemade Garlic Aioli Recipe Delivers Creamy Results
The absolute magic of this recipe lies in how quickly we nail that luxurious, silky texture typically only found in five-star kitchens. We aren’t sacrificing quality for speed here; we’re achieving the best of both worlds. You get that punchy, vibrant garlic flavor, but the texture is pure velvet.
This is the primary difference between a good dip and a phenomenal one:
- Incredibly fast prep time—we’re done before the fries even finish baking!
- Bold, authentic garlic taste with a lovely hint of lemon brightness.
- Unbeatable richness that makes every bite satisfying.
The Creamy Garlic Dip Secret: Emulsion Control
The reason this comes out perfectly creamy every single time comes down to controlling the emulsion. We use a cold egg yolk right from the fridge, which acts as our glue. When you start adding the oil—and I mean *very* slowly—that yolk wraps around the fat molecules.
This slow bonding process is what prevents the sauce from ever breaking or separating. It’s the cornerstone of achieving that beautiful, thick, creamy garlic dip secret consistency that holds up perfectly on your plate.
Ingredients for the Best Garlic Aioli For Fries
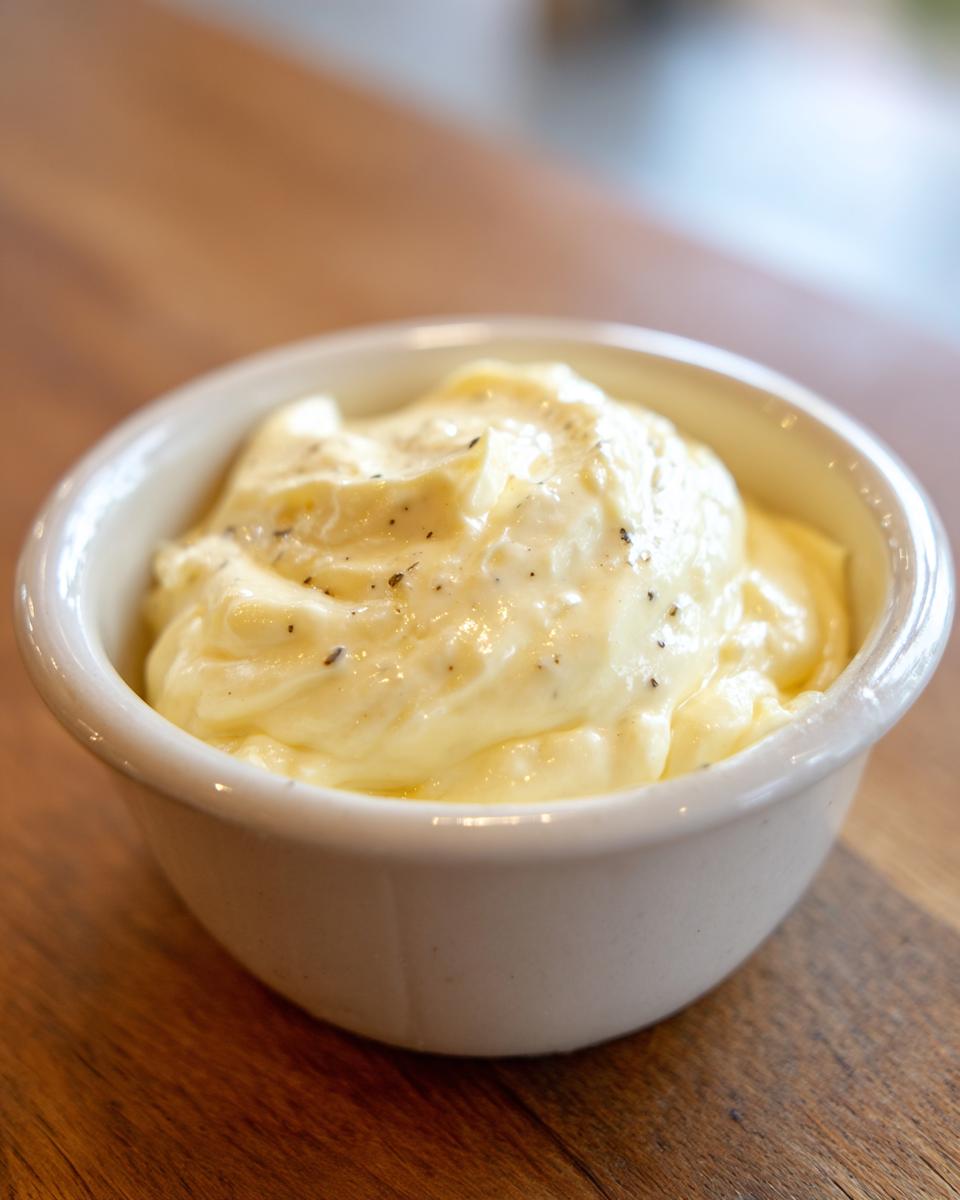
To achieve that stunning, restaurant-quality texture, you need precision, especially with the temperature of your starting ingredients. We’re keeping this recipe minimal so the fresh garlic truly shines through. Don’t feel like you need ten different herbs; these core components are what make garlic aioli taste authentic and incredible.
Here is what you’ll need for about one cup of this liquid gold:
- One large egg yolk (make sure it’s cold!)
- Two cloves fresh garlic, finely minced
- One teaspoon Dijon mustard
- One teaspoon fresh lemon juice
- 1/2 cup neutral oil (think canola or grapeseed)
- 1/4 cup extra virgin olive oil
- A small pinch of salt and black pepper
Once you have these, you are halfway to having the best dipping sauce of your life. See the notes below for my chef-tested tips on making sure every batch is a success!
Ingredient Notes and Substitutions for Your garlic aioli
I know the raw egg yolk can make some folks nervous, and I totally get that. If you’re worried about it, or if you just don’t have a reliable fresh source, you can skip the yolk entirely! For a quick, no-fail base that still yields a creamy garlic dip secret, substitute that egg yolk with about 1/2 cup of good quality mayonnaise. It won’t have the exact same pure richness, but it works wonders.
Also, be mindful of your oils. You need that neutral oil (like grapeseed) for the bulk of the work because it won’t overpower the garlic. Save that flavorful, peppery extra virgin olive oil for the very end to finish the flavoring profile of your garlic aioli. It truly makes a difference!
How To Make Aioli From Scratch: The Restaurant Style Aioli Tutorial
Making this garlic aioli is dramatic, but trust me, it’s totally worth the show! Since we are whisking by hand in a bowl (or using a food processor if you prefer speed over drama!), the key thing to remember is that you cannot rush the oil. If you dump it in, you get broken, oily soup instead of a gorgeous sauce. We are aiming for that perfect, thick consistency you see at the best places, and it happens in three distinct phases.
First, get your base ready. Combine the cold egg yolk, your finely minced garlic, the splash of Dijon, and the lemon juice. Whisk this until it’s just barely coming together. Then, we move into the most crucial part: emulsification. Dedication here pays off instantly!
If you want to see a deep-dive on mastering this technique, check out my detailed guide on how to make aioli from scratch. It’s all about technique!
Building the Emulsion: Mastering the Drizzle for Creamy Garlic Aioli Sauce
This is where you cannot look away! Start with your neutral oil. You must add it drop by drop—seriously, almost agonizingly slow—while whisking like your life depends on it. Vigor is key here! Keep that whisk moving constantly, incorporating tiny bits of fat into that yolk base.
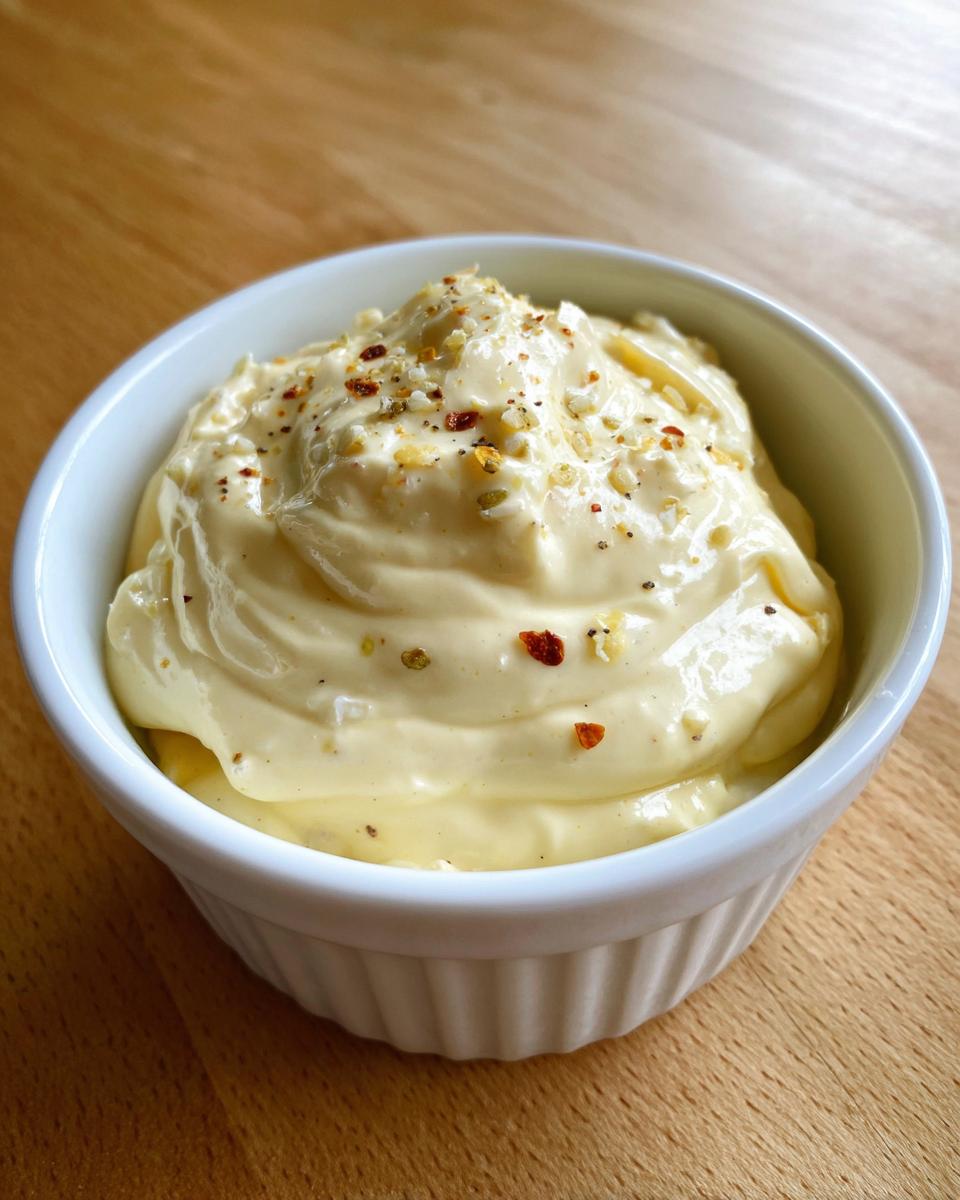
After about a third of the neutral oil is in, you’ll see it suddenly start to thicken up and change color to a pale yellow. That’s your signal! Once it thickens, you can increase the stream slightly, keeping it a thin, steady drizzle. Don’t stop whisking until you’ve incorporated all the neutral oil and started drizzling in your finishing extra virgin olive oil. This constant movement is what locks in the texture for that beautiful creamy garlic aioli sauce.
Final Adjustments and Seasoning
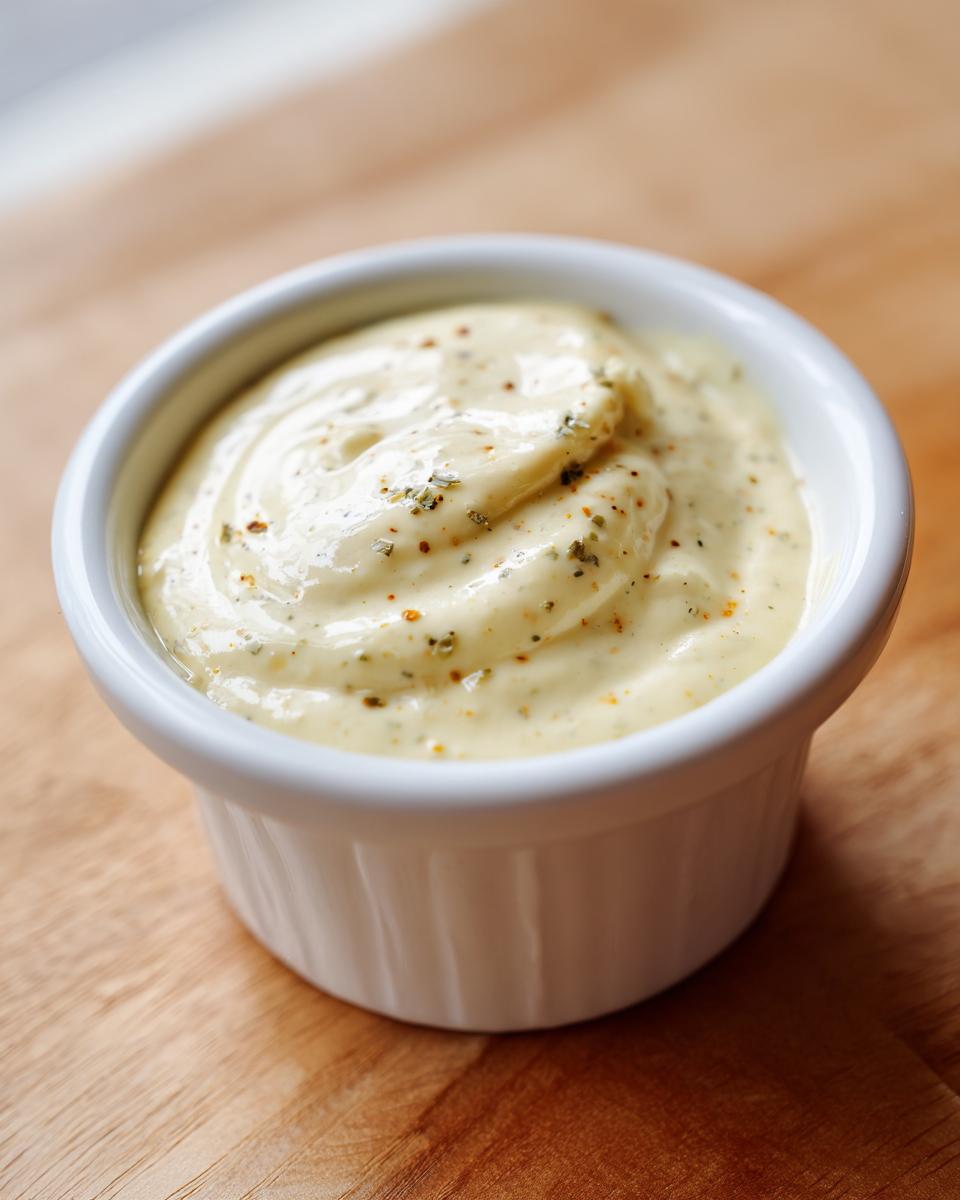
Once everything is beautifully emulsified and thick, it’s time to taste! Add your salt and pepper now to your preference. If, because you were whisking so hard, your garlic aioli ends up a little too stiff—which happens if the oil goes in slightly too fast—don’t panic! Just whisk in a few drops of water or a tiny bit more lemon juice until it loosens up to that perfect, spreadable, silky texture you’re after.
Quick Condiment Recipes: Variations on Classic garlic aioli
Part of the joy of mastering a base recipe like this is knowing you can pivot instantly into something new and exciting! People absolutely go wild for the deeper, sweeter flavor of roasted garlic, and it’s shockingly easy to adapt this same mixture. If your batch of garlic aioli tastes amazing, imagine how much better it gets with baked garlic woven right in. You definitely want to keep these variations handy for when you need to elevate a simple weeknight meal into something special. Check out how simple it is to switch gears!
Making Roasted Garlic Aioli Step By Step
If you want the best flavor profile, take a whole head of garlic, slice the top off, drizzle it with olive oil, wrap it in foil, and roast it at 400°F until it’s soft—usually about 30 to 40 minutes. Once it cools, just squeeze those sweet, caramelized cloves right out of their skins! You mash them up gently and toss that glorious paste right into the bowl along with your egg yolk and Dijon in Step 1 when making your garlic aioli. It adds a layer of sweet nuttiness that’s just addictive.
Lemon Garlic Aioli Spread Additions
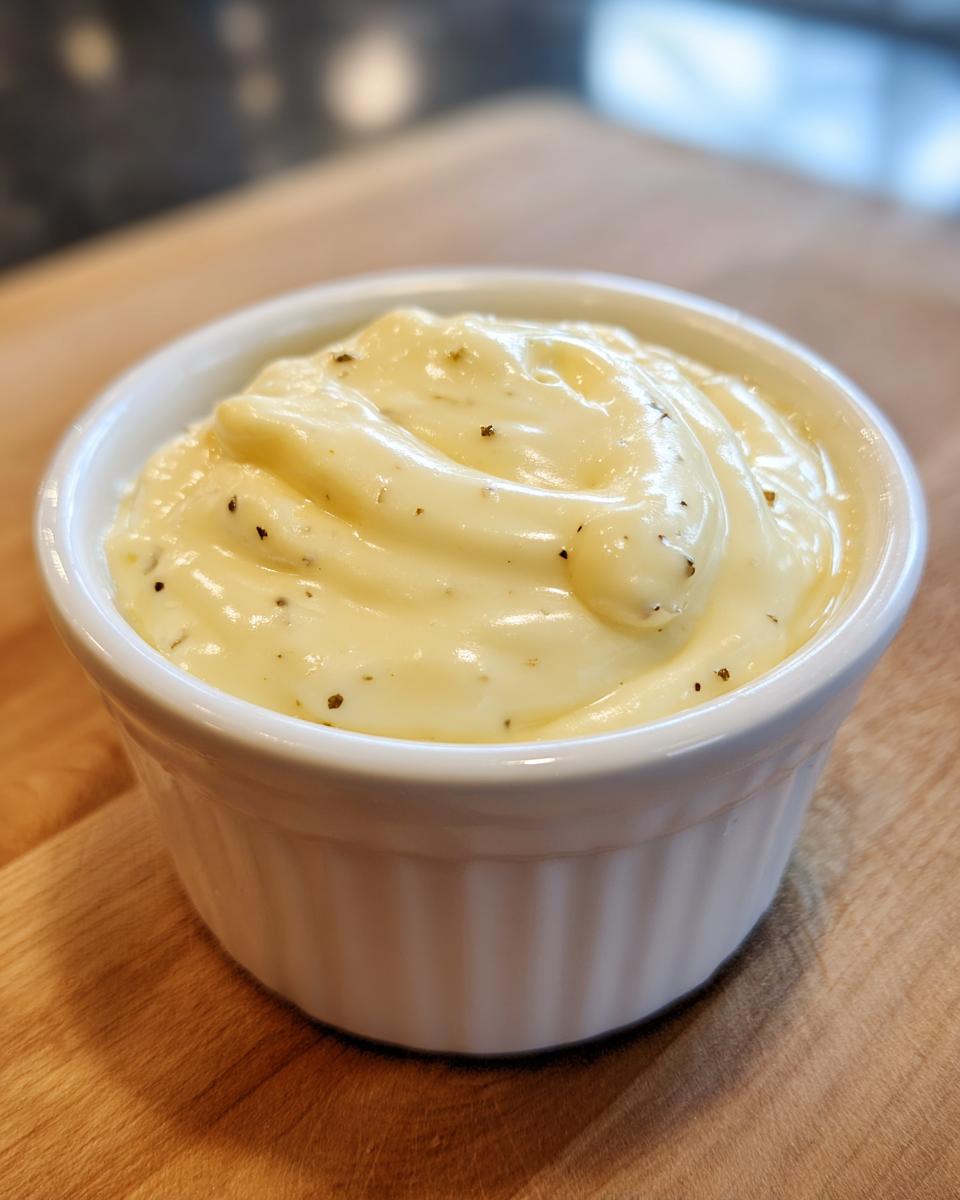
Once you have your basic creamy base, feel free to play around! For a beautiful green hue and fresh counterpoint, try folding in finely chopped chives or fresh parsley right at the end. This creates a wonderful lemon garlic aioli spread perfect for grabbing with crusty bread.
If you want a little smoke, a tiny dash of smoked paprika mixed in gives it this incredible, savory depth. Don’t overdo it, but that hint of smokiness really makes people ask what your secret ingredient is!
Serving Suggestions: How to Use Your Fresh Garlic Sauce
Now that you’ve created this incredible, vibrant garlic aioli that tastes a million times better than anything bottled, you need to figure out where to put it all! Honestly, I sometimes just eat it with a spoon while I’m cleaning up, but I promise you, it’s begging to be used on something spectacular. This sauce is the definition of versatile. It instantly turns an average Tuesday dinner into something worthy of a picture!
Forget boring old mayo; here are some amazing garlic dipping sauce ideas to put that homemade magic to work:
- The Fry Upgrade: This might be obvious, but this aioli is hands-down the best garlic aioli for fries. Forget ketchup; this is the only way forward for potatoes, sweet potato fries, or even roasted root vegetables.
- Burgers and Sandwiches: Trust me when I say you need to elevate your burgers with aioli instead of standard condiments. It’s also fantastic spread thinly on grilled chicken or steak sandwiches—I even use it on my Philly cheesesteak copycat!
- Seafood Companion: It pairs unbelievably well with lightly seared scallops or crispy calamari. It’s perfect drizzled over grilled fish or mixed into a shrimp salad. Try it alongside my lemon garlic shrimp dish!
- Vegetable Drizzle: Roast some broccoli or asparagus until charred, then drizzle this sauce over the top while they are still piping hot. Simple, elegant, and fast.
Storage and Reheating Instructions for Homemade garlic aioli
You’ve made this gorgeous, creamy batch of garlic aioli, and you might have a little left over—or maybe you made a double batch because, honestly, why wouldn’t you? The good news is this sauce keeps well, but you have to treat it right. Because we built a beautiful emulsion using egg, it despises high heat!
Cover your bowl tightly with plastic wrap or transfer the aioli to an airtight jar and pop it straight into the fridge. It will last happily for up to three days. If you try to microwave or reheat it like a soup, you’ll just end up with separated oil and garlic bits, and nobody wants that sad sight!
If it’s rock-solid cold from the fridge, just let it sit on the counter for about 15 to 20 minutes before serving. That little bit of gentle warming brings out the full flavor of that fresh garlic without messing up the texture. Keep it cool, keep it covered, and enjoy that homemade magic all week long!
Frequently Asked Questions About Making garlic aioli
Listen, I get it. You’re following along, you’re whisking like a champion, but sometimes a few tricky questions pop up when you’re deep in the sauce-making process. That’s totally normal! Making an emulsion from scratch is chemistry, and sometimes the pantry doesn’t cooperate. I’ve gathered the most common head-scratchers that come up when people try to master this garlic aioli for the first time. Don’t worry; if you can whisk, you can conquer these little hurdles!
If you’re looking for a quick reference or troubleshooting guide, I always point folks back to my main recipe index, but here are the quick answers you need right now.
Can I make this garlic aioli recipe without raw egg?
Absolutely, you can! We use the egg yolk because it creates that rich, true emulsion. But if you want a super fast, totally safe variation, just skip the egg yolk and use ½ cup of good quality, full-fat mayonnaise as your base instead. You get a delicious, quick, no mayo garlic aioli base that tastes amazing, especially with a strong dose of fresh lemon and garlic.
What is the secret to a silky smooth aioli technique?
The secret truly is twofold: Cold ingredients and patience. Your egg yolk and bowl should be cold—keep that egg in the fridge right up until you use it! Then, when you start adding oil, it has to be drop-by-drop at first. This slow introduction is what builds those microscopic bonds, guaranteeing that silky smooth aioli technique you are aiming for. Don’t rush that first splash of oil!
Recipe Timing and Yield Details
I know when you’re planning your weeknight menu, you need the hard facts upfront. Knowing exactly how long you have to stand there whisking frantically is vital for scheduling dinner! Thankfully, this garlic aioli is as fast as it is delicious. It truly is one of my favorite quick condiment recipes because it respects your time—I’m not asking you to babysit a sauce all afternoon!
Here are the quick numbers you need for immediate planning:
- Prep Time: A brisk 10 minutes
- Cook Time: Zero minutes! We are whipping this up raw.
- Total Time: A whopping 10 minutes from start to serving. (Can you believe it?)
- Yield: About 1 cup of rich, creamy aioli.
This yield is perfect for a family dinner, but honestly, if you’re having a party, make two batches. Trust me, this stuff disappears faster than you can wash the whisk!
Nutritional Estimates for Your Creamy garlic aioli
Now, I am a chef, not a dietician, so please view these numbers as a rough guide! Since we are using quality oils and relying on that fresh garlic, the values for this homemade garlic aioli will fluctuate depending on the exact type of olive oil you use. The estimates below are based on a standard serving size of two tablespoons.
If you’re tracking your macros, here’s a starting point for this rich sauce:
- Serving Size: 2 Tablespoons
- Calories: 180
- Fat: 20g (with 2.5g Saturated Fat)
- Carbohydrates: 0.5g
- Protein: 0.5g
Since this is entirely fat and fresh garlic, it spikes the calories fast, but oh my goodness, that flavor is worth prioritizing sometimes! Remember, these figures are only estimates, so the real pleasure is just enjoying this divine, fresh sauce, perhaps alongside some incredible roasted vegetables you can find inspiration for over at our favorite Mediterranean suppliers!
PrintEasy Creamy Garlic Aioli Sauce: Restaurant Style at Home
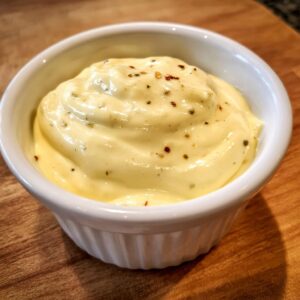
Make rich, creamy, restaurant-style garlic aioli at home in minutes. This easy aioli sauce is perfect for dipping fries, spreading on burgers, or serving with seafood.
- Prep Time: 10 min
- Cook Time: 0 min
- Total Time: 10 min
- Yield: About 1 cup 1x
- Category: Condiment
- Method: Whisking/Emulsifying
- Cuisine: Mediterranean
- Diet: Vegetarian
Ingredients
- 1 large egg yolk (cold)
- 2 cloves fresh garlic, minced
- 1 teaspoon Dijon mustard
- 1 teaspoon fresh lemon juice
- 1/2 cup neutral oil (like canola or grapeseed)
- 1/4 cup extra virgin olive oil
- Pinch of salt
- Pinch of black pepper
Instructions
- Place the cold egg yolk, minced garlic, Dijon mustard, and lemon juice into a medium bowl or use a food processor. Mix until just combined.
- Begin adding the neutral oil very slowly, drop by drop, while whisking constantly and vigorously. This step builds the emulsion.
- Once the mixture starts to thicken, you can increase the oil stream to a very thin, steady drizzle, still whisking without stopping.
- When about half the neutral oil is incorporated, slowly stream in the extra virgin olive oil while continuing to whisk until the aioli is thick and creamy.
- Season the aioli with salt and pepper to taste.
- If the aioli is too thick, whisk in a few drops of water or more lemon juice until you reach your desired consistency.
- Serve immediately or cover and chill for up to three days.
Notes
- For a roasted garlic aioli, roast 1 whole head of garlic until soft, squeeze out the cloves, and mash them before adding them with the egg yolk in Step 1.
- If you are worried about raw egg, use pasteurized eggs or substitute the egg yolk with 1/2 cup of good quality mayonnaise for a quick, no-fail base.
- This creamy garlic dip is the best garlic aioli for fries and sandwiches.
Nutrition
- Serving Size: 2 Tablespoons
- Calories: 180
- Sugar: 0.1
- Sodium: 50
- Fat: 20
- Saturated Fat: 2.5
- Unsaturated Fat: 17.5
- Trans Fat: 0
- Carbohydrates: 0.5
- Fiber: 0.1
- Protein: 0.5
- Cholesterol: 45