
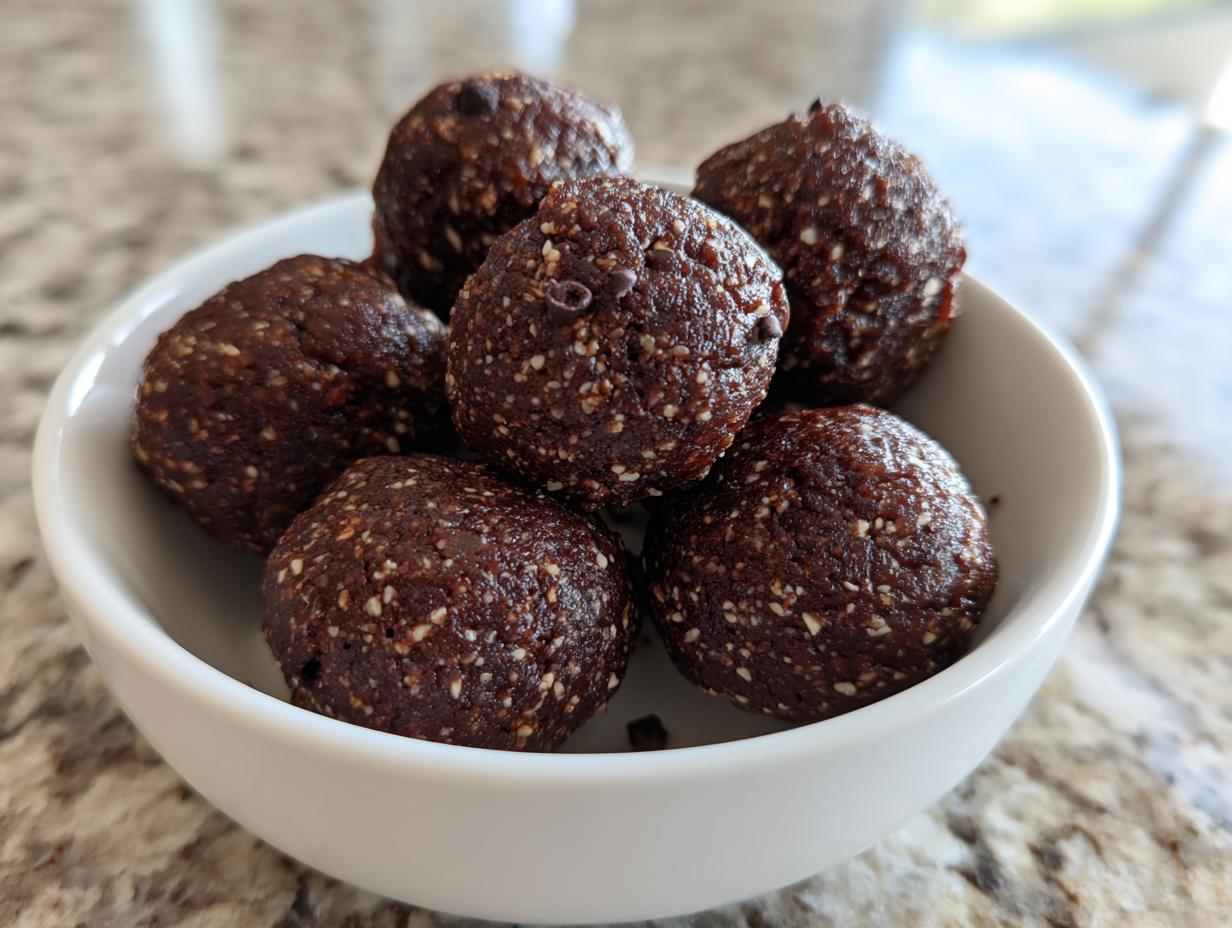

Let’s be honest, life moves fast. Between managing deadlines—or, well, whatever chaotic schedule you’re rocking—the last thing you need is a complicated snack routine. When that 3 PM slump hits, you need something good, something that actually sticks with you, and I mean right now. That’s why I spent a lot of time perfecting these incredible, no-fuss **protein balls**. Forget recipes with twenty steps and ingredients you have to hunt down for hours. I needed something reliable, something that tasted indulgent but fueled me like a proper meal, fitting seamlessly into my busy day. This recipe is my answer: truly satisfying, wholesome bites that deliver on their promise without demanding your entire afternoon. If you’re looking for more simple ways to elevate your snacking game, you should check out my guide on appetizers and snacks for inspiration.
- Why These Are the Best No-Bake Protein Balls Recipe
- Ingredients for Simple Homemade Protein Snacks
- How to Prepare Your No Bake Energy Bites
- Tips for Perfect Meal Prep Protein Bites
- Making Sugar Free Protein Balls Variations
- Serving Suggestions for These Healthy Snack Balls
- Storage and Reheating Instructions for Homemade Protein Snacks
- Frequently Asked Questions About Protein Balls
- Nutritional Estimates for These Protein Balls
Why These Are the Best No-Bake Protein Balls Recipe
When you’re running on fumes, you can’t afford a recipe that adds stress. That’s the whole secret behind these **protein balls**—they are the gold standard for ease and reliability. We’re talking four core ingredients. That’s it! No oven preheating, no weird baking powder ratios, just pure mix-and-roll goodness. This qualifies them perfectly as some of the best clean eating snacks because they rely on whole, recognizable components.
If you’ve been searching endlessly for an easy protein balls recipe, stop right now. These are genuinely my go-to for reliable fuel, offering fantastic flavor without sacrificing speed. They fit into every busy schedule imaginable.
Quick Prep Time for Perfect Protein Balls
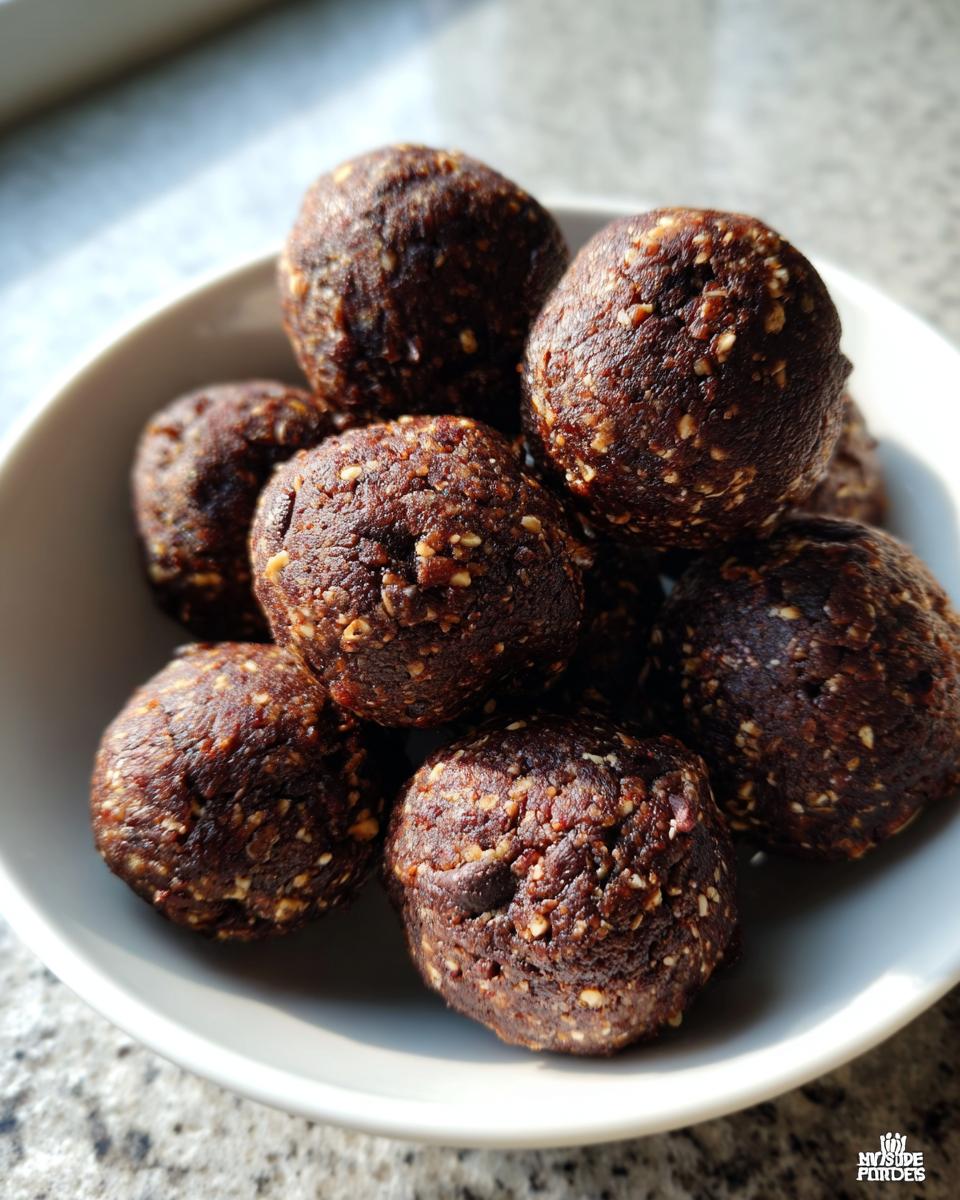
I can’t stress this enough: these take literally ten minutes to mix up. I used to think I needed an hour for any satisfying snack, but these changed my thinking entirely. If I’m heading out the door for a client meeting or need instant quick protein snack ideas for a mid-day boost, these are ready before my coffee even finishes cooling. When you need instant gratification that’s also healthy, these truly shine as 10 minute protein snacks.
The Power of Peanut Butter Protein Balls
The combination of peanut butter and oats is non-negotiable here. These become the ultimate peanut butter protein balls because the PB does double duty—it provides incredible flavor and acts as the perfect binder to hold everything together. This beautiful marriage of fat and fiber results in satisfying high protein snacks that keep you full way longer than a typical sugary treat ever could.
Ingredients for Simple Homemade Protein Snacks
When I say simple, I really mean simple. This recipe for **protein balls** is borderline criminal in how easy it is, requiring zero culinary gymnastics. We are focusing on four cornerstone ingredients that you probably already have in your pantry right now. If you can stir ingredients together, you can master these. Remember, we are building a foundation here, so the quality of these few items really matters for the final flavor and texture.
- 1 cup rolled oats
- 1/2 cup creamy peanut butter
- 1/4 cup honey (or maple syrup for vegan option)
- 1/4 cup mini chocolate chips
That ingredient list is short, sweet, and effective. The oats give us structure, the peanut butter brings the fat and protein punch, and the chocolate chips? Well, those are just for joy, aren’t they?
Ingredient Notes and Substitutions for Protein Balls
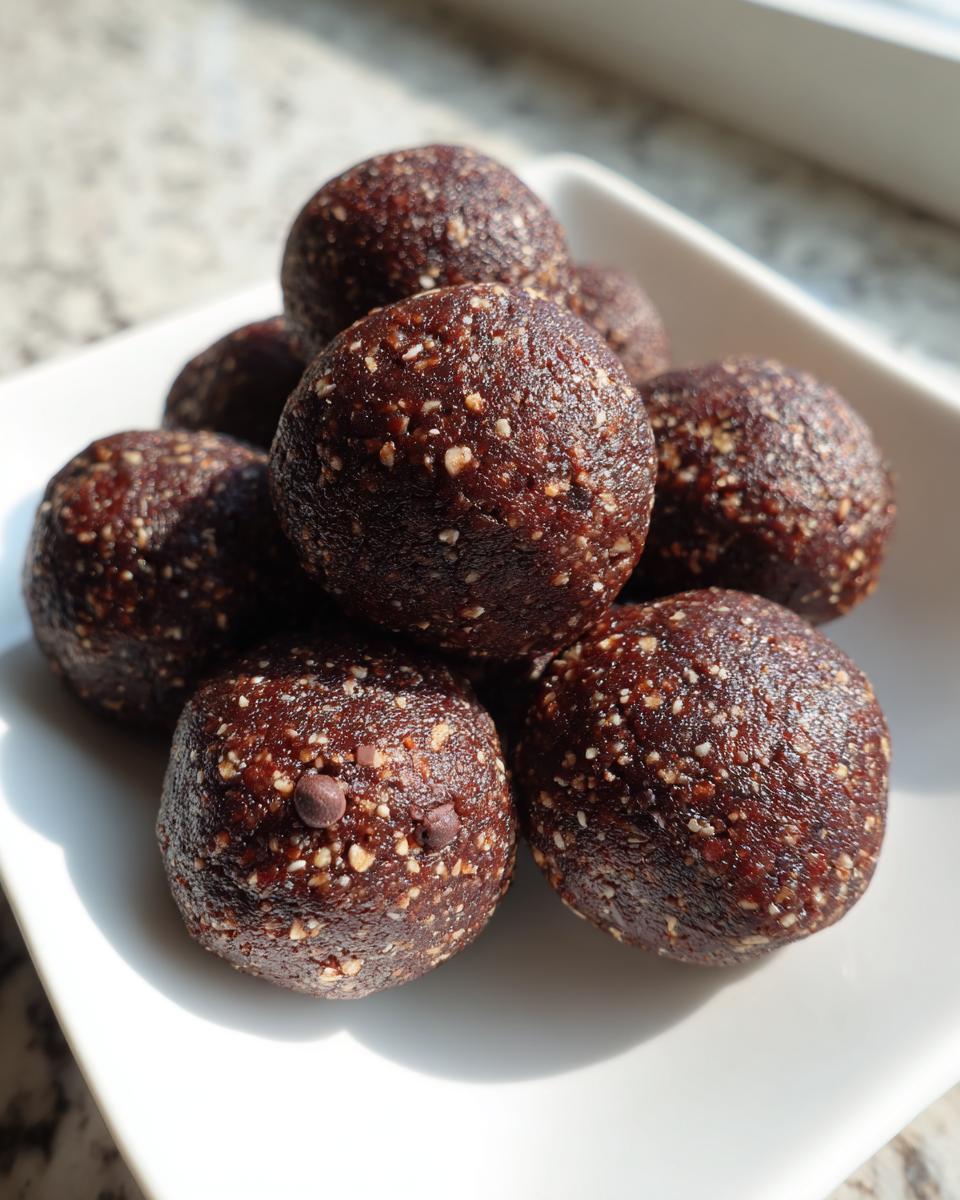
Because everyone’s pantry or dietary needs are a little different, let’s talk about tweaking these superstars for your perfect batch of **protein balls**. My main piece of advice is to be mindful of the liquids—they are the key to getting that perfect rollable dough!
If you need to make these vegan, swap out the honey for maple syrup. That’s a straight 1:1 substitution, but keep in mind that maple syrup tends to be slightly thinner than honey, so your dough might feel a tiny bit looser initially. Don’t panic! Just chill it for an extra five minutes before rolling.
For those aiming for sugar free protein balls, you can use a sugar-free syrup substitute, but know that those often don’t bind quite as well as honey or maple. If you use a sugar-free sweetener, you might need an extra tablespoon of oats or half a teaspoon of coconut flour to firm things up. This helps ensure your final **protein balls** don’t get too soft once they hit the serving plate.
How to Prepare Your No Bake Energy Bites
This is where the magic happens, and I promise, it’s far easier than assembling IKEA furniture. Since we aren’t dealing with heat, our main job is just combining things properly so we get delicious, perfectly shaped **no bake energy bites** ready for the fridge. Watch closely, because technique matters, even when you aren’t turning on the oven!
- First, grab that medium bowl and toss in your rolled oats, the creamy peanut butter, and your sweetener—be it honey or maple syrup.
- Now, mix it! You need to work this until everything comes together into a uniform, slightly sticky dough. It should hold together when you squeeze a small piece between your fingers.
- Once combined, gently fold in those glorious mini chocolate chips so they distribute evenly throughout the entire batch.
- Time to roll! Scoop out small amounts, aiming for about one inch in diameter for each ball. This recipe yields about 12, which is perfect for portion control, right?
- Set your finished **protein balls** on a plate or sheet lined with parchment paper.
- Finally (and this is critical!), they need to firm up. Pop them in the refrigerator for at least 15 minutes before you even think about eating them. Seriously, resist that first urge!
For more inspiration on my kitchen experiments and reliable cooking guides, feel free to browse my full blog collection.
Achieving the Perfect Dough Consistency for Protein Balls
Step two—the mixing—is where people sometimes run into trouble with their **protein balls**. You are aiming for that sweet spot: a uniformly mixed dough that is definitely sticky but firm enough to hold its shape when rolled. If you finish mixing and things look too crumbly or dry, don’t fret! It just means your peanut butter might have been extra firm.
My trick here is to add liquid one teaspoon at a time. A splash of water or a little splash of almond milk works wonders. Mix it in thoroughly after each addition. You don’t want to thin it out too much—remember, we are trying to keep these firm for storage. Go slow, add just enough liquid until you can grab a clump and firmly roll it without it immediately crumbling apart in your hand. That’s the visual cue you’re looking for!
Tips for Perfect Meal Prep Protein Bites
If you’re anything like me, you want snacks that work as hard as you do. That means making a big batch of these **protein balls** on Sunday evening so you don’t have to think about healthy fuel again until Friday. Preparing these ahead of time is honestly the key to staying consistent. These make fantastic meal prep protein bites precisely because they require zero cooking and store like champs in the fridge.
When you double or triple the recipe, just make sure you crush your honey or syrup a little more forcefully into the dry ingredients first, ensuring everything incorporates evenly before you add the final mix-ins. It takes a bit more muscle, but it’s worth it for a massive haul of portable high energy snacks.
My little insider tip for doubling the batch: Use a cookie scoop! It takes away all the guesswork and ensures every single one of your **protein balls** is the exact same size. This way, you know exactly what you’re eating for an afternoon boost, and they look much more professional when you pack them up! If you need other ideas for batch-friendly fuel, you have to check out my recipe for high-protein waffles.
Making Sugar Free Protein Balls Variations
I adore the simplicity of the core four ingredients, but I know many of you are looking to customize or really dial down the sugar content. That’s where the fun—and a little bit of science—comes in when making your **protein balls**! If you want to achieve truly sugar free protein balls, you need to pay close attention to the binder you choose, because that’s where most of the sweetness hides.
As I mentioned earlier, substituting honey or maple syrup with a commercial sugar-free syrup alternative is the route to go. Just remember, these syrups sometimes lack the viscosity of real sugar or honey. If your mix feels too loose after adding the substitute, just give it a little extra time in the fridge, or add a tiny bit more oat flour to help it stiffen up.
Another fantastic way to boost the nutritional profile while changing up the texture is by adding a scoop of your favorite unflavored or vanilla protein powder. When you add powder, you’re essentially replacing about 1/4 cup of dry volume (since protein powder absorbs moisture differently than oats). If you try this, I highly recommend adding a teaspoon of liquid—water or a splash of almond milk—to keep that dough pliable. It turns these into serious high protein snacks!
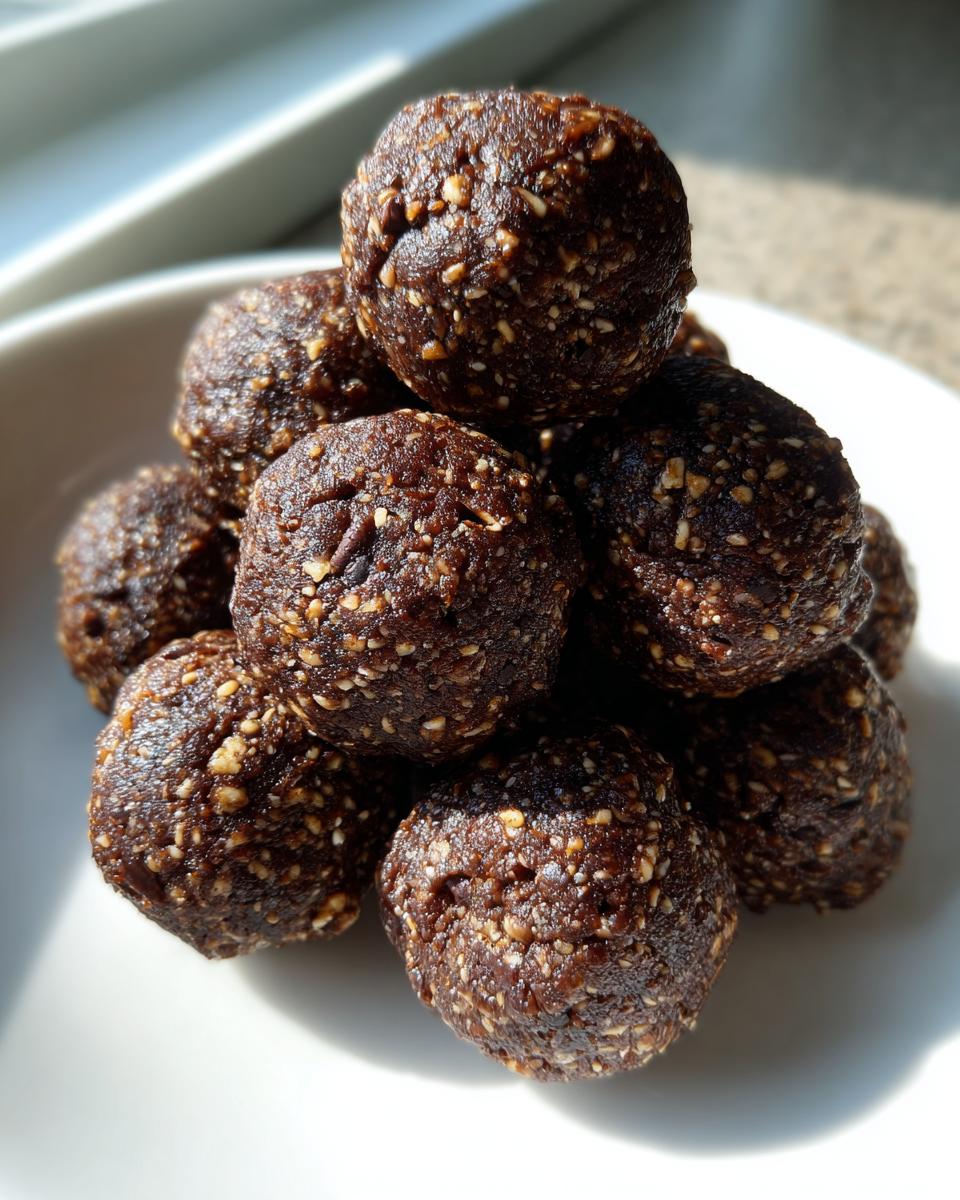
For a totally different flavor profile next time, try this: replace half the chocolate chips with unsweetened shredded coconut. It adds a lovely chew and a little tropical vibe to these otherwise classic peanut butter **protein balls**. It’s a simple tweak, but man, does it change things up for an afternoon treat!
Serving Suggestions for These Healthy Snack Balls
One of the best parts about having these **protein balls** on hand is deciding how to enjoy them! They are incredibly versatile. If you need immediate post workout fuel, grab two or three alongside a tall glass of water. The balance of complex carbs from the oats and fat from the peanut butter makes them wonderfully satisfying after a tough workout.
But they aren’t just for gym recovery, right? These are phenomenal guilt free sweet treats for when you want something rich but don’t want to derail your entire nutrition plan. I love having one alongside my mid-morning espresso—it feels like a tiny, sophisticated dessert that I totally earned.
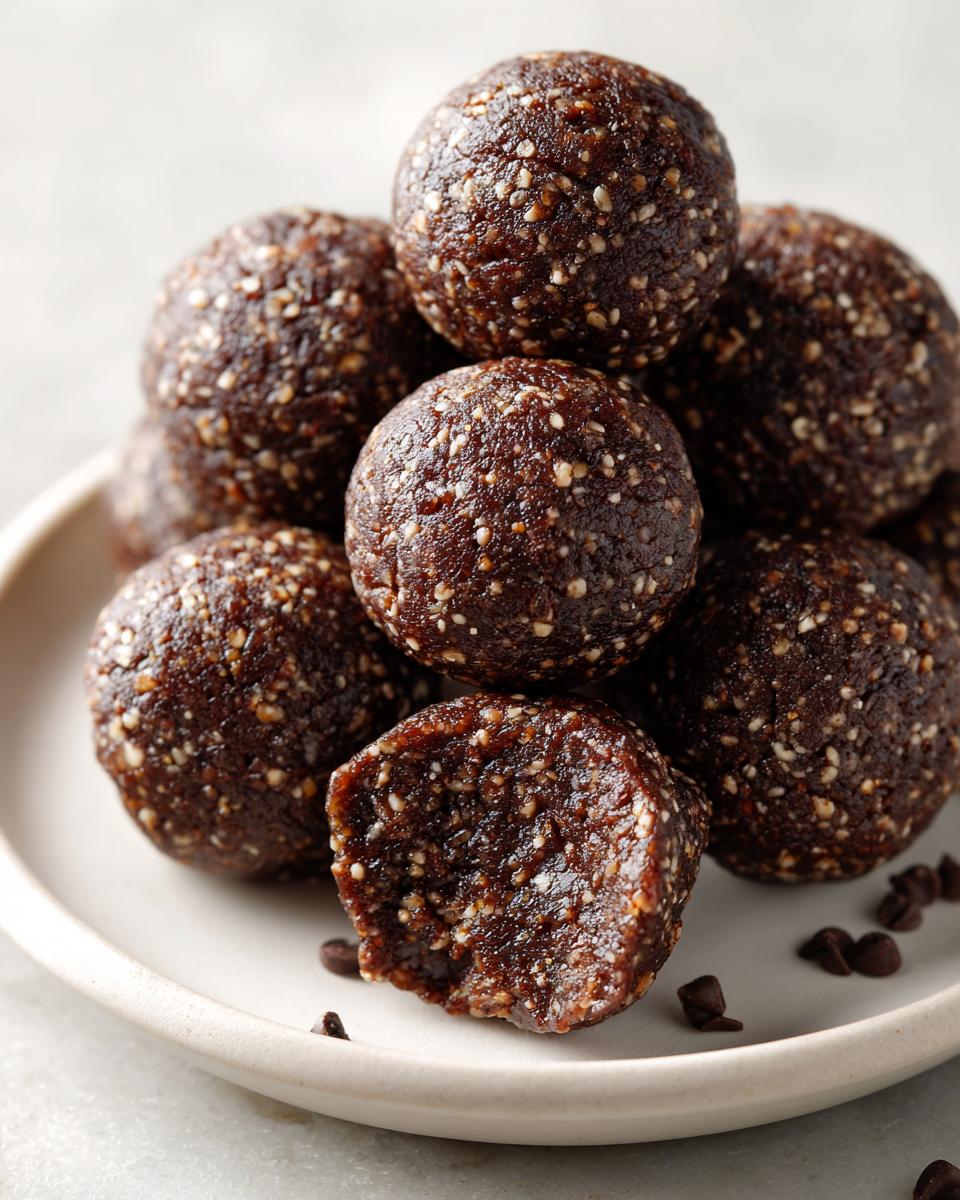
For a weekend breakfast treat, try crumbling one of these healthy snack balls over a bowl of fresh berries or alongside a vibrant fruit smoothie. It adds that nice chewiness and protein boost to your morning spread. If you want another easy, healthy bite that looks fantastic, you absolutely must check out my recipe for chocolate banana pops. They make a great pairing for these energy bites!
Storage and Reheating Instructions for Homemade Protein Snacks
Since we are focused on making life easier, proper storage for these **protein balls** is crucial. The best part about these being **simple homemade protein snacks** is that they keep incredibly well, meaning you only have to make them once a week, maybe less! They are designed to be sturdy, but because we are using natural fats like peanut butter, keeping them cool is what maintains that perfect texture we worked so hard for.
The absolute best place for these is the refrigerator. Store them in an airtight container, and they will be perfectly fresh and ready to grab for up to a full week. I usually stack mine between layers of parchment paper inside the container, just to make sure they don’t stick together once they get really cold. They are fantastic when eaten straight from the fridge—nice and firm, like a tiny, dense cookie!
Now, if you’re a true batch cook and want to prepare them for a month out, guess what? They freeze beautifully! You can absolutely freeze these **protein balls**. Just place them on a baking sheet, flash freeze them for about an hour until they’re solid little rocks, and then transfer them all into a heavy-duty freezer bag. They last great in the freezer for nearly two months.
If you’re grabbing some frozen ones for your lunch bag, just leave them on the counter for about 30 minutes before you plan to snack. They still don’t really need “reheating,” but letting them sit out a bit softens them up to that perfect, slightly chewy consistency. For more inspiration on making sweet things last, check out my guide to easy lime sorbet—frozen treats are my jam!
If you’re looking for another great resource on how long these keep, I found this guide on no-bake protein balls storage that has some excellent insights, too. Happy prepping!
Frequently Asked Questions About Protein Balls
I know diving into a new snack like these **protein balls** can bring up a few questions. That’s totally fair! When you’re relying on a snack for fuel, you want the recipe to be flawless, and I’m happy to clear up any confusion about ingredients or usage. Having clear answers builds trust, and I want you to feel completely confident when you whip up these easy energy bites.
If you have any other burning questions after trying this recipe, please don’t hesitate to reach out to me via my contact page!
Can I substitute the peanut butter in these protein balls?
You absolutely can play around with the nut butter! Peanut butter is my favorite here because it’s easily accessible and has a great, stable fat content for binding. However, almond butter works wonderfully and gives the final **protein balls** a slightly warmer, earthier taste. If you opt for almond butter, you might find you need to chill the dough for an extra 5 minutes before rolling because almond butter tends to be a bit runnier than standard peanut butter.
If you have a nut allergy or just want to switch things up, sunflower seed butter is a solid choice. Just be aware that sunflower seed butter is often saltier and can give the finished product a slightly greenish tint when mixed with oats—purely visual, mind you, the taste is still great!
Are these no bake energy bites suitable for post workout fuel?
Oh yes, they are fantastic for that! These **no bake energy bites** hit a really sweet spot for post-workout recovery because they aren’t just pure protein. Recovery needs carbohydrates to replenish glycogen stores, and these deliver that from the oats and a touch of natural sugar from the honey. The peanut butter provides protein and healthy fats for steady energy release. They are the perfect little package for that immediate refueling window after you’ve crushed a workout.
While I didn’t include protein powder in the base recipe to keep it ultra-simple, adding a scoop makes them even better for serious recovery, turning them into true power snacks!
Nutritional Estimates for These Protein Balls
I always try to show you exactly what you’re putting into your body, especially when you’re relying on these little bites for consistent energy. Knowing the macro breakdown helps you fit them perfectly into your daily goals, whether you’re focused on a higher-protein intake or just looking for a clean energy source.
Here are the general estimates based on the base four-ingredient recipe. Please remember that since everyone uses slightly different brands of peanut butter (which really changes the fat content!) and honey, these figures are a good guideline, but your final numbers might shift a bit. That’s the reality of cooking at home, right?
- Serving Size: 1 ball
- Calories: 120
- Sugar: 6g
- Sodium: 55mg
- Fat: 7g
- Saturated Fat: 2g
- Unsaturated Fat: 5g
- Trans Fat: 0g
- Carbohydrates: 12g
- Fiber: 2g
- Protein: 5g
- Cholesterol: 0mg
See? A genuinely balanced snack that helps keep you moving forward without the sugar crash later. These figures really confirm why these are such fantastic choices for busy days needing reliable fuel!
PrintNo-Bake Chocolate Peanut Butter Protein Balls: Quick 4-Ingredient Snack
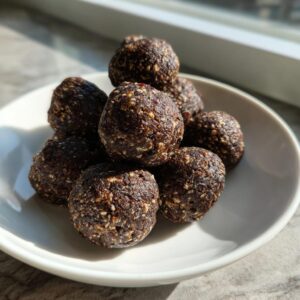
Make these simple, no-bake protein balls using just four ingredients. They are perfect for a quick, high-protein snack, post-workout fuel, or a clean treat you can meal prep easily.
- Prep Time: 10 min
- Cook Time: 0 min
- Total Time: 10 min
- Yield: About 12 servings 1x
- Category: Snack
- Method: No Bake
- Cuisine: American
- Diet: Vegetarian
Ingredients
- 1 cup rolled oats
- 1/2 cup creamy peanut butter
- 1/4 cup honey (or maple syrup for vegan option)
- 1/4 cup mini chocolate chips
Instructions
- Combine the rolled oats, peanut butter, and honey in a medium mixing bowl.
- Mix the ingredients thoroughly until a uniform, slightly sticky dough forms.
- Stir in the mini chocolate chips until they are evenly distributed throughout the mixture.
- Roll the dough into small, bite-sized balls, about 1 inch in diameter.
- Place the protein balls on a plate or baking sheet lined with parchment paper.
- Refrigerate for at least 15 minutes to allow them to firm up before serving.
Notes
- For a sugar-free protein balls option, substitute the honey with a sugar-free syrup alternative.
- If the mixture seems too dry, add one teaspoon of water or almond milk at a time until the dough holds together.
- Store these meal prep protein bites in an airtight container in the refrigerator for up to one week.
Nutrition
- Serving Size: 1 ball
- Calories: 120
- Sugar: 6g
- Sodium: 55mg
- Fat: 7g
- Saturated Fat: 2g
- Unsaturated Fat: 5g
- Trans Fat: 0g
- Carbohydrates: 12g
- Fiber: 2g
- Protein: 5g
- Cholesterol: 0mg