
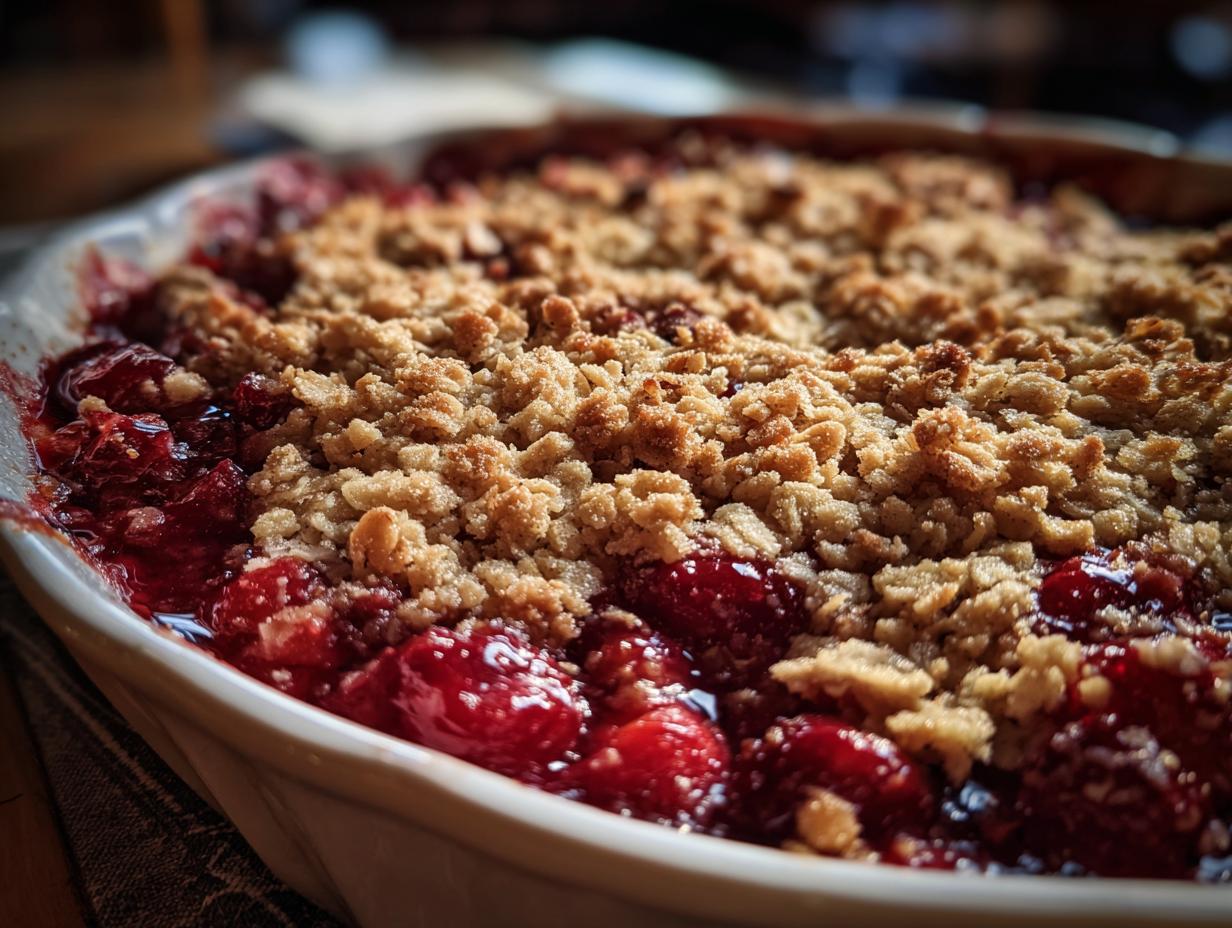

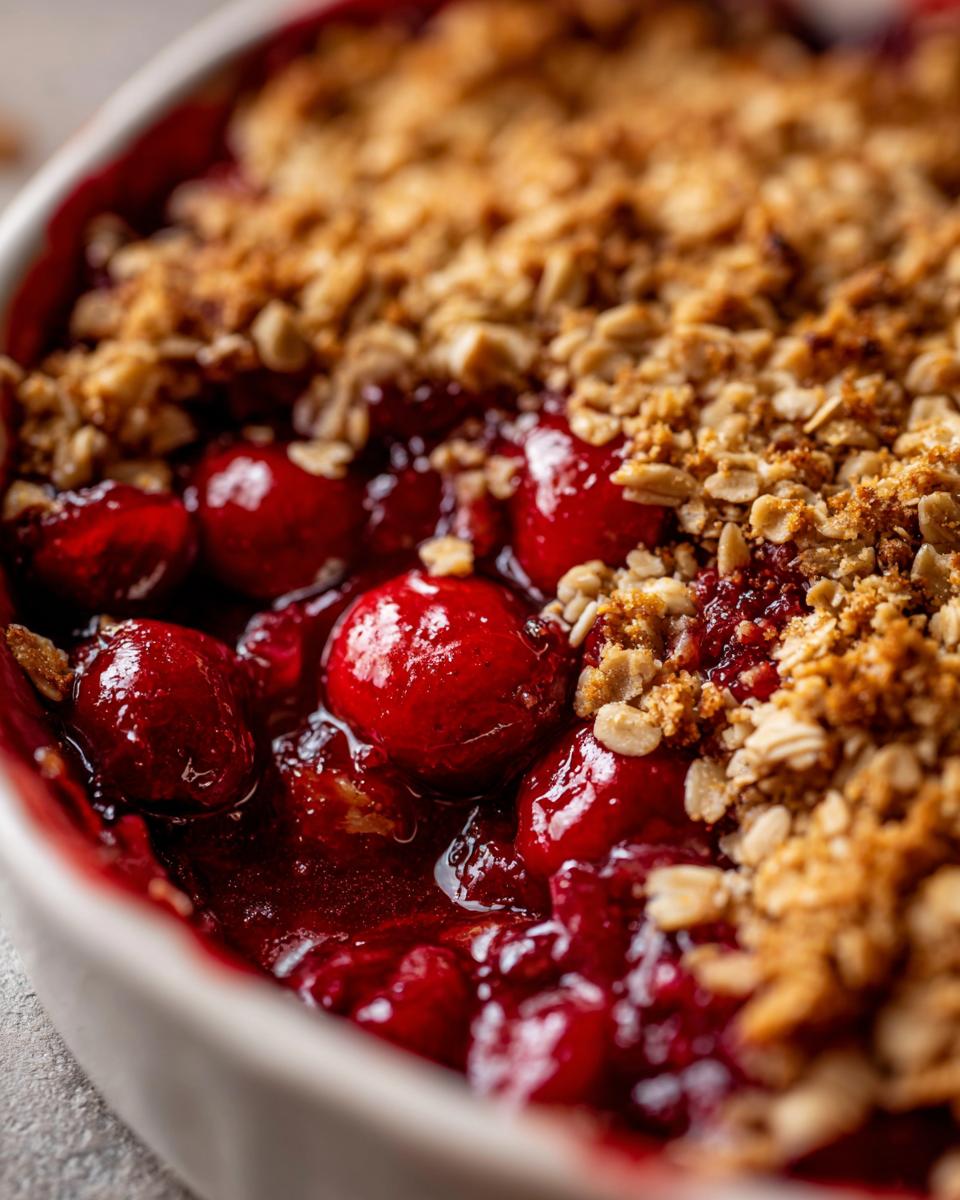
There’s something magical about pulling a bubbling sour cherry crisp from the oven – those ruby-red cherries peeking through a golden, buttery oat-nut topping that smells like summer should. This is the dessert that converted me from a cherry skeptic to absolute believer one lazy afternoon at my aunt’s Michigan cherry farm. She handed me a bowl still warm from the oven, and the first bite of that sweet-tart filling against the crispy topping? Life-changing. The best part? It comes together in just 10 minutes of active prep – no crust to fuss with, no special equipment needed. I’ve made it gluten-free for friends with dietary needs (almond flour works wonders here) and they swear it’s better than any fancy gluten-free meal delivery dessert they’ve tried. This recipe proves simple summer baking can be extraordinary.
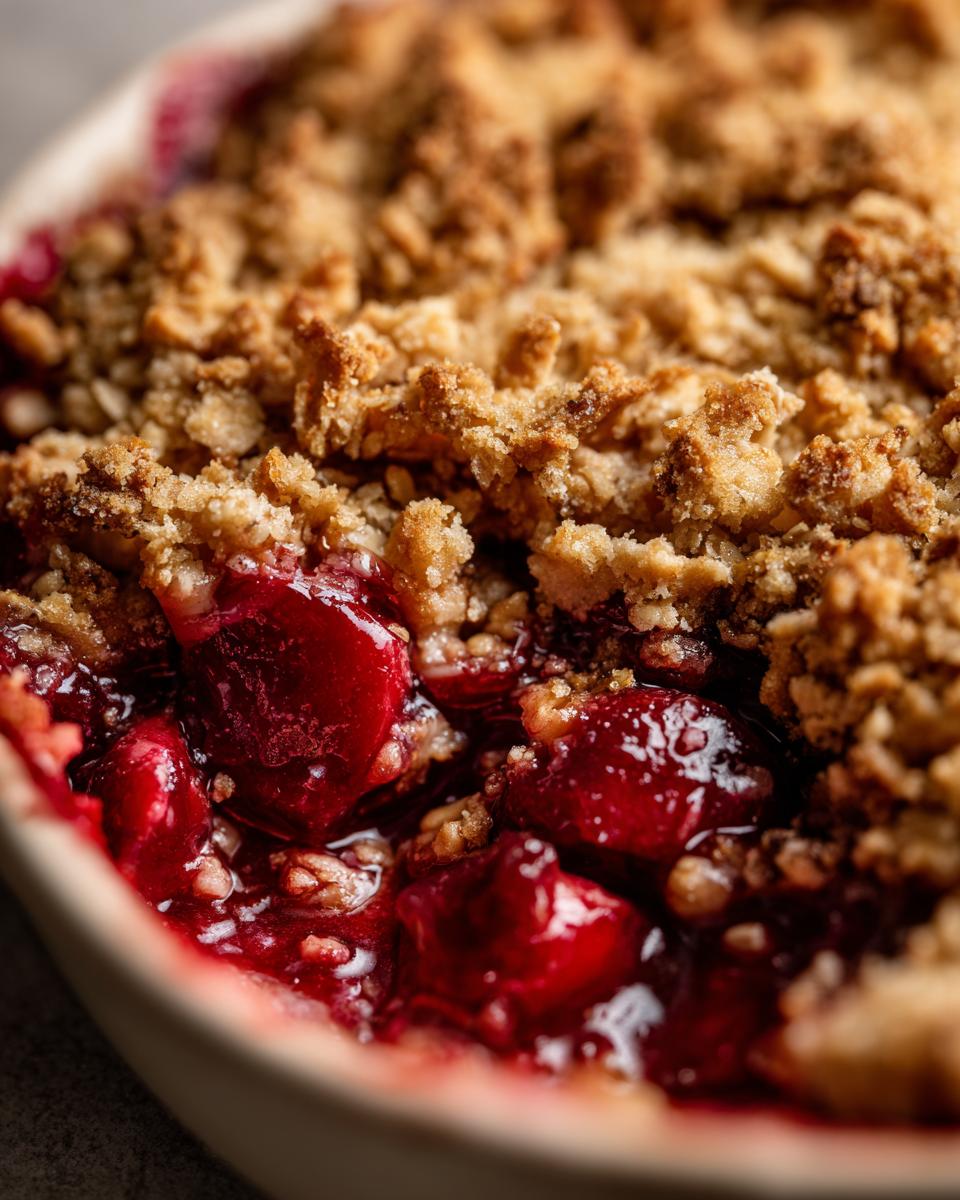
Why You’ll Love This Sour Cherry Crisp
Trust me, this isn’t just another fruit dessert – it’s the kind of recipe you’ll make on repeat all summer. Here’s why:
- 10-minute prep: No fancy techniques here – just mix, sprinkle, and bake. Perfect for when that summer cherry craving hits and you need dessert fast.
- Naturally gluten-free: Almond flour gives the topping this amazing texture that’s even better than traditional flour (and I don’t say that lightly!).
- Make-ahead magic: Assemble it in the morning, keep it in the fridge, and pop it in the oven when you’re ready – ideal for entertaining.
- The perfect bite: That moment when your spoon breaks through the crispy oat-nut topping into the warm, tangy cherries? Pure comfort food bliss.
It’s the dessert I turn to after long days – simple enough for weeknights but special enough to impress guests.
Sour Cherry Crisp Ingredients
This sour cherry crisp has two simple parts – the juicy cherry filling and that irresistible crunchy topping. Here’s exactly what you’ll need (and why each ingredient matters):
- For the cherry filling:
- 4 cups pitted sour cherries (fresh or frozen – no need to thaw if using frozen)
- 1/2 cup granulated sugar (adjust up to 3/4 cup if your cherries are extremely tart)
- 1 tbsp cornstarch (the secret to thickening those glorious cherry juices)
- For the oat-nut topping:
- 1 cup rolled oats (certified gluten-free if needed – they make all the difference texture-wise)
- 1/2 cup almond flour (gives that perfect crispness, but all-purpose flour works in a pinch)
- 1/4 cup chopped walnuts or pecans (my aunt always used pecans, but walnuts add great crunch too)
- 1/4 cup packed dark brown sugar (trust me, the molasses notes make it special)
- 1/4 cup melted butter (makes those crispy clusters – coconut oil works for dairy-free)
- 1/2 tsp cinnamon (just enough warmth without overpowering the cherries)
- 1/4 tsp salt (balances all the sweetness perfectly)
Pro tip from my cherry farm days: If you can’t find fresh sour cherries, check the freezer section of specialty stores – I always stock up when they’re in season and freeze them pitted in 4-cup portions. Much better than canned cherries, which are usually way too sweet for this recipe! And don’t skip the pitting – biting into a pit is the quickest way to ruin that perfect crisp experience.
How to Make Sour Cherry Crisp
Now for the fun part – bringing this easy summer dessert together! This sour cherry crisp skips all the fuss of pie crusts and comes together faster than you’d think. Follow these simple steps, and you’ll have that perfect golden-brown topping bubbling over tangy cherries in no time.
- Preheat your oven to 375°F (190°C) – This gives it time to reach the right temperature while you prep. Pro tip: If your oven runs hot, lower to 350°F to prevent the topping from browning too quickly.
- Prep the cherry filling (see details below) – Toss those beauties with just enough sugar and cornstarch to balance their natural tartness.
- Make the oat-nut topping (more tips coming next) – This is where the magic happens! You want those perfect buttery clumps.
- Assemble with abandon – Spread the cherry mixture in your baking dish (I use a 9×9-inch ceramic dish for even heating) and sprinkle the topping evenly over it.
- Bake until golden perfection – 30-35 minutes does the trick! Watch for the filling bubbling around the edges and that heavenly nutty aroma filling your kitchen.
Prepping the Cherry Filling
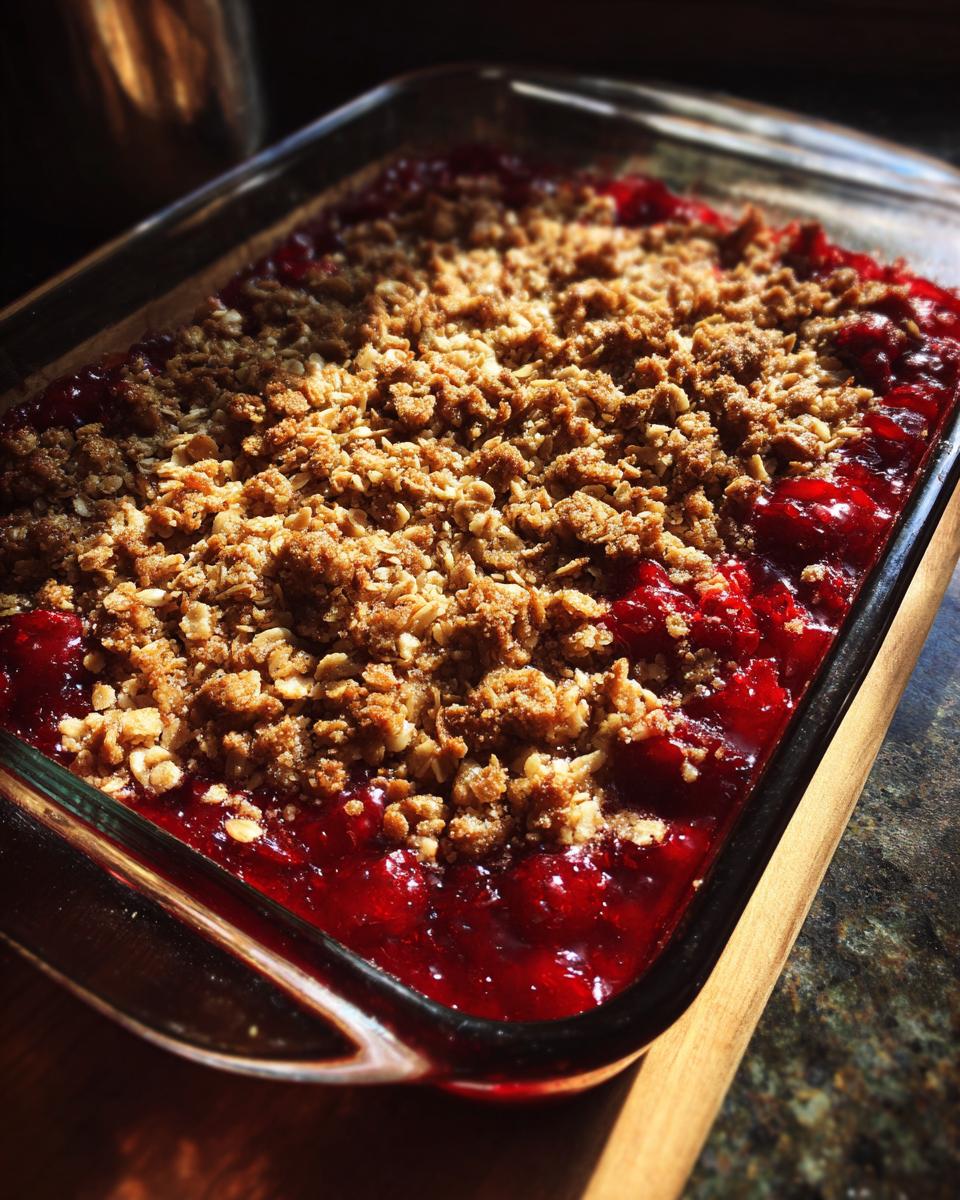
Grab a big bowl and toss together the pitted cherries (yes, straight from frozen if that’s what you’ve got – they’ll thaw as they bake), sugar, and cornstarch. Don’t worry if it looks juicy at first – the cornstarch works its magic in the oven to thicken those ruby-red juices. My aunt taught me to mix gently to avoid crushing the cherries. If you’re using frozen cherries and see ice crystals, just pat them dry with a paper towel to prevent a soggy filling.
Making the Oat-Nut Topping
This is where texture matters most! Whisk together the oats, almond flour, nuts, brown sugar, cinnamon and salt until well combined. Then drizzle in the melted butter while stirring with a fork – you want pea-sized clumps to form for that perfect crispiness. For my dairy-free friends, coconut oil works beautifully here too (cool it slightly first). The mixture should hold together when pressed but still have some loose bits – that contrast of crispy clusters and crunchy oats makes every bite interesting.
Expert Tips for the Best Sour Cherry Crisp
After making this sour cherry crisp more times than I can count (and yes, learning from my fair share of kitchen mishaps), here are my foolproof tips to make sure yours turns out perfect every single time:
- Taste your cherries first: The level of tartness can vary wildly batch to batch. Too puckery? Add up to 1/4 cup extra sugar to the filling. If they’re on the sweeter side, cut back on sugar and add a squeeze of lemon juice for balance.
- Bake in ceramic or glass: Metal pans can cause the edges to overcook before the center bubbles. My trusty ceramic baking dish gives the most even bake—the crispy topping and juicy cherries cook just right.
- Don’t overmix the topping: (Here’s where I messed up my first time.) Mix just until the butter forms those delicious clumps—overworking it makes a dense, cookie-like layer instead of that perfect crisp texture we want.
- Add a secret flavor boost: A teaspoon of vanilla extract or almond extract in the cherry filling, or some lemon zest in the topping, takes it to a whole new level. My aunt swears by a pinch of cardamom too!
These little tweaks make all the difference—trust me, I learned them the hard way so you don’t have to!
Make-Ahead and Storage Tips
Here’s why this sour cherry crisp is my favorite make-ahead summer dessert – it practically plans itself! You can assemble the whole thing (unbaked) up to a day ahead – just cover it tightly with plastic and stash it in the fridge. No soggy toppings or weird textures! Toss it in the oven when guests arrive, and they’ll think you spent hours slaving over dessert. My meal planning trick? I double the recipe and freeze one unbaked crisp in a disposable pan – perfect for those last-minute BBQ invites.
Already baked it? No problem! Leftovers store beautifully in the fridge for 3-4 days (though they rarely last that long in my house). To reheat, pop individual servings in the microwave for 20-30 seconds, or warm the whole crisp in a 300°F oven for 10 minutes to bring back that fresh-from-the-oven magic. For longer storage, freeze baked portions in airtight containers – they’ll keep their flavor for a good 2 months. Just add an extra sprinkle of brown sugar when reheating to refresh the topping’s crunch!
Serving Suggestions for Sour Cherry Crisp
Oh, serving this warm sour cherry crisp is where the real fun begins! My absolute can’t-miss move? A big scoop of vanilla ice cream melting into all those pockets of juicy cherries – that hot-cold contrast is everything. For my whipped cream fans (hi, that’s me on lazy nights), a fluffy dollop right on top lets that tart cherry flavor shine through. Feeling fancy? A quick drizzle of warm almond butter or a sprinkle of toasted chopped nuts takes it to dessert heaven. Just promise me you’ll eat it while it’s still slightly warm – that’s when the crisp topping has its perfect crunch!
Sour Cherry Crisp Variations
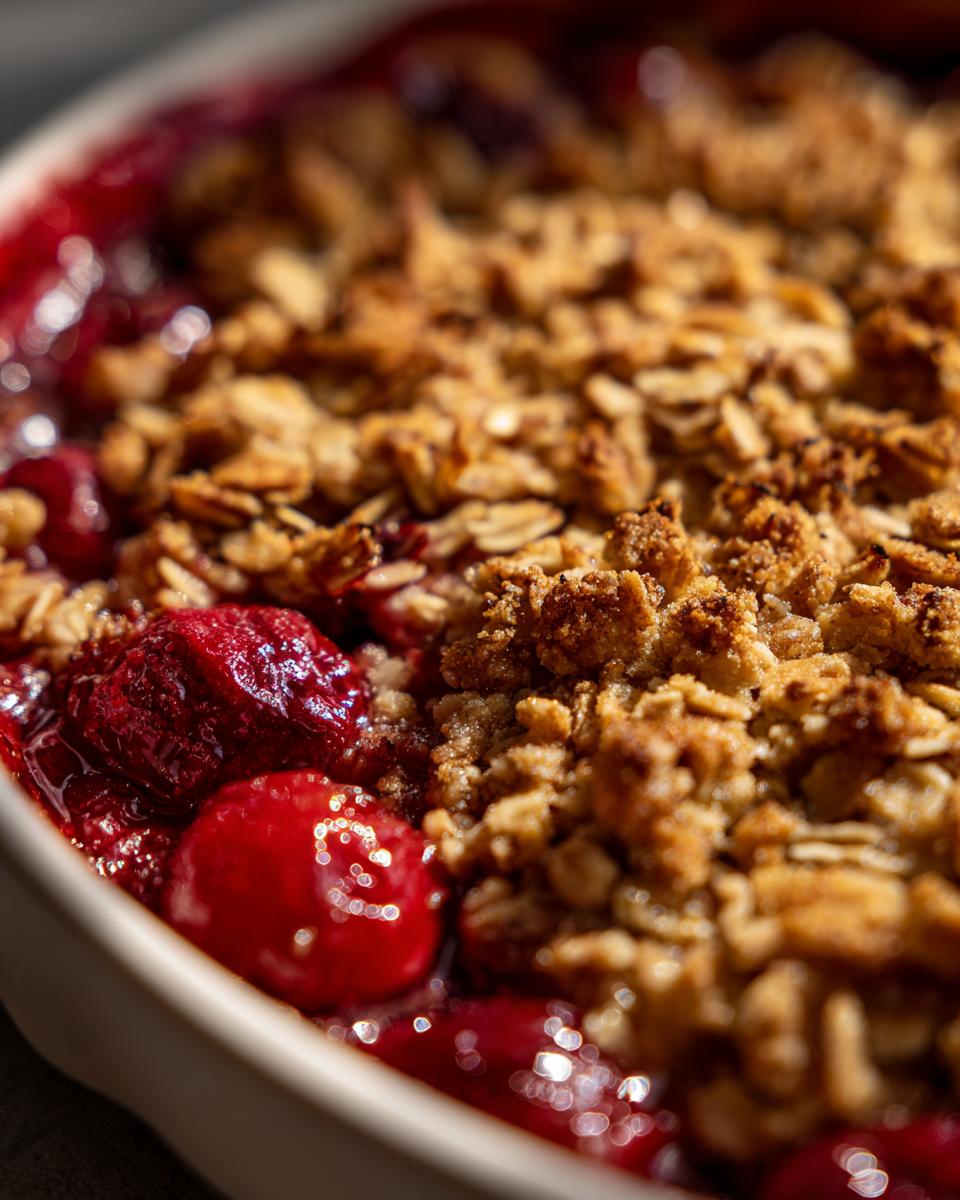
Don’t get me wrong – I’ll never pass up the classic sour cherry version, but this crisp is endlessly adaptable! Here are my favorite riffs to keep things exciting all season long:
- Berry bliss: Swap half the cherries for raspberries or blackberries when they’re at their peak – the mixed tartness is incredible. (This also works wonders if you’re short on cherries but craving that crisp texture!)
- Chocolate cherry: Toss in 1/2 cup dark chocolate chips with the cherry filling – they’ll melt into gooey pockets of heaven. My niece calls this the “grown-up dessert” version.
- Nutty alternatives: Use pecans instead of walnuts for a buttery crunch, or try sliced almonds if you’re feeling fancy. For a nut-free option that still delivers crunch, sunflower seeds work surprisingly well!
And for my friends exploring gluten-free meal delivery options – this recipe adapts beautifully! Just stick with certified GF oats and almond flour, and you’ve got a dessert that fits right into any dietary plan without sacrificing flavor or texture one bit.
Sour Cherry Crisp FAQs
I get asked these questions all the time about my sour cherry crisp – here are the quick answers so you can bake with confidence!
Can I use canned cherries instead of fresh or frozen?
Oh honey, I wouldn’t – canned cherries are usually packed in heavy syrup and end up way too sweet for this recipe. The magic happens when the natural tartness of fresh or frozen sour cherries balances that crispy topping. If fresh aren’t available, frozen work beautifully (just measure them while still frozen for accuracy). Trust me, it’s worth seeking out the real deal!
What’s the easiest way to pit fresh cherries?
I’ve tried all the fancy gadgets, but my absolute favorite method is using a simple drinking straw! Just pop the straw through the stem end – the pit slides right out with barely any mess. Works like a charm without smashing those precious cherries. Pro tip: Wear an apron because cherry juice stains are no joke!
Do I have to use almond flour in the topping?
Almond flour gives that perfect crispy texture I love, but all-purpose flour works in a pinch if that’s what you’ve got. Just know the topping will be more cookie-like and less crunchy. For gluten-free friends – stick with almond flour or certified GF oats. The texture difference is worth it, promise!
Nutrition Information
One serving of this irresistible sour cherry crisp packs all the flavor without too much guilt – here’s the nutritional breakdown per generous portion:
- Calories: 280
- Sugar: 25g
- Fat: 12g (5g saturated)
- Carbohydrates: 40g
- Fiber: 4g
- Protein: 4g
*Nutritional values are estimates and may vary slightly based on specific ingredient brands and measurements. The good news? Using almond flour and fresh cherries keeps this dessert relatively low in processed sugars compared to many store-bought crisp options. Everything in moderation, friends – especially when seconds are this delicious!
PrintSour Cherry Crisp
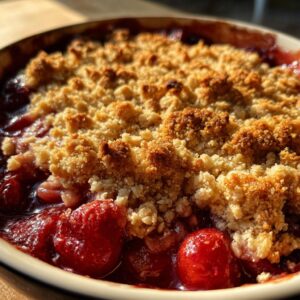
A simple, no-crust dessert with fresh or frozen tart cherries and a crunchy oat-nut topping.
- Prep Time: 10 min
- Cook Time: 35 min
- Total Time: 45 min
- Yield: 6 servings 1x
- Category: Dessert
- Method: Baking
- Cuisine: American
- Diet: Gluten Free
Ingredients
- 4 cups sour cherries, pitted
- 1/2 cup granulated sugar
- 1 tbsp cornstarch
- 1 cup rolled oats
- 1/2 cup almond flour
- 1/4 cup chopped nuts (walnuts or pecans)
- 1/4 cup brown sugar
- 1/4 cup melted butter
- 1/2 tsp cinnamon
- 1/4 tsp salt
Instructions
- Preheat oven to 375°F.
- Mix cherries, granulated sugar, and cornstarch in a bowl. Spread in a baking dish.
- Combine oats, almond flour, nuts, brown sugar, cinnamon, and salt in another bowl. Stir in melted butter.
- Sprinkle the oat mixture over the cherries.
- Bake for 30-35 minutes until the topping is golden and the filling bubbles.
- Cool slightly before serving.
Notes
- Use fresh or frozen cherries. No need to thaw if frozen.
- For a gluten-free option, ensure oats are certified gluten-free.
- Make ahead: Assemble and refrigerate up to a day before baking.
Nutrition
- Serving Size: 1 serving
- Calories: 280
- Sugar: 25g
- Sodium: 120mg
- Fat: 12g
- Saturated Fat: 5g
- Unsaturated Fat: 6g
- Trans Fat: 0g
- Carbohydrates: 40g
- Fiber: 4g
- Protein: 4g
- Cholesterol: 20mg